Super Simple Rosette Maker
Posted: Tue Jan 17, 2012 7:05 pm
I actually developed this process to make oval rosettes but it works equally as well for round ones. Materials used for the rosette are just strips of veneer about .10" tall. I use Holly for the light rings since it looks just like Spruce and gives the illusion of channels in the sound-board -- you need a lot of black strips, and use you imagination for the other colors. I even used matching Mahogany, Rosewood etc. The fixture is a piece of "softwood" covered with clear packaging tape -- nothing sticks to that stuff! The circle or oval form is made from a piece of 1/8" Teflon as are pressure cauls. The cauls are pinned against the rings with standard bulletin board tacks. And you need a lot of CA glue "thin" version.
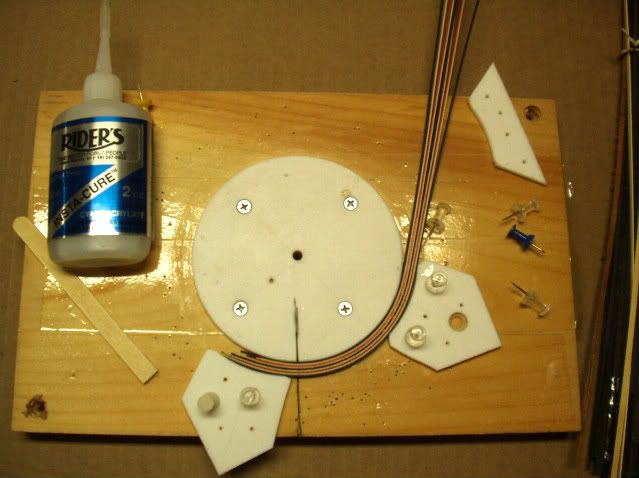
Just decide what pattern and how wide you want the rosette, stack the veneer and pin it very tight against the form. Drizzle some CA on the ring taking care not to get glue on areas that are not pinned tight -- other wise you'll end up with a gap. I use a piece of popscicle stick to push the veneer stripe down to the work surface -- again to prevent gaps.
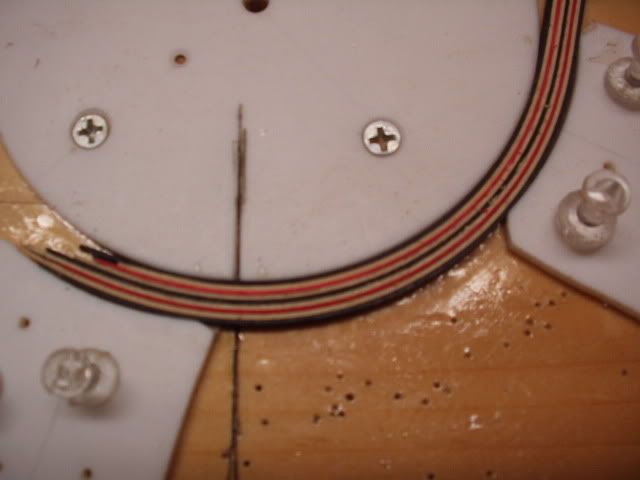
Note that he ring starts at a slit cut in the form -- this allows you to cut the ring square at the beginning and end. Simply continue the pinning and gluing process all the way around - I use CA accelerator to speed the process and it also assures a good bond of the strips to each other.
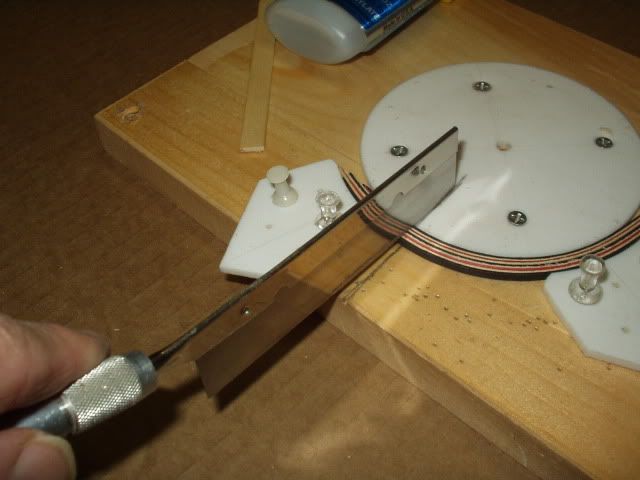
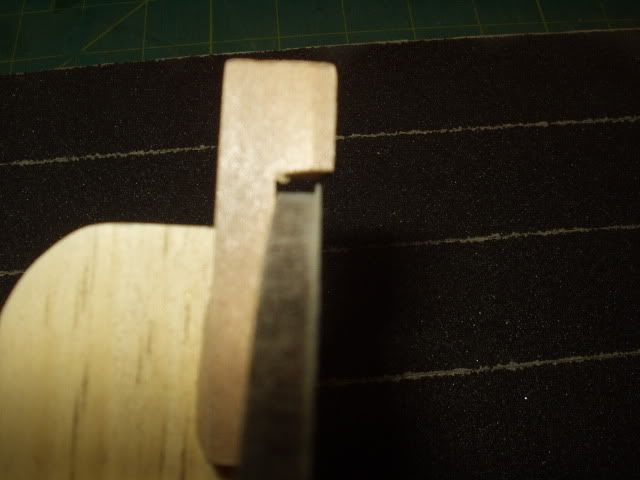
Once the CA dries (that happen pretty quick) gently pry the ring off the form. The ring is leveled and thicknessed by rubbing it against a work-board covered with 80 grit abrasive. You'll need to fabricate a holding jig which traps the ring against the abrasive. The jig is covered with abrasive and has short legs that keep the ring contained. I think the pixs are self explanatory but let me know if you need clarification.
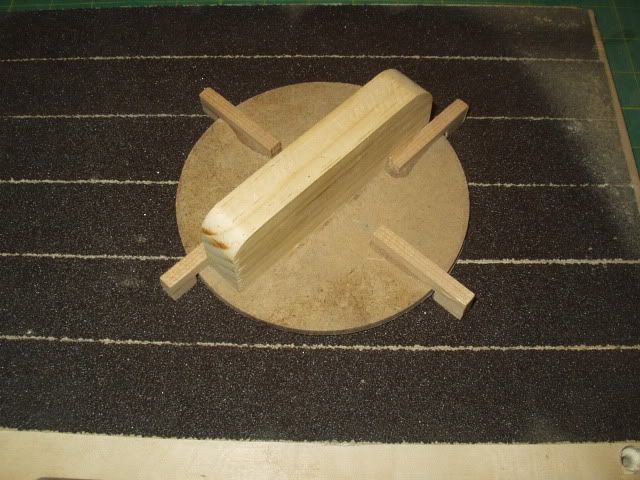
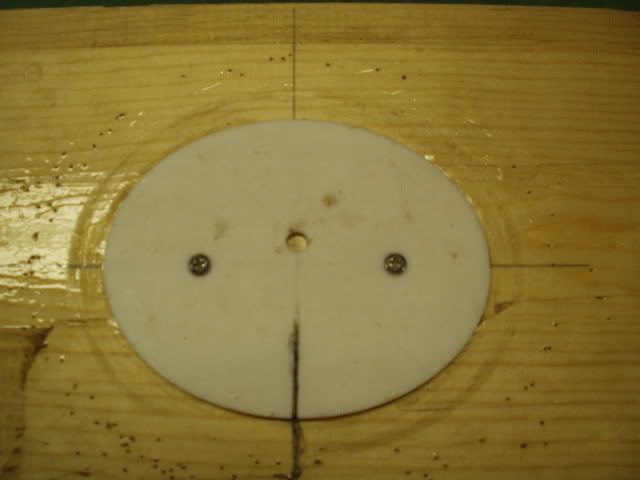
And here's the oval form

Just decide what pattern and how wide you want the rosette, stack the veneer and pin it very tight against the form. Drizzle some CA on the ring taking care not to get glue on areas that are not pinned tight -- other wise you'll end up with a gap. I use a piece of popscicle stick to push the veneer stripe down to the work surface -- again to prevent gaps.

Note that he ring starts at a slit cut in the form -- this allows you to cut the ring square at the beginning and end. Simply continue the pinning and gluing process all the way around - I use CA accelerator to speed the process and it also assures a good bond of the strips to each other.

Once the CA dries (that happen pretty quick) gently pry the ring off the form. The ring is leveled and thicknessed by rubbing it against a work-board covered with 80 grit abrasive. You'll need to fabricate a holding jig which traps the ring against the abrasive. The jig is covered with abrasive and has short legs that keep the ring contained. I think the pixs are self explanatory but let me know if you need clarification.


And here's the oval form
