Page 1 of 6
First kit build - hide glue
Posted: Mon Dec 10, 2012 11:38 am
by TonyinNYC
Welcome to the forum George. Be sure to post plenty of pics. We have this thing for pics around here!
Re: First Kit Build
Posted: Mon Dec 10, 2012 2:04 pm
by George
Thanks Tony.
I will be taking a lot of pictures and will post some as the build progresses,,, hopefully without too much editing due to mistakes. lol
I bought a kit from a different vender before I discovered KMG products. I’m feeling a little buyer's remorse after buying a bunch of spool clamps and a binding router bit and a couple of bearings, which I will not have use for since I’m going to be using Ken’s “Guitar Binding Channel Routing System” & the "KMG Mega Mold Guitar Making Fixture."
Anyway, I’m very pleased to be a member and now with the help of experienced builders I'll be able to minimize those kinds of mistakes in the future.
George
Re: First Kit Build
Posted: Mon Dec 10, 2012 2:37 pm
by Dave Bagwill
Spool clamps may prove to be handy, don't give up on them!
Re: First Kit Build
Posted: Mon Dec 10, 2012 3:58 pm
by TonyinNYC
Don't worry, we all made mistakes on our first, and most of us continue to make them. For a small laugh or two, check out the blog of my very first guitar build, a KMG Success Kit in Sapele and Engelmann spruce, at
http://www.TonysBigBuild.blogspot.com
I misplaced the 12th fret side position marker among other things. But I fixed it, and moved on. On a recent guitar, I blew out a pice of the rosette while routing for purfling lines and could not find the missing chunk. I fixed that too and unless I told you where it was, nobody would be any the wiser. A mistake is only a mistake when you can't fix it. Like if you go all Pete Townsend on your guitar. Thats tough to fix.
Re: First Kit Build
Posted: Sat Dec 29, 2012 9:22 pm
by George
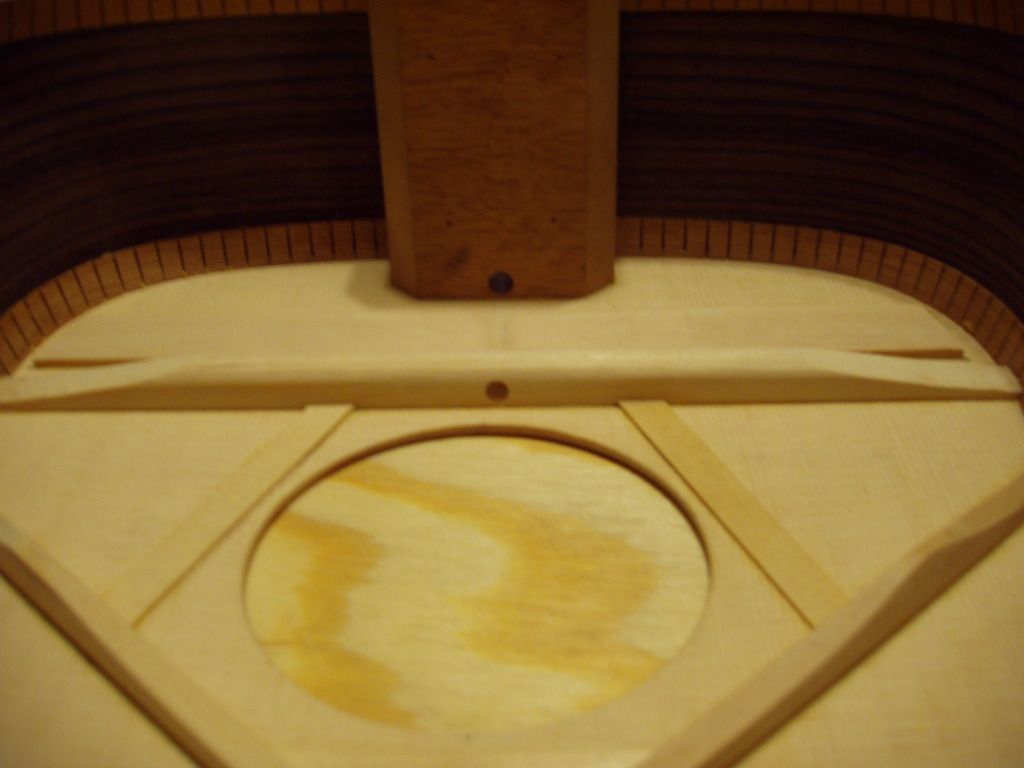
It's good to have fellow menbers with experience when you're a novice. A good example of that is in my post in the Rim section when Tim asked, “How do you access you truss rod”? I tried to answer by stating, “Through the neck block”.
I want to thank John and other members who after shaking their heads and finishing laughing took the time to explain that I needed a hole drilled though the shoulder brace.
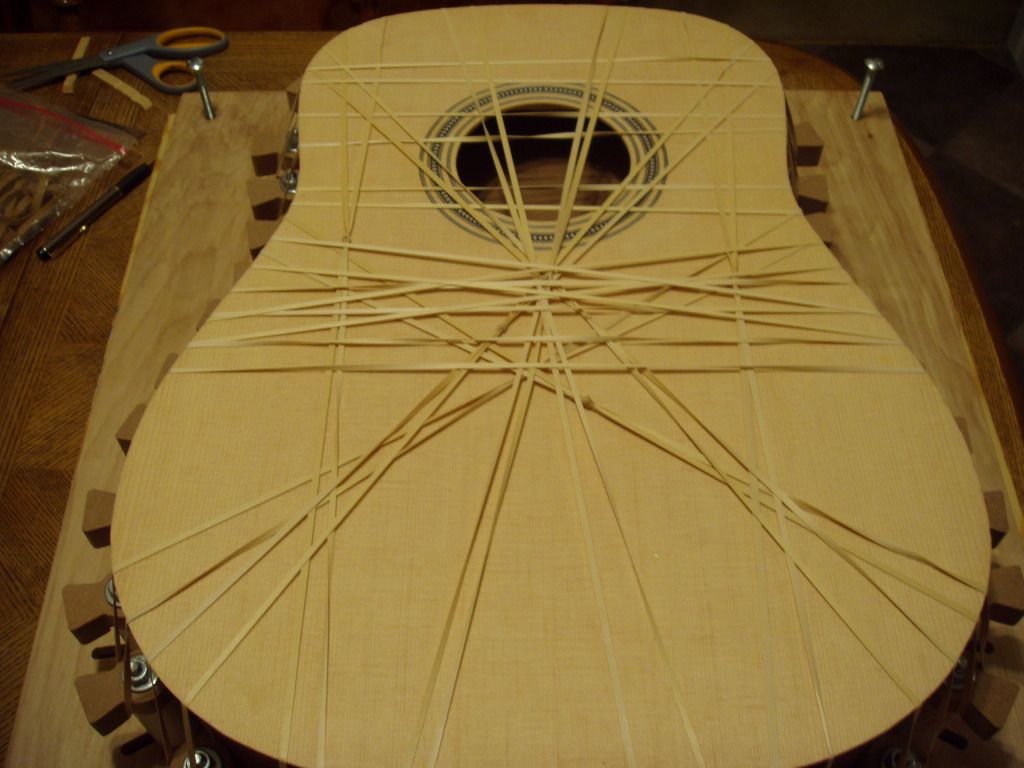
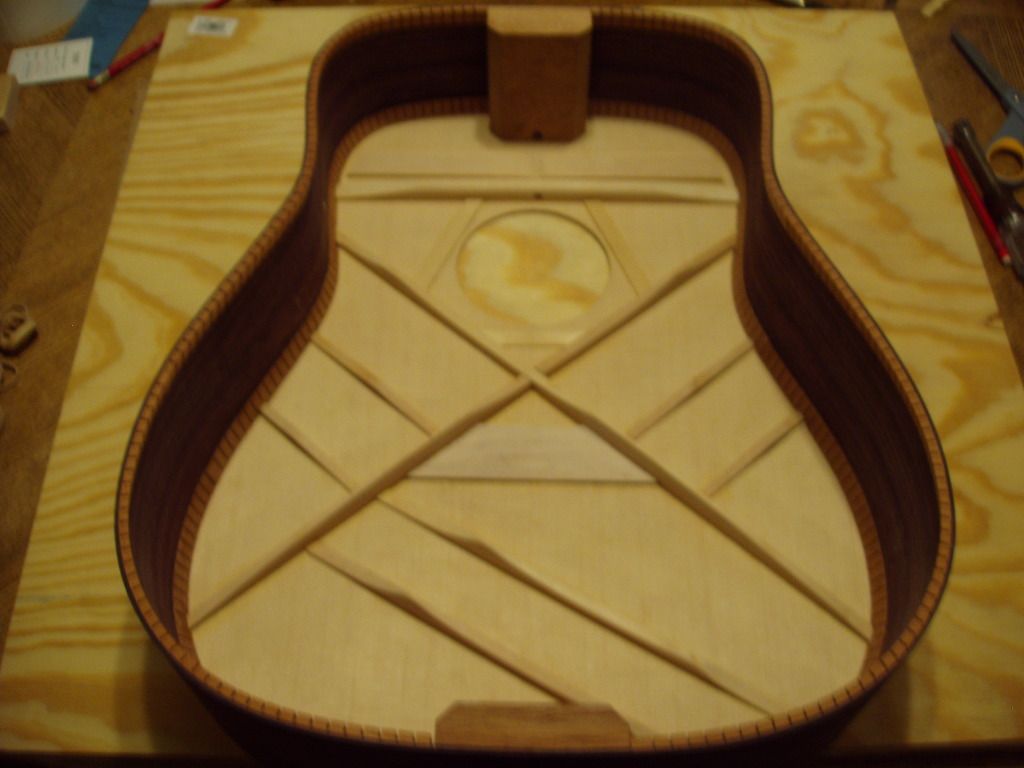
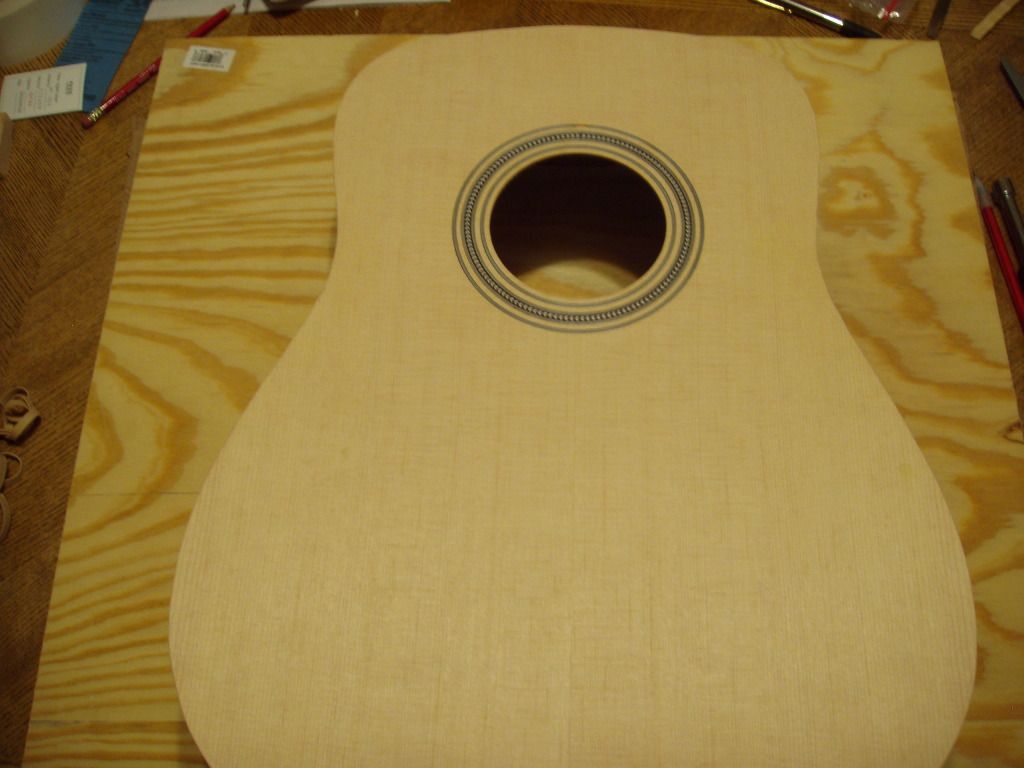
Here are a couple more pictures of the build. I glued the top on and after removing some of the rubber bands I remembered I hadn’t taken a photo. Yes, there were more rubber bands on there. I bought a whole bag and I like to get my money’s worth. You would have had a hard time seeing spruce. lol
Then I filed and sanded a shallow channel in the popsicle stick and drill my truss rod access hole in the brace using the hole in the neck block as a pilot.
So far,,,, So good…. To be continued.
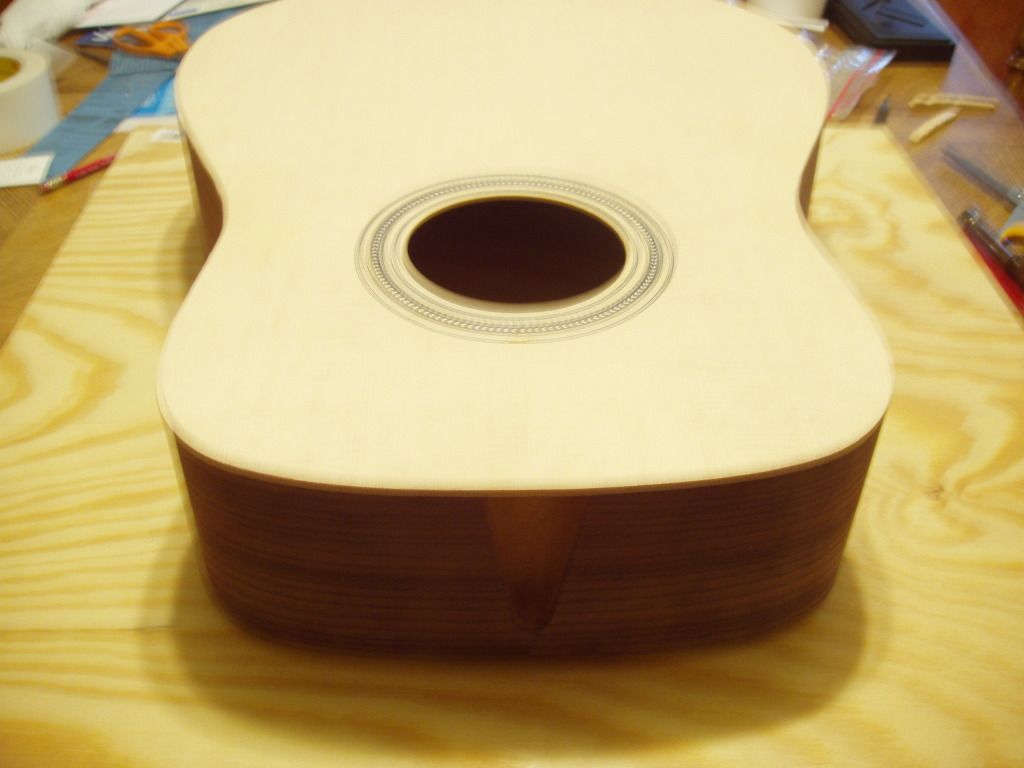
I must have been a little shaky on the last picture. Amost makes you dizzy looking at it.
George
Re: First kit build - hide glue
Posted: Tue Jan 01, 2013 6:26 pm
by George
I got the back braced up and glued on. Here are a few more pictures.


I wrote my name, town and date backwards inside the body so down the road if this guitar survives and someone sticks a mirror in the sound hole they’ll know who, where and when. This picture gives a good view of the channel I carved in the popsicle for a straight shot at the truss rod.
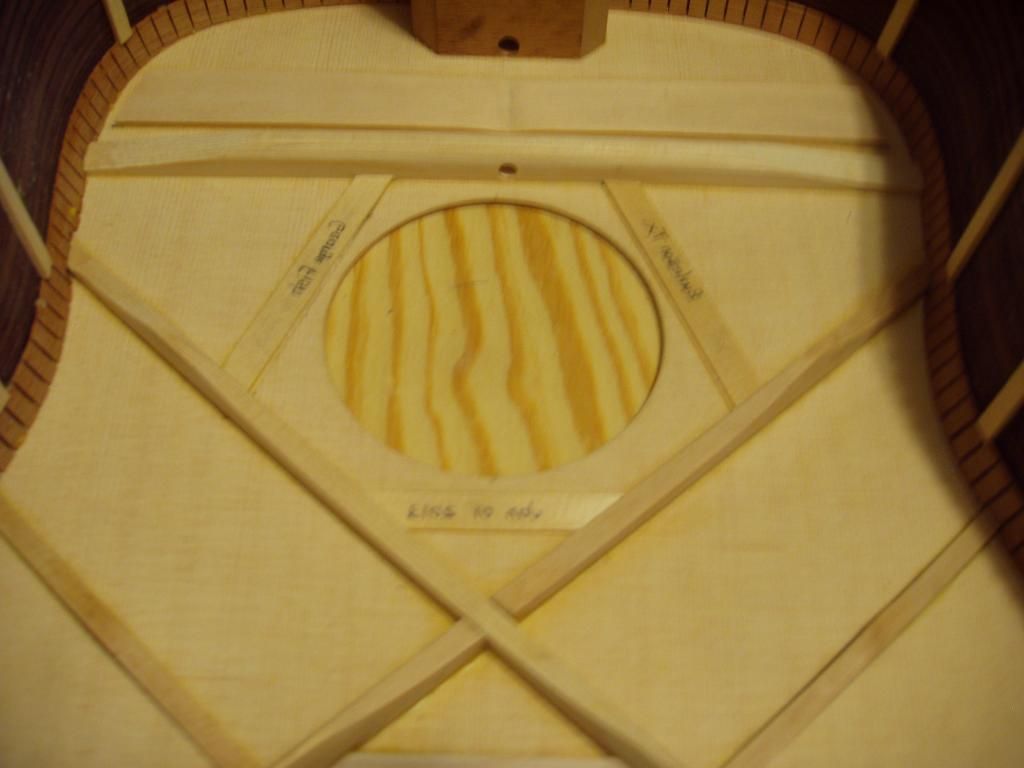
Then I did a dry run to make sure everything lined up and got my clamps ready for the glue.

One last look inside.
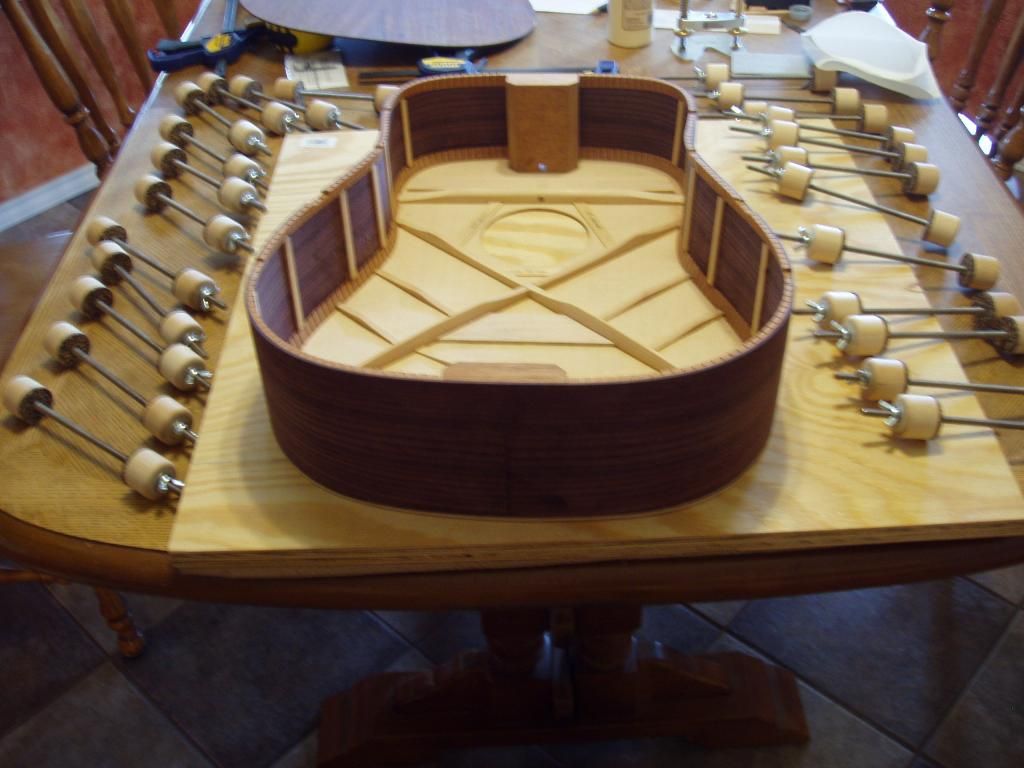
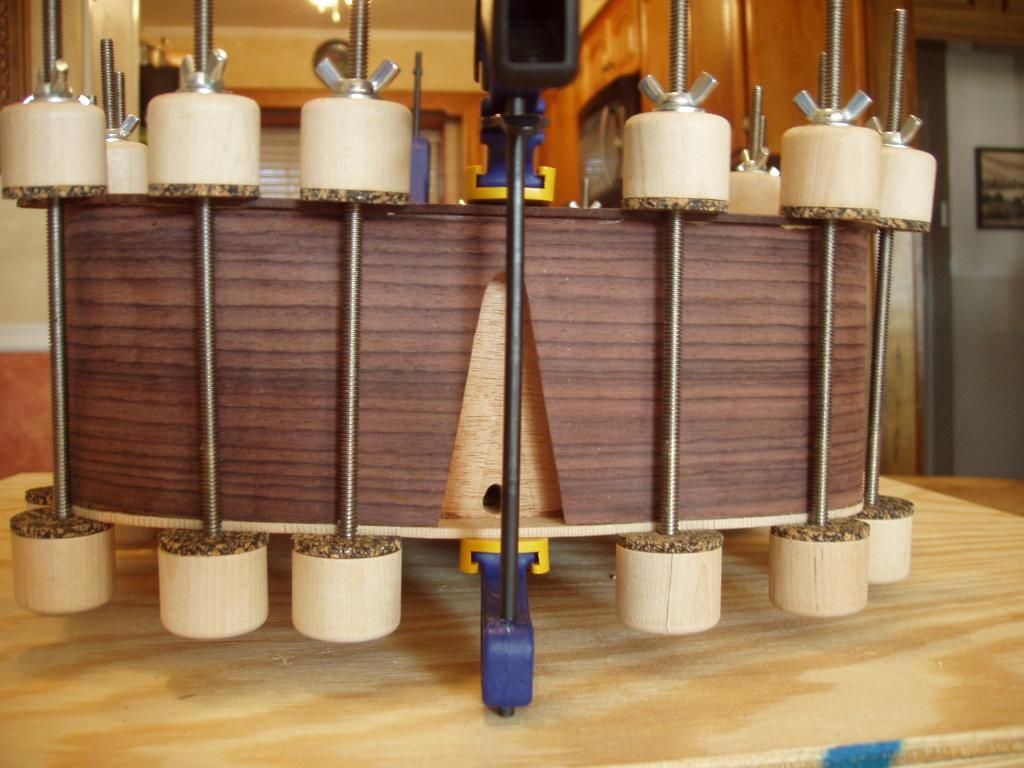
There she is. I bought a back strip for the guitar but the joint is virtually imperceptible and the grain is book matched very well so I decided I like it just the way it is.
The lower area of the bottom bout has kind of a burl look to it.

I'll be routing for binding tomorrow.
George
Re: First kit build - hide glue
Posted: Tue Jan 01, 2013 6:52 pm
by John Parchem
You guitar is looking great. Be very careful when routing around where you opened up the rims for the dove tail. I always wait until I have routed for the bindings before I open the dove tail. That way you can go all around and not have to finish part by hand. No big deal just be thoughtful of that pit for the binding jig to fall into.


