Beard Reso Guitar Kit
Posted: Sun Oct 07, 2012 3:27 pm
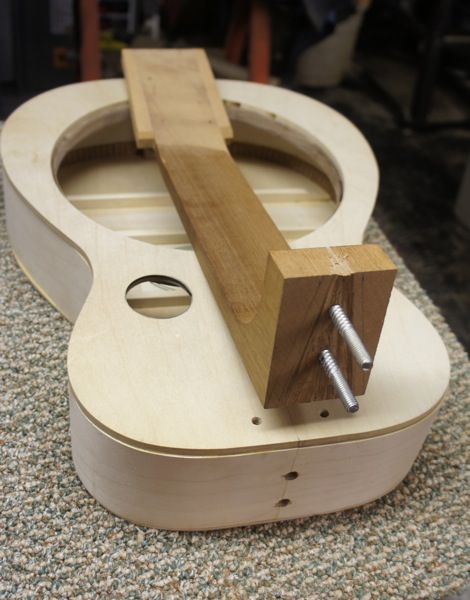
OK, here we go. But first some thoughts I just had about the Beard reso guitar kit. It might be the ideal kit for a first build. No rosette to inlay. No bracing to shape an arched top and back. No problems with fall off of the fingerboard extension. Everything's flat, flat, flat! No bridge to glue to the top. Other than having to carve the neck, it's the easiest kit I've done.
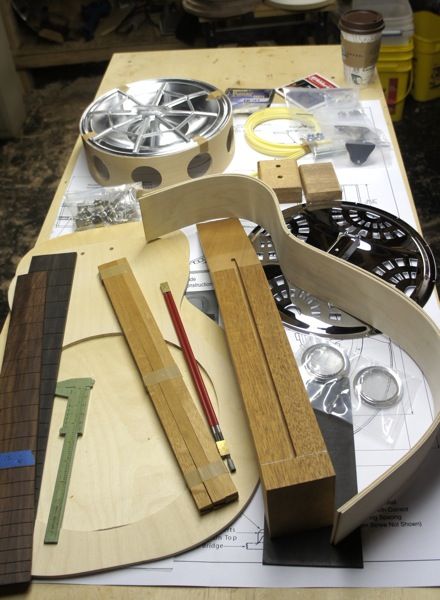
Here are the pieces/parts to the fit.
I decided to make one change to the construction and use a sound post system instead of the basket that was provided. Supposed to give a fuller warmer tone based on what i read on line. The back is more free to vibrate and get into sound production. Or maybe it's just magic.
Here's the basket. I'll show the the posts and ring that replaced it later.
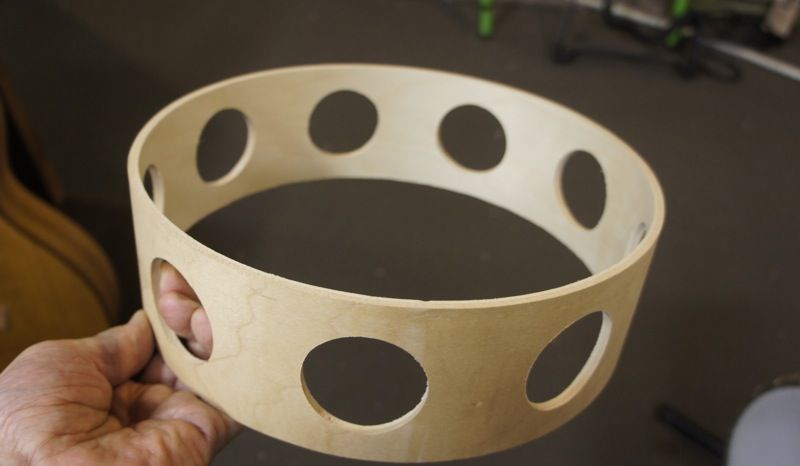
The basket is attached to both the top and back with kerfed linings. Easy as both are flat. The kit comes with a short set of build instructions and a very nice full size plan.
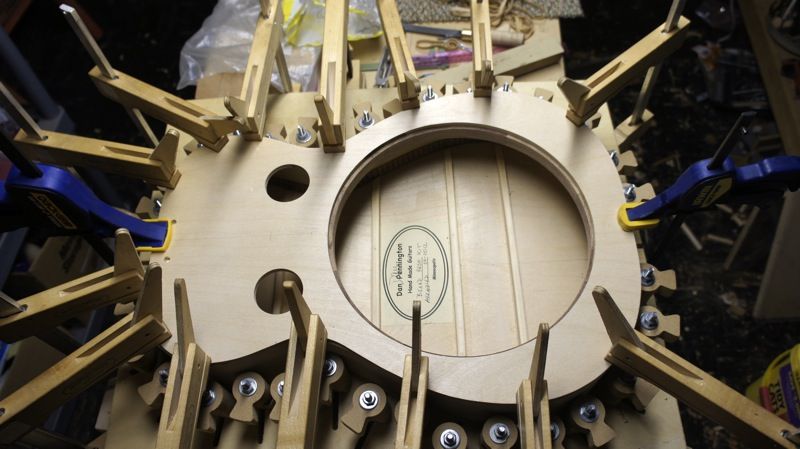
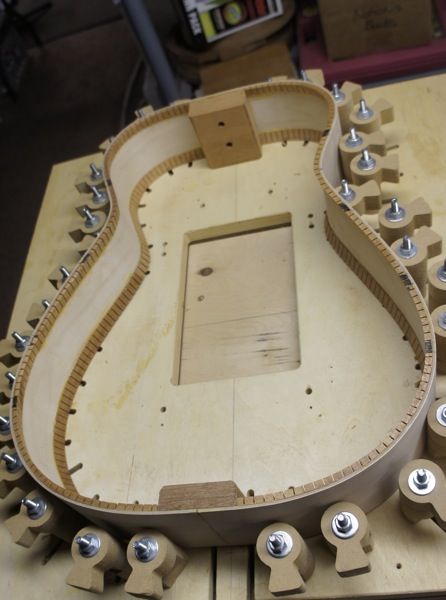
For an outside form, I used my KMG adjustable mold. Very handy for the odd size one off build. I was having troubles with a failing memory chip in my camera and I lost some photos of my build process, so I don't have the usual photo of the kerfing being glued on with a hundred clamps. I also lost shots of trimming the bent sides to length and gluing on the end blocks. That's pretty standard build stuff. Look at anyone else's build and you can see them. Here's my result.
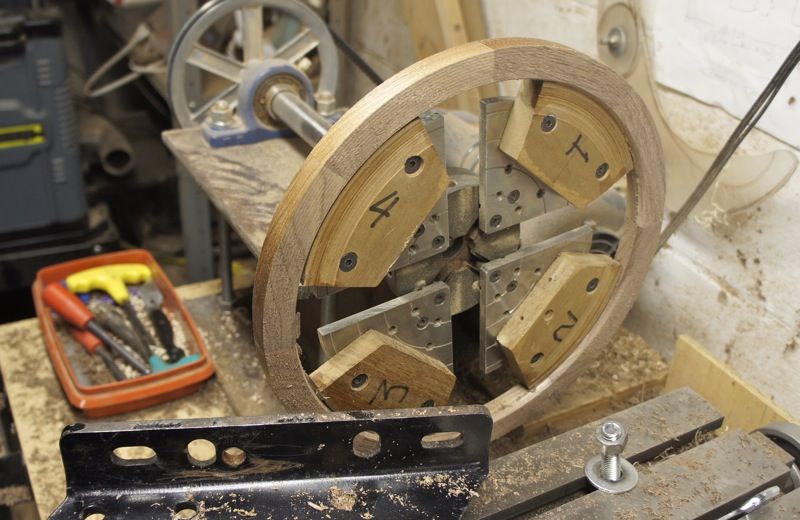
To do the sound post setup, I had to make a ring that gets glued to the inside of the top and acts as a shelf for the reso cone to sit on. I build wood block banjo rims, so I have a lot of banjo rim stuff laying around. I used one layer of 8 walnut blocks. I put it back on my rim lathe and turned it down to the size for the cone shelf.
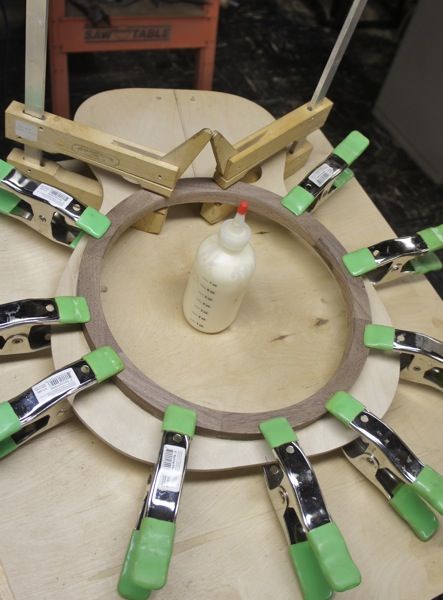
Then I glued it to the top.
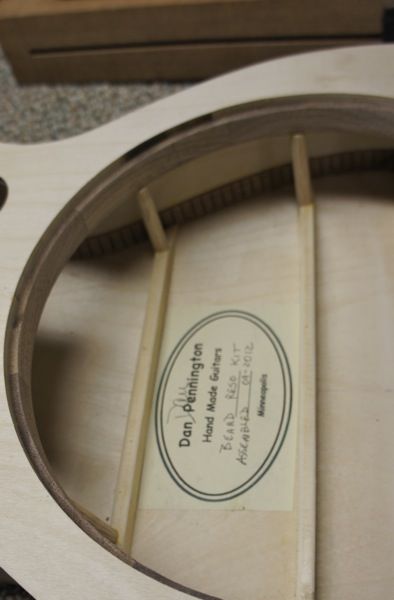
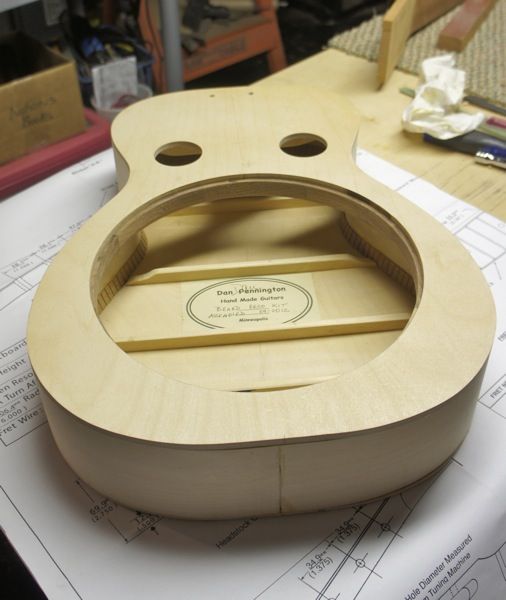
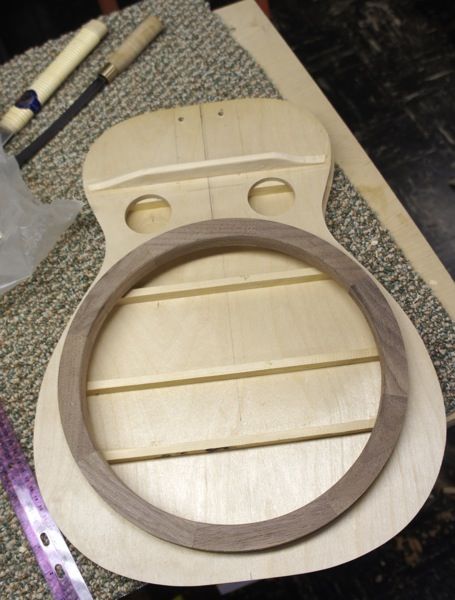
Then, because I'm doing the sound posts, I had to put braces on the back for the post to sit on and one on the top. Using the basket stiffens up the top and back so that bracings is not needed. Here's the top sitting on the back all braced.
Here are the pieces/parts to the fit.

I decided to make one change to the construction and use a sound post system instead of the basket that was provided. Supposed to give a fuller warmer tone based on what i read on line. The back is more free to vibrate and get into sound production. Or maybe it's just magic.
Here's the basket. I'll show the the posts and ring that replaced it later.

The basket is attached to both the top and back with kerfed linings. Easy as both are flat. The kit comes with a short set of build instructions and a very nice full size plan.
For an outside form, I used my KMG adjustable mold. Very handy for the odd size one off build. I was having troubles with a failing memory chip in my camera and I lost some photos of my build process, so I don't have the usual photo of the kerfing being glued on with a hundred clamps. I also lost shots of trimming the bent sides to length and gluing on the end blocks. That's pretty standard build stuff. Look at anyone else's build and you can see them. Here's my result.

To do the sound post setup, I had to make a ring that gets glued to the inside of the top and acts as a shelf for the reso cone to sit on. I build wood block banjo rims, so I have a lot of banjo rim stuff laying around. I used one layer of 8 walnut blocks. I put it back on my rim lathe and turned it down to the size for the cone shelf.

Then I glued it to the top.

Then, because I'm doing the sound posts, I had to put braces on the back for the post to sit on and one on the top. Using the basket stiffens up the top and back so that bracings is not needed. Here's the top sitting on the back all braced.

