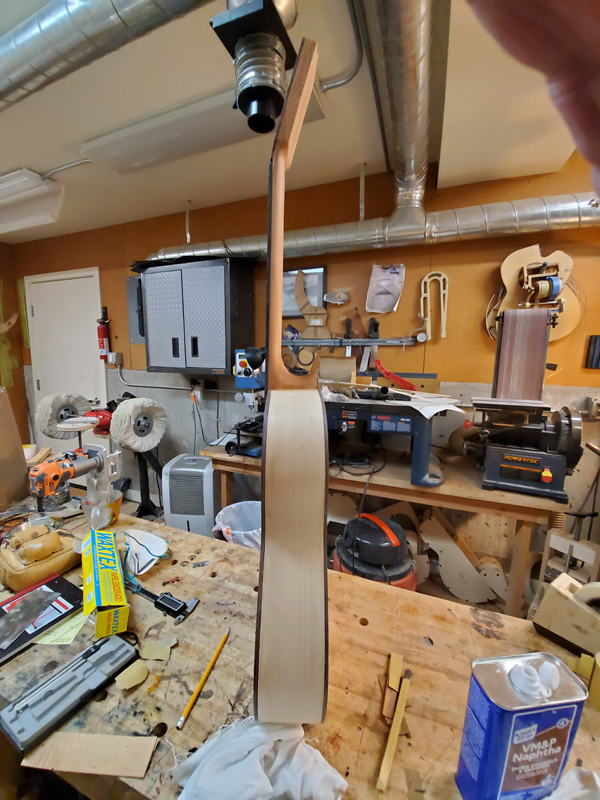
Very traditional Spanish Cyprus\spruce Flamenco Guitar
Posted: Mon Jul 08, 2019 9:20 pm
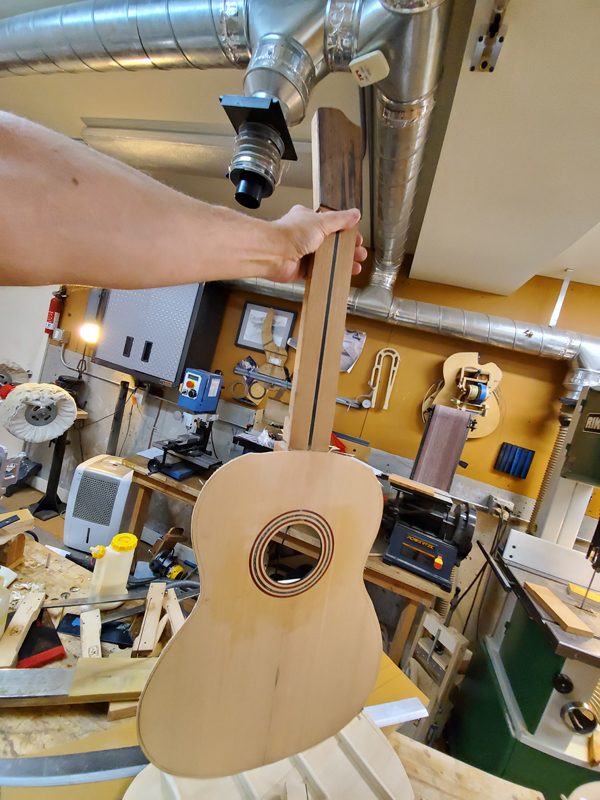
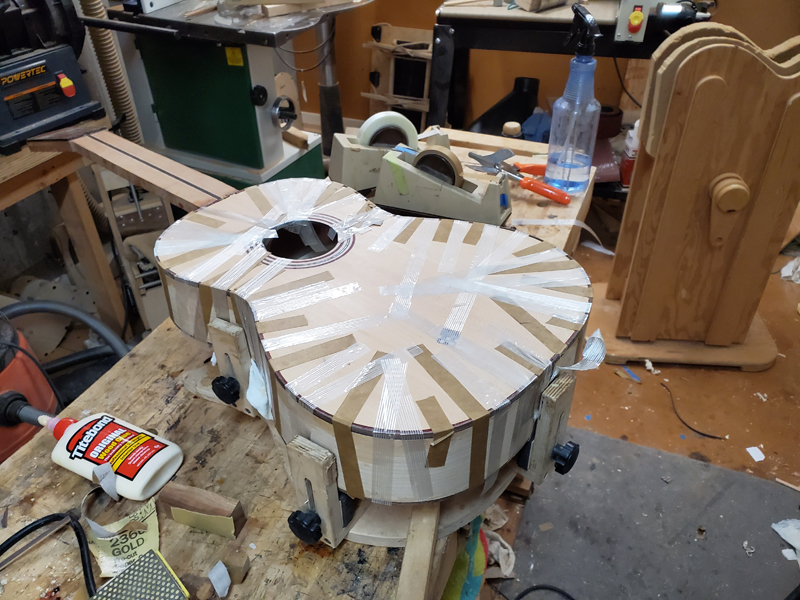
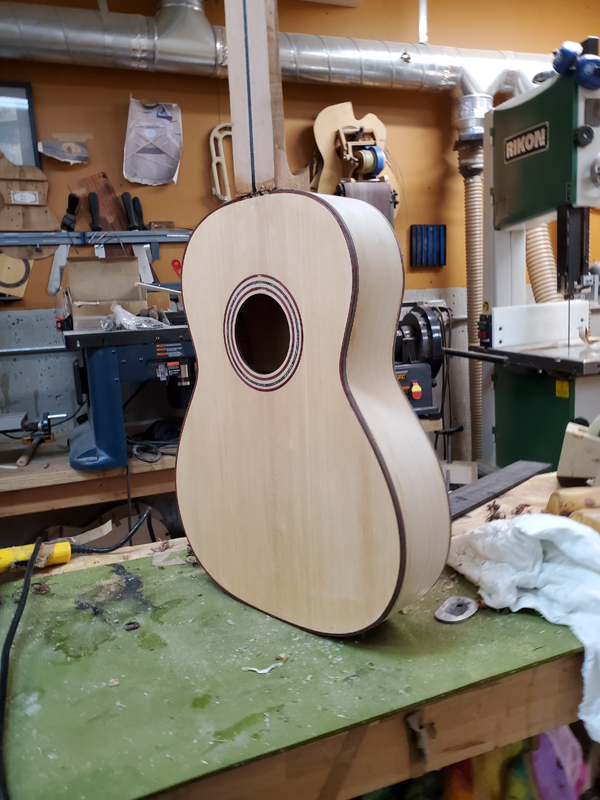
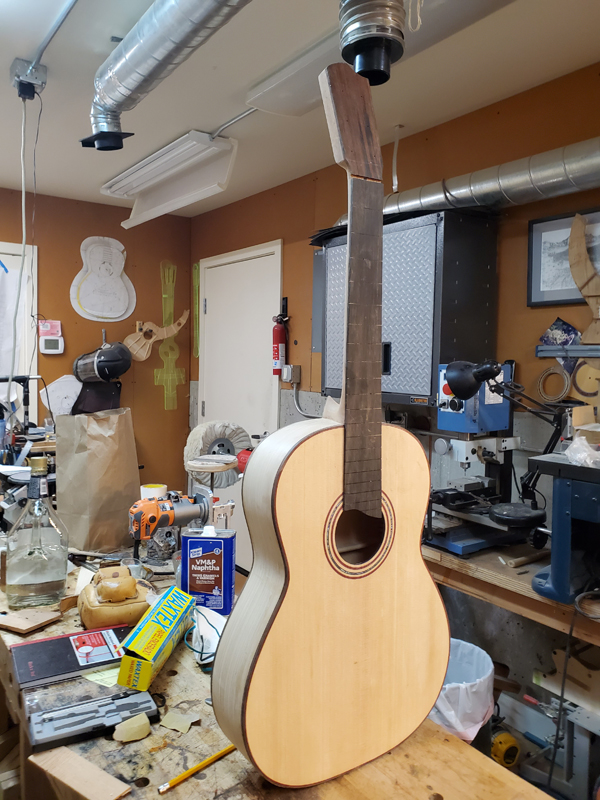
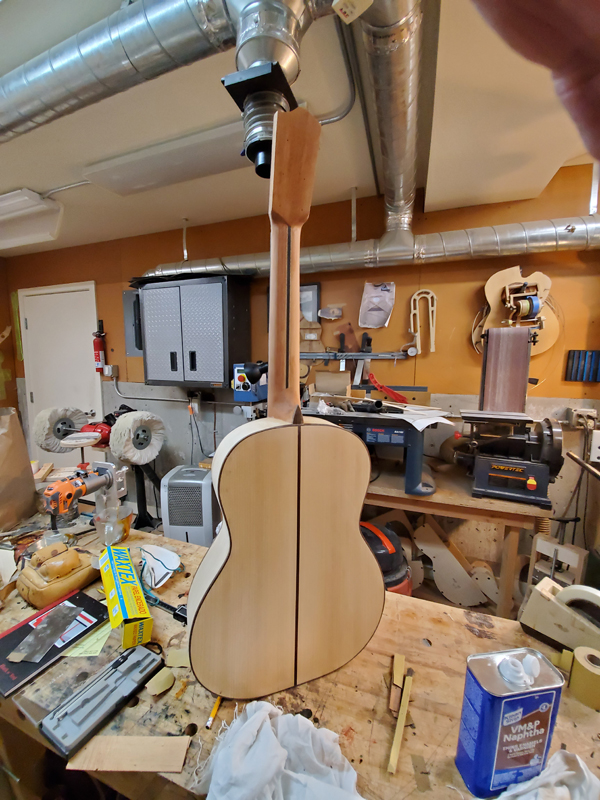
I am nearly finished with my first flamenco guitar. The flamenco is a long time coming as this spanish cyprus set was my third guitar set I bought many years back. I have suspended most of my knowledge on how to build a guitar and have been following Paco Chorobo of Chorobo Guitars online class. The class does cost but it is 22 hours long and includes the plans for the guitar, solera and templates. The course is nicely detailed and while viewing, besides learning how to build this guitar I picked up some woodworking techniques I did not have. Sometimes watching how they're using tools is just as valuable as what is being taught in the section.
I have taken pictures of the build but I have been slow starting this blog. I will break it up into a few posts as there are a lot of pictures. I will mostly focus on new stuff and changes to my build style but I will include a bunch of pictures of all of the steps.
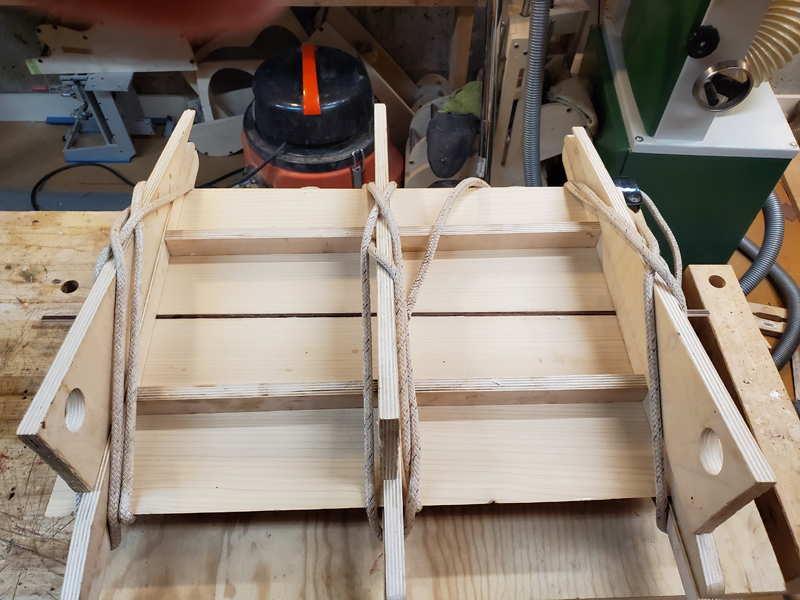
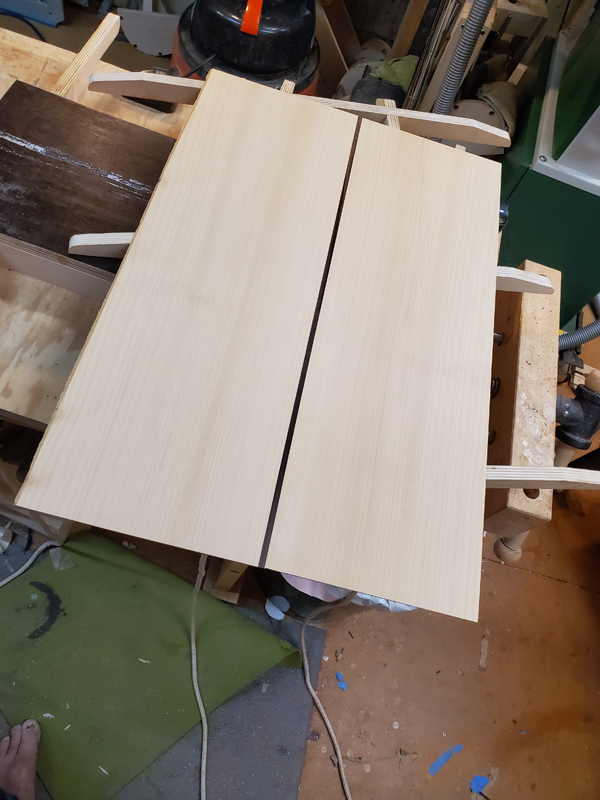
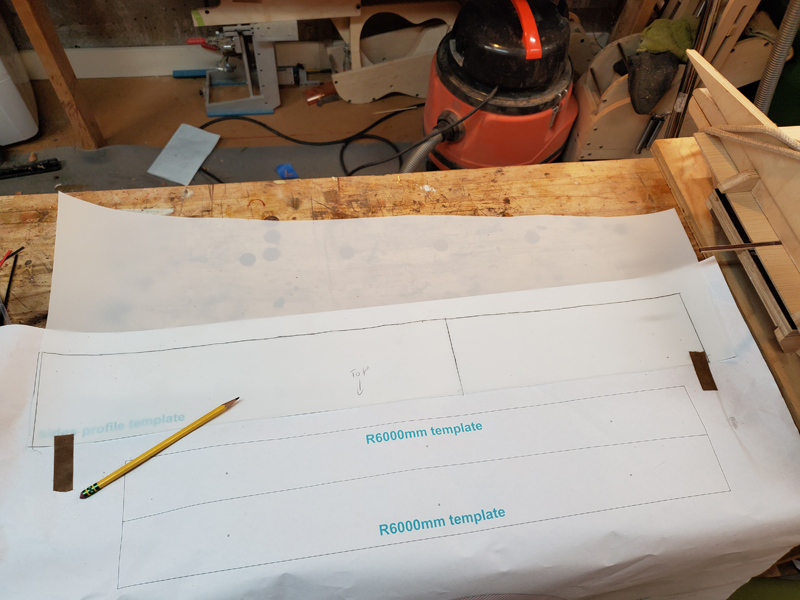
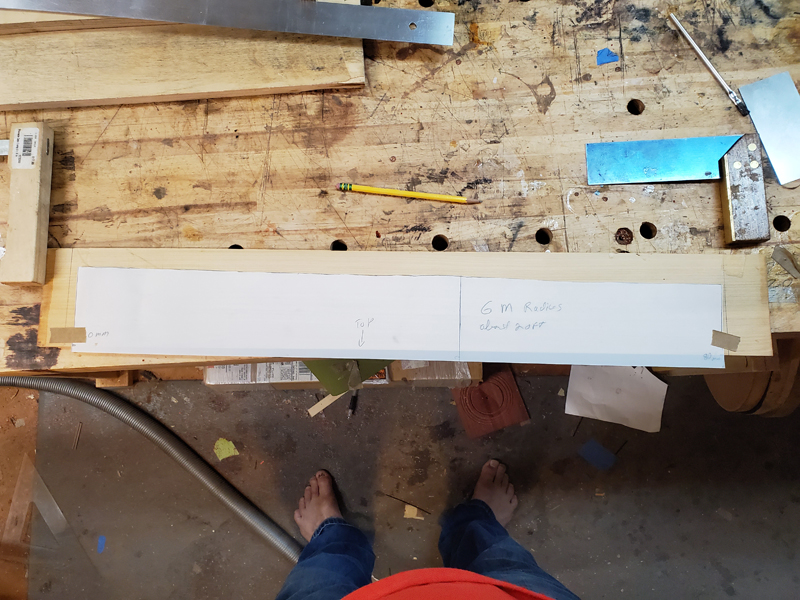
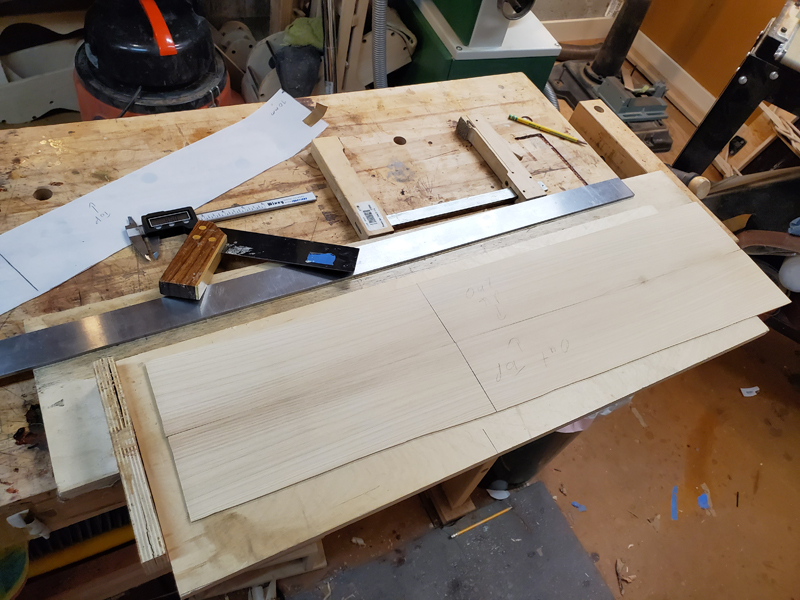
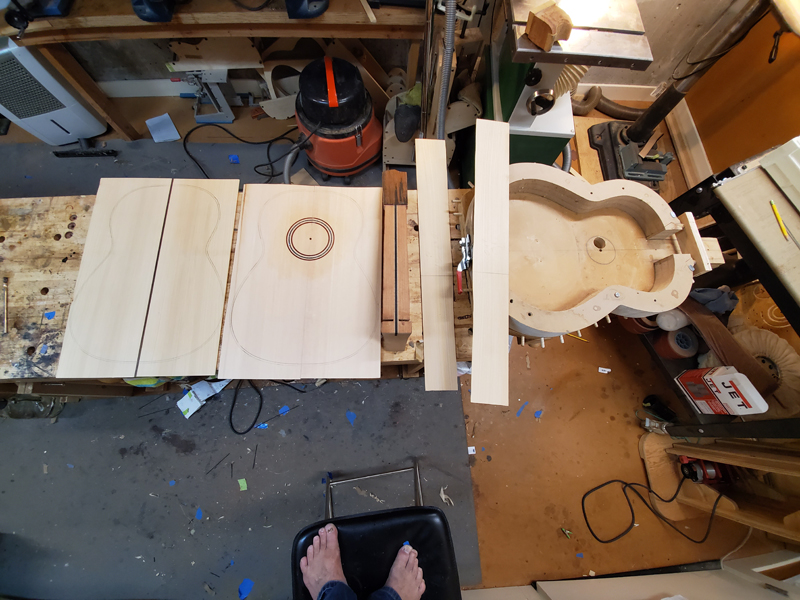
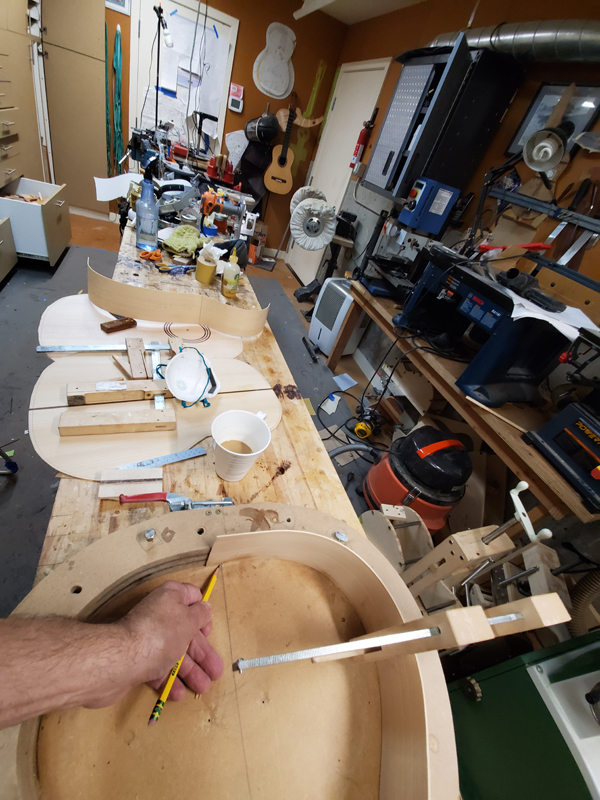
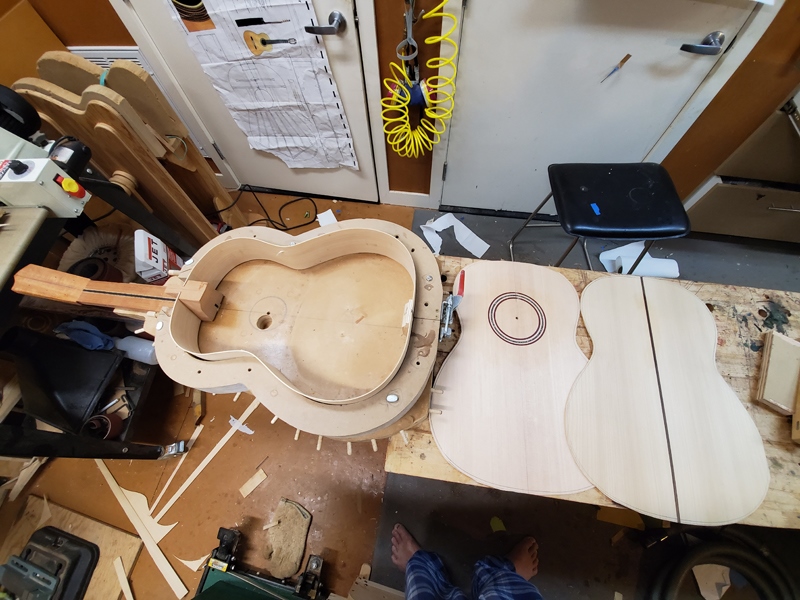
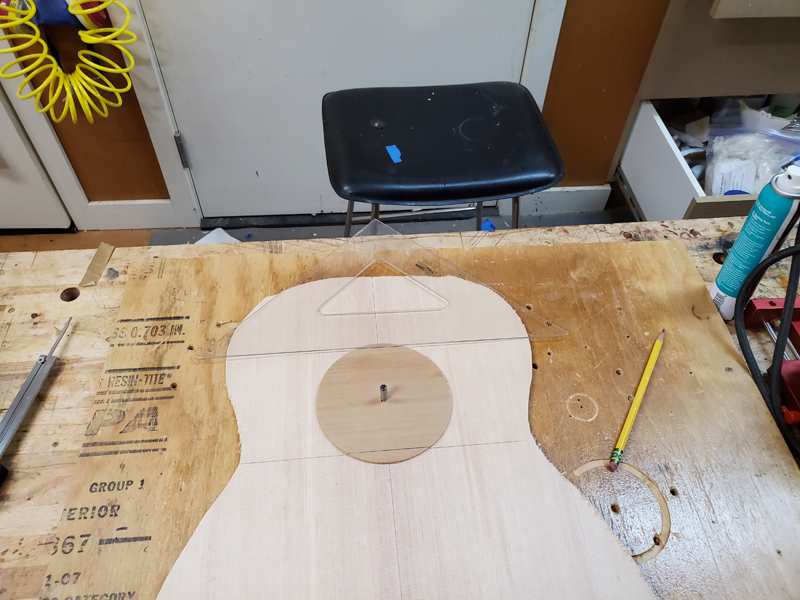
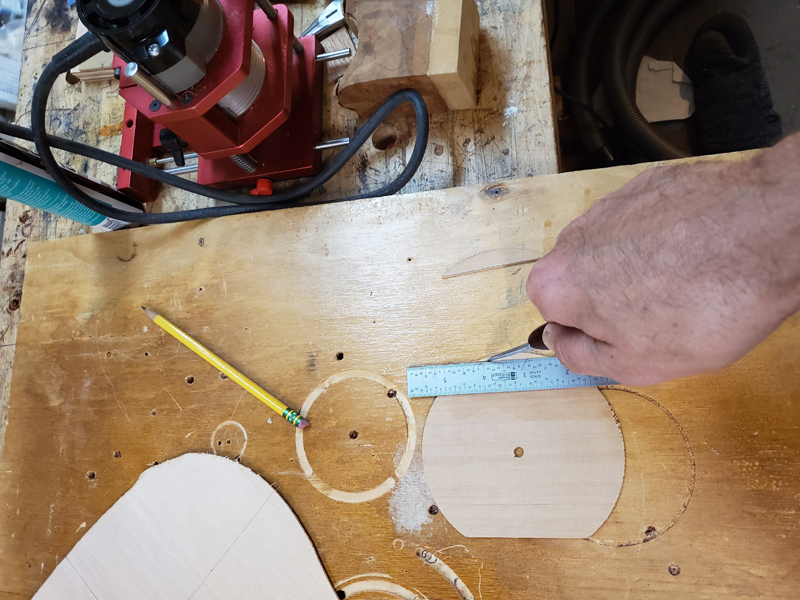
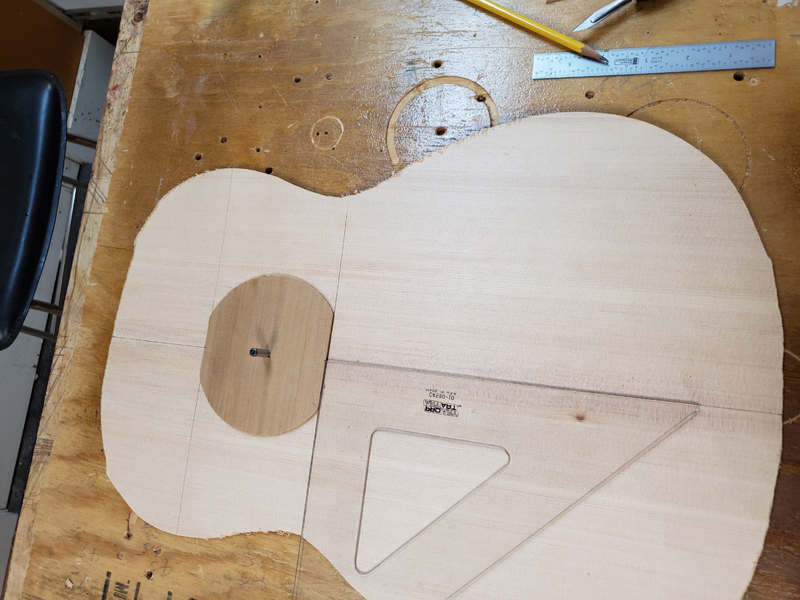
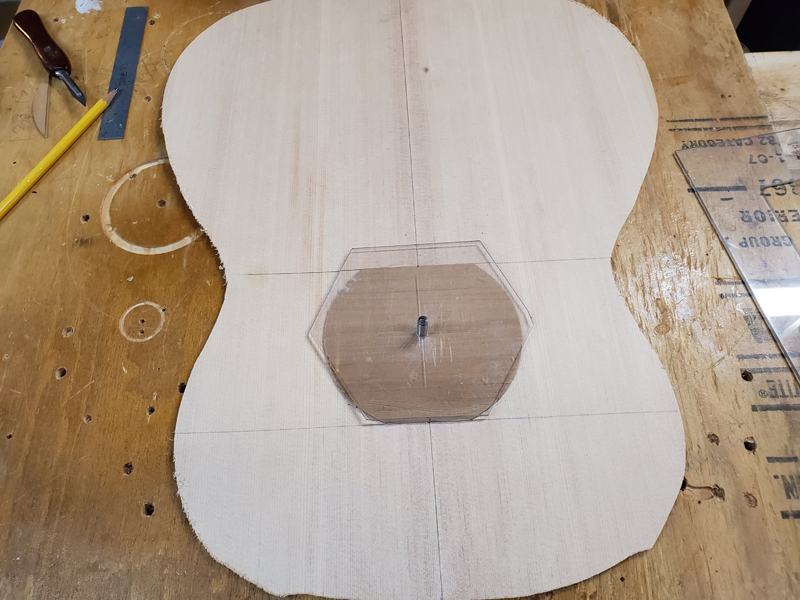
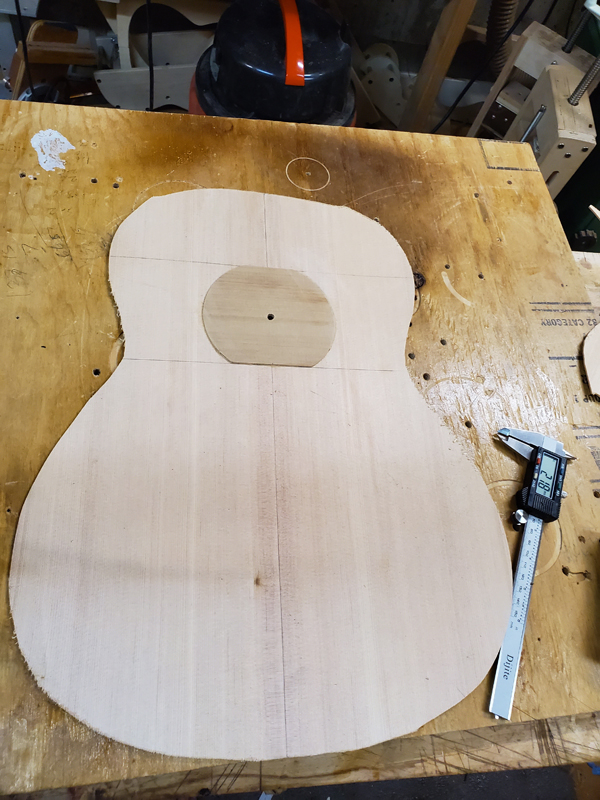
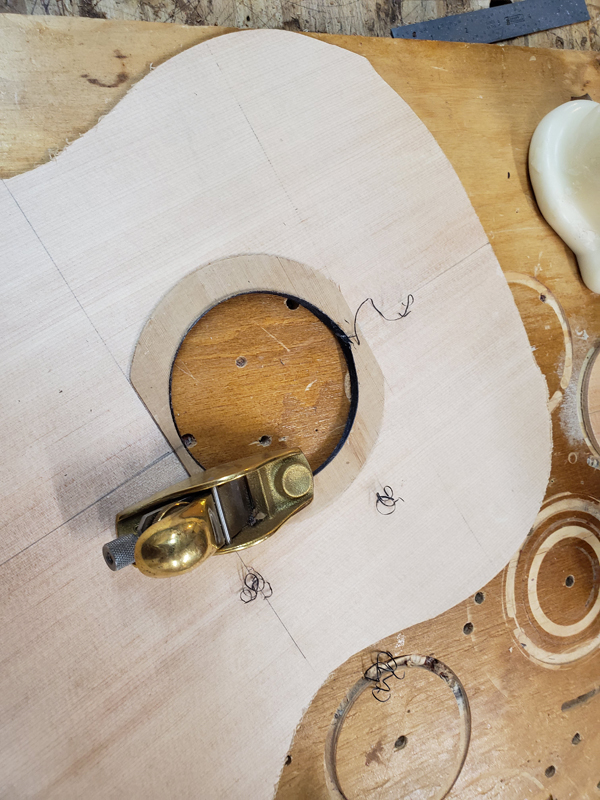
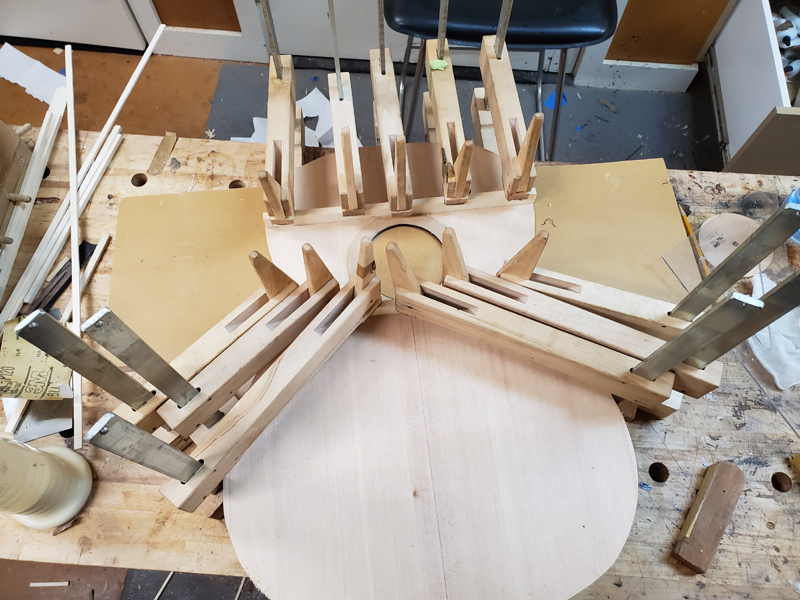
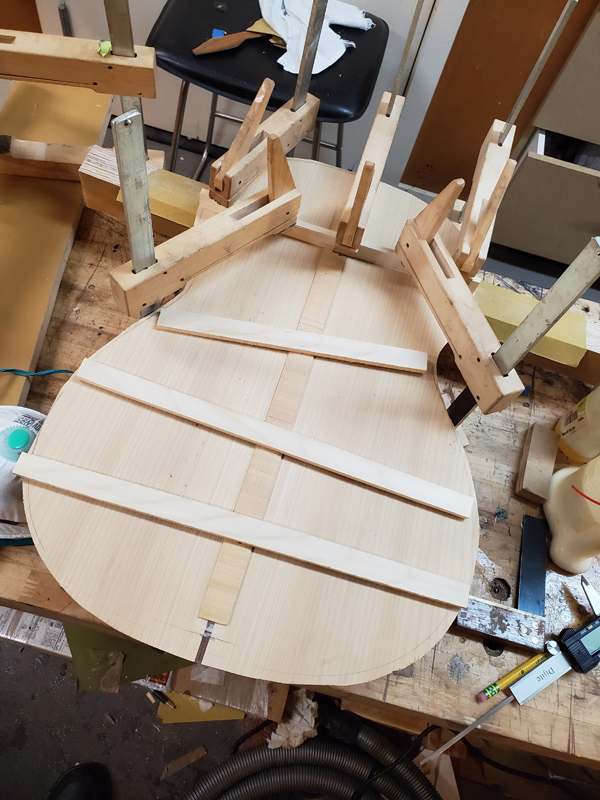
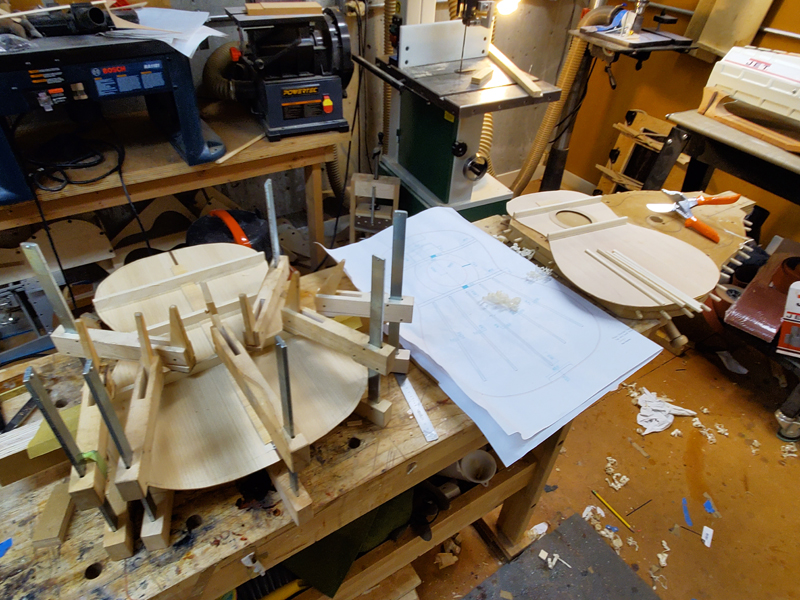
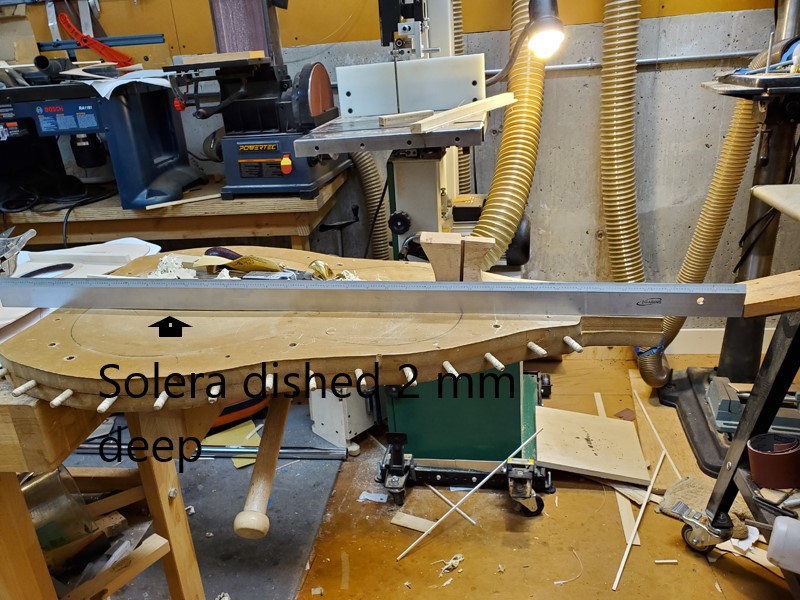
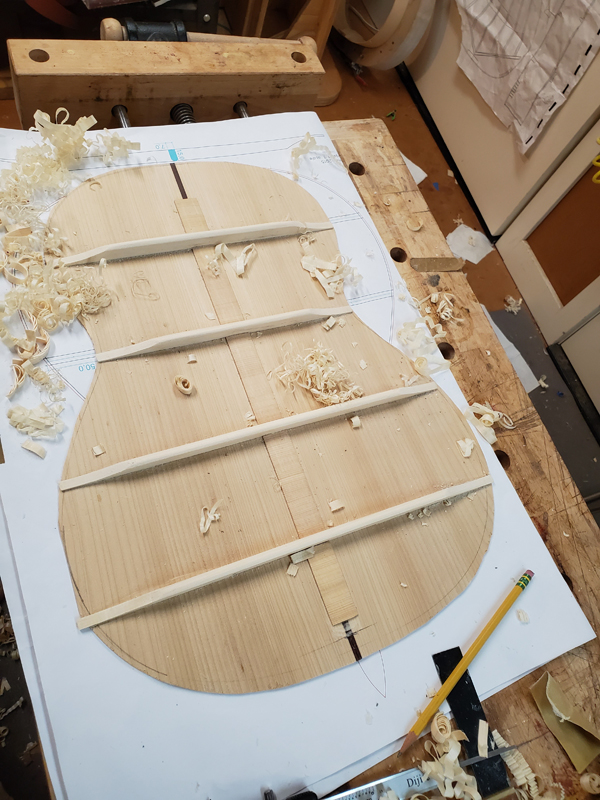
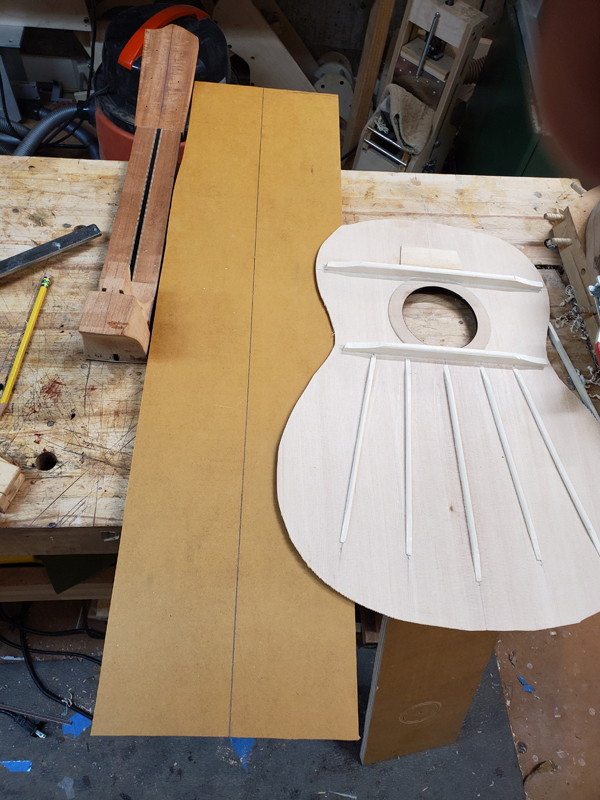
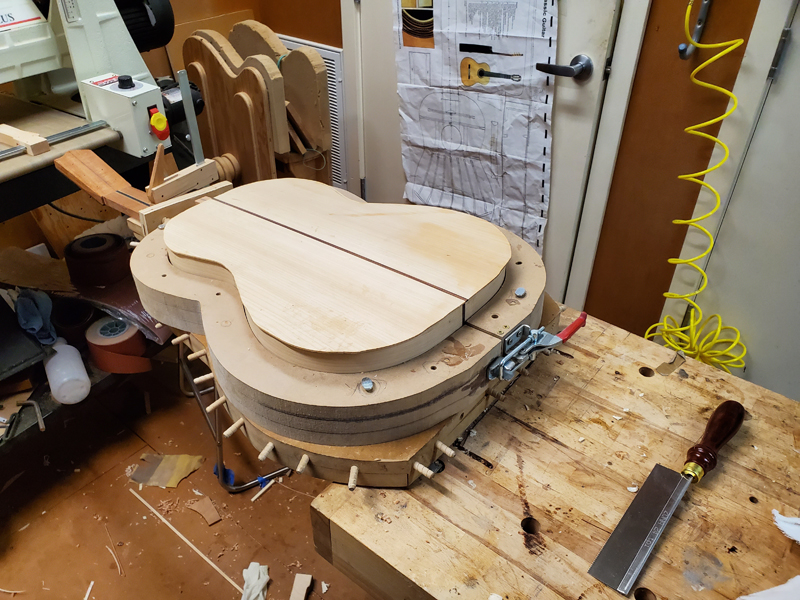
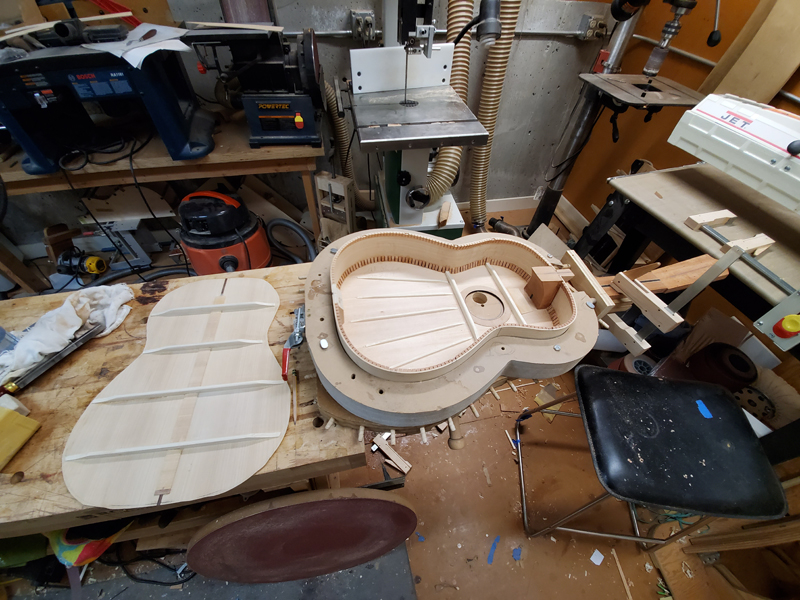
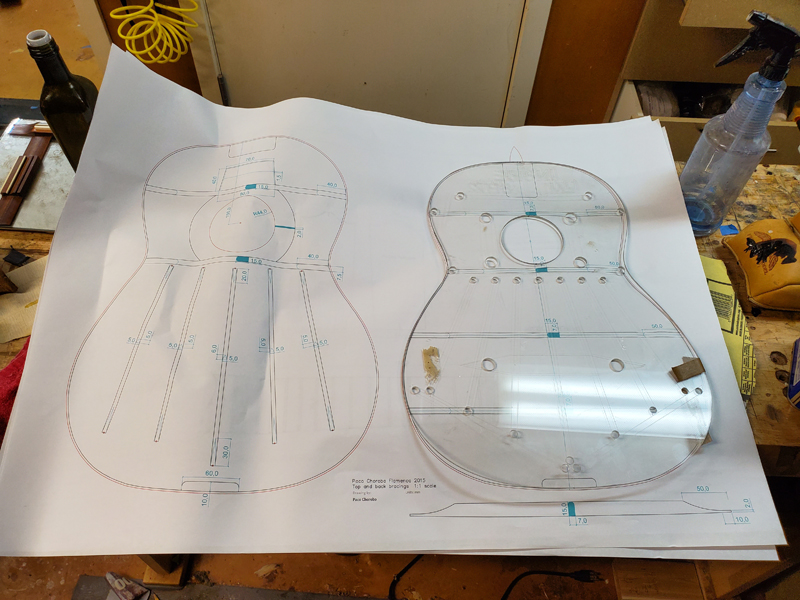
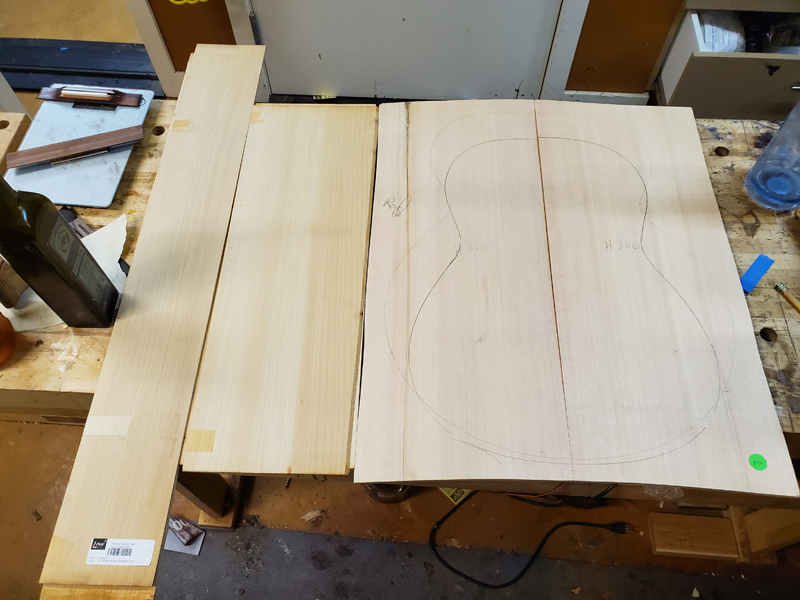
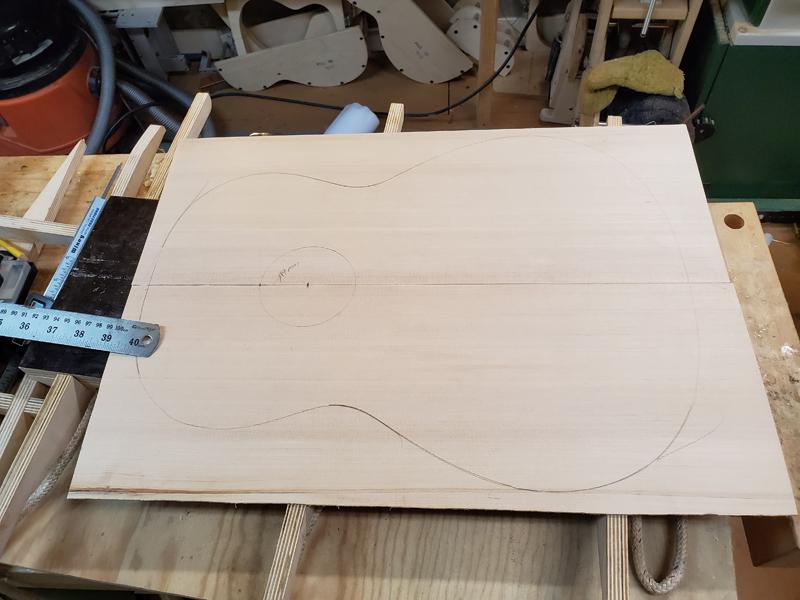
I had the plans printed out. Luckily it is close to exactly the same size as the LMI classical template I have and used to build my solera and bending molds and build molds. So lucky me I am a step ahead! I joined up a spruce top I had; in the flamenco tradition it is a cheap "flawed" spruce top. Acoustically it is very nice but I got it cheap.
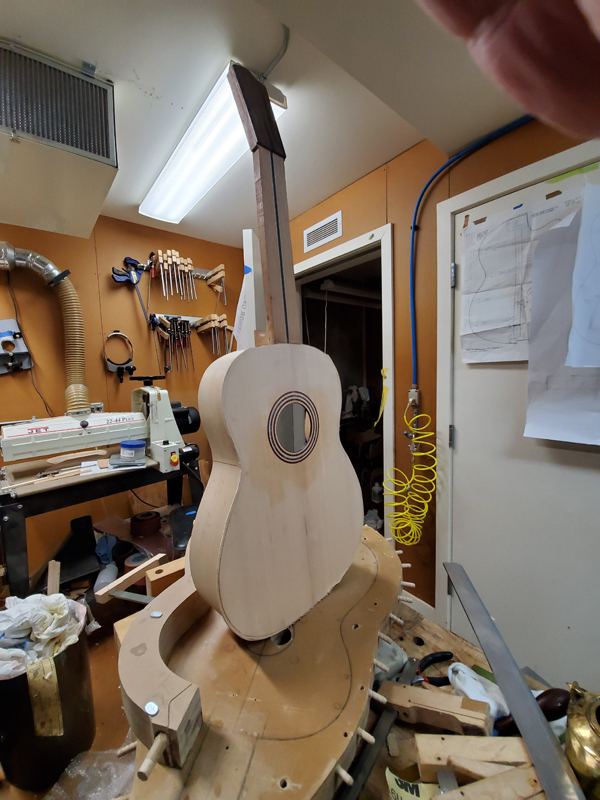
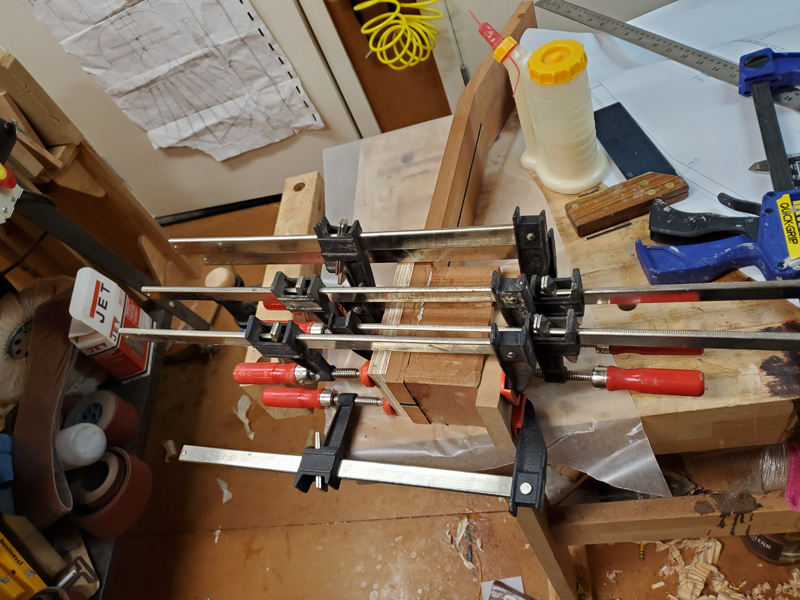
I have a stash of Spanish cedar scarfed joined neck blanks I picked up so I joined one with a Spanish cedar block for the heal.
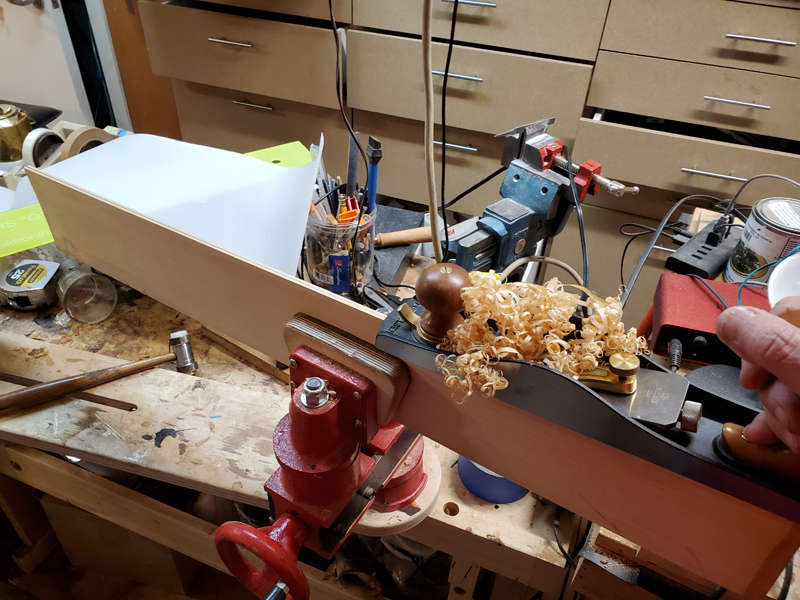
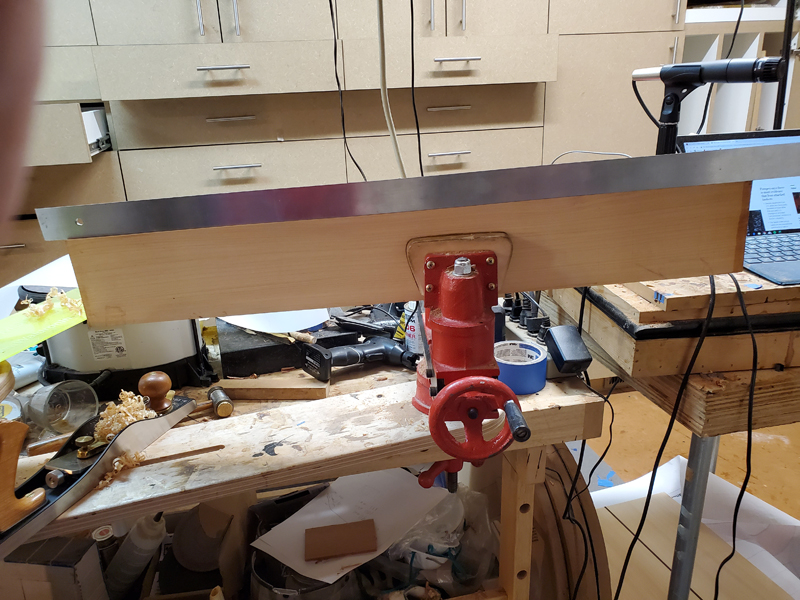
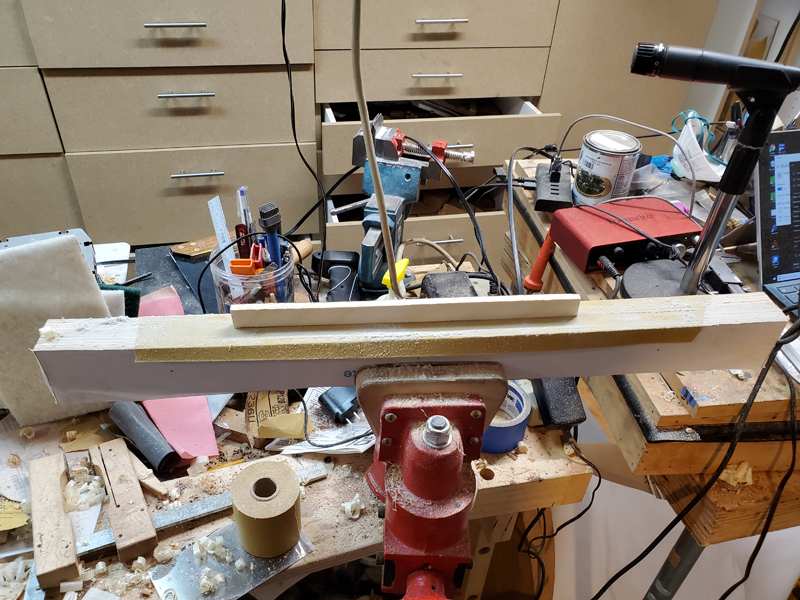
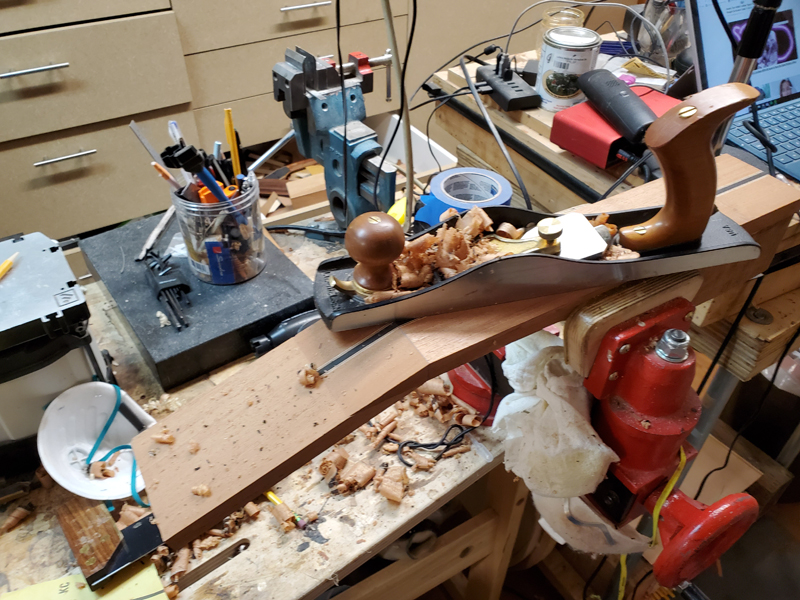
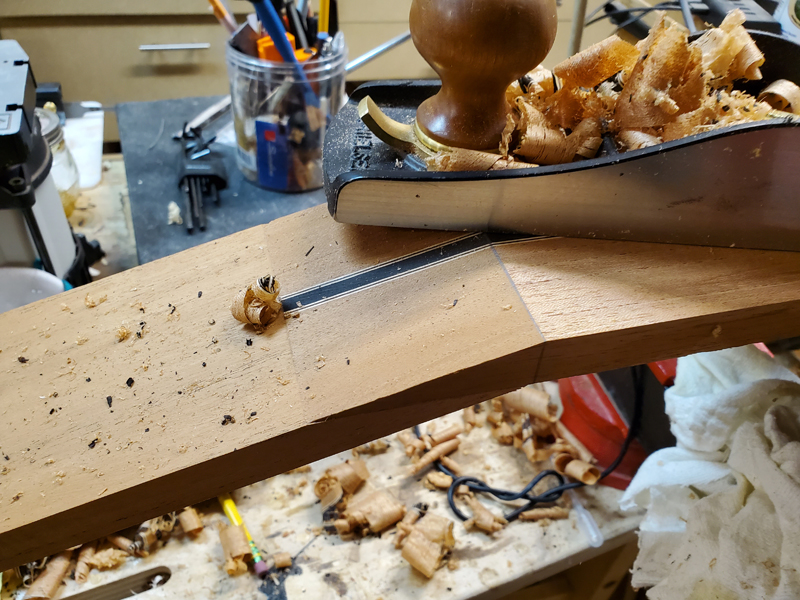
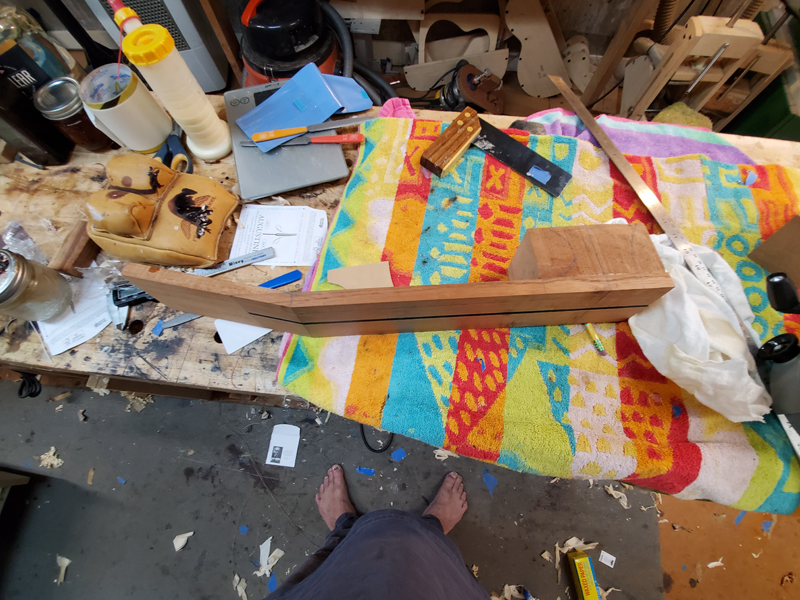
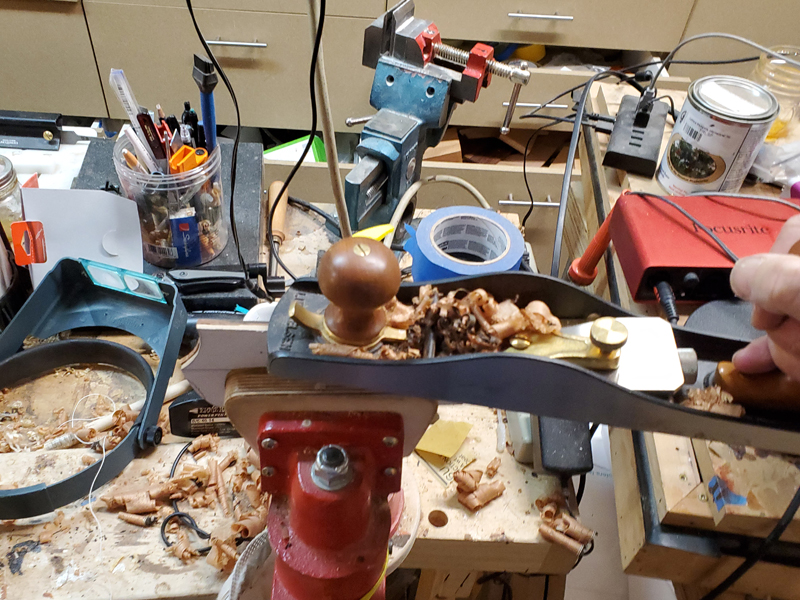
I used a plane to thickness the head stock from the face side, new for me I always thicknessed from the back. Once thicknessed I went back and thinned the fretboard face of the neck to move the nut location above the end of the scarf joint.
I also profiled the heel using a template from the plans, but I forgot to take pictures.
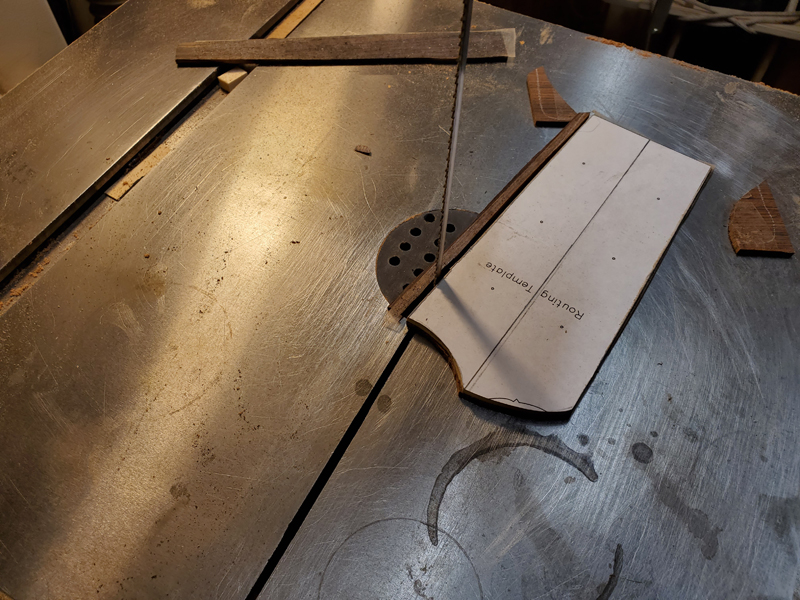
From the plans I cut out the headstock template, taped it to some plastic and made a permanent template. I taped the template to a bit of Brazilian Rosewood and cutout the head stock veneer.
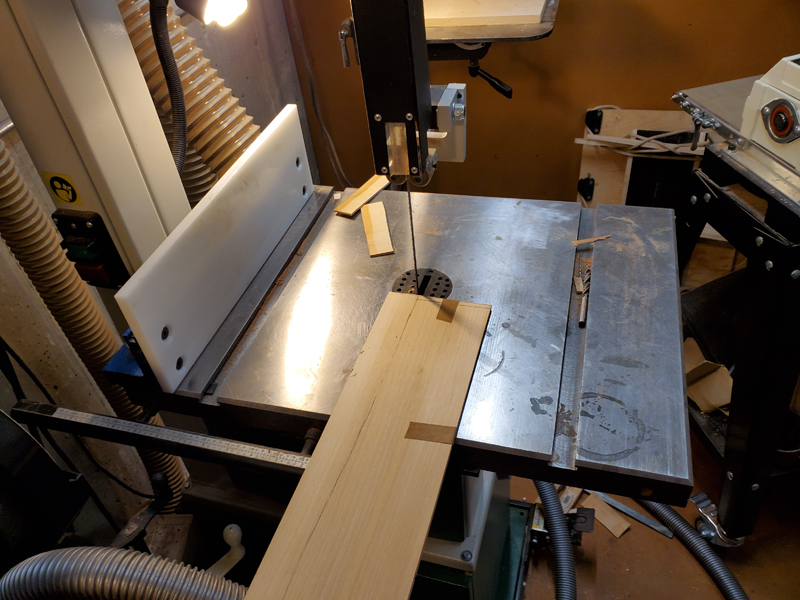
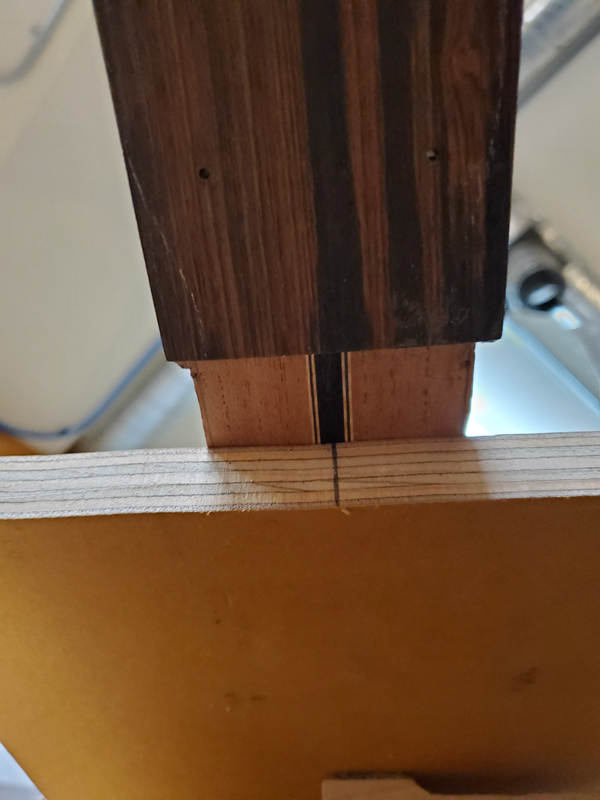
I made a jig to cut slots in the neck heal. Pretty simple jig, I screwed a guide in a bit of 3/4" sign plywood cut to size on the table saw and then I installed a fence perpendicular to the cut to hold the neck. It is easy to use: Set the blade at 3° toward the nut, set the height, line up the slot cut line with the end of the jig, cut one side. Flip the neck to the other side of the fence and repeat leaving the blade angle and height.
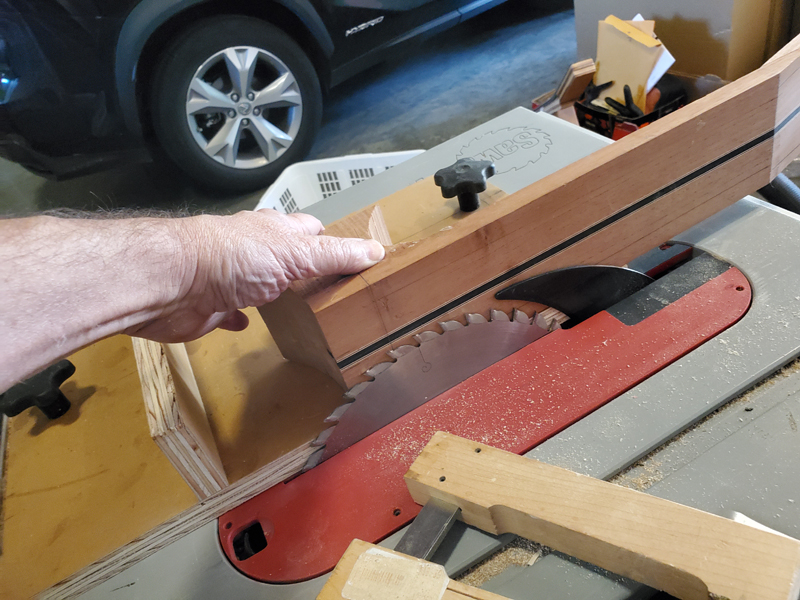
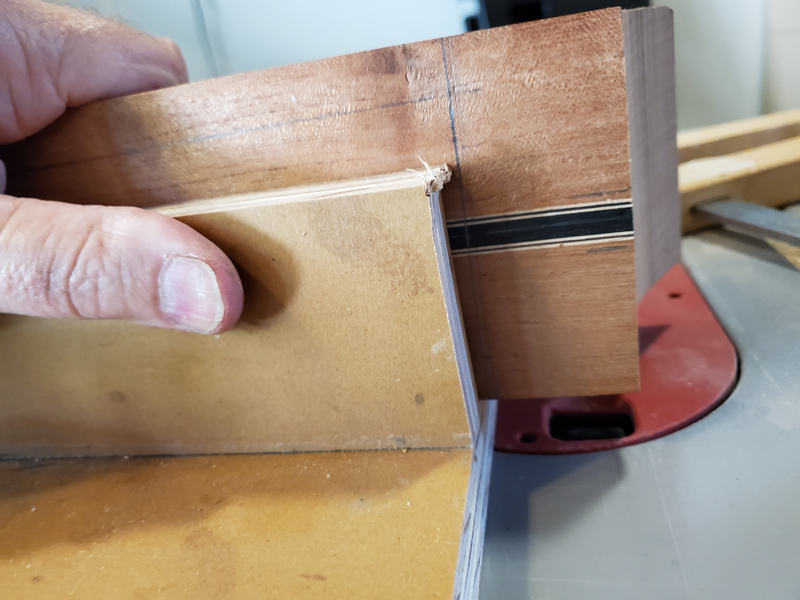
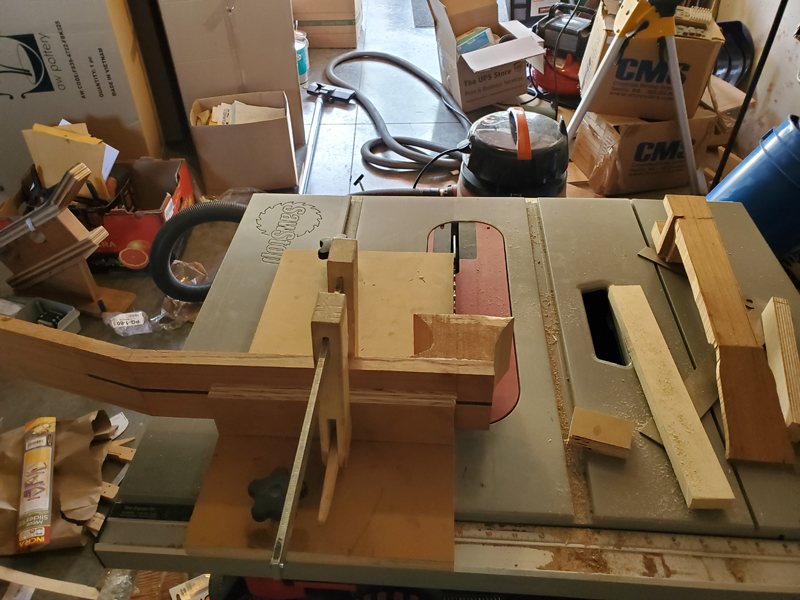
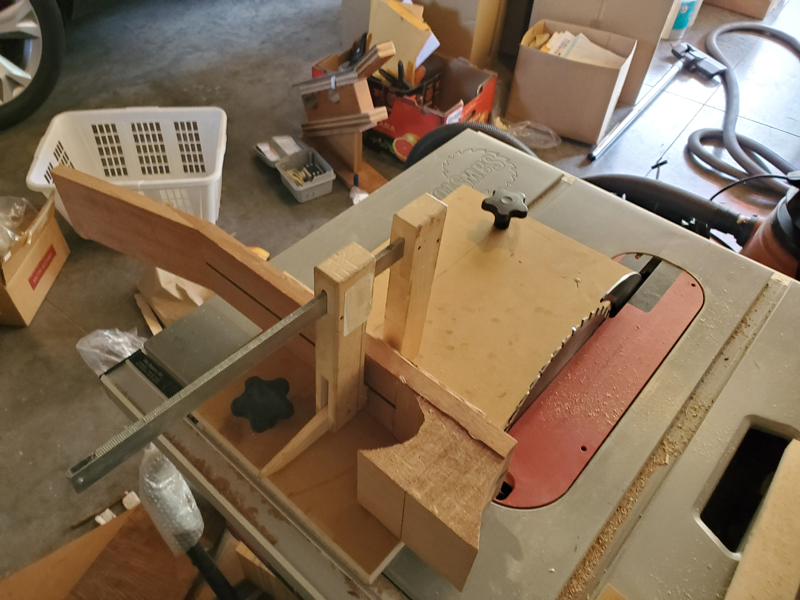
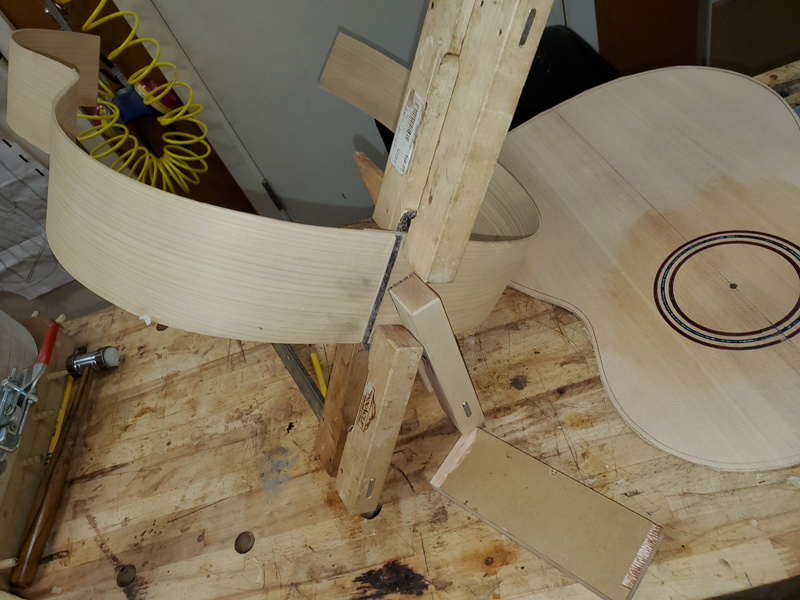
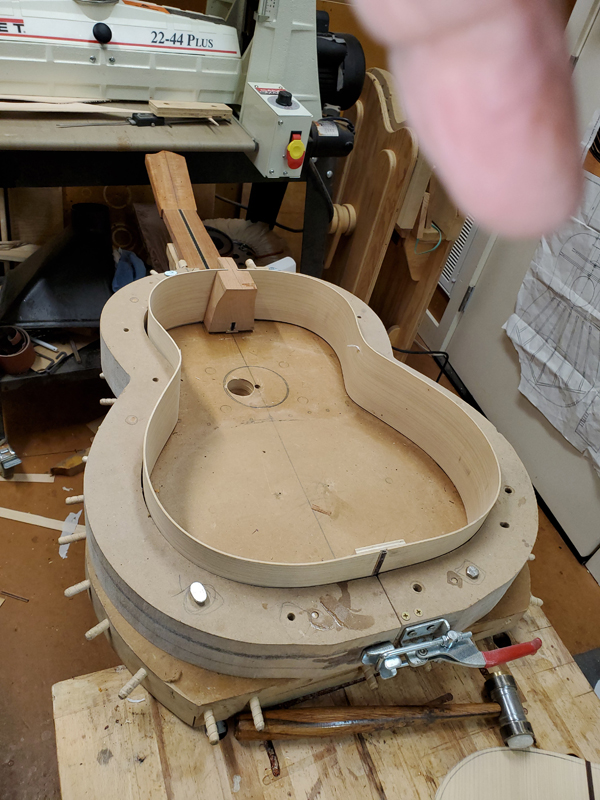
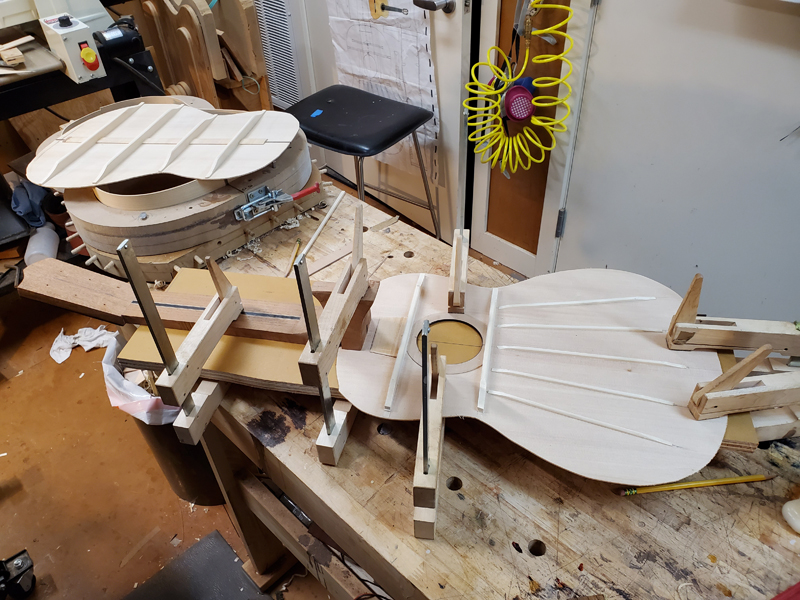
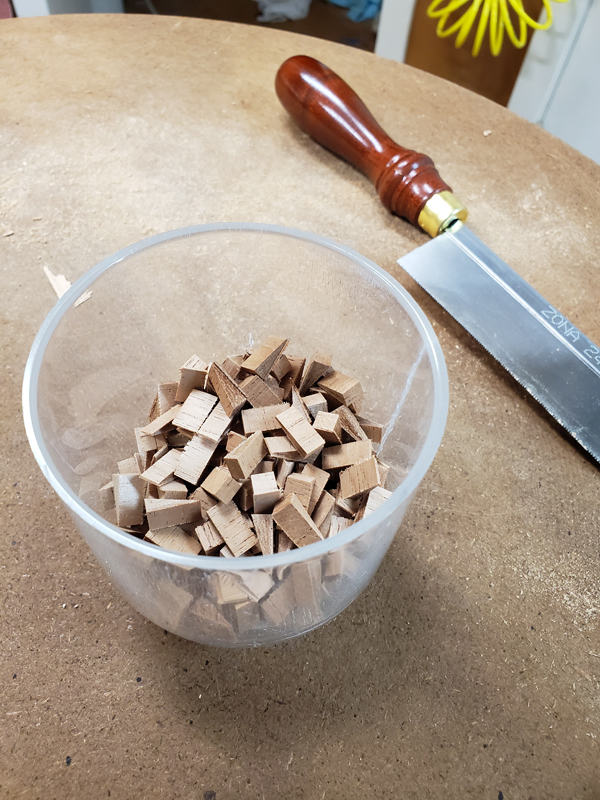
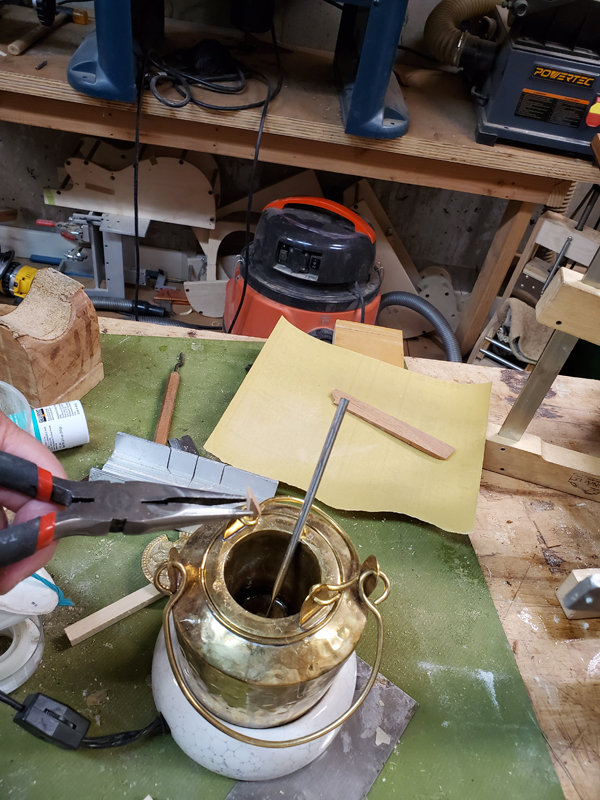
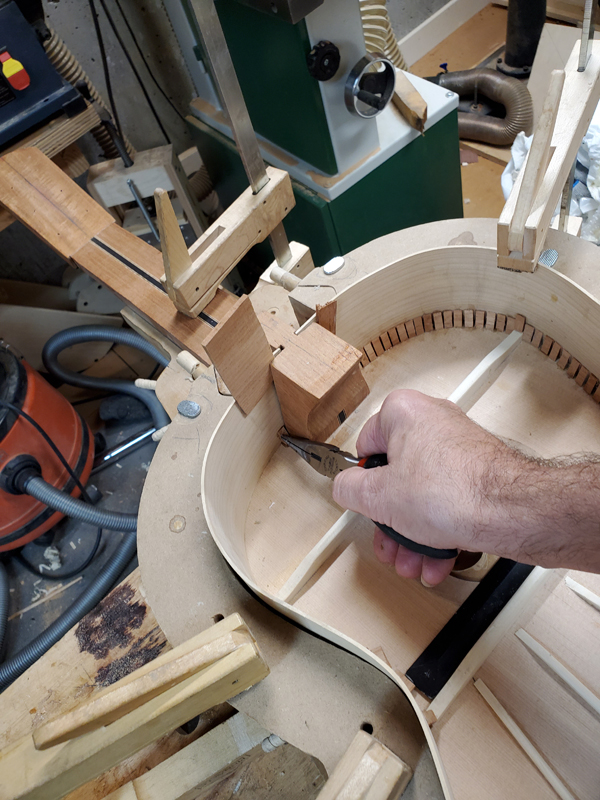
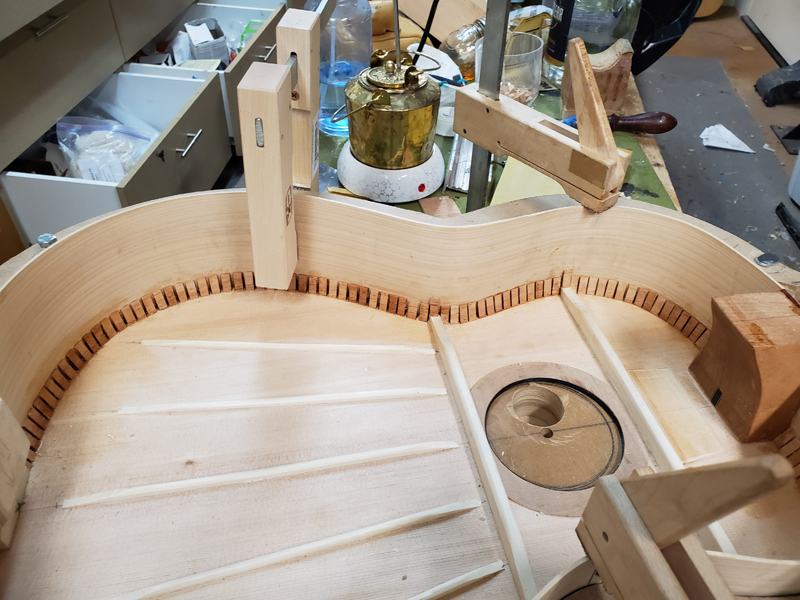
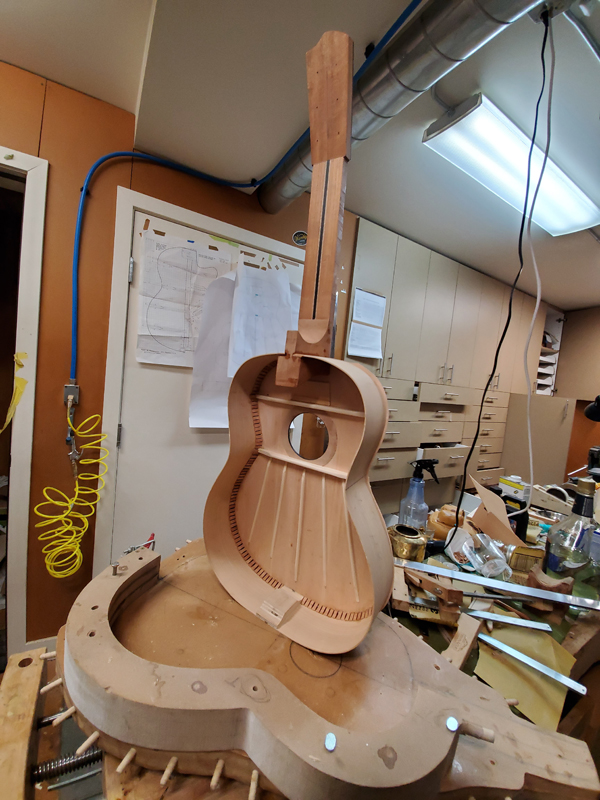
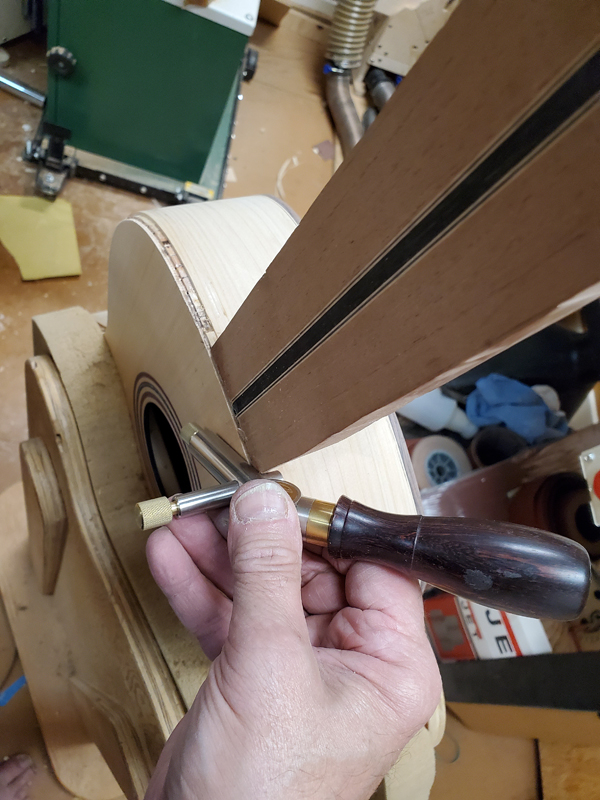
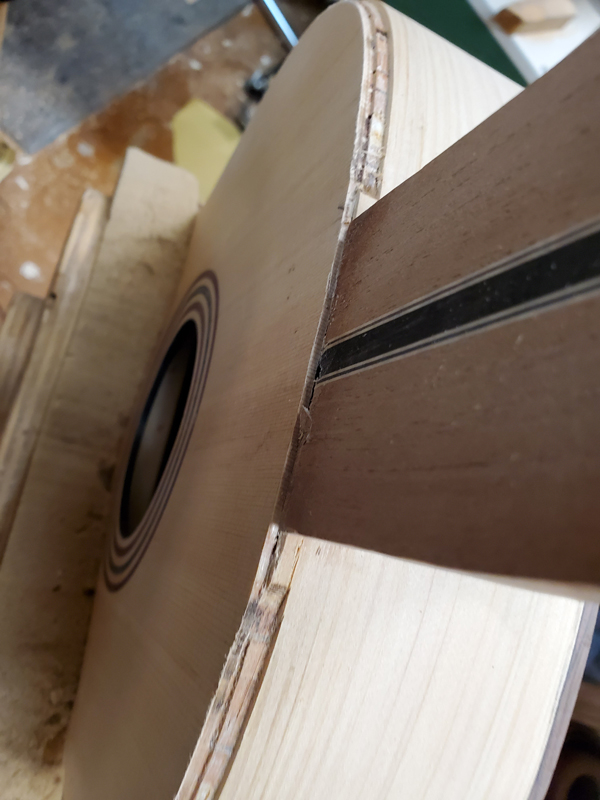
I made my slots wide, I will use a wedge once I am ready to glue in the rims. I have cracked sides taking them in and out of the slots.
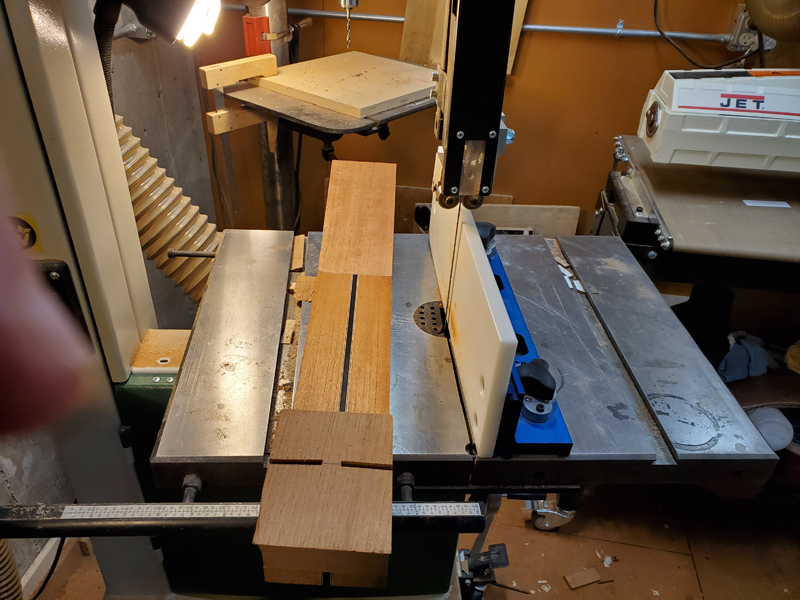
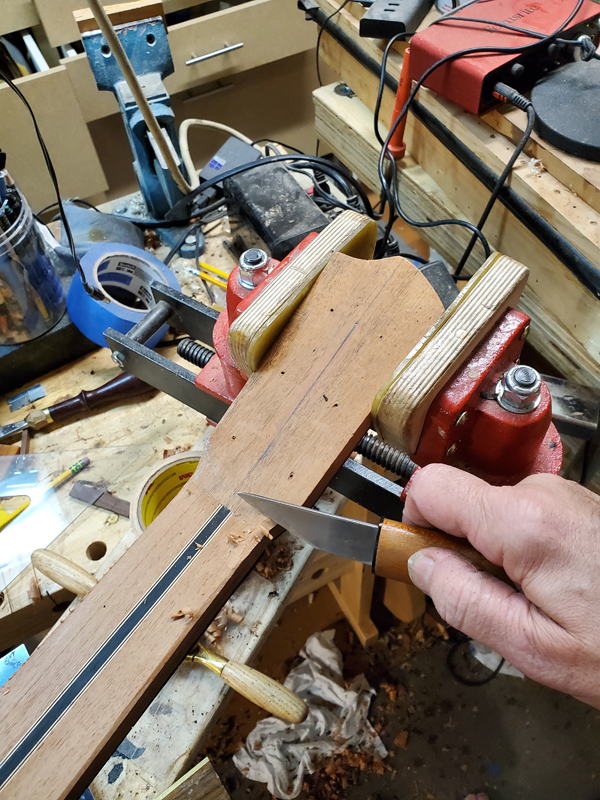
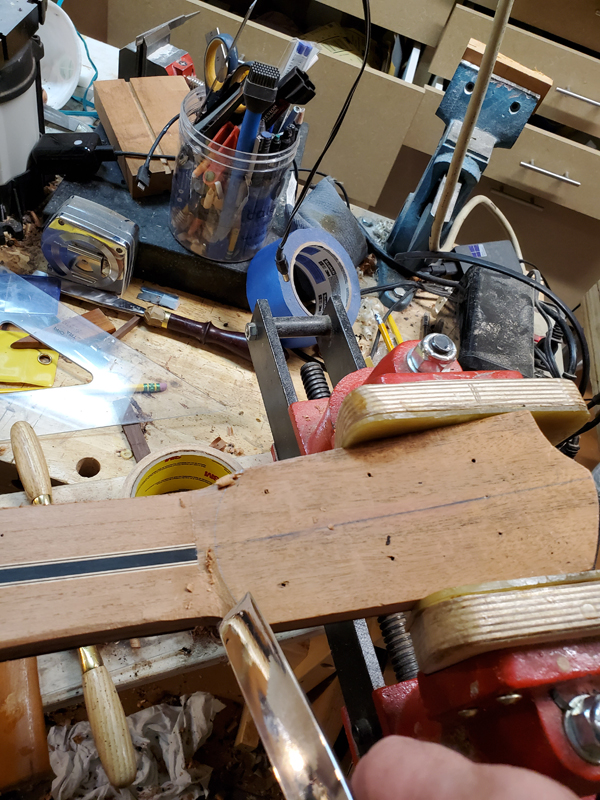
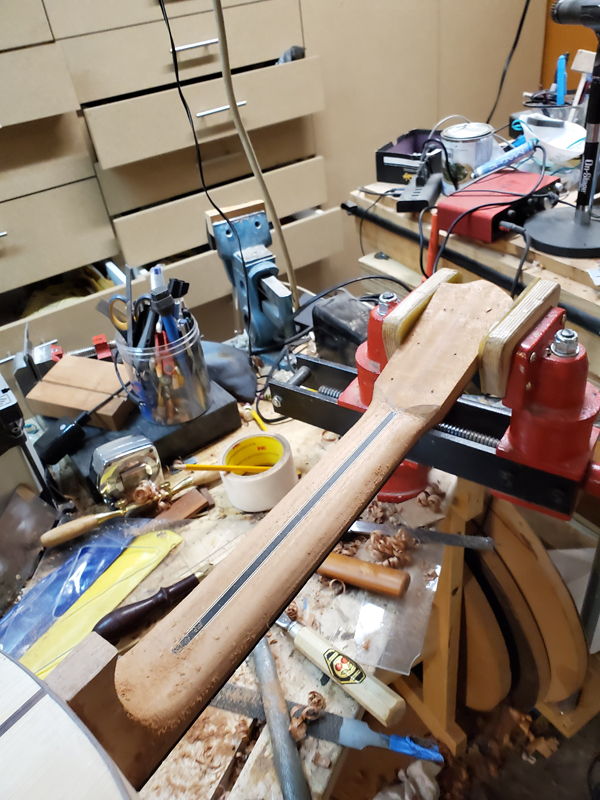
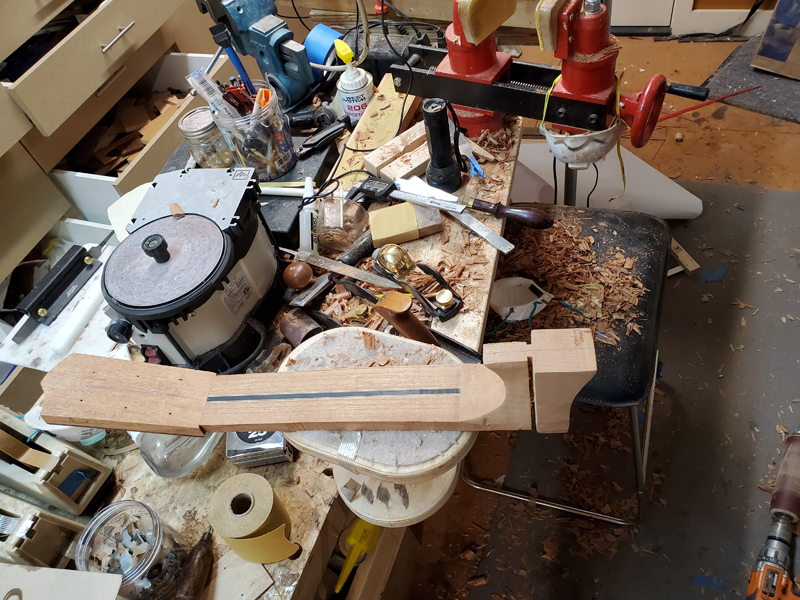
I finished roughing the neck by establishing the shape of the heel. I just used a chisel
I have taken pictures of the build but I have been slow starting this blog. I will break it up into a few posts as there are a lot of pictures. I will mostly focus on new stuff and changes to my build style but I will include a bunch of pictures of all of the steps.
I had the plans printed out. Luckily it is close to exactly the same size as the LMI classical template I have and used to build my solera and bending molds and build molds. So lucky me I am a step ahead! I joined up a spruce top I had; in the flamenco tradition it is a cheap "flawed" spruce top. Acoustically it is very nice but I got it cheap.


I have a stash of Spanish cedar scarfed joined neck blanks I picked up so I joined one with a Spanish cedar block for the heal.

I used a plane to thickness the head stock from the face side, new for me I always thicknessed from the back. Once thicknessed I went back and thinned the fretboard face of the neck to move the nut location above the end of the scarf joint.


I also profiled the heel using a template from the plans, but I forgot to take pictures.
From the plans I cut out the headstock template, taped it to some plastic and made a permanent template. I taped the template to a bit of Brazilian Rosewood and cutout the head stock veneer.


I made a jig to cut slots in the neck heal. Pretty simple jig, I screwed a guide in a bit of 3/4" sign plywood cut to size on the table saw and then I installed a fence perpendicular to the cut to hold the neck. It is easy to use: Set the blade at 3° toward the nut, set the height, line up the slot cut line with the end of the jig, cut one side. Flip the neck to the other side of the fence and repeat leaving the blade angle and height.


I made my slots wide, I will use a wedge once I am ready to glue in the rims. I have cracked sides taking them in and out of the slots.

I finished roughing the neck by establishing the shape of the heel. I just used a chisel

