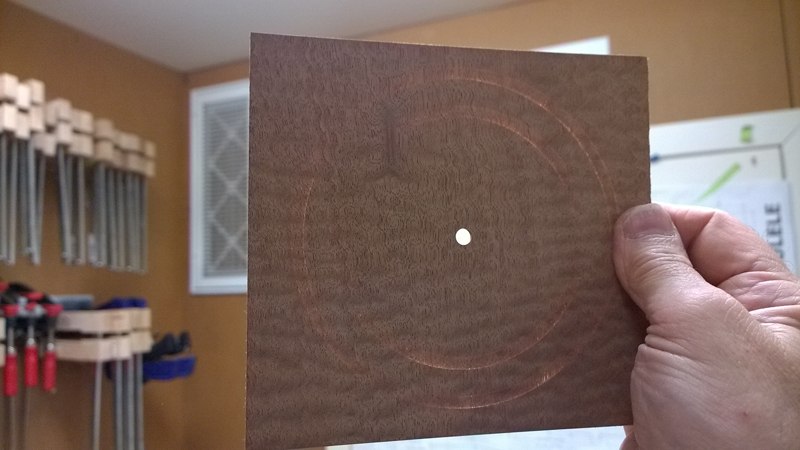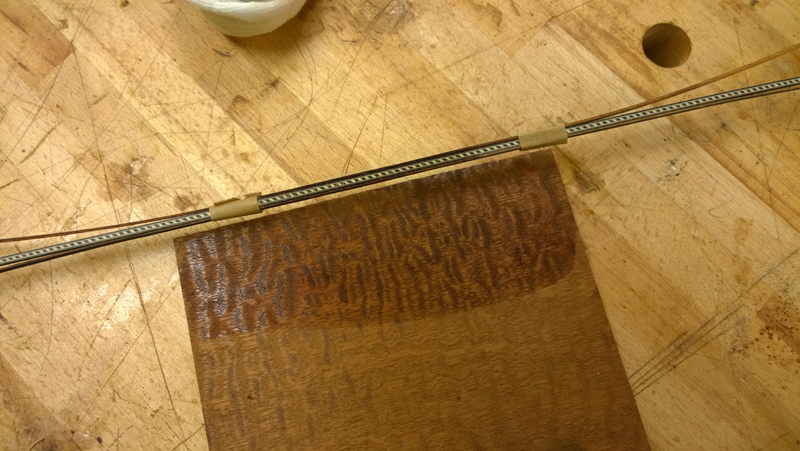
I needed to make a classical guitar rosette. I like to have them hint at being traditional but still be based on wood. I got a new stack of rosette blanks off the OLF classified and found one that looked like it would make a nice rosette. Also I have this whole stack of EIR\Black fiber strips I got at a Seattle Luthier Group auction I believe from Gurian Instruments and thought this rosette was a nice opportunity to use them.
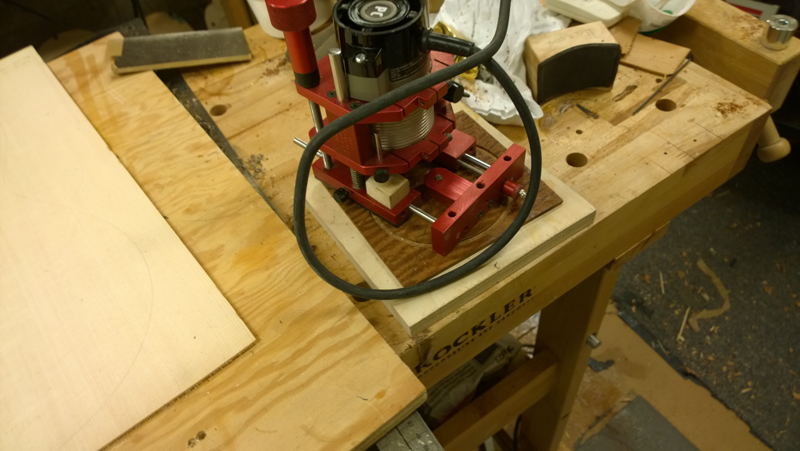
Instead of routing out the whole channel, I decided to make it on the sound board one section at a time. That way I can create tight channels for the rope binding and the EIR\B strips
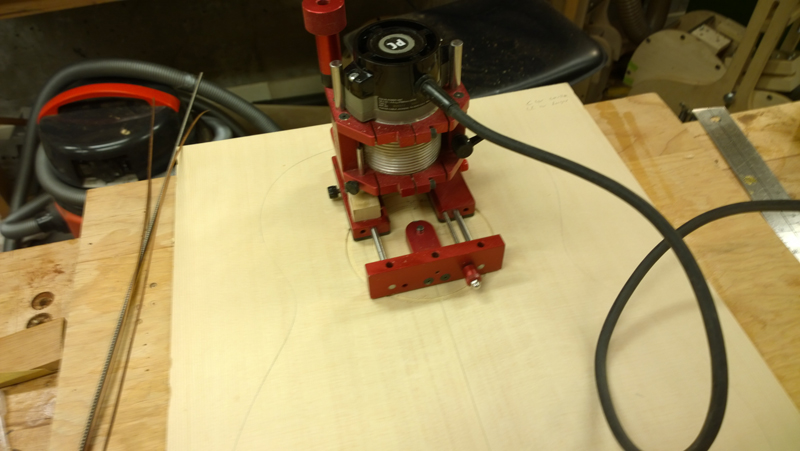
I tried to put in the stack without prebending. I was using a heat gun as I worked put I got so far and the roap binding started to come apart.
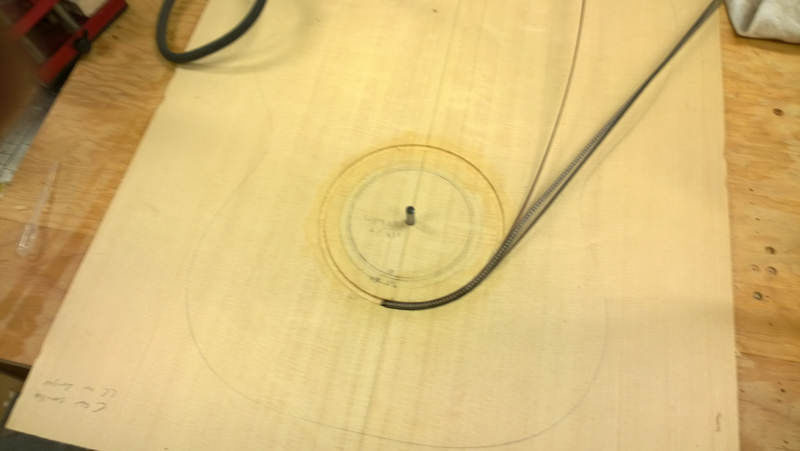
Ultimately I pulled out my bending pipe, bent everything close to the correct shape and found it easy to inlay the stack. I sealed the channel with shellac and I pushed the stack in place and flooded it with thin CA.
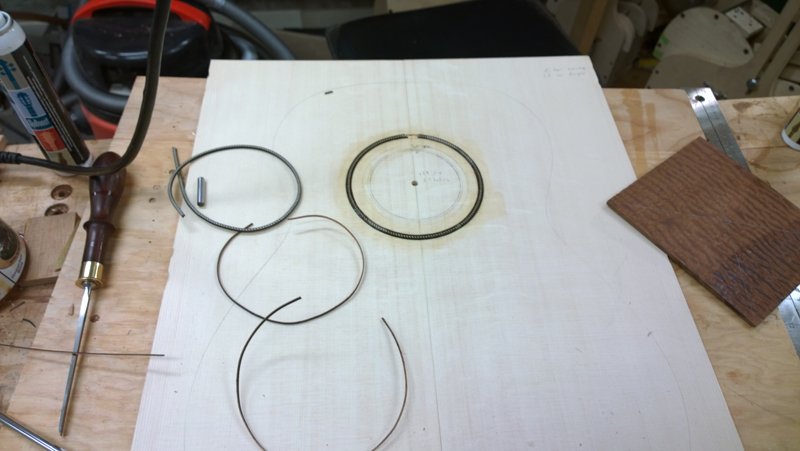
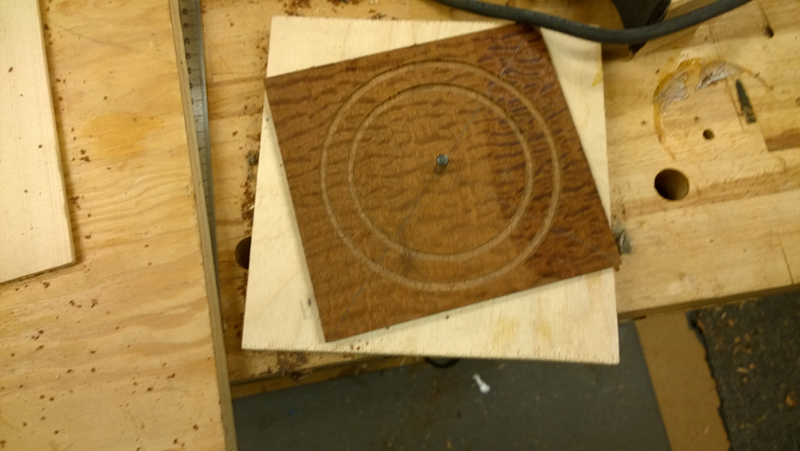
Before moving on to the next channel, the router base is set up perfectly to cut the outside of the wood rosette. I only take it to the depth that matches the thickness of the rosette I want. So without changing anything I cut to the outside line of the wood rosette. No measuring just negative space.
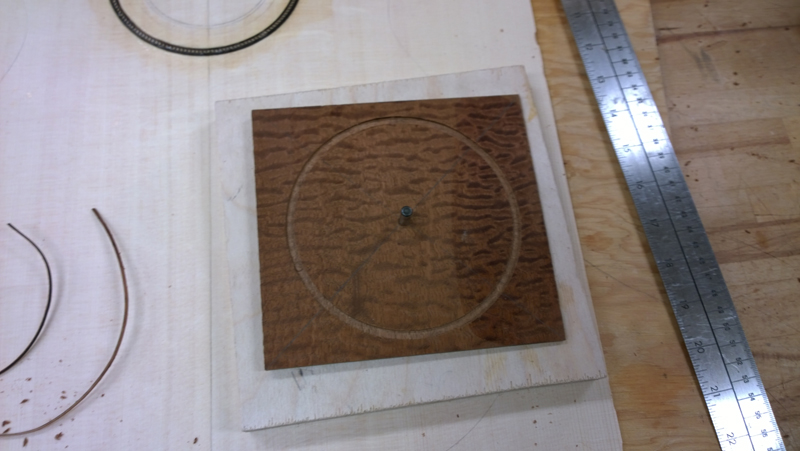
After first trying to cat the second ring I noticed that I needed to scraped the ring level so that the router will cut the next channel at the correct depth.
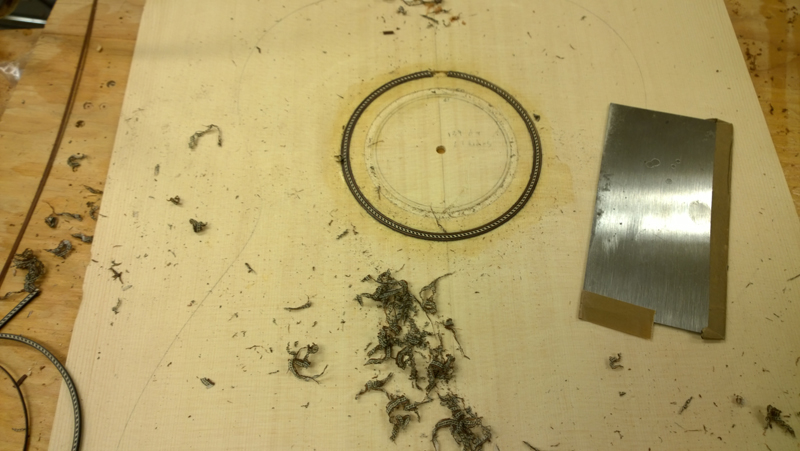
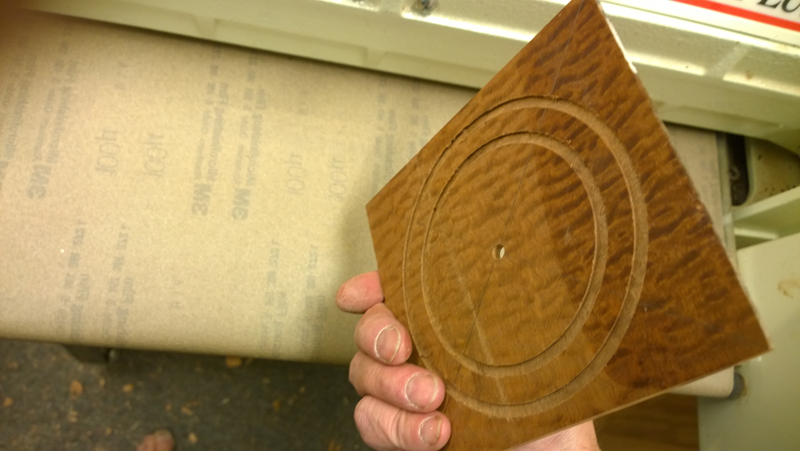
My stack is just a touch wider than my bit so I take a few passes and sneak up on the correct width. I make sure that any needed passes are going into the wood rosette area so that the router base is set to cut the inside of the wood rosette. Later when I run the back of the rosette blank though the drum sander a perfect sized ring should drop out.
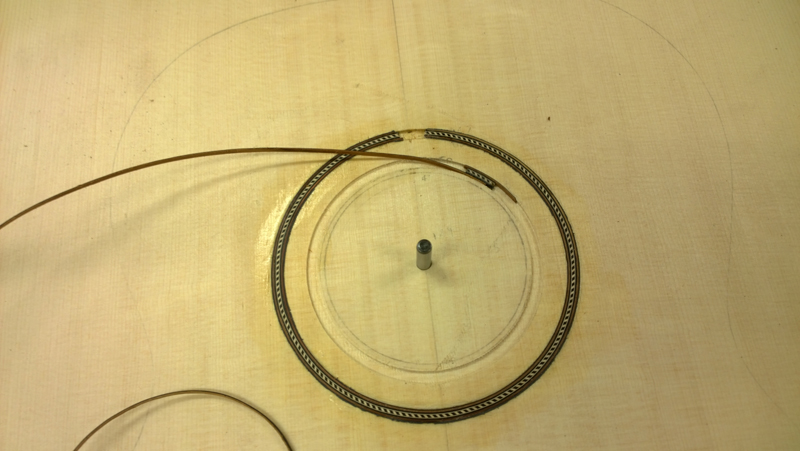
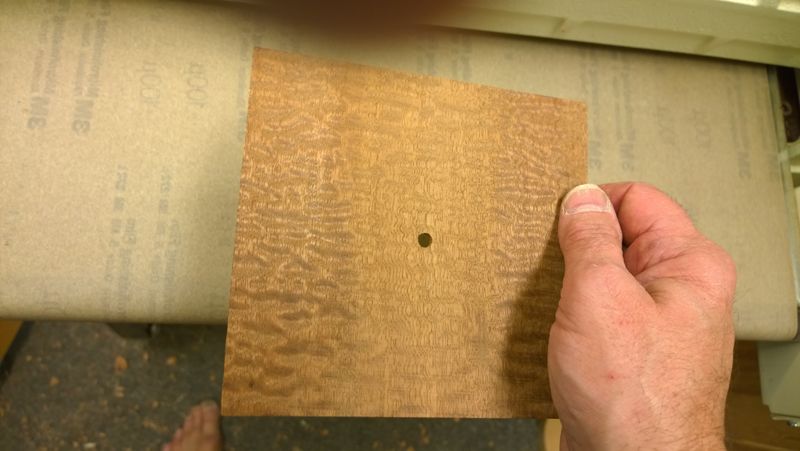
I pushed in the second purfling stack and ran the rosette blank through the drum sander until my ring dropped out.
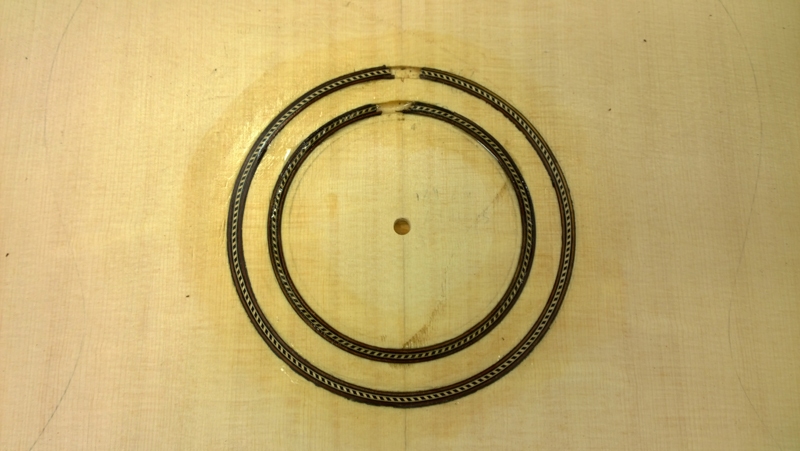
Looks like it will be a perfect fit
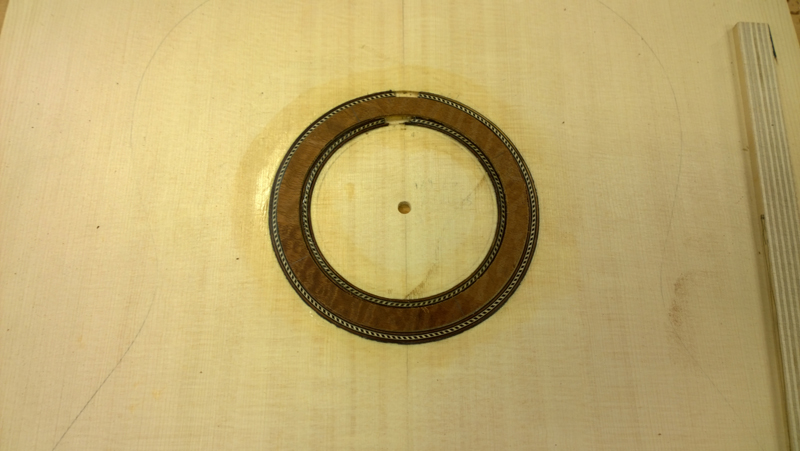
I routed the inside of the rosette channel sneaking up on the black fiber. This is where the Bishop Cochran base shines. I have gotten where I can move the bit in .01 mm increments.
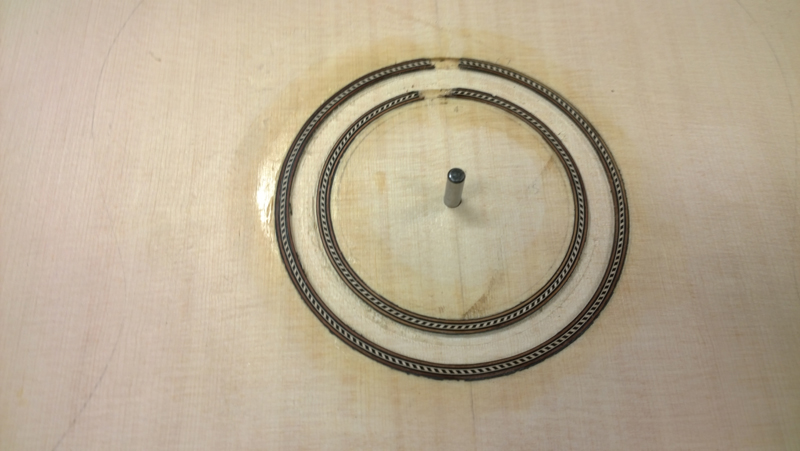
The ring snapped right in place. Not wanting to break it by pulling it out, and having previously sealed the inside of the channel with shellac, I flooded the rosette with thin CA.
All cleaned up
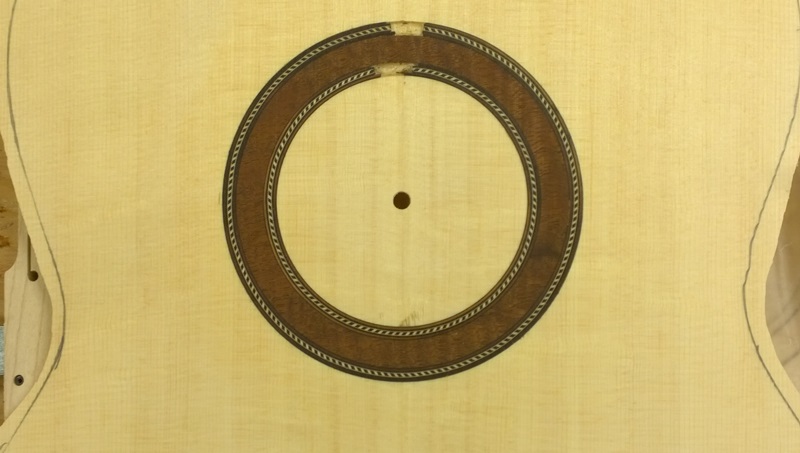
How I make a rosette for my Classical guitars
-
- Posts: 2746
- Joined: Fri Dec 23, 2011 8:33 pm
- Location: Seattle
- Contact:
Re: How I make a rosette for my Classical guitars
Thank you for the great tutor -- Outstanding!
ken cierp
http://www.kennethmichaelguitars.com/
Store Front
http://www.cncguitarproducts.com/
KMG Guitar Kit Information
http://www.kennethmichaelguitars.com/ki ... ckage.html
http://www.kennethmichaelguitars.com/
Store Front
http://www.cncguitarproducts.com/
KMG Guitar Kit Information
http://www.kennethmichaelguitars.com/ki ... ckage.html
-
- Posts: 2796
- Joined: Mon Dec 19, 2011 4:19 pm
Re: How I make a rosette for my Classical guitars
Beautiful John. I love wood rosettes!
What will the guitar be?
-
- Posts: 2746
- Joined: Fri Dec 23, 2011 8:33 pm
- Location: Seattle
- Contact:
Re: How I make a rosette for my Classical guitars
Thanks Ken!
Thanks, I am making a classical guitar just like my last on a commission from my classical guitar instructor.Kevin in California wrote:Beautiful John. I love wood rosettes!
What will the guitar be?
Re: How I make a rosette for my Classical guitars
That's awesome John - thanks for the very nice instructions. I love the explanations and matching photos. A question about the sanding of the rosette blank: Something that I've never done before is put small thin pieces of wood through a thickness sander. Is there any danger of the rosette ring being so small that it flies out of there when it detaches from the blank?
-
- Posts: 2746
- Joined: Fri Dec 23, 2011 8:33 pm
- Location: Seattle
- Contact:
Re: How I make a rosette for my Classical guitars
The rosettes are a bit over 1.5mm thick, I have never had thin bits fly out as they are sitting on a 100 grit belt. For small pieces I sometimes use a flat piece of plywood that has sand paper glued on as a sled to run the pieces through. The biggest issue I have is the length, not the thickness. I always like pieces that are always visible on one side of the drum or the other. In the above pictures, once I get to where I can see through the routes I stop lowering the drum and just run the pieces through. That way the last few sanding passes are very light. When the is about 2/3 detached I stop sanding and very carefully separate the rest. Because of my procedure the ring is a matching depth to the channel so I do not want to sand it too much.