Here is the text with the proper pics:
Just finished level-sanding and laying on another coat (the third) of Z-poxy on the soundbox and neck. Tomorrow, I will level-sand it with 320-grit; hopefully, all the pores will be filled by then. If not, another coat should do it. THEN....I can begin the French polishing process!!! Yay!

_____
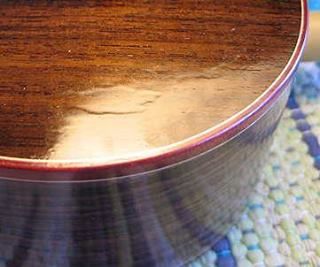
Have been working on the French polishing of my little Size 5 guitar this past week. It's the very first time I've tried this process, and I'm really liking the hands-on process! However, ran into my first problem a couple of days ago --- in trying to use pumice to fill some pores (after laying on the 4th FP coat), I managed to create a little 1" by 1/2" "crater" in the finish! I put a query out in a luthiers' forum for suggestions on how to fix it, and today I tackled the fix, after waiting a couple of days for the finish to harden some more. Working really slowly and lightly, I used walnut oil & 1800-grit Micromesh to level down the area around the crater, followed by one coat of the FP; it took me an hour to do it, but it came out well! (Relief.)

THE FRENCH POLISHING ADVENTURE CONTINUES...
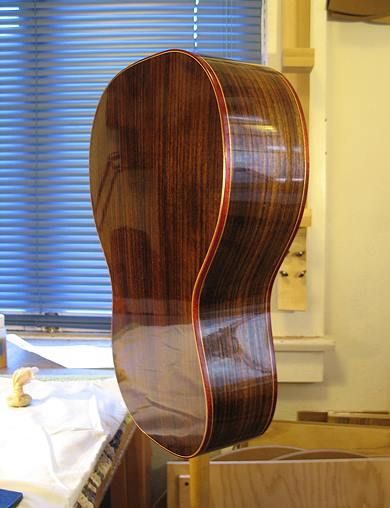
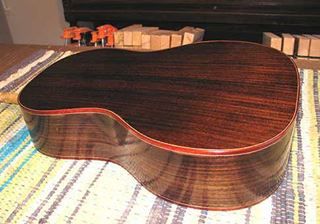
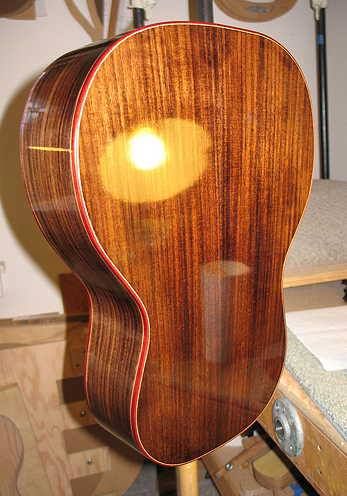
After about 10 sessions of FP, I let the guitar sit for 3 days before I did a light leveling of the finish with 1800-2400-3200 Micromesh and walnut oil. Today I've done 4 more sessions; you can see the results below.
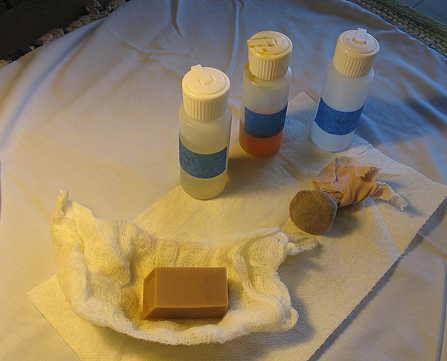
I tried something new today --- after seeing Michael Thames's Youtube videos on FP, I decided to try his method of using a beveled Artgum eraser wrapped in 3 layers of cheesecloth, to apply the shellac. It applied the shellac really smoothly on the top and back (circular motions first, followed by lengthwise strokes), and was more effective than the traditional muñeca in laying on the shellac evenly on the end of the peghead veneer at the nut end. Occasionally, I did use the muñeca on the top and back, when I needed to press harder to smooth out any problem areas. On the sides, I used the muñeca to apply the FP (circular motions), and then used the eraser w/cheesecloth to do the lengthwise smoothing strokes.
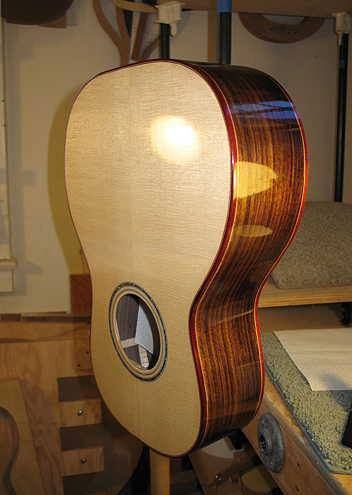
Just a quick photo of where the guitar stands now. I THINK I'm done. After around 16 bodying sessions, I did about 4 "glazing" sessions (less shellac, more alcohol). After I let it sit for a while --- I think I'll wait a week --- I'll polish it up with some Meguiar's polishes. Then I can glue on the neck and bridge, and set it all up with saddle, nut, tuners, and strings! The waiting part always kills me....