# 10 a Martin 00 size guitar. With Strings!
Re: # 10 a Martin 00 size guitar.
Looks great and I agree with your choice of the bubinga for the rosette and head plate. Though the coco looked pretty good too, I am just partial to using the off cuts of the back for the trim pieces. Maybe because I am cheap, or maybe because I don't like wasting wood. Probably a bit of both!
-
Kevin in California
- Posts: 2798
- Joined: Mon Dec 19, 2011 4:19 pm
Re: # 10 a Martin 00 size guitar.
HOw nice to be on vacation and able to use the time to start a new build. I am jealous!
This will be a nice looking guitar John. I love Cocobolo, but I'm sure the Bubinga headstock will look great, as the rosette does.
Thanks for sharing the progress. I should finally be starting my next one very soon, perhaps even on the 1st!
Kevin
This will be a nice looking guitar John. I love Cocobolo, but I'm sure the Bubinga headstock will look great, as the rosette does.
Thanks for sharing the progress. I should finally be starting my next one very soon, perhaps even on the 1st!
Kevin
-
John Parchem
- Posts: 2746
- Joined: Fri Dec 23, 2011 8:33 pm
- Location: Seattle
- Contact:
Re: # 10 a Martin 00 size guitar.
Thanks Tony, Book matching the outsides of the back ( where the wood is the least 1/4 sawn ) makes for really good patterns. Perfect for non structural veneers.
Kevin, it is fun to be on vacation and on to a guitar. The harp ukulele took longer than I thought.
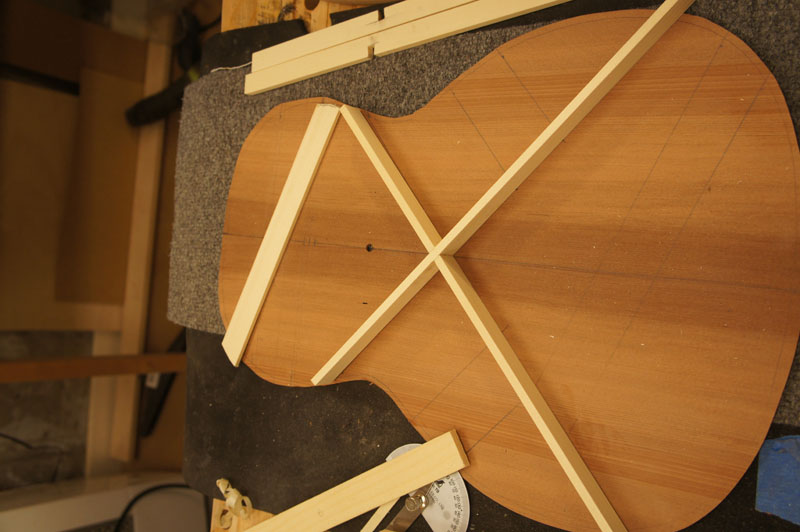
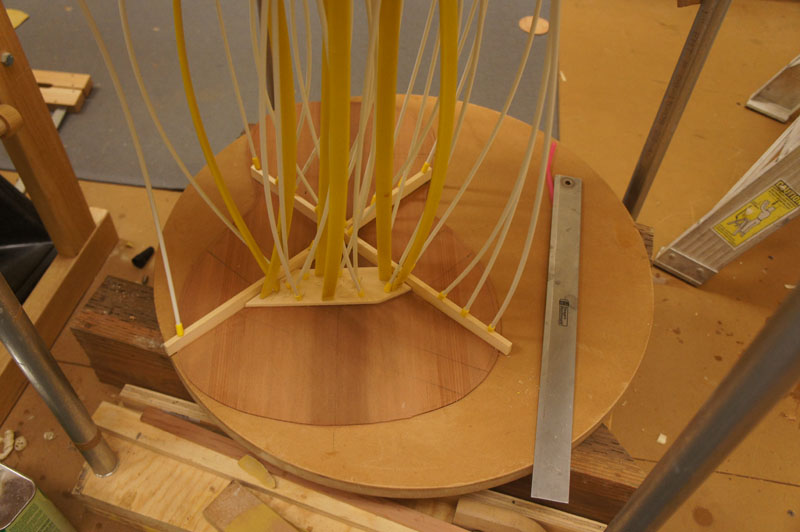
On to the top! I roughed out all of the braces. I cut them close on the band saw and either plane them or use the drum sander to take them to the correct width. I am changing the bracing pattern slightly from the plans for the 00 that I have. Those plans have two 1/4" wide upper transverse braces. Having two tall braces seemed like a pain with a bolt on neck and the truss rod adjustments. So I switched to one slightly thicker transverse braces moved lower toward the sound hole a bit and a popsicle brace. This is more like the 0 sized and the D14 sized guitars I have built.

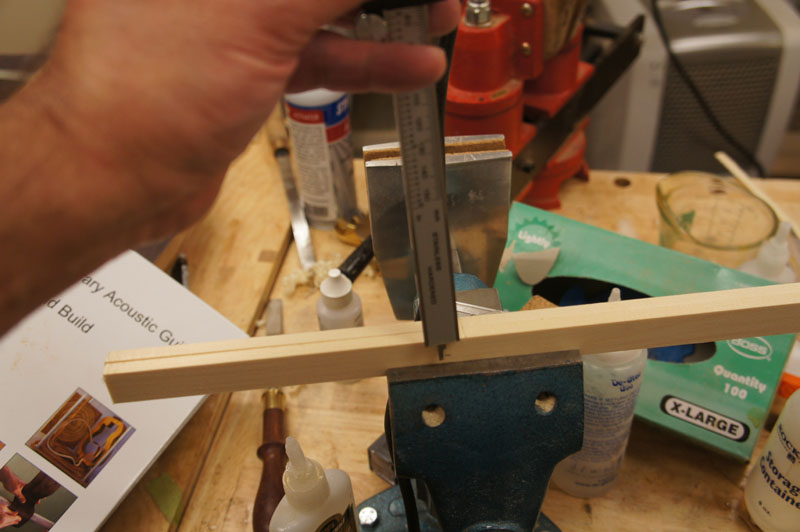
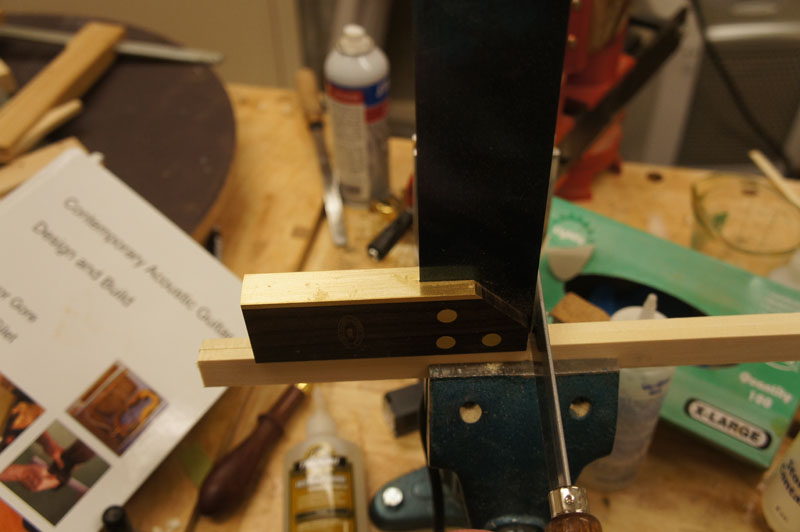
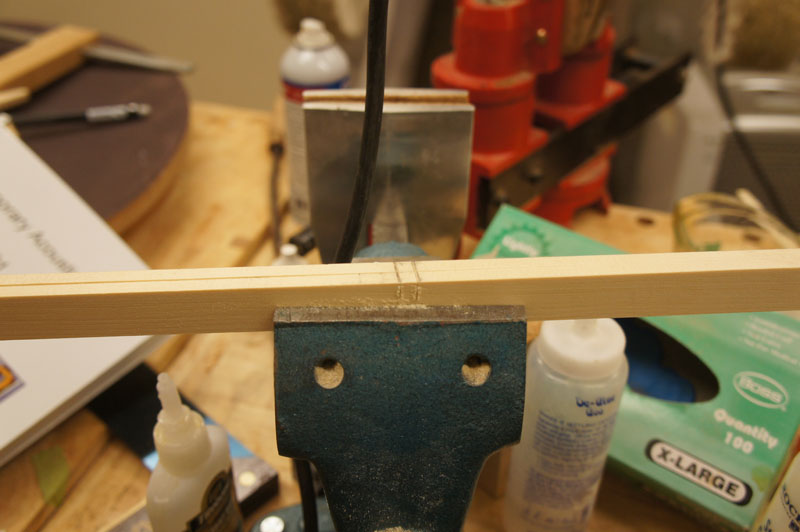
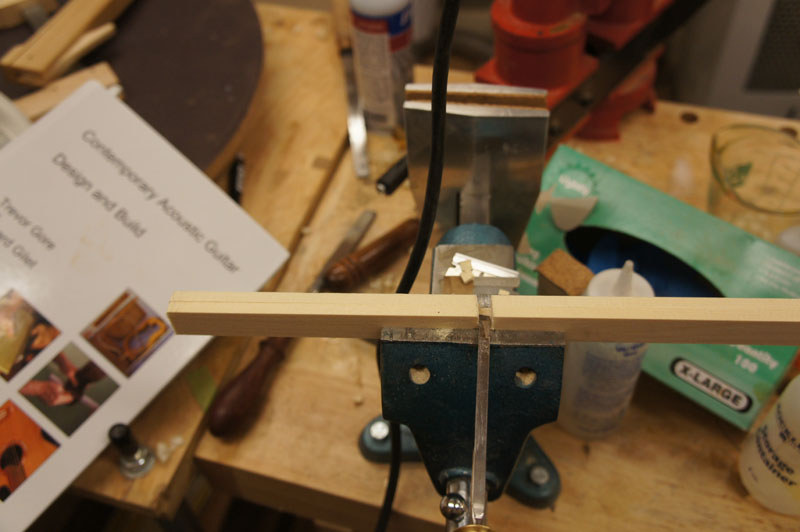
I have a few pictures of making the x-brace. This had been hit or miss for me. Now I use an angle tool to mark out the lines I want to cut. I place the braces together in my parrot vise so that only the depth I want cut is above the vise head. After cutting nice but angled lines going down, I take the time to use a square to make sure I am cutting square. Otherwise the braces are tilted.
Now I am just waiting for the braces and the maple bridge patch to set.
Kevin, it is fun to be on vacation and on to a guitar. The harp ukulele took longer than I thought.
On to the top! I roughed out all of the braces. I cut them close on the band saw and either plane them or use the drum sander to take them to the correct width. I am changing the bracing pattern slightly from the plans for the 00 that I have. Those plans have two 1/4" wide upper transverse braces. Having two tall braces seemed like a pain with a bolt on neck and the truss rod adjustments. So I switched to one slightly thicker transverse braces moved lower toward the sound hole a bit and a popsicle brace. This is more like the 0 sized and the D14 sized guitars I have built.

I have a few pictures of making the x-brace. This had been hit or miss for me. Now I use an angle tool to mark out the lines I want to cut. I place the braces together in my parrot vise so that only the depth I want cut is above the vise head. After cutting nice but angled lines going down, I take the time to use a square to make sure I am cutting square. Otherwise the braces are tilted.
Now I am just waiting for the braces and the maple bridge patch to set.


-
John Parchem
- Posts: 2746
- Joined: Fri Dec 23, 2011 8:33 pm
- Location: Seattle
- Contact:
Re: # 10 a Martin 00 size guitar.
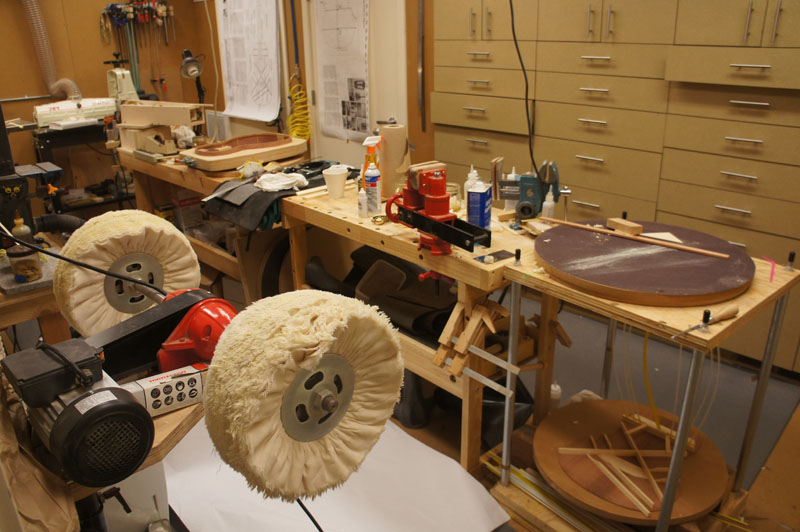
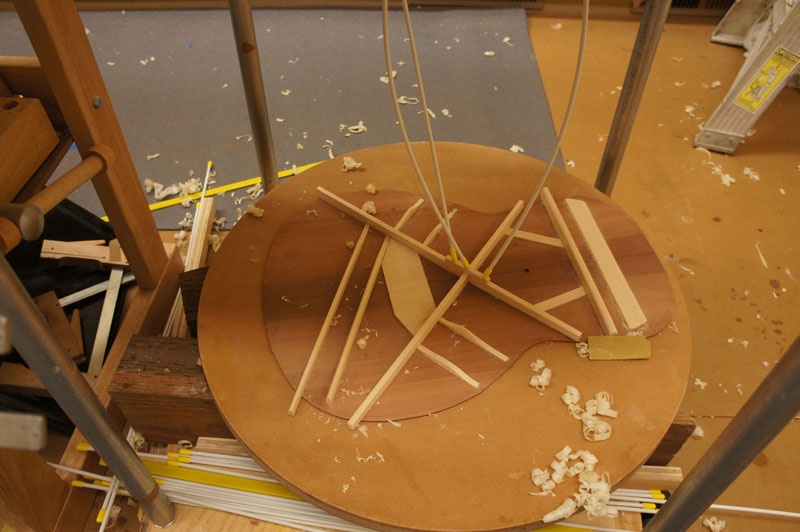
My shop is taking a beating, even though I try and keep it clean. As you can see I am gluing the upper transverse brace in the 28" radius dish. I went back and forth between gluing it flat or in a dish. The brace itself has a 3" flat area in the center; the rest has the radius. In the photo you can see in the center I am using one of my honking big stewmac gobars to make sure the flat area gets glued. I was able to see by the squeeze out that this clamp did the trick. I will see how it works. Given that I am pressing it in a dish there my be a slight radius still in the center, but it will sand flat on the top.



Last edited by John Parchem on Sat Dec 29, 2012 4:17 pm, edited 1 time in total.
Re: # 10 a Martin 00 size guitar.
Here's a way to match the brace contour/radius perfectly:
http://www.kennethmichaelguitars.com/contourtool.html
http://www.kennethmichaelguitars.com/contourtool.html
ken cierp
http://www.kennethmichaelguitars.com/
Store Front
http://www.cncguitarproducts.com/
KMG Guitar Kit Information
http://www.kennethmichaelguitars.com/ki ... ckage.html
http://www.kennethmichaelguitars.com/
Store Front
http://www.cncguitarproducts.com/
KMG Guitar Kit Information
http://www.kennethmichaelguitars.com/ki ... ckage.html
-
John Parchem
- Posts: 2746
- Joined: Fri Dec 23, 2011 8:33 pm
- Location: Seattle
- Contact:
Re: # 10 a Martin 00 size guitar.
Ken,
I will use that method next time I glue up a brace with a radius and a flat area. I can also see that it will be useful in any situation where there is a radiused brace.
Moving along ...
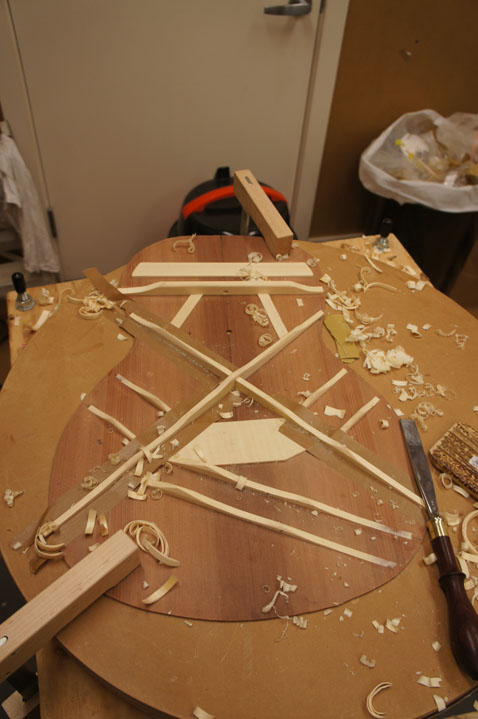
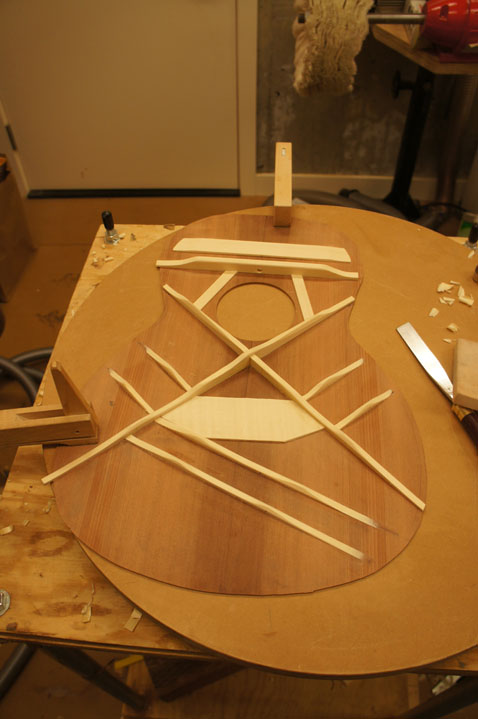
A little quality time with some sand paper and this top is braced. Not that I know what I will do with the information but I am going to do some frequency analysis of the tap tones of the top. I have the software and the audio setup. I probably will not do much with the information except record it with the final height of the braces and the top thickness. Relative to my 0 sized guitar this has twice as many tone bars and face bars (or whatever the long bars on the bottom are called). When I make a new style for me I like to mostly follow the plans. These plans called out a 17mm x-brace which just felt too clunky for me so I started with a 14 mm instead. At this point the top still feels a bit stiff but it is starting to ring nicely. I plan to thin the top a bit after it is assembled and take a bit more off of the top near the rims in the lower bout. I have a magic probe so I should be able to carefully remove top wood without going to far. To put a point to my rambling I am leaving the top just a bit stiff at this point to account for the final tuning of the top thickness.


Re: # 10 a Martin 00 size guitar.
She looks fantastic John. You made great wood selections and are doing a beautiful job. Your niece is going to be a very proud young lady.
George
George
