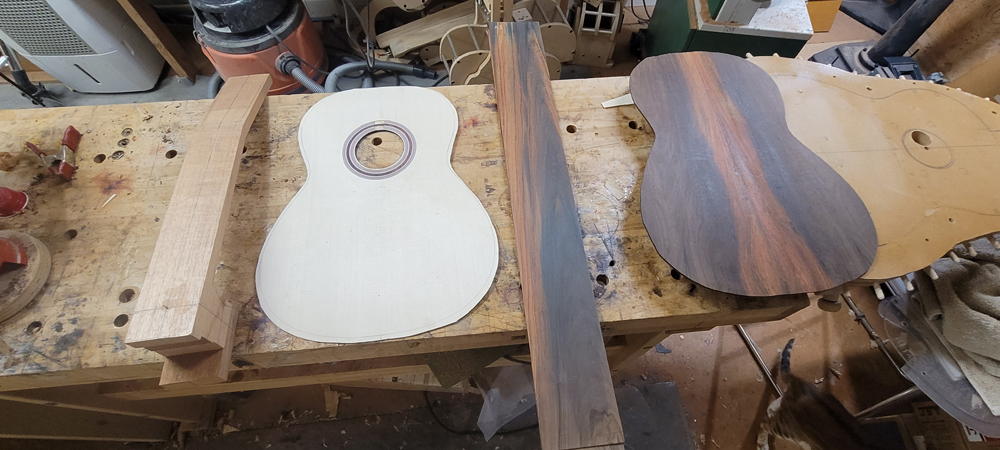
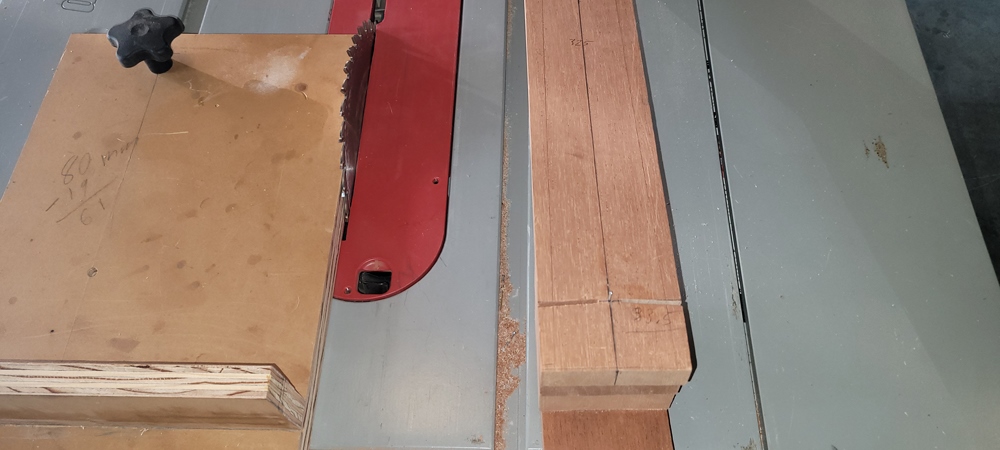
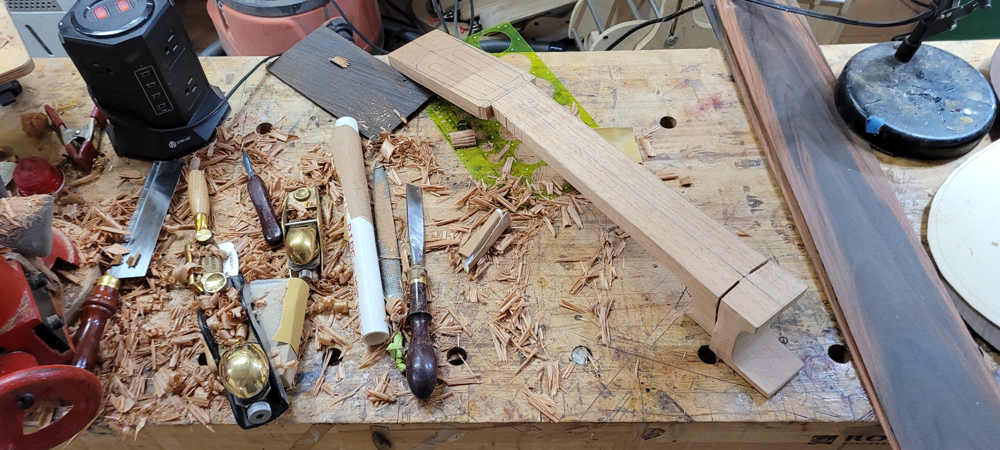
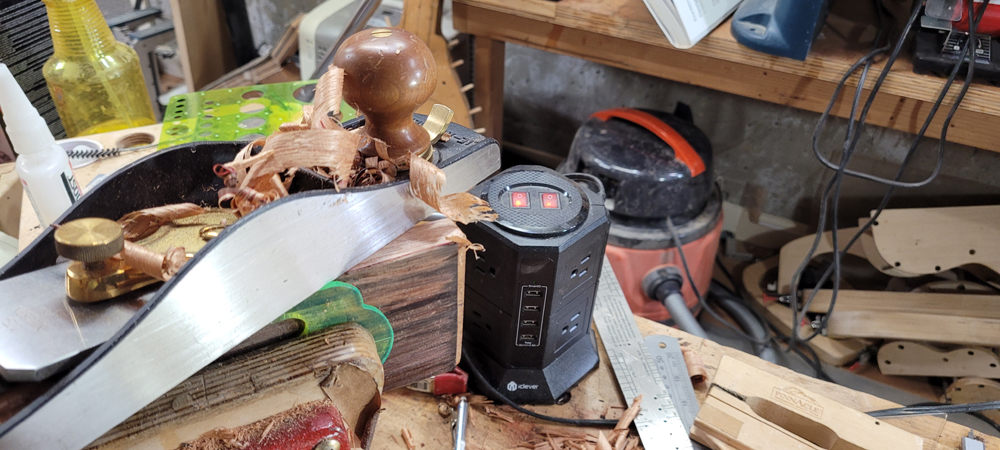
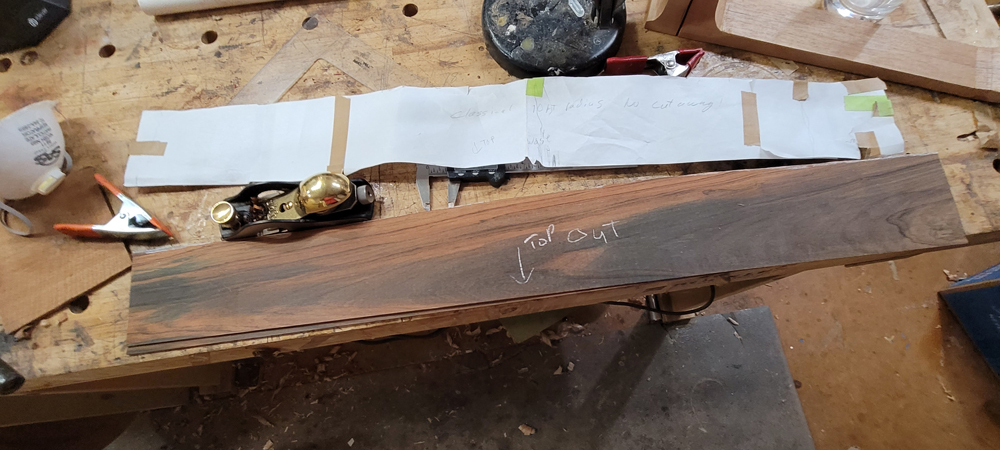
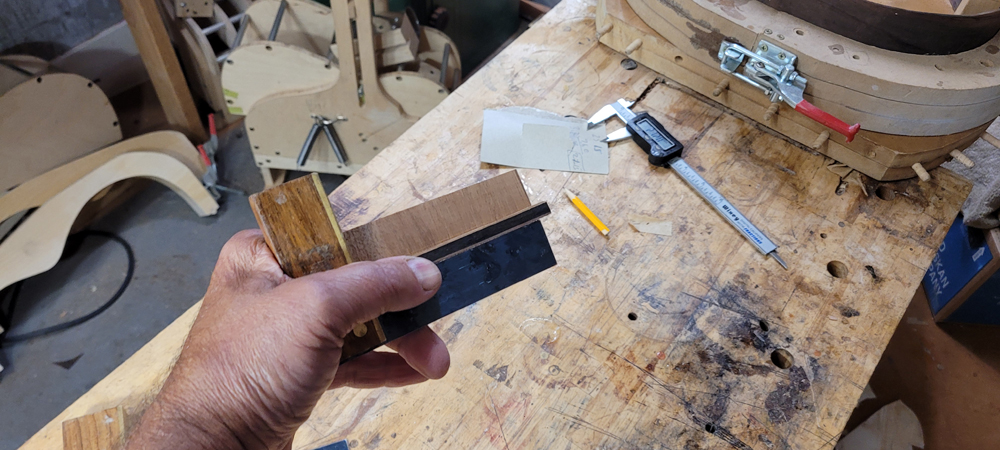
Before doing anything I cleaned up the blank. I suppose I could skip this and do it after the scarf joint.

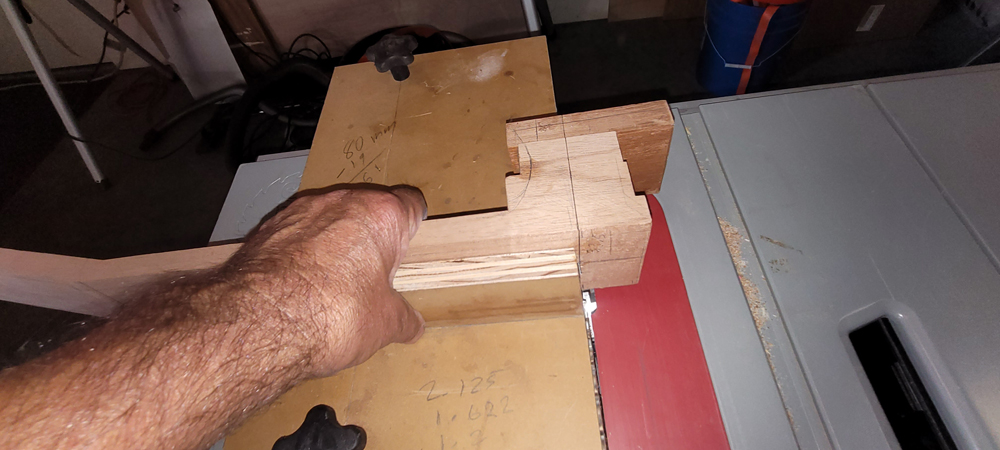
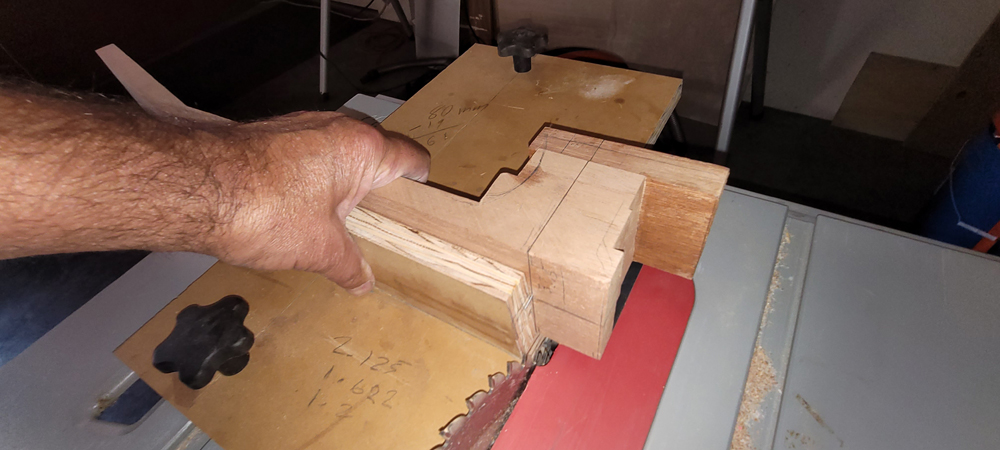
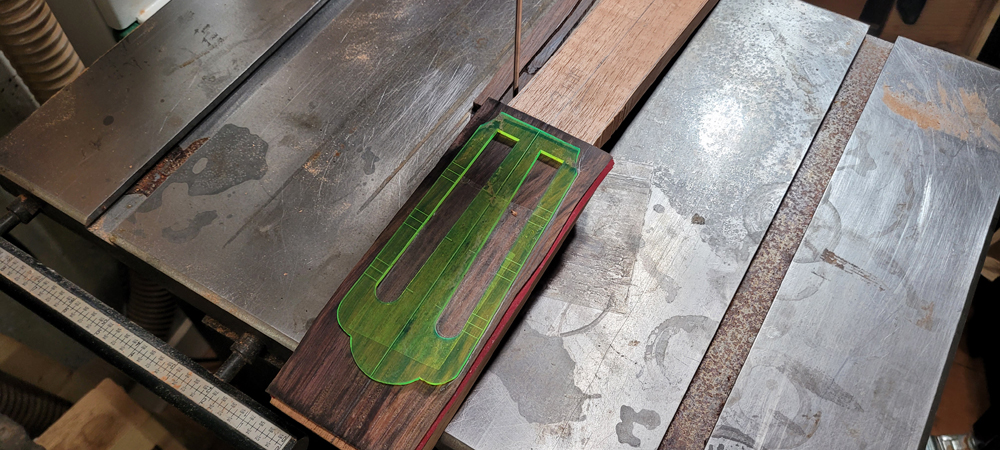
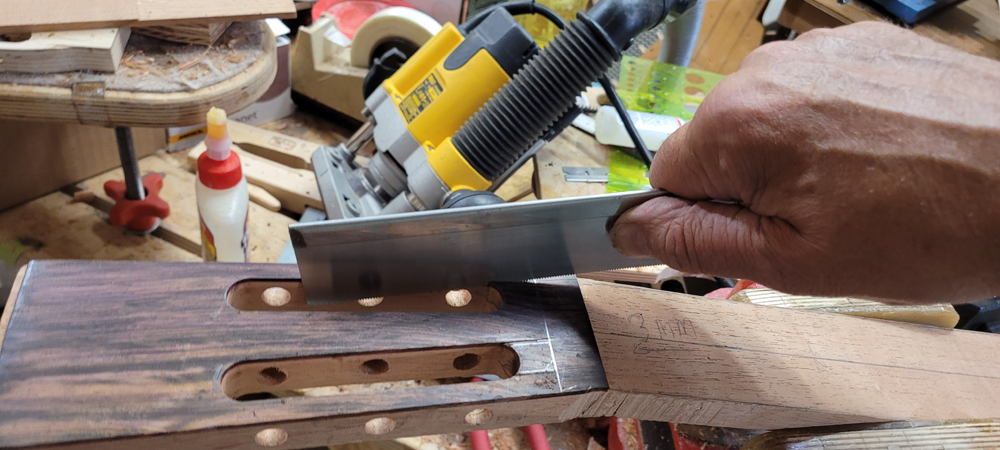
I have a sled with my scarf angle built in. I used to do this step by eye but there was always a lot of clean up. The jig makes a clean enough cut that I just need to clean the face of the head stock part. I had previously leveled the the face on the neck part of the blank.
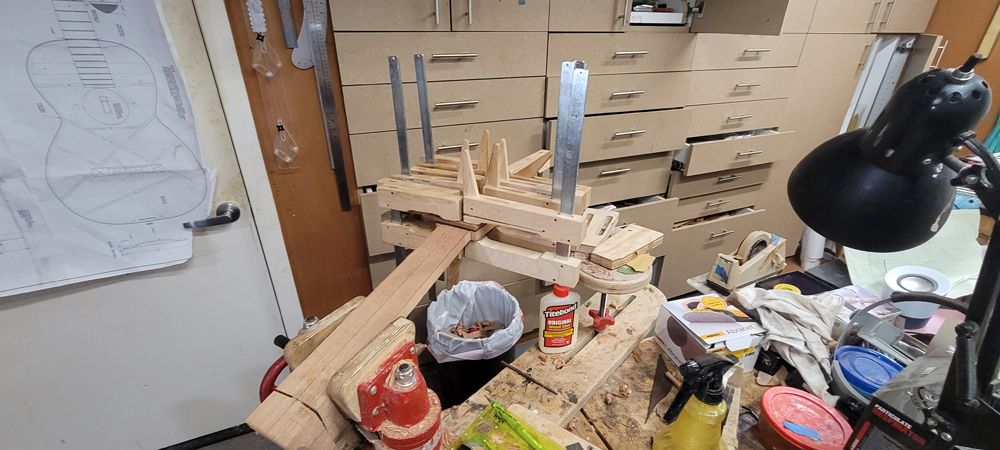
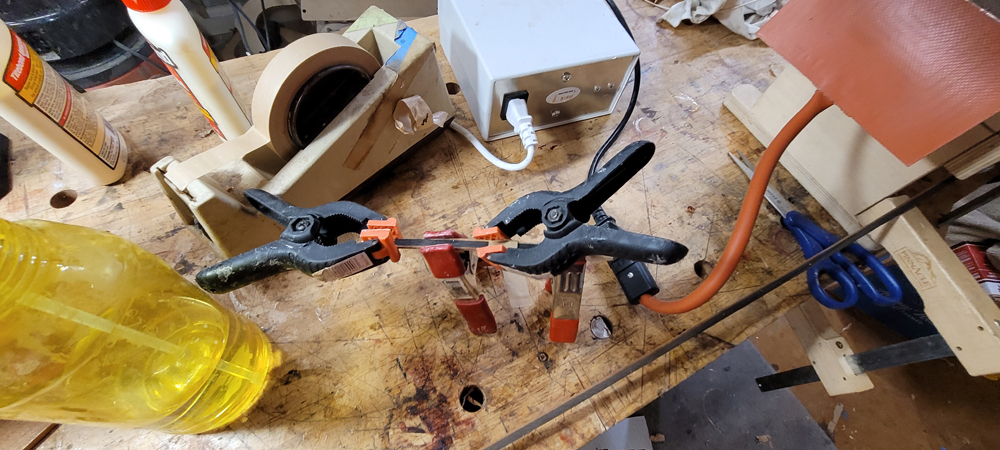
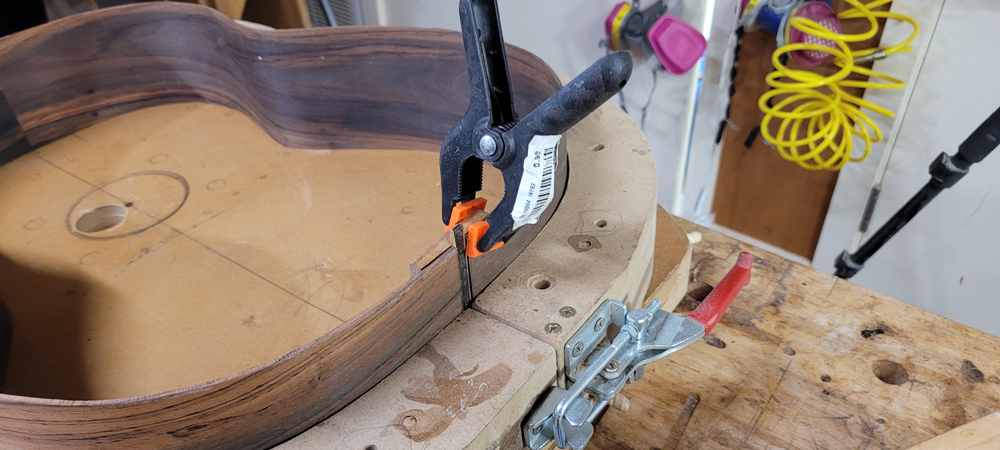
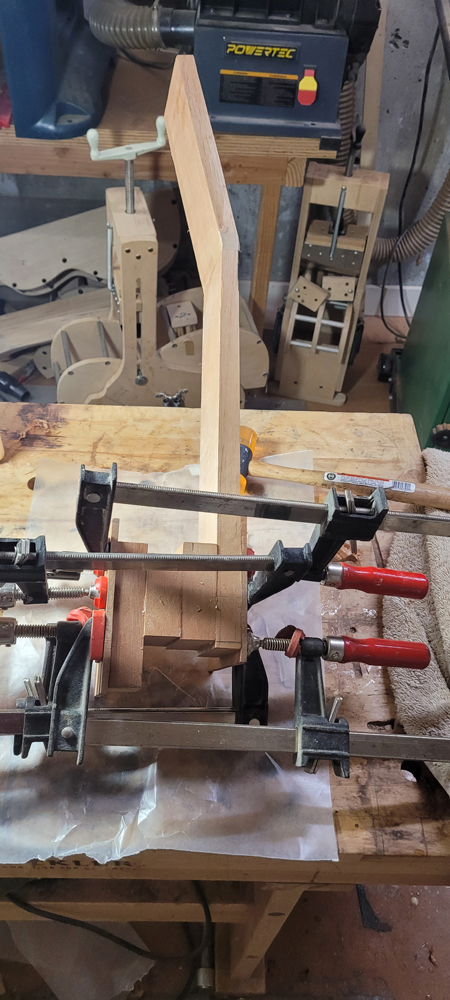
I just use clamps and the edge of my bench to do the glue up. I use the bench to assure that the neck and head stock pieces are square to each other. I use cam clamps to hold the neck in place on the bench and C clamps to actually do the clamping.

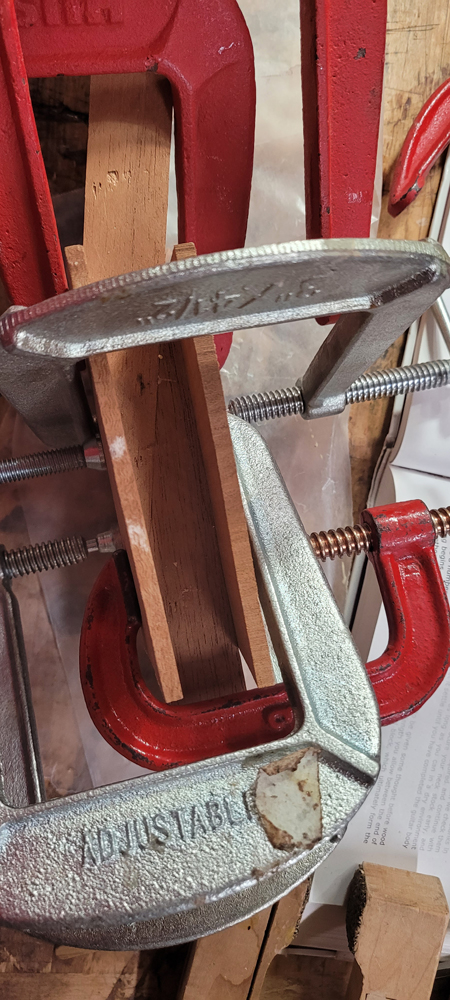
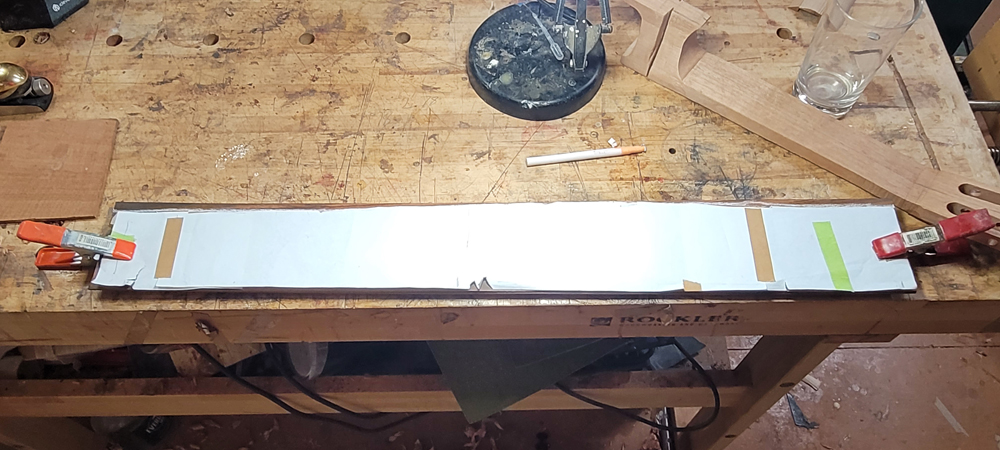
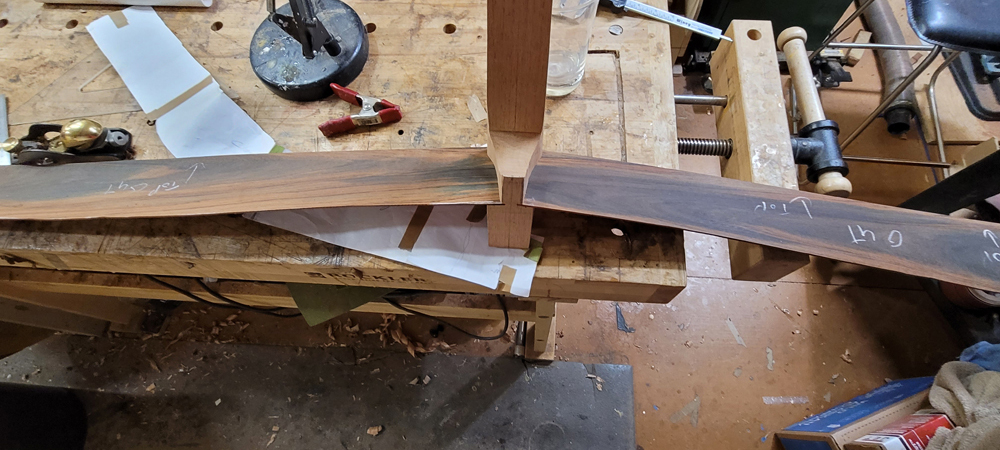
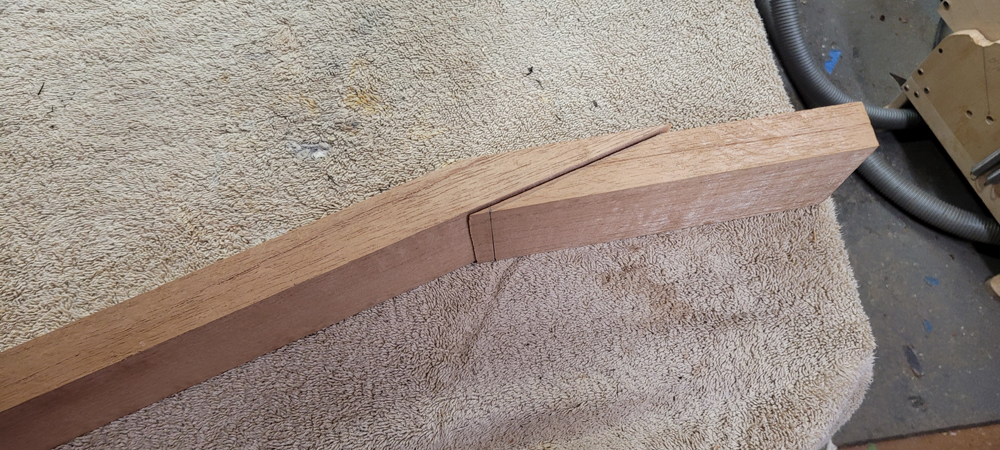
With the clamps in place I can lift the assembly from the bench and inspect the joint
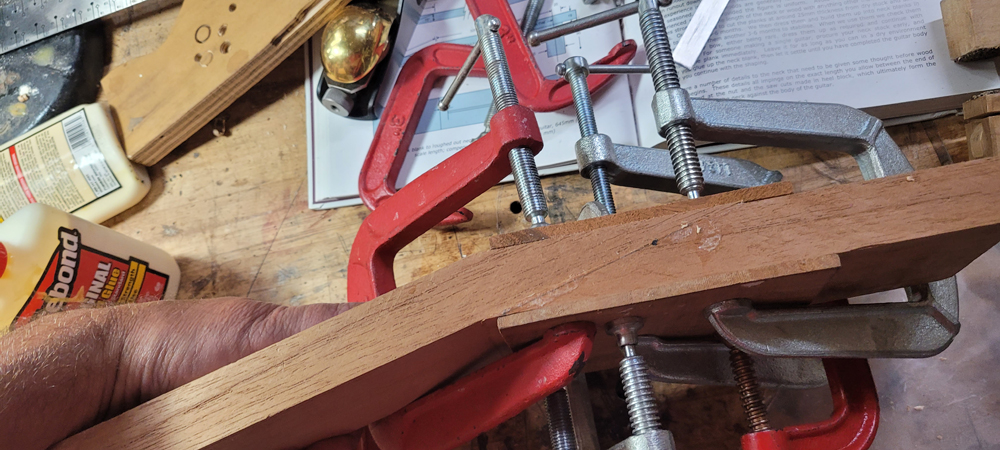
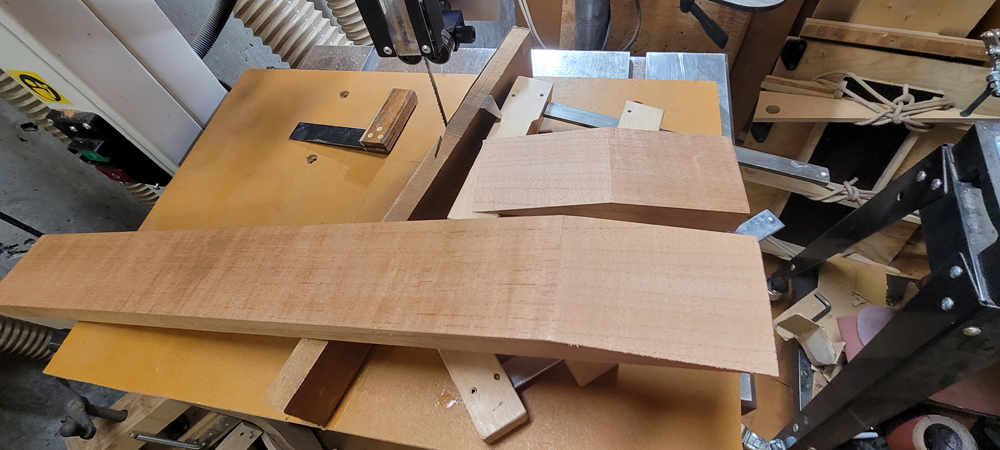
A clean straight joint
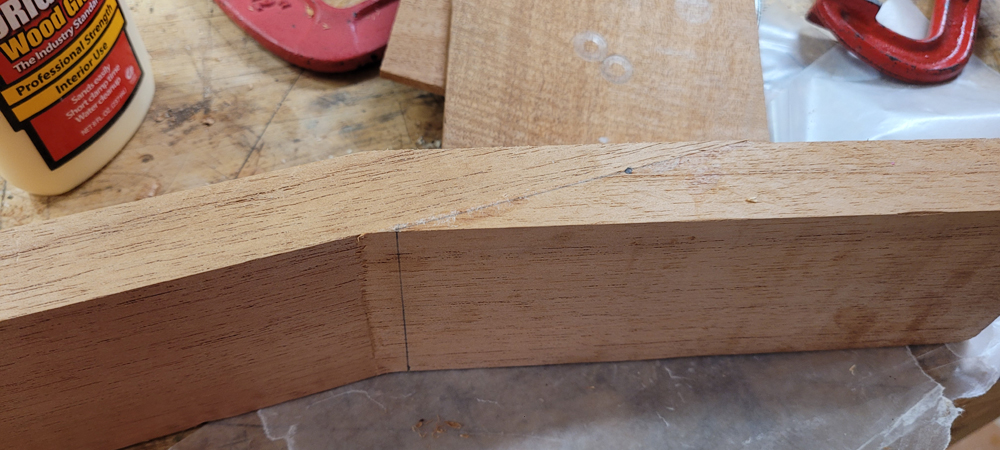
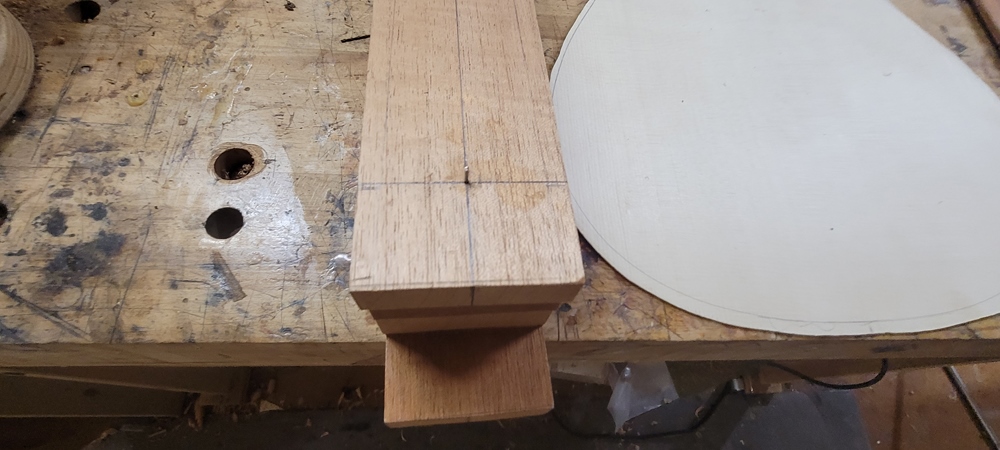
Before gluing on the stacked heel. I do all of the work to thickness the head stock and taper the neck. I wish I had a picture with all of the thicknessing lines drawn in. I take care to place the back joint such that it falls under the head stock break. When ultimately carved the joint from the back will be invisible as it will be right at the transition from neck to head stock.
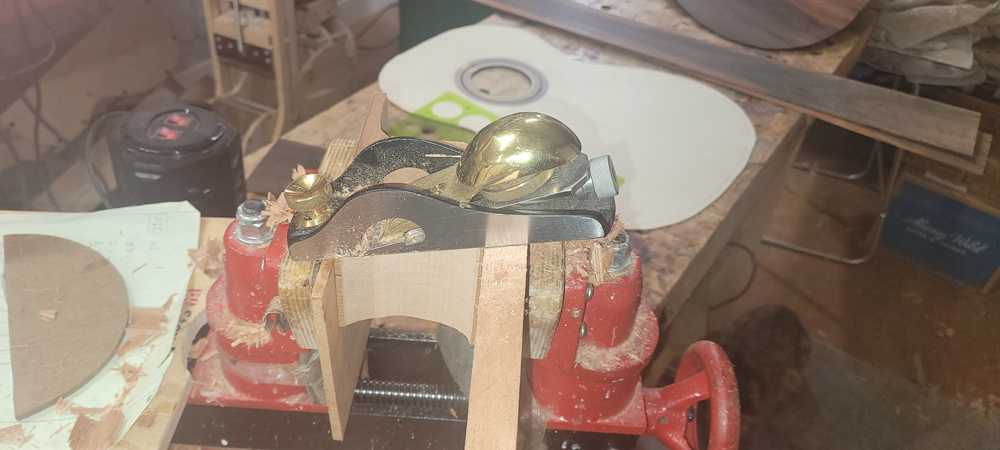
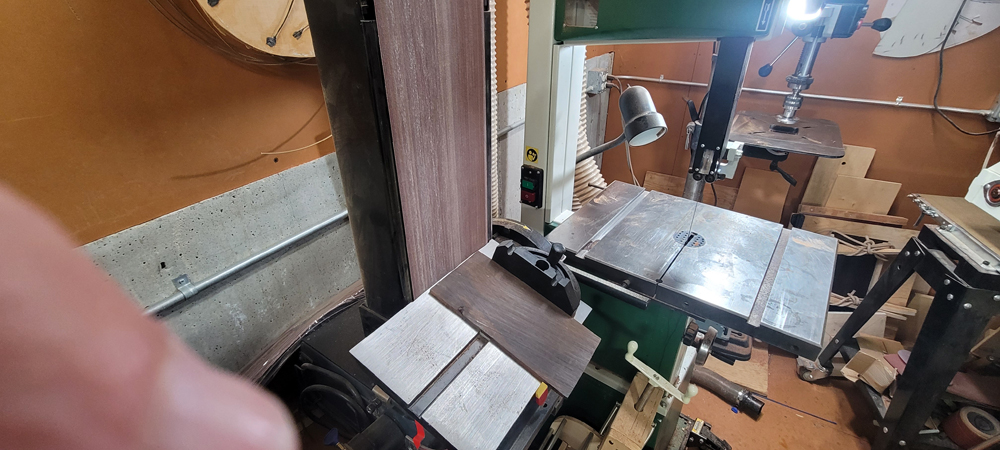
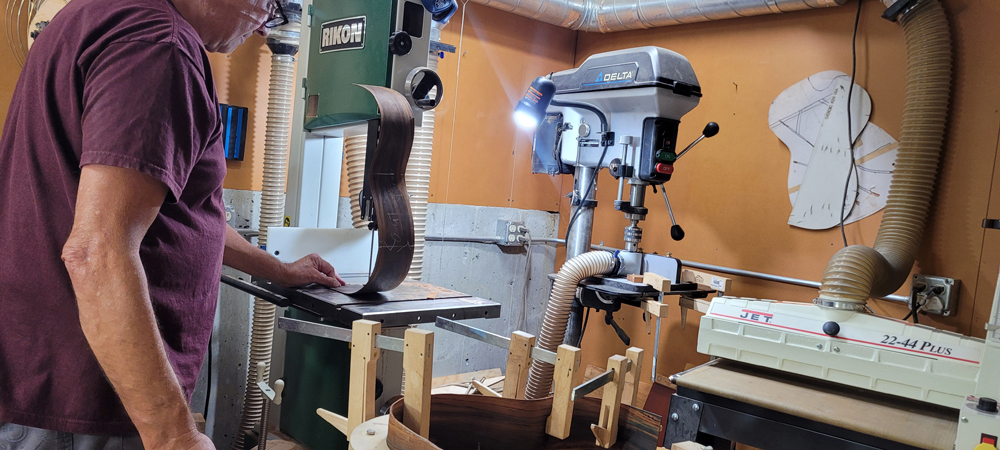
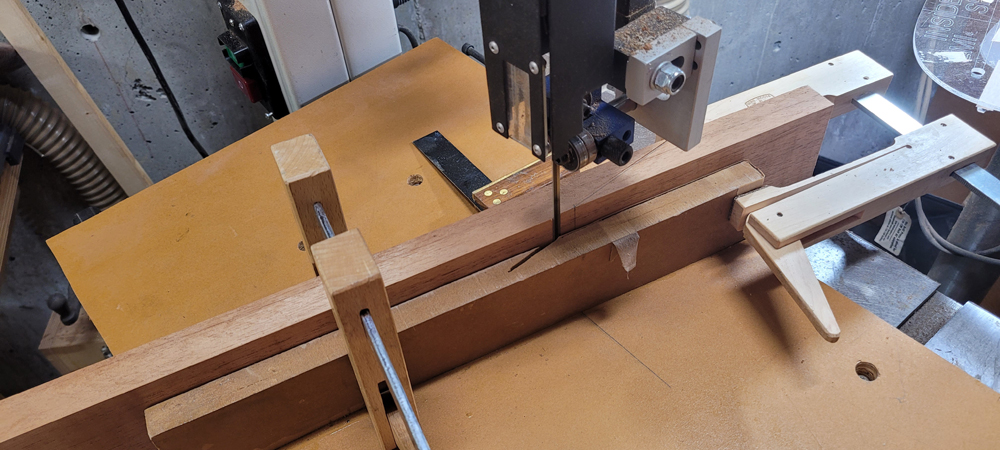
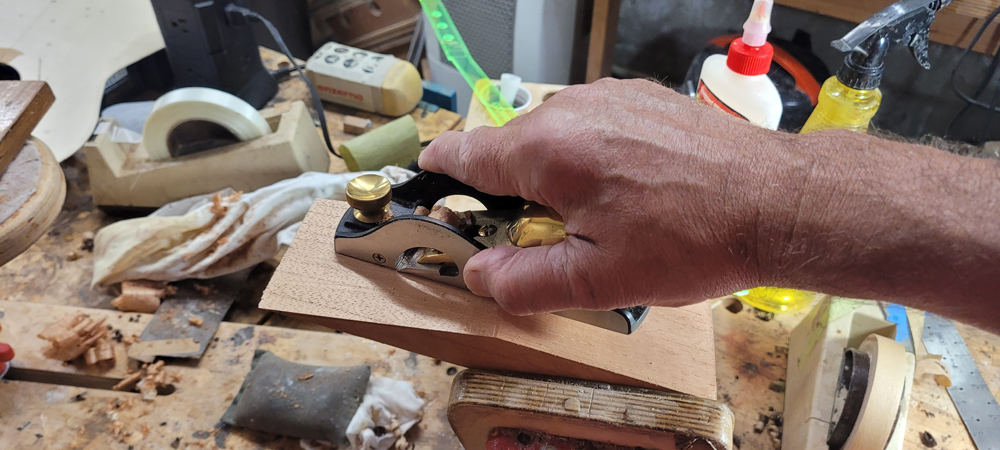
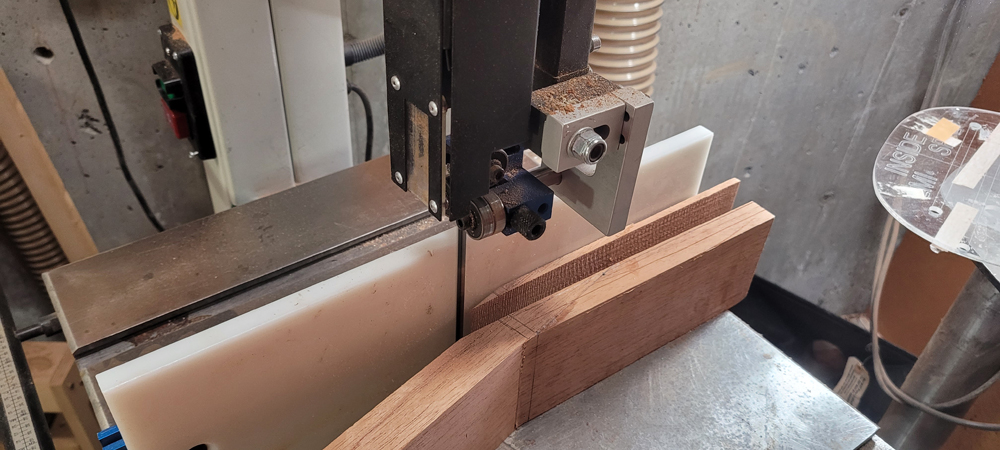
Because it is easy to plane I like to thickness the head stock from the front (will move the break up the neck toward the heel side). Which is OK as I can plane the neck form the front both starting the neck taper and moving the neck headstock transition right back over the scarf joint. Not wanting to plane forever I took most of the excess off the headstock with my band saw.
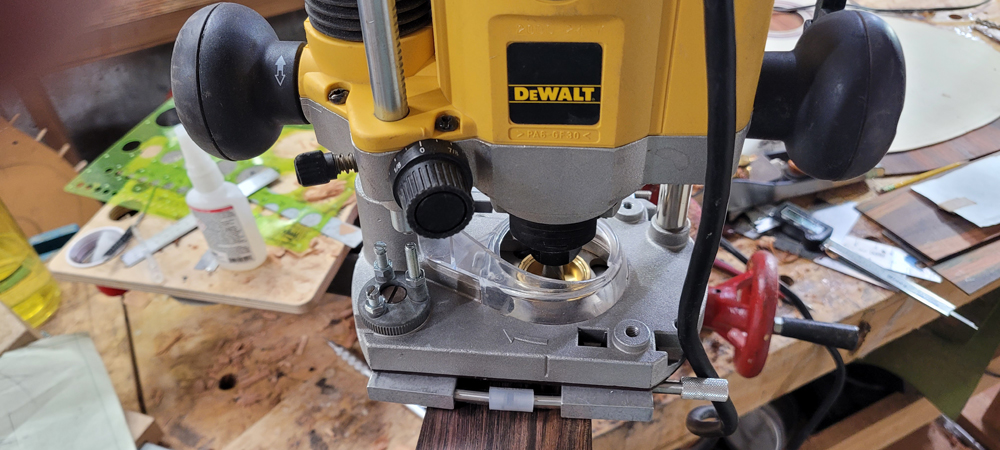
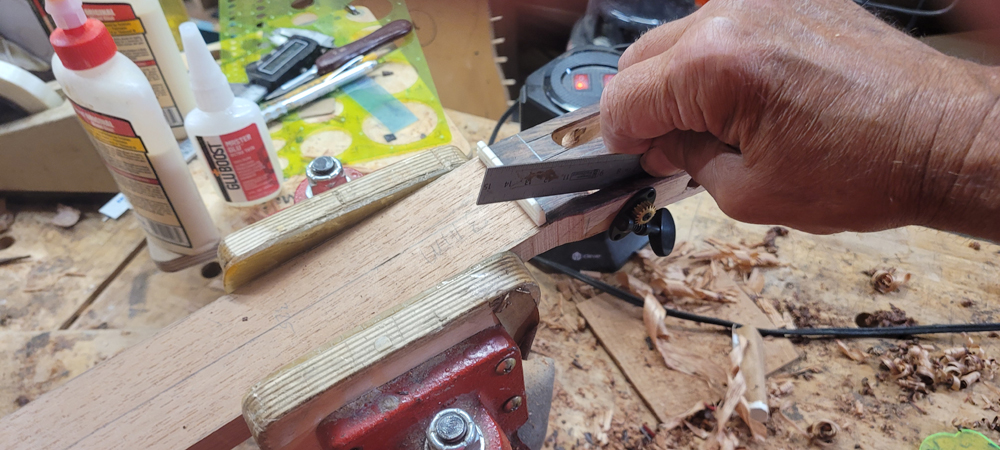
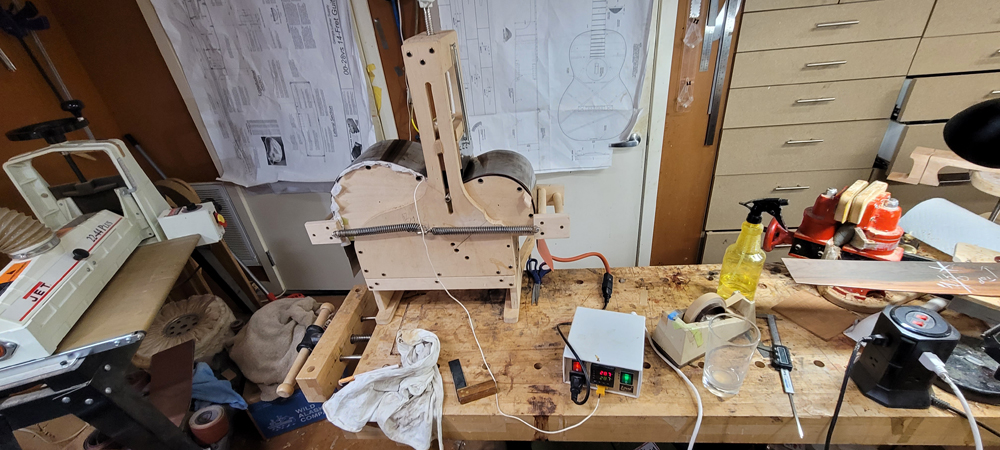
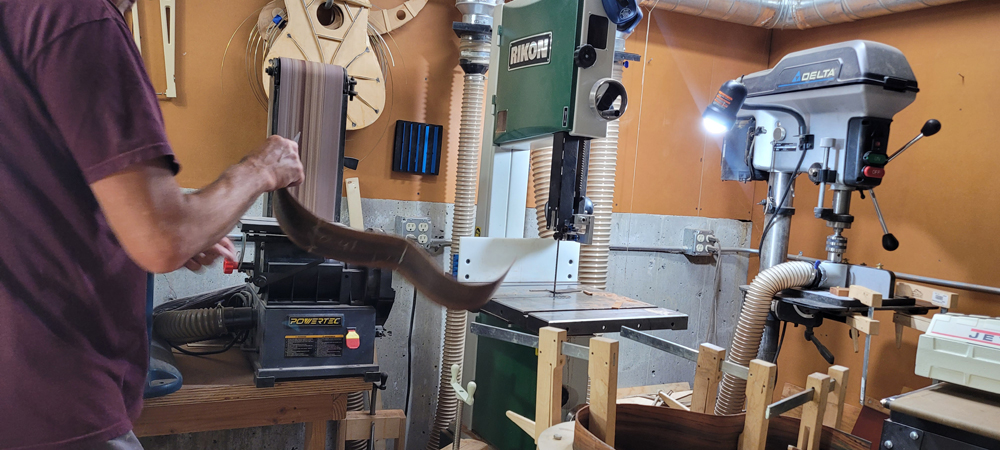
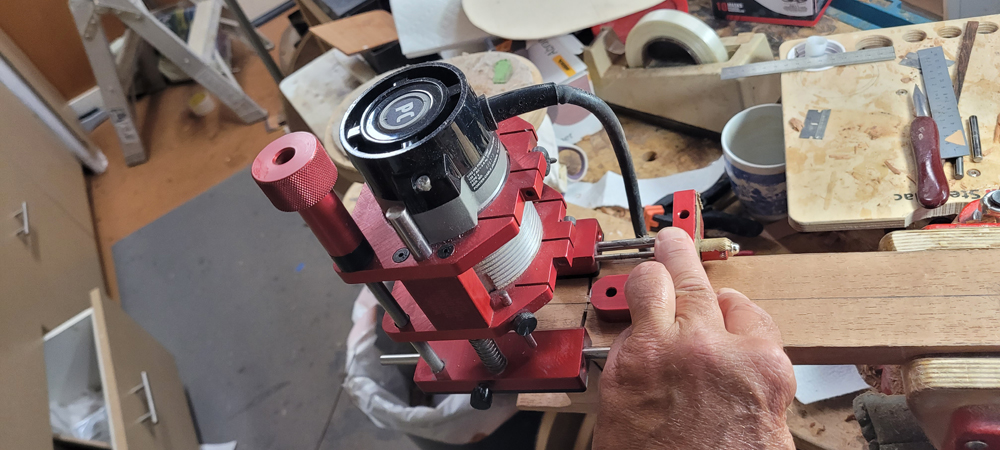
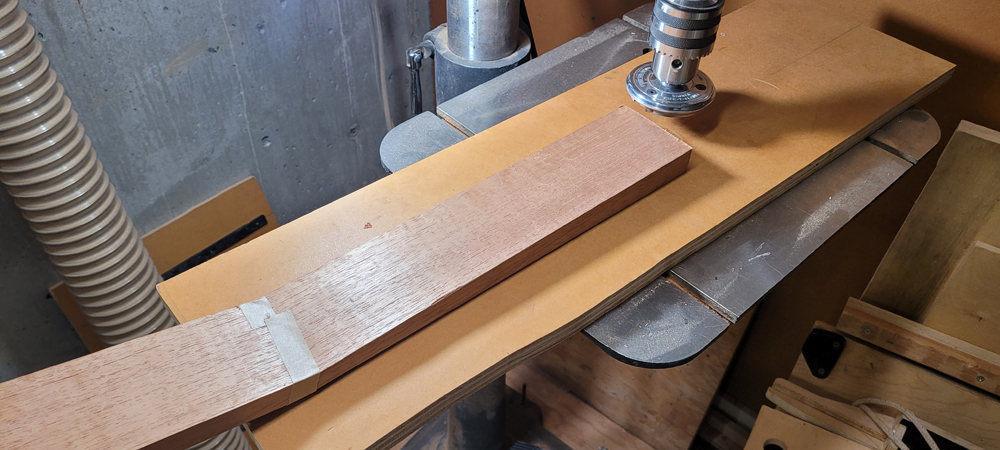
After cleaning the face of the head stock and planing the face of the neck to position head stock transition to over the scarf joint. I use a safety planer to continue thicknessing the neck. I just stick a 3 mm shim at the nut position to establish the taper and use a safe-t planer to take the neck to the final thickness.
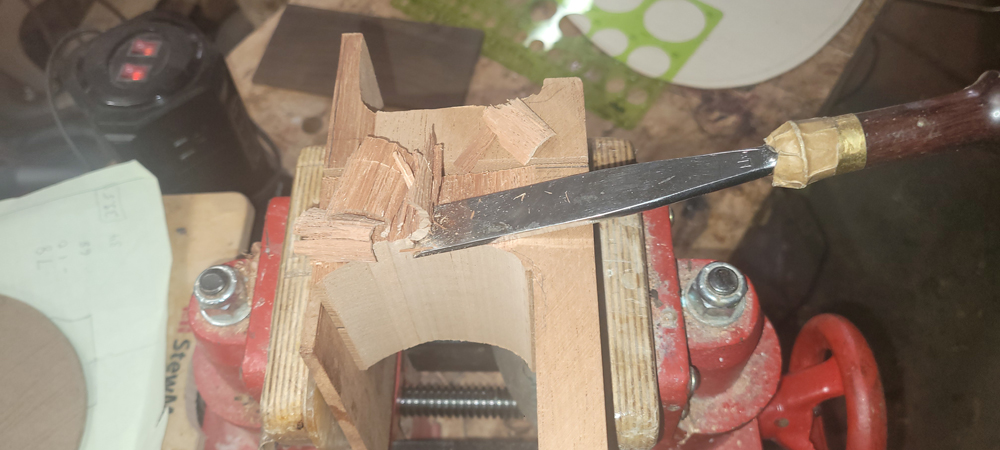
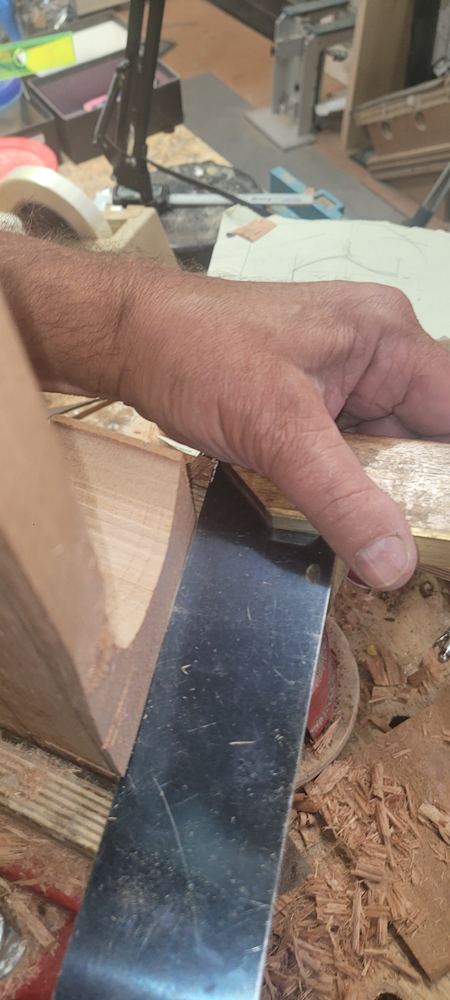
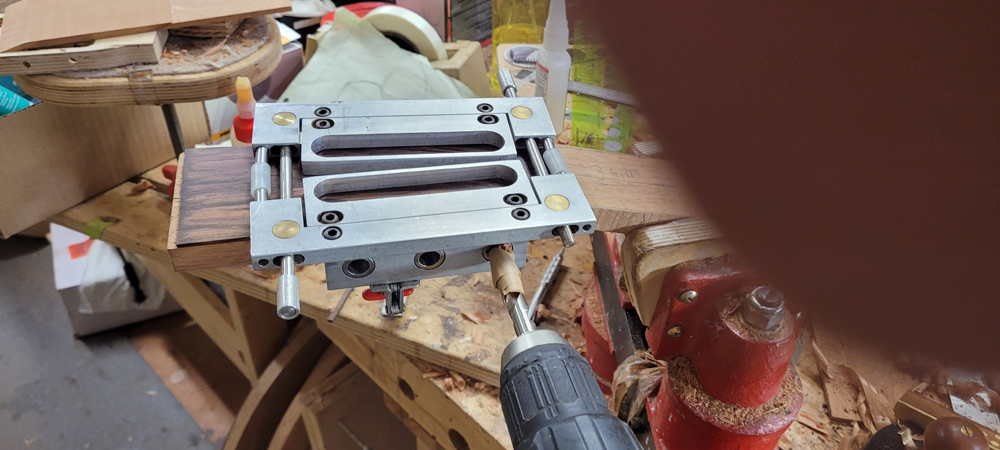
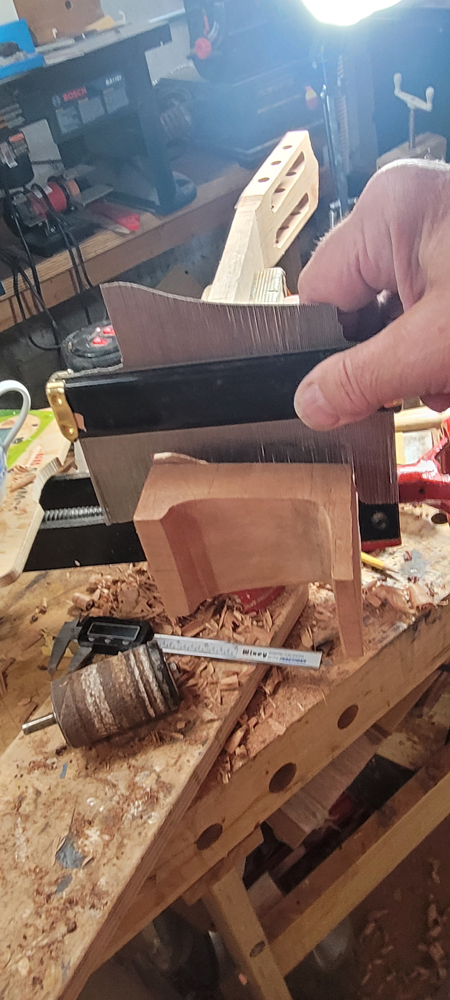
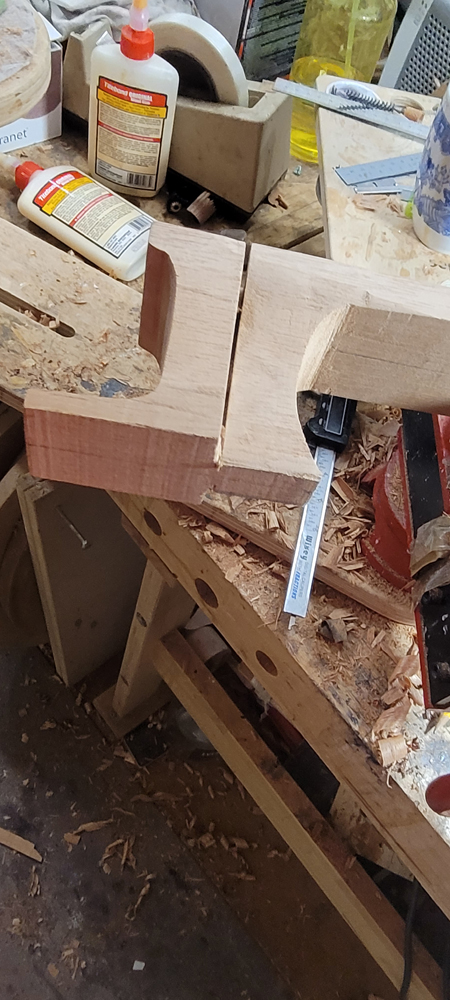
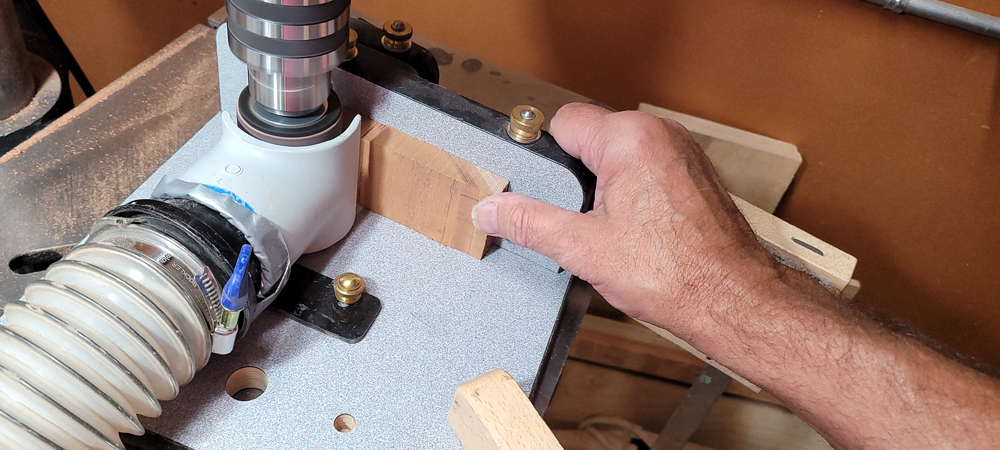
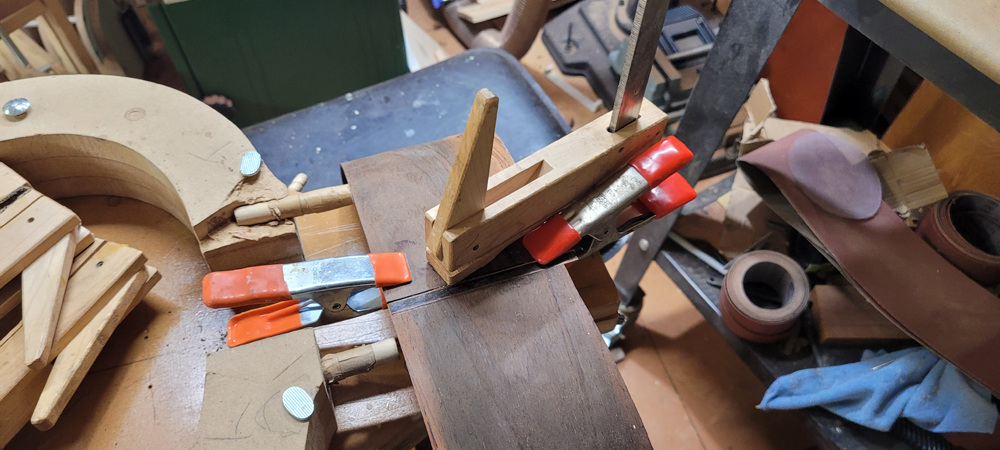
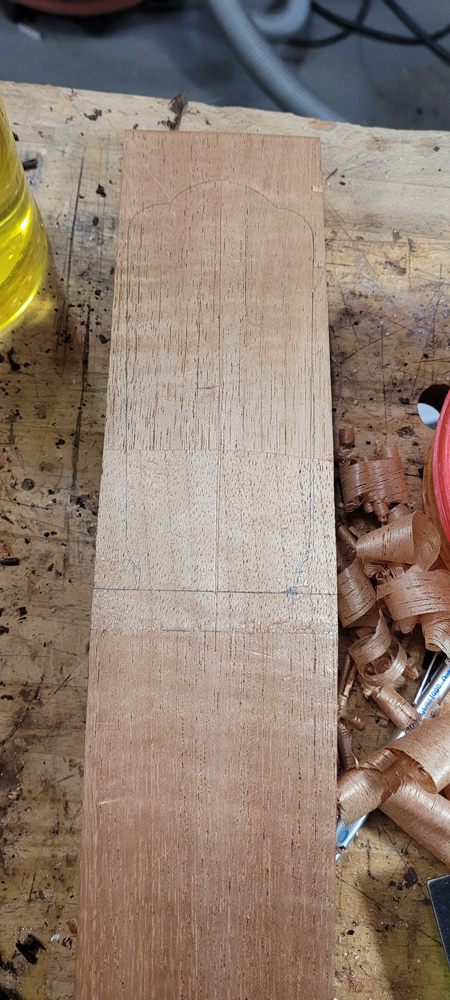
Now I can glue on the blocks for the stacked heel. A traditional Spanish builder will alternate the end grain direction of each block.
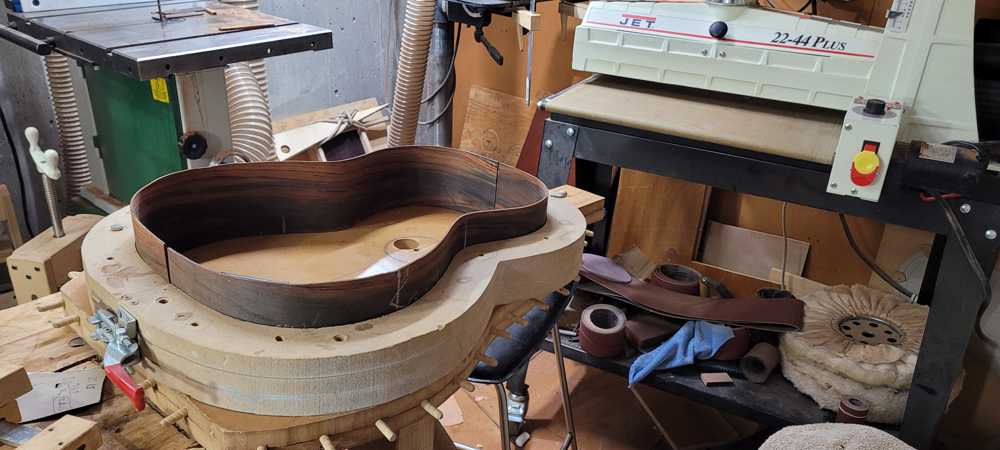
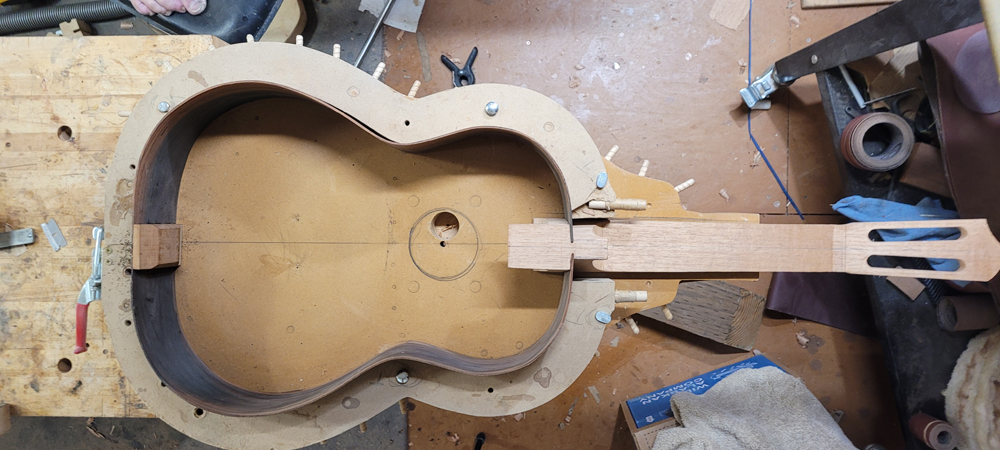
At this point I am getting closer to getting the kit put together.