Re: Just starting a Flamenco Negra
Posted: Mon Apr 26, 2021 1:47 pm
Making more progress finishing the top and assembling it with the neck and sides. I would be farther but ended up in a web hoster support nightmare when the hosting server was miss configured. I host the pictures for my posts on my harvestmoonguitars.com website. As different forums that I post on enabled SSL They could not find pictures on my site unless my site supported SSL. It did not go well. Now all is good.
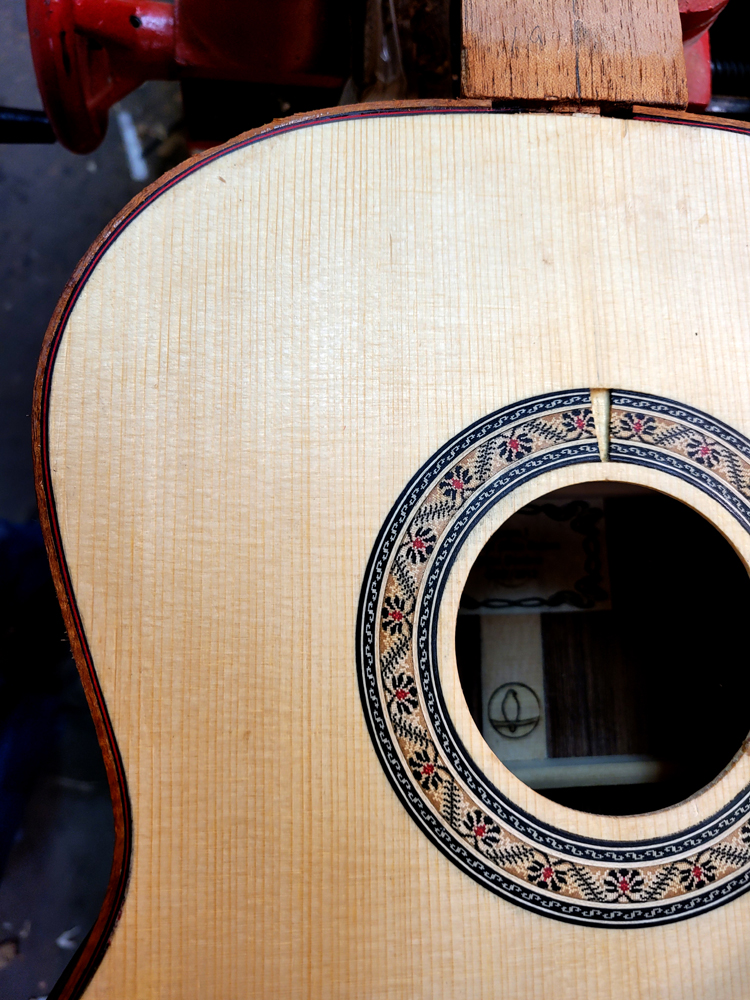
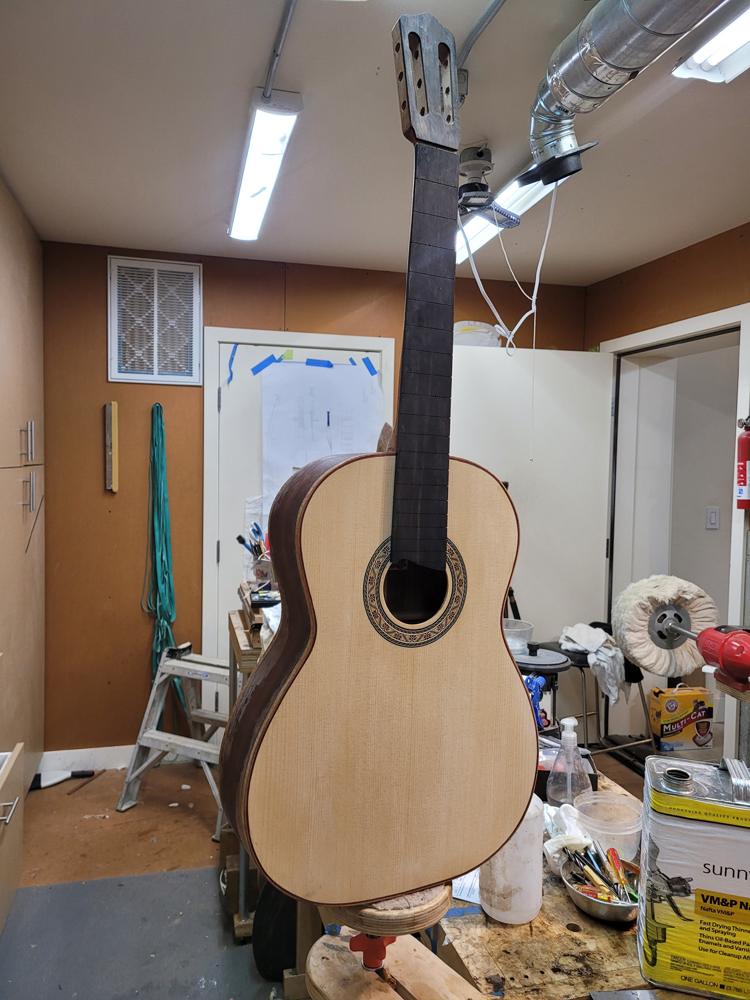
There are a few ways to build in a "traditional Spanish style" , basically working top down on a solera or work board. One way the sides are joined to the neck and then the neck and side assembly is glued to the top, either on linings or placement of individual peones/tentalones. The other way that I am using is to join the top to the neck and with that assembly clamped on a solera the sides are added with peones/tentalones. I am doing the second method as I can assure that the neck is perfectly on the center line of top without having the sides getting in the way.
First task is to brace and voice the top. Previously I had thickness the top to my flamenco setting using tap method. Once braced I did the finial voicing just through feel and tap. I can not describe what I am feeling, I just want a bit of longitudinal flexibility and more horizontal flexibility. When I listen to the tap I looked for a strong start that died quickly. When the top is glued to the rims it will be stiffer which increases unwanted sustain for a flamenco.
I am using the bracing pattern I got from the Paco Chorobo Flamenco Guitar Building course. I made my first flamenco using this course and was lucky enough to have Paco use it for a small concert. I am not sure how the rosewood will change things but I wanted to start with what I know.
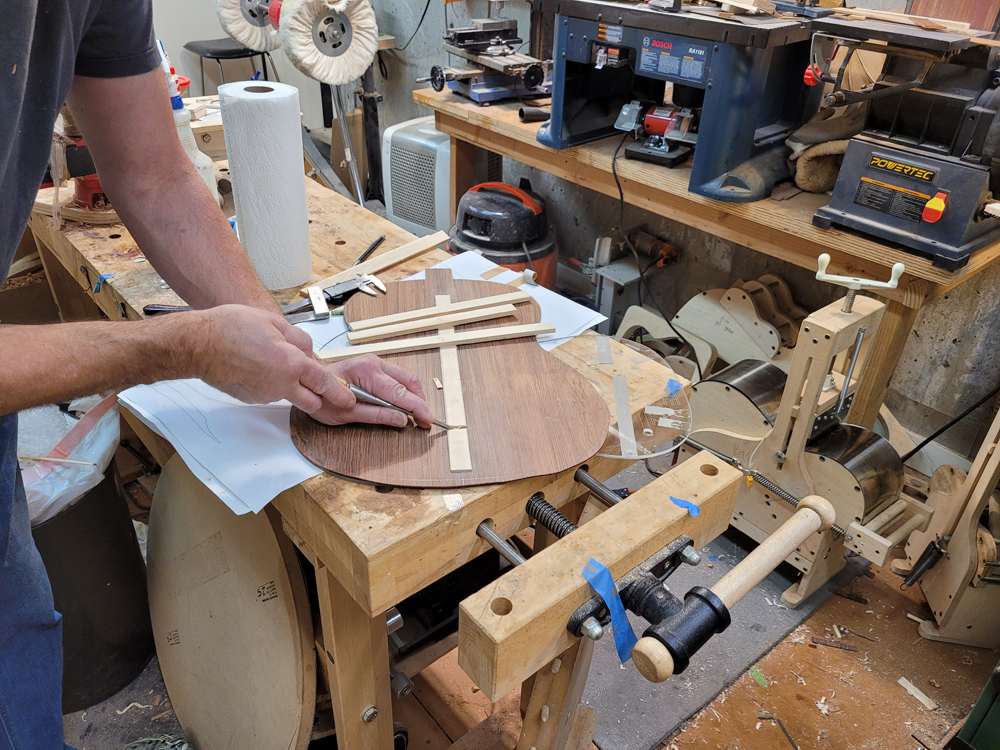
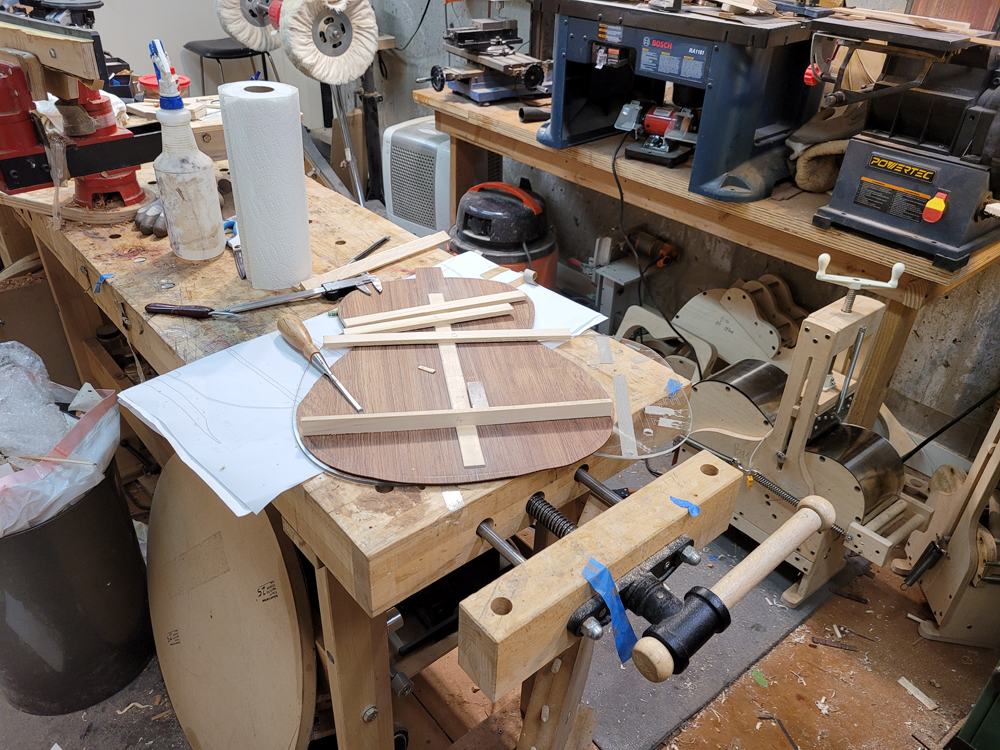
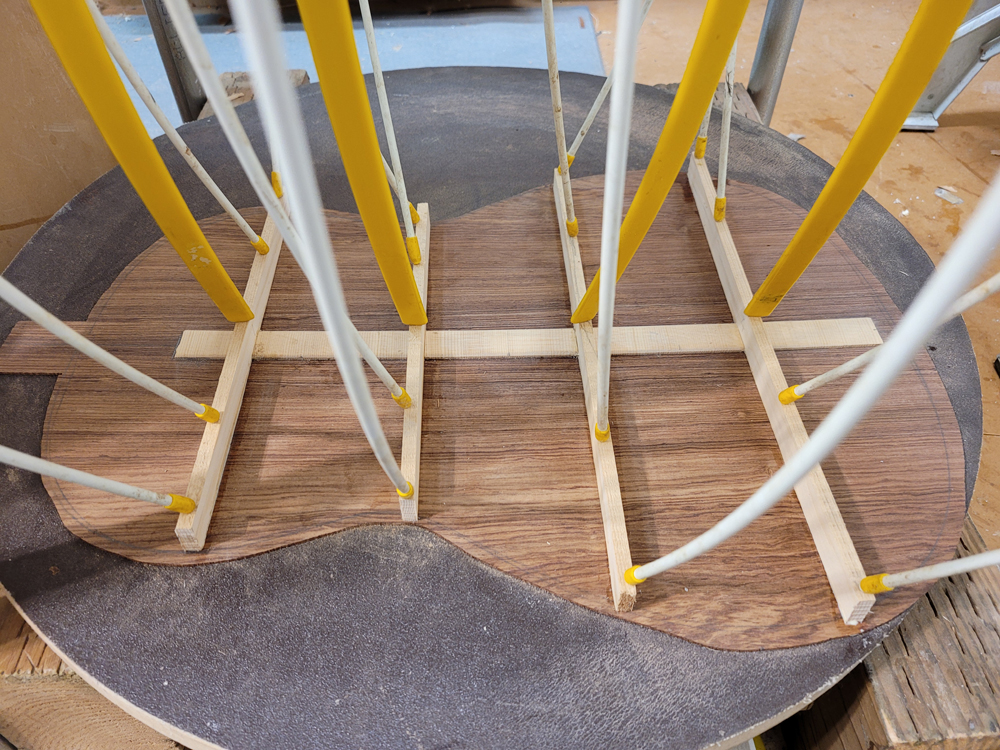
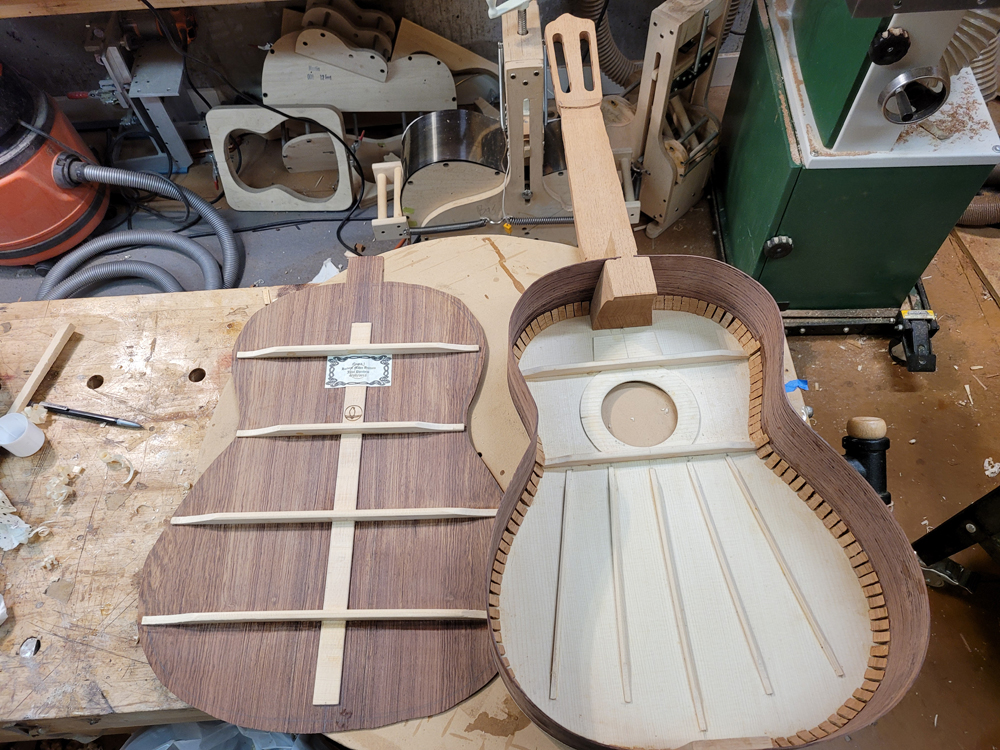
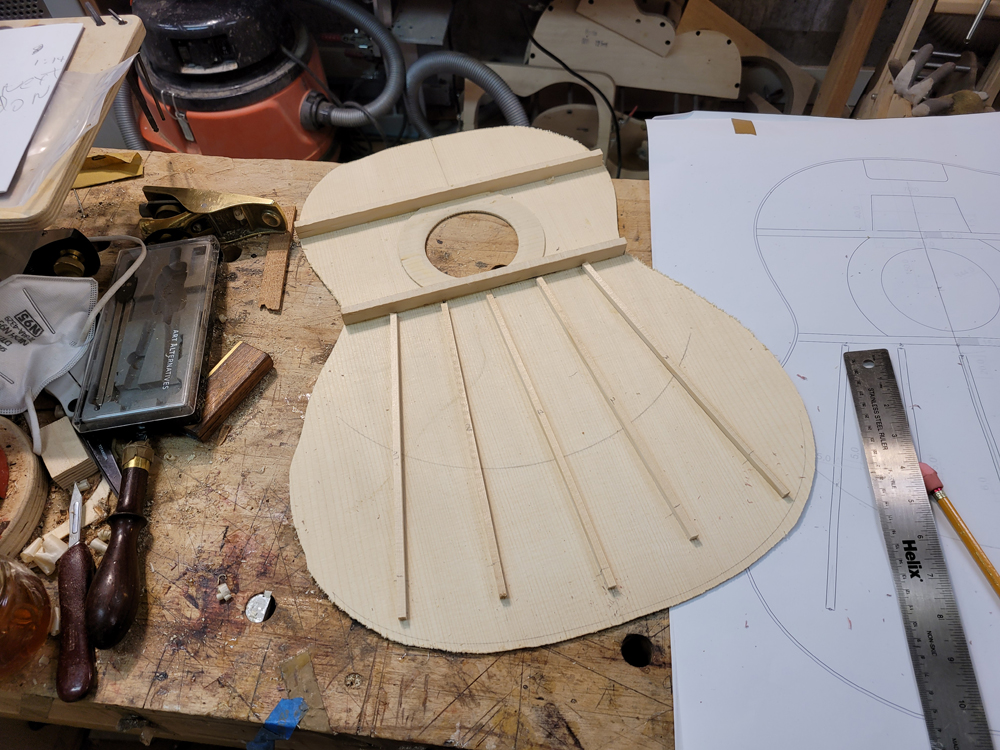
First off I glued on the two transverse braces. It would have been prudent to only glue on the top brace at this time to make carving the fans easier (live and not learn). Not too hard to work around.
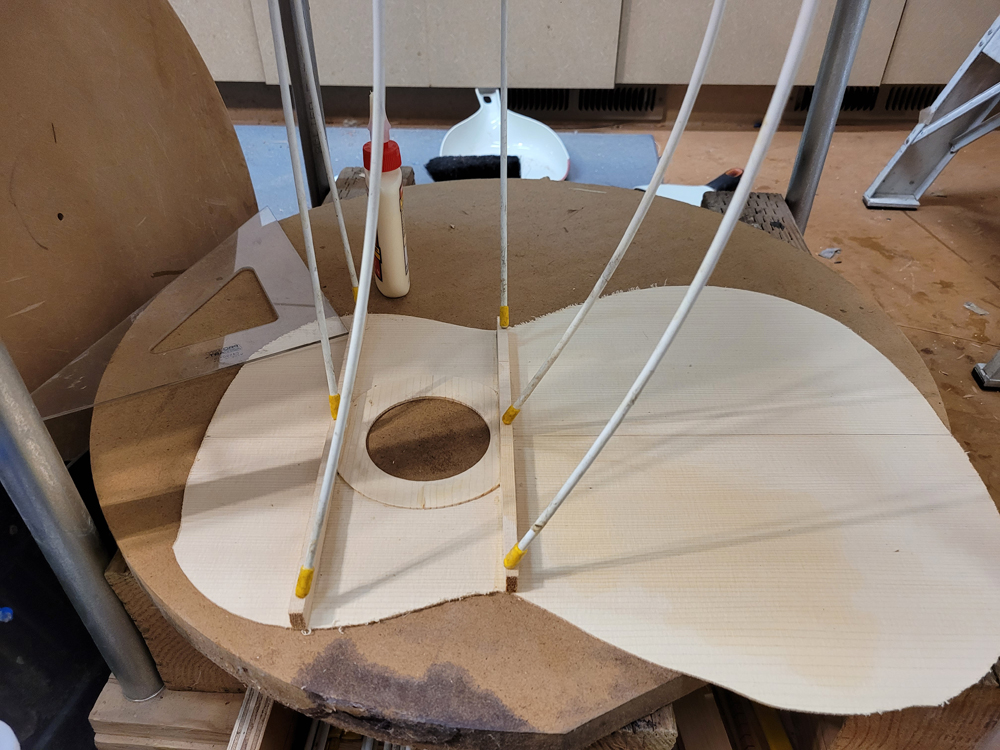
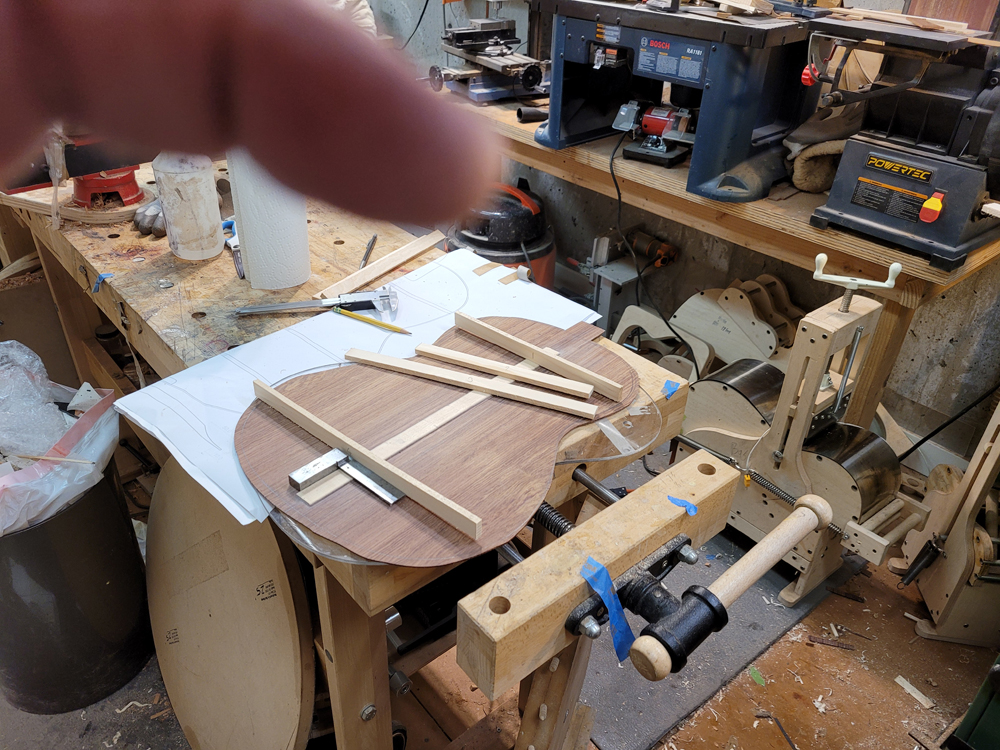
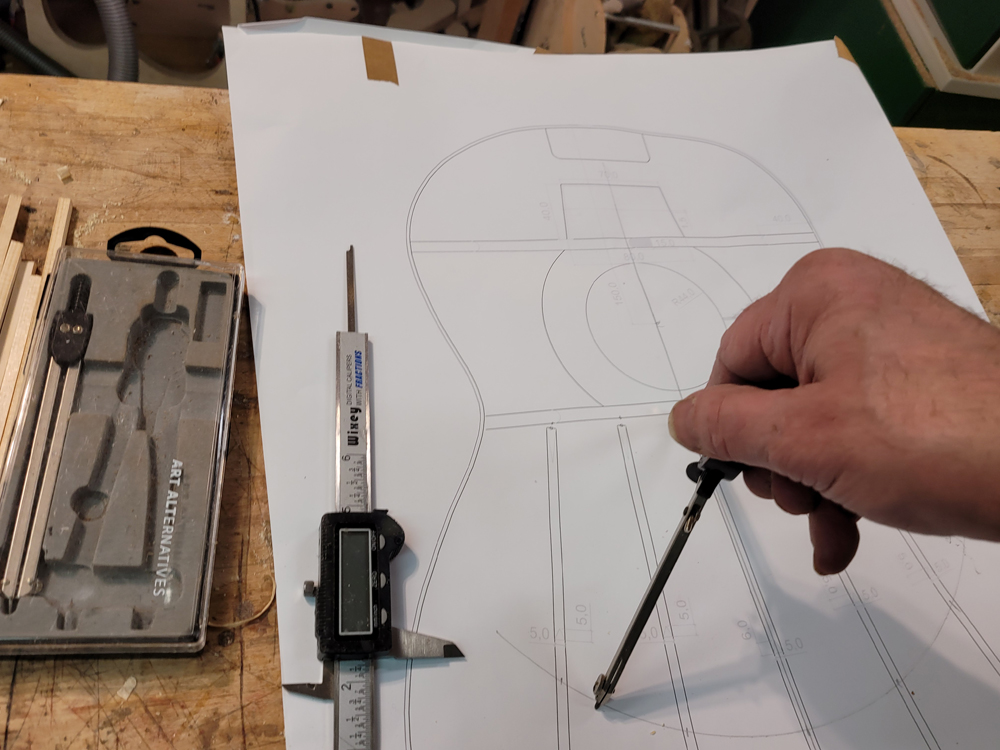
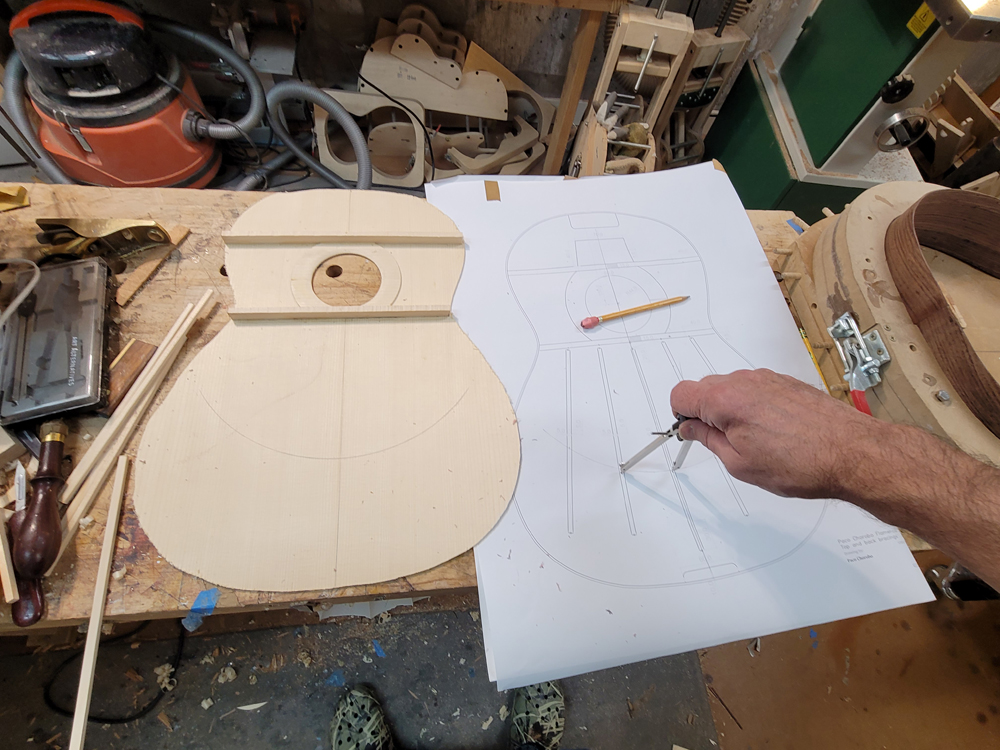
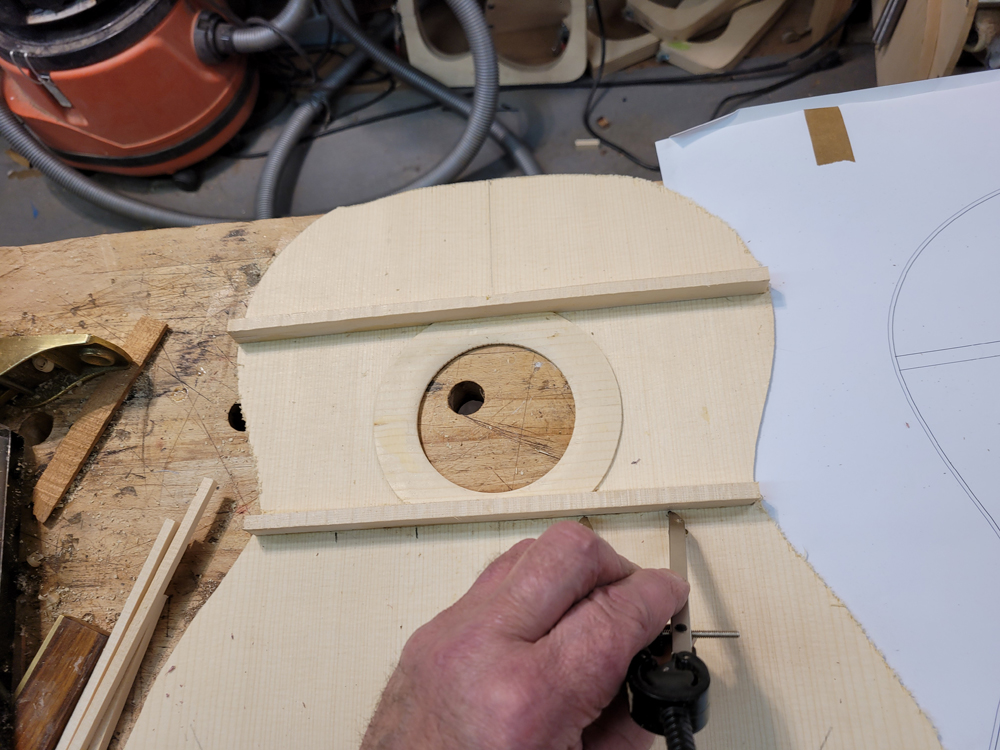
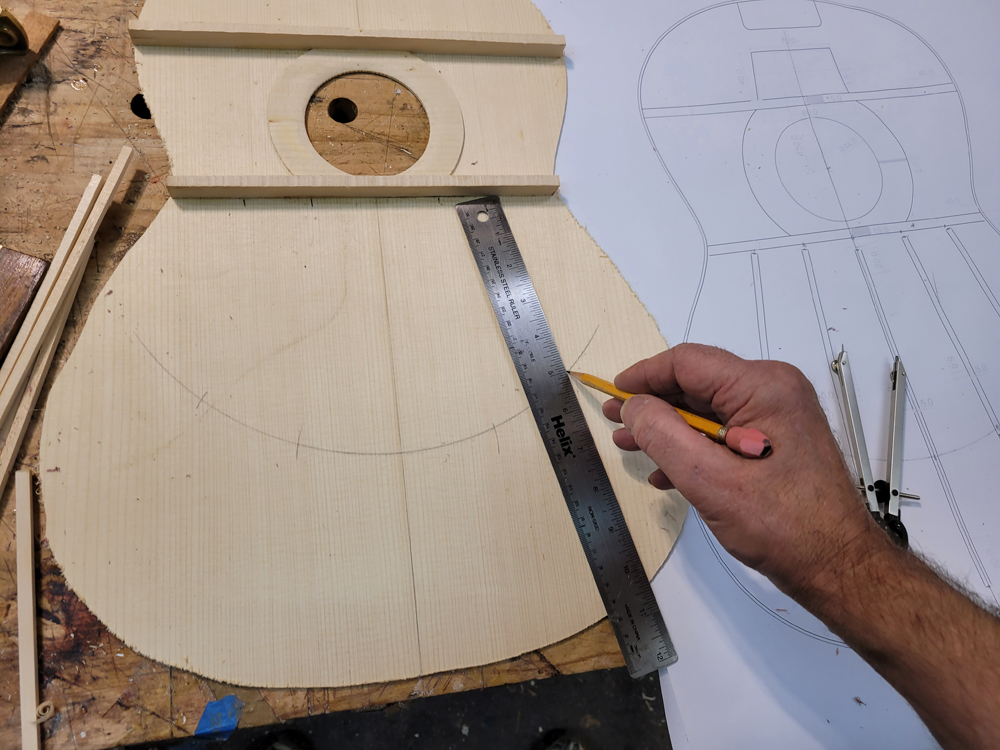
To transfer the pattern I drew the same arc on both the plans and the top from the center of the top at the lower transverse brace. Measuring the distances between the braces at the lower transverse brace and where the arc crossed the braces, I was able to get two points for each brace and draw the brace lines.
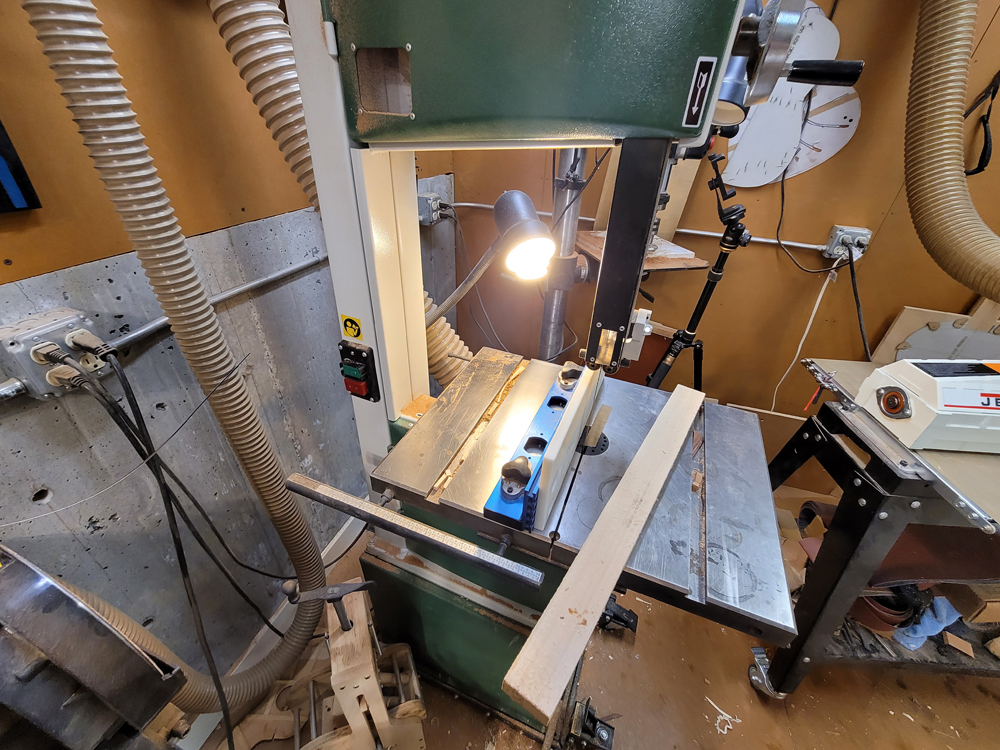
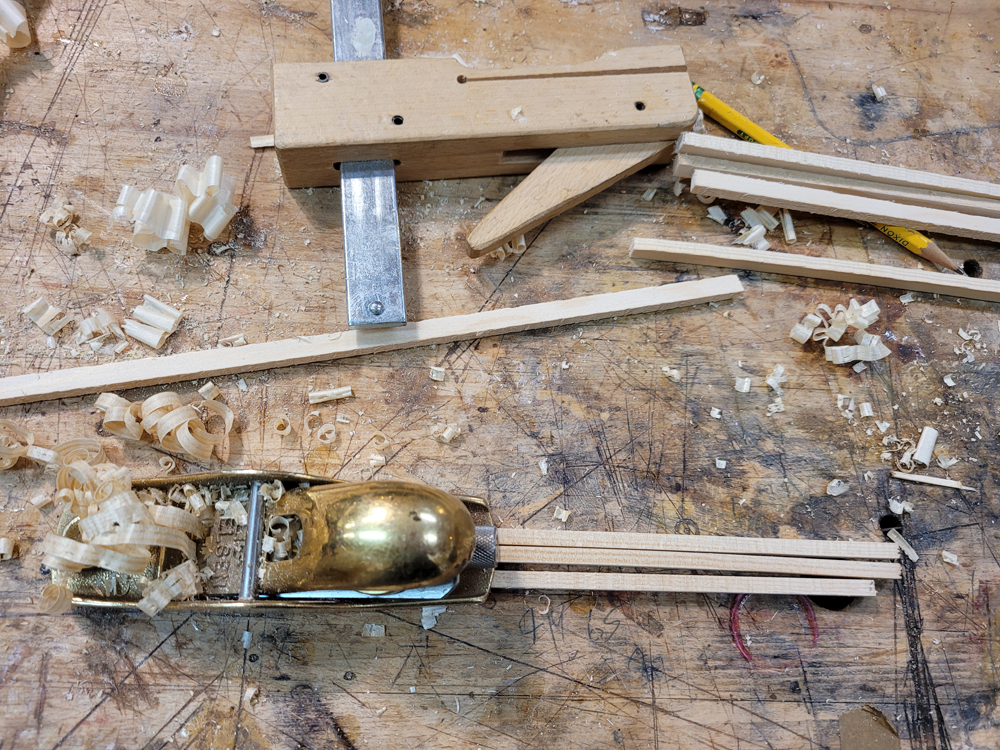
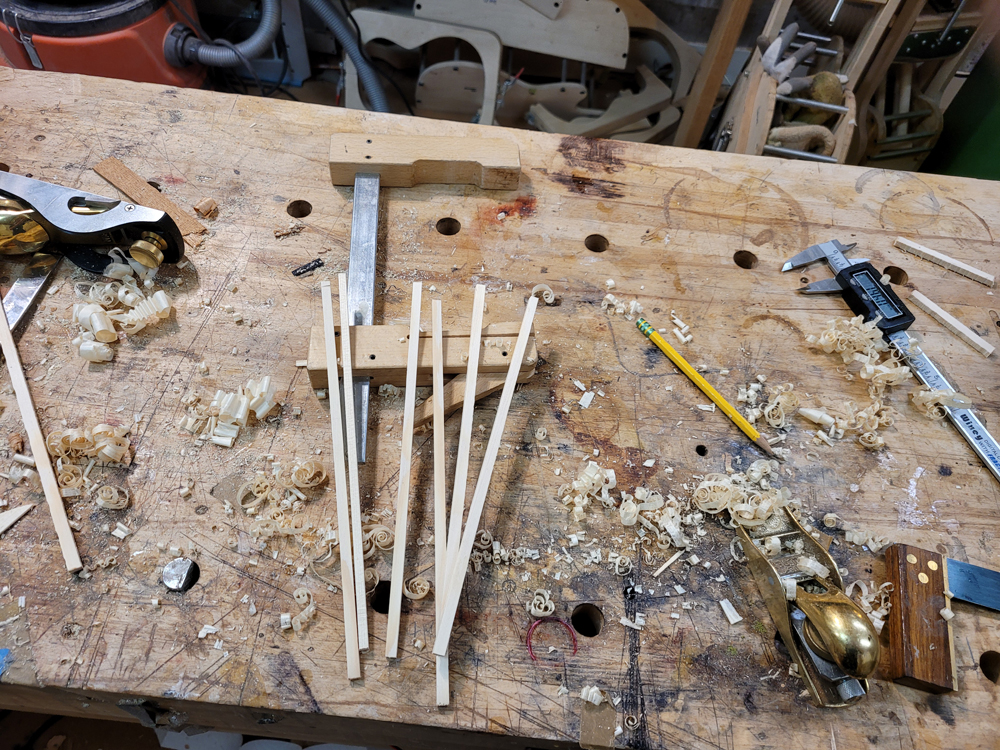
I cut out and thicknessed a bunch of 5 mm wide fan brace stock and roughly cut it to length. I stack three or 4 together and cleaned up the gluing side as well (no radius, but I will push them into the concave dome in my solera.
I glued them in my gobar deck on my solera (forgot to take a picture)
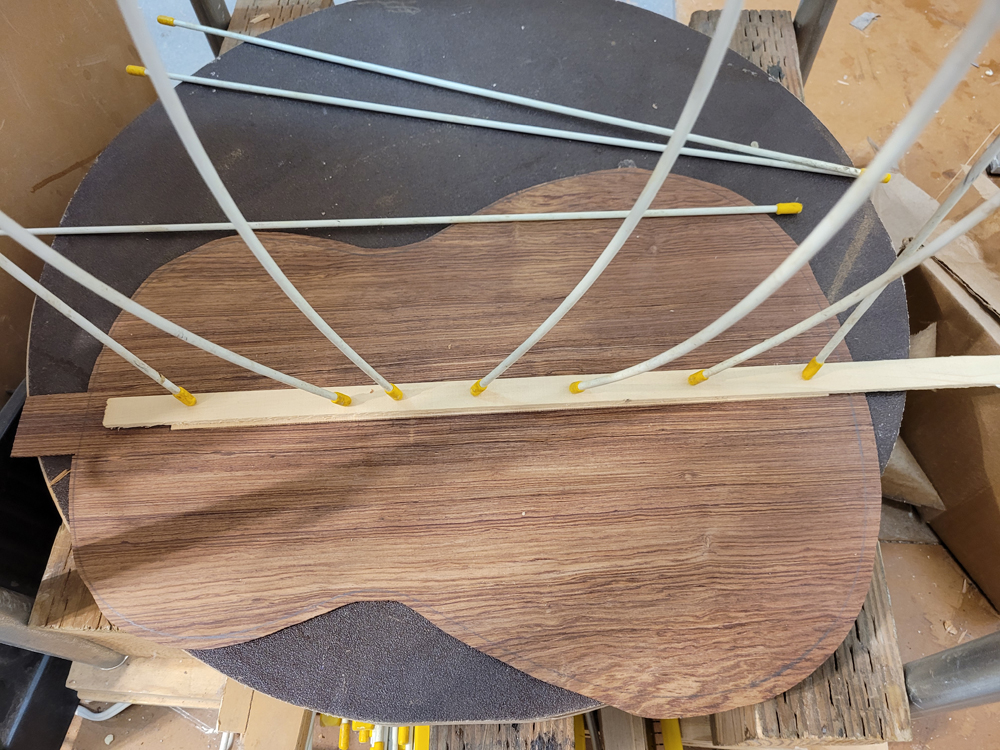
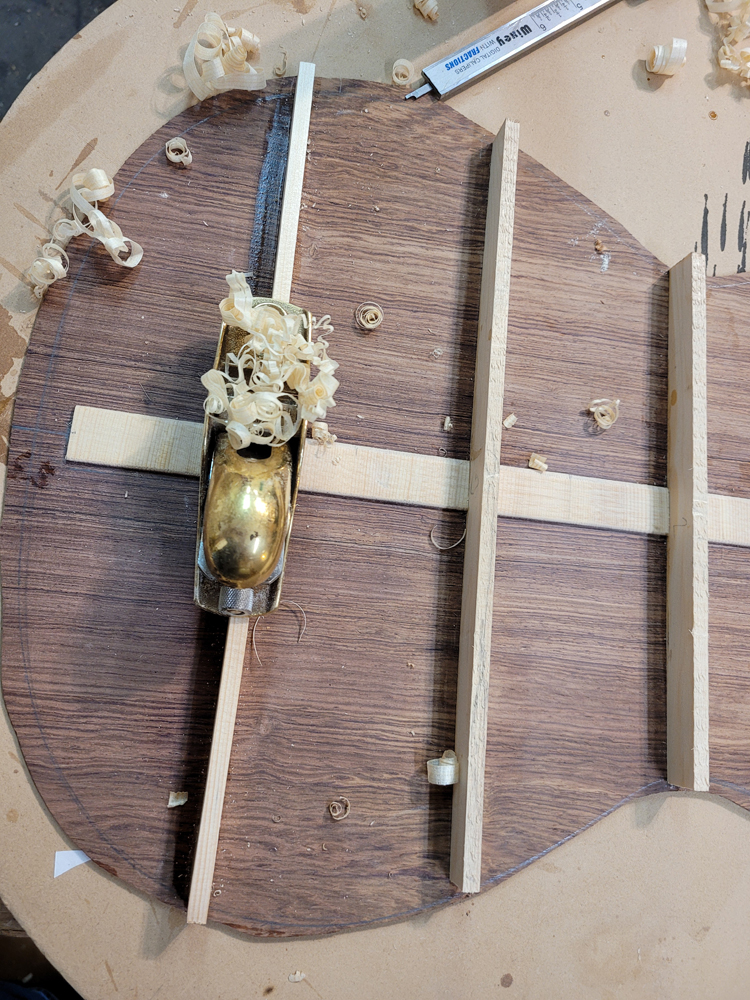
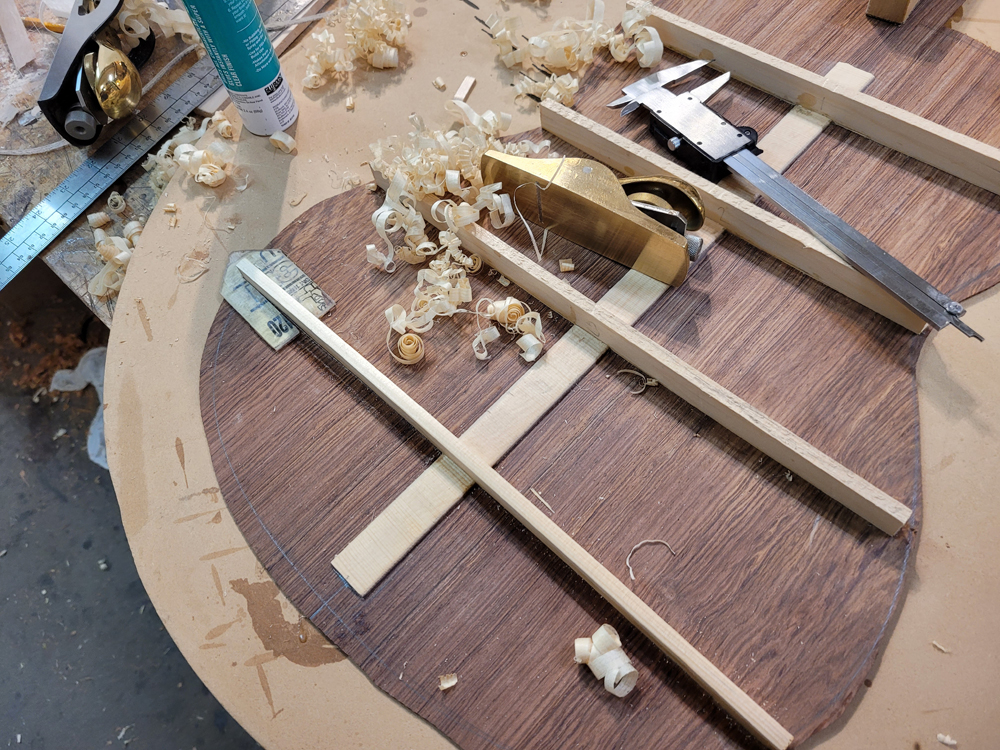
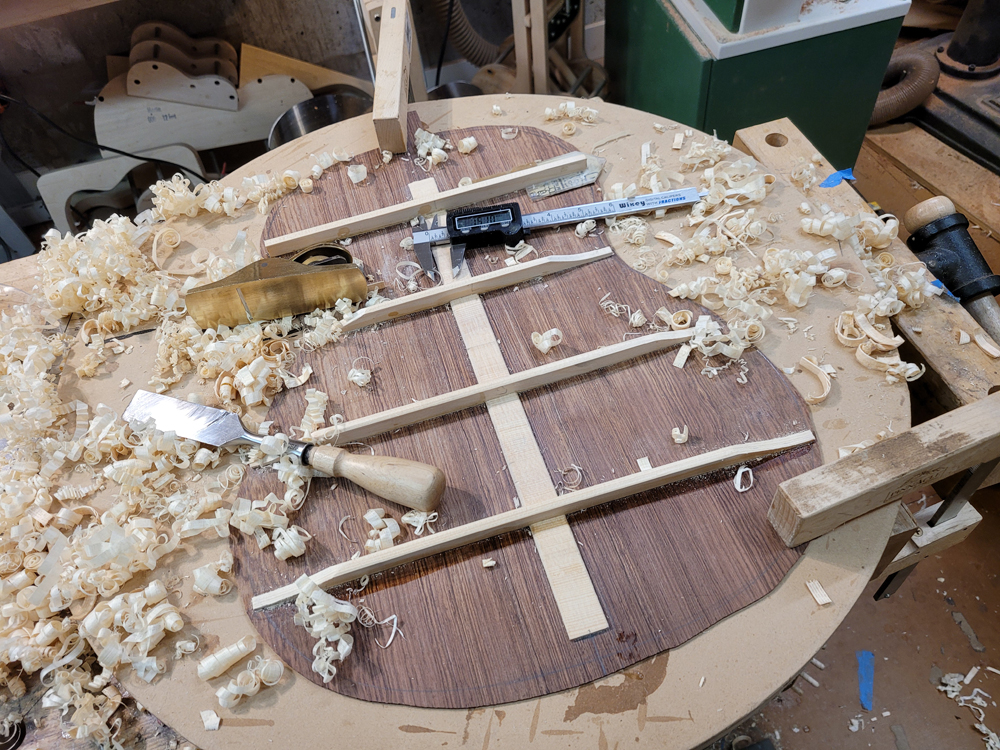
I took them first to specified height of 6mm. Then I felt and tapped the top. I left the center for structure but took the outside braces to 4.5 mm and the two close to the center to 5 mm. When happy carved the ends of the braces to about 1 mm and I gave them a triangle (more gabled house) shape with a plane.
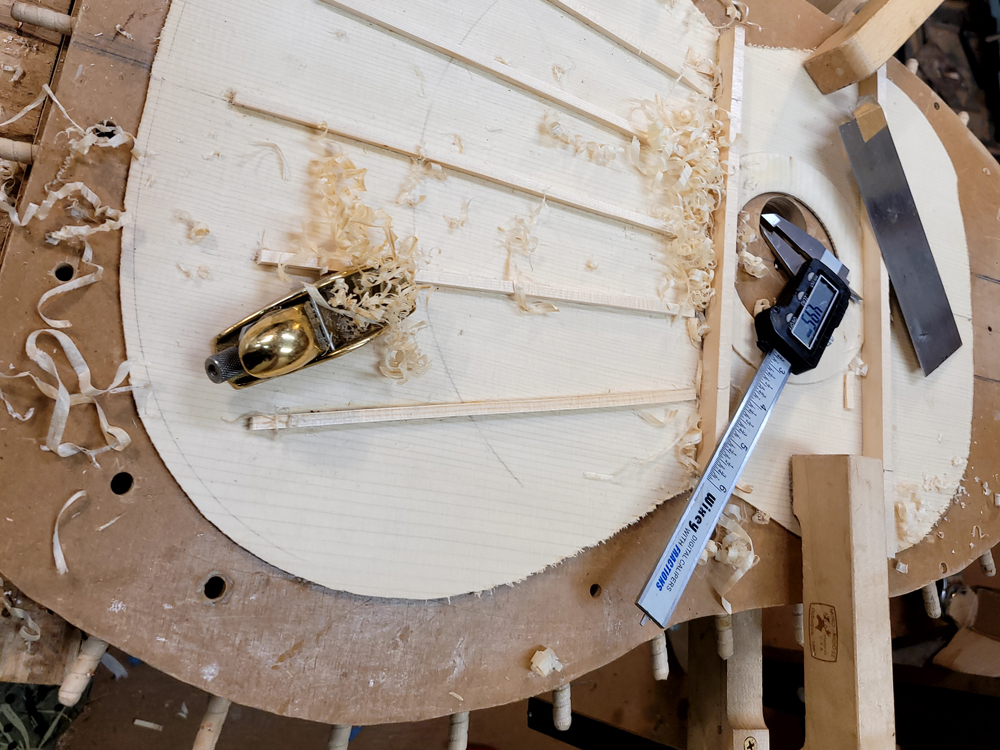
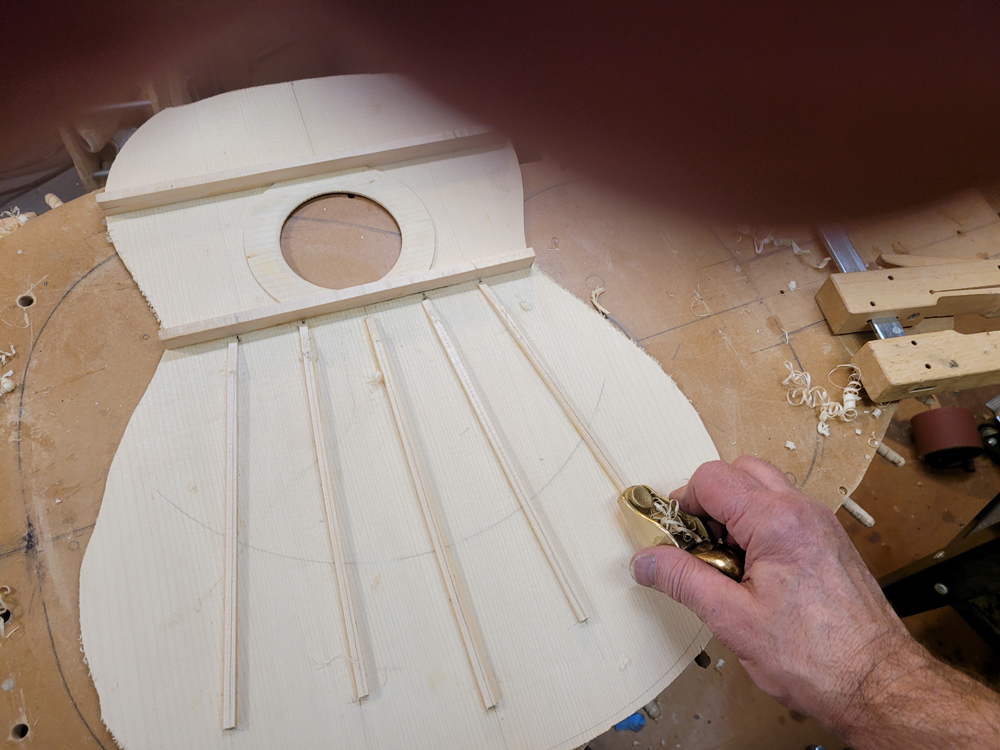
I tapered the end 20/30 mm of the brace to about 1 mm.
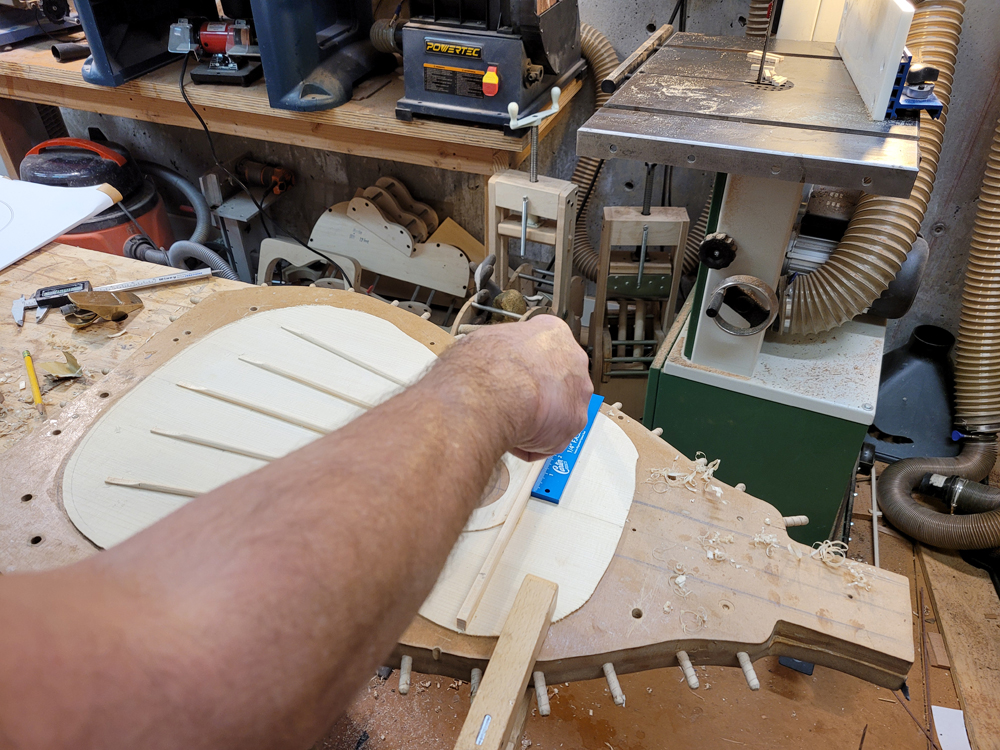
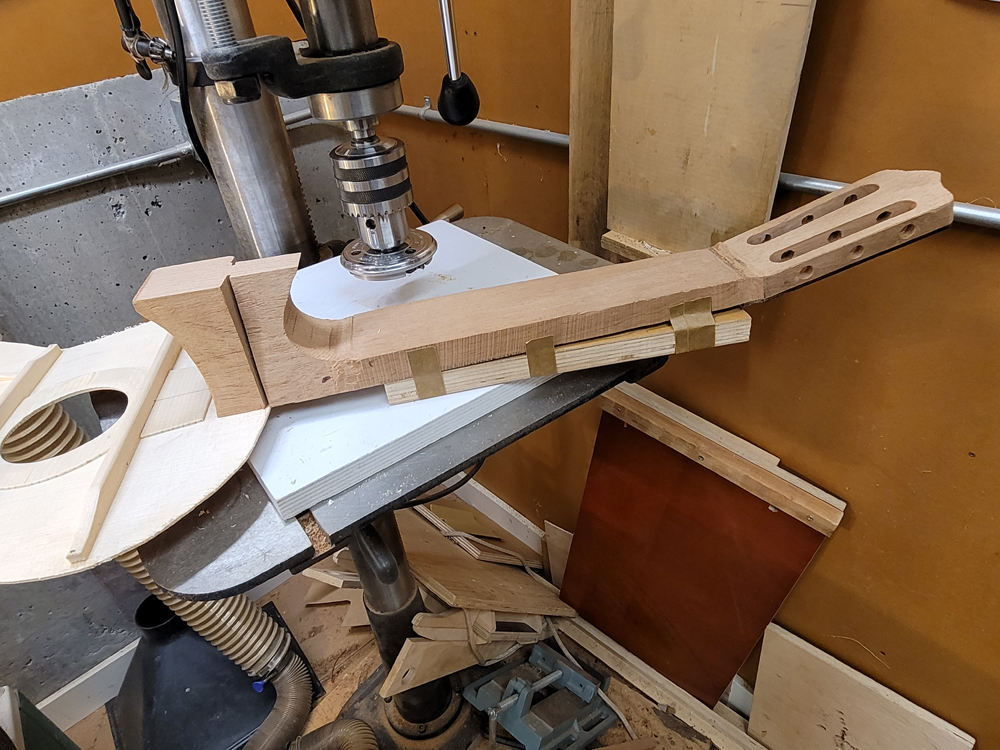
A ledge needs to be routed into the neck heel to accommodate the top so that the top is level with the fret board plane. I uses a router in my Bishop Cochran base. Notice that I really push the guide out from the base to make it easier to cantilever into the ledge I am routing, staying on plane with the neck.
First I used a bit of the top cutoff to set the depth stop.
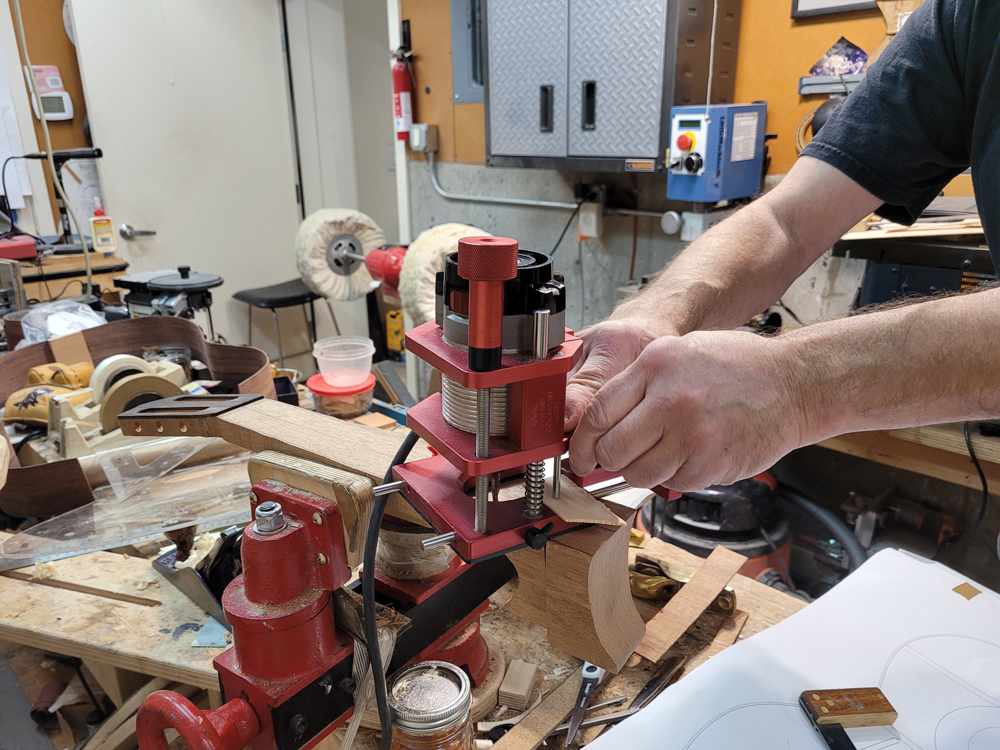
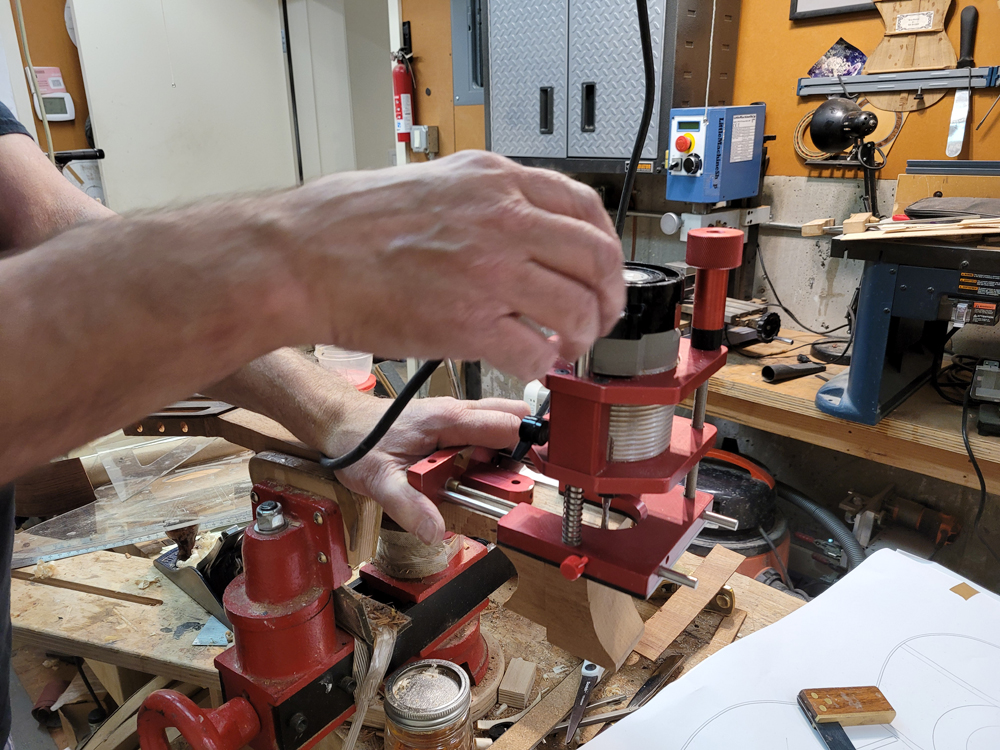
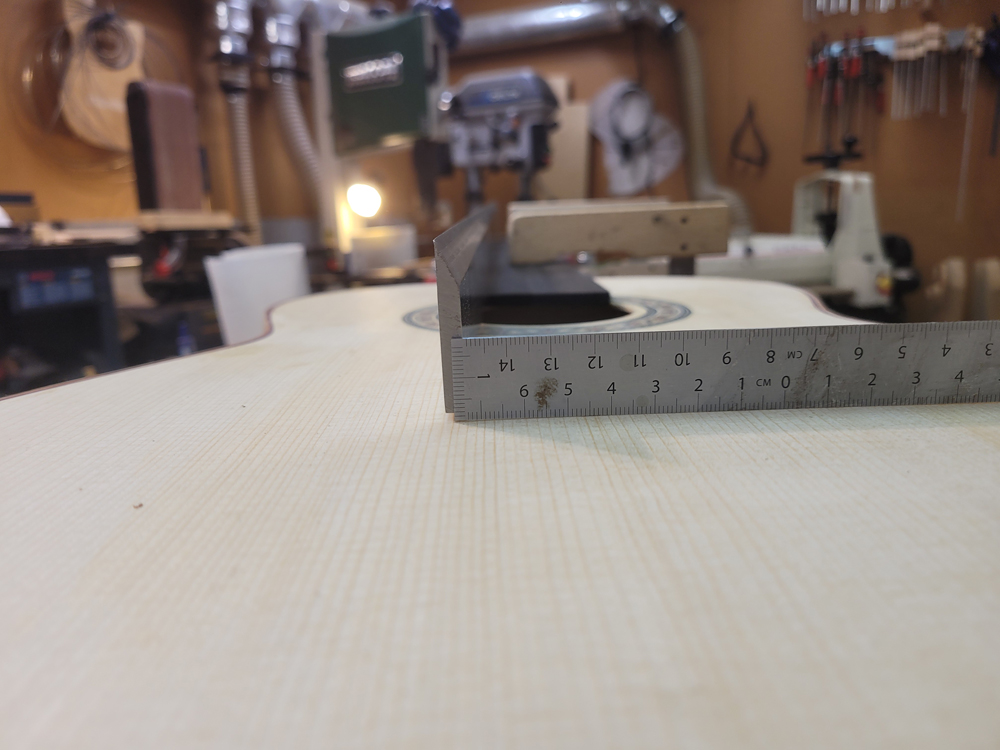
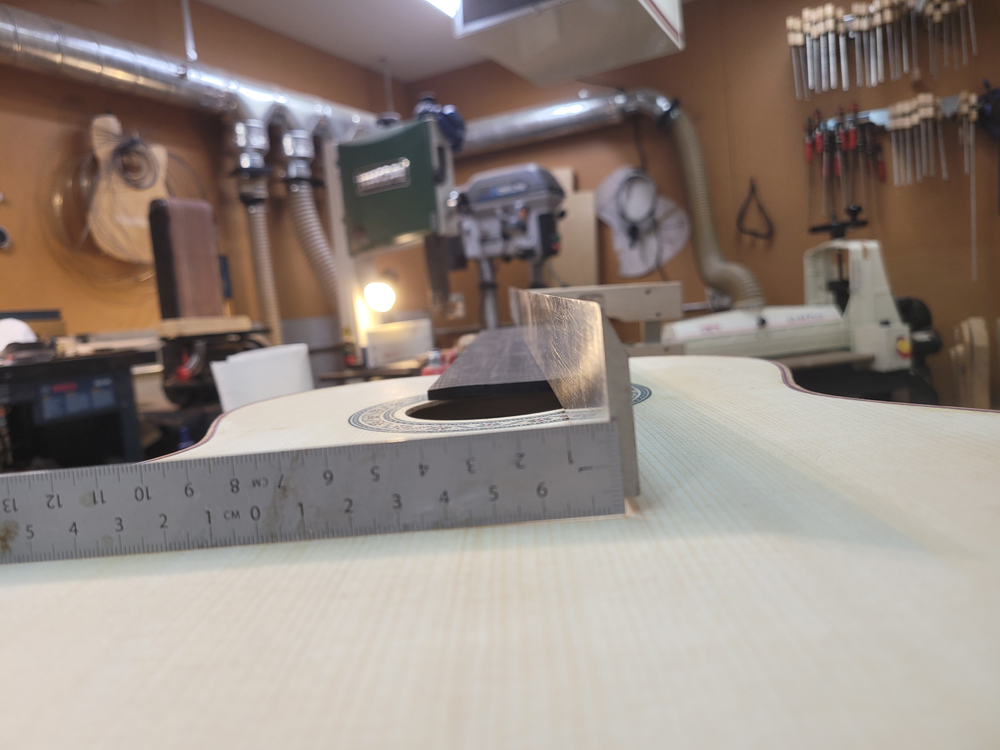
I glued the top to the neck using a new method. In the past I would clamp the neck on a straight work board with a center line penciled in, then I would clamp the neck on the work board and centered the heel block center line that hopefully I transferred from the top correctly and I would get on my knees and look under the work board to make sure my neck was on center. On this guitar wanted to make sure the heel block center was marked correctly I lined everything up from the top using a straight edge to assure I was centered. Seeing this, it occurred to me I could just glue this up with the same clamping arrangement. I am sure my neck is centered and straight.
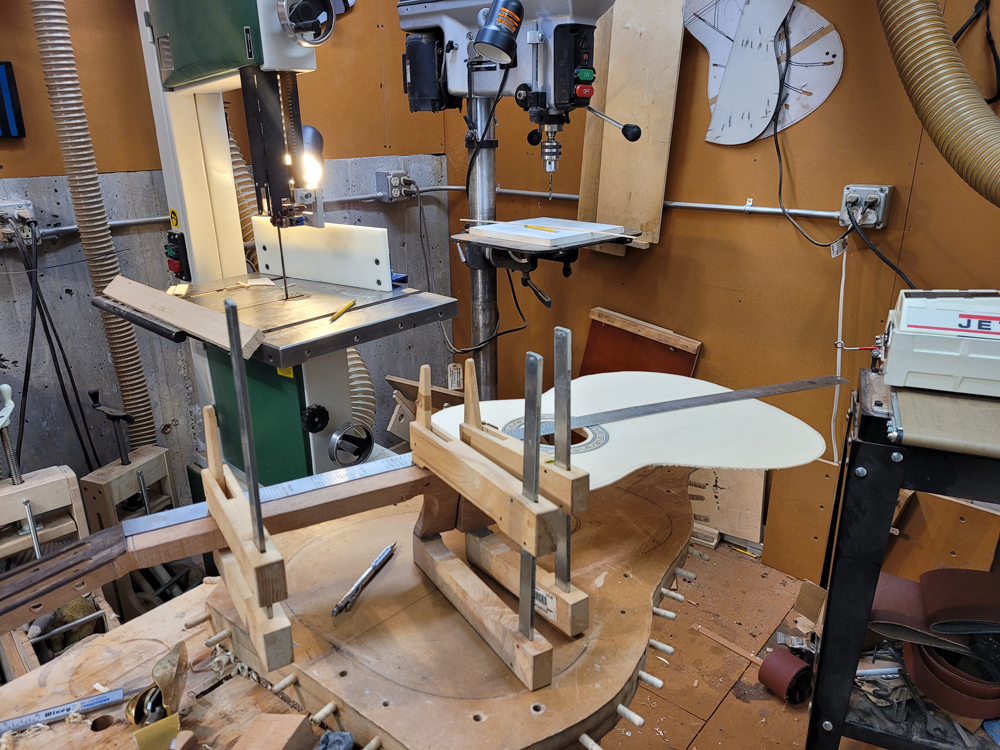
Now was the time to make sure the sides and the top neck assemblies could fit on the solera all centered up.
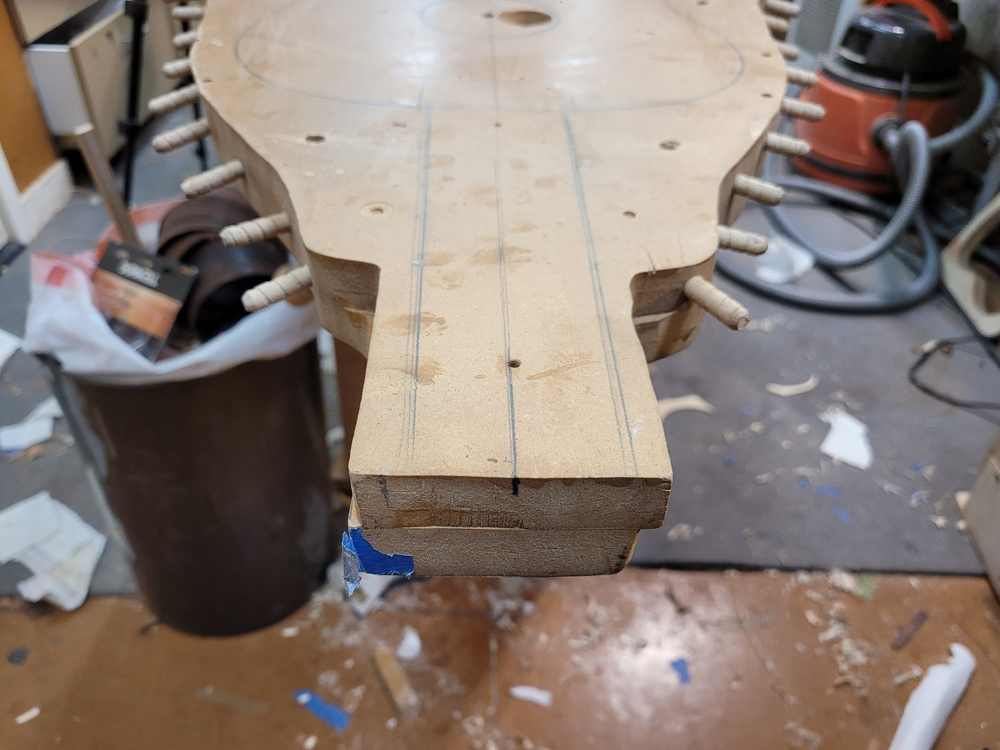
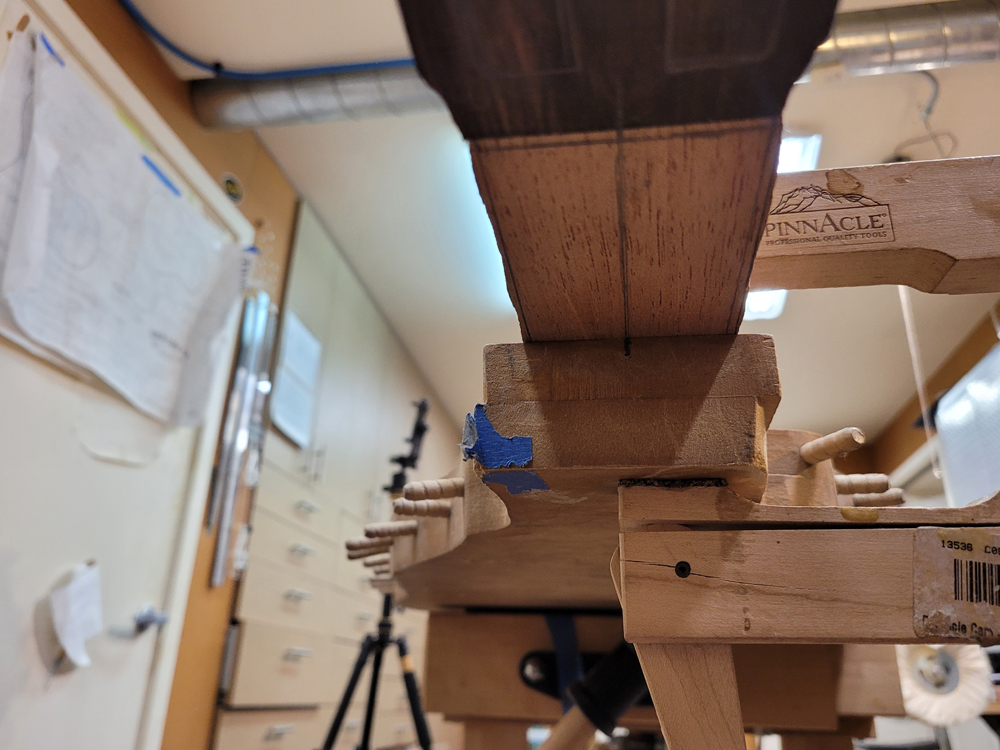
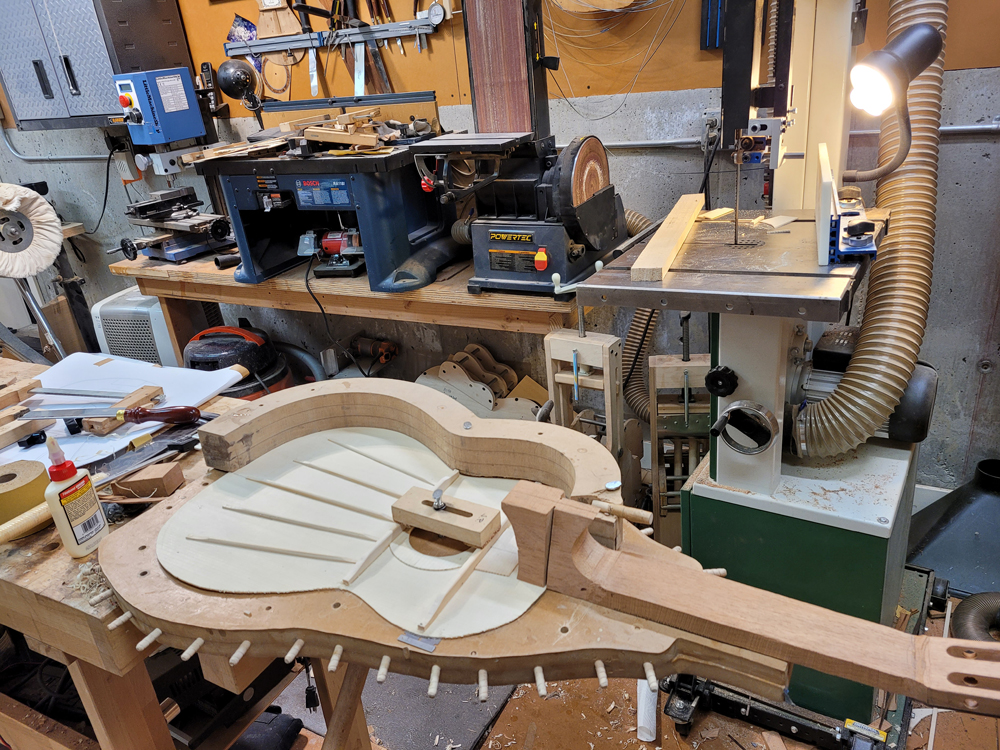
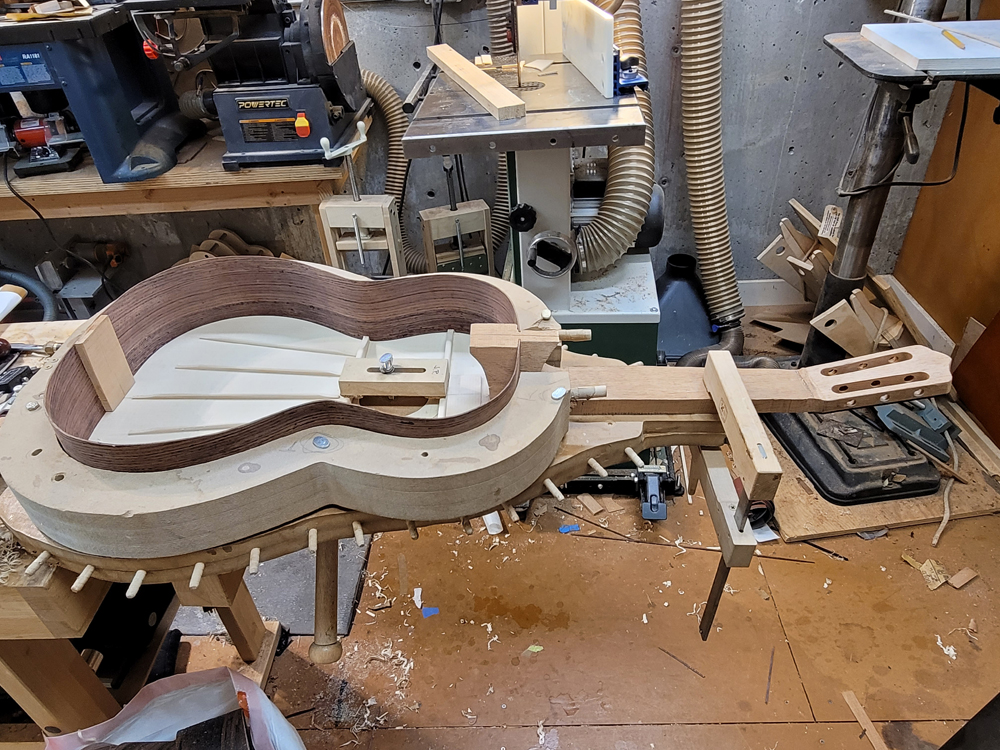
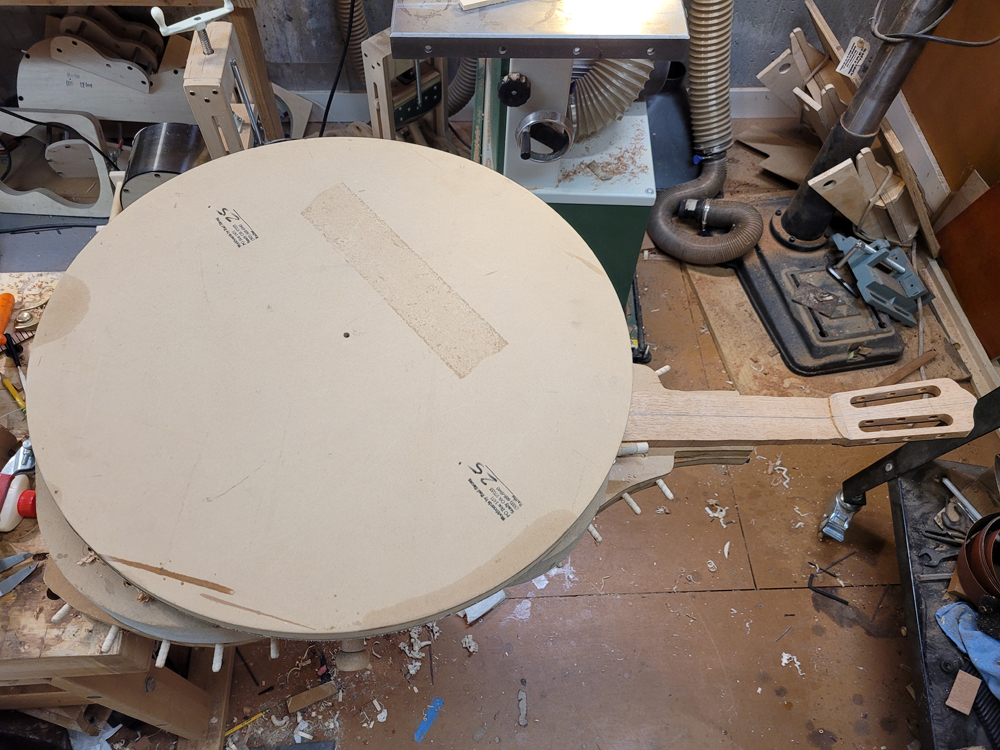
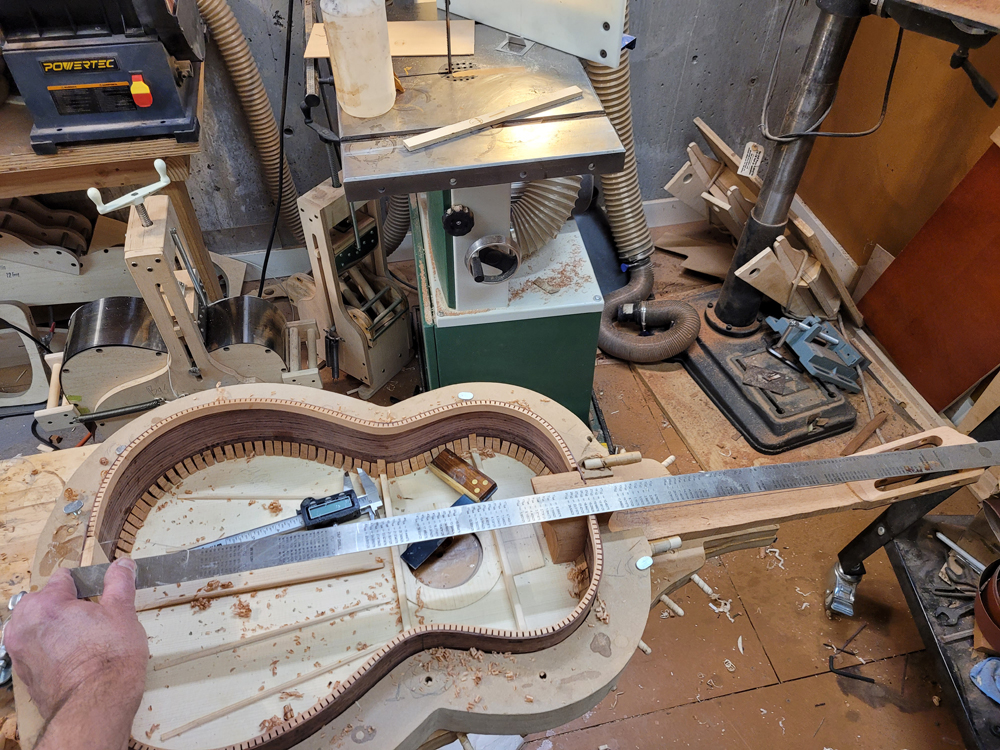
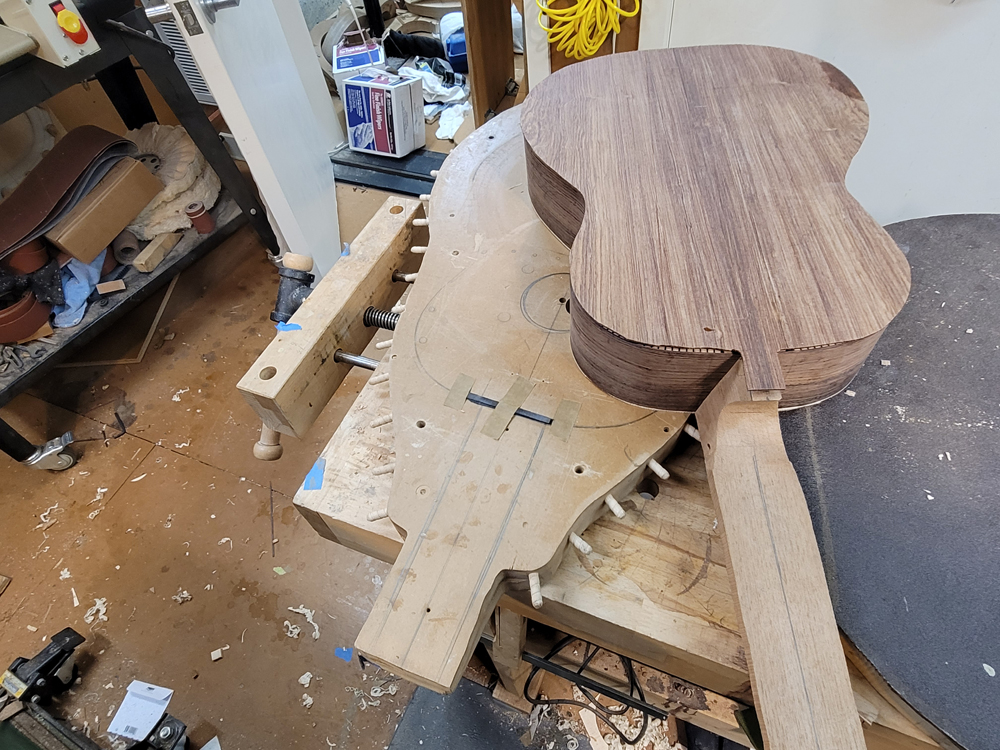
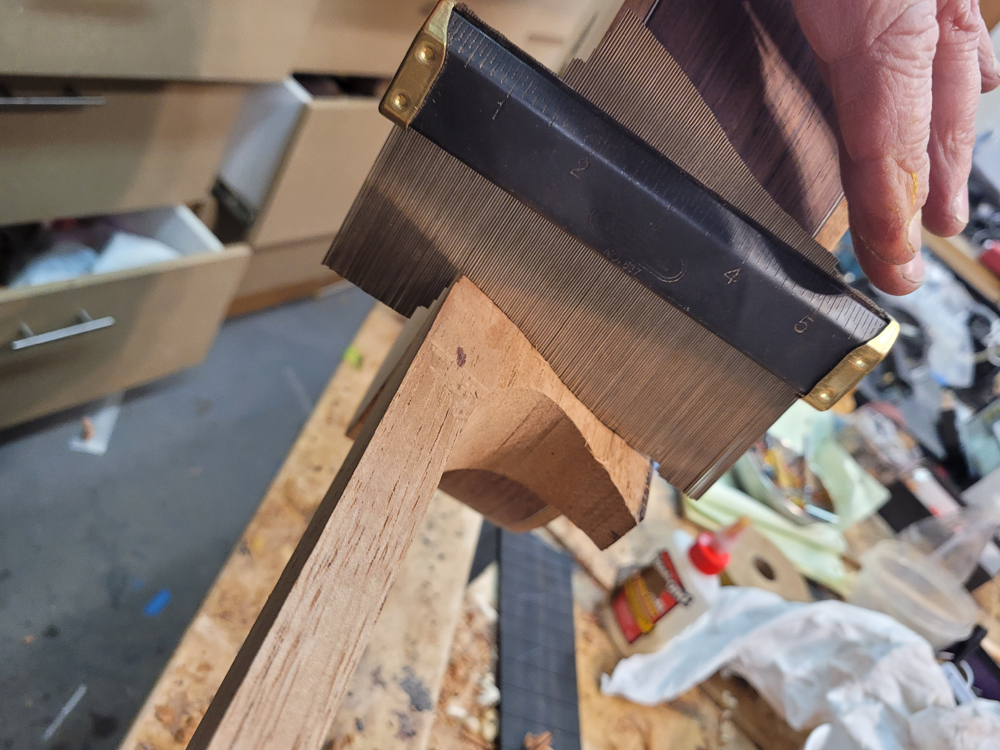
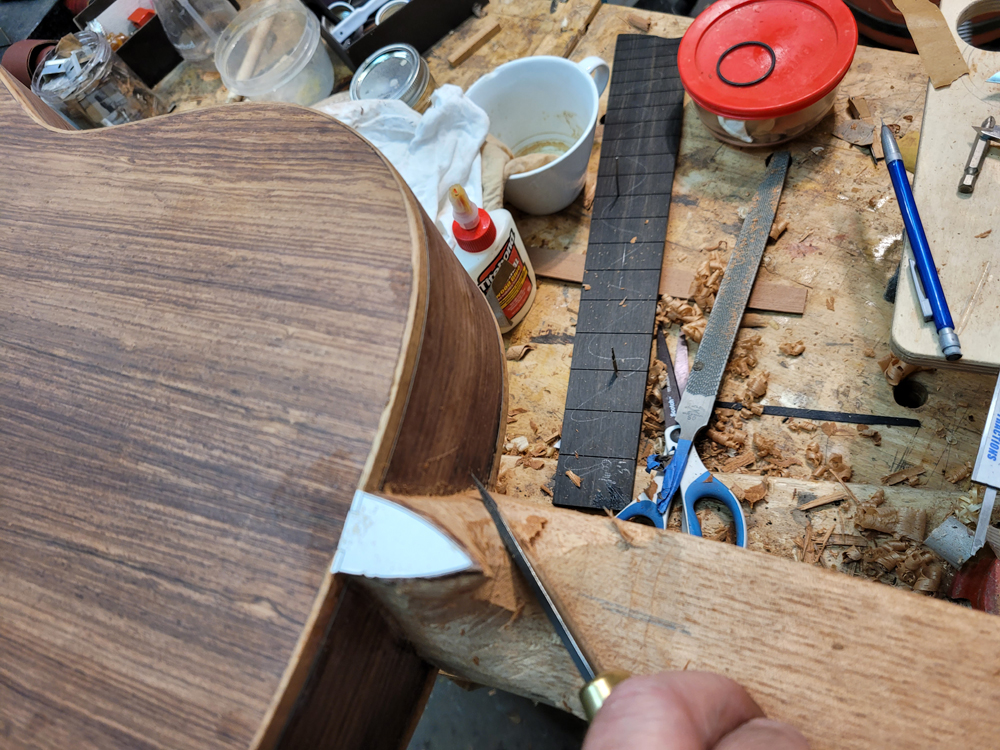
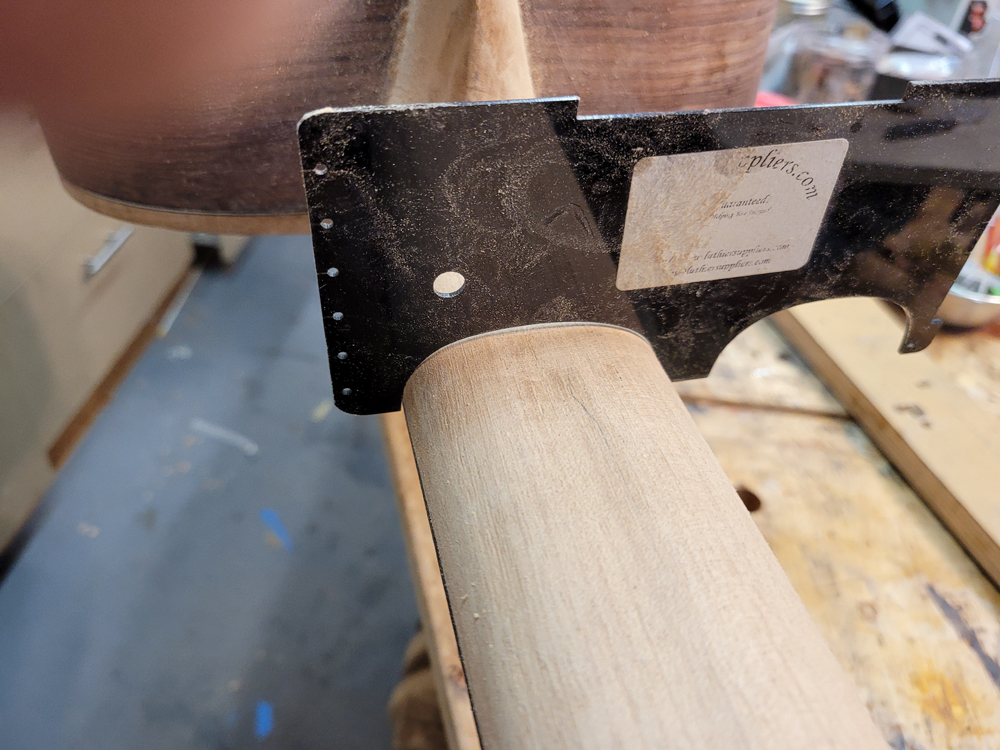
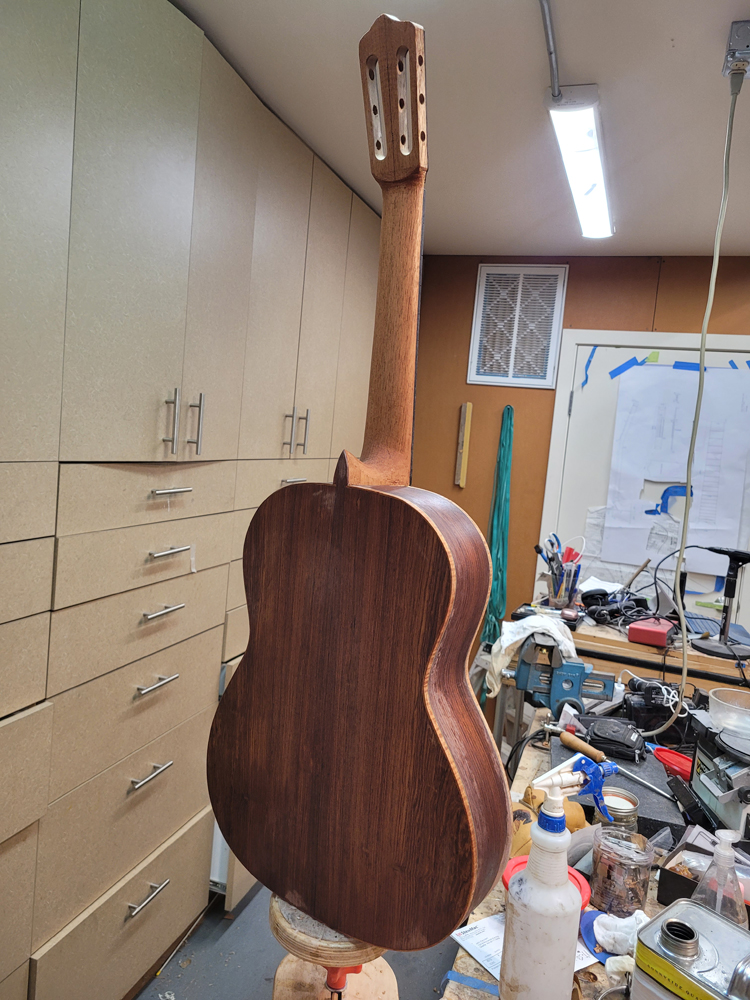
With every clamped into place I rough profiled the back to a 25' radius, I also set the depth of the guitar at the tail and heel. When finished I will be 95 mm and 90 mm. Five millimeters deeper than my Blancas. When profiling that back the neck and clamped on my solera giving me a classical guitar neck angle; I also have a 1 mm shim at the neck join location to give me a touch more forward angle for flamenco setups. As the Spanish heel slipper and heel is also being profiled at this time it is important the guitar is clamped in the correct geometry.
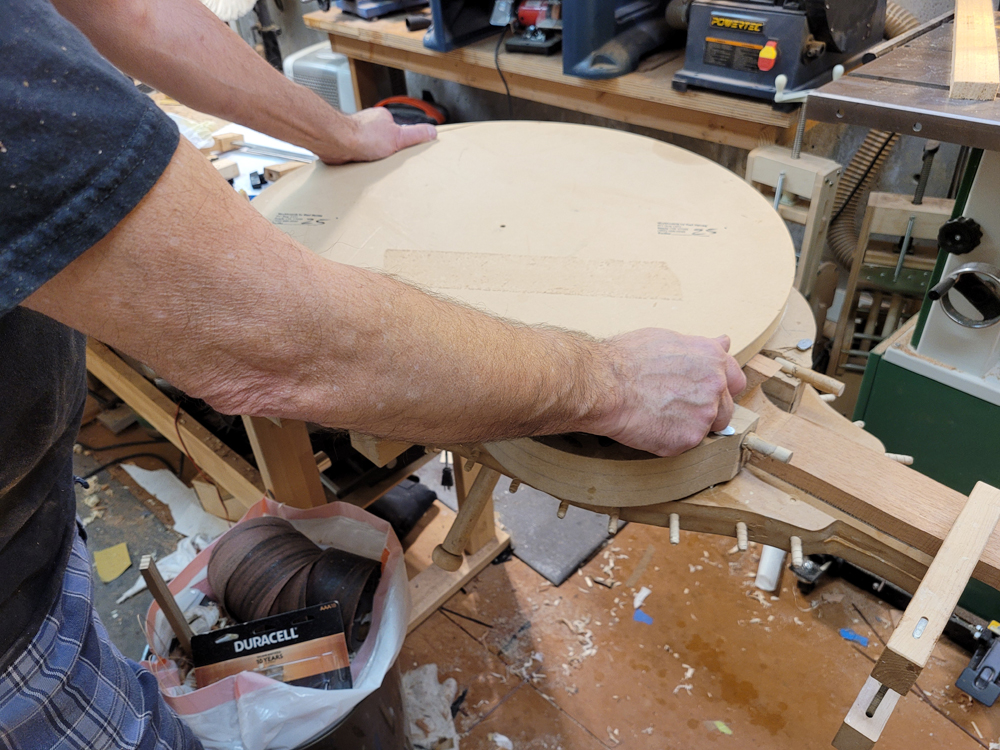
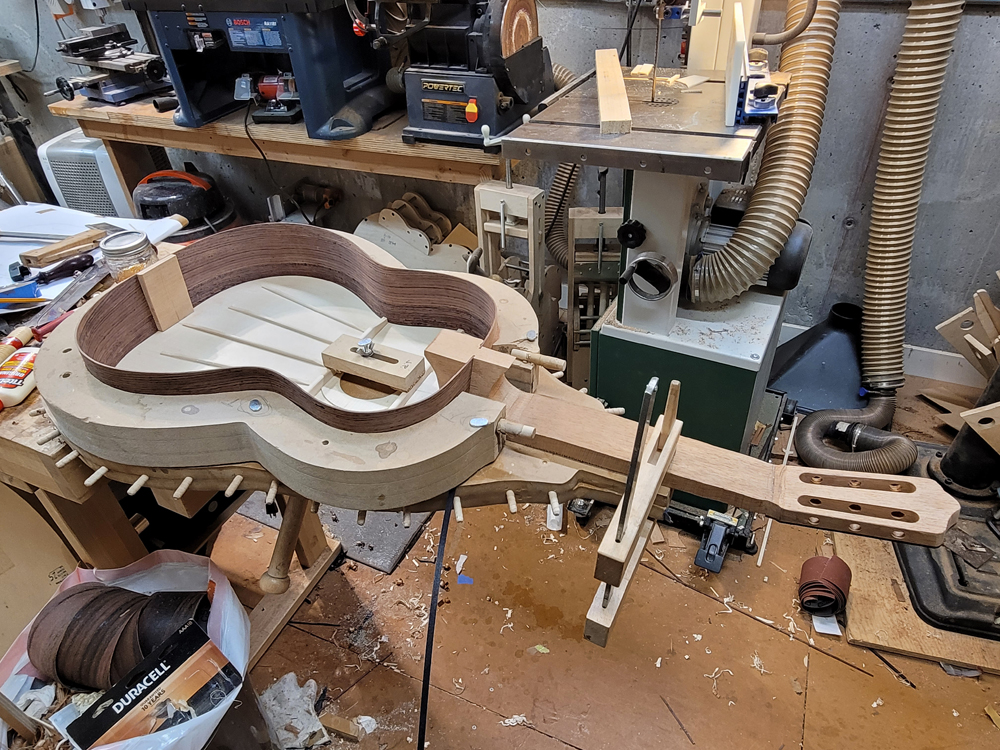
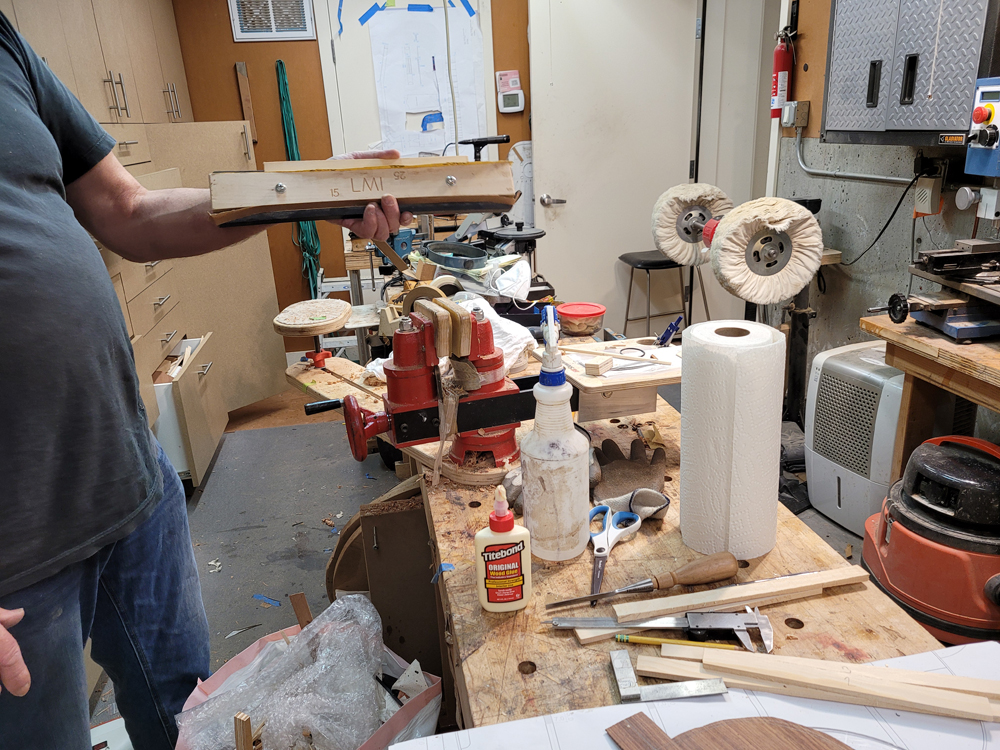
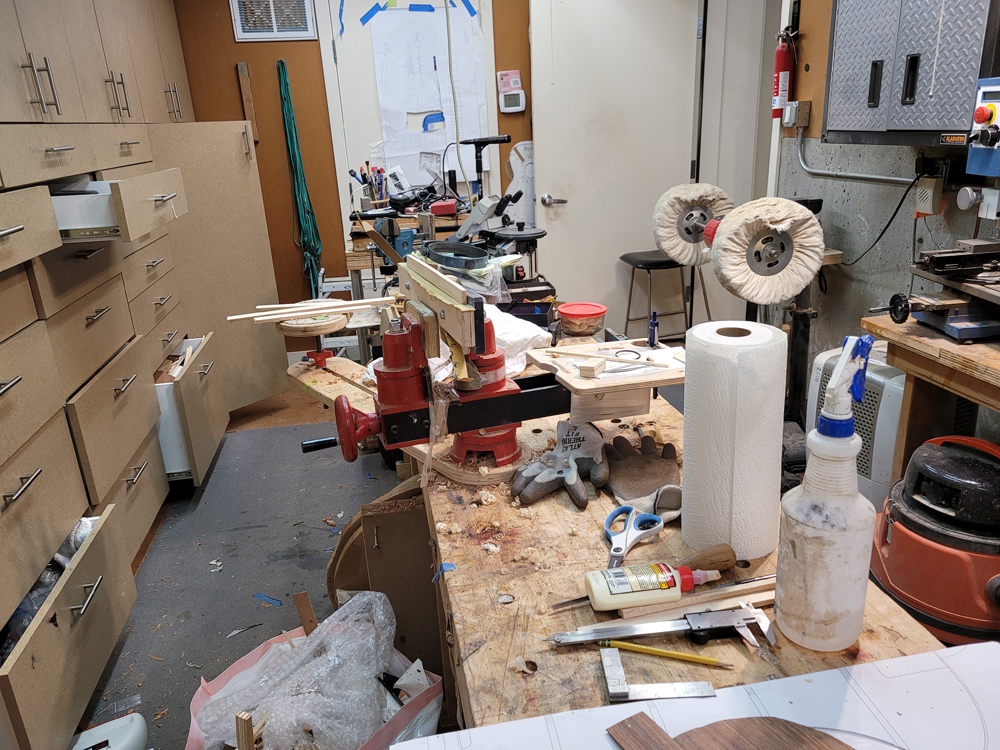
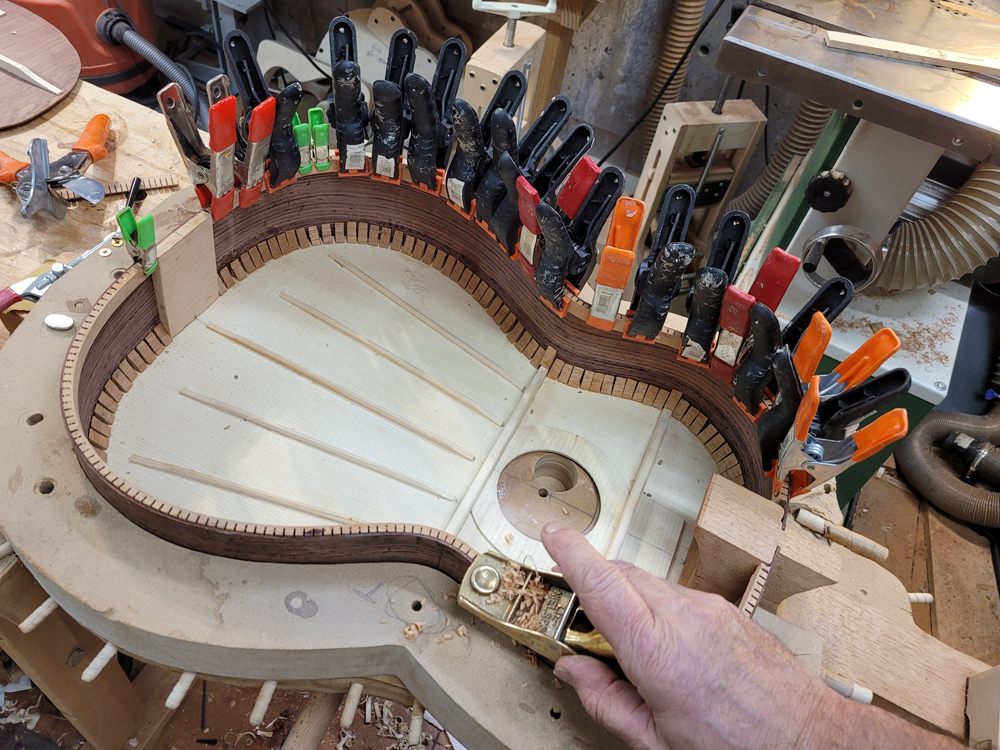
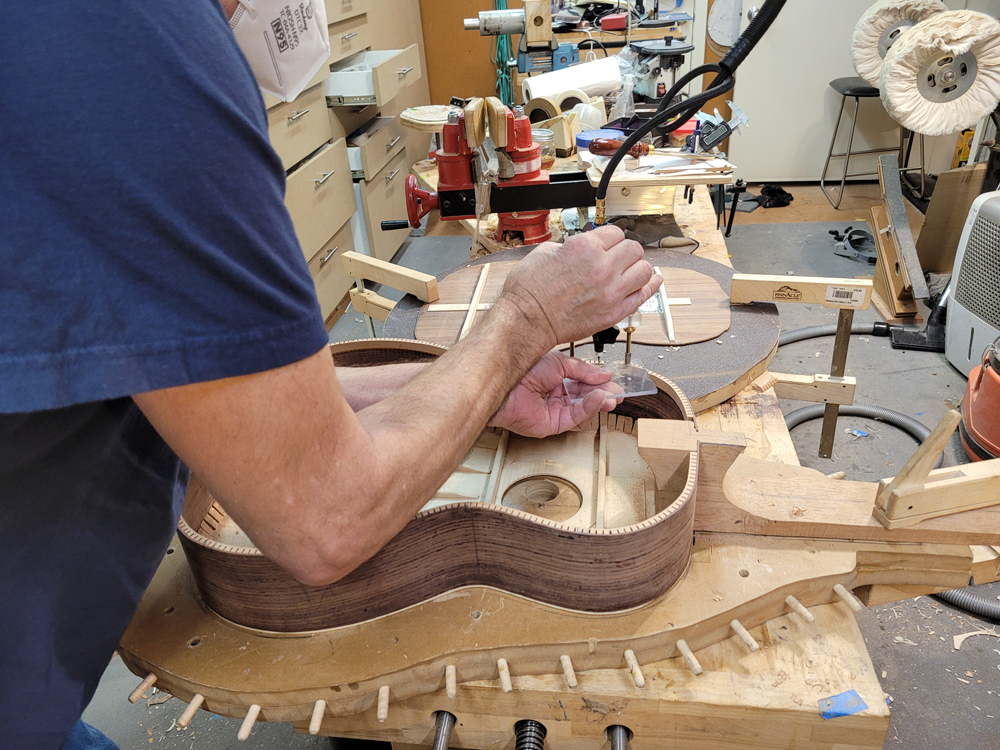
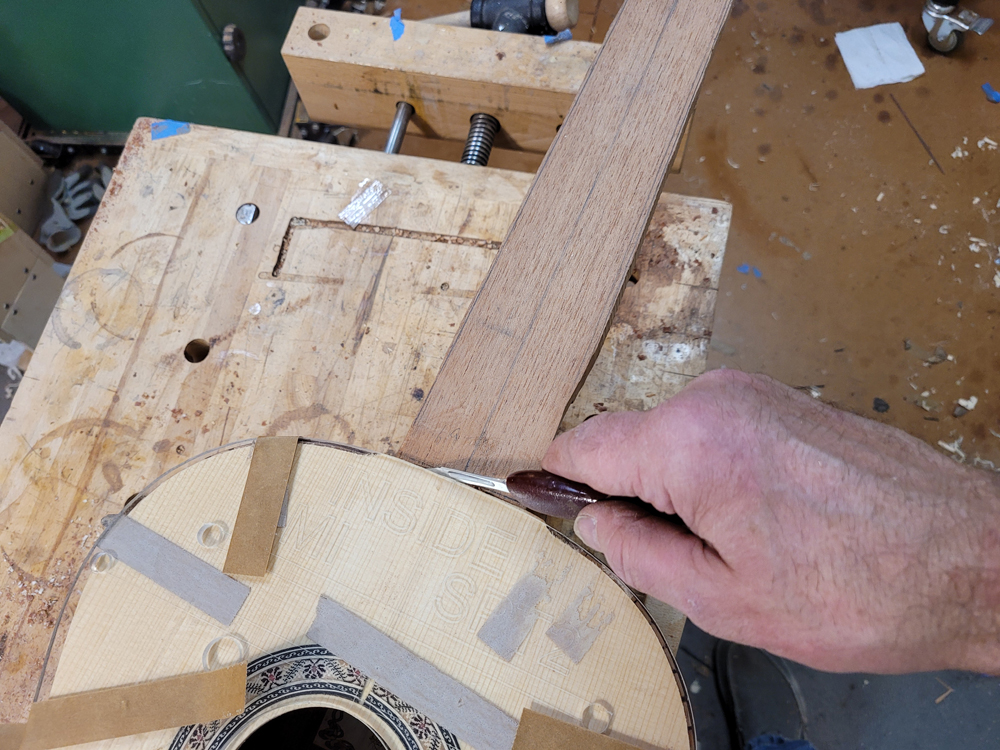
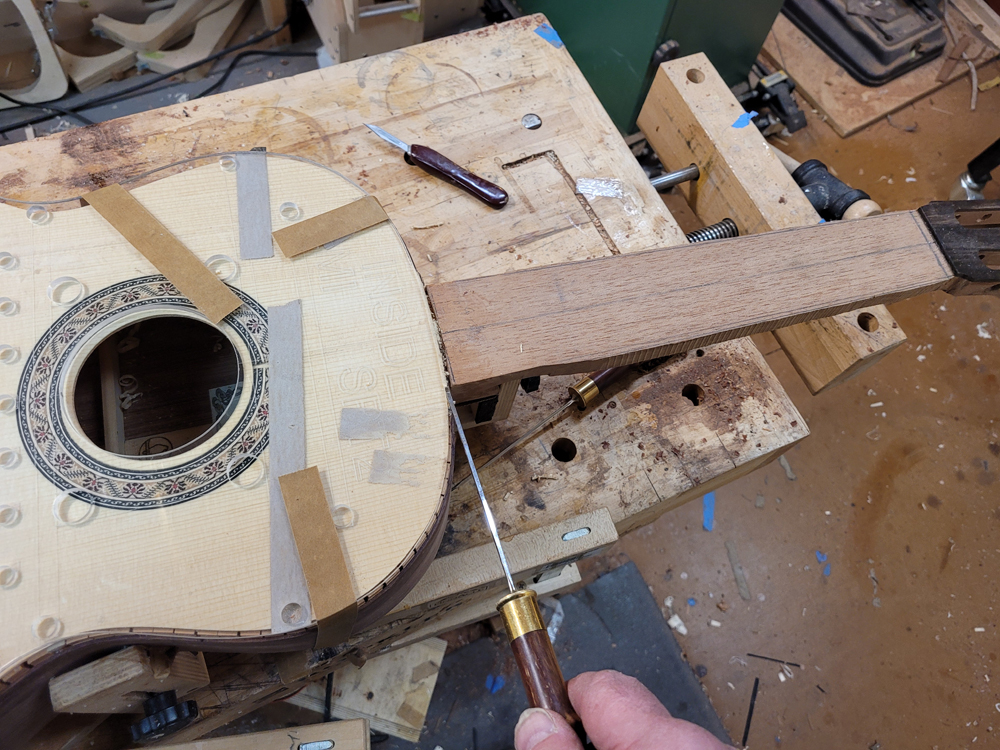
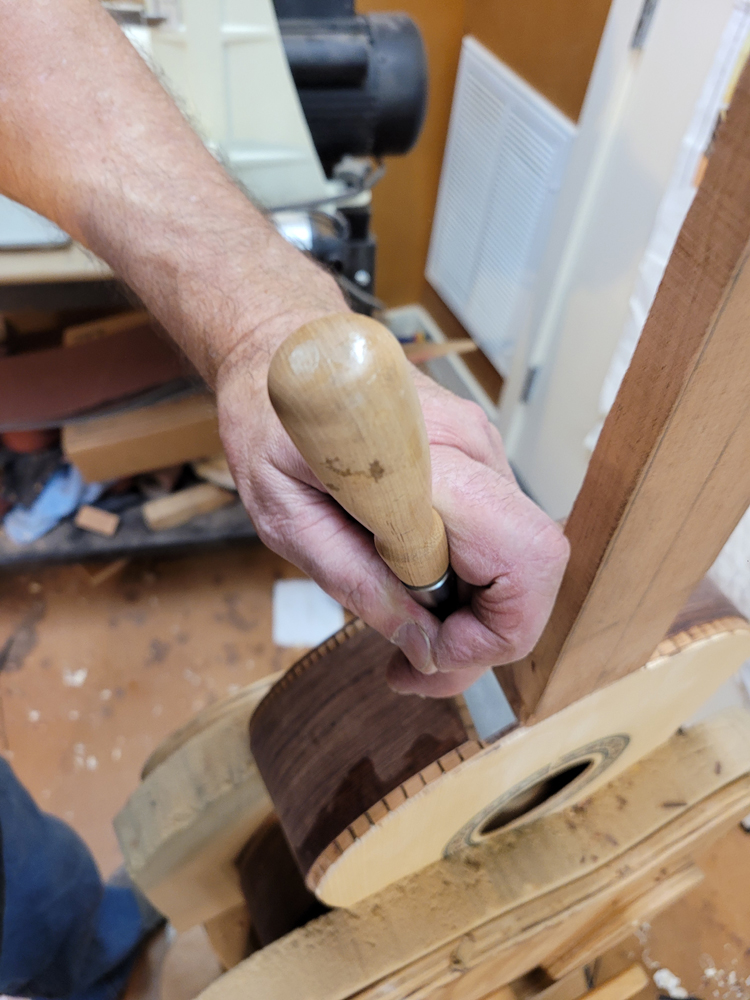
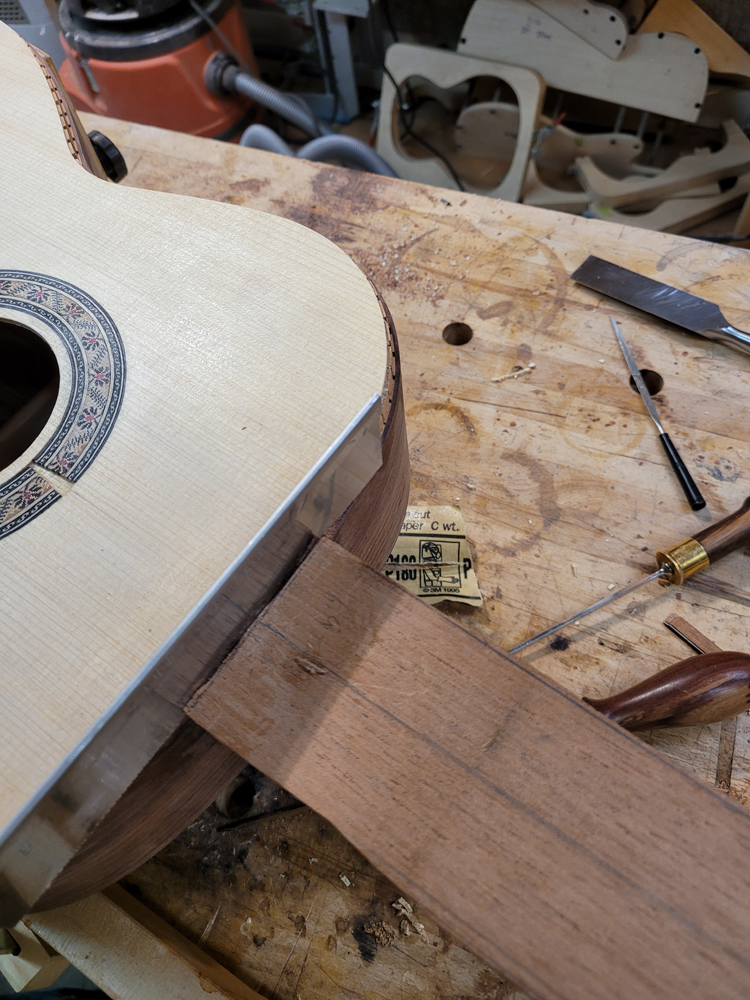
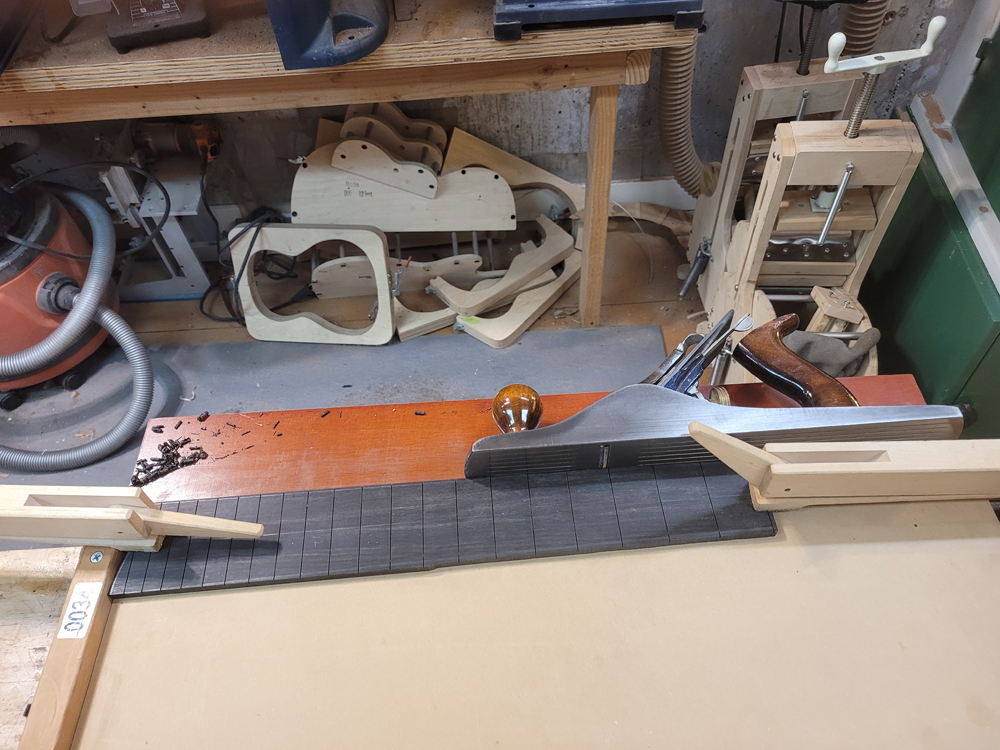
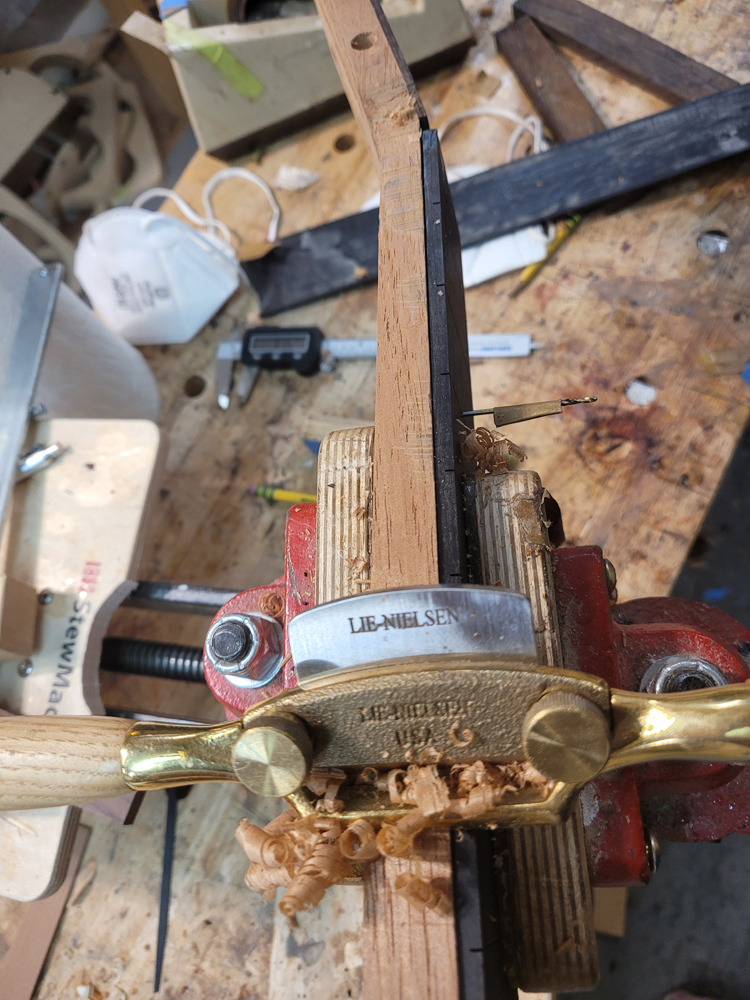
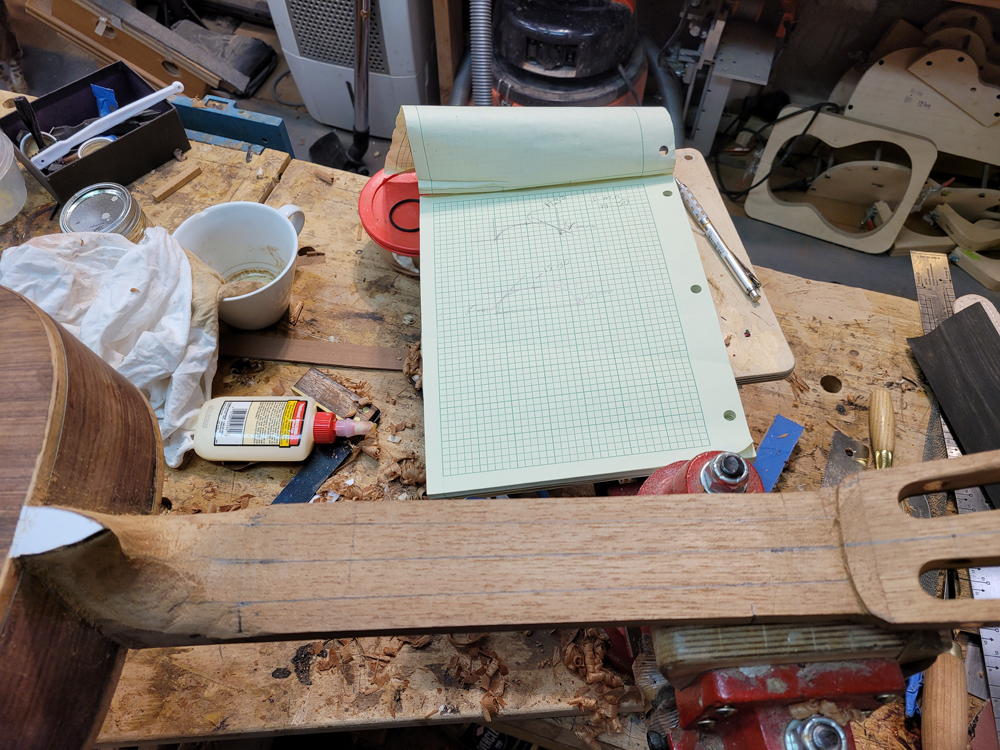
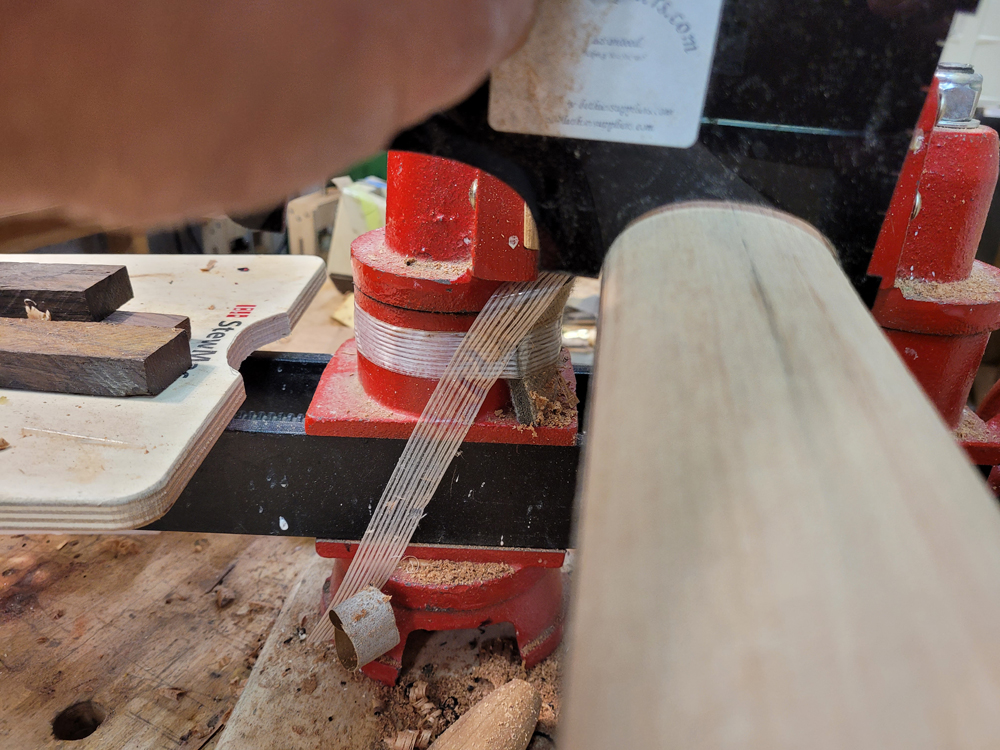
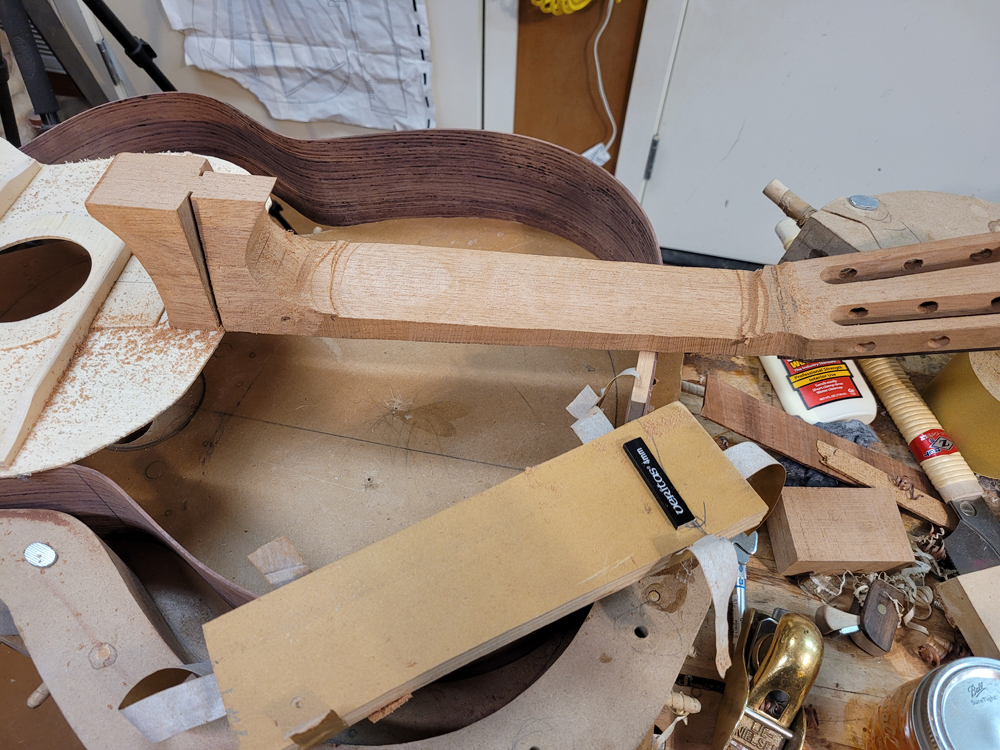
Even though there was a sheet of paper on my bench that said taper neck to final thickness before gluing on top; here I am doing it now with a safeT plane dragging along the top.
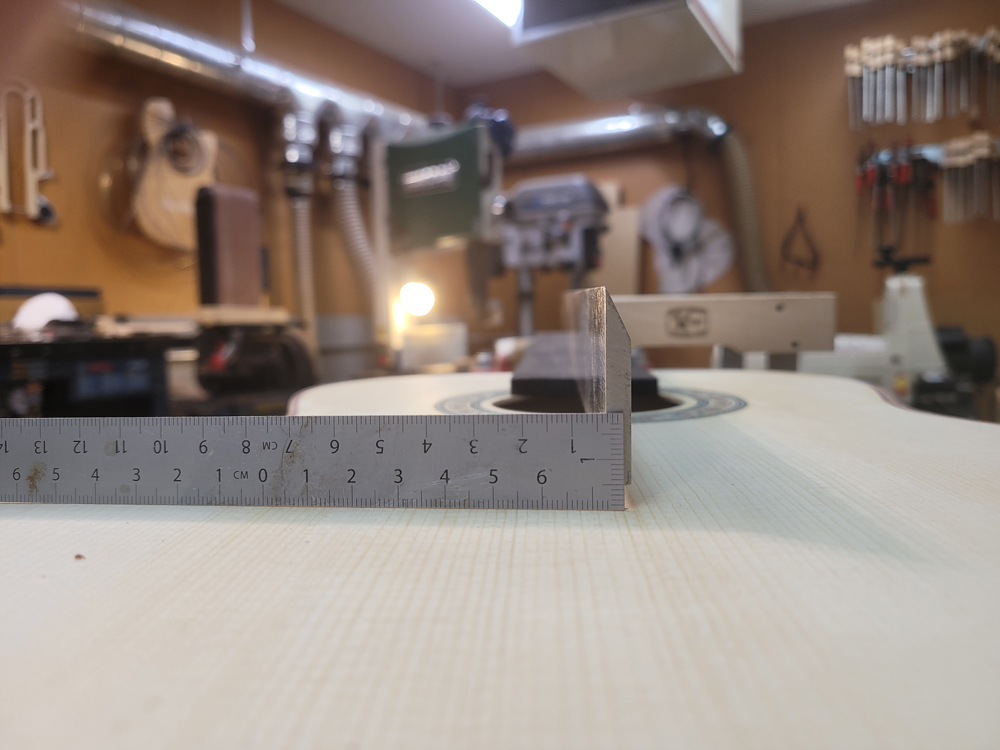
I get my desired taper using a shim on a small board that you can see in the above and below picture.
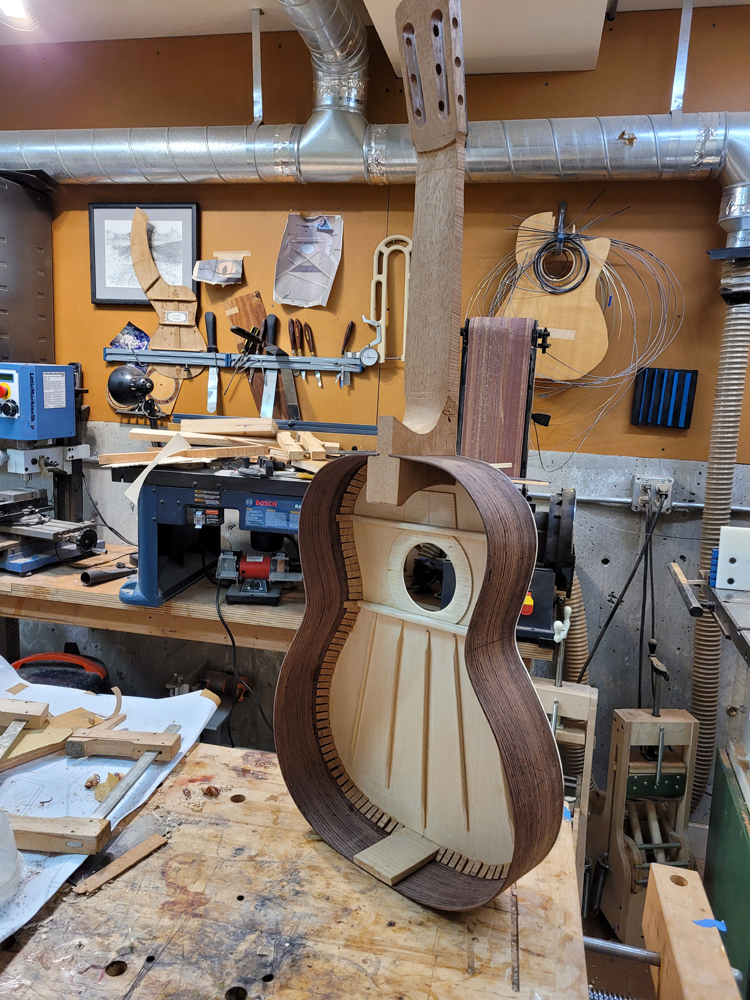
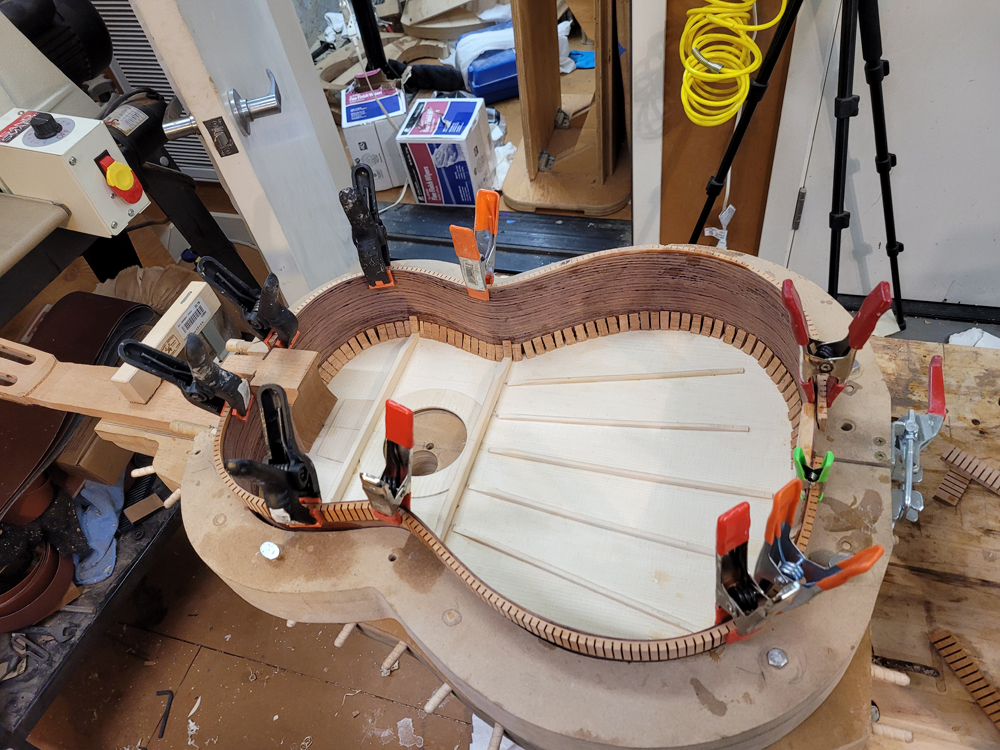
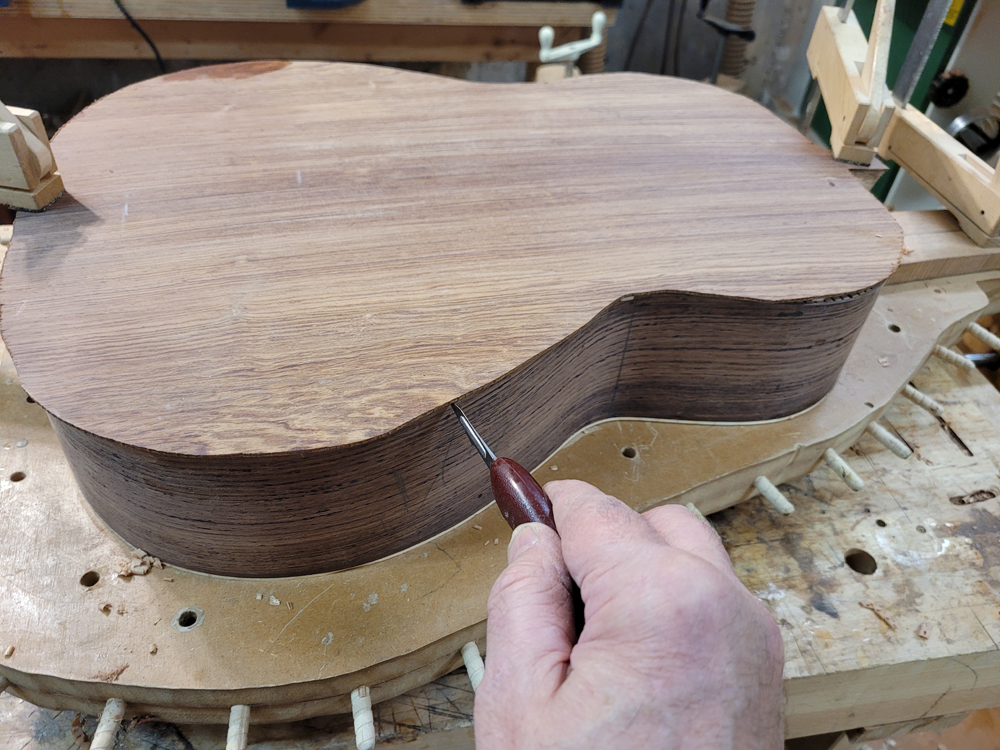
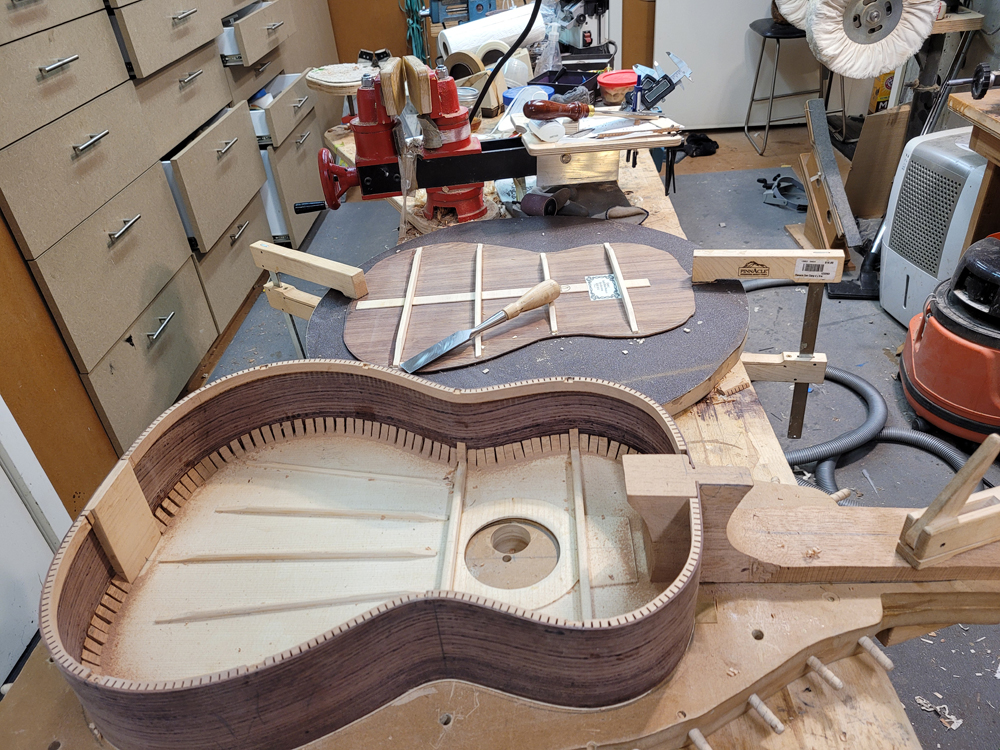
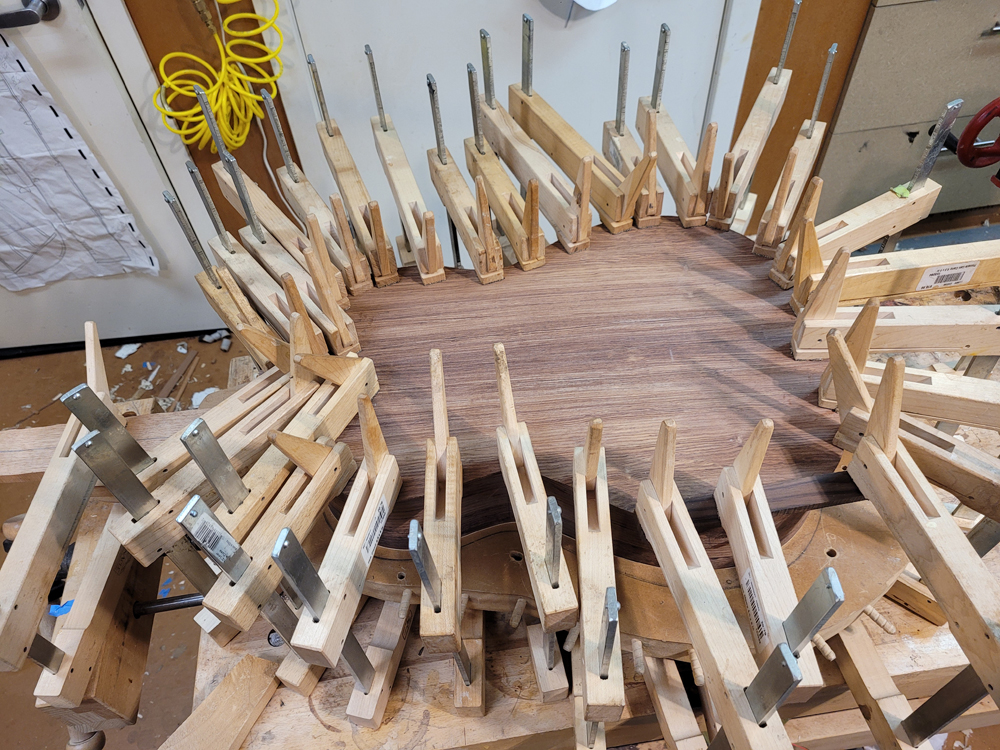
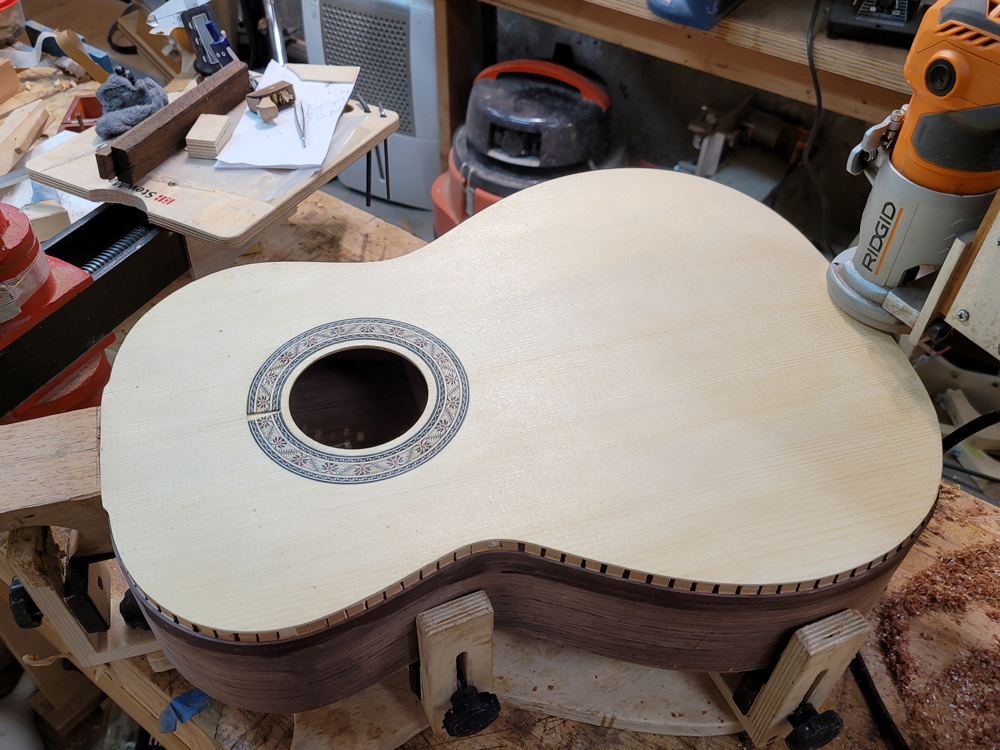
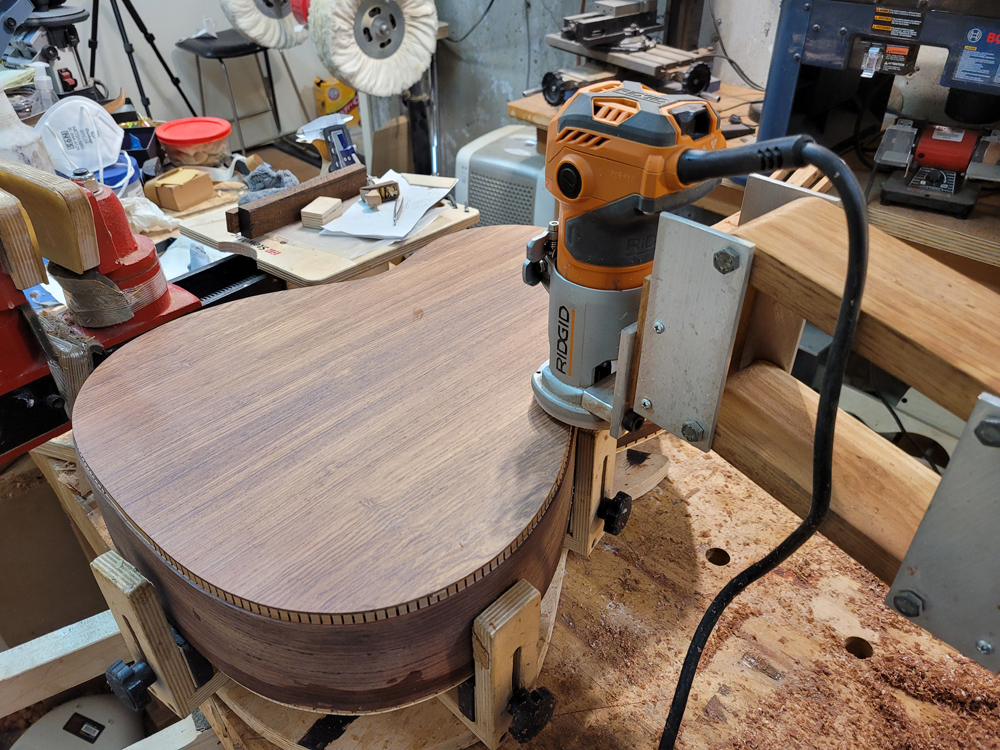
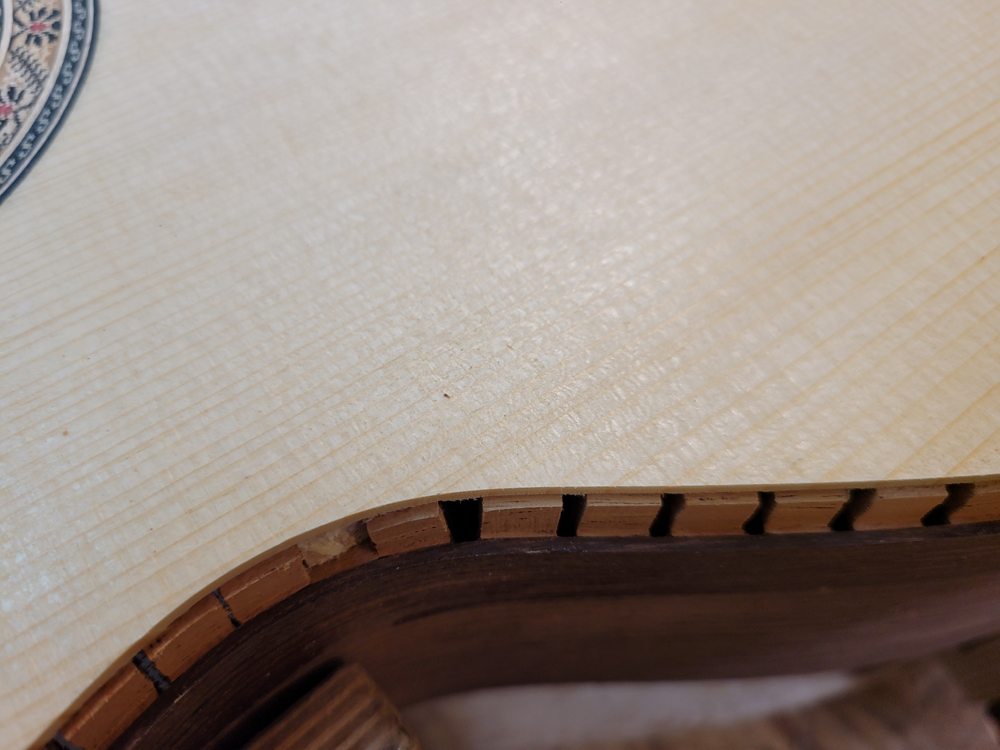
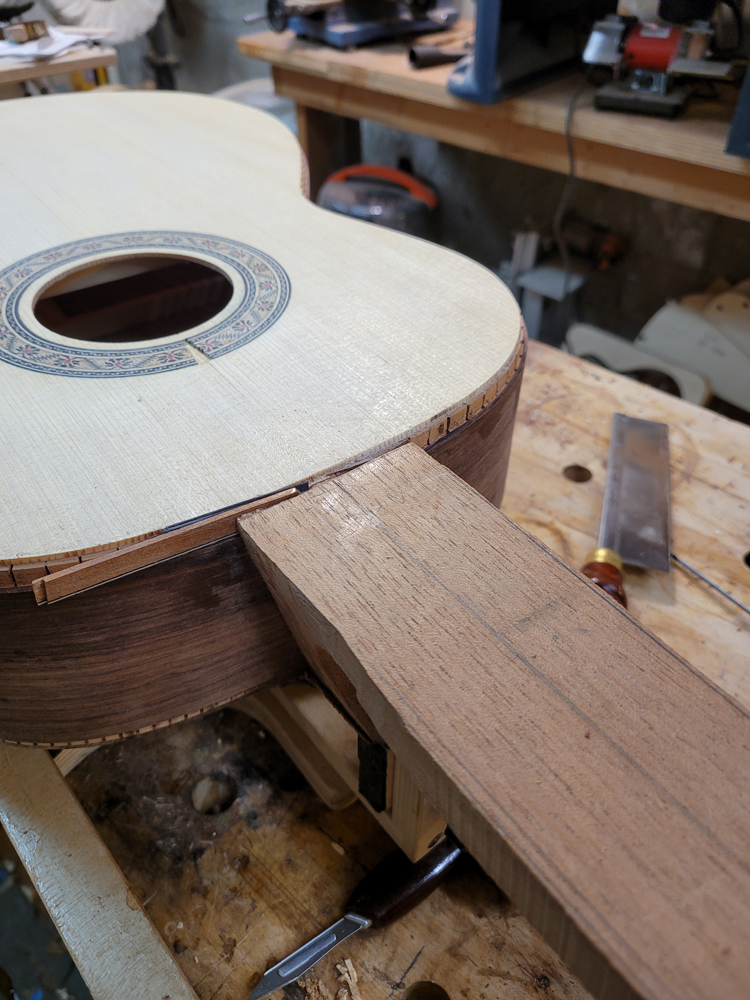
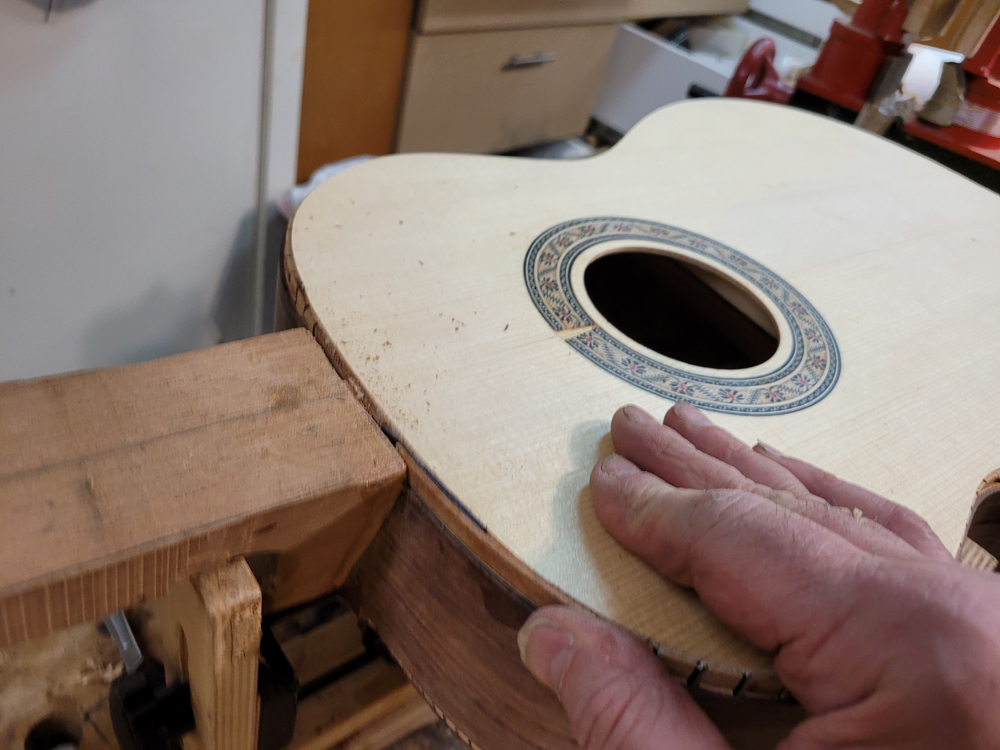
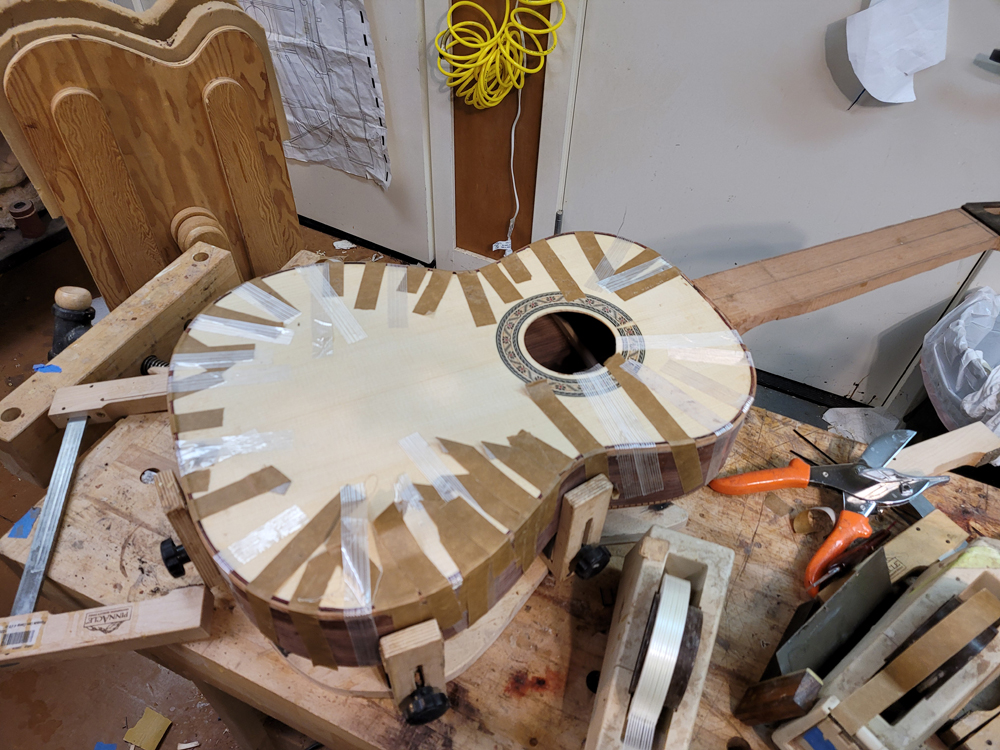
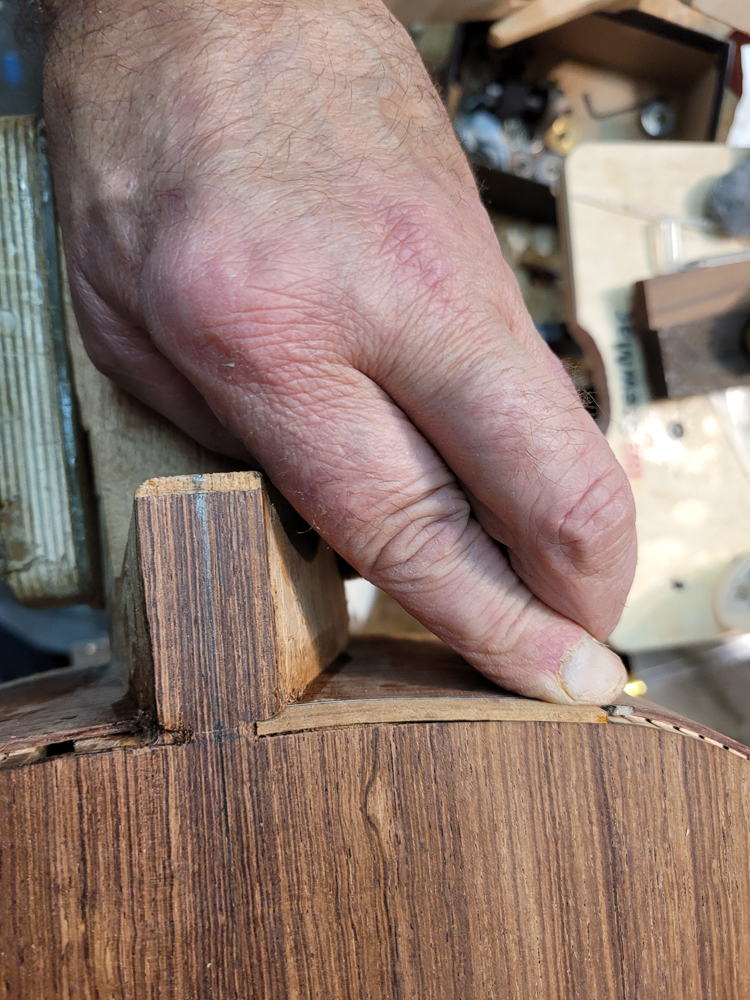
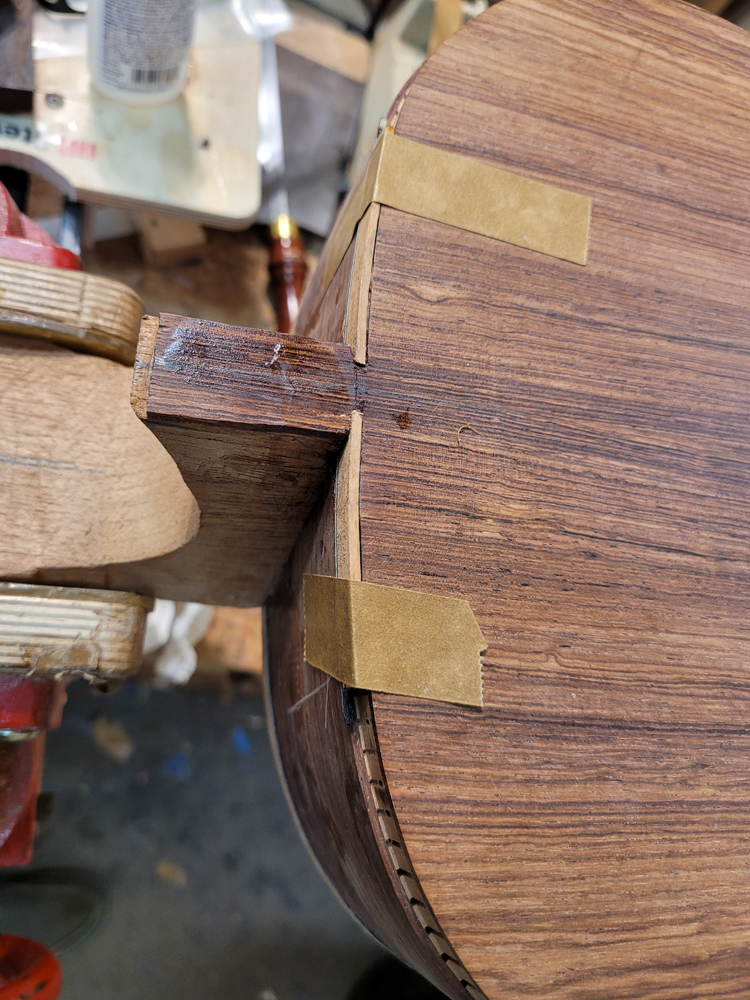
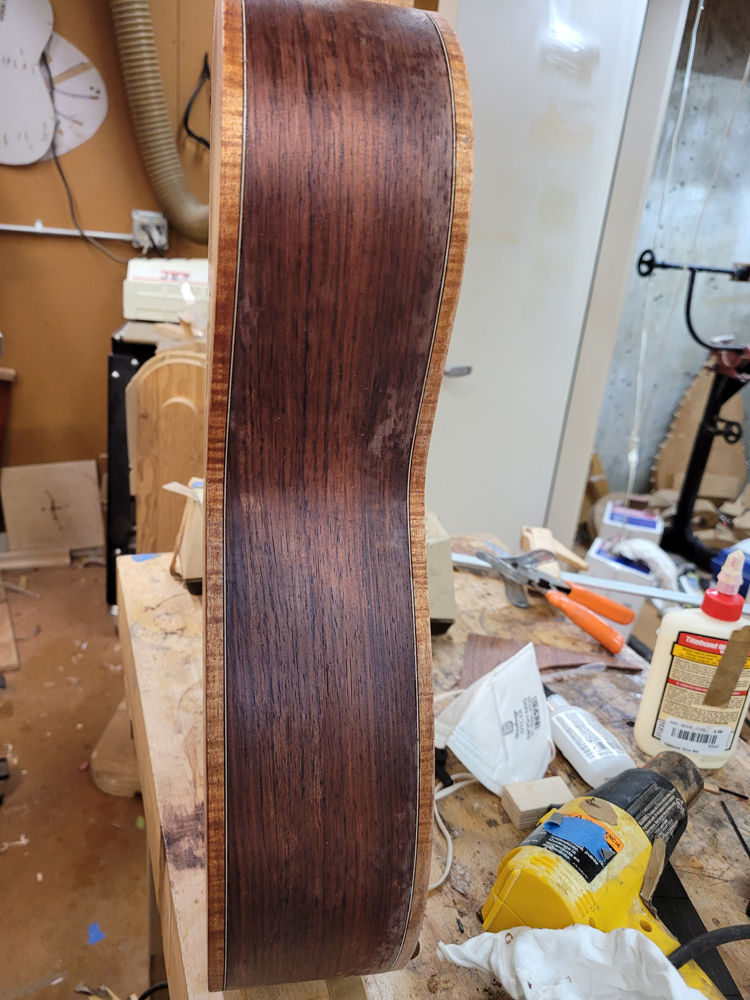
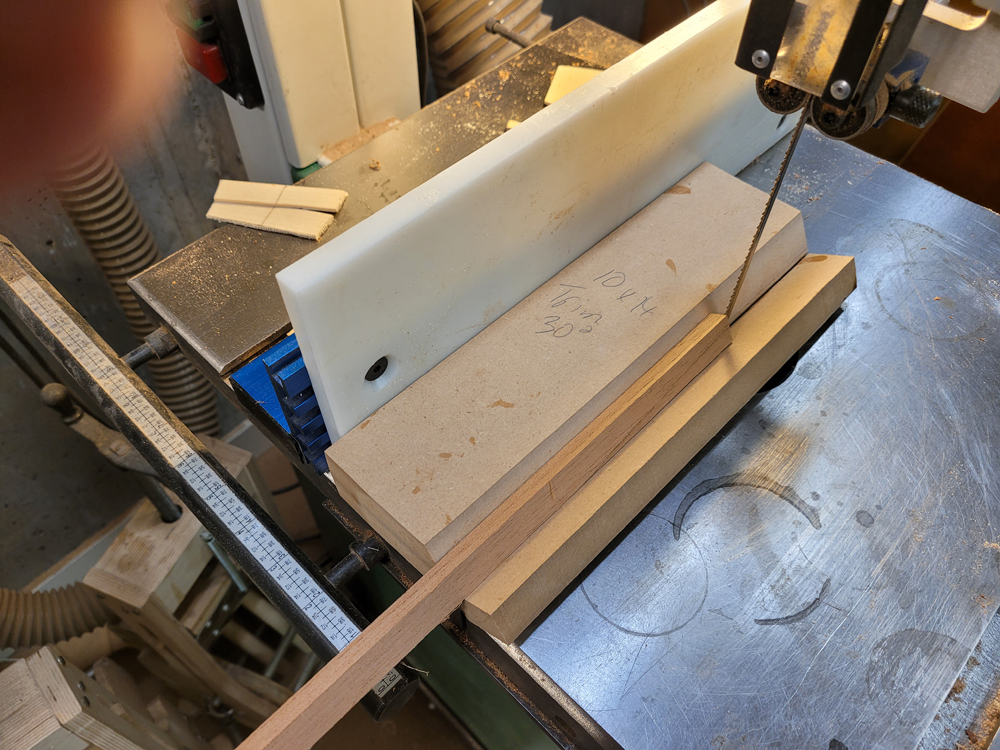
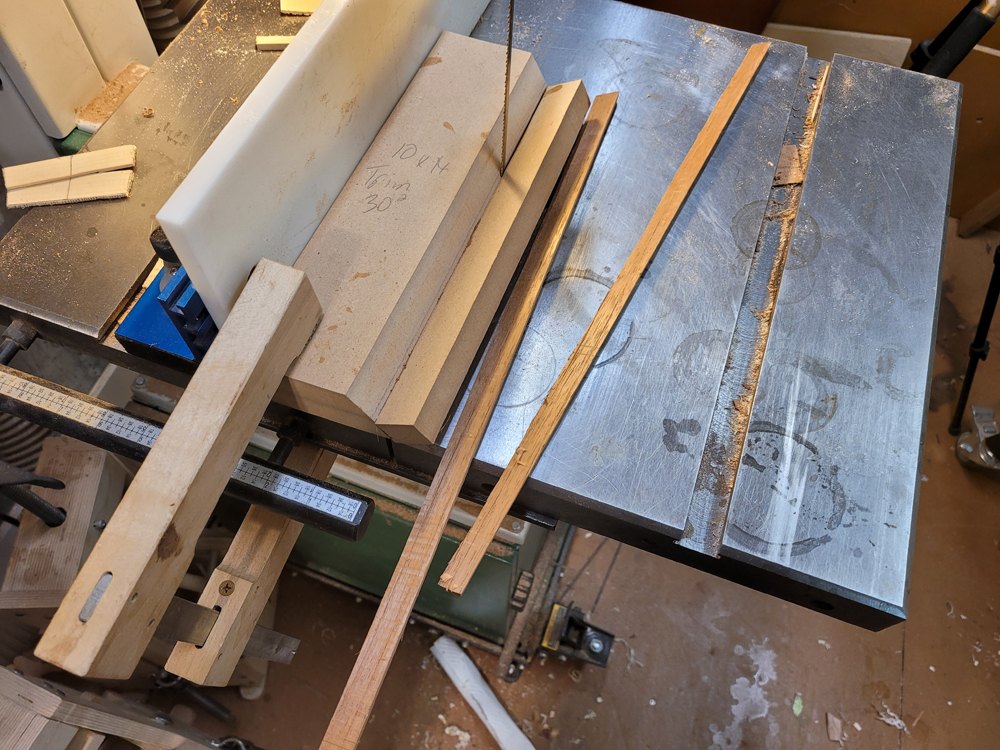
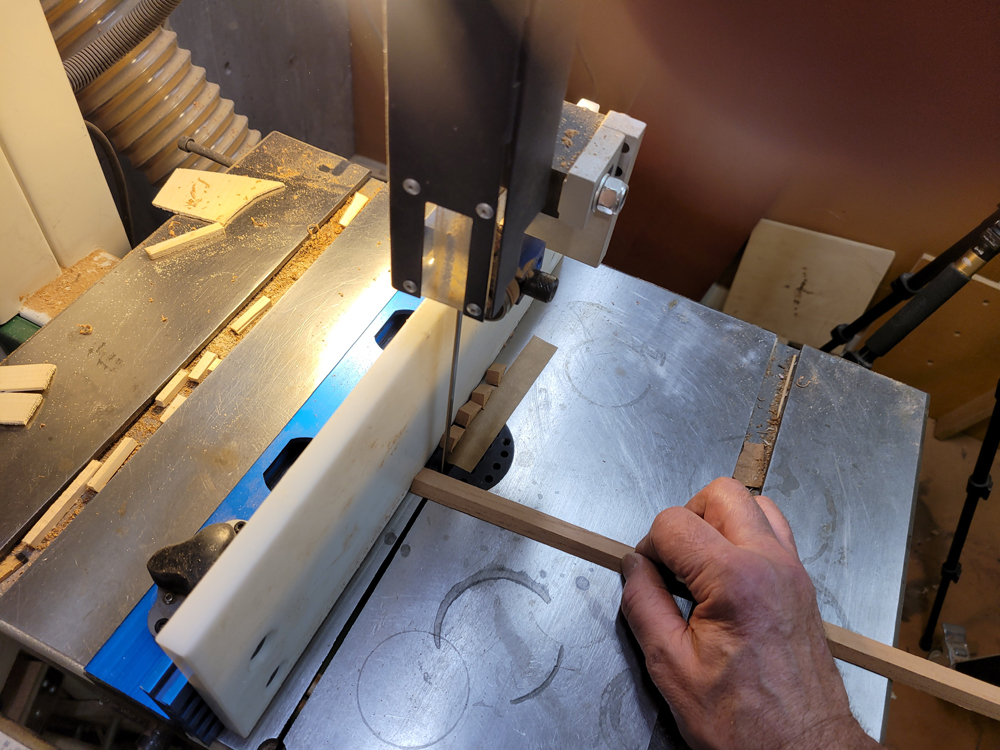
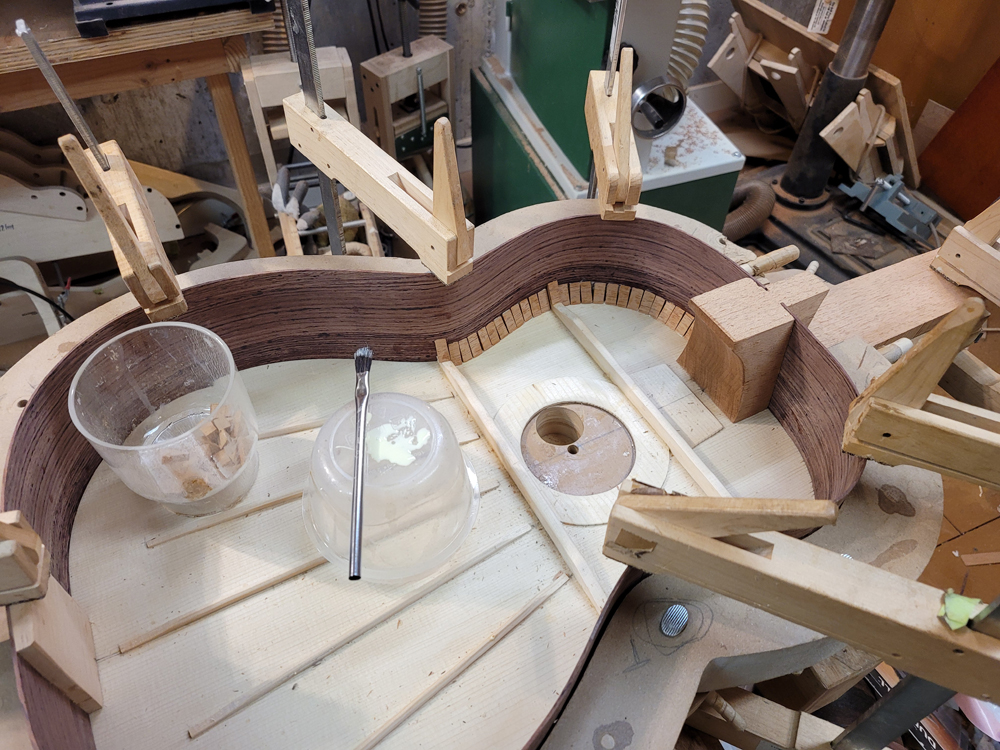
With the neck tapered I could attach the top to the rims with peones. I had to make a batch of peones. Also not shown is before clamping the side to the top, I put glue on the tail block and the sides. I probably do not need glue on the top of the rims as all of that get routed off for binding. I just find I have less of a risk of chip out when routing the bindings if the sides are glued to the top.
There are a few ways to build in a "traditional Spanish style" , basically working top down on a solera or work board. One way the sides are joined to the neck and then the neck and side assembly is glued to the top, either on linings or placement of individual peones/tentalones. The other way that I am using is to join the top to the neck and with that assembly clamped on a solera the sides are added with peones/tentalones. I am doing the second method as I can assure that the neck is perfectly on the center line of top without having the sides getting in the way.
First task is to brace and voice the top. Previously I had thickness the top to my flamenco setting using tap method. Once braced I did the finial voicing just through feel and tap. I can not describe what I am feeling, I just want a bit of longitudinal flexibility and more horizontal flexibility. When I listen to the tap I looked for a strong start that died quickly. When the top is glued to the rims it will be stiffer which increases unwanted sustain for a flamenco.
I am using the bracing pattern I got from the Paco Chorobo Flamenco Guitar Building course. I made my first flamenco using this course and was lucky enough to have Paco use it for a small concert. I am not sure how the rosewood will change things but I wanted to start with what I know.
First off I glued on the two transverse braces. It would have been prudent to only glue on the top brace at this time to make carving the fans easier (live and not learn). Not too hard to work around.

To transfer the pattern I drew the same arc on both the plans and the top from the center of the top at the lower transverse brace. Measuring the distances between the braces at the lower transverse brace and where the arc crossed the braces, I was able to get two points for each brace and draw the brace lines.


I cut out and thicknessed a bunch of 5 mm wide fan brace stock and roughly cut it to length. I stack three or 4 together and cleaned up the gluing side as well (no radius, but I will push them into the concave dome in my solera.


I glued them in my gobar deck on my solera (forgot to take a picture)
I took them first to specified height of 6mm. Then I felt and tapped the top. I left the center for structure but took the outside braces to 4.5 mm and the two close to the center to 5 mm. When happy carved the ends of the braces to about 1 mm and I gave them a triangle (more gabled house) shape with a plane.


I tapered the end 20/30 mm of the brace to about 1 mm.

A ledge needs to be routed into the neck heel to accommodate the top so that the top is level with the fret board plane. I uses a router in my Bishop Cochran base. Notice that I really push the guide out from the base to make it easier to cantilever into the ledge I am routing, staying on plane with the neck.
First I used a bit of the top cutoff to set the depth stop.


I glued the top to the neck using a new method. In the past I would clamp the neck on a straight work board with a center line penciled in, then I would clamp the neck on the work board and centered the heel block center line that hopefully I transferred from the top correctly and I would get on my knees and look under the work board to make sure my neck was on center. On this guitar wanted to make sure the heel block center was marked correctly I lined everything up from the top using a straight edge to assure I was centered. Seeing this, it occurred to me I could just glue this up with the same clamping arrangement. I am sure my neck is centered and straight.

Now was the time to make sure the sides and the top neck assemblies could fit on the solera all centered up.


With every clamped into place I rough profiled the back to a 25' radius, I also set the depth of the guitar at the tail and heel. When finished I will be 95 mm and 90 mm. Five millimeters deeper than my Blancas. When profiling that back the neck and clamped on my solera giving me a classical guitar neck angle; I also have a 1 mm shim at the neck join location to give me a touch more forward angle for flamenco setups. As the Spanish heel slipper and heel is also being profiled at this time it is important the guitar is clamped in the correct geometry.


Even though there was a sheet of paper on my bench that said taper neck to final thickness before gluing on top; here I am doing it now with a safeT plane dragging along the top.

I get my desired taper using a shim on a small board that you can see in the above and below picture.

With the neck tapered I could attach the top to the rims with peones. I had to make a batch of peones. Also not shown is before clamping the side to the top, I put glue on the tail block and the sides. I probably do not need glue on the top of the rims as all of that get routed off for binding. I just find I have less of a risk of chip out when routing the bindings if the sides are glued to the top.


