Re: Koa/Bear Claw sitka 00 12 fret short scale.
Posted: Wed May 06, 2020 7:31 pm
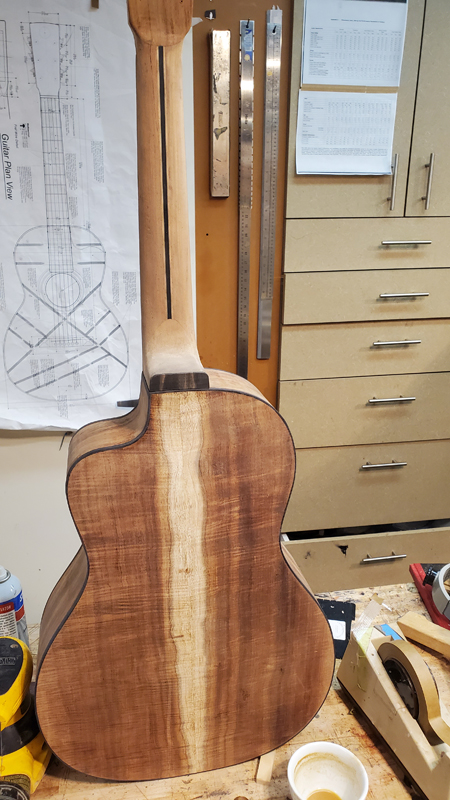
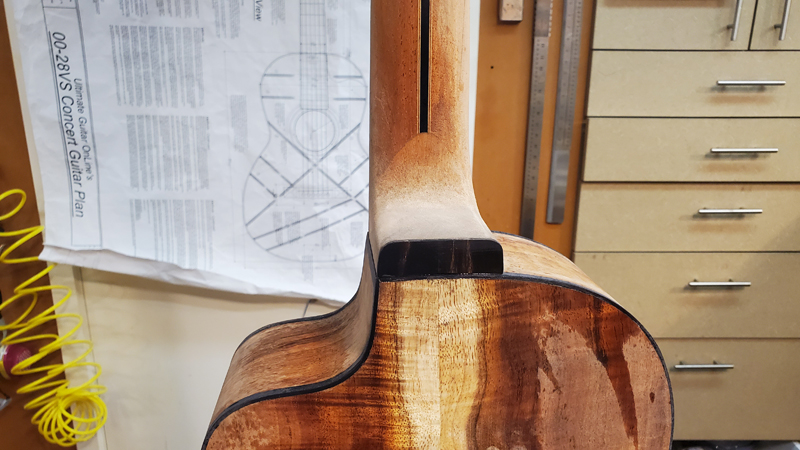
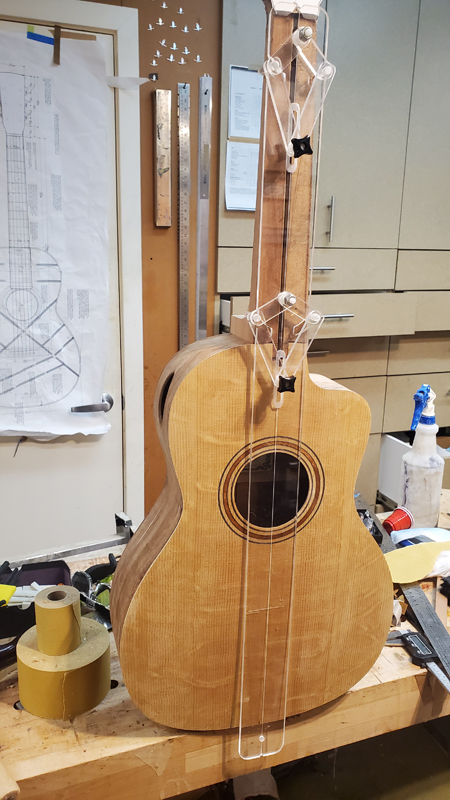
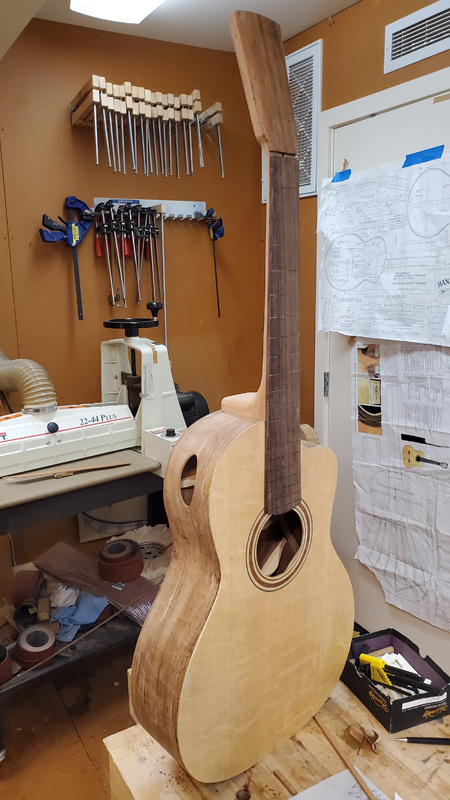
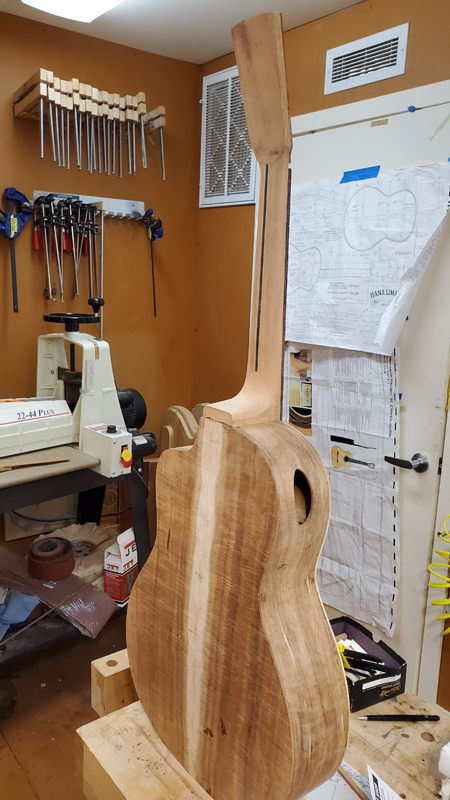
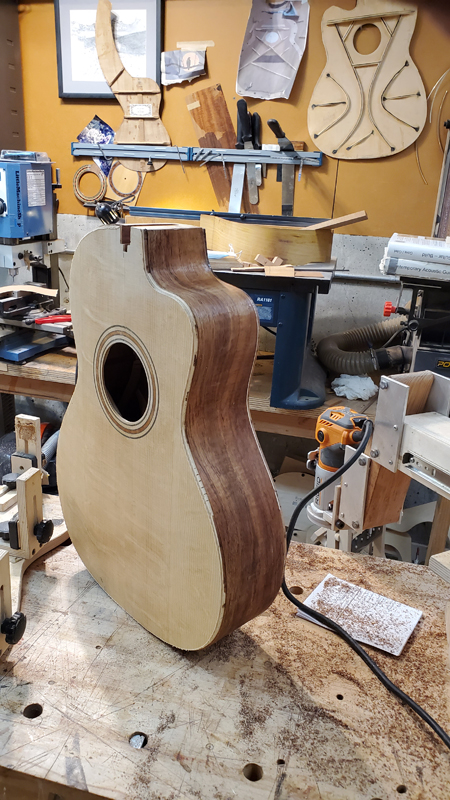
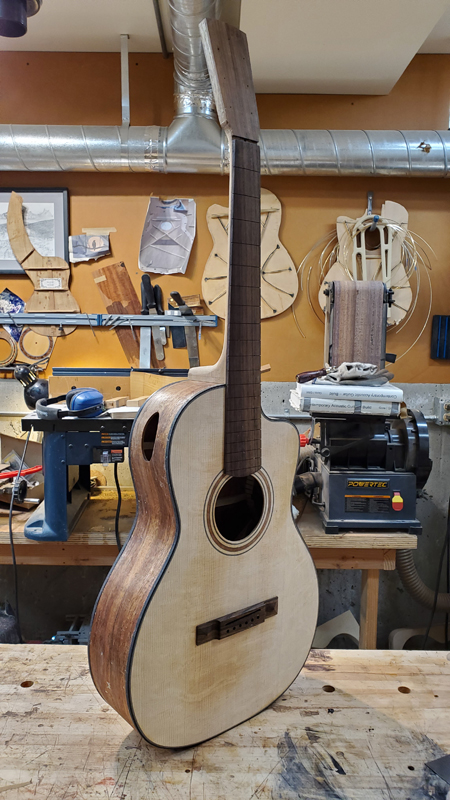
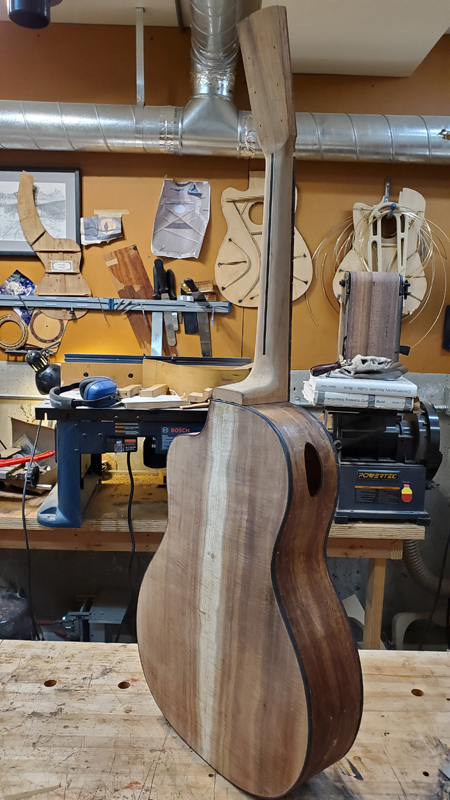
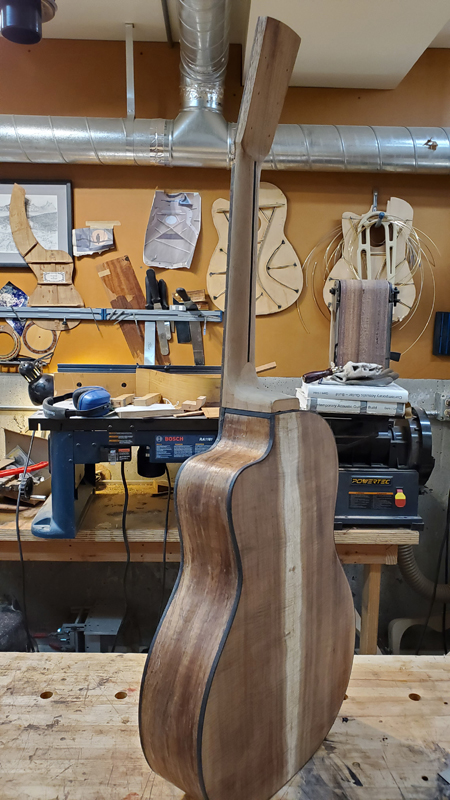
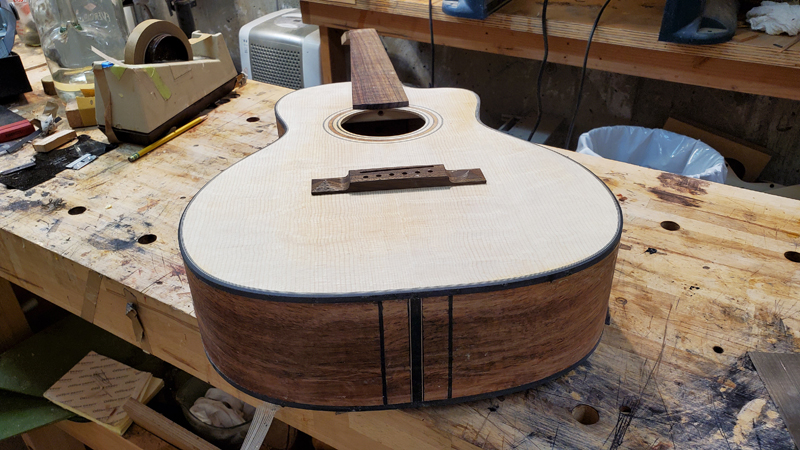
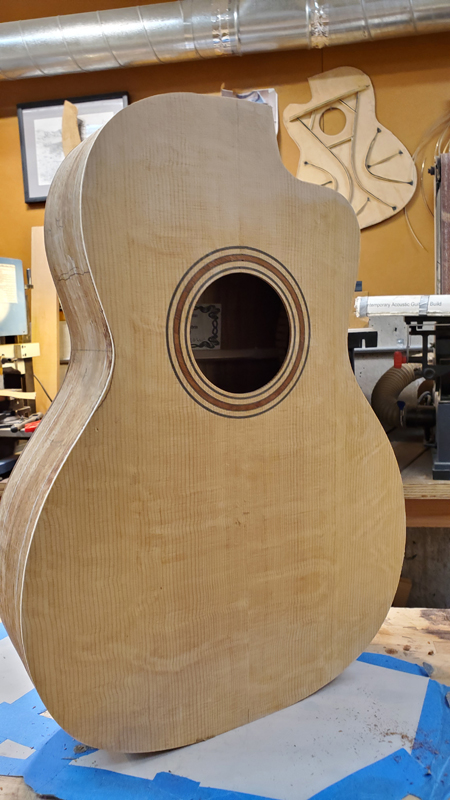
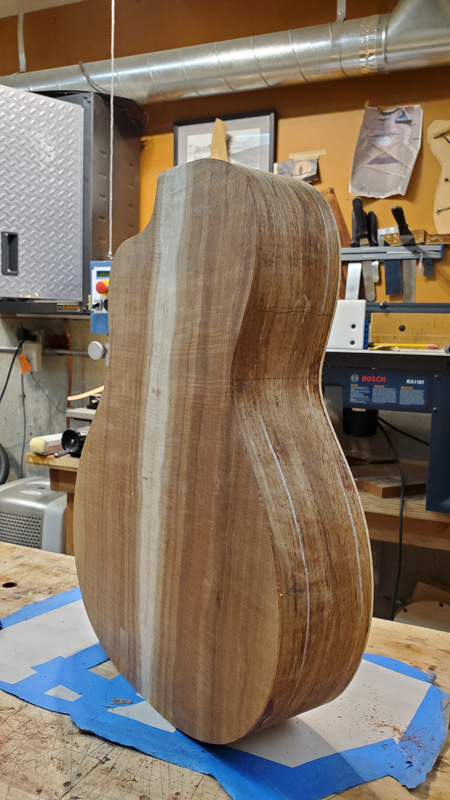
I finished closing the box this morning. The past couple of weeks I have been play with two aspects. Before gluing on the top I tuned the tops braces. With the braces glued on and scalloped the top was way to stiff. So I trimmed the braces, mostly around scallops until the top had a pretty good tap tune. Still stiff but not trusting my ears with a free plate I glued it to the rims. I continued tuning the braces keeping track of tops deflection under a 5lb load, the tap frequency with an open back and I tried to see if it changed with a taped on back. In both cases the tops resonance was close; open and with the back taped on. I follow guidelines for how much to trim the braces from a top voicing class I have on DVD from Chris Everett. He does a lot by feel and sound. I relied on his suggestions on where to try removing wood and safe limits. It was interesting to watch the top resonance as I worked on the braces. If for example I lowed the brace inside of the scallop and the resonance moved close to my target I took more off. My order was the tone bars scallops, the scallops on the xbrace, the length of the peaks and then the peaks themself. Ultimately with the top a bit over 200 Hz I stopped and cleaned up the back and glued it on. My target is between 180 Hz and 190 Hz. The bridge and stinging the guitar will lower the top's resonances. Also I need to sand the top and I will need to lower the back resonance. I think I am good shape. The tap tone is great right now.
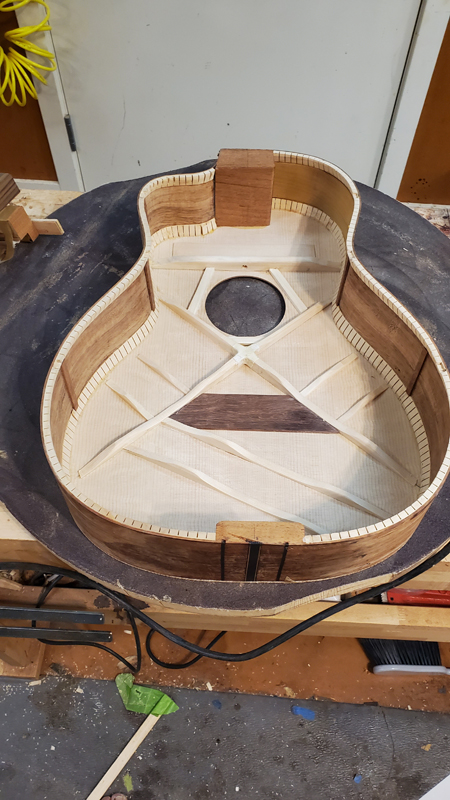
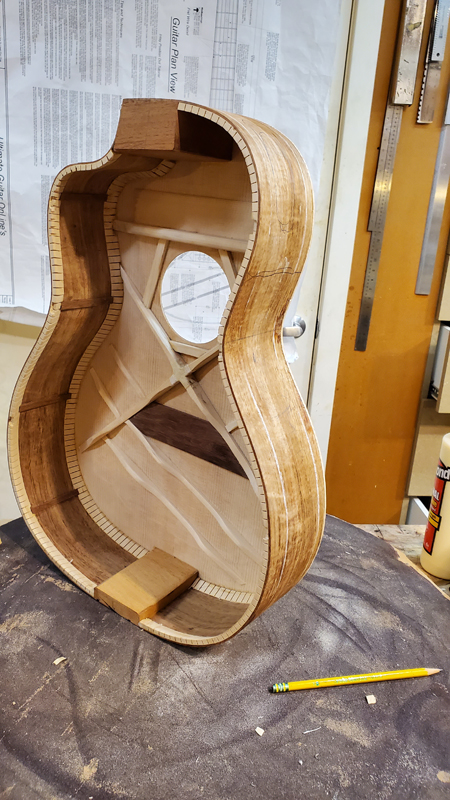
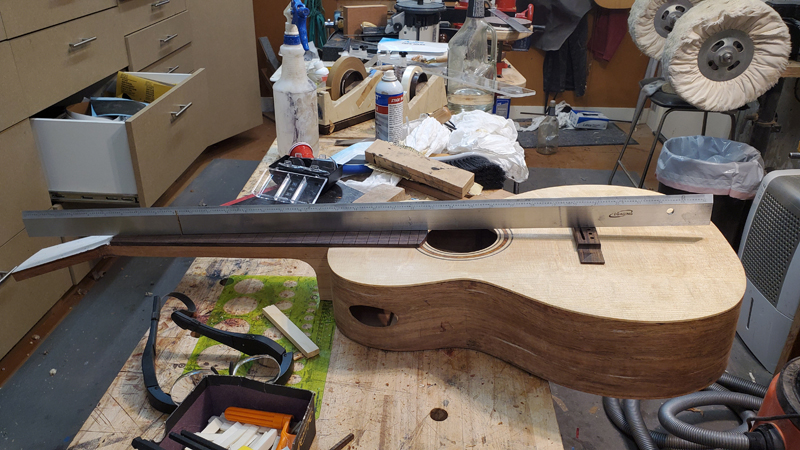
My biggest effort this guitar went to nailing the neck angle by design and construction, not struggling late in the build to get it right. I do most of my work with the neck angle before I touch the neck as the correct neck angle needs to be in the top such that when the fretboard extension is glued flat to the top a straight edge on the extension should project over the saddle location of the top at a height that combined with the desired string action the strings will be between 12 and 14 mm over the top. My target is 14 mm.
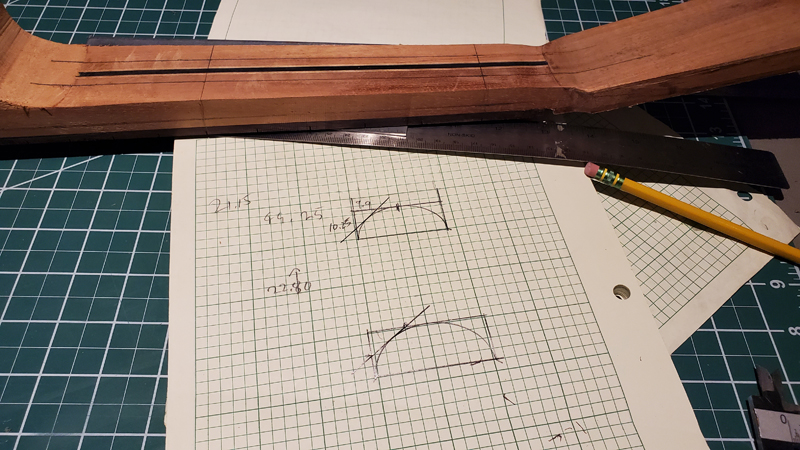
As shown earlier a combination of 30' radiused braces and a mostly flat transverse brace (radiused on the ends) gave me a top with just the correct geometry. I look for a projection of 2.5 mm. One caution this is calculated using my fretboard thickness and my desired action; it is not a magic number. In my case in 14 mm = 2.5 mm + 6.5 mm fretboard + 2 * 2.5 action + 1 mm fret - 1 mm (string tension).
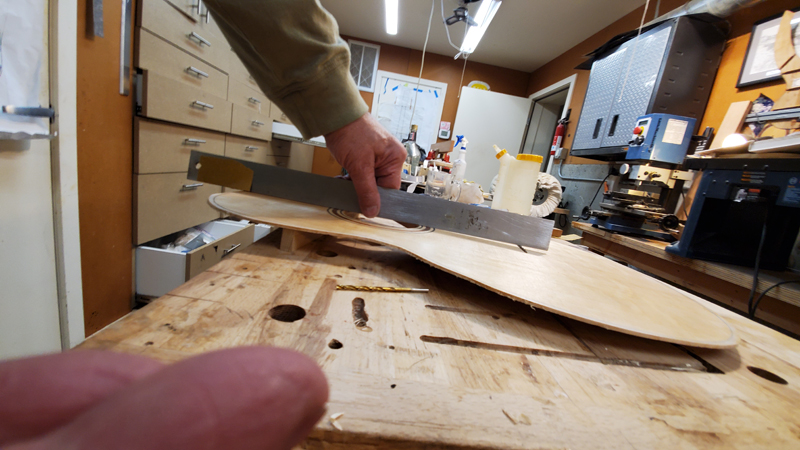
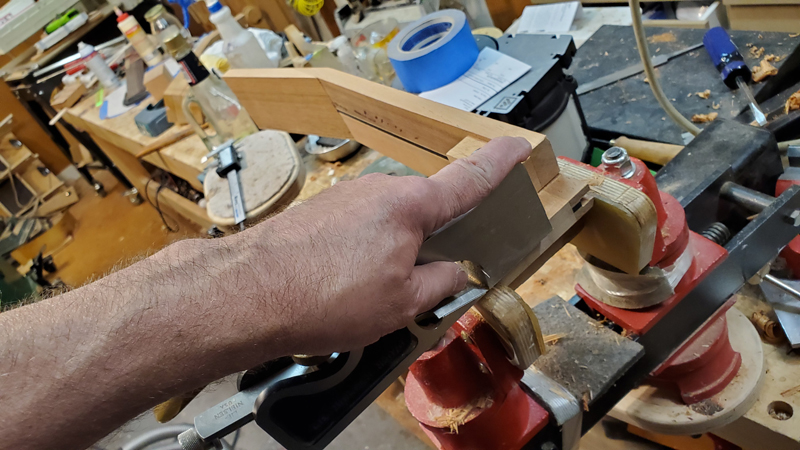
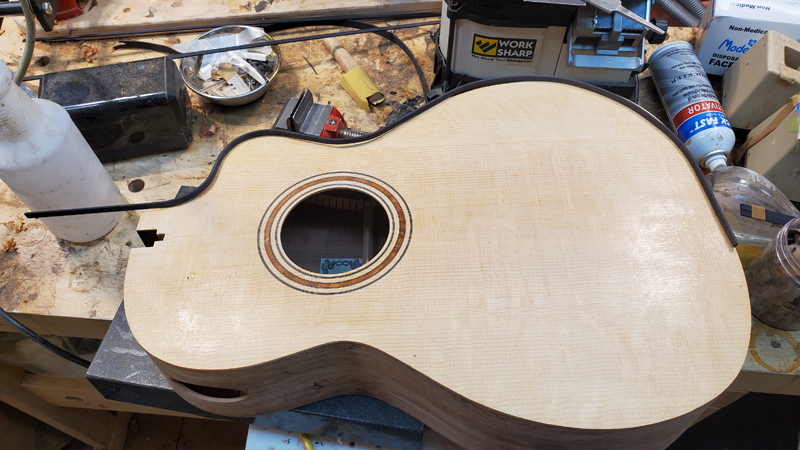
I had already profiled the top of the rims using a 30' radius dish for the lower part of the guitar and a flat dish for most of the upper bout. I checked the fit of the top and adjusted the profile of the rims so the top just fit on with no forcing. I was very close a couple of swiped with a plane on the waist allowed the top to fit perfectly. I doubled check my neck angle with the top clamped to the rims.
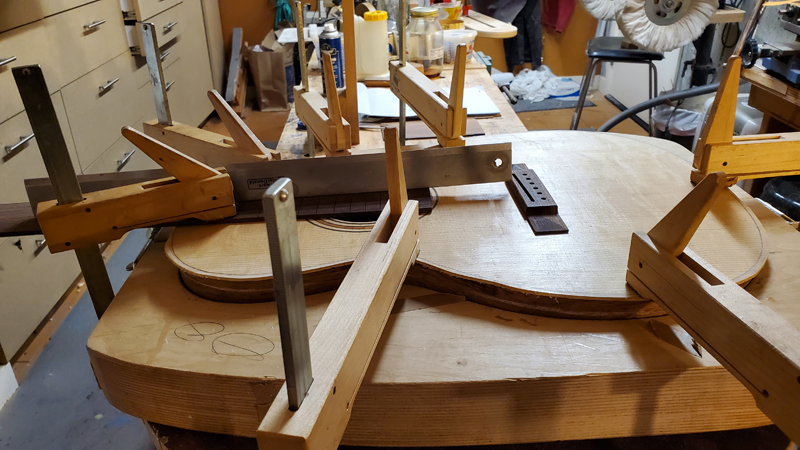
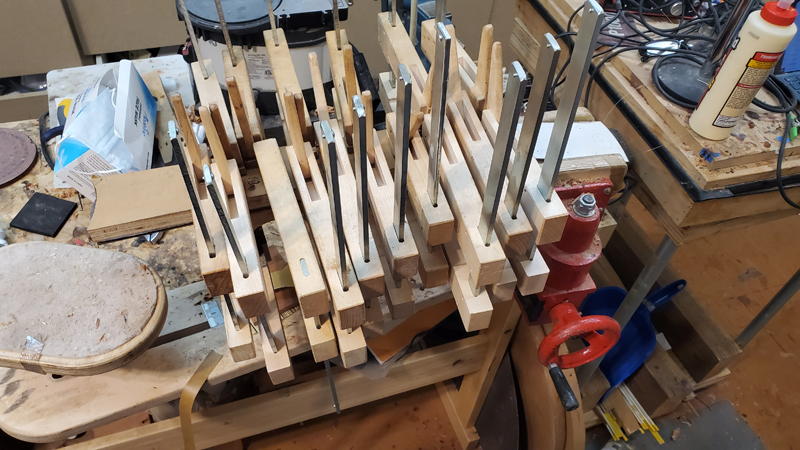
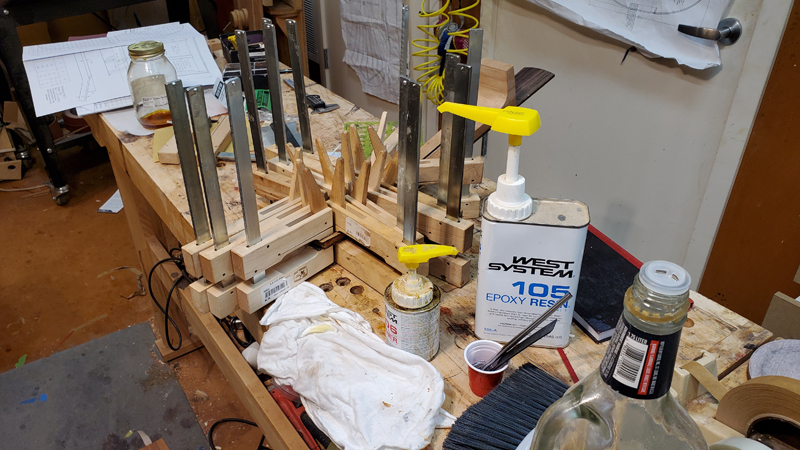
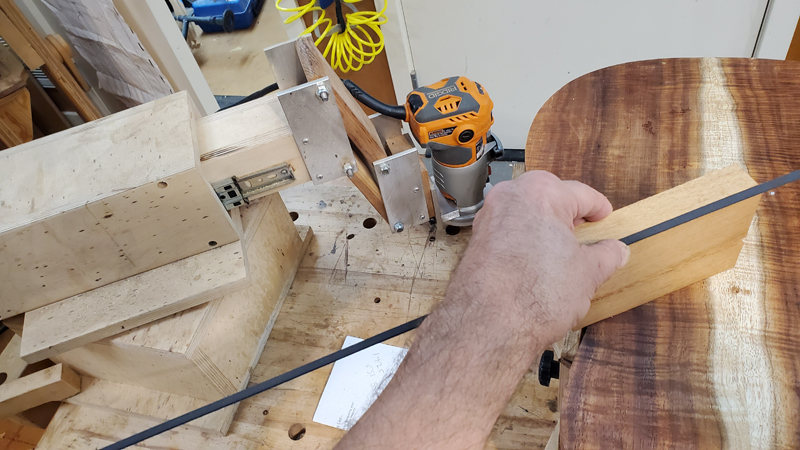
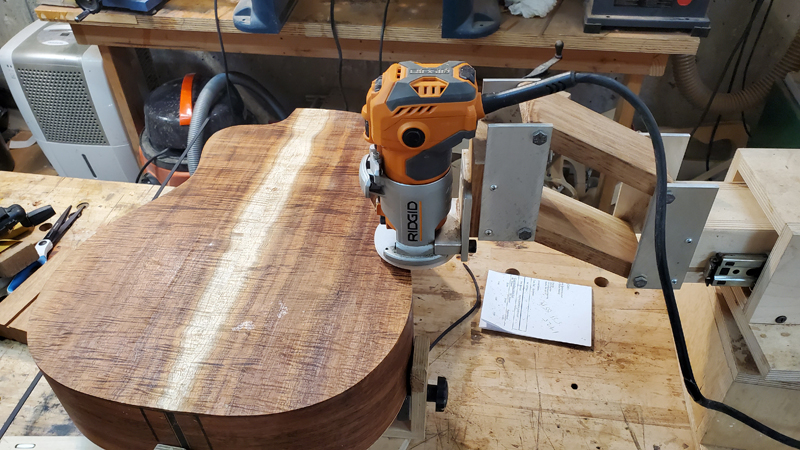
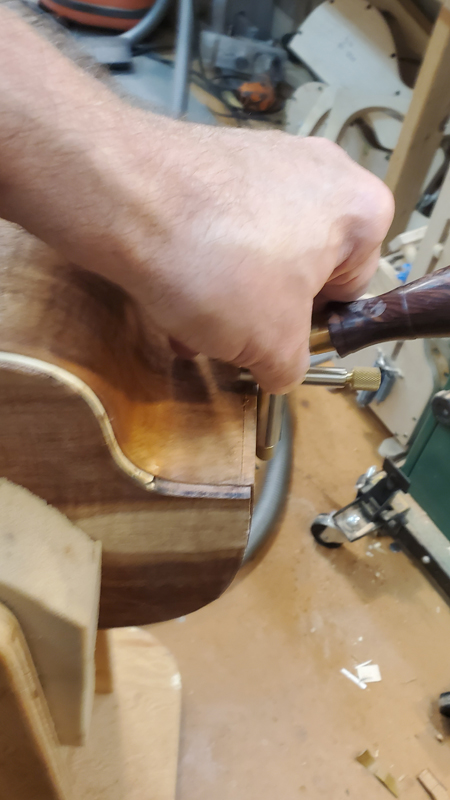
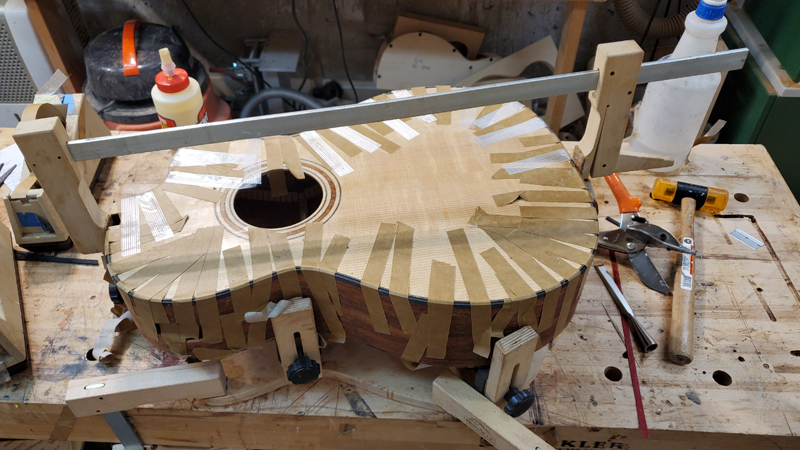
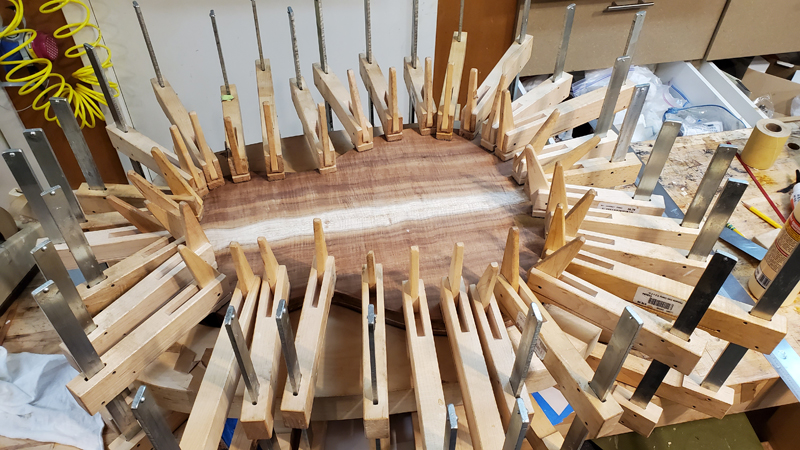
I glued on the top and trimmed the overhang with a spiral flush cut router bit , I not sure where the pictures went; imagine a bunch of cam clamps. When I checked the neck angle it was flat; it tool me a couple of days before I realized everything was just fine. More than that I got a new idea on how to adjust a neck angle before gluing on the back.
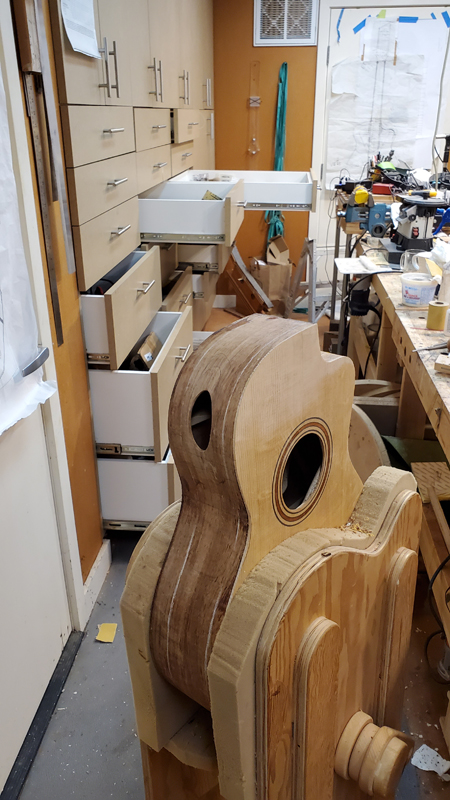
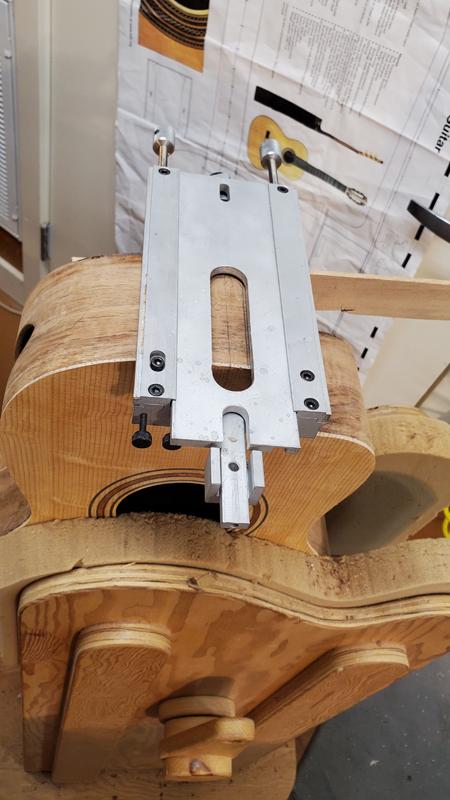
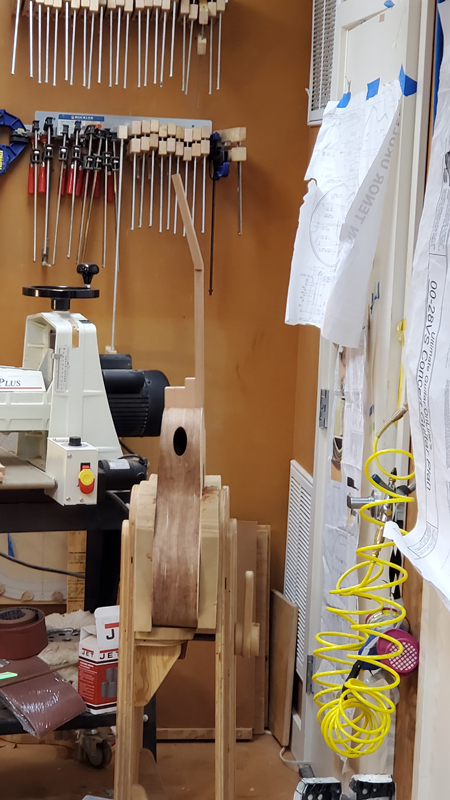
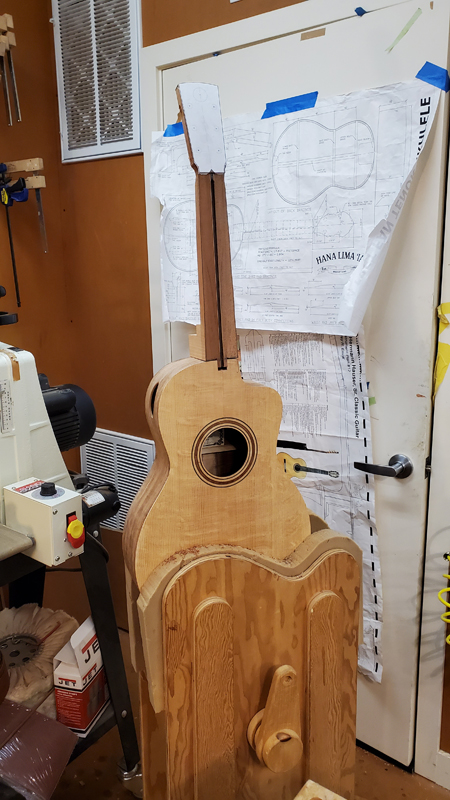
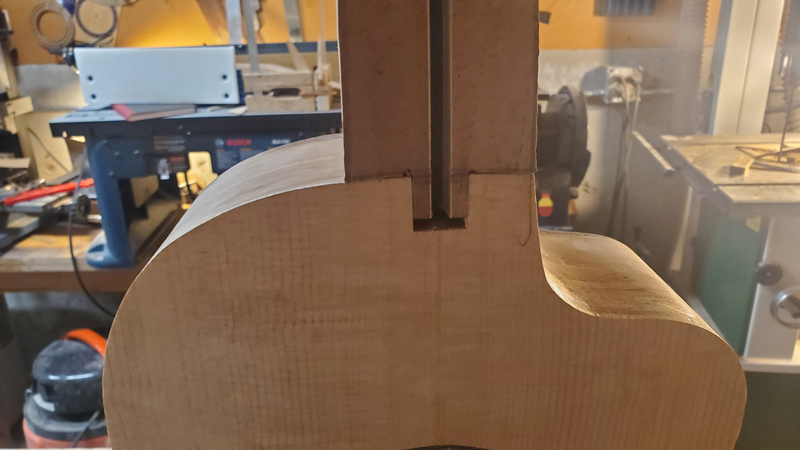
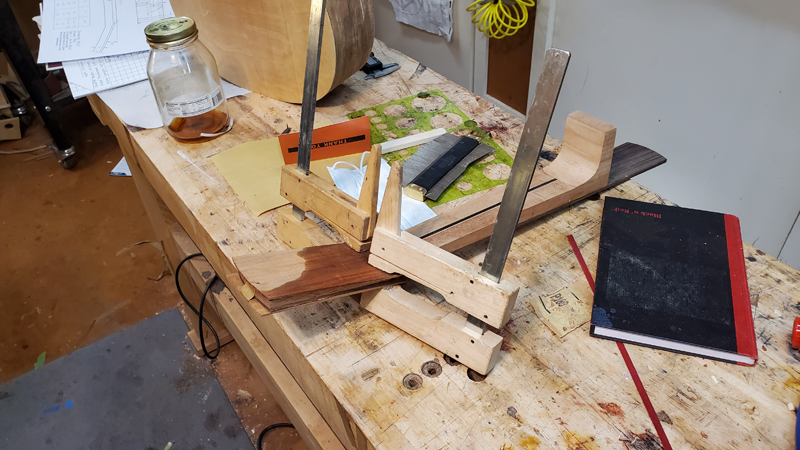
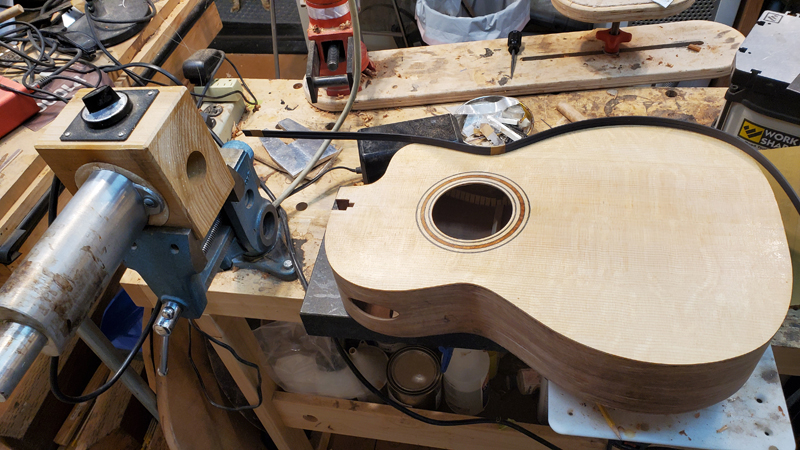
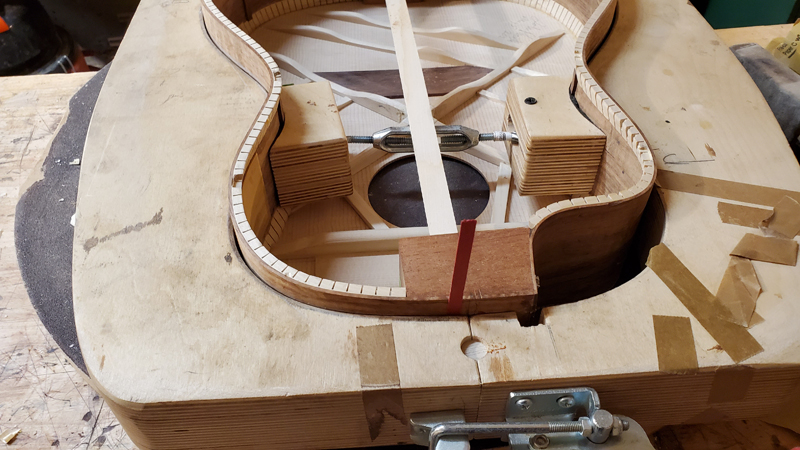
Note in the following picture that I clamp the neck heel tight to the mold I also clamp the waist to the mold to keep the rims squarely in the mold. I do all of the profile work on the rims with the two clamps inplace. John Hall uses wood screws to attach the heel block to the mold and leaves them there until the box is properly closed.
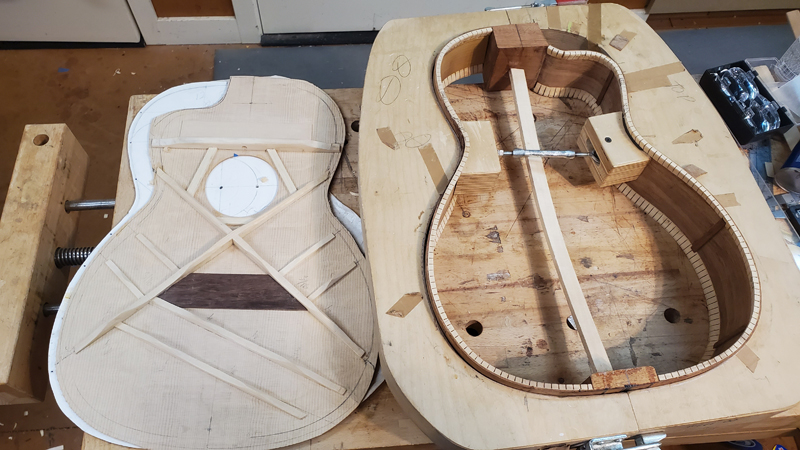
I got the wrong neck angle with the guitar out of the mold. Until both plates are glued on the angle of the heel bock is not set.
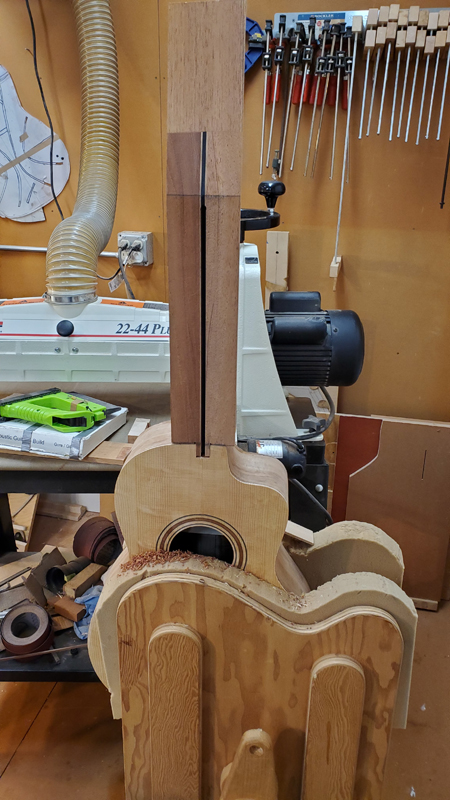
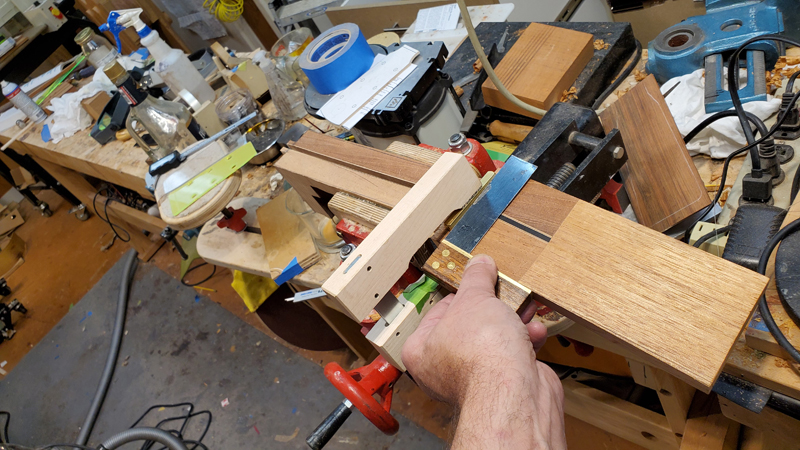
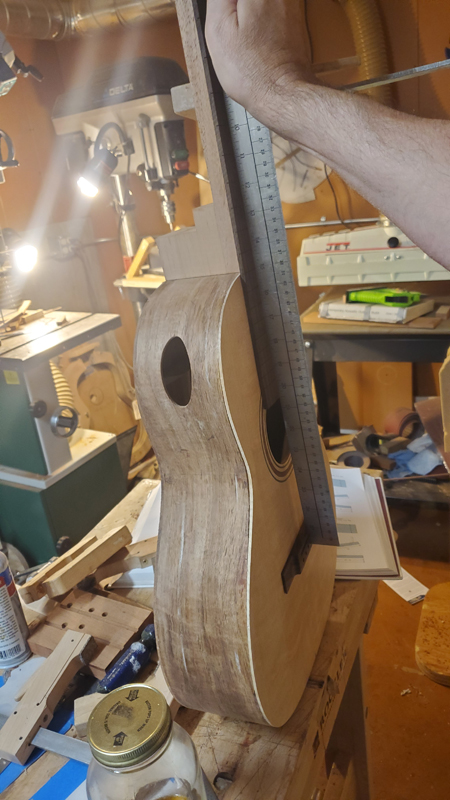
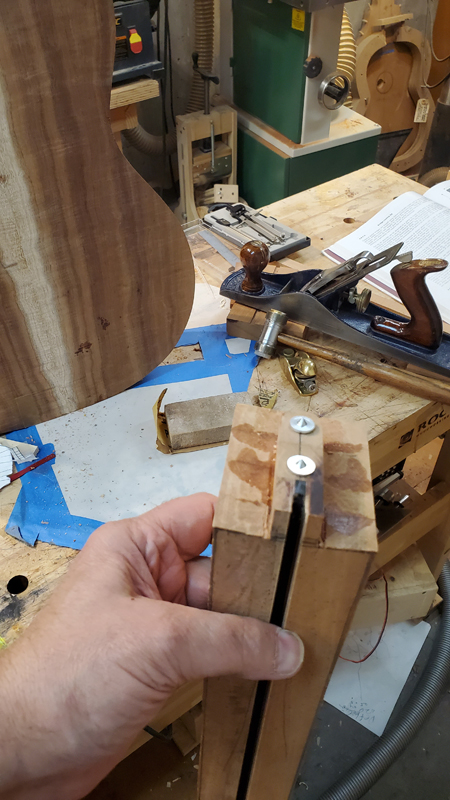
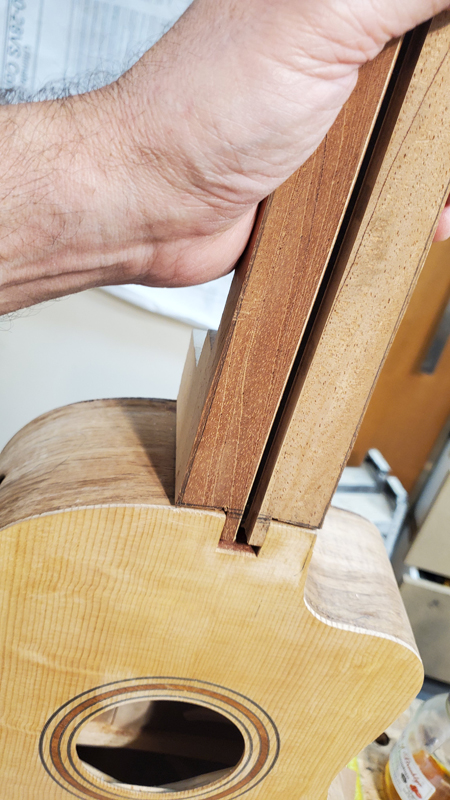
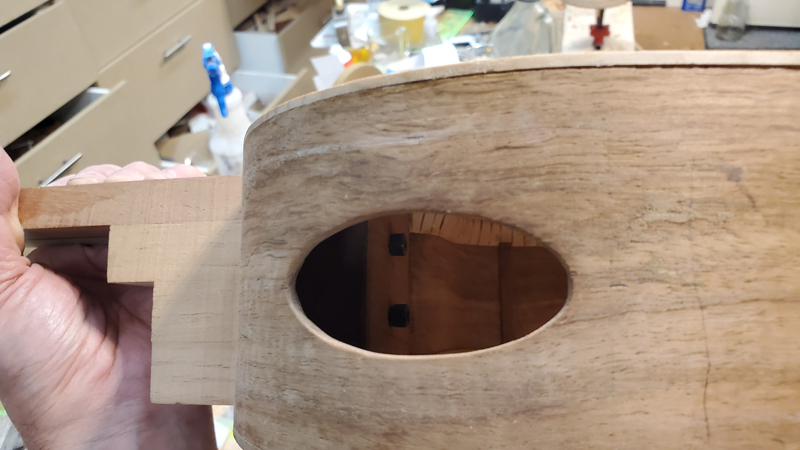
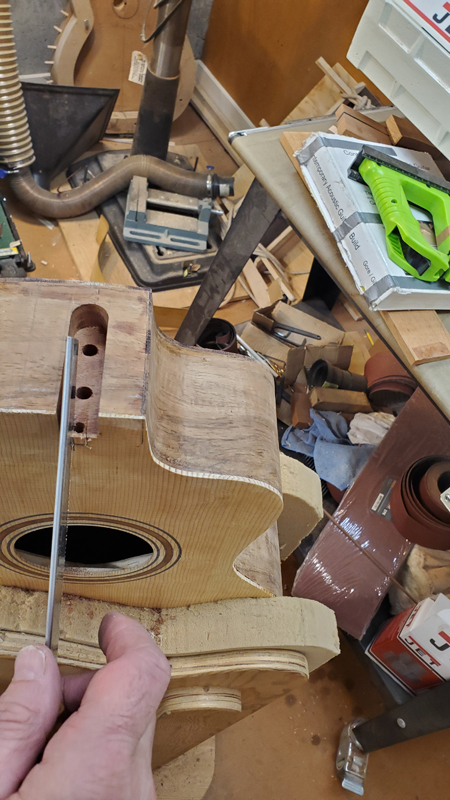
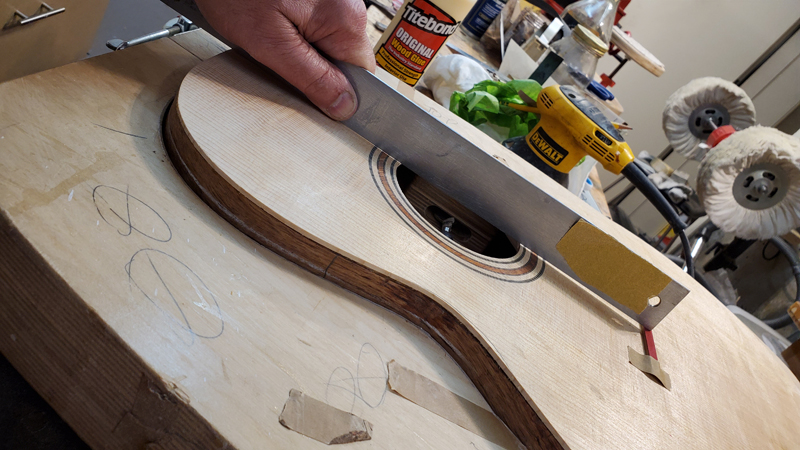
Here is a demonstration of how a slight change in the heel block angle can affect the neck angle In the first picture you can see a ruler clamped to the heel bock is flat against the top; virtually no angle.
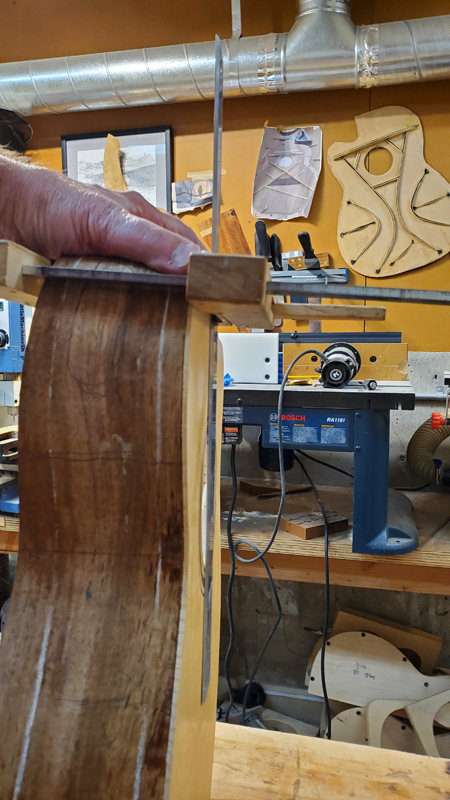
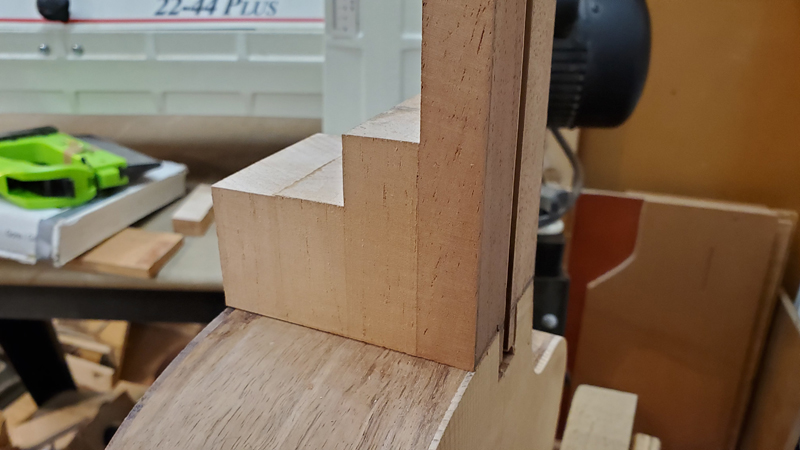
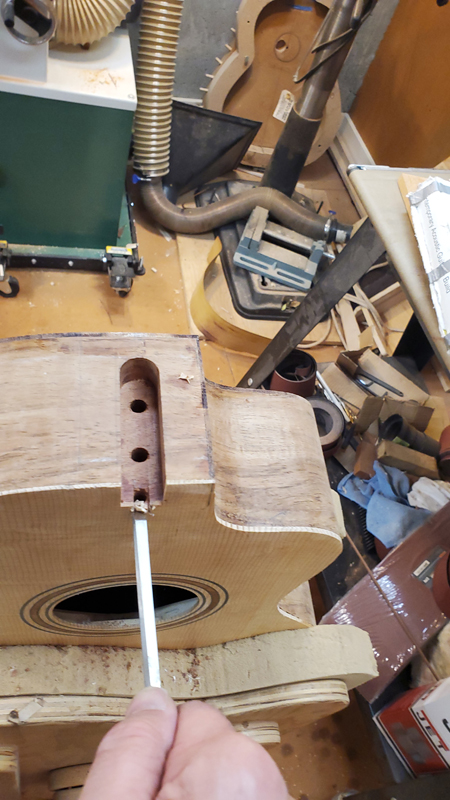
With a minimal amount of torque on the neck heel the ruler lifts right off of the top showing close to the correct angle.
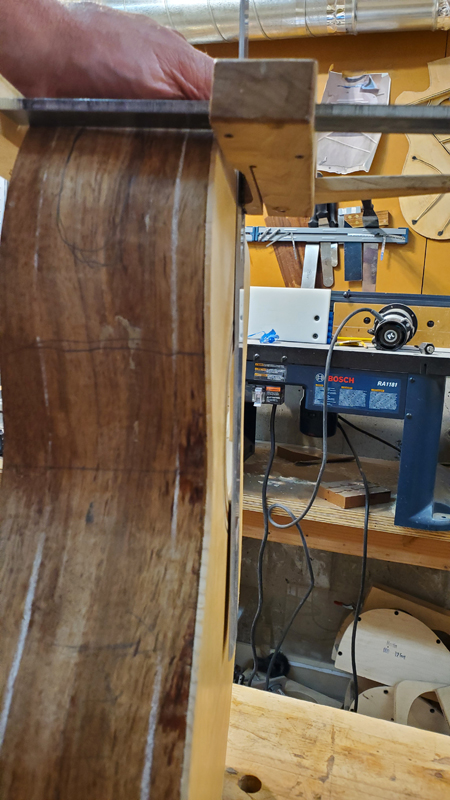
So I put the guitar back in the mold with the two inside clamps.
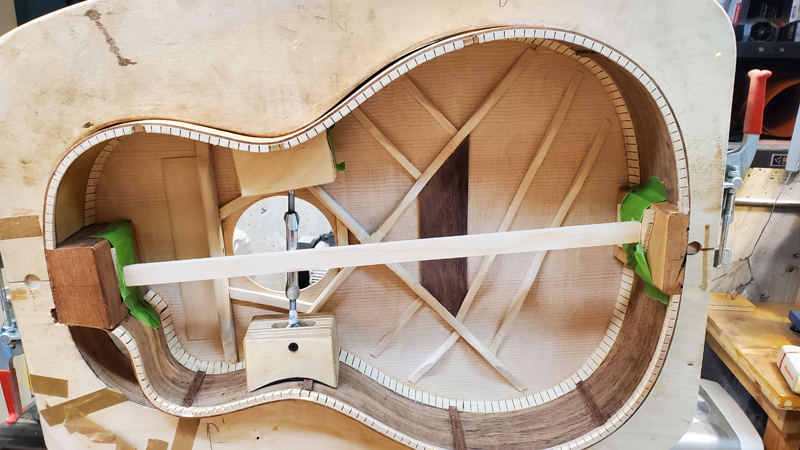
And a recheck of the neck angle; it went back to where I wanted it.
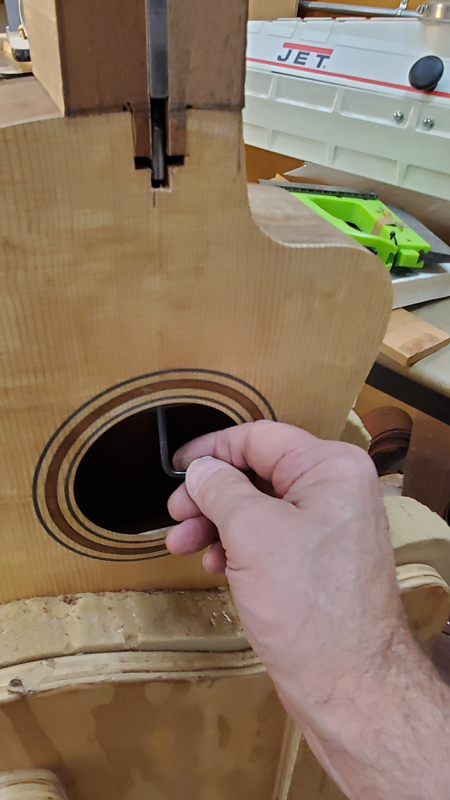
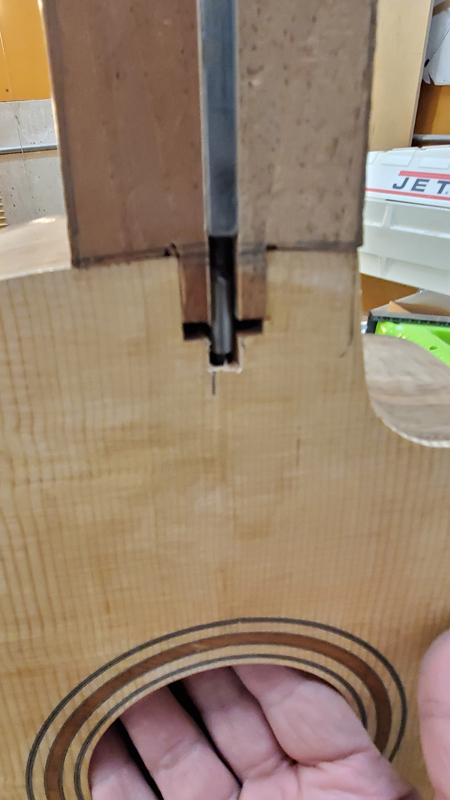
When working on a classical guitar with a spanish heel the neck angle is set when the back is glued on. In that case the angle can be adjusted with shims under the top at the body join and having the neck clamped down while gluing on the back. It occured to me that I could fine to my angle at this point by playing with how the heel is clamped to the rims. Moving the spruce clamping rod I am using off the rims center made a slight change. Also I was able to add a thin shim on one side between the heel block and the mold and that changed the angle a bit.
So with the body properly clamped to the rims I pulled out the cam clamps again and glued on the back.
So two major learnings:
If working with a mold LEAVE the body clamped in the mold until the top and the back are glued on. Boths plates are required to be glued on to fix the heel block angle and the fretboard extension angle. (I am embarrassed to relearn this as I make classical guitar and knowing this is part of that build process. )
One can make minor adjustments to the neck angle tilting the block before gluing on the back.
All is good
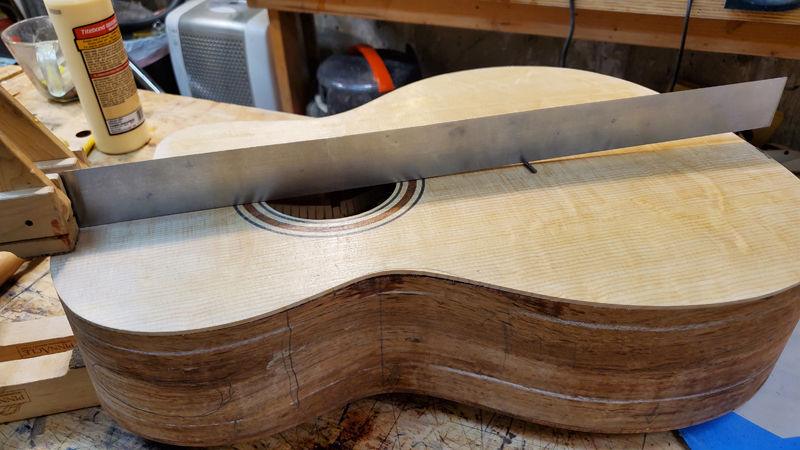


My biggest effort this guitar went to nailing the neck angle by design and construction, not struggling late in the build to get it right. I do most of my work with the neck angle before I touch the neck as the correct neck angle needs to be in the top such that when the fretboard extension is glued flat to the top a straight edge on the extension should project over the saddle location of the top at a height that combined with the desired string action the strings will be between 12 and 14 mm over the top. My target is 14 mm.
As shown earlier a combination of 30' radiused braces and a mostly flat transverse brace (radiused on the ends) gave me a top with just the correct geometry. I look for a projection of 2.5 mm. One caution this is calculated using my fretboard thickness and my desired action; it is not a magic number. In my case in 14 mm = 2.5 mm + 6.5 mm fretboard + 2 * 2.5 action + 1 mm fret - 1 mm (string tension).

I had already profiled the top of the rims using a 30' radius dish for the lower part of the guitar and a flat dish for most of the upper bout. I checked the fit of the top and adjusted the profile of the rims so the top just fit on with no forcing. I was very close a couple of swiped with a plane on the waist allowed the top to fit perfectly. I doubled check my neck angle with the top clamped to the rims.

I glued on the top and trimmed the overhang with a spiral flush cut router bit , I not sure where the pictures went; imagine a bunch of cam clamps. When I checked the neck angle it was flat; it tool me a couple of days before I realized everything was just fine. More than that I got a new idea on how to adjust a neck angle before gluing on the back.
Note in the following picture that I clamp the neck heel tight to the mold I also clamp the waist to the mold to keep the rims squarely in the mold. I do all of the profile work on the rims with the two clamps inplace. John Hall uses wood screws to attach the heel block to the mold and leaves them there until the box is properly closed.

I got the wrong neck angle with the guitar out of the mold. Until both plates are glued on the angle of the heel bock is not set.
Here is a demonstration of how a slight change in the heel block angle can affect the neck angle In the first picture you can see a ruler clamped to the heel bock is flat against the top; virtually no angle.

With a minimal amount of torque on the neck heel the ruler lifts right off of the top showing close to the correct angle.

So I put the guitar back in the mold with the two inside clamps.

And a recheck of the neck angle; it went back to where I wanted it.

When working on a classical guitar with a spanish heel the neck angle is set when the back is glued on. In that case the angle can be adjusted with shims under the top at the body join and having the neck clamped down while gluing on the back. It occured to me that I could fine to my angle at this point by playing with how the heel is clamped to the rims. Moving the spruce clamping rod I am using off the rims center made a slight change. Also I was able to add a thin shim on one side between the heel block and the mold and that changed the angle a bit.

So with the body properly clamped to the rims I pulled out the cam clamps again and glued on the back.

So two major learnings:
If working with a mold LEAVE the body clamped in the mold until the top and the back are glued on. Boths plates are required to be glued on to fix the heel block angle and the fretboard extension angle. (I am embarrassed to relearn this as I make classical guitar and knowing this is part of that build process. )
One can make minor adjustments to the neck angle tilting the block before gluing on the back.
All is good


