Page 2 of 3

Re: Third Flamenco Guitar

Posted: Tue Feb 04, 2020 8:04 pm
by John Parchem
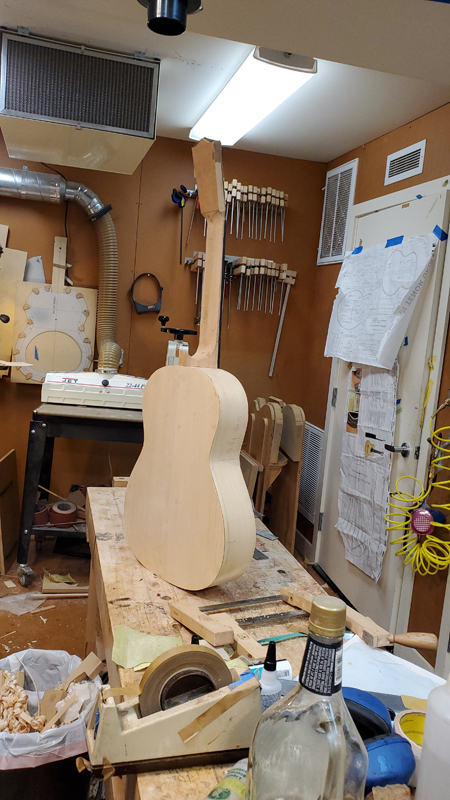
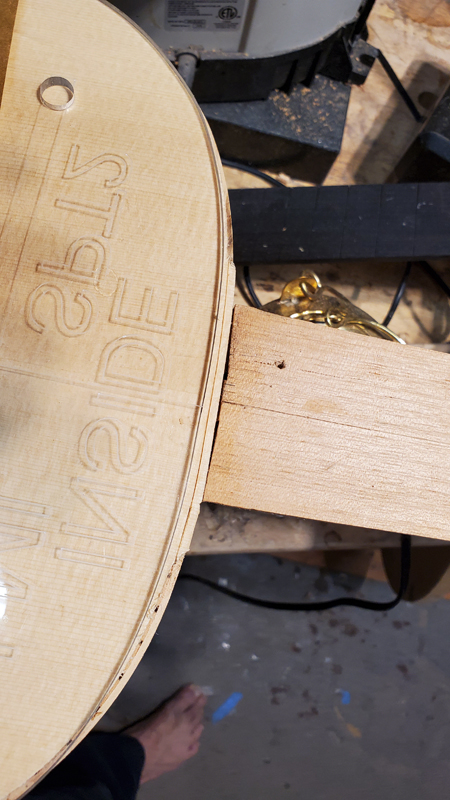
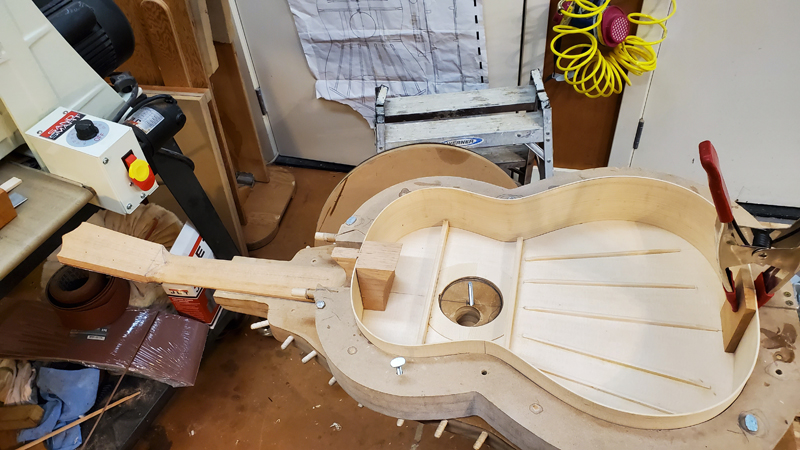
The first step going forward is to glue the endblock to the rims. I am sorry I do not have pictures, but I use my guitar template to draw the profile or the guitar onto the tail block, I then planed off close to the lines and used sand paper right in the rims to finish the profile. When finished the endblock fit perfectly. I also measured and cut the sides so that they would fit in the neck.
Image

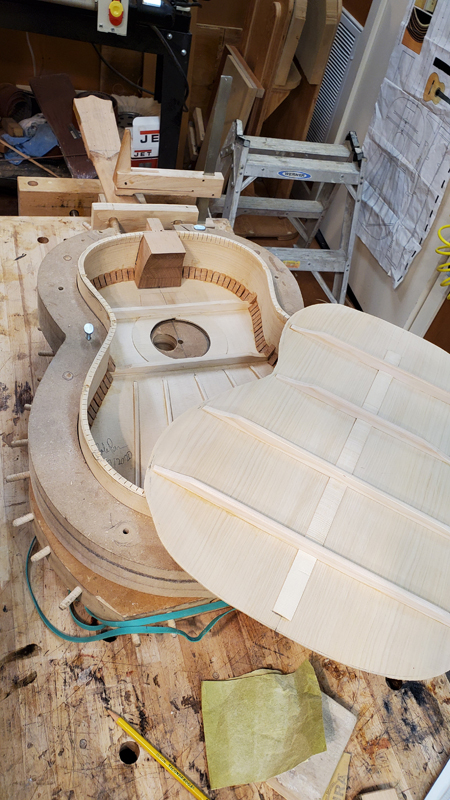
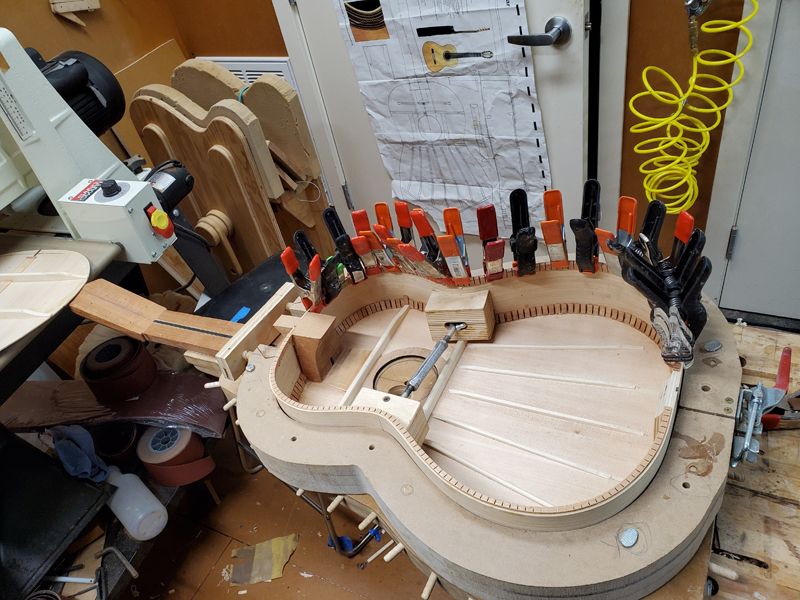
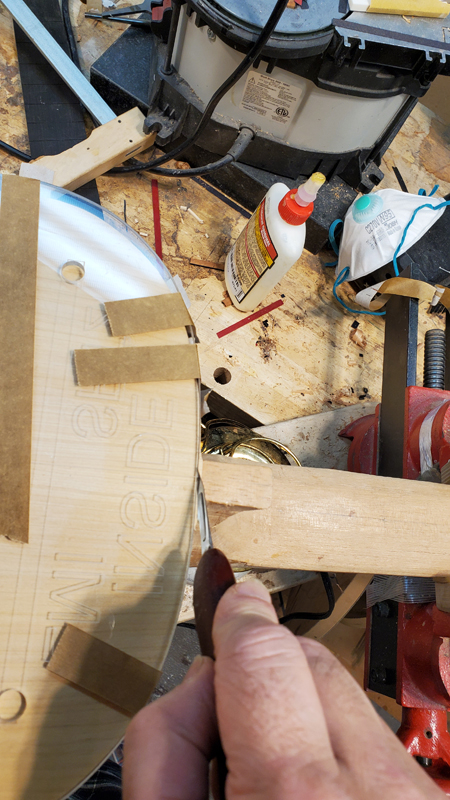
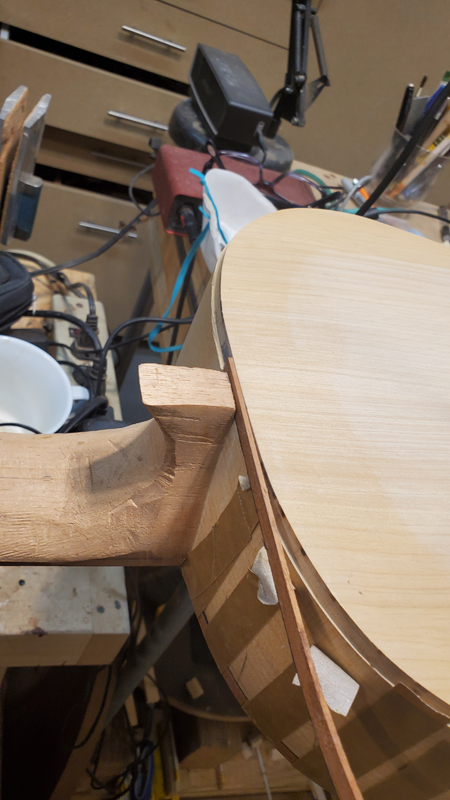
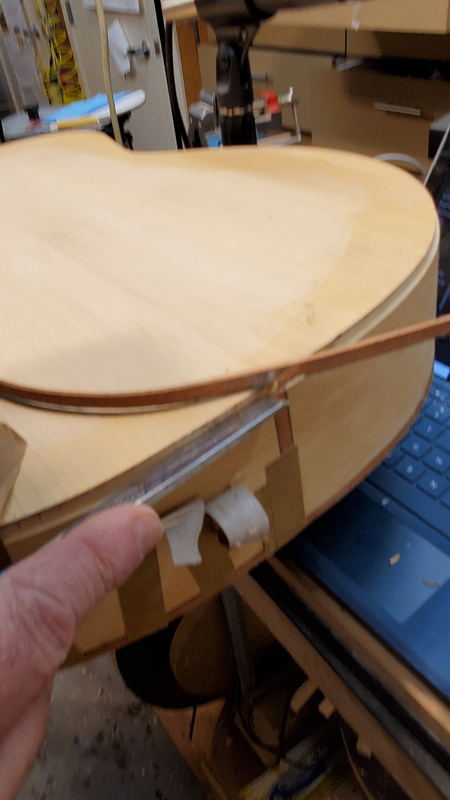
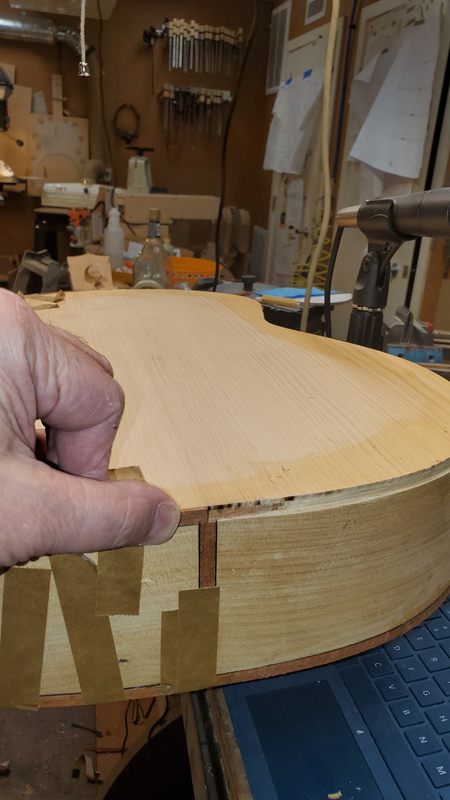
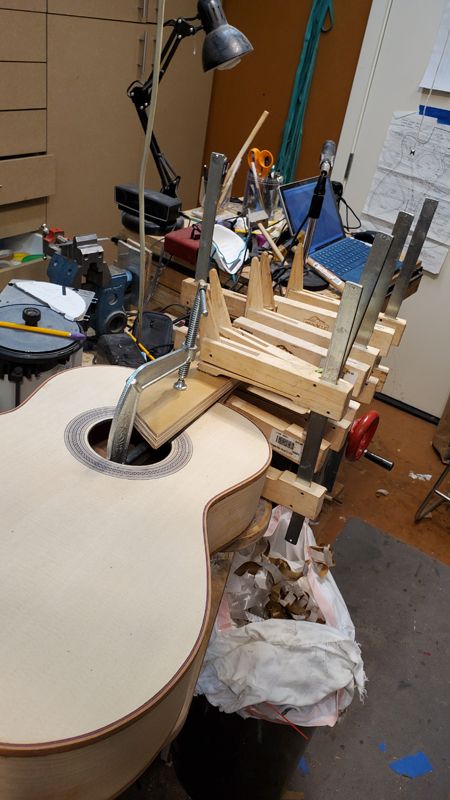
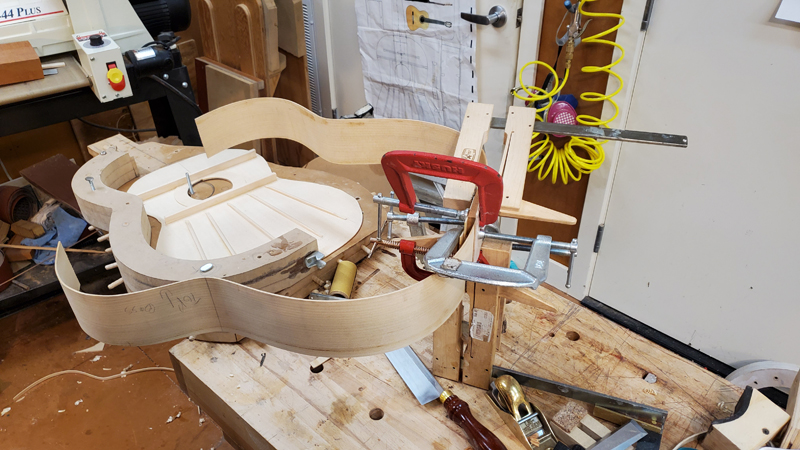
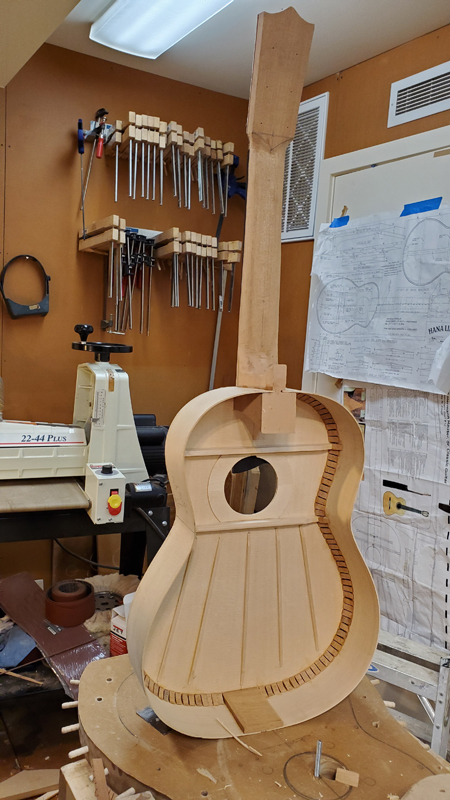
Because I am building on a solera and I will use individual tentallones to glue the sides to the top I have a couple of options for the end block. One way is to position and glue it on to the top making sure it is square to the top. As the neck is also glued to the top the rims can be installed on to the top assembly that includes the neck and the tail block. I did not do that this time rather I glued the sides to the end block. I started the glue up in the mold so that I could make sure everything was square. With the back side tightly clamped I removed the assembly from the mold and clamped the top side.
Image

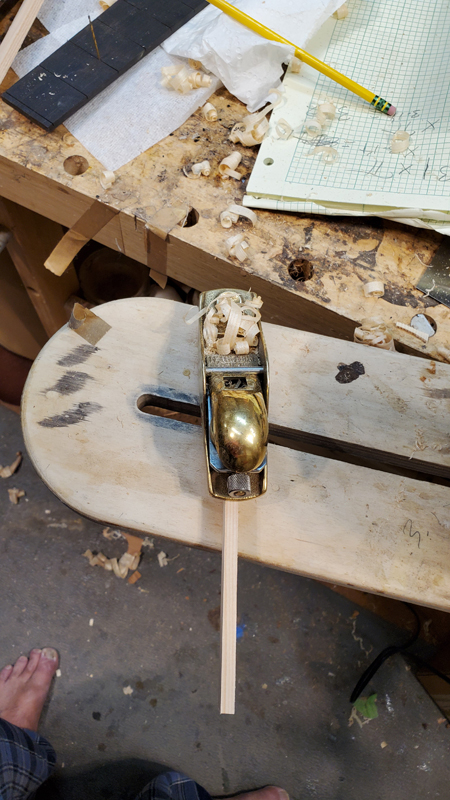
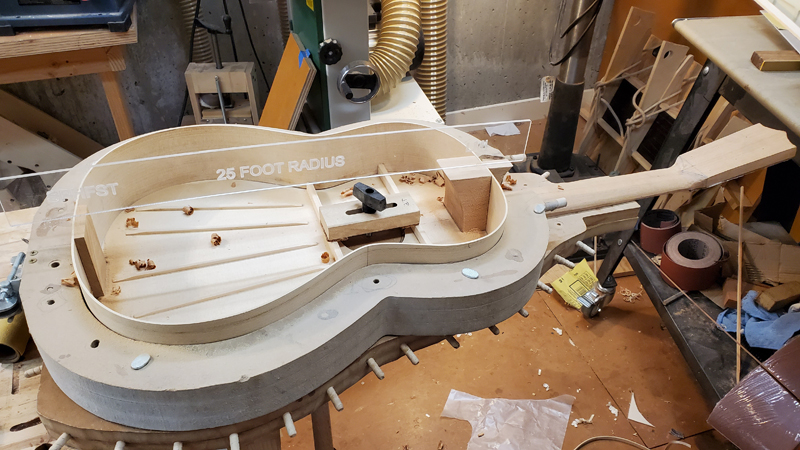
I make everything close to the right size, getting away from rough cut and sand and plane to shape.
Image


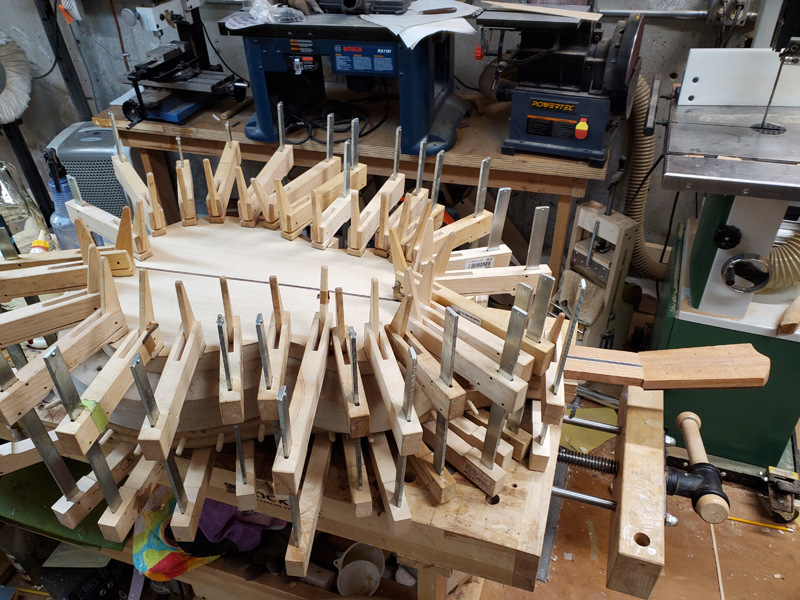
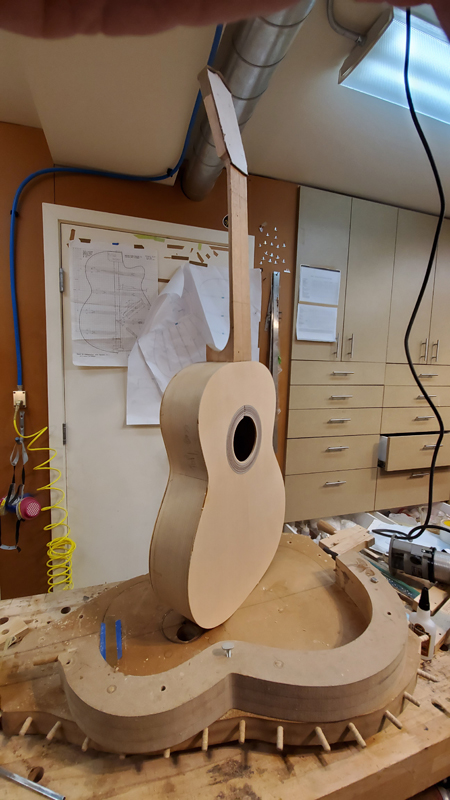
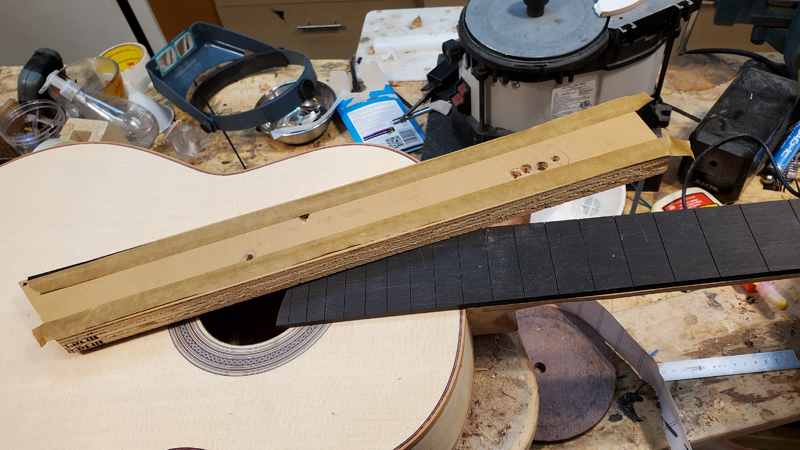
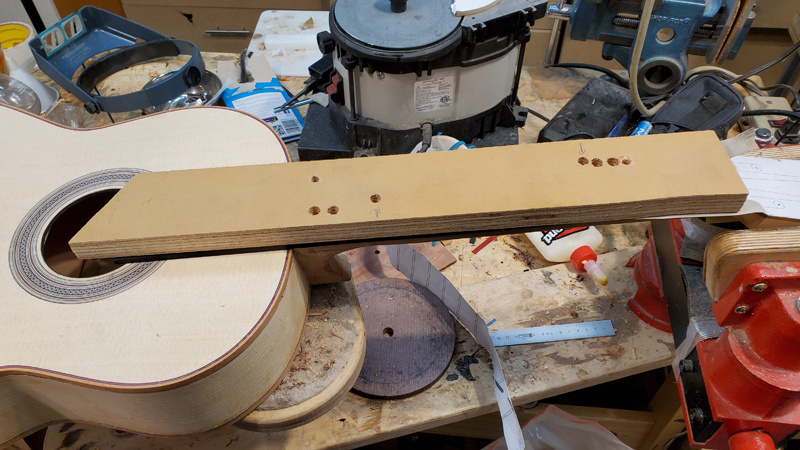
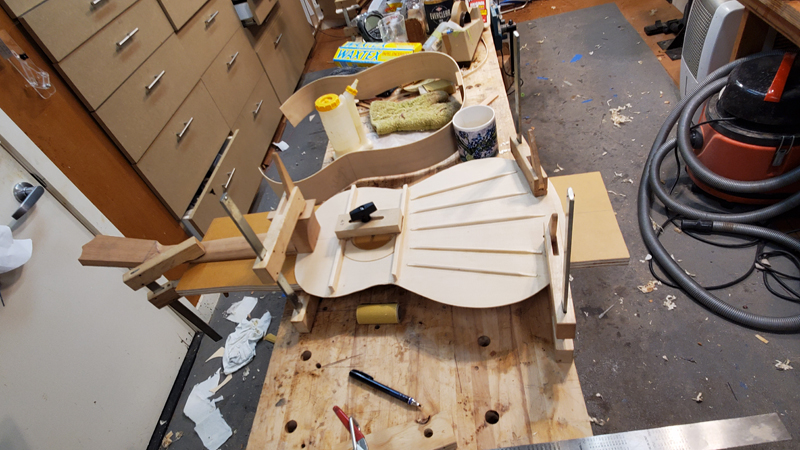
The neck step is to glue the neck to the top. Note if I were using linings instead of tentallones, I would glue the neck to the rims and install the linings. The top would be glued to the rims and neck and the same time. But building in this traditional style I need to glue the neck to the top making sure I am square to the center line everywhere. My solera has a neck angle built in. This operation is better with the top and the neck flat, so I have a seperate board to do this operation.
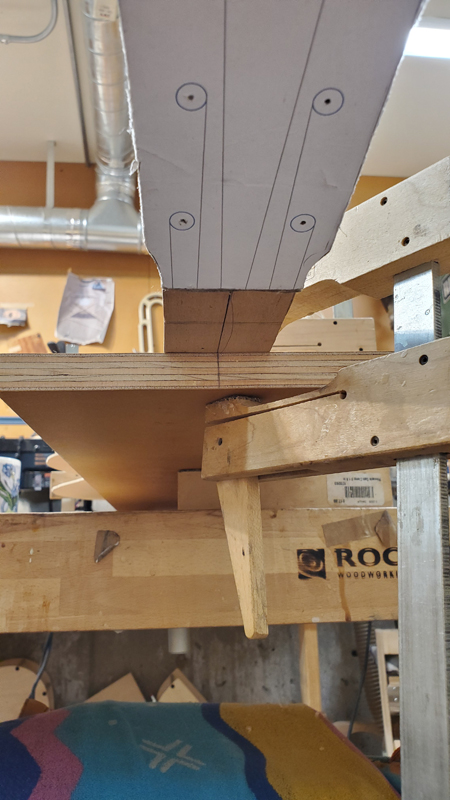
Image

Image

The neck and top are in line. I can not wait until the fretboard is glued on and I do not have to look at that router mishap.
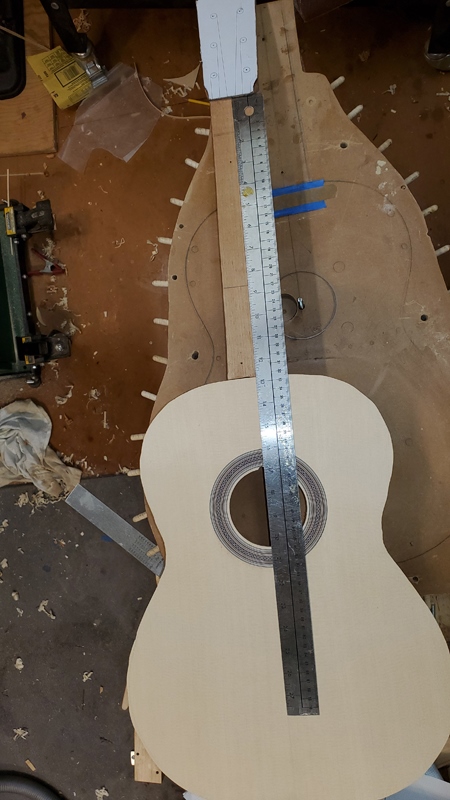
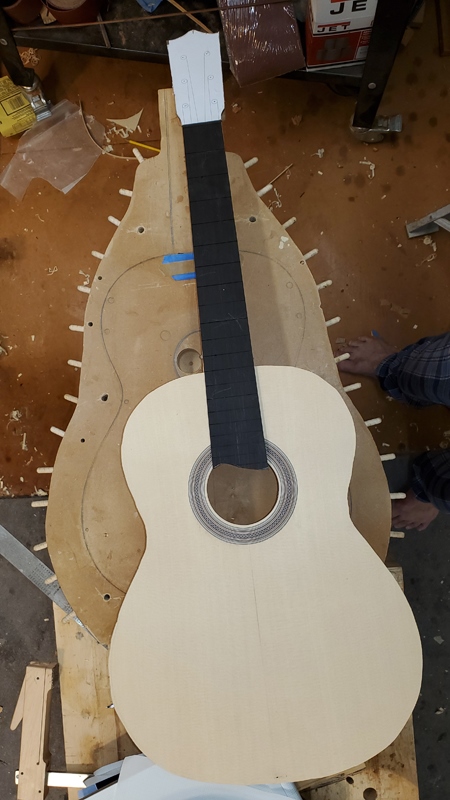
Image

Image

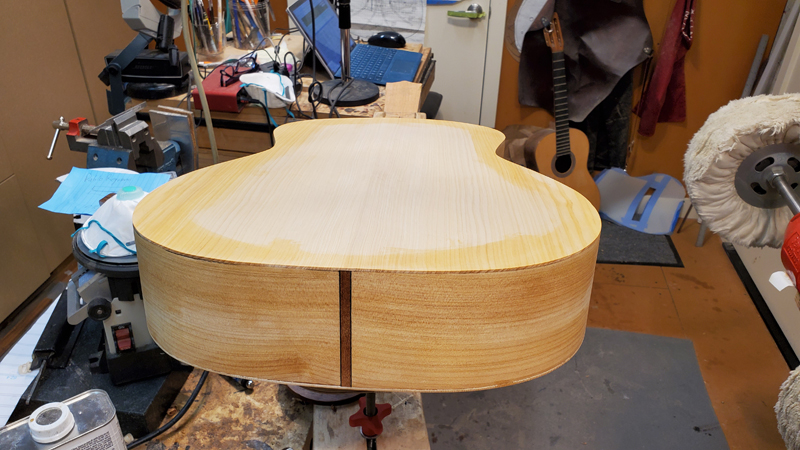
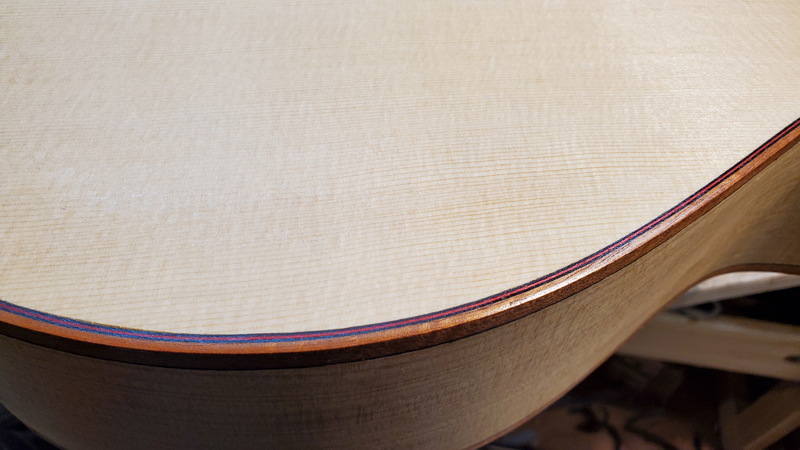
I like to install the end graph at this time. I just find it easier and safer with the top and back off. I can finally see my binding scheme of mahogany and black purfling lines.
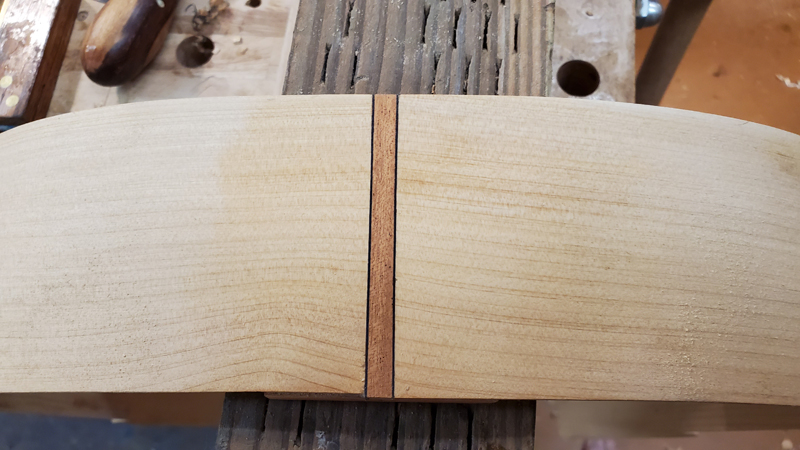
Image

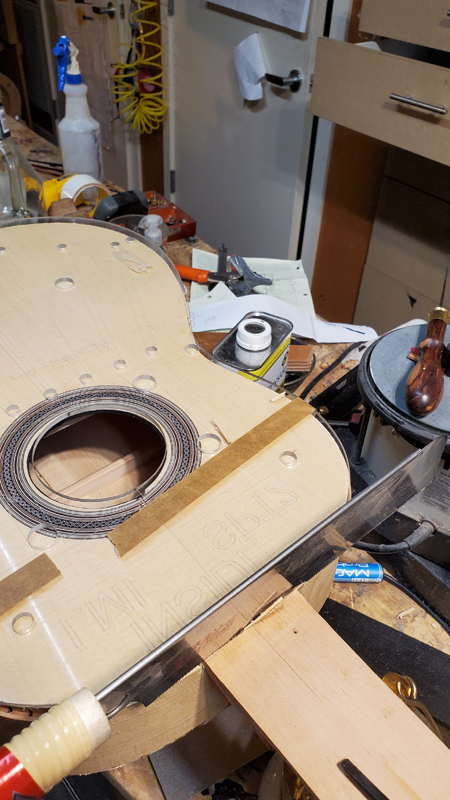
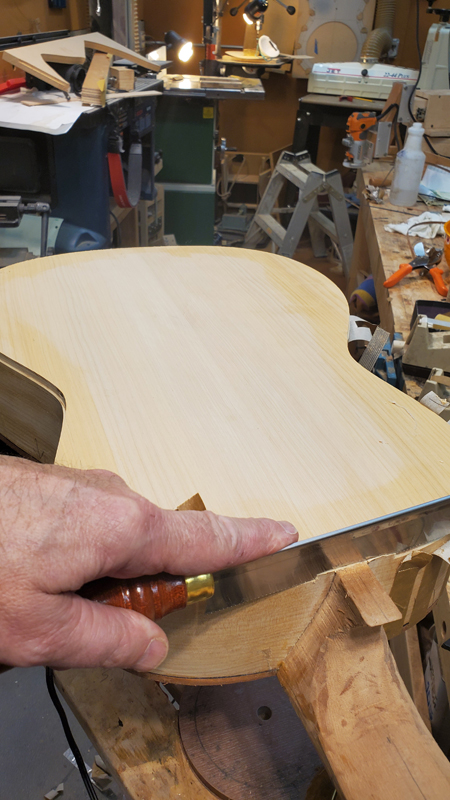
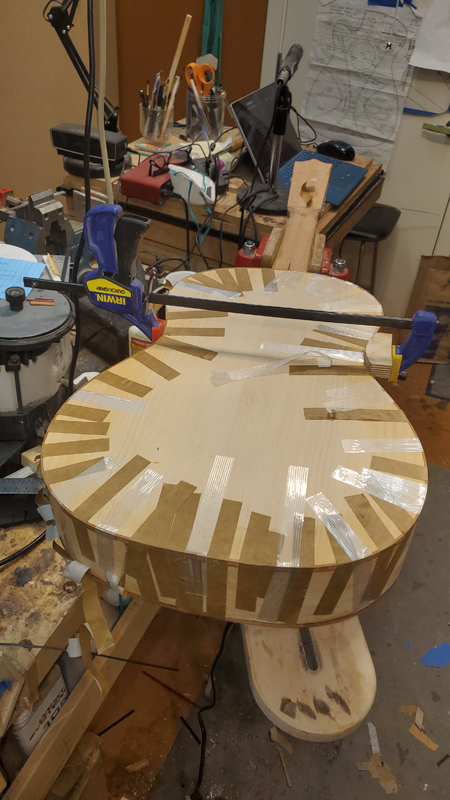
Next operation is to attach the rims to the top starting with the end block. I used a spatula to put glue on the block and I clamped it down.
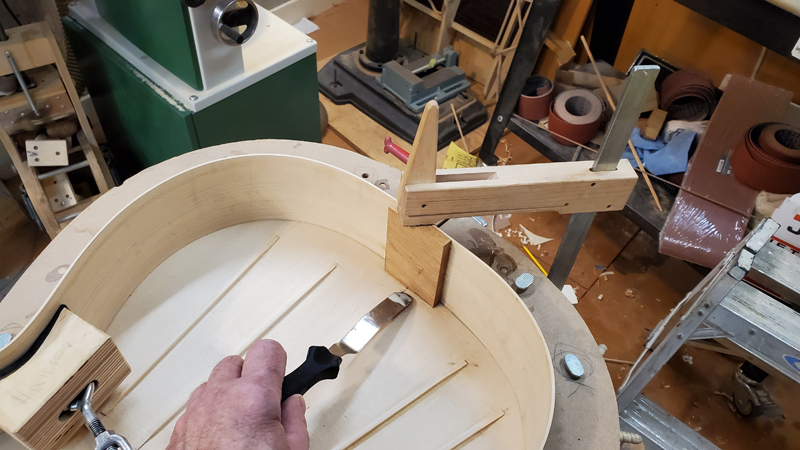
Image

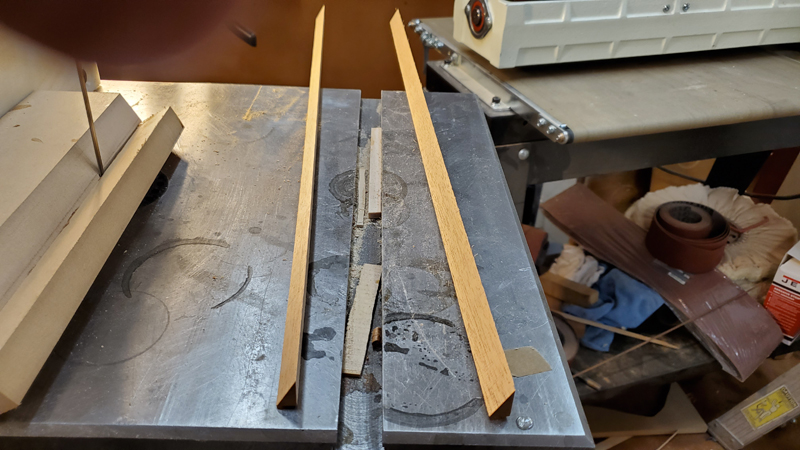
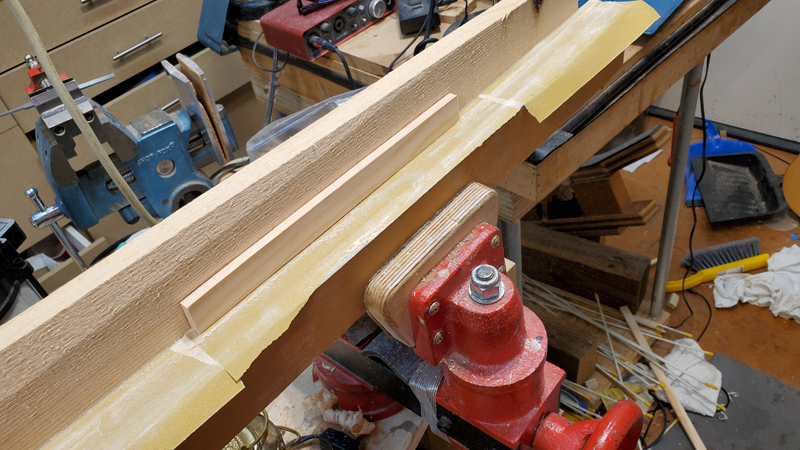
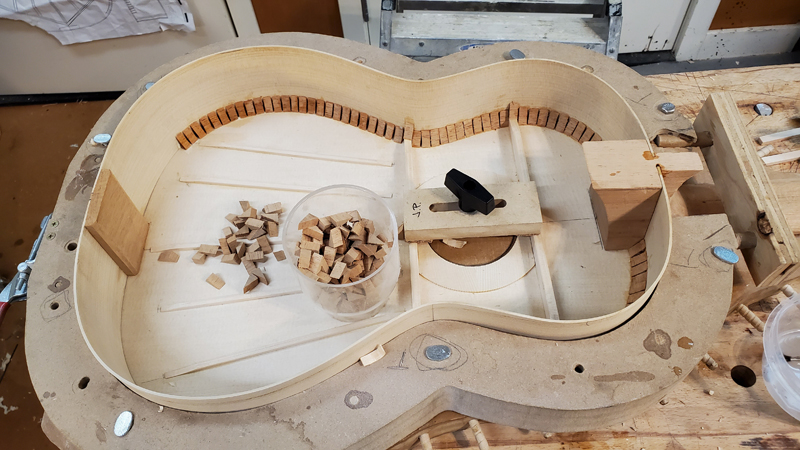
No one sells tentallones in the states so I had to make my own. I saw a youtube video by Pablo Requena https://www.youtube.com/watch?v=6KupYrzeVag&t=549s for a simple jig to cut a length of wood at an angle for the tentallones. He likes his blocks to be 10 mm by 14 which requires a 30° degree angle. For his jig he glued a couple of blocks of 3/4" plywood together and cut the face at 20 degrees. On to that face he glued a the square side of an off cut to the 30° face making a channel to guide a length of 10 mm by 30 stock into a bandsaw blade. A picture makes all of those words go away
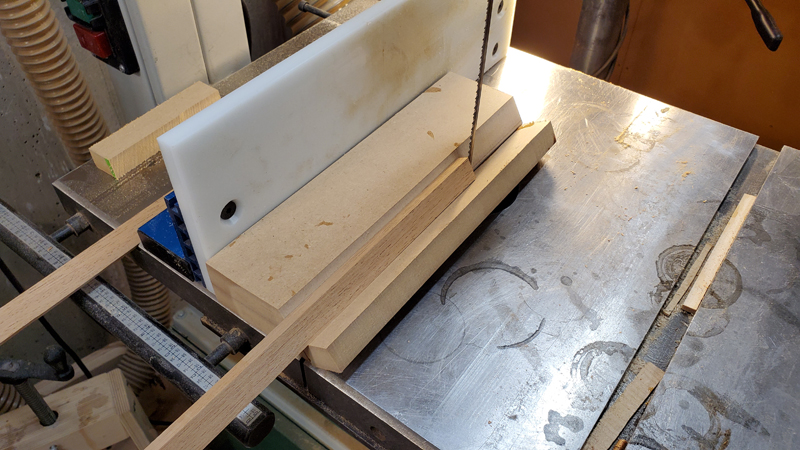
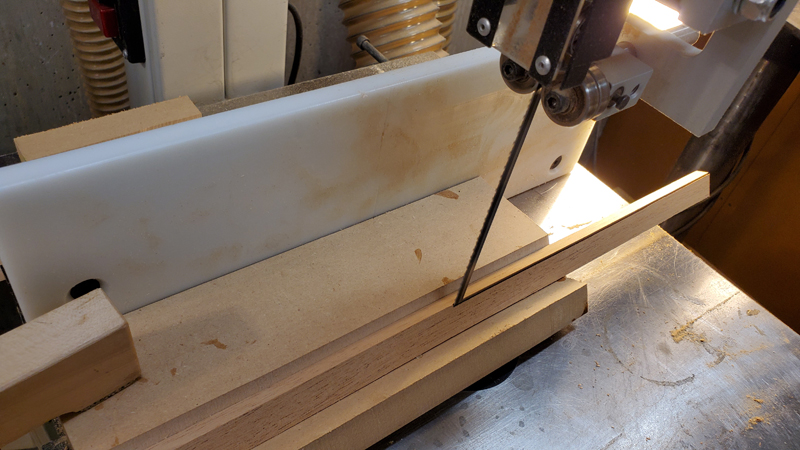
Image

Image

Image

Then I just set a fence and had fed the stock to finish the tentallones.
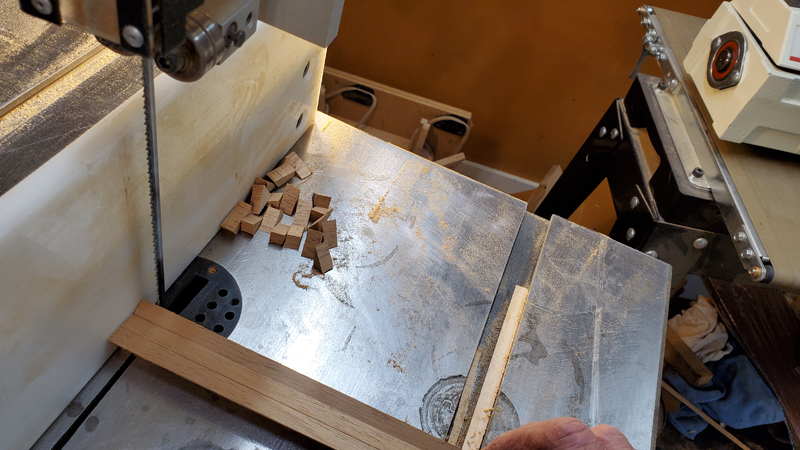
Image

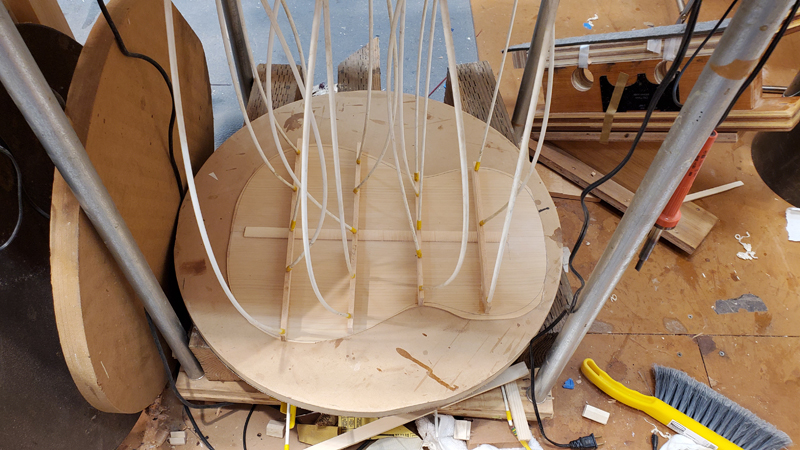
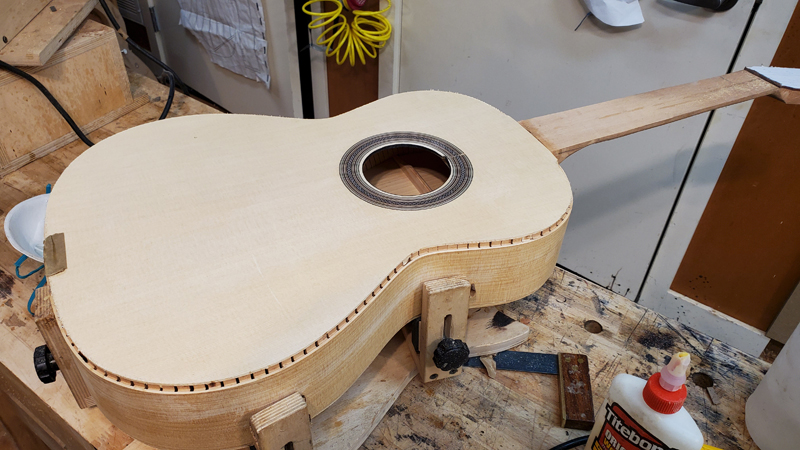
I used original titebond to glue these in place. I only need to hold them a moment and they seem to stick. On my first flamenco I used hot hide glue. I set the upper bout rather close for structural reasons. I space the lower bout to loosen the top a bit. I want the top to be able to drain its energy to get the flamenco sound. On a classical guitar I do just the opposite using solid lining to keep the sound in the top. This is not the most exciting operation building a guitar. I had spotify play a bunch of Paco De Lucia songs.
Image

Image

Re: Third Flamenco Guitar

Posted: Tue Feb 04, 2020 8:21 pm
by John Parchem
On to the back ...


I do not have a lot to say about making the back so enjoy the pictures.

Image

Image

Image

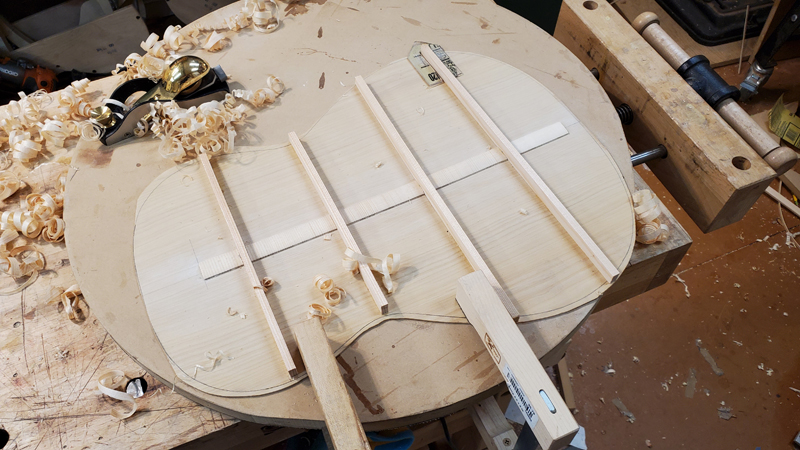
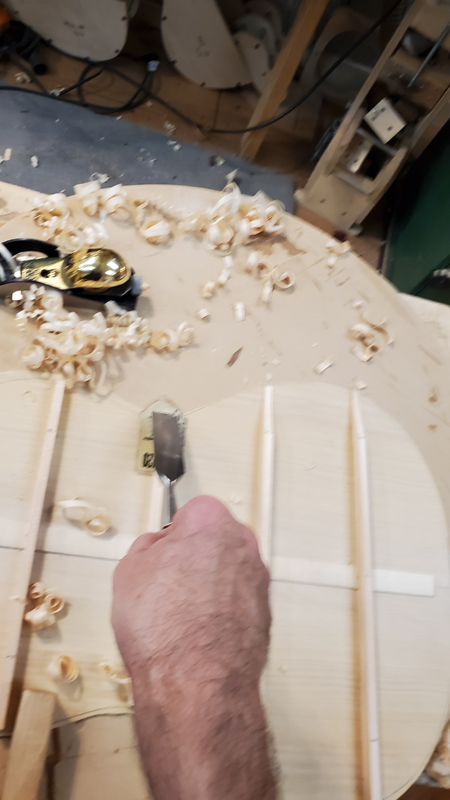
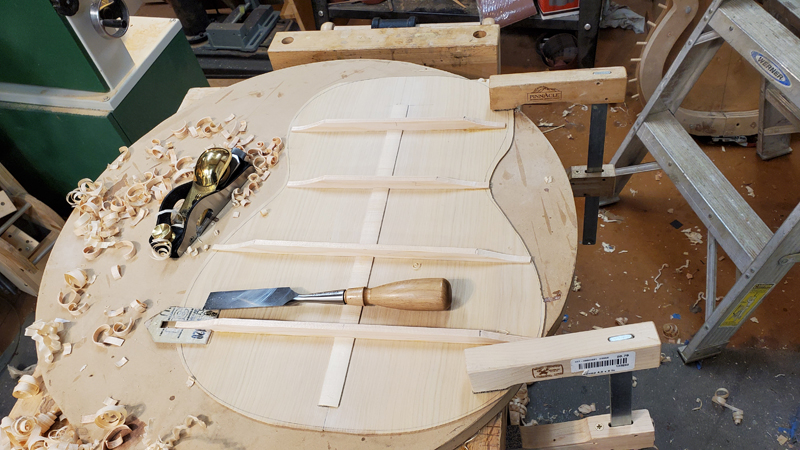
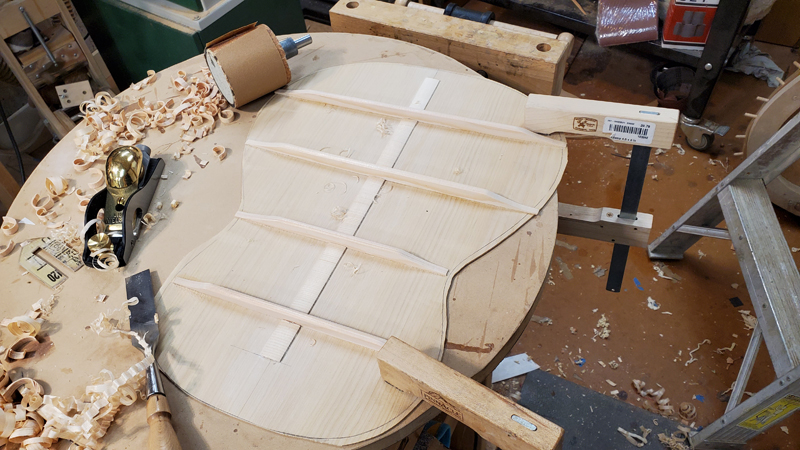
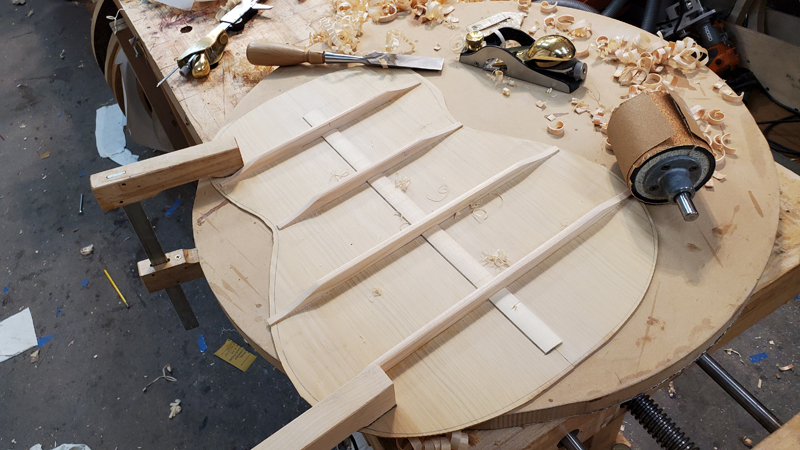
I do radius the braces to 6 m or about 18 ft. I get the radius close with a plane and finish on a sanding bar that I made.

Image

Image

Pretty standard stuff ...


Image

Image

Image

Image

Image

Image

Ready to get the linings installed and close up the box.

Image

Somehow I lost a days worth of picutres so I will steal a couple of pictures from my first flamenco to make a complete construction log.

I installed kerfed linings for the back and cleaned them up with a radius dish.

Image

With the body on the solera and in the mold I mark where the braces cut the linings and use a pencil mill grinder to inlet the linings and then with the back fit to the body I glue the back on to the body. In this type a construction this is where the neck angle is set. This is my classical solera and it is made to add a back angle the pulls the the neck forward of the top plane by a couple of mm measured at the neck. For a flamenco with lower string height I wanted an additional 2 mm of neck angle. I got this by taping down a 2 mm shim onto the solera at the body join.

When gluing on the back make sure to clamp the neck to the solera

Image

Image

Image

Re: Third Flamenco Guitar

Posted: Wed Feb 05, 2020 11:29 am
by John Parchem
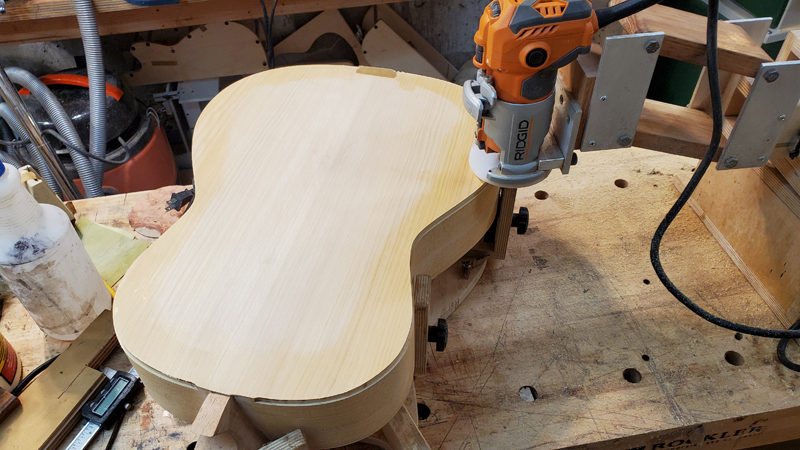
I have a separate router with a flush cut bit that I used to trim the top and back. I also completely sanded the sides level, I did not show it in the pictures as it went so fast. The sides were presented to 180 grit before they were bent and they did not get any cups while bending. I really just need to clean off the odd bit of glue on the sides. I use a Fleishman binding machine and the router bit and bearings I got from LMI to cut the binding channels. The top was cut in a 1.5 mm deeper to accommodate three purfling strips. For good luck while routing I wiped all of the areas around the binding with shellac.

Image

One needs to stop short of the neck when routing with the neck already installed. Hitting the neck is bad, so I usually give it more room than absolutely necessary. Also you will see in the photos that I taped a small bit of a purfling strip right above the tail block. That strip lifts the router allowing me (with a bit of hand cleanup) to miter the binding purfling strip top the endgraph purfling strip. I usually just rout straight across as it looks better than a bad miter. The black purfling strips will be very forgiving of my lack of skill.


Image

Image

I use the top template as a guide for my scalpel to help me do the hand work where the router will not safely reach. My scalpel line is just proud (like a blade width or less) of where the final cut needs to be. I have found that it is easier to blend in relitive to slightly over cutting.

Here is the cut, with the template pulled back.

Image

the back

Image

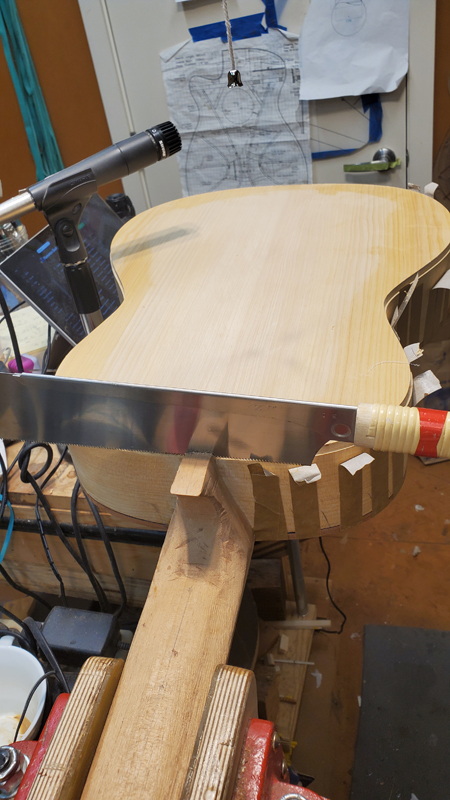
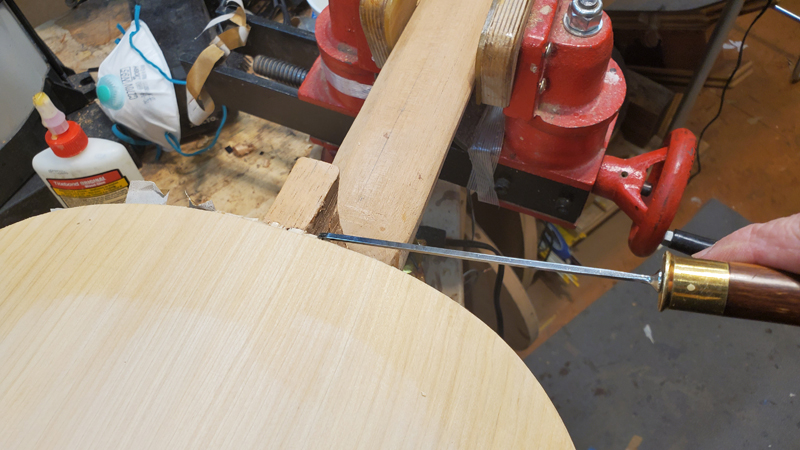
Then I use what ever I have to hog out most of the excess. If care is taken not to touch the neck, the top cut line and the routed channel bottom any saw will work.

Image

Image

Image

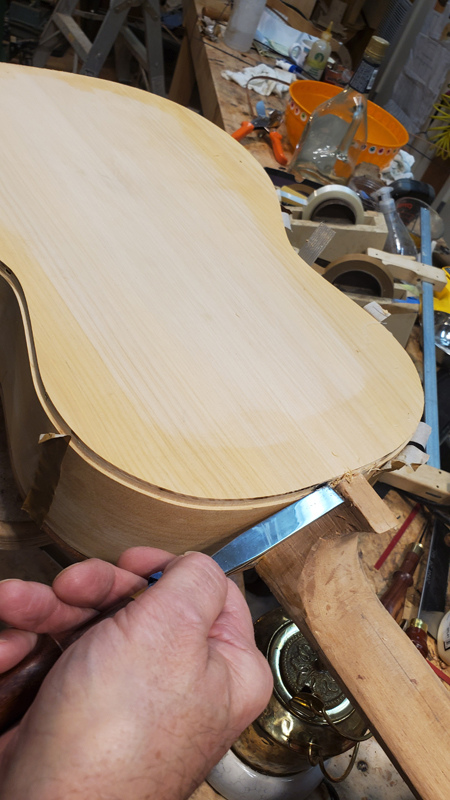
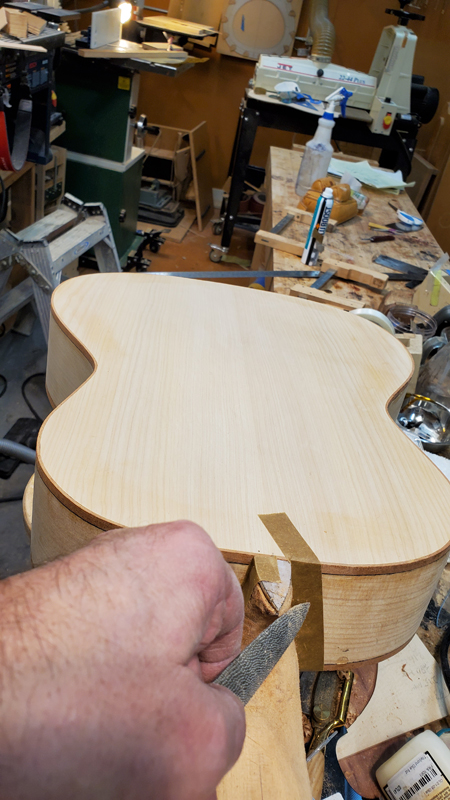
I use sharp chisel and possibly a file to clean up all of the visable edges.


Image

Image

I muck with them until the bindings fit properly. Take care, if the channels get too wide it can look bad. especially the back

Image

Image

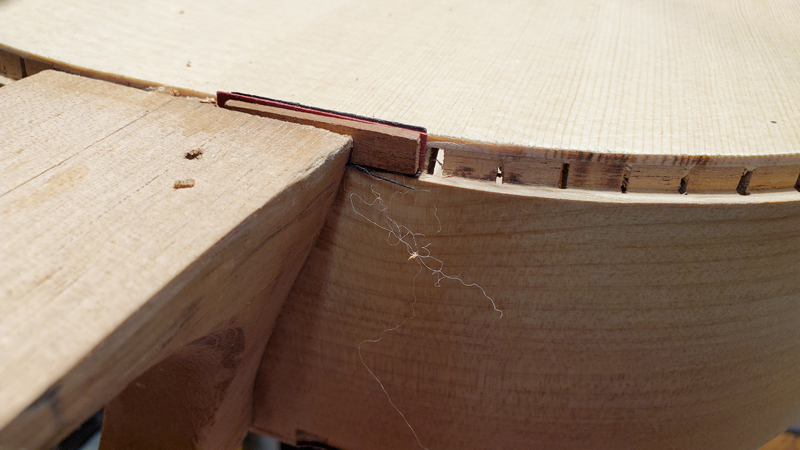
The area around the end graph also needs hand work. It is easy as I use the fully cut channels as a guide for my chisel to lower the area that was raised by the above mentioned taped purfling all the was to the endgraph purfling.

Image

Then when fitting on the binding both purflings are generally cut as a 45° miter. I just cut the purfling on the binding square and removed enough purfling to reach the center of the endgraph. No one can see a black miter vs a black but joint. If there were multiple colored purflings then a miter would have been required.

Image

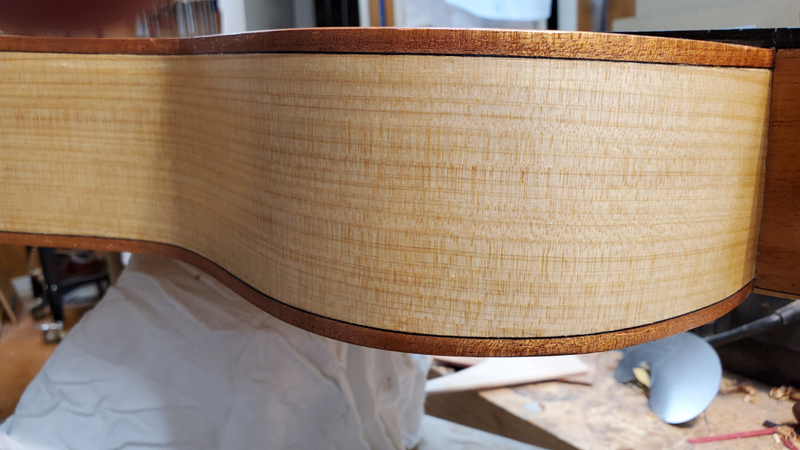
Not a lot more pictures but I fit the bindings and glued them in place. I took great care to make sure that the channels were clean so the bindings fit without any real issue just using tape. I did not see the need to wrap the binding to pull them tight. (I thought about it). They aleo were a very close fit on the channels so there was little scraping to clean them up.

Image

Image

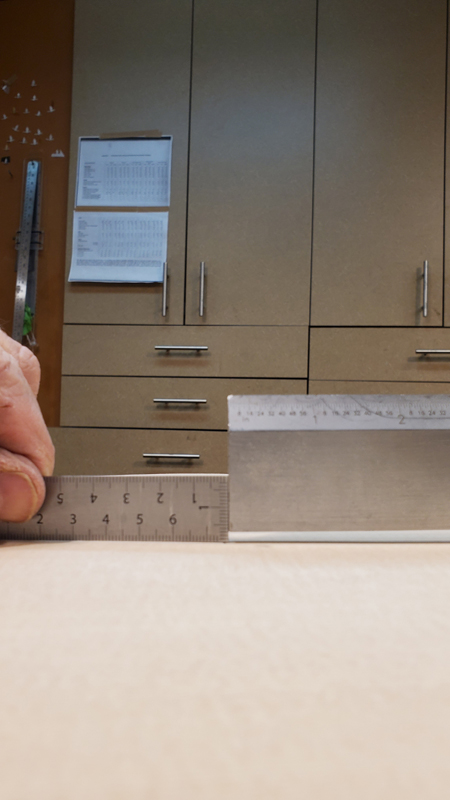
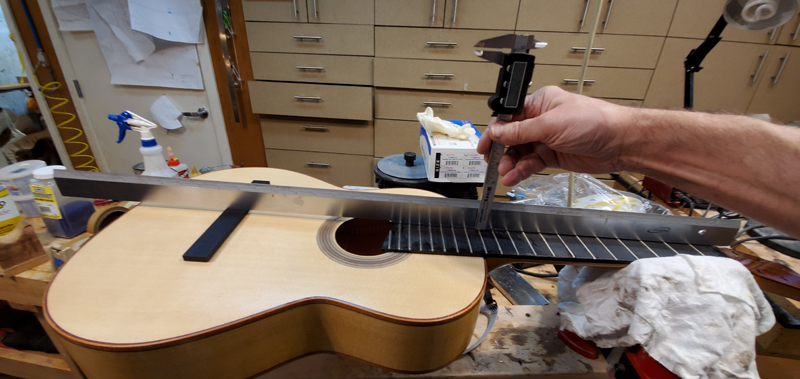
I placed the neck in place and projected a straight edge to the saddle location. The projection was 3.5 to 4 mm above the top. A flamenco string height over the top is low relative to a classical. If I assumed 3 mm of action this project would leave the stings at about 9-9.5 mm above the top. So while this projection is near perfect for a classical it is a touch too high for a flamenco. I want a projection closer to 2 mm.

Image

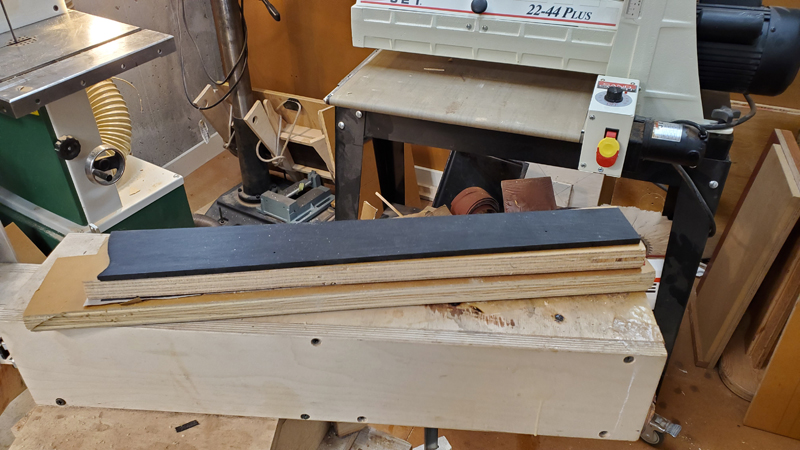
Not bad though this can be achieved sanding a slight slope into the fretboard. A difference of 1 mm nut to 12 fret would lower the project 2 mm at the saddle. As I do not have the fret board glued on I can sand or plane the bottom of the fret board to achieve the height. Also as the bass side has higher action than the treble side, I like to get a mm of that action by sloping the bass side of the fretboard. Now I do this in my drum sander. On my first classical guitar I planed in the slope using a block plane.

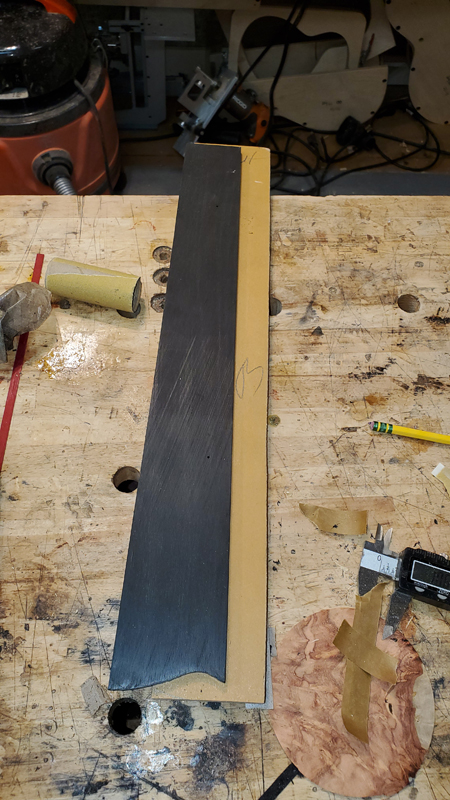
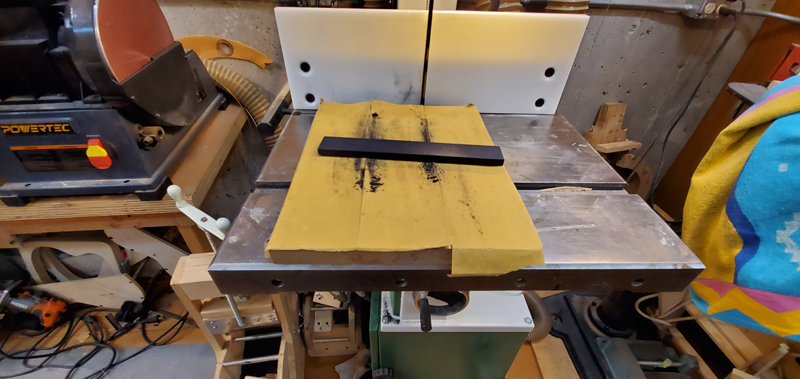
Here is how I do it. I placed 1 mm of shims on the bottom across on a 3/4 plywood piece about the size of my fretboard. Then I place another 1 mm worth of shims corresponding to the bass side of an upside down fretboard.

Image

Image

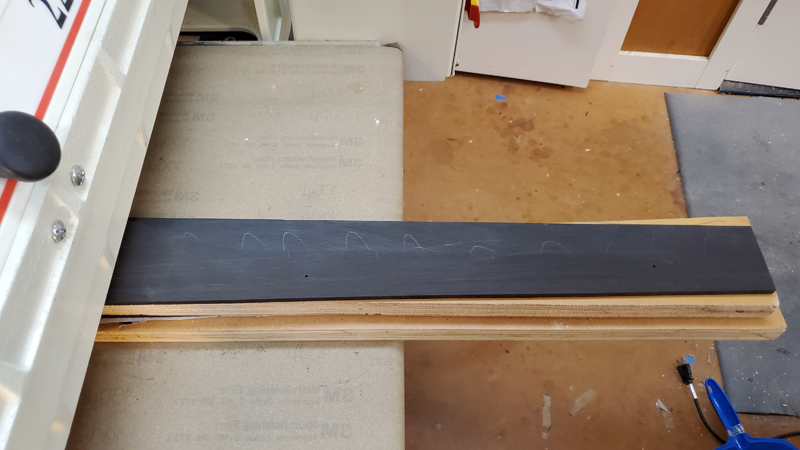
I ran the shimmed plywood and the fret board through the drum sander on top of another 3/4" plywood board.

Image

The pencil lines helped me watch the progress.
Image

All of the plywood help to assure that the fretboard would not bow and the bottom piece made it easier to send the fretboard through the sander parallel to the feed belt. When the pencil disappeared I was finished. Now I have a prefect projection


Image

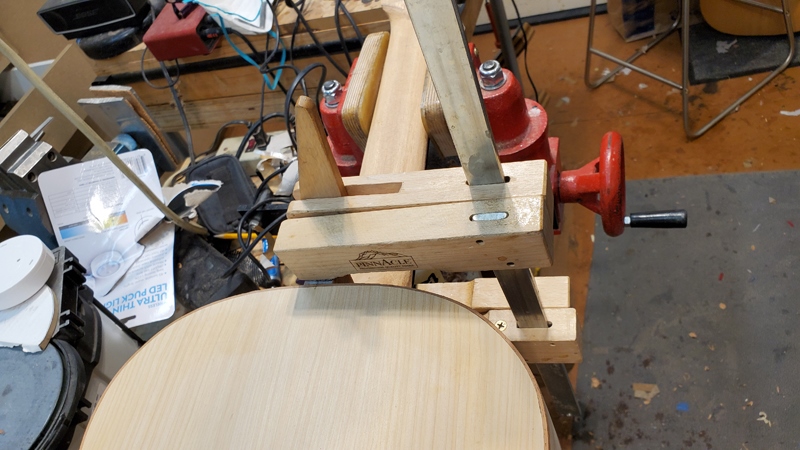
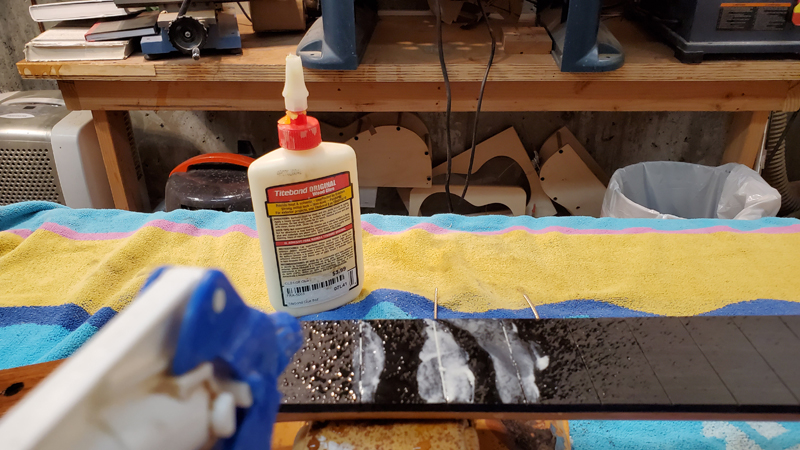
Moving forward I glued the fretboard down. This fretboard is flat but I still shim the ends of my gluing caul to assure the edges glue down. When glue hits the back side of ebony sometimes it wants to bow with a lot of force.

Image

Image

Image

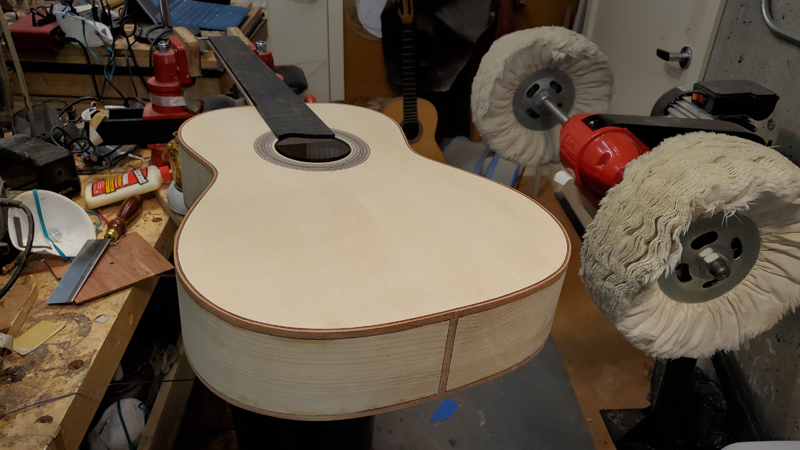
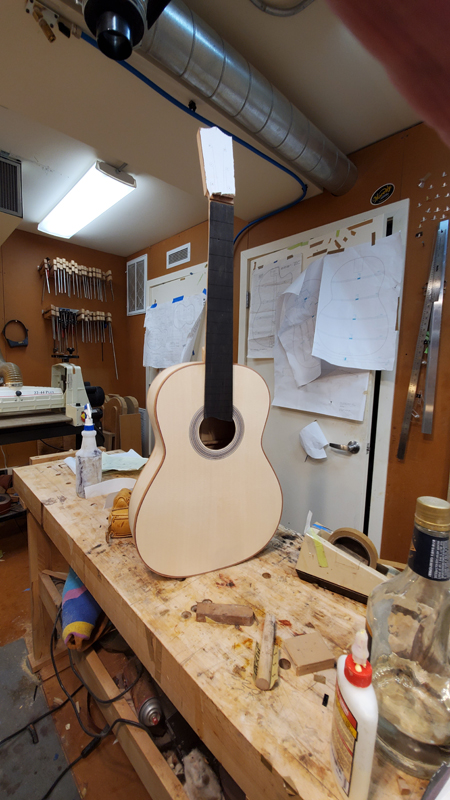
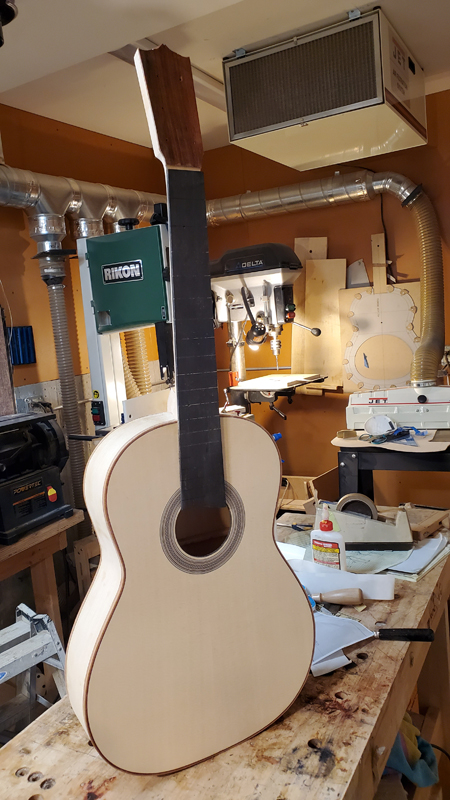
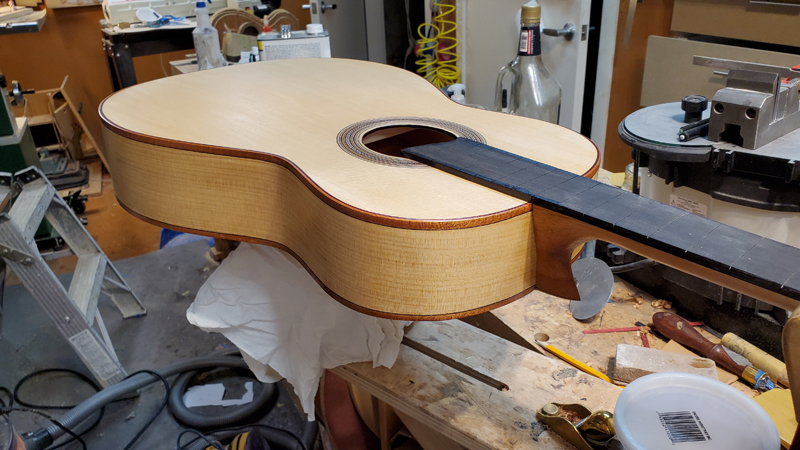
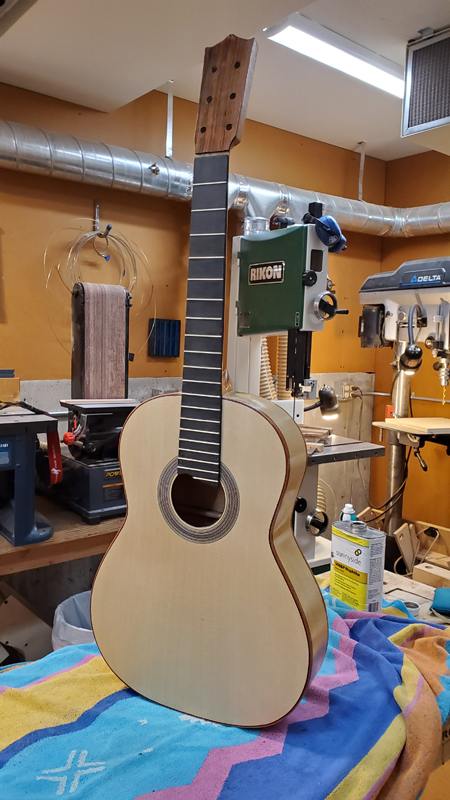
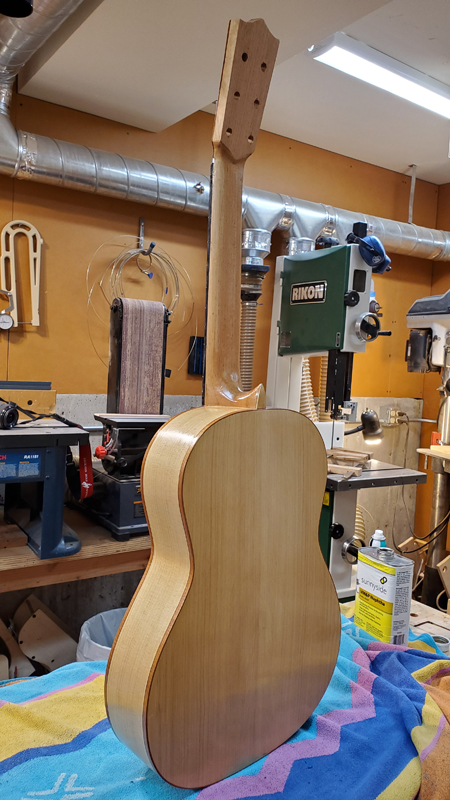
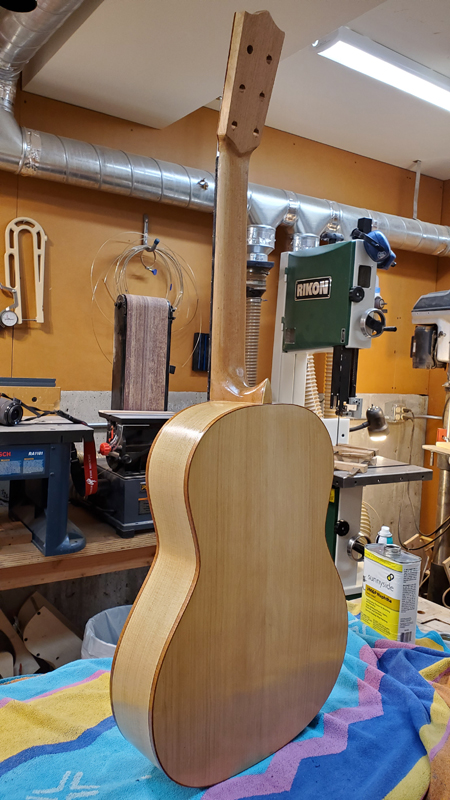
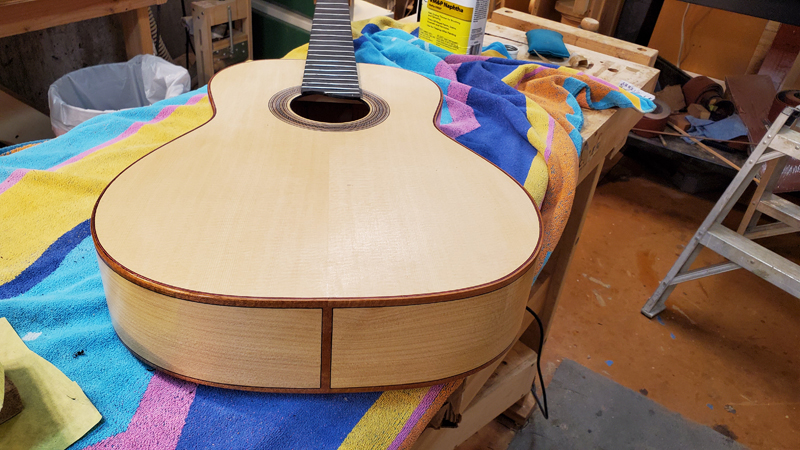
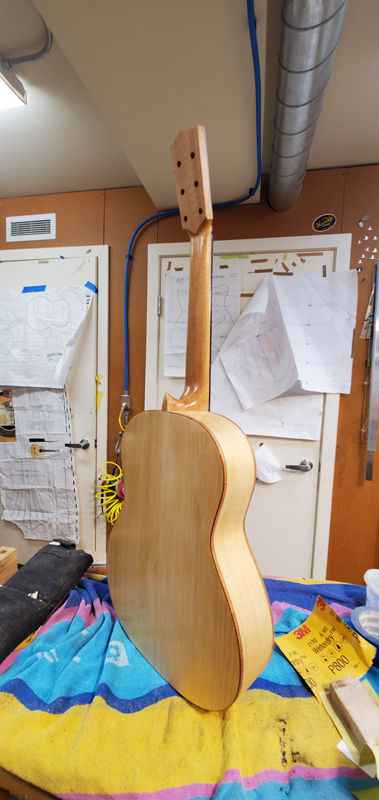
Starting to look like a guitar.

Image

Re: Third Flamenco Guitar - Traditional Build Style

Posted: Thu Feb 06, 2020 11:39 am
by John J
Beautiful work, John. And the details of the process are much appreciated.

John

Re: Third Flamenco Guitar - Traditional Build Style

Posted: Thu Feb 06, 2020 1:06 pm
by John Parchem
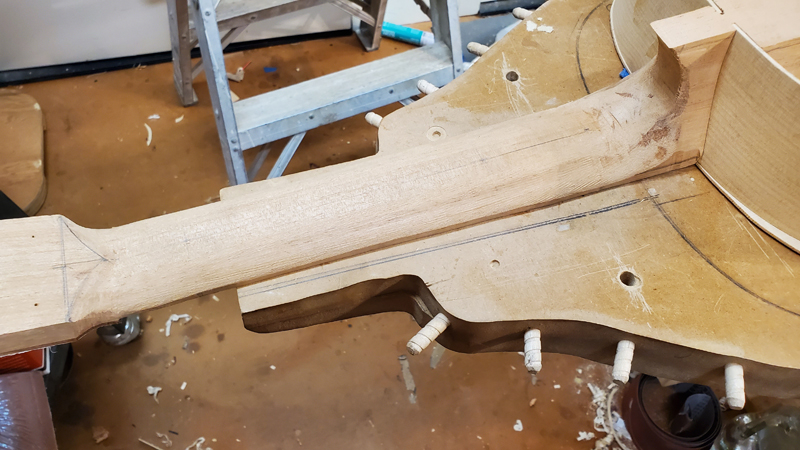
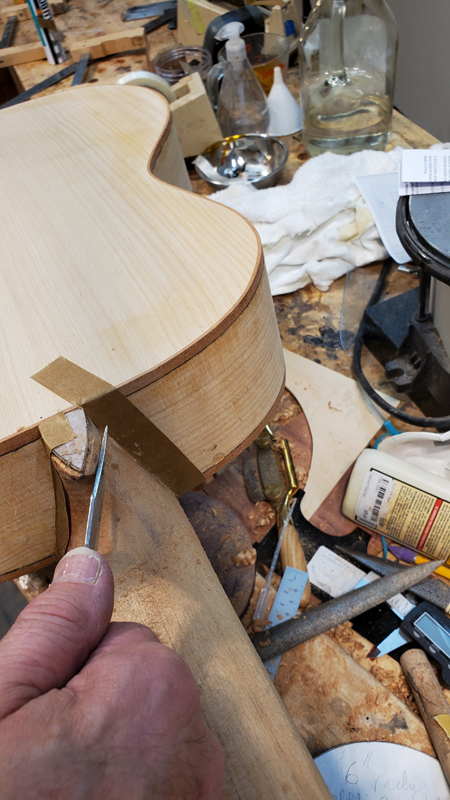
The next step for me was to carve the classical heel. I am not really good enough at this to describe how to do it. Where I am at now with a description is close to what a wood carver once told me when I asked: "Remove all of the wood that does not look like what you want and leave the rest." Maybe I can do a little better.

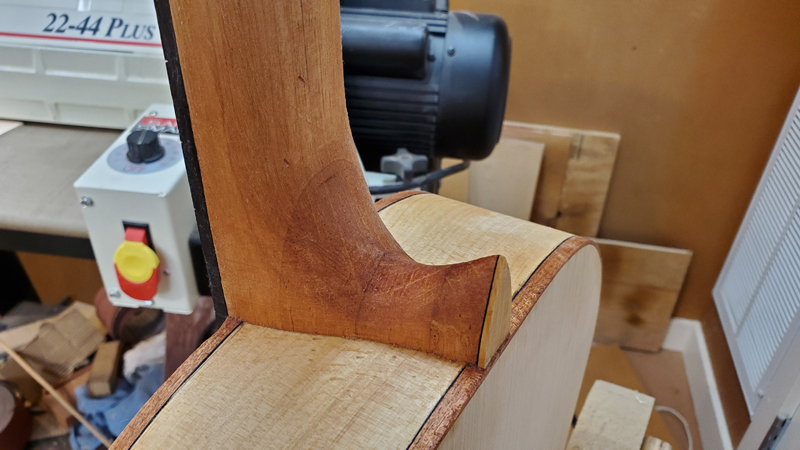
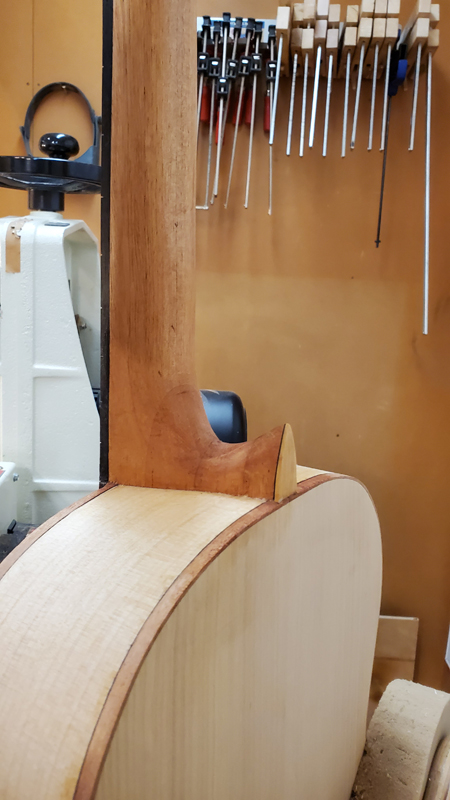
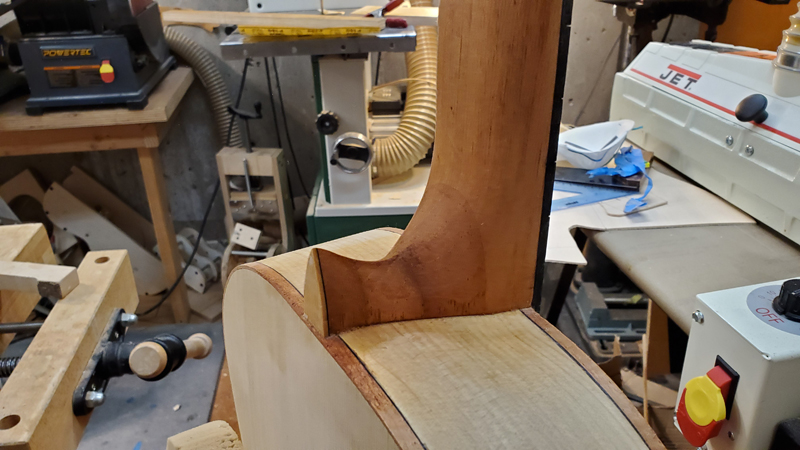
What I am looking for is the heel rising to a sharp center line that goes well into the area where the heel starts to blend into the neck. I Start from the rough carve where the side view profile and the profile looking down on the heel are already cut\carved.

Image

The heel cap really defines the shape so now is the time to glue it on.

Image

so I like working from the heel cap carving into the heal with long strokes with either a knife or rasp. The lnog strokes are allowing the cap to define to overall shape and there is always a "smooth" or continuous flow along the tail.

Image

Image

I am also watching the center line and symmetrically I am moving the shape defined by the heal cap toward the center line. Then magically it is finished (with a wash of naptha to see the tool marks to remove. ) This is off the edge tool and the rasp.

Image

Image

Image

Image

It is sanded it as part of prep sanding.

I also prepared for and started a refinement of the peg head transition into the neck.

Using my drilled pilot holes and a compass I established a center line that matched the holes. Using that new center line and perpendicular line for the start of the transition, I used a 6" template to draw a clean transition line to work with.


Image

Sorry I do not have a picture but I used a very sharp 1/4 gouge to follow that line. It really takes an edge tool to get a sharp transition. We will see how I do as the guitar moves forward.


Image

Image

As none of these woods have big pores I am sealing and pore filling with Seal-Lac a high solid content shellac product. I am liking the way the woods are reading together.

Image

Image

Image

Image

Re: Third Flamenco Guitar - Traditional Build Style

Posted: Sat Feb 08, 2020 1:36 am
by Jim Ebert
John, as usual you work and posts are awesome. Thanks for sharing.

Re: Third Flamenco Guitar - Traditional Build Style

Posted: Sat Feb 22, 2020 9:25 pm
by John Parchem
Thank You Jim!
I have made quite a bit of progress with this flamenco guitar. Sorry about being slow to update the blog. I did take pictures so here is the update.

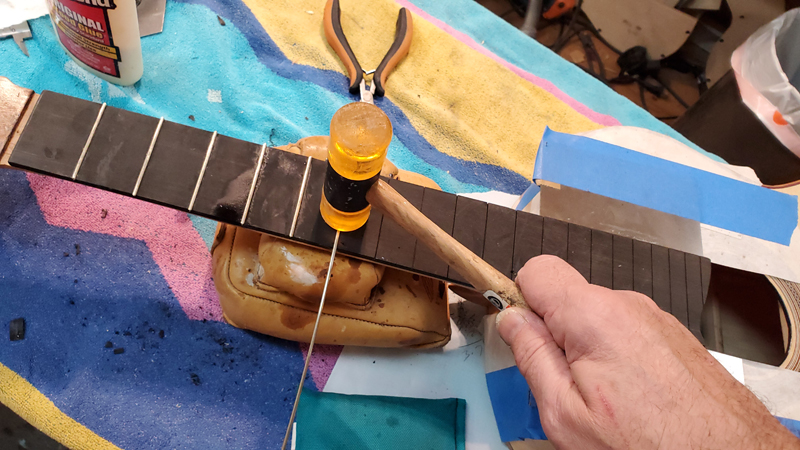
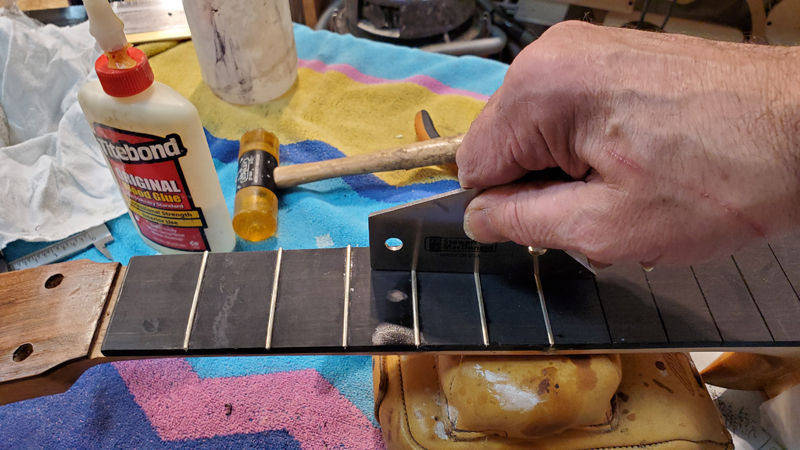
Before moving on with finish work I fretted the guitar. I just pound in the frets. I always wondered why I heard people say it is hard. But this is the first ebony fret board that I have done in awhile. It is a lot easier to pound into Rosewood. Ebony resits like crazy. Especially where I had trouble reaching into the guitar with some mass for the fret board extension.

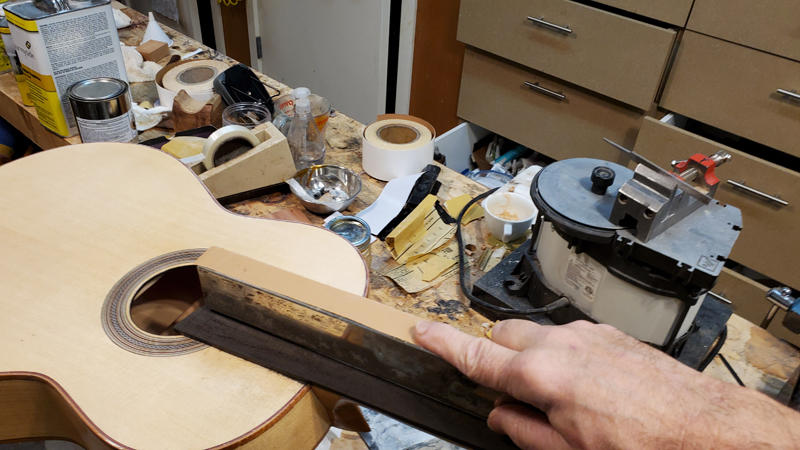
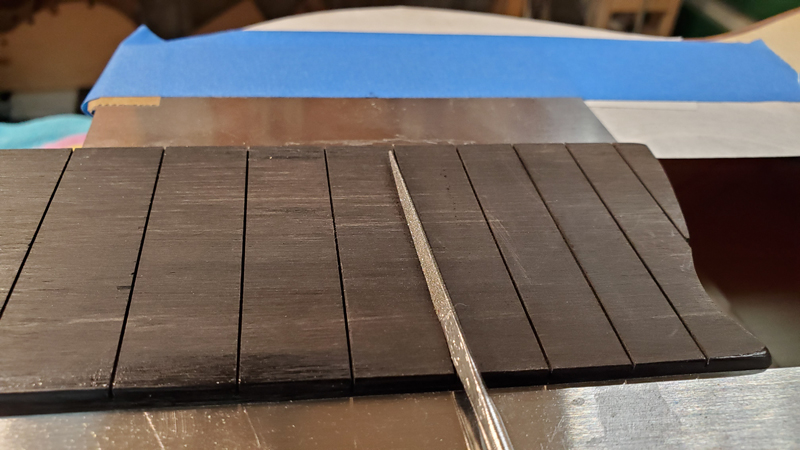
With the frets slots already cut. I made sure the fret board was level and went back and made sure the slots have enough depth. I use a triangle file to break the edges. This will help anyone who needs to pull the frets later.

Image

Image

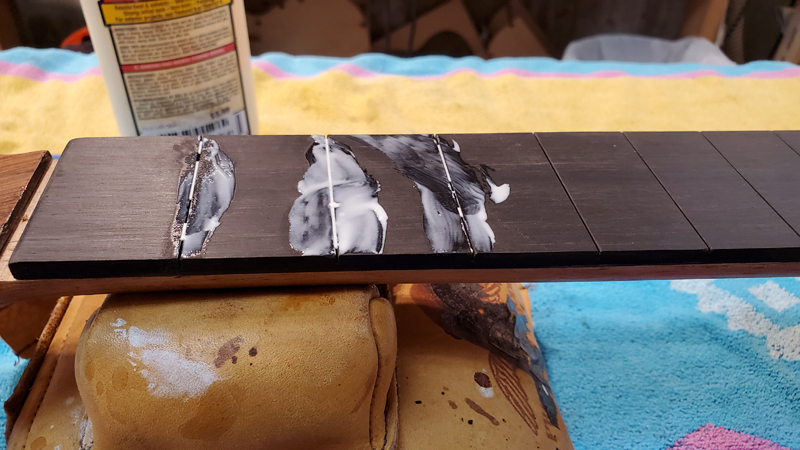
I seat the frets in a bit of titebond and water. Working on a few at a time. While pounding them in I check with a rocker for high frets as I go.

Image

Image

Image

Image

As I mentioned the extension was a pain. I used my fretting saw and widened the slots a touch. No pictures but I pushed them in and while pushed down used a pit of CA to hold them.

In not too much time I had the guitar fretted.

Image

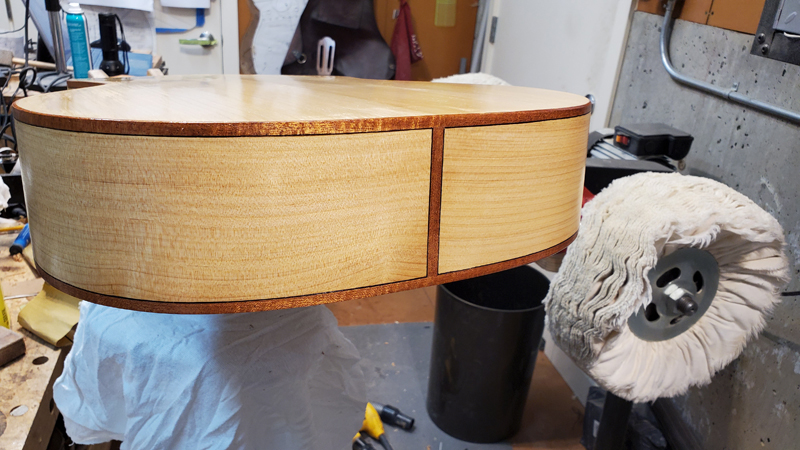
I used seal lac to seal and pore fill the back sades and neck. It took a few days applying and sanding back plus looking and fixing any gap or tool mark I did not like.

Ultimately I was happy, at this point the guitar looked finished as there were many coats of applied and leveled shellac.

Image

Image

Image

Image


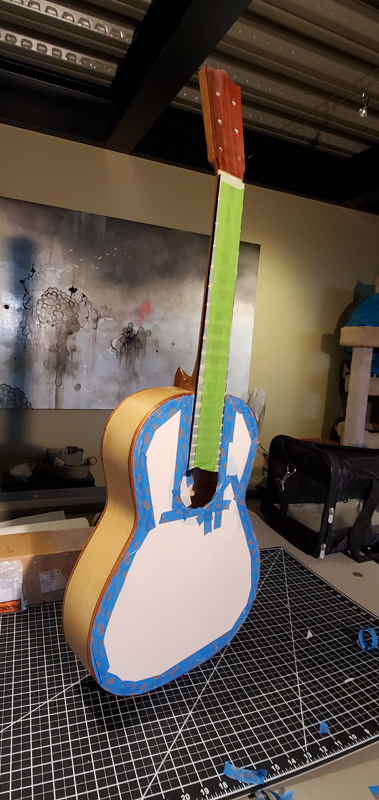
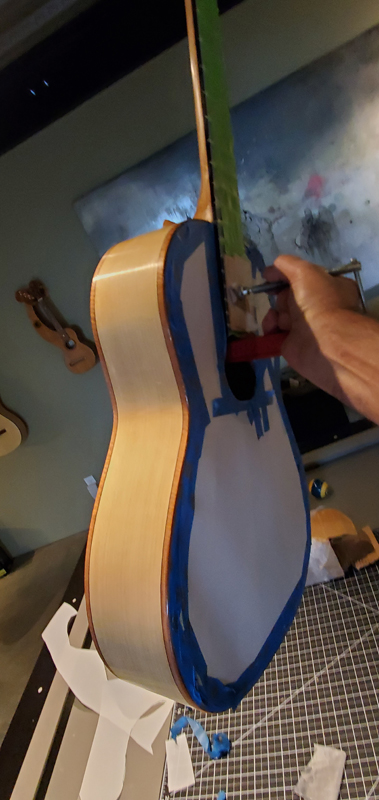
The top is going to be French Polished. At this point it had a good set of coats of seal lac. So I protected it with tape and 5 mil mylar. I also taped off the Fret board prepared to spray. The Brazilian Rosewood head stock veneer was pore filled with Gluboost CA and sealed with Seal Lac.
Image

Image

Also before spraying I went over the guitar with a black light looking for glue. I probably should have done this before I sealed the guitar. But luckily no harm done.

Image

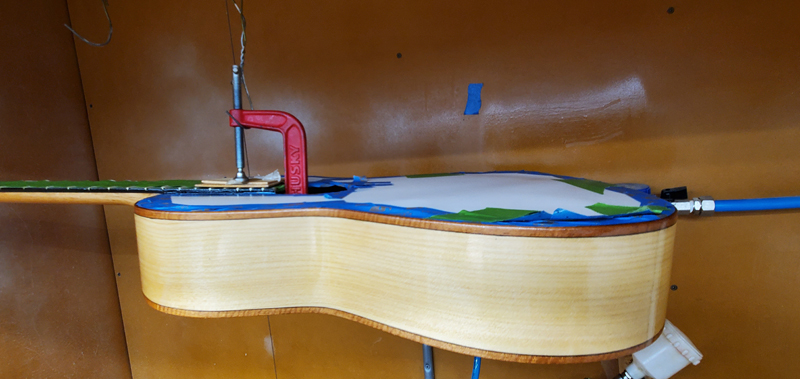
I use my C-clamp handle to hold the guitar while spraying and hanging.

Image

four days of spaying leveling every morning

Image

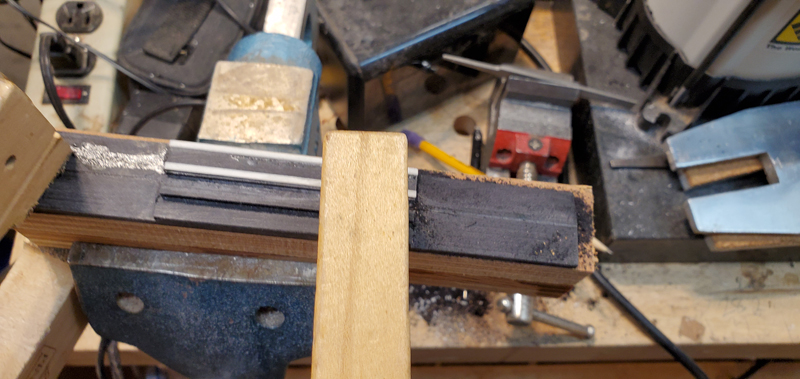
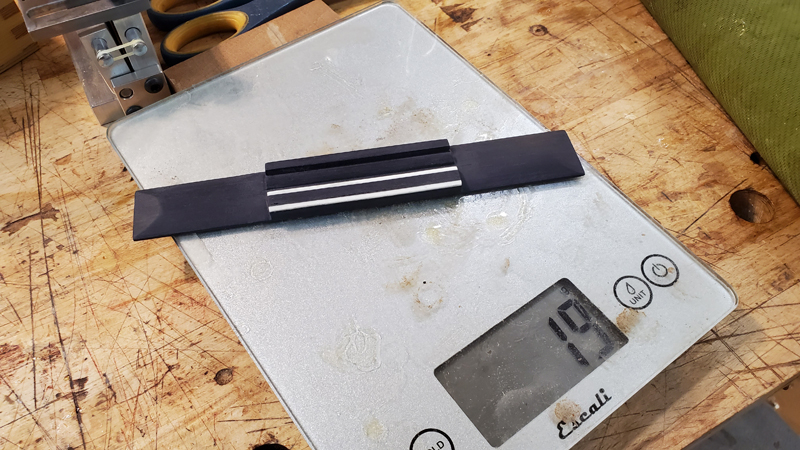
I am using a Rocklite Ebono bridge blank "Rocklite® is a revolutionary and totally environmentally friendly approach to tonewoods for musical instruments. It looks and sounds like real ebony, and it is very black unlike most ebony available today." It is quite a bit lighter than ebony otherwise I would not use it on a flamenco guitar.

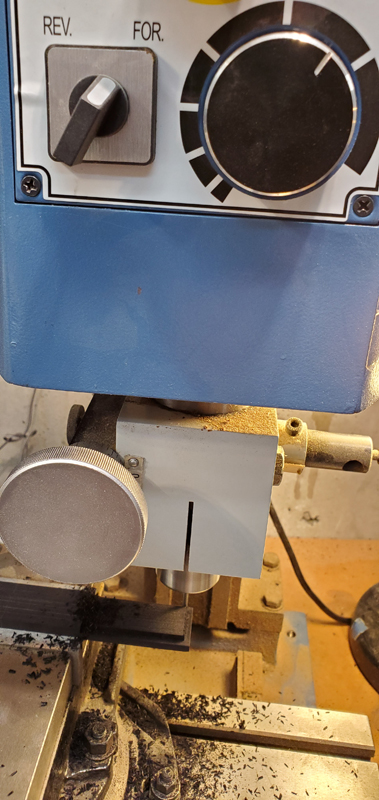
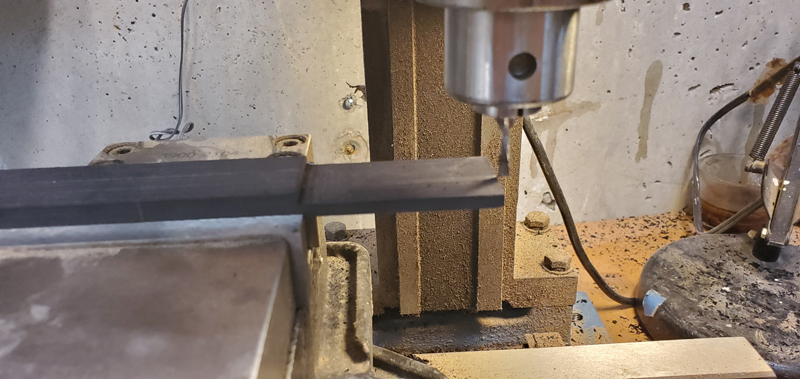
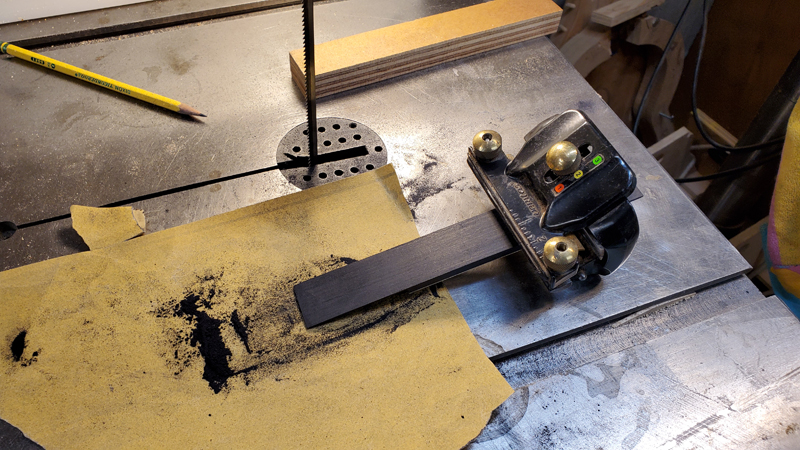
I mostly milled the bridge blank on my mini mill. I radiused the bridge blank as part of thickening. It was somewhat handy to do this as I tested the blank for action before making the bridge. I still might wait in the future. I think on my next bridge I will also drill the string holes at this stage to avoid blowout on the inside of the bridge. I waited until the end on this one and had to clean up a bit of blow out. I used a 1/8" end mill for all of the milling

Image

Image

Image

Image

I used a chisel to slope the approach to the saddle.

Image

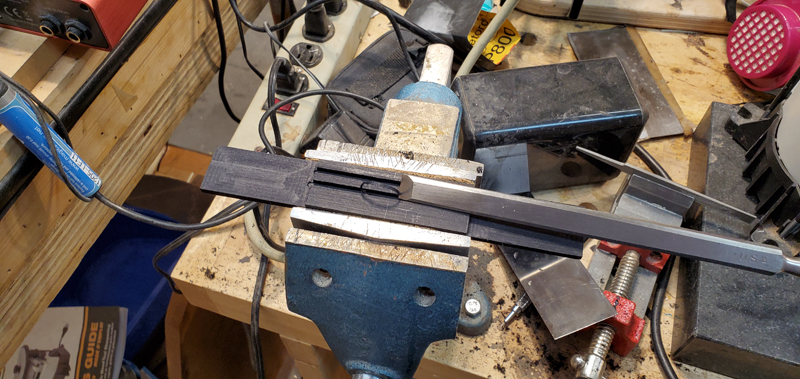
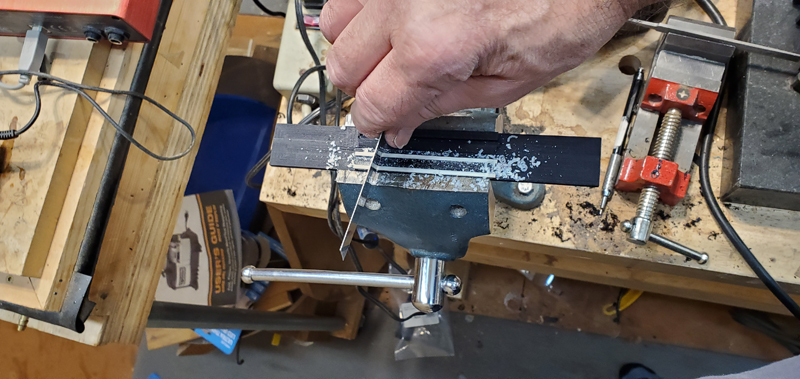
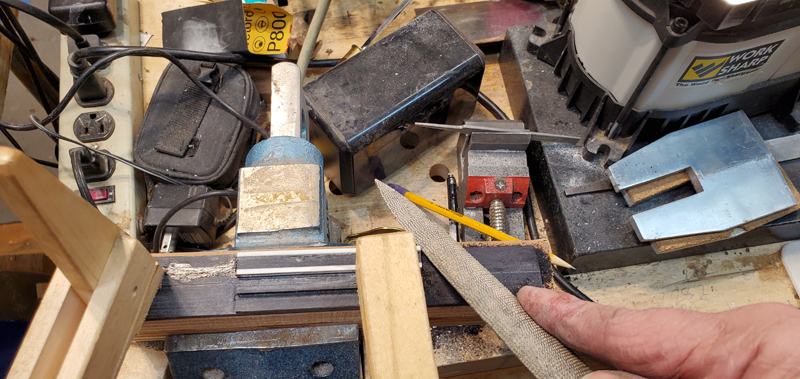
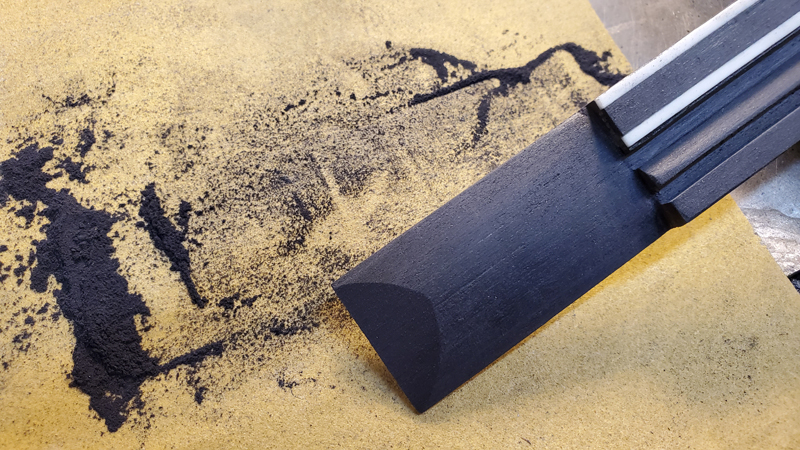
I glued the bone strips for the tie block. I only set them in 1 mm to have room for a 18 hole bridge. I used a scraper to level them One needs to be careful as it is easy to scoop out the center of the inlay to much. Which I did. I just put it back in the mill and routed it out and replaced it.

Image

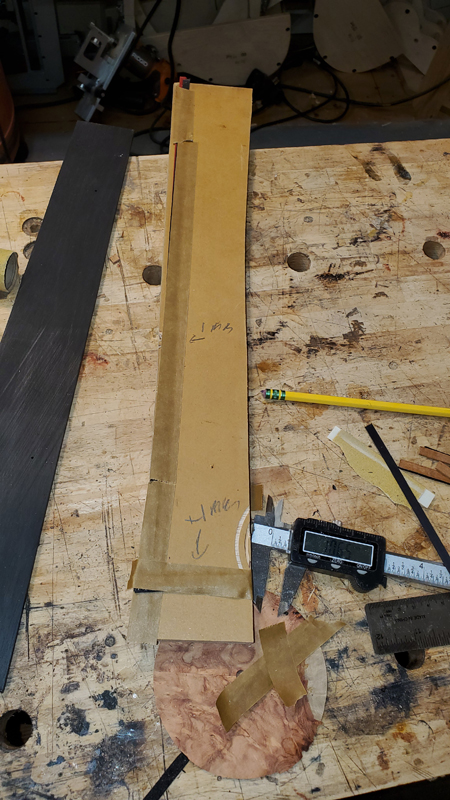
I used a rasp to shape the wings. Note that I have the bridge on a platform a bit wider than the bridge. This allows me to control the cut and maintain a mm or so of uncurved edge. The extra space on the platform keeps me from getting to close to the bottom while rasping
Image

Image

Not shown but I also used a safe edge mill file to clean to the tie and saddle block.

I uses a sharpening jig to taper the ends of the bridge. I taper until the edges are even with the side edges.
Image

Image

Image

Getting close but I will continue in a new post as I need to start diner!