Page 2 of 8

Re: Falcate Braced Classical Guitar

Posted: Fri Jan 30, 2015 5:49 pm
by Kevin in California
Looking great John.
I've been a bit afraid of trying to bend a cutaway on my light bulb bender, but with the use of the heat gun I bet I could make it work. Think I'll make a press to add to my bender, and make an OM cutaway form to try down the road.

Re: Falcate Braced Classical Guitar

Posted: Fri Jan 30, 2015 5:55 pm
by Herman
Yeah John, great bending!. This narrow bend keeps me from building such a venetian.
Herman

Re: Falcate Braced Classical Guitar

Posted: Thu Feb 05, 2015 4:59 pm
by John Parchem
Thanks guys, ... These cutaways are a pain. Early on I promised myself that I was not going to make cutaways. Unfortunately I did not keep that promise. It sure adds a lot of time in a lot of the procedural steps. Each time I learn something or try a new idea I seen in other's blogs.

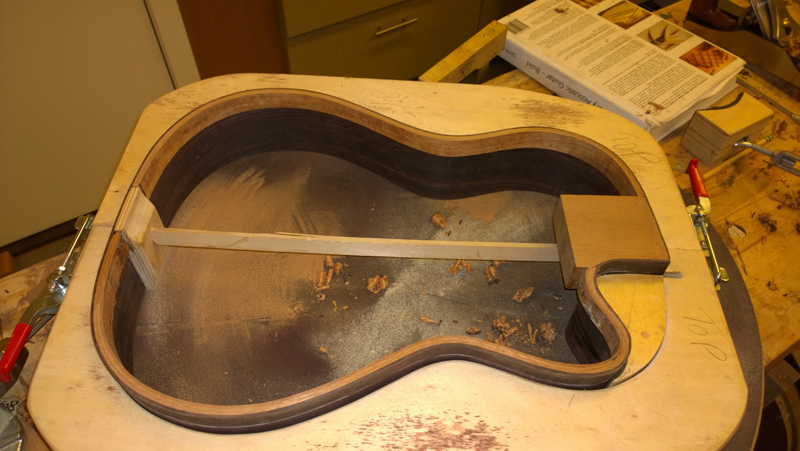
Continuing to build components before starting the assembly of the guitar I have had time to fabricate the end blocks and bend the a bunch of mahogany to make the laminated linings for the top side of the rims.

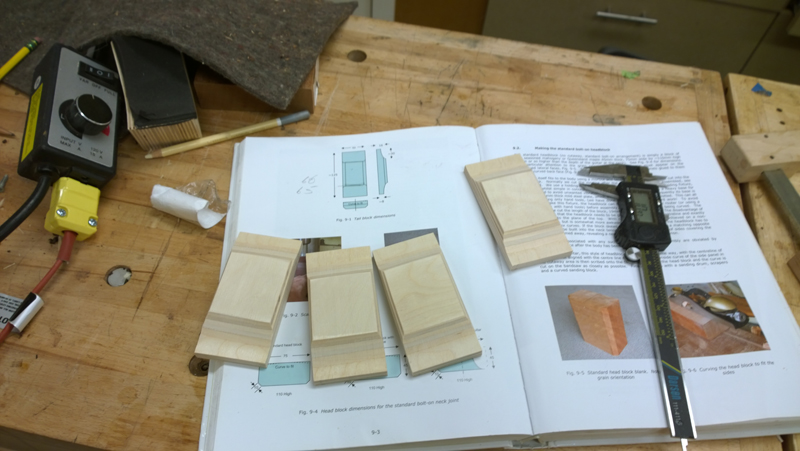
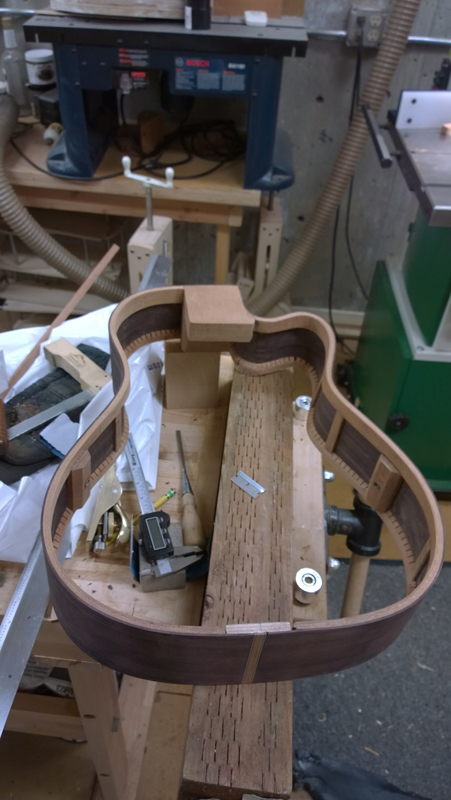
The neck block for a bolt on bolt off neck takes a bit of work to support a mortise for the heel of the neck and a second mortise to support a tenon under the fret board extension. Not a big deal, the main part of the task was to find a large enough block of mahogany that allowed me to make blocks with the grain running the right way. Luckily I had a large bock intended for a classical Spanish heel that I was able to cut to make two fretboard extension support block and still have a large enough block for the heel. Once the heel bock and
fretboard extension block were cut to dimension I glued them together.
Image

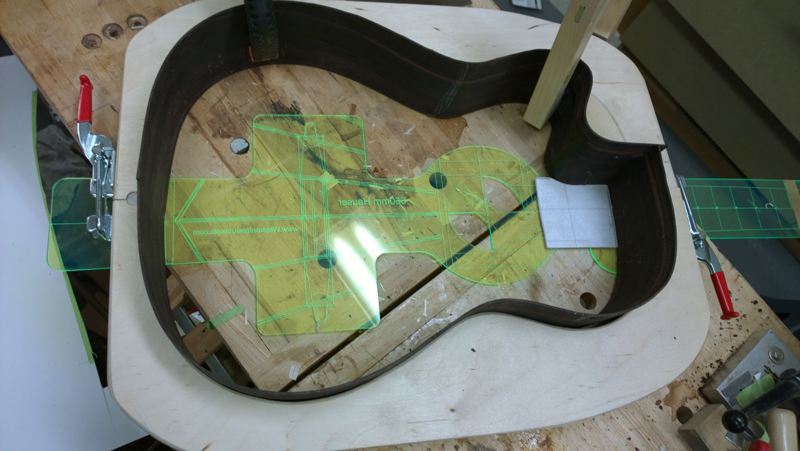
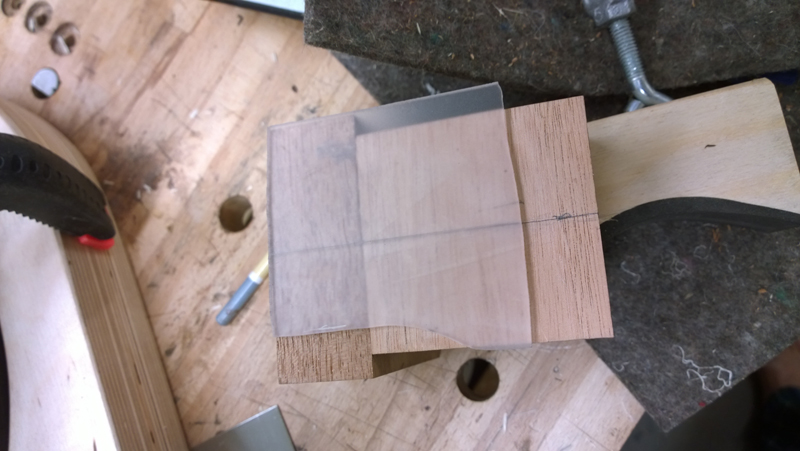
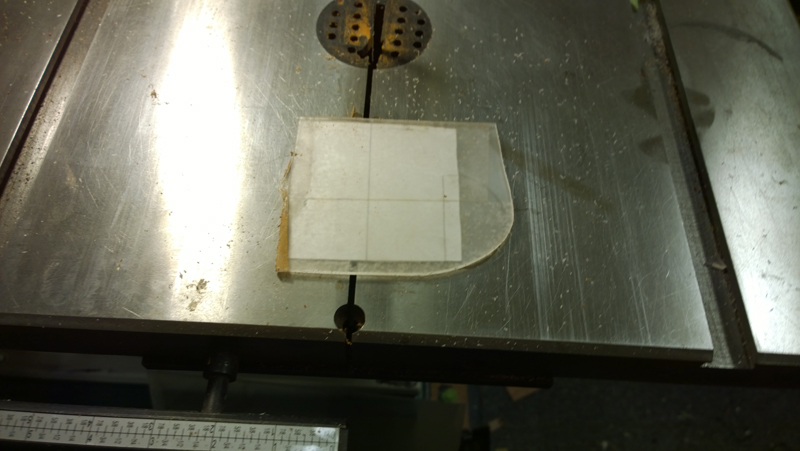
As this is the first time building this style of classical guitar I used the mold to make a template for the fret board extension block profiled for the cutaway. My cutaways have an absolutely flush joint between the cutaway side and the neck, so much care must be taken to assure that the side will be in the correct location relative to the center line. (basically half the width of the fret board at the 12th fret.
Image

Image

Image

Image

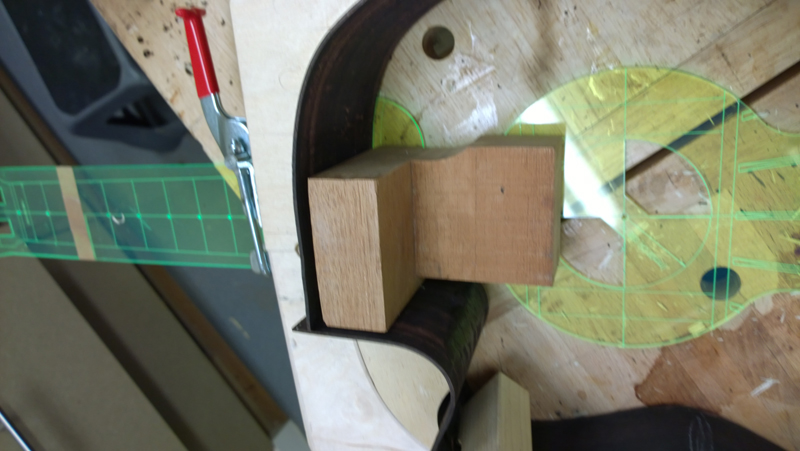
But BIG whoops! cut the cutaway profile on the wrong side. Luckily I had enough wood and made two extension blocks
Image

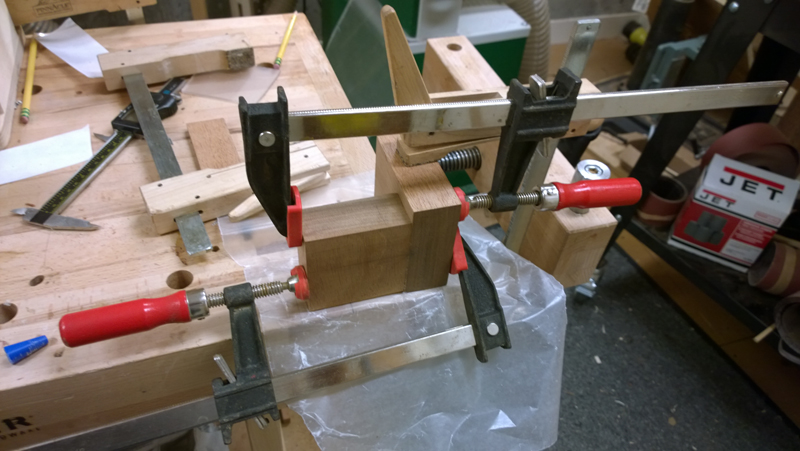
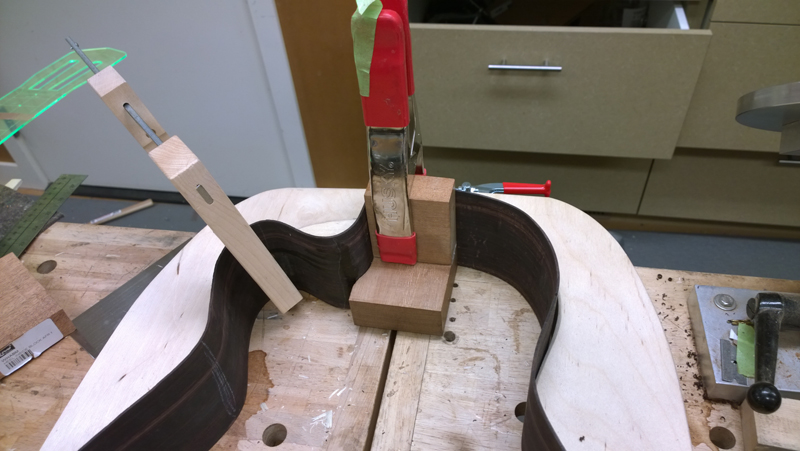
Cut the heel block off and cleaned it for reuse, glued the new block on and finally profiled a cut the correct side
Image

Image

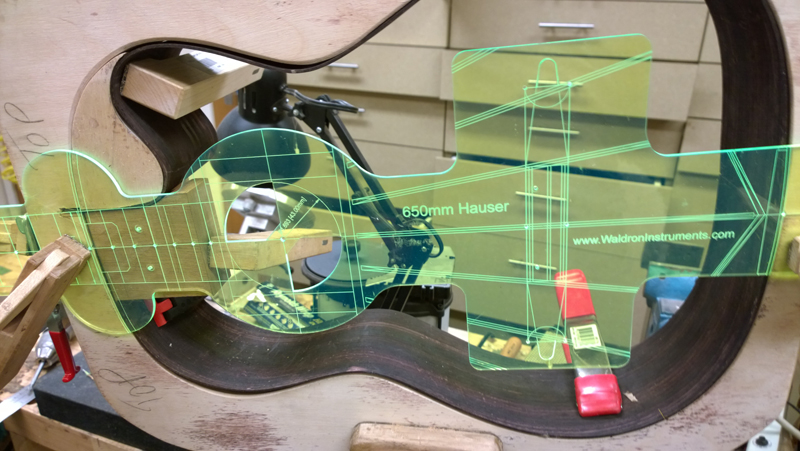
You can sort of see how the extension works and how the side meets the neck in the following photo.
Image

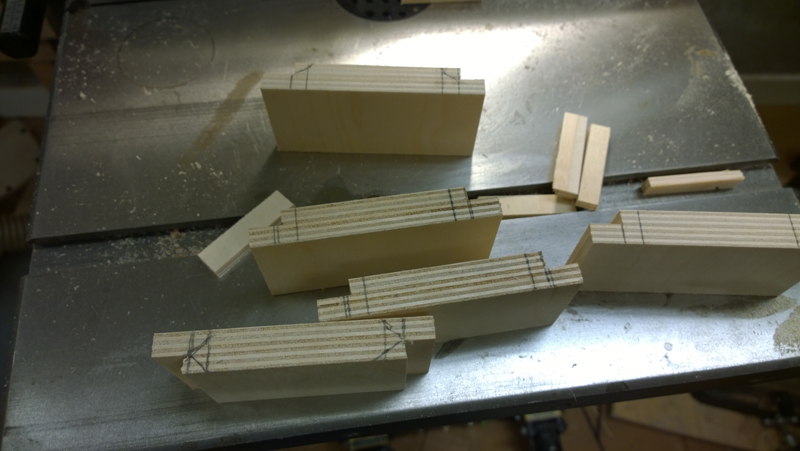
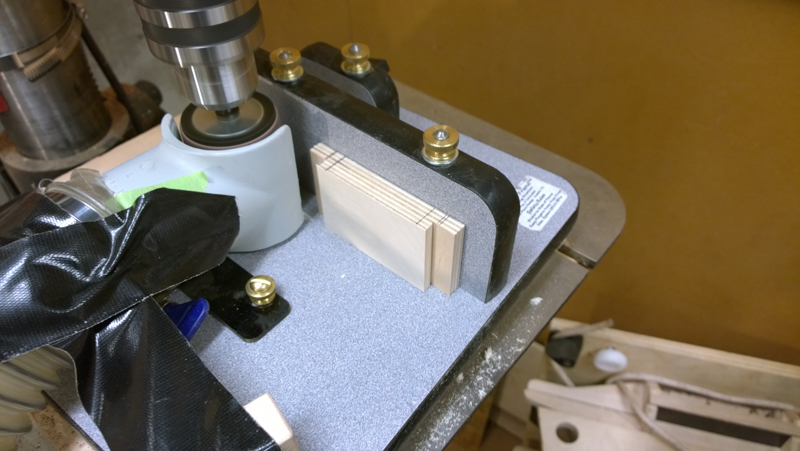
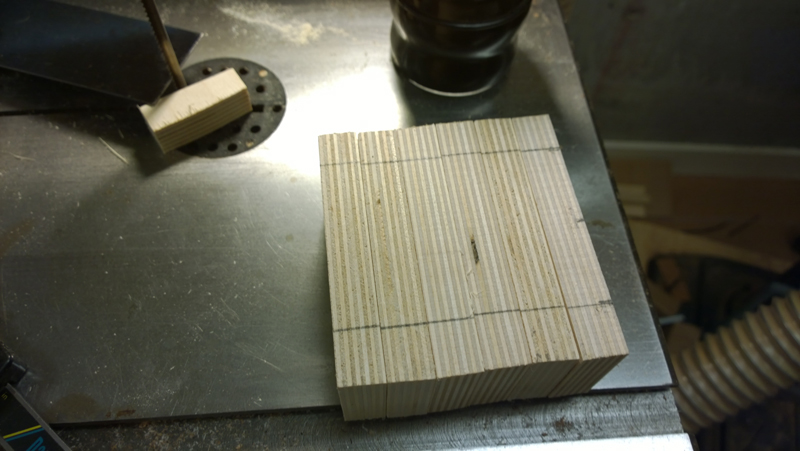
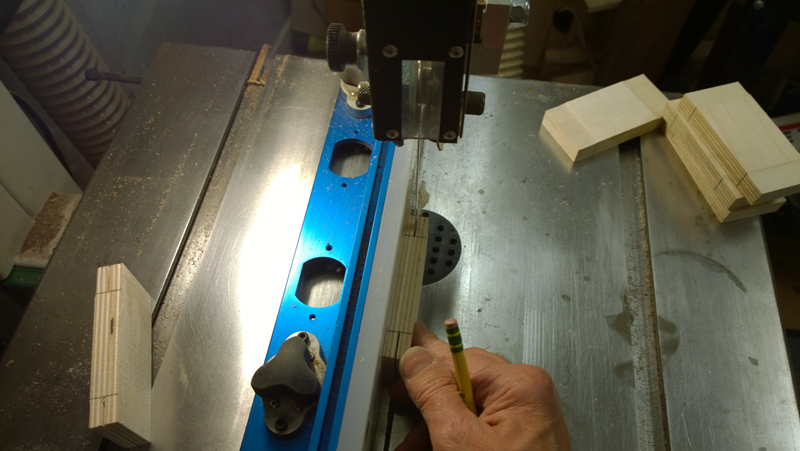
I made a handful of tail blocks to have some on hand. I make the same side for all of my guitars. I used 3/4 birch plywood. To make I cut the wing to dimension on my band saw and used my luthiers friend as a drum sander to cut the curve into the wings. Then just a bit of cleanup on my belt sander.
Image

Image

Image

Image

Image

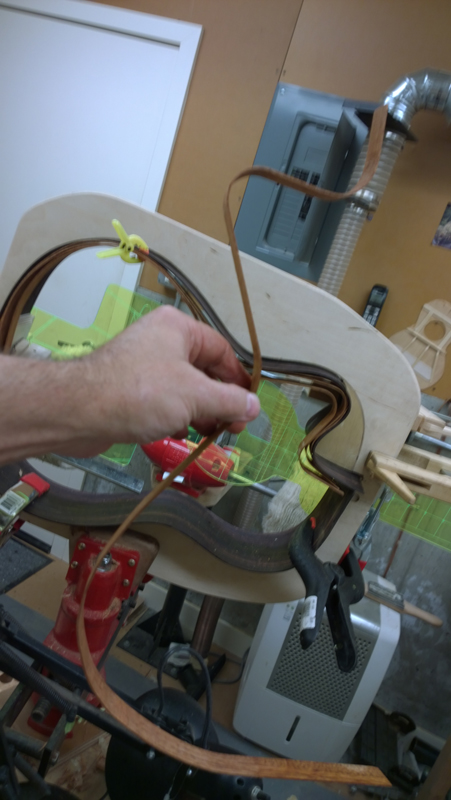
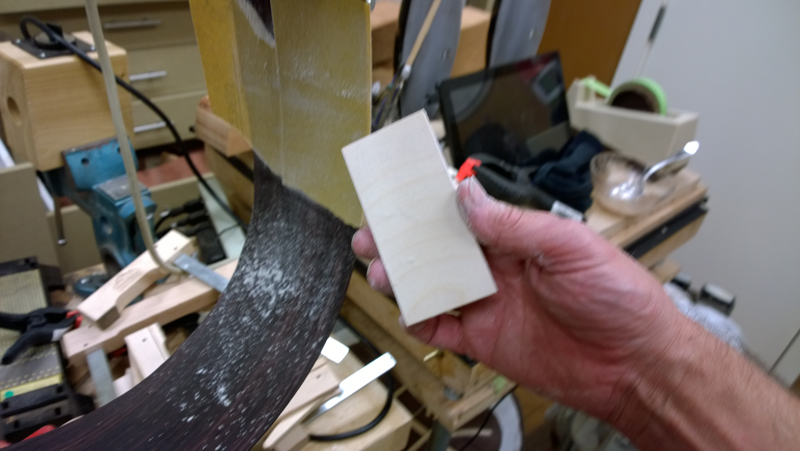
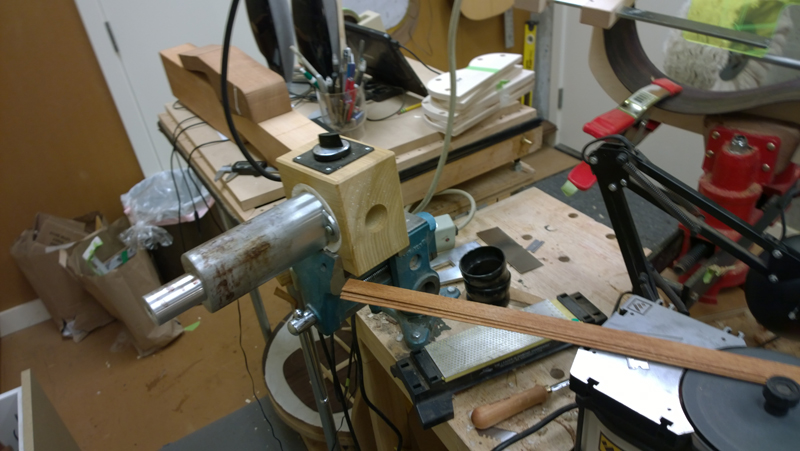
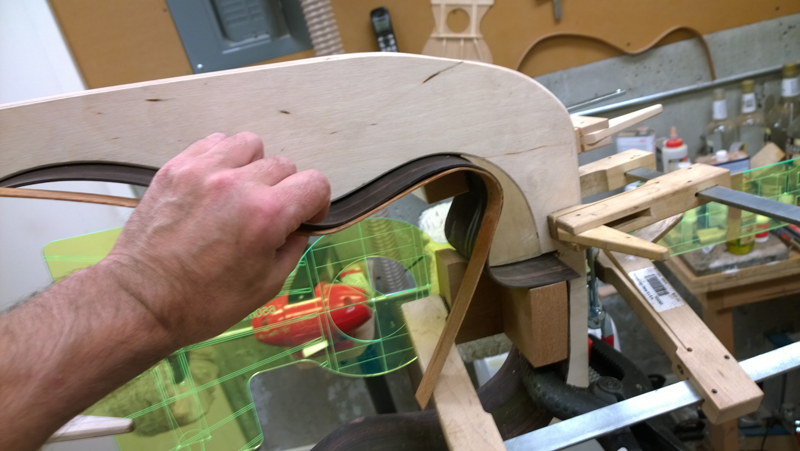
To make the laminated binds I used a couple of orphaned mahogany sides that I had purchased in a deal for bunch of orphaned sides. The Gore\Gilet build book suggested using three ply each ply about 2.2 mm. I decided four 1.8mm plys my make bending the cut away easier. I just used my Blues Creek bender to bend the non cutaway. The curves are gentle enough that I can stack them together. I hand bent each of the cutaway so that they would nest properly. The curves on the outside ply sure get small. In any case it gave me a bit of bending practice.
Image

Image

Image

Image

I just ripped the bend side for the non cutaway into four strips. I stored them on the bending molds that I have used.

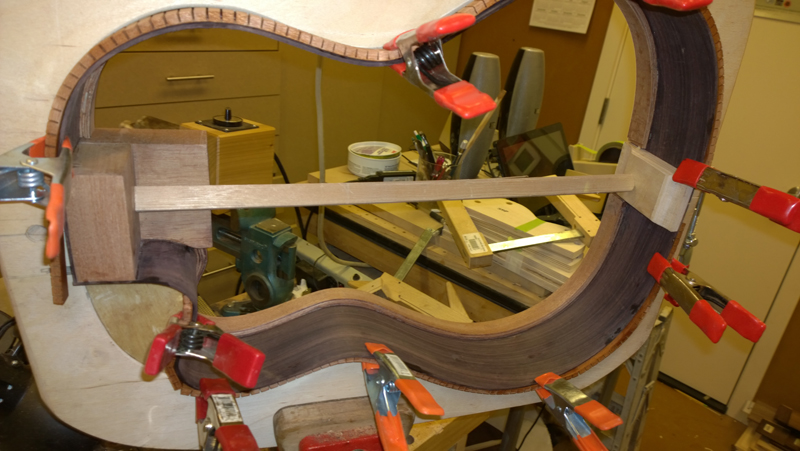
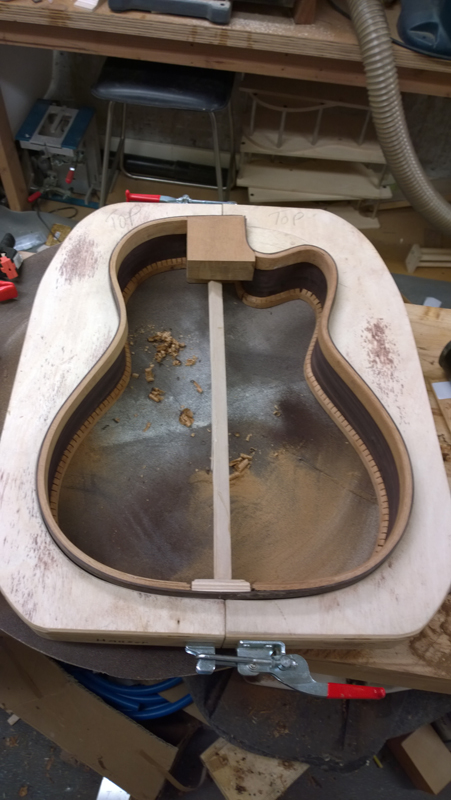
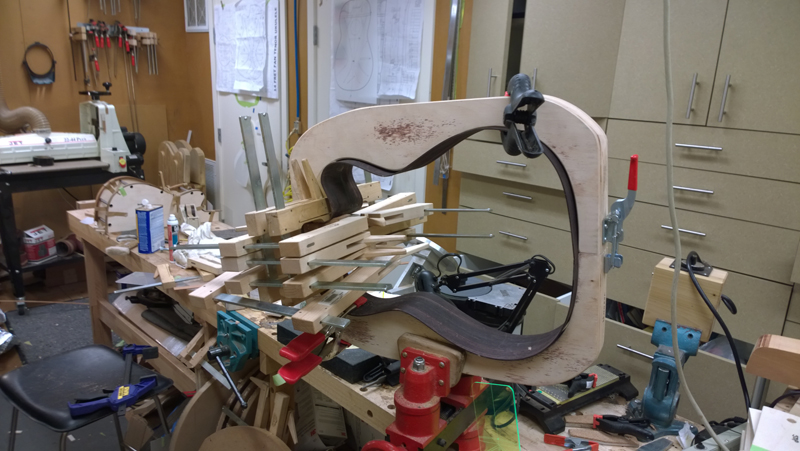
I profiled the two end blocks to the curve of the top and bottom and started to assemble the rims. It takes a bunch of carefully placed clamps to get the heel block in.
Image

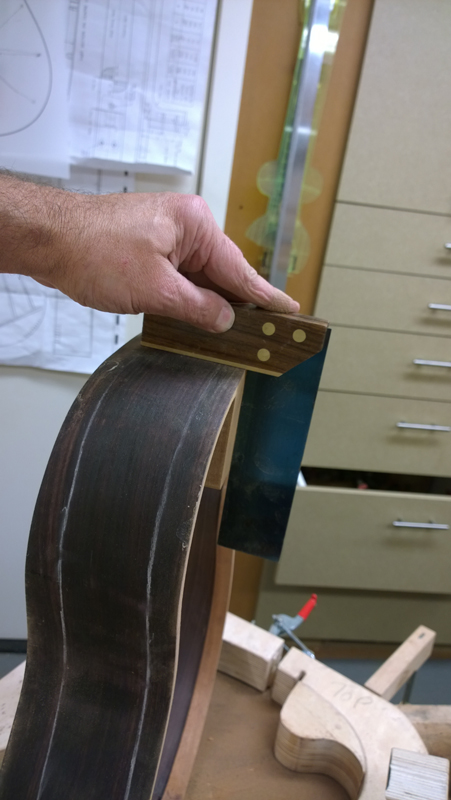
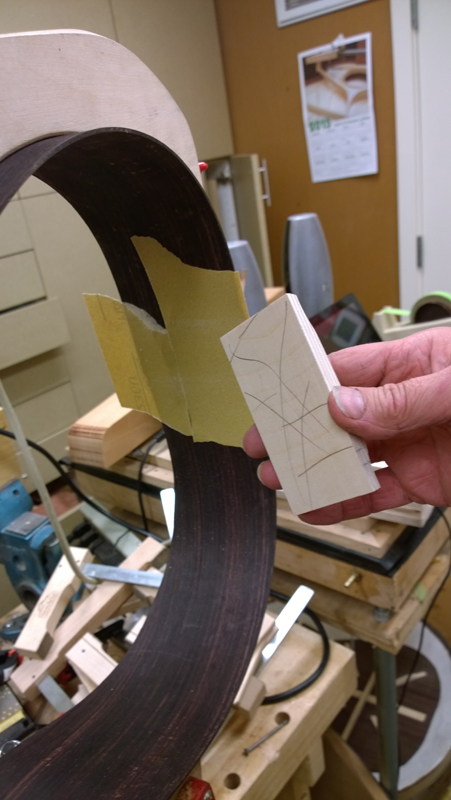
I used the rims them self to profile the bottom of the tail block.
Image

Image

Image

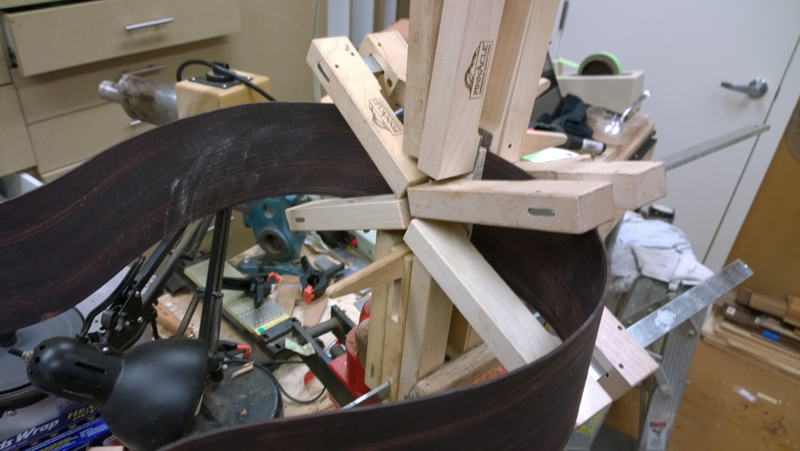
A few clamps to glue the block to the rims.
Image

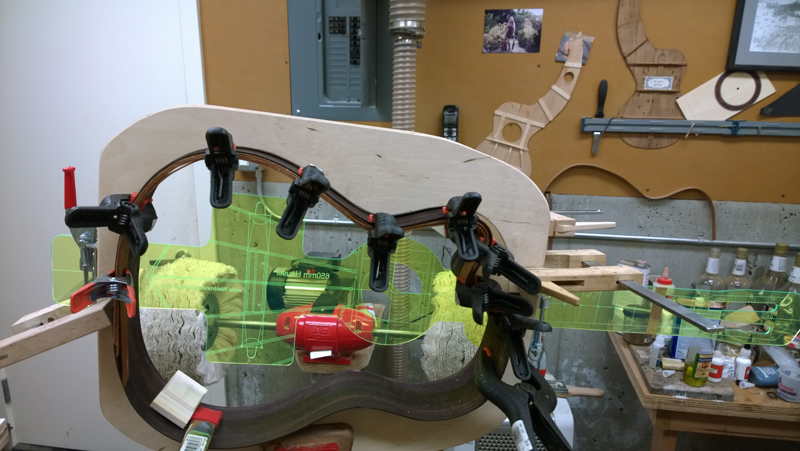
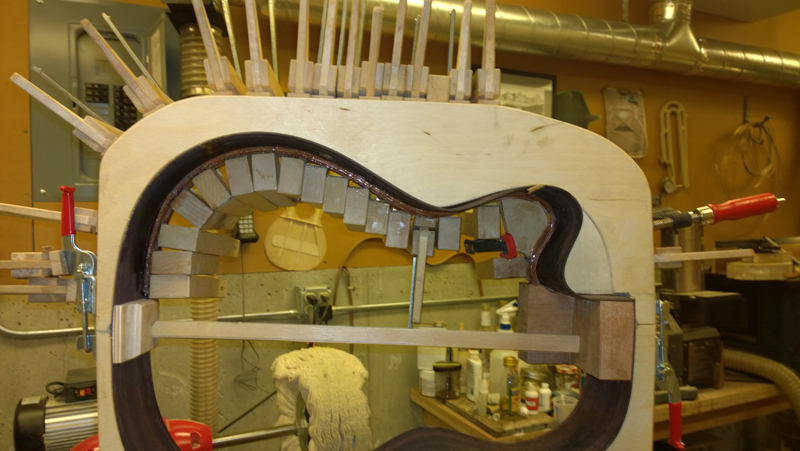
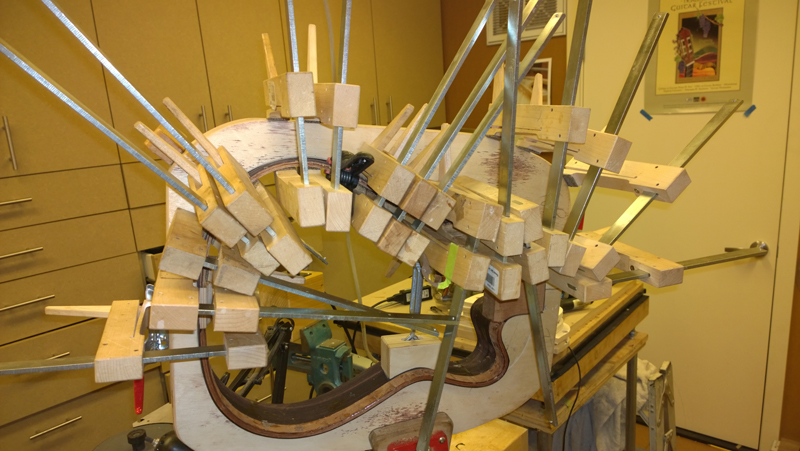
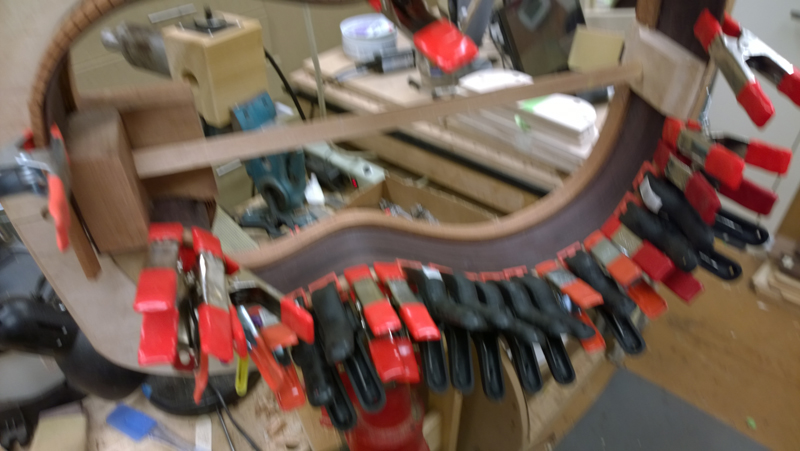
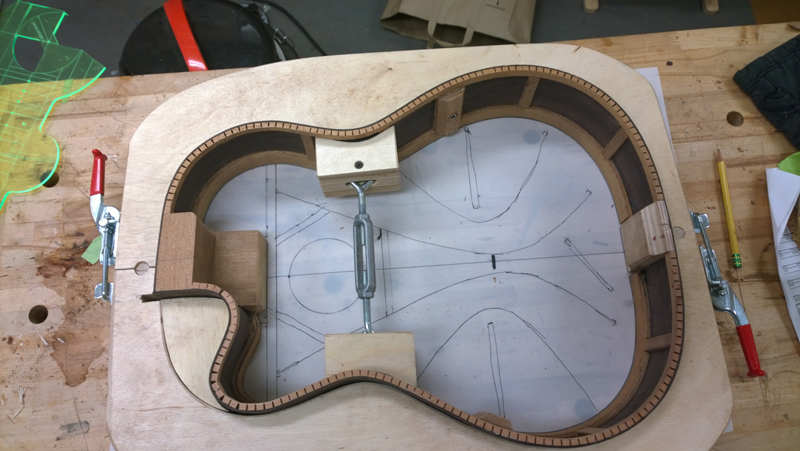
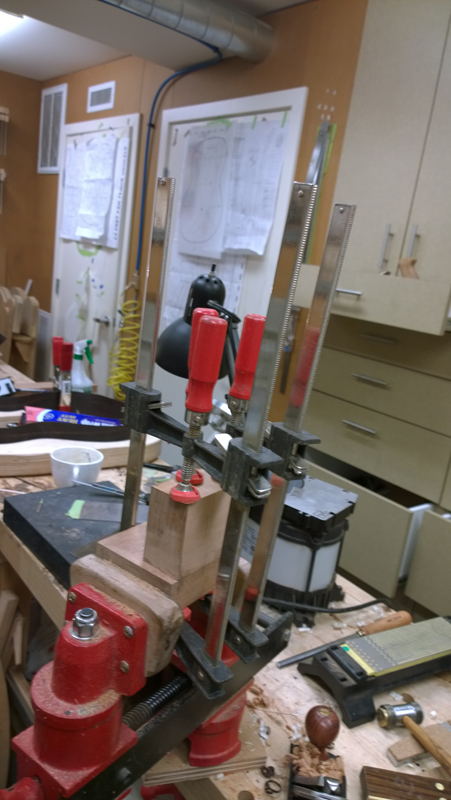
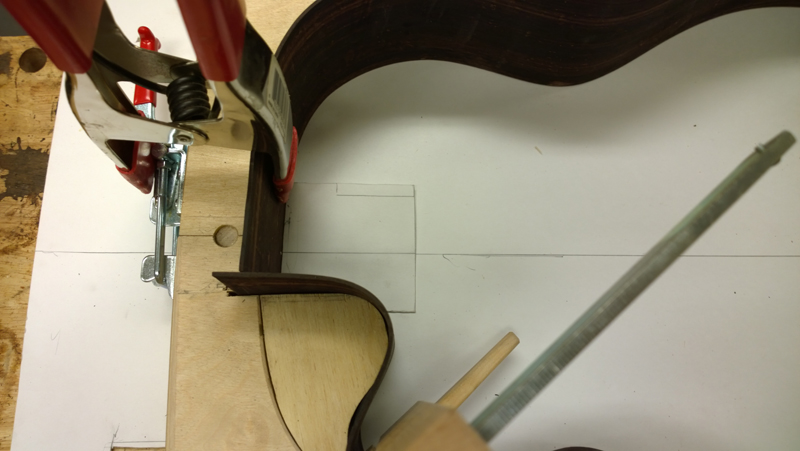
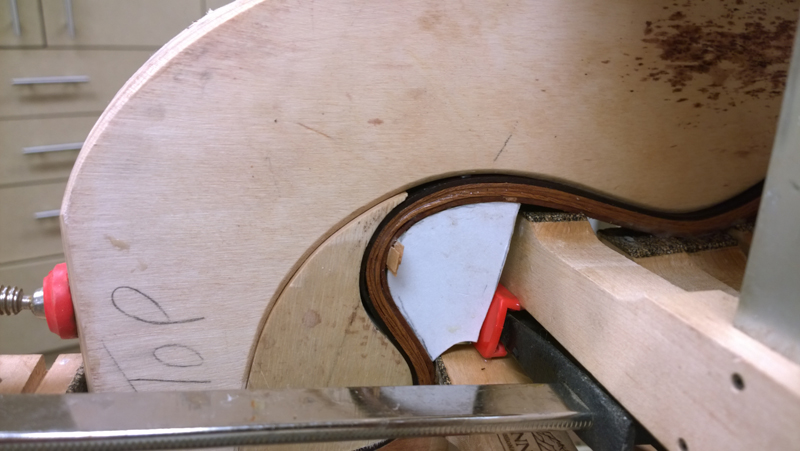
I used the outside mold as the form to laminate and glue on the cutaway top linings. I built a very accurate clamping caul for the cutaway section. When I saw how well that clamped I added some strips to force the apex in a bit more. To give me a bit of open time so I was not in a panic during clamping I used fish glue.
Image

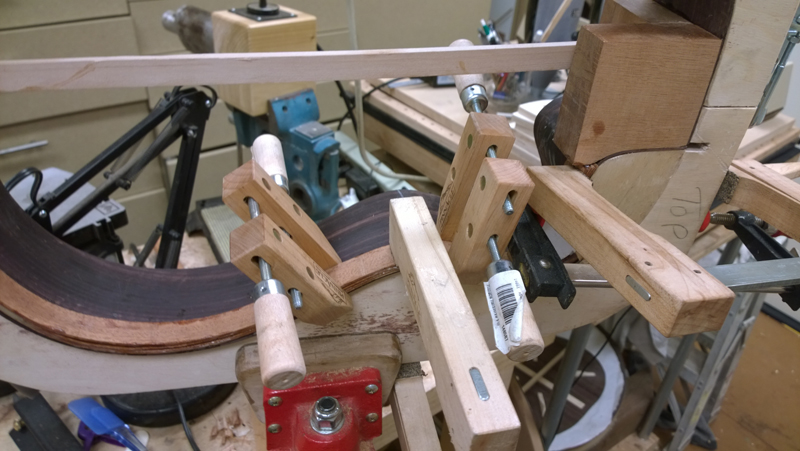
I used a couple small clamps to square the strips together as I worked at clamping the strips to themselves and the rims.
Image

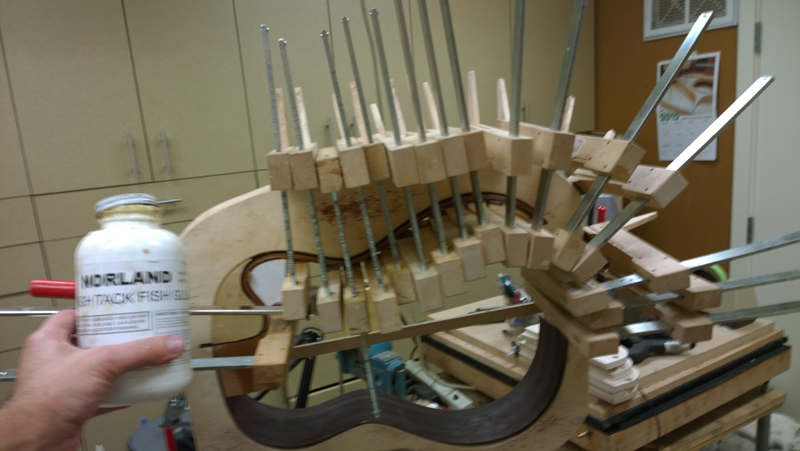
I used a bunch of clamps to really assure that the linings were properly laminated.
Image

Image

I will let this set until tomorrow to give the fish glue the time it needs.

Re: Falcate Braced Classical Guitar

Posted: Fri Feb 06, 2015 11:25 am
by Daniel P
John - we are all so very lucky you take time to do such thorough write-ups, and take such considered photos. Thank you for sharing all of your process, learnings, and on rare occasions, mistakes. Each of your posts gives me new ideas on how I can improve my own projects.
Re: Falcate Braced Classical Guitar

Posted: Fri Feb 06, 2015 5:52 pm
by dave d
I second Daniel's comment. I'm glad the fish glue and other glues take a while to cure, so that you have time to update this blog.
In fact just looking at your shop inspires me and I want to make use of your clever ideas. Except that I will wear shoes in my shop. My concrete floor is too cold.
Keep up the great work!

Re: Falcate Braced Classical Guitar

Posted: Tue Feb 10, 2015 9:30 pm
by John Parchem
Thanks Dave and Daniel, I am still in the learning stages myself. I am constantly trying new ideas I see in books, youtubes this and other forums. For me the learning process is a big part of the fun.

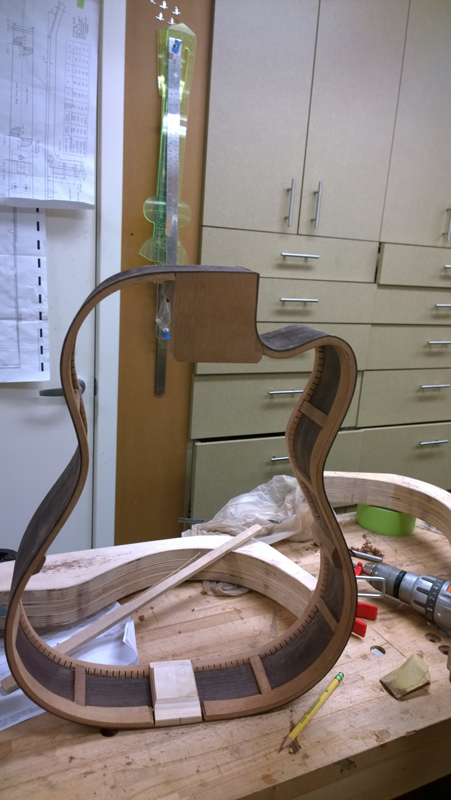
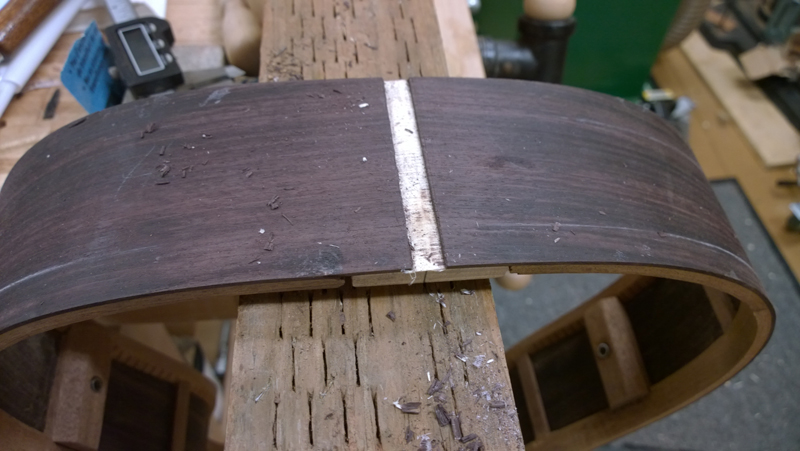
I managed to finish the the rims today. From my last post I finished up the solid linings for the top and I used reverse kerfed linings for the back.

I still just used a bunch of clamps to both laminate the linings and glue them on to the rims at the same time. The non-cutaway linings were a bit easier to glue down.

Image

I sprayed the reverse kerfed linings with water and used the out side of the rims as a form to attempt to pre bend them.

Image

With the top linings in I profiled the back rims to get ready to accept the back linings using a 10' radius dish. I really had to take care here as I not only wanted to get the back radius but I also need to slope the back neck to tail during this stage. I had lots of sanding. I need to get my profile a bit closer.

Image

I did not need real strong clamps to glue the kerfed linings down.

Image

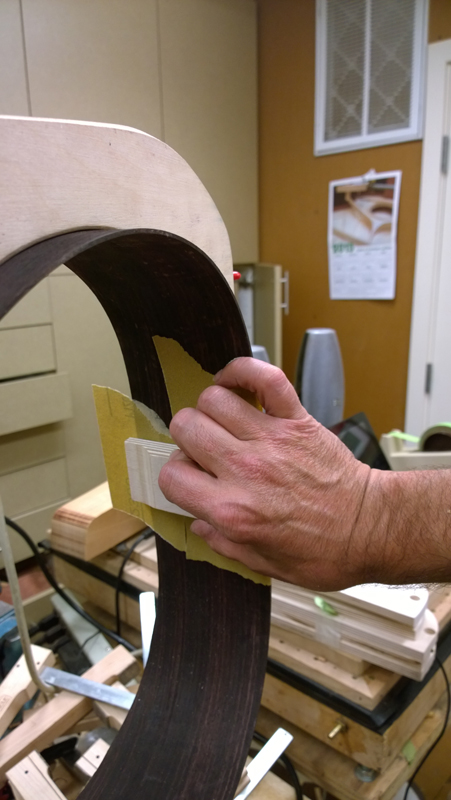
With all of the linings in I cleaned up both the top and the back. I sanded the top linings with a flat board and the back again with the 10' radius dish. I pulled the rims out of the mold to check that the top face was still square to top rim.


Image

Image

Image


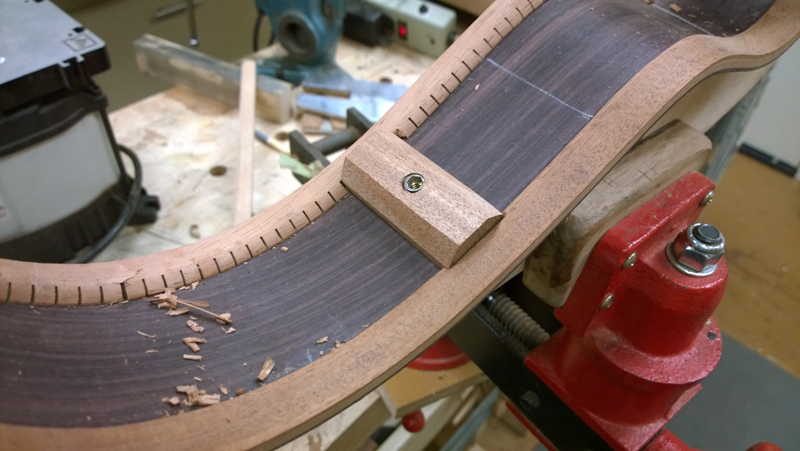
My rims have a mounts that I can add side weight to. The side weight would allow me to lower the resonance of the top if required without changing the other resonances in the guitar very much. I will not get into why it has the effect as it is explained well in the book.

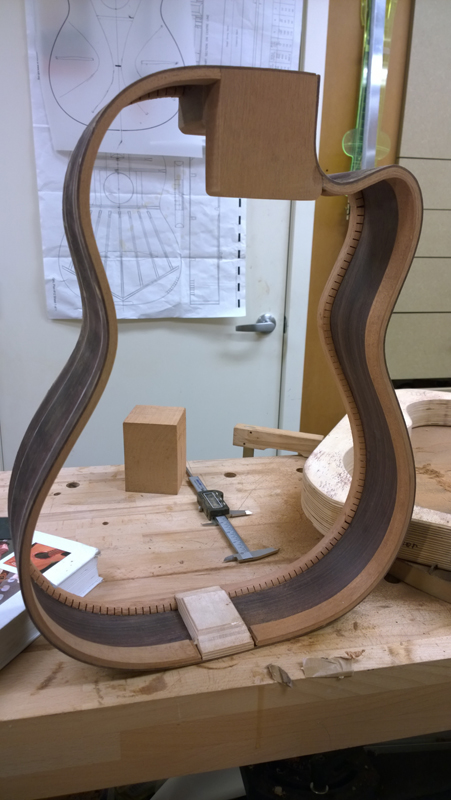
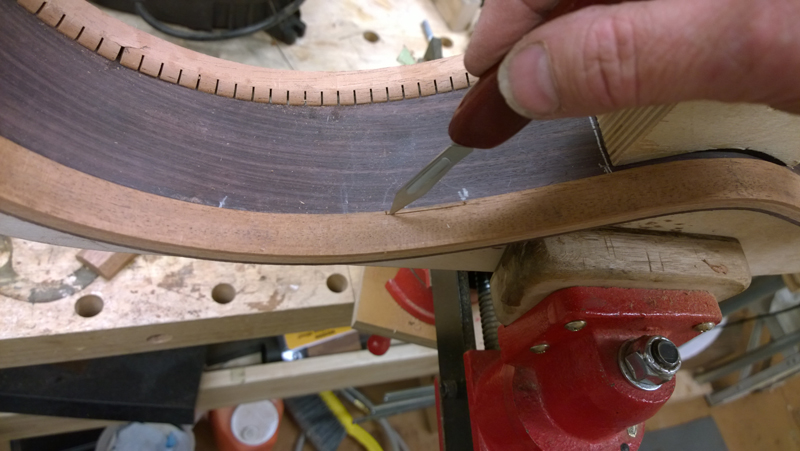
I notched the linings using a scalpel, razor saw and a chisel to accept both the side weight mounts and the side splints.

Image

Image

Image

I also used a scalpel, razor saw and a chisel to clean a channel for the end graph. I tried to leave this until after routing the bindings on my last couple of guitars but I decided for me it is easier to install this now, and deal with a bit of hand routing to get the purflings mitered later than to cut the channel with the top and back already on.

Image

Image

Image

Tomorrow I will start on the falcate braced top.

Image

Re: Falcate Braced Classical Guitar

Posted: Wed Feb 11, 2015 12:25 pm
by John Link
The solid linings look massive, adding to the stiffness intrinsic to being solid, not kerfed. I suspect this is a good idea, as it stabilizes the rims and forces the string energy that might escape through them into the top and back. I like this method of laminating "in place" too. Michael Collins does his linings on a mold so he can shape the bottom side after the glue up sets. But the straight bottom here looks fine and adds to their stiffness and stability.

Why do you not do both sets of linings this way?