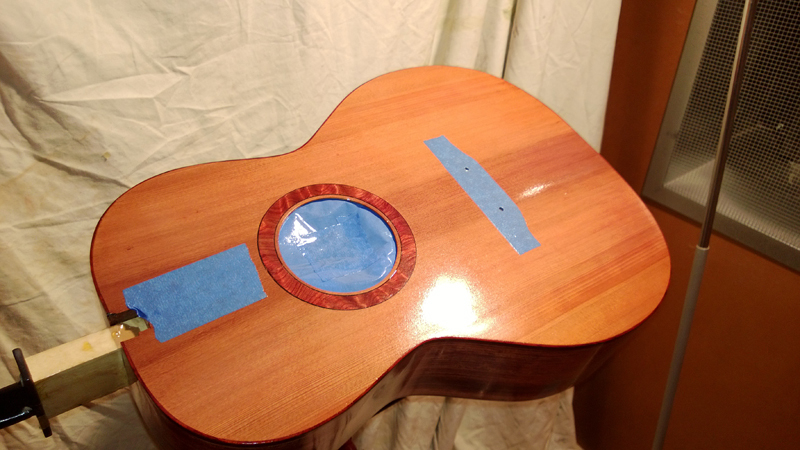
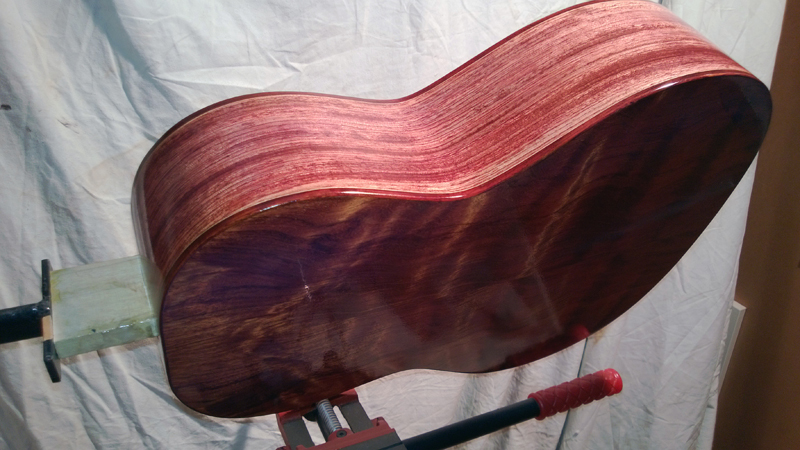
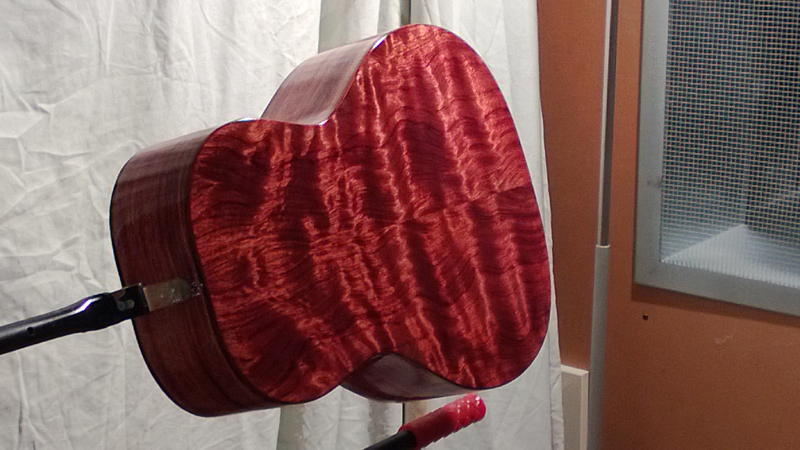
# 10 a Martin 00 size guitar. With Strings!
-
John Parchem
- Posts: 2746
- Joined: Fri Dec 23, 2011 8:33 pm
- Location: Seattle
- Contact:
Re: # 10 a Martin 00 size guitar. Ready for spraying!
I am going to spray EM6000. I have had liked it so far.
-
Ray Ussery
- Posts: 662
- Joined: Wed Dec 21, 2011 12:51 am
Re: # 10 a Martin 00 size guitar. Ready for spraying!
Beautiful John, just beautiful. You did a scary nice job on the neck WOW!
Ray
Ray
-
Dave Bagwill
- Posts: 5951
- Joined: Tue Dec 13, 2011 7:44 pm
Re: # 10 a Martin 00 size guitar. Ready for spraying!
That is already very impressive. With that EM6000 - wow!!
-Under permanent construction
Re: # 10 a Martin 00 size guitar. Ready for spraying!
I think the back and sides work well together. The color match is excellent. The back is beautiful though with the figuring.
-
John Parchem
- Posts: 2746
- Joined: Fri Dec 23, 2011 8:33 pm
- Location: Seattle
- Contact:
Re: # 10 a Martin 00 size guitar. Ready for spraying!
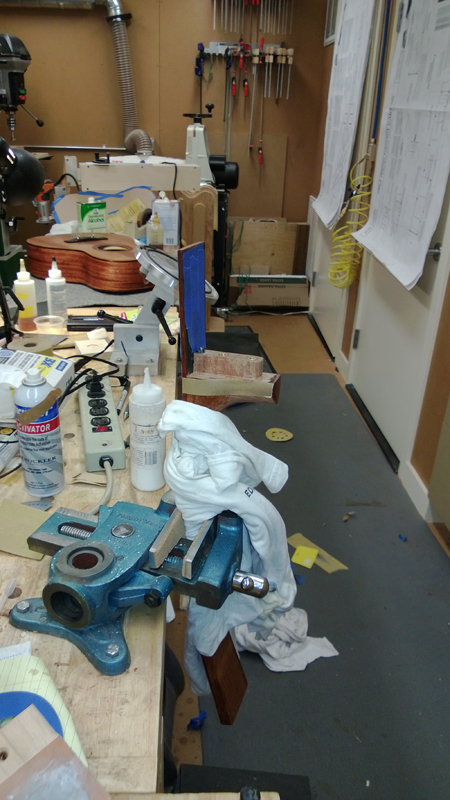
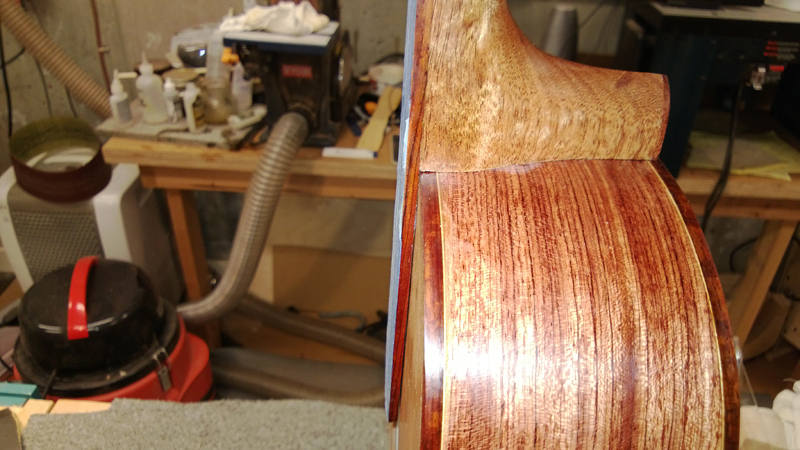
I am still getting ready to spray. With everything together I checked the neck angle again and found it was angled back a bit more than I like. I was too high at the saddle and I had a gap at the end of the fret board. I had the body angle checked before I glued up the box. I was pleased to see that the gap to the body at fret board end corresponded to the extra height at the saddle.
I used a straight edge on the fret board and measured the gap at the bridge and decided I wanted to lower it by 1/8". So the heel is a about 3.5" and the 12 fret to the saddle distance is about 12.5" so I calculated that I wanted to remove about 1/32 of an inch of wood from the cheeks at the fret board end. (1/8*3.4/12.5).
I placed some tape to closely mark out what I wanted the neck angle to be placed the neck in my parrot vise, sharpened my chisel and very carefully remove the wood on the cheeks to the line I wanted. Cleaned it with a sharpened very small scrapper and tried it on the guitar.
I was very close with the angle but slightly off center. I used a scrapper to take a bit off of one cheek to bring the neck back to center, checked the neck on the guitar and breathed a sigh of relief.


-
Dave Bagwill
- Posts: 5951
- Joined: Tue Dec 13, 2011 7:44 pm
Re: # 10 a Martin 00 size guitar. Ready for spraying!
Good going, there...altering the cheeks (correctly) is no easy thing.
-Under permanent construction
-
John Parchem
- Posts: 2746
- Joined: Fri Dec 23, 2011 8:33 pm
- Location: Seattle
- Contact:
Re: # 10 a Martin 00 size guitar. Ready for spraying!
I finished spraying the guitar with EM6000 water based lacquer, but I need to wait until next weekend to buff it out. I am really glad to go back to EM6000 after my Em7000 disaster. This water base lacquer is a lot easier to spay, it really levels well, basically really forgiving. Also it is not so blue. I did take the time set up the sprayer each and every time with a film thickness gauge, a little metal card you scrap on a test spray, to assure I was spraying around 3 mils. It is nice to get almost no orange peel and no drips.
