Page 7 of 15
Re: harp ukulele project blog - With second coat of zpoxy
Posted: Thu Aug 02, 2012 12:54 am
by Kevin in California
Om My Gosh! John, that is absolutely georgous...........what a looker.
You do such nice work. Touche!
Kevin
Re: harp ukulele project blog - With second coat of zpoxy
Posted: Thu Aug 02, 2012 8:53 am
by John Parchem
Thanks guys,
I am finding the dark wood combination and shape gives the instrument an older time look. The black instead of a white purfling line made more of a difference than I had thought it would. I am getting excited to finish the instrument. I have another family request for a guitar I want to start. I have 24 nieces and nephews so I already have a multiyear wait list :)
Re: harp ukulele project blog - With second coat of zpoxy
Posted: Sat Aug 11, 2012 7:23 pm
by John Parchem
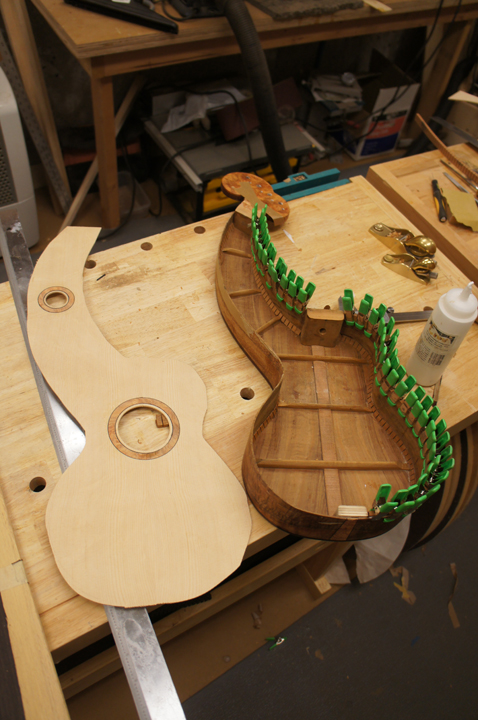
One step forward a few steps back. I was doing the final sanding of the top; getting ready to spray … when I sanded the treble side of the upper bout too thin not paying attention while trying to fix a flaw. I started a repair and was making good progress, involved cutting a prufling channel out to pick-up another area near the peghead that was not great, when I stopped and reassessed the situation. This can be a really nice instrument. I am in no hurry to finish and nobody is waiting for it. So...
I decided I was going to put a new top on with new bindings.
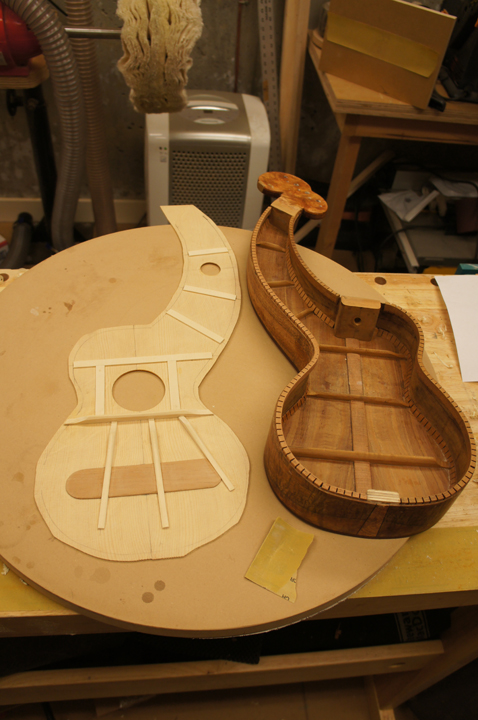
I pulled out my heat gun; popped the bindings off, also used heat to take the top off. I cleaned the body and I have some reverse kerfling setting into shape. Interesting with the reverse kerfling I need to expand the kerfs in the waist area to allow it to bend enough.
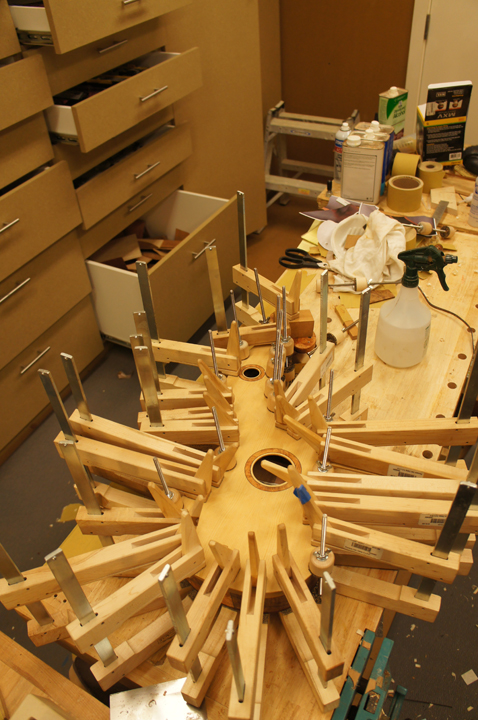
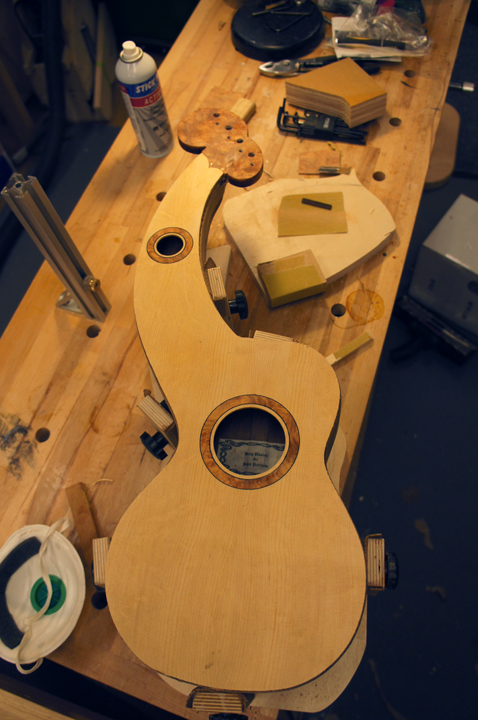
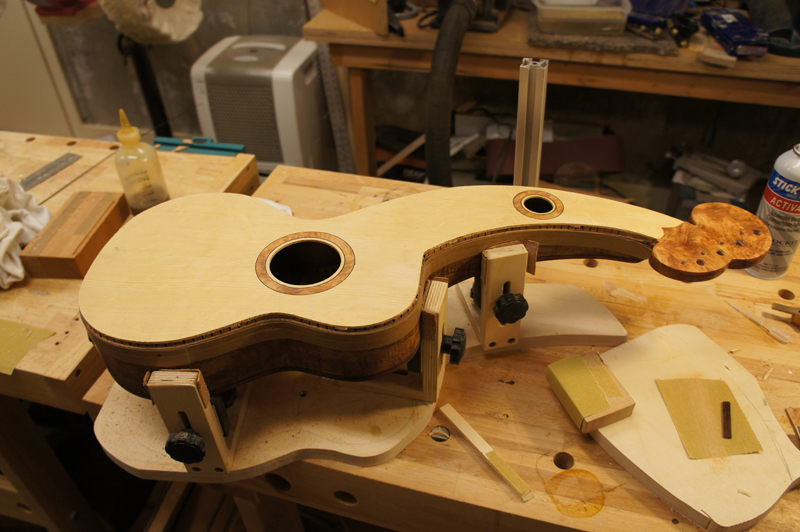
A few pictures of the mess ...
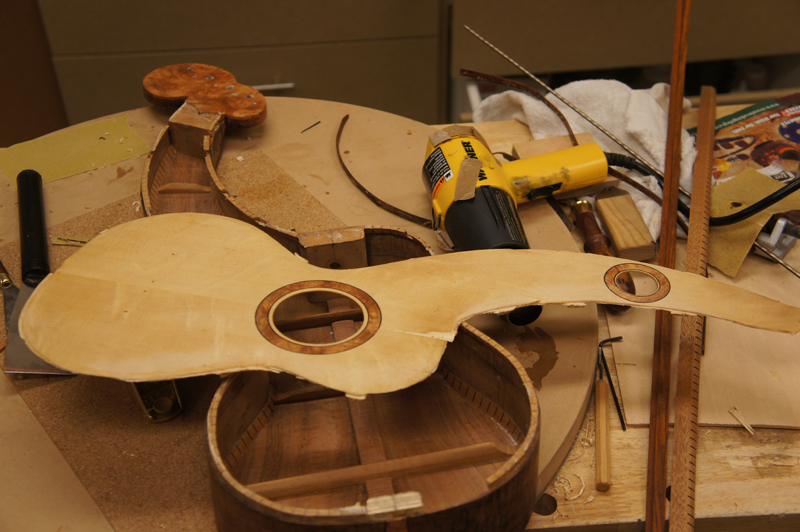
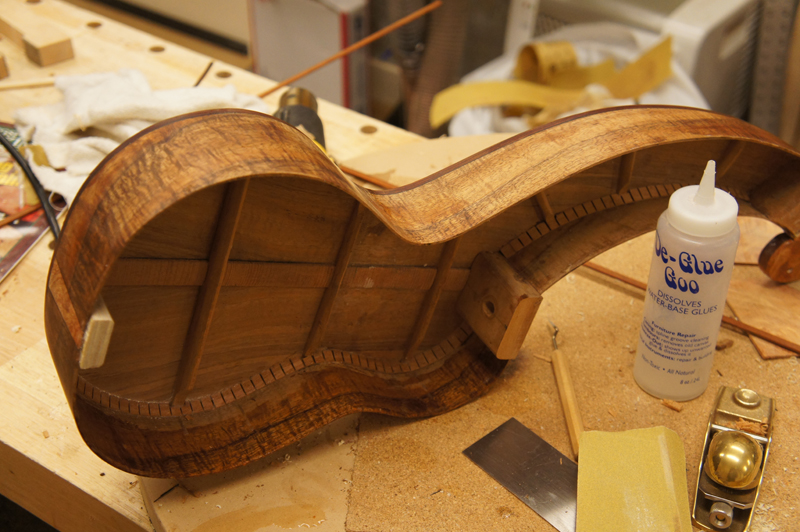
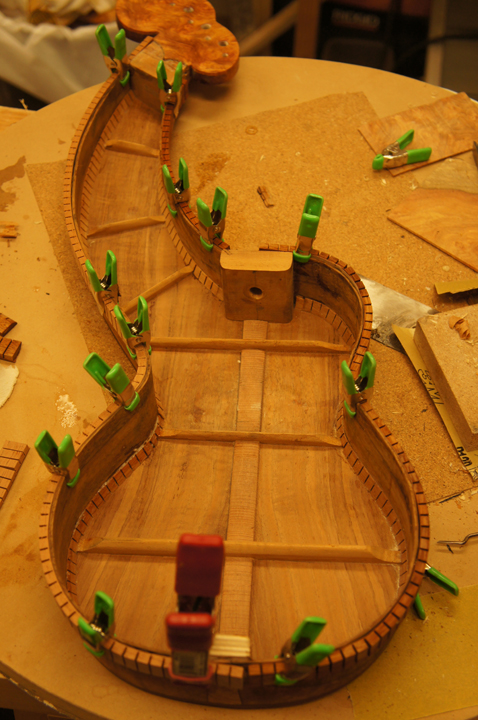
Starting on the new top. wish me luck
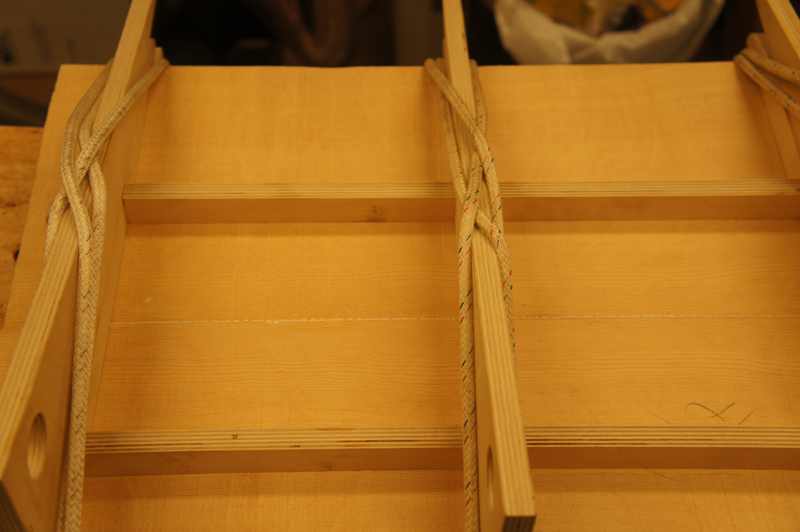
John
Re: harp ukulele project - One step forward a few steps back
Posted: Sat Aug 11, 2012 8:36 pm
by Ken Hundley
Sorry to hear that, John. Can you salvage the rosettes? Cut them out of the current soundboard, sand the spruce (or most of it) off the back, and install them in the new board? Or is it worth the effort? Just a thought.
Re: harp ukulele project - One step forward a few steps back
Posted: Sun Aug 12, 2012 11:52 pm
by John Parchem
Ken,
Luckily I had the next slice of amboyna, so I was able to make two new rosettes.
I think I made the right decision. I am in it for the building so I might as well make it right. Plus I got to try a bunch of skills. I am putting it back together. No CA this time I used white glue for the top, it was a bit loose as I had to use the dremel, and duco for the main rosette.
I am putting the kerfling on a tad high from the level to match if I had routed the binding to sand level at the right hight for the alreay cut channels.
Re: harp ukulele project - One step forward a few steps back
Posted: Tue Aug 14, 2012 5:29 pm
by Dennis in Anola
This is an amazing build and I'm so looking forward to seeing the completed instrument. Almost anything made from wood can be fixed and with your obvious talent and craftsmanship it will turn out great.
Re: harp ukulele project - One step forward a few steps back
Posted: Sun Aug 19, 2012 1:18 am
by John Parchem
Dennis, Thanks for the encouragement. I think I am back on track, I have every thing back together again, except for the bindings. I have the channels cut and ready for the binding. After my last attempt, this time my binding channels are perfect, just where I want them. I did figure out why I messed up my last set, followed by my poor attempt to hide the error. I use a stewmac tower jig. It works OK as long as you have the correct bearing except the last time I used it. There is a little screw that holds the plastic donut on to the router carriage. This came loose on mine, and there was something holding the donut skewed through the time I set the height and tested it. While doing the routing the shaking and gravity tighted the donut to the carriage resulting in a deeper cut than I wanted. I found this out today, because it happend again! but on my second test pass. Finally up is not down, red is not blue there is reason in the world I understand why the channel height changed the last time.
So now with a top of the corrrect thickness, glued to the body and the binding channel cut and ready, I should be ready to finish the construction the second time tomorrow. I am really happy I tore the top off and remade it. I learned how to retop an instrument and change the bindings keeping overal depth the same.
