continuing build thread for Gore Medium body SS
Re: continuing build thread for Gore Medium body SS
Fish glue -- slow cure, I did not know that, seems like a very good choice for bindings. Do you know if it bonds to the common plastic binding materials?
ken cierp
http://www.kennethmichaelguitars.com/
Store Front
http://www.cncguitarproducts.com/
KMG Guitar Kit Information
http://www.kennethmichaelguitars.com/ki ... ckage.html
http://www.kennethmichaelguitars.com/
Store Front
http://www.cncguitarproducts.com/
KMG Guitar Kit Information
http://www.kennethmichaelguitars.com/ki ... ckage.html
-
John Parchem
- Posts: 2754
- Joined: Fri Dec 23, 2011 8:33 pm
- Location: Seattle
- Contact:
Re: continuing build thread for Gore Medium body SS
The Norland site states 1.5 to 2 hour open time. It allows enough time to tightly tape the bindings on and then follow up with a tight wrap. It also cleans up with water. The down side is that you need to leave it clamped for 12 hours.ken cierp wrote:Fish glue -- slow cure, I did not know that, seems like a very good choice for bindings. Do you know if it bonds to the common plastic binding materials?
I have not tried it with plastic.
-
Beth Mayer
- Posts: 11
- Joined: Fri Nov 02, 2012 11:01 am
Re: continuing build thread for Gore Medium body SS
Fish glue is great for wood bindings and gives lots of time (though a bit messy and stinky IMO), but not for use on plastic as far as I know.
Looking beautiful John!!!!
Looking beautiful John!!!!
-
John Parchem
- Posts: 2754
- Joined: Fri Dec 23, 2011 8:33 pm
- Location: Seattle
- Contact:
Re: continuing build thread for Gore Medium body SS
Thanks Beth,
The binding turned out OK
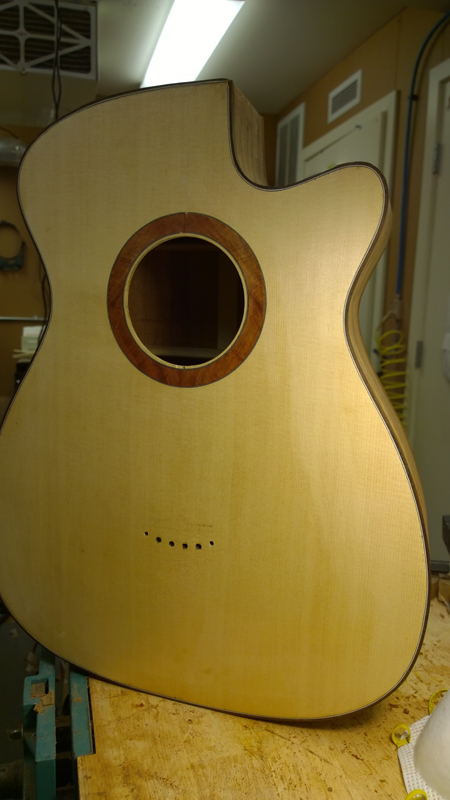
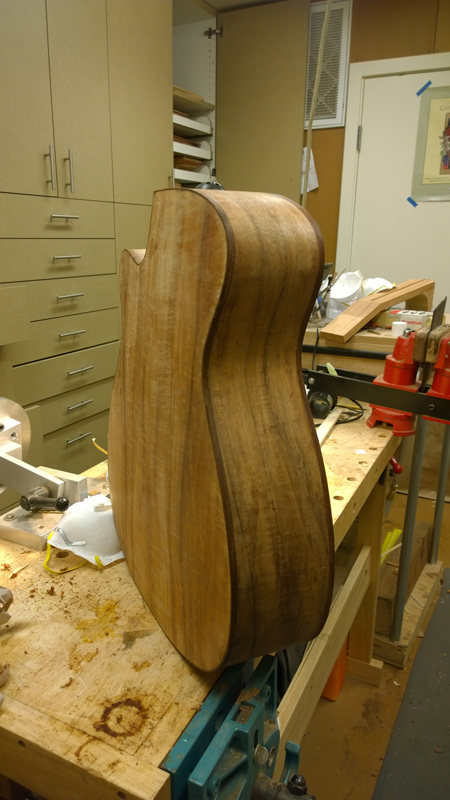
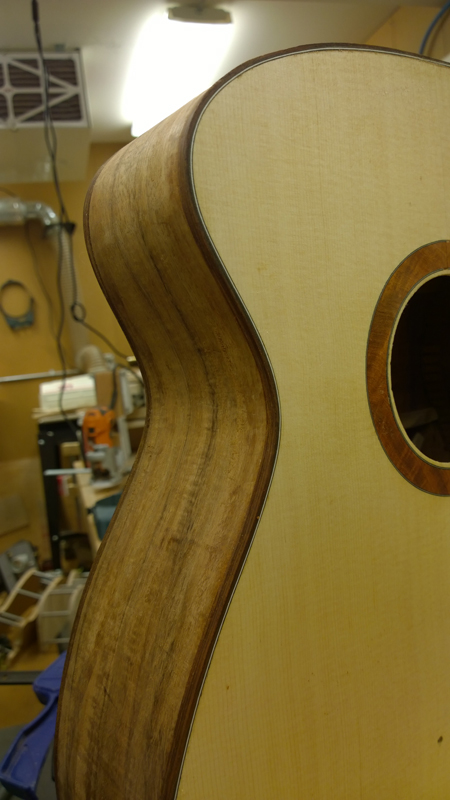
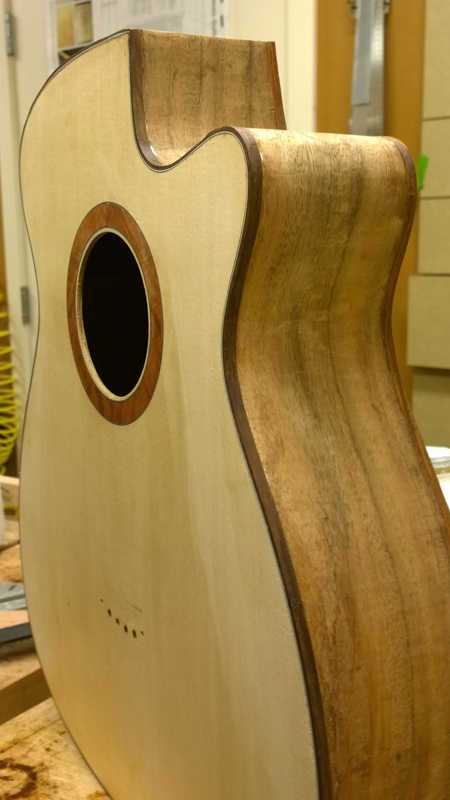
The binding turned out OK


-
Kevin in California
- Posts: 2817
- Joined: Mon Dec 19, 2011 4:19 pm
Re: continuing build thread for Gore Medium body SS
Looking mighty fine there.
-
John Parchem
- Posts: 2754
- Joined: Fri Dec 23, 2011 8:33 pm
- Location: Seattle
- Contact:
Re: continuing build thread for Gore Medium body SS
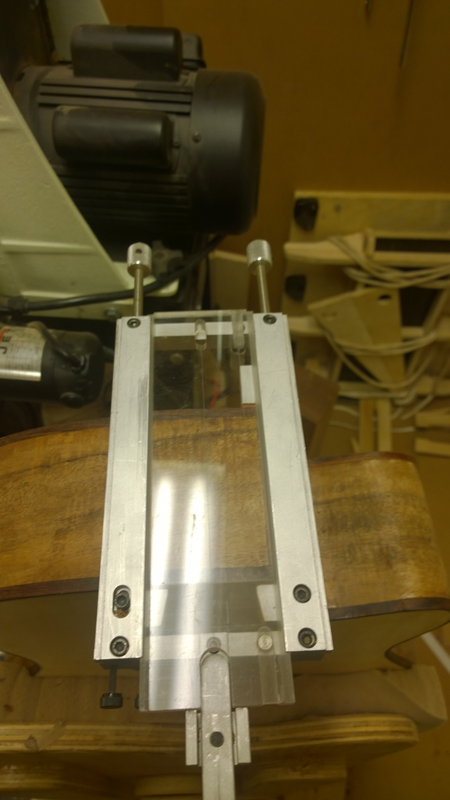
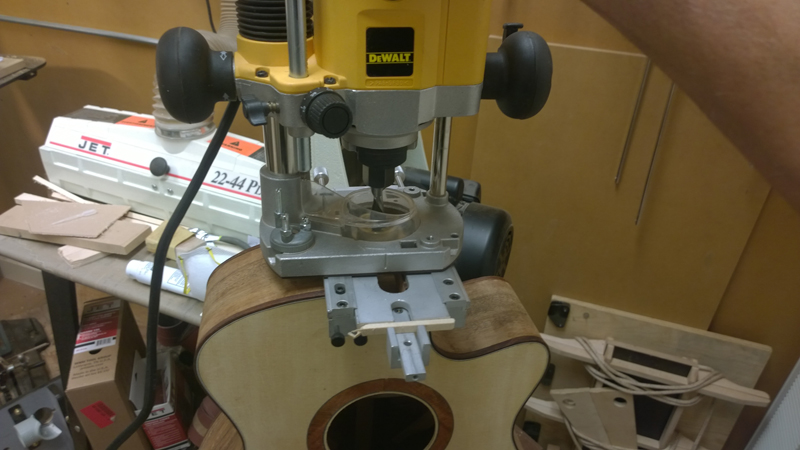
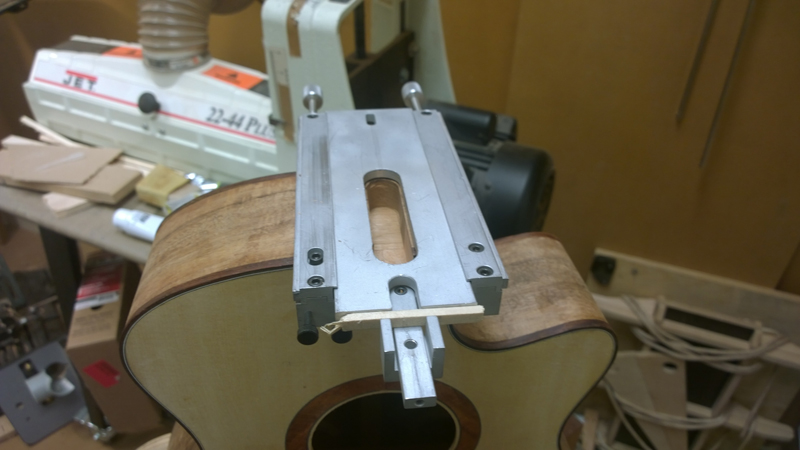
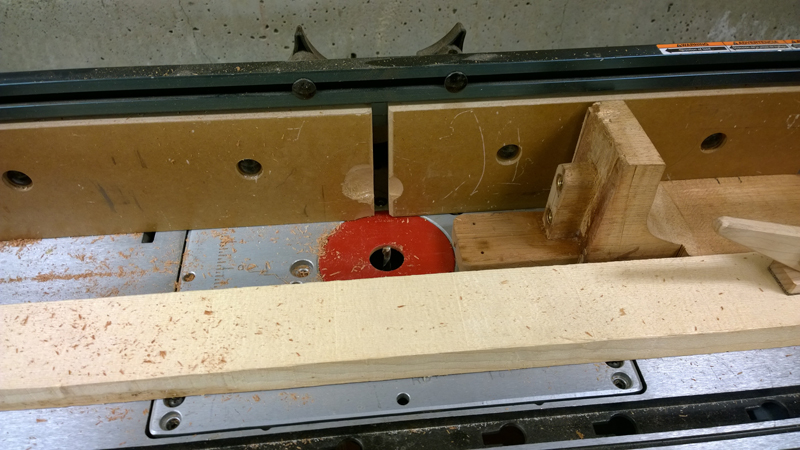
I cut mortise using my luthier tool jig.
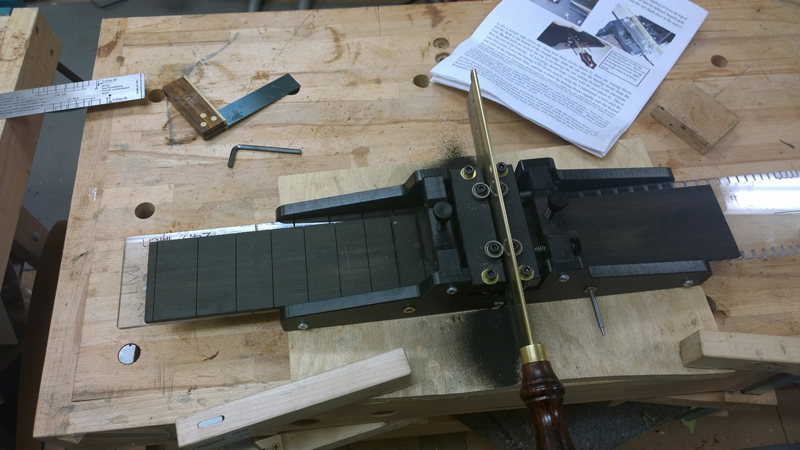
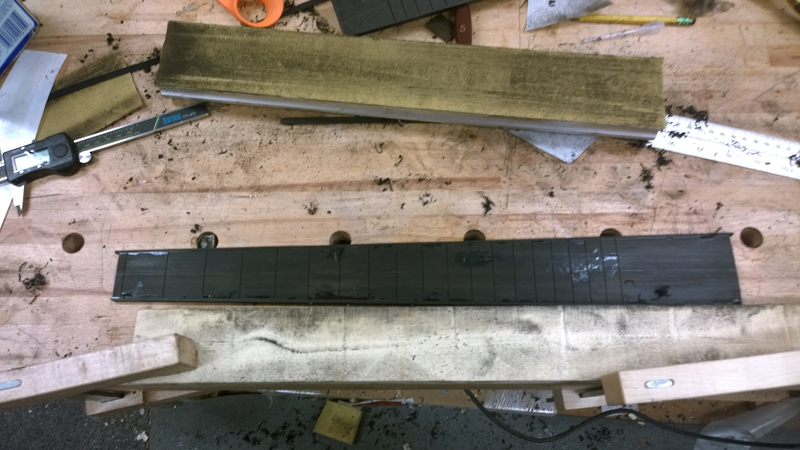
Made fret board
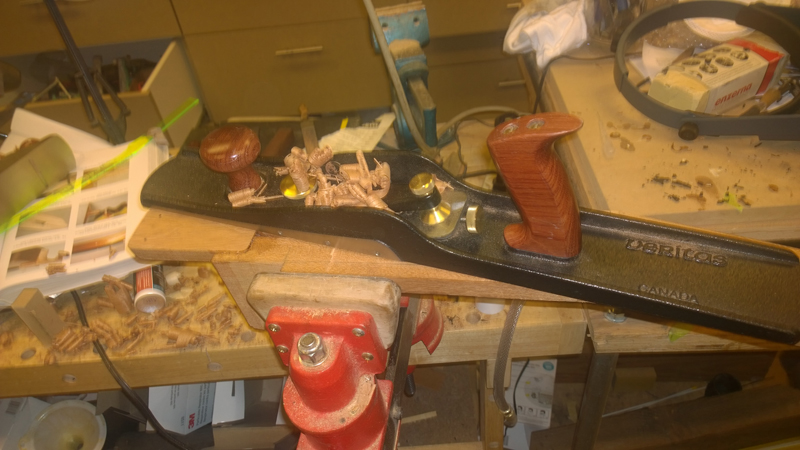
I roughed in radius with a plane
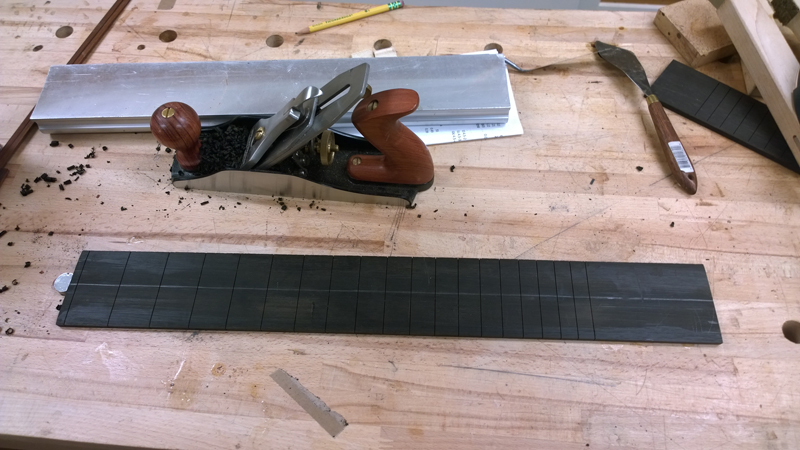
Note that I am using a guide to keep the sanding bar straight. This avoids over radiusing the edges by skewing the block.
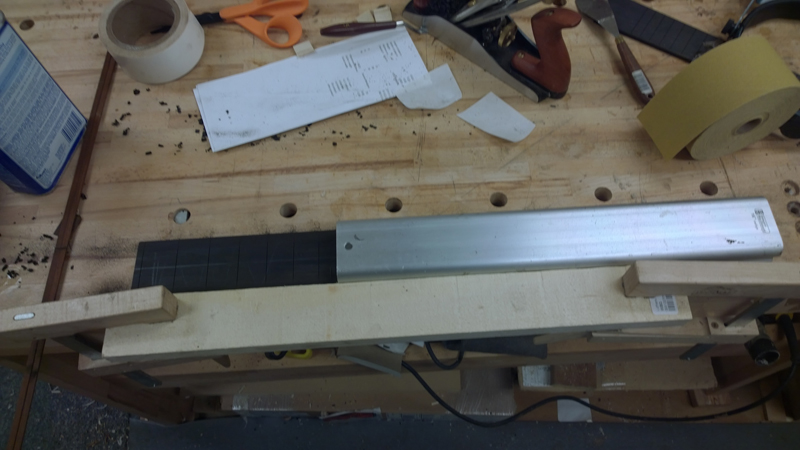
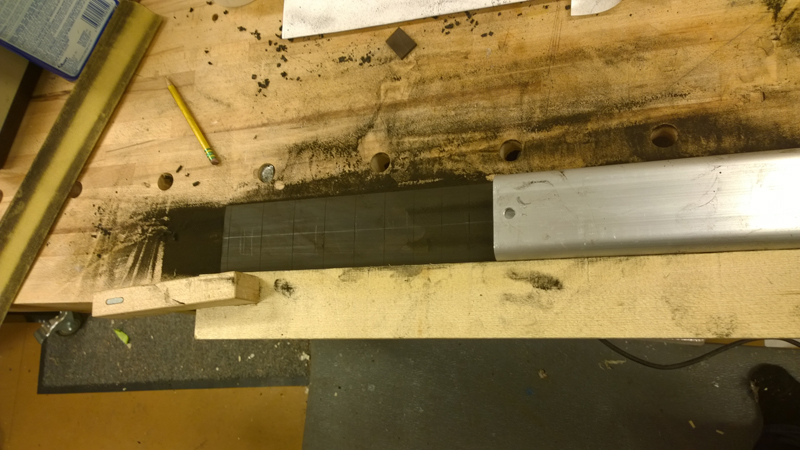
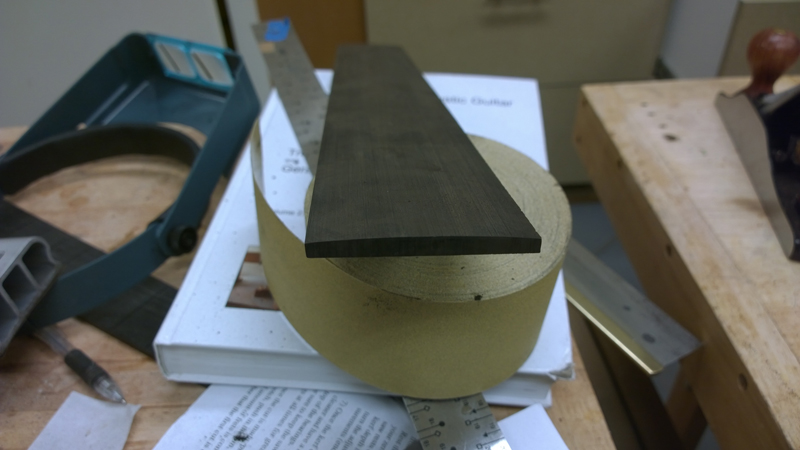
I bound fret board with ebony bindings using CA.
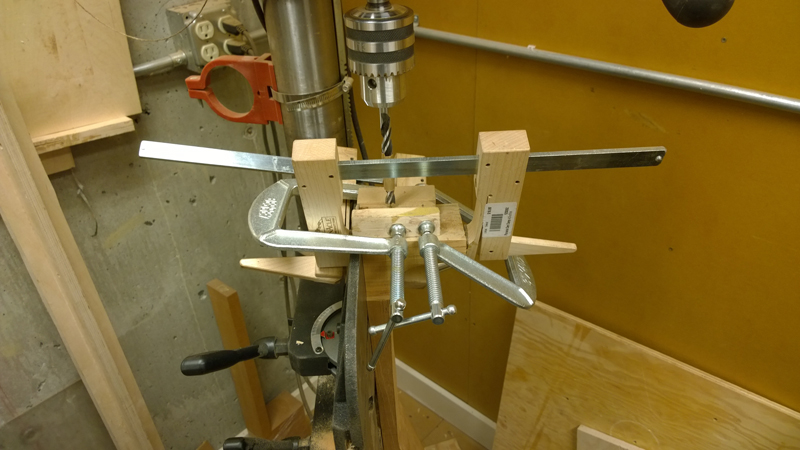
Used drill press to drill brass insert holes
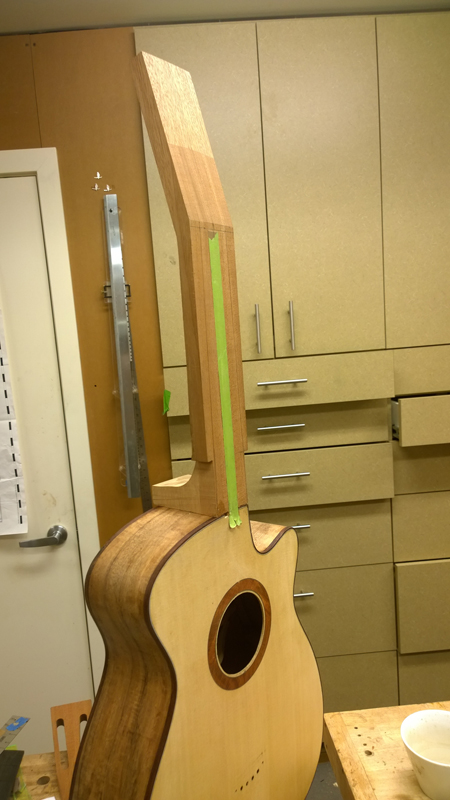
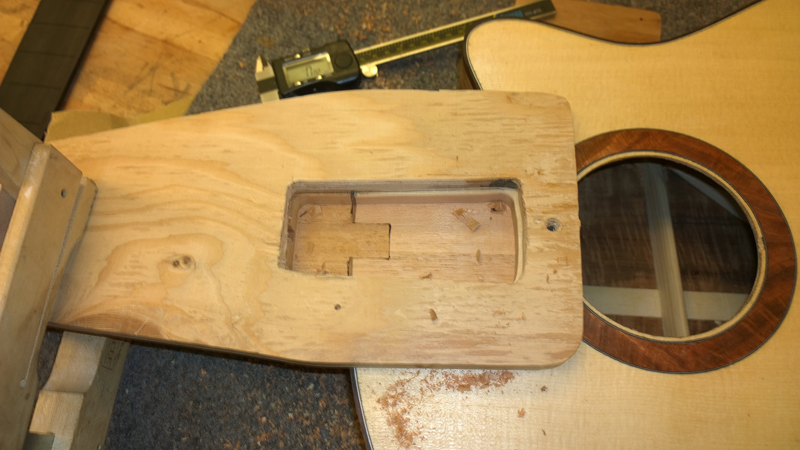
Needed to do a bit of work on the mortise so that the fret board would be centered and flat to the body. That is why the mortise is rough in a few of the pictures. I think that my template was slightly rotated on the guitar. Once I adjusted the mortise the neck angle was OK.
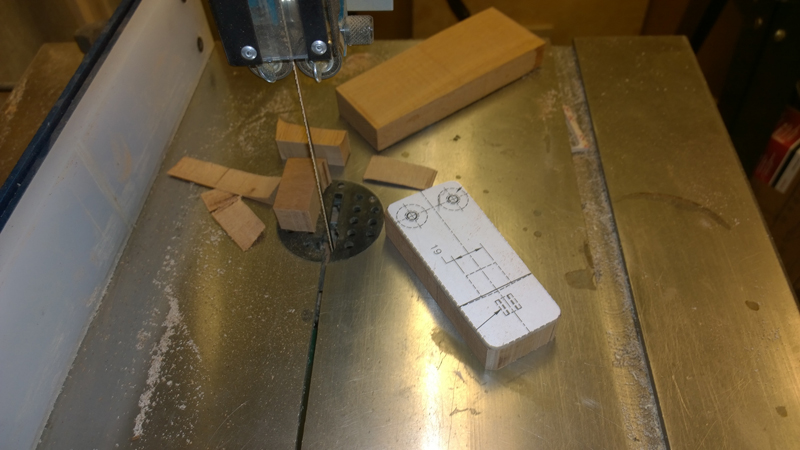
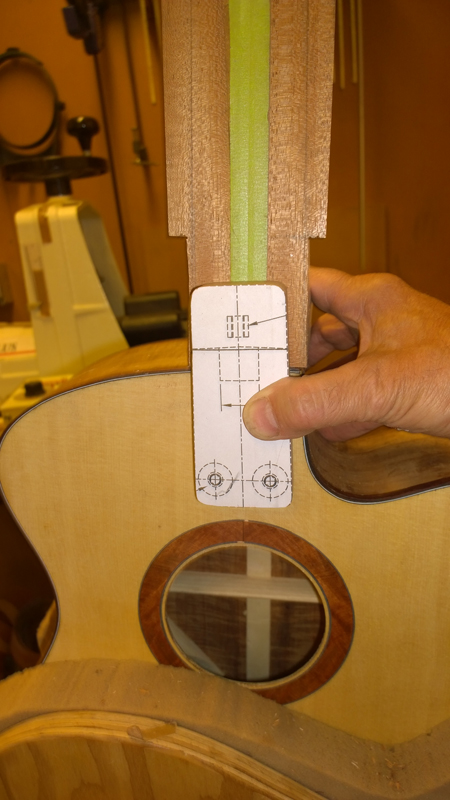
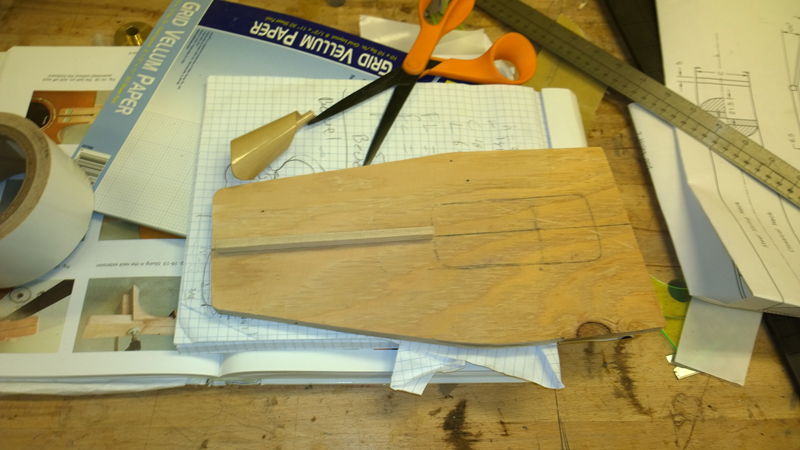
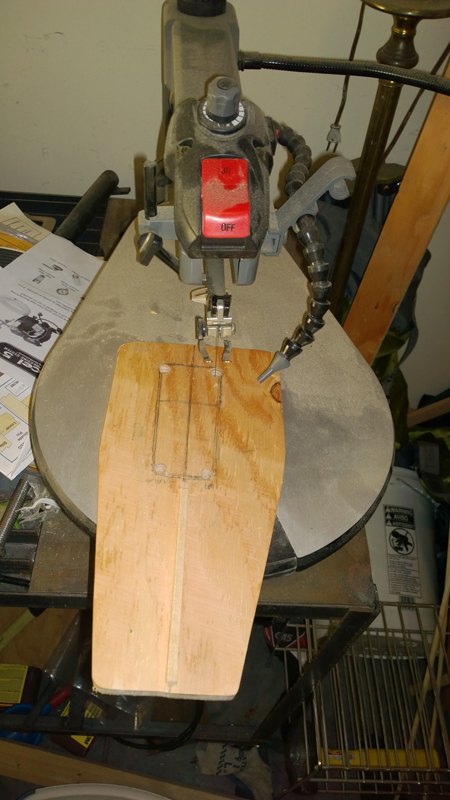
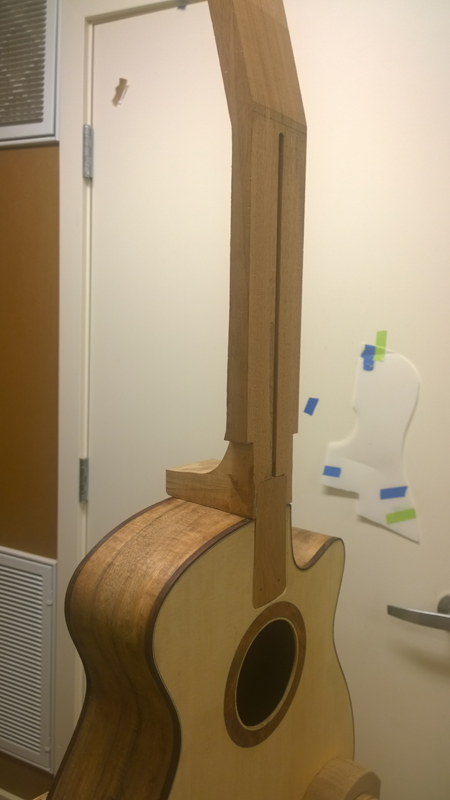
Now to the bolt on extension. I am going to let the pictures describe the process for the fret board extension as it was involved. Ultimately it sort of like an electric guitar mounting with a heel.
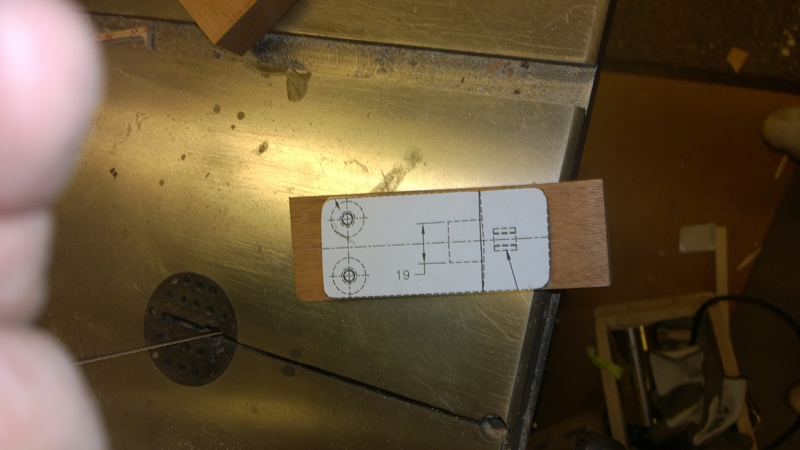
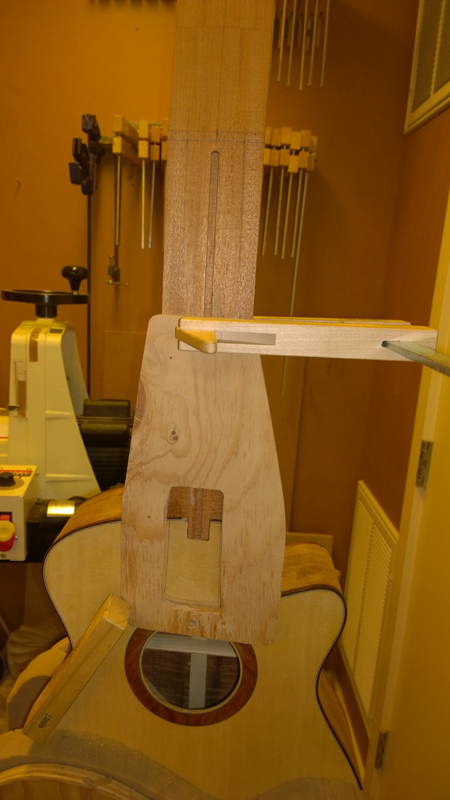
Before routing I double checked that I was centered and the angle was correct!
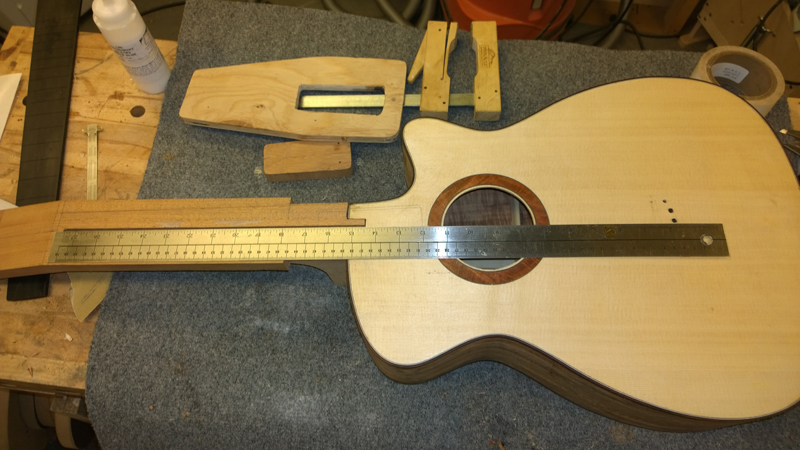
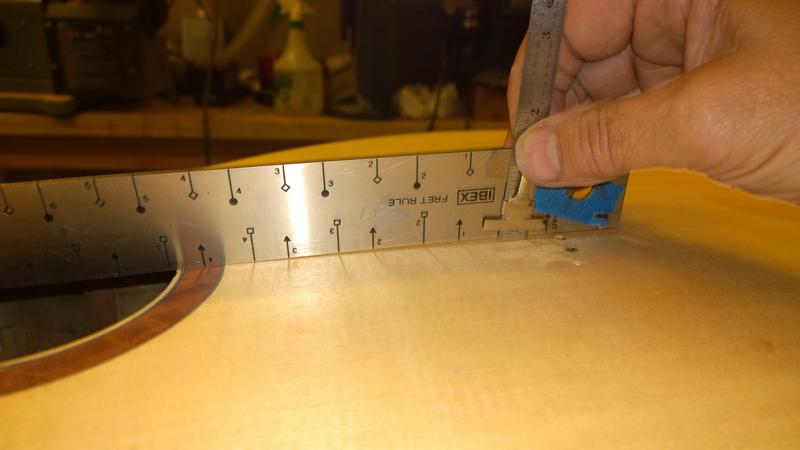
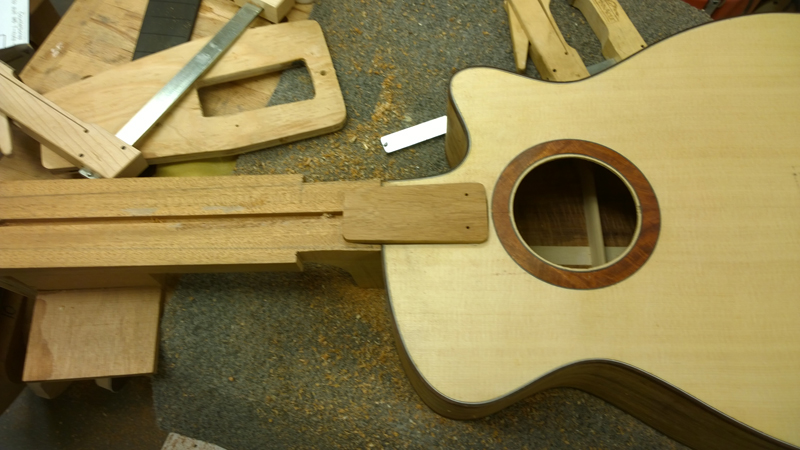
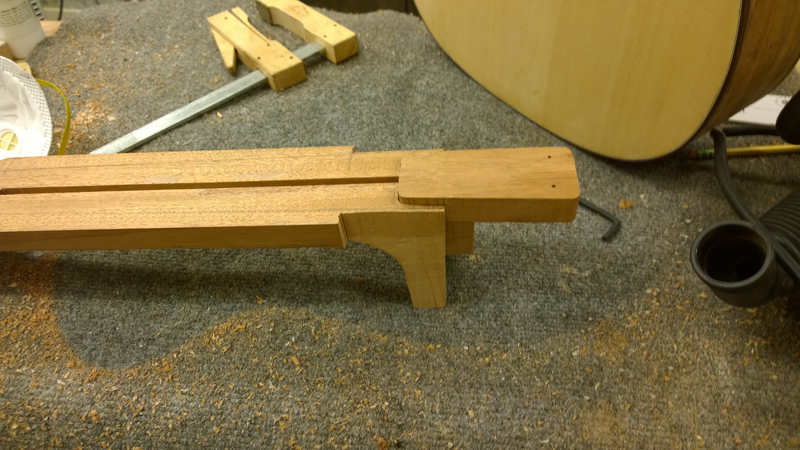
Note I am shifted to the bass farther than I wanted to be. Fortunately not too far.
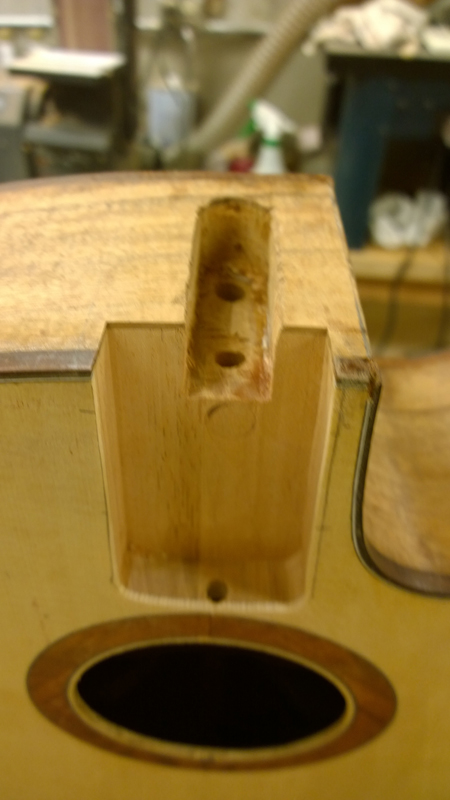
My template was not perfect so I used structural epoxy for to glue on the extension.
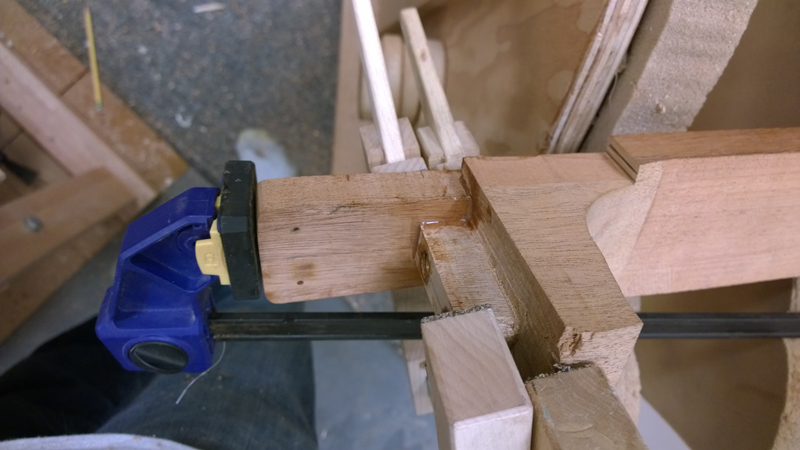
Planed the extension flat.
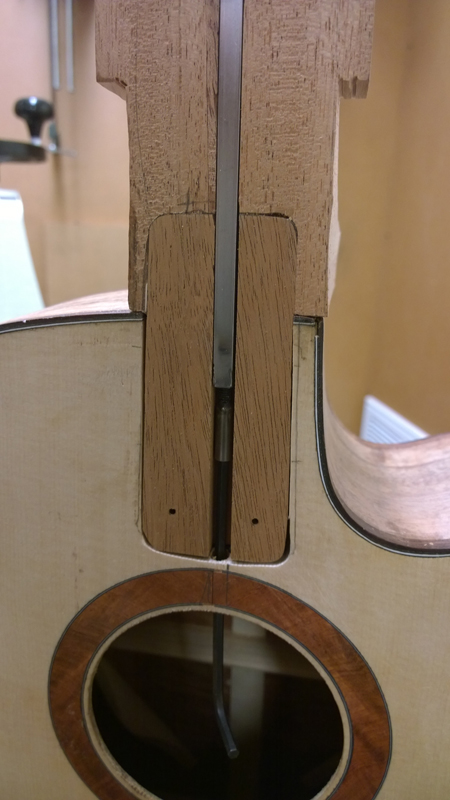
reestablished the channel for the truss rod.
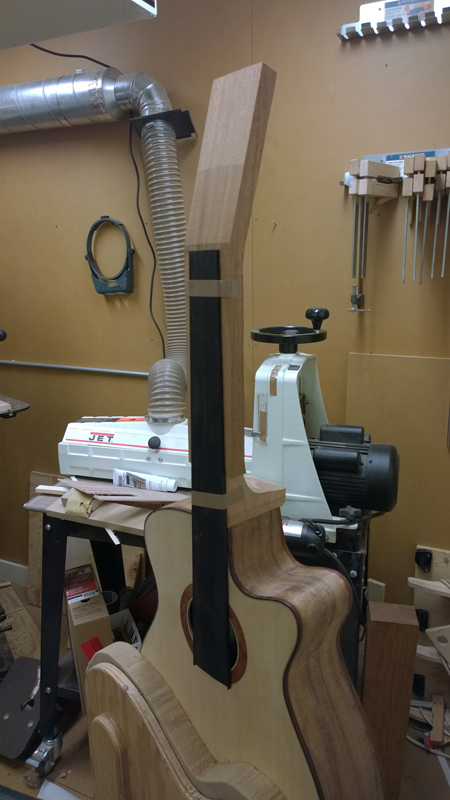

I will install some t-nuts in the extension and bolt holes in the inside block. Then on to finishing the neck and head stock.


Made fret board

I roughed in radius with a plane

Note that I am using a guide to keep the sanding bar straight. This avoids over radiusing the edges by skewing the block.


I bound fret board with ebony bindings using CA.

Used drill press to drill brass insert holes

Needed to do a bit of work on the mortise so that the fret board would be centered and flat to the body. That is why the mortise is rough in a few of the pictures. I think that my template was slightly rotated on the guitar. Once I adjusted the mortise the neck angle was OK.

Now to the bolt on extension. I am going to let the pictures describe the process for the fret board extension as it was involved. Ultimately it sort of like an electric guitar mounting with a heel.


Before routing I double checked that I was centered and the angle was correct!


Note I am shifted to the bass farther than I wanted to be. Fortunately not too far.

My template was not perfect so I used structural epoxy for to glue on the extension.

Planed the extension flat.


reestablished the channel for the truss rod.


I will install some t-nuts in the extension and bolt holes in the inside block. Then on to finishing the neck and head stock.
Last edited by John Parchem on Fri May 30, 2014 9:56 pm, edited 1 time in total.
Re: continuing build thread for Gore Medium body SS
Thanks for the update. Gore's book is good, of course, but it is even better to see a fellow forum member actually execute the process.
This method of building the fingerboard with its well supported extension looks like the ultimate approach for stability.
This method of building the fingerboard with its well supported extension looks like the ultimate approach for stability.
John
