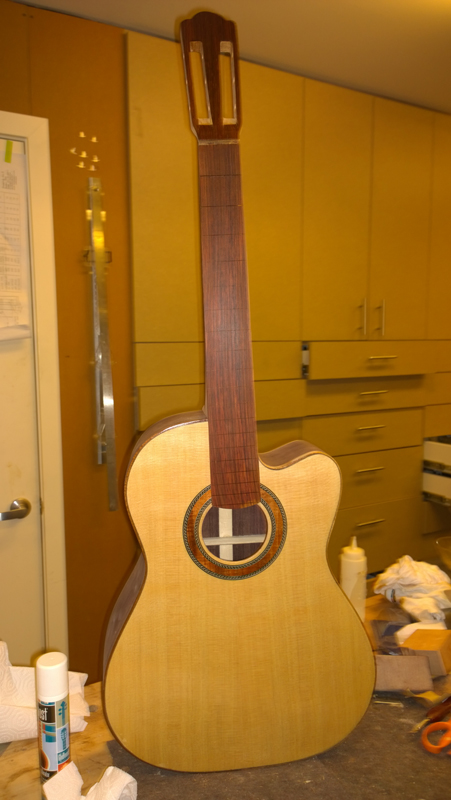
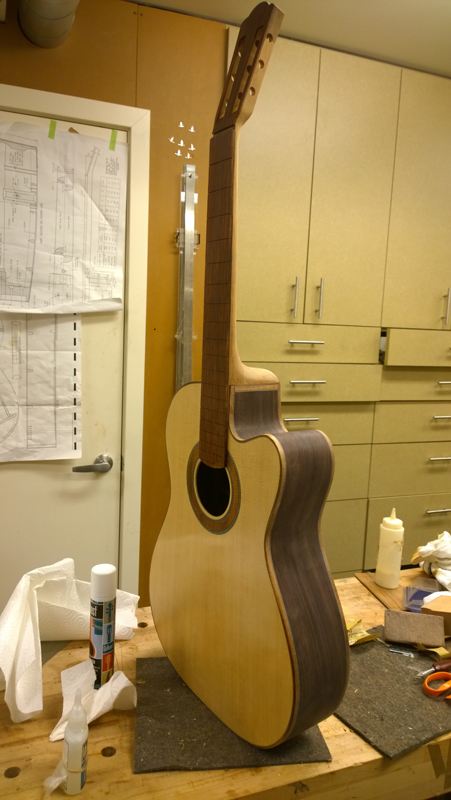
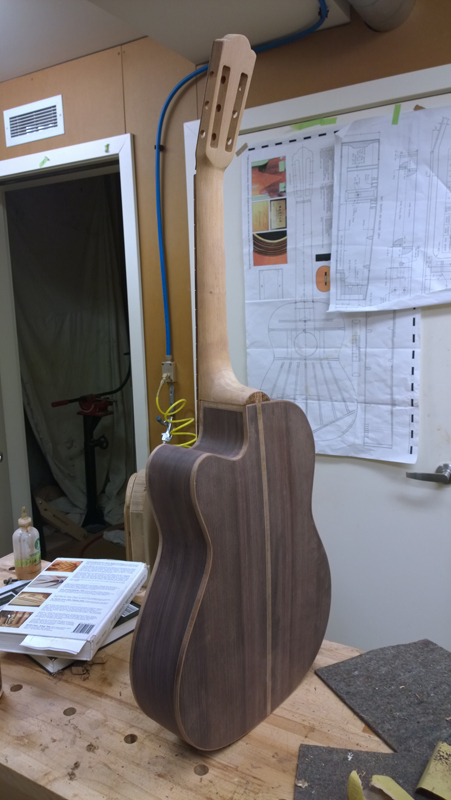
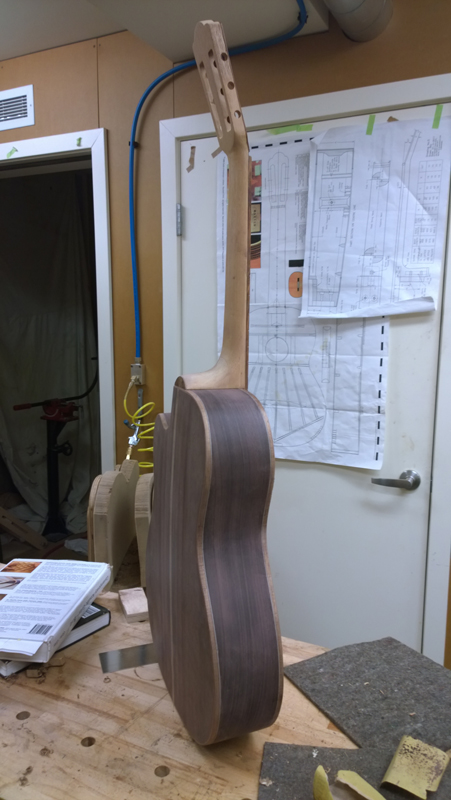
Falcate Braced Classical Guitar - Finished!

Show us how your current project is progressing
John Parchem
Posts: 2746
Joined: Fri Dec 23, 2011 8:33 pm
Location: Seattle
Contact:

Re: Falcate Braced Classical Guitar

Post by John Parchem » Tue Feb 24, 2015 12:43 am

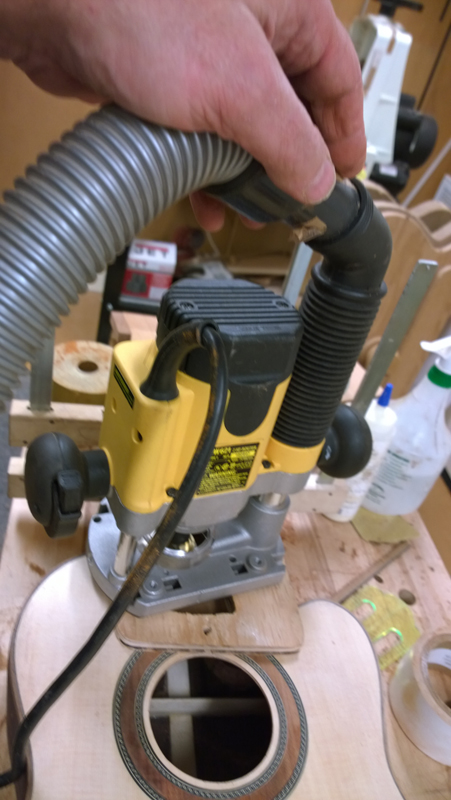
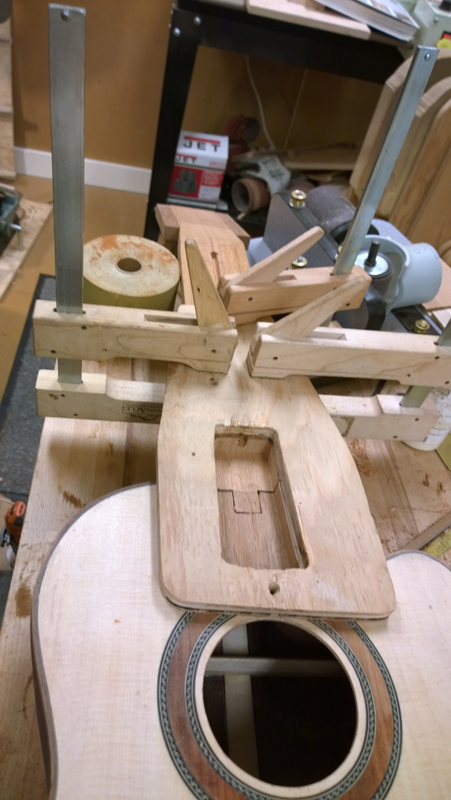
I think this neck is one of the more complicated components I have made for a guitar. With the fret board glued to the 4mm thick wedge blank, I was able to route the top half of the truss rod slot. This slot was routed level to the fret board, really just under it. Ultimately when I turn it into a wedge the top slot will match the angle of the slot in the neck.

Image

Image

I still do not have the wedge planed but you can see the fret board assembly caps the truss rod.

Image

Image

Here you can see how I extend the head stock with the excess wedge wood past the fret board.

Image

I was nervous about planing the wedge but as long as I did not cut the leading edge. the plane was big enough to allow me to take the trailing edge down to nothing with a perfectly straight wedge. In the pictures you can see that I made a guide wedge to go in front of the fret board but I am not sure I needed it.

Image

Image

Image

Image

Now on to more normal neck making tasks, I do need to make the neck 4 mm thinner at the nut side tapering to a normal thickness near the heal to adjust for the wedge.

Next up is thicknessing and shapping the head stock thicknessing the neck, cutting the tenon, carving the heal and tapering the fret board

Also I have the body ready to route the bindings, the sides have been sanded level.

Image

Image

John Parchem
Posts: 2746
Joined: Fri Dec 23, 2011 8:33 pm
Location: Seattle
Contact:

Re: Falcate Braced Classical Guitar

Post by John Parchem » Sun Mar 01, 2015 12:10 am

It is starting to look more like a guitar. I have the neck thicknessed and profiled ready for the headstock veneer and final carving. It took a bit to finish up the neck, also I went ahead and finished the binding and pruflings.


Image

With the 4 mm thick wedge on the fret board I needed a steeper taper on the back of the board than I normally would have. The book made use a taper board to set the angle, I just temporarily put a 7 mm shim at the nut, 3 for the normal taper and 4 to take the wedge into account. Then I just ran it under my Safe-T planer.

Image

Image

Image

The head stock I did as I normally do .

Image

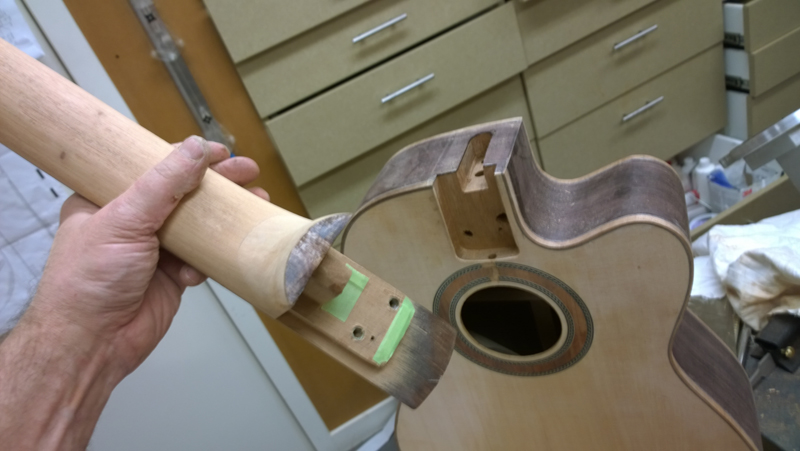
With the mortise and routed and cut I installed brass inserts and holes in the heel block. I was then able to play around with the neck and fret board to make sure the neck was centered and at the correct angle. My body angle was a little more than I hoped so ultimately I sanded a slight taper on the fret board to correct it.

Image

Image

Image

Image

Once happy with neck and and center with the neck bolted on the guitar. I routed out the area for the fret board extension block in the body and into the neck. Here you can see why the neck face needs to be in plane with the body. Often on classical guitars it is not.

Image

Image

Image

Image

Image

Image

Image

Put a bit of silicon calk in the truss rod slot and glued down the fret board and wedge assembly.

Image

Here you can see I am starting to plane the bit of extended wedge I had in plane with the head stock

Image

Image

Now the head stock extends right to the back of the nut slot

Image

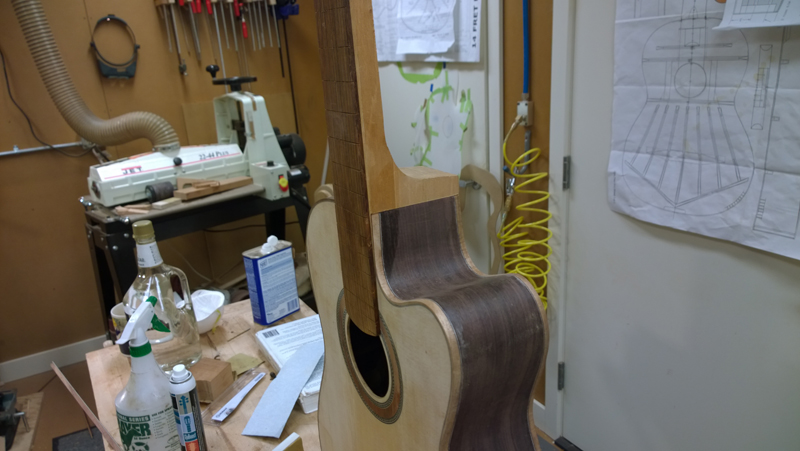
With a little clean up you can see the wedge blends into the neck

Image

John Parchem
Posts: 2746
Joined: Fri Dec 23, 2011 8:33 pm
Location: Seattle
Contact:

Re: Falcate Braced Classical Guitar

Post by John Parchem » Sun Mar 01, 2015 3:35 pm

Well things are getting way out of hand so I think I need to take a break and reset my work shop.

Image

I did a bunch of final thicknessing on the head stock and the neck. I was close so I mostly used a cabinet scraper to fine tune the dimensions. After doing this for 4 years or so I am finally getting to where I can properly sharpen one. Then they are a joy to use.

Image

I finished the head stock profile, at least I am very close. I used to pattern route, but out of 13 or so necks I completed I managed to ruin a few with the router, template slip and what not. On this one I just drew out the pattern and used planes. chisels, and sanding sticks. I did use my luthiers tool jig to drill the holes and route the slots.

Image

Image

Image

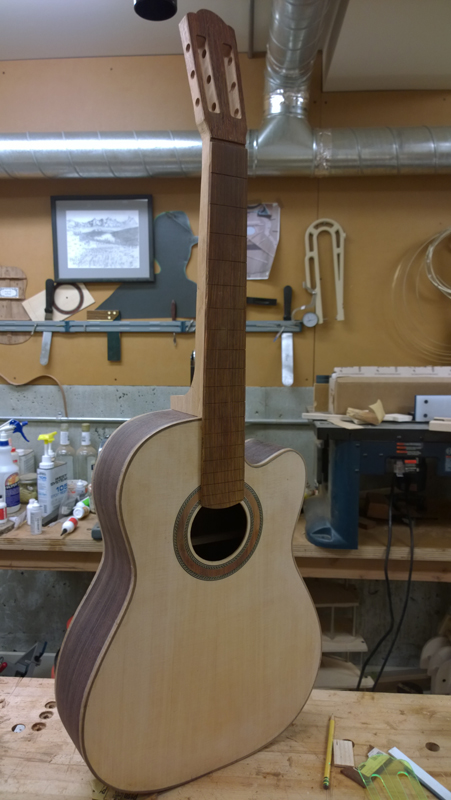
So I started to clean a bit but I still need to think a bit about the final details. I am debating adding the closing binding between the neck and the rim and the cutaway. It was provide a clean finish, but it is a bit of a busier look than I really want.

Image

All and all it is starting to look like a guitar.

Image\

Image

John Parchem
Posts: 2746
Joined: Fri Dec 23, 2011 8:33 pm
Location: Seattle
Contact:

Re: Falcate Braced Classical Guitar

Post by John Parchem » Sun Mar 01, 2015 7:30 pm

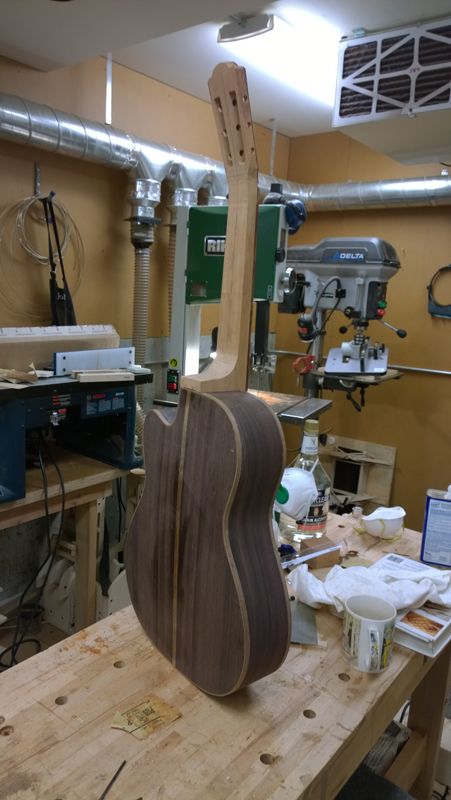
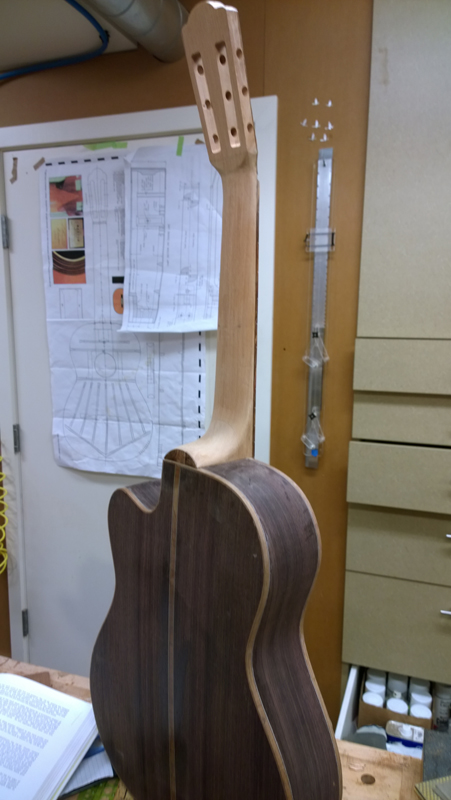
It did not take me long to carve the neck. I had a bit of Koa burl that was too small for a uke peg board so I used it for a heel cap. I went with a circular arc. I just played with a compass until I had an arc the hit the width and height of my heel.

I sanded the rims profile onto the cut out cap right on the body. To glue it I held it in place and spot glued with CA. I moved around the arc applying pressure and spot gluing. When it was tack down I flooded the seam with CA. I was trying to avoid the cap sliding around with yellow glue.

Image

With the cap on I decided on a shape. More of a D shape or part of an ellipse. Drew it out and measured the facets I needed at the 1 st and eight fret. I laid it out on the neck and used a spoke shave to get the majority and a rasp to get the rest.

Image

Image

Image

Image

Image

Image

Kevin in California
Posts: 2796
Joined: Mon Dec 19, 2011 4:19 pm

Re: Falcate Braced Classical Guitar

Post by Kevin in California » Mon Mar 02, 2015 5:33 pm

Nice job on the neck. That headstock jig sure looks slick!

John Parchem
Posts: 2746
Joined: Fri Dec 23, 2011 8:33 pm
Location: Seattle
Contact:

Re: Falcate Braced Classical Guitar - Complete ready for fin

Post by John Parchem » Tue Mar 03, 2015 12:00 pm

Thanks Kevin it is the first time I tried that rounded off look on the back of the head stock.

I did a bunch of prep work and cut ramps in the head stock slots. I made squared off ones for the first time. A little scary I just cut the edges with a razor saw and carved out the waste with a chisel. There is a bit of back and forth to get the line between the veneer and mahogany to look symmetrical.

Image

Image

Image

Image

Kevin in California
Posts: 2796
Joined: Mon Dec 19, 2011 4:19 pm

Re: Falcate Braced Classical Guitar - Complete ready for fin

Post by Kevin in California » Tue Mar 03, 2015 4:49 pm

Looks really nice. John is that body an OM or is it from a classical plan?

Post Reply