Page 4 of 5
Re: Starting a new BRW falcate braced falcate classical guitar
Posted: Tue Dec 19, 2023 12:43 pm
by Kevin in California
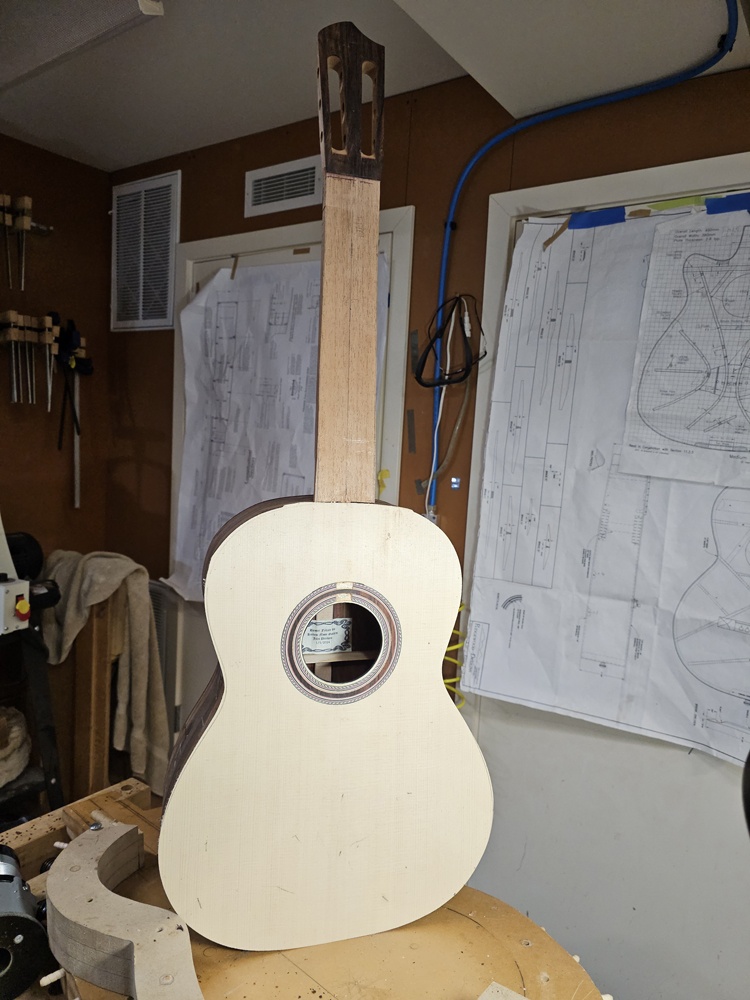
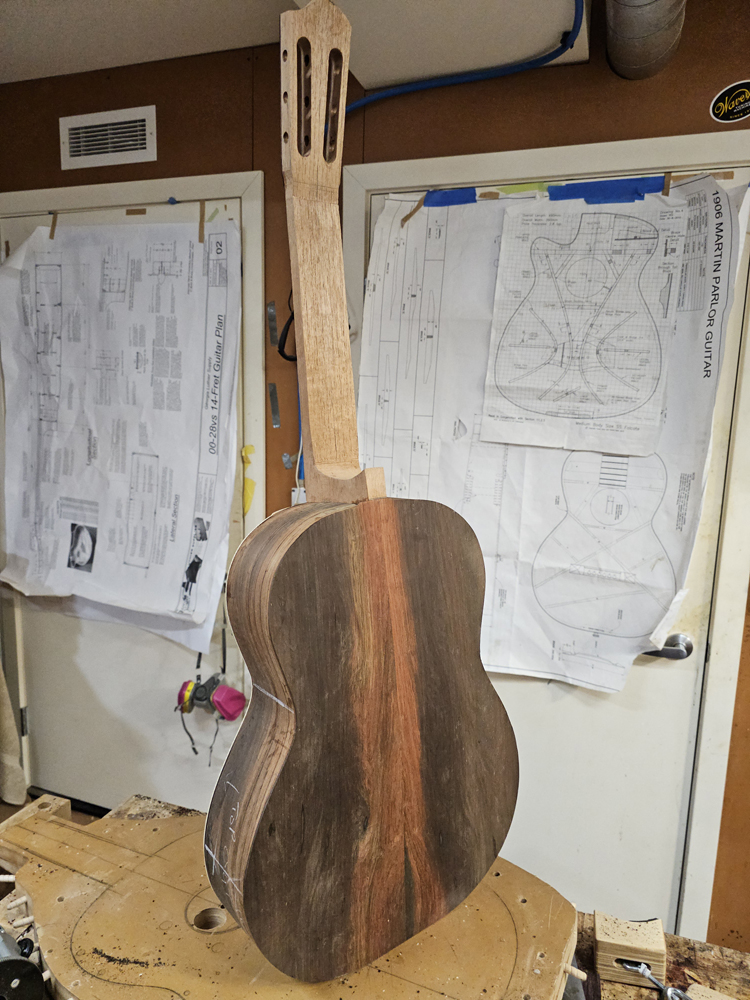
WHOO HOO.
Looking like a guitar now.
Re: Starting a new BRW falcate braced falcate classical guitar
Posted: Tue Dec 19, 2023 12:54 pm
by John Parchem
Re: Starting a new BRW falcate braced falcate classical guitar
Posted: Tue Jun 24, 2025 7:01 pm
by John Parchem
Well, well well ... A year and a half later and I picked up this guitar again after a major set back. I am not sure how I did it but some how the ledge in the neck to accept the top was not deep enough on one side. I noticed after binding the top that the bindings was below the top near the neck. While sanding the top in that area I sanded the top way to thin. I cut out that top put it aside and build a steel string.
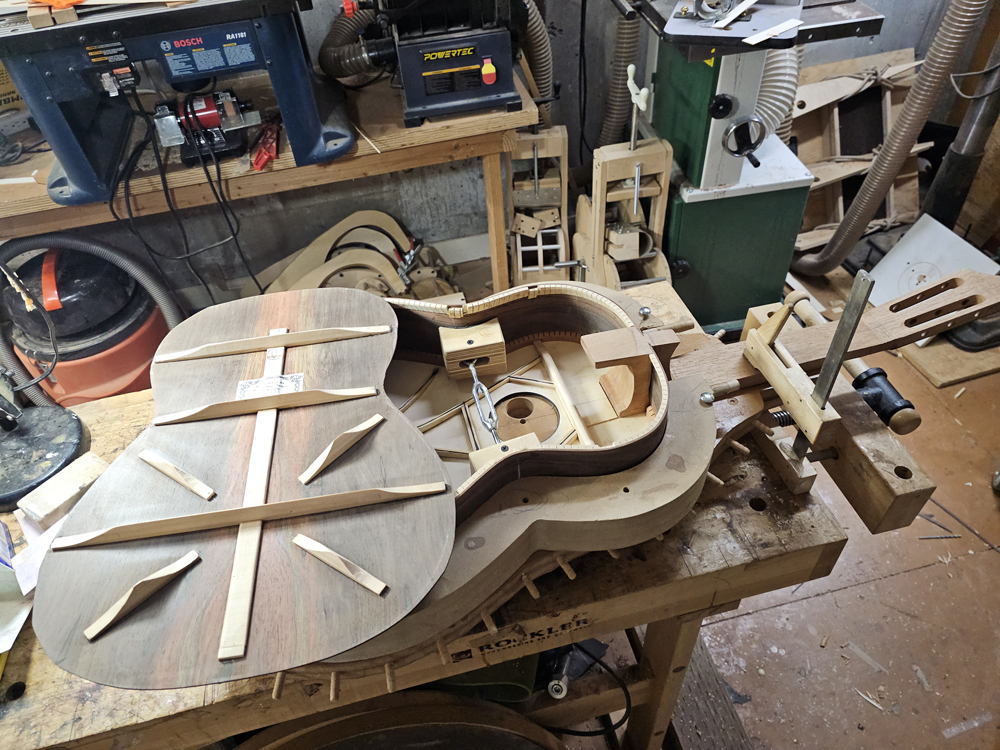
To illustrate the issue, here is a picture how the new top fit on the neck. I am not sure how I missed this


Given that I needed a new top I decide to try a few new features in my falcate build and some for just the classical falcate build.
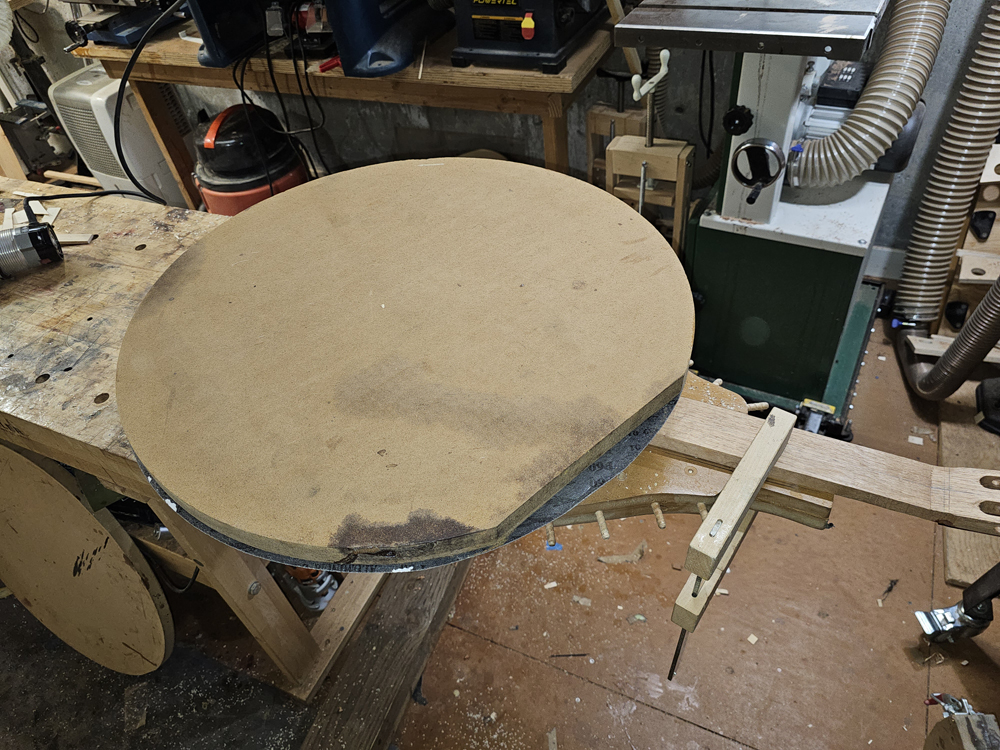
The first change I made is a two sided mold for the two falcate braces. I had lamination issues when I used just the side mold and a combination of tape and clamps. I used my CNC machine to cut out the molds. When I cut the brace profile with a 1/4" end mill it is sized perfectly my use three laminates to make a falcate braces. Instead of using my iron to bend the laminates close, used a blanket to heat the laminates for about 12 minutes and used my new molds to shape them.


I let them sit overnight, used epoxy and and re-clamped them.

In all of my previous falcate classicals I sliced the bridge blanks into three slices and laminated two carbon fiber sheets into the layup. On this bridge I sliced the bridge blank into only 2 slices, one being a 2 mm top cap that I laminated with only one CF sheet with the bottom part of the bridge. I also added a 1 mm bridge patch and a CF cloth to the brace side of the top.

With the bridge patch I need to cut out a recess

I used my
Otter Router Table


I epoxied all the braces on the top (see the first top if you want more pictures)

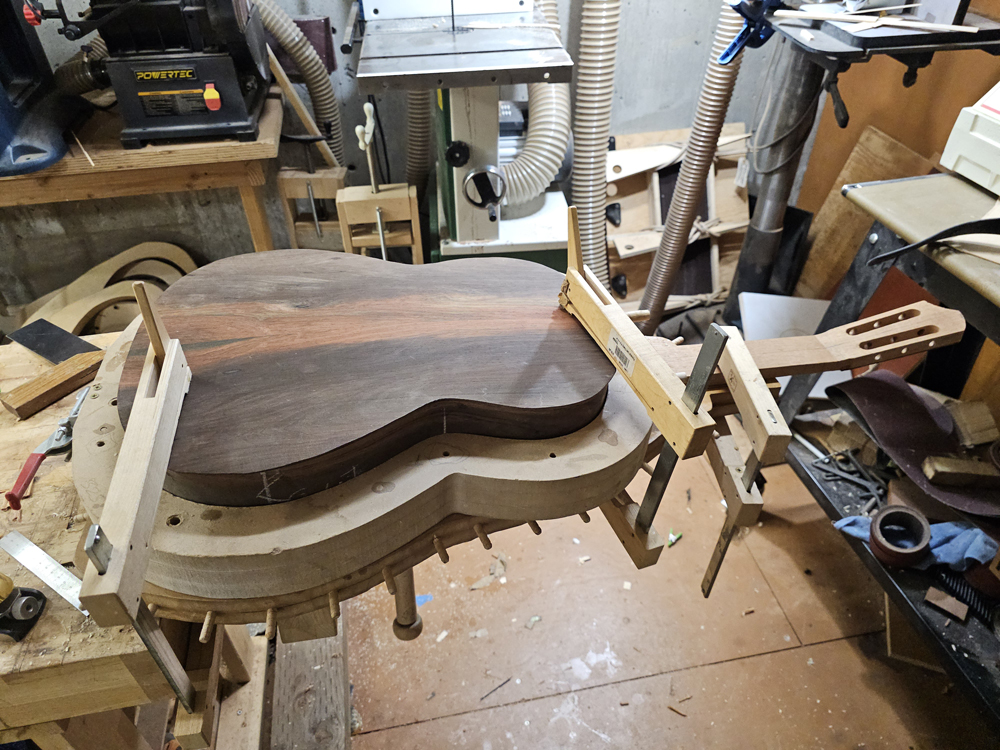
Sorry I thought I took pictures but I glued the body to the top with the top down on the solera that allowed me to set the neck angle properly.

Re: Starting a new BRW falcate braced falcate classical guitar
Posted: Mon Aug 18, 2025 5:20 pm
by John Parchem
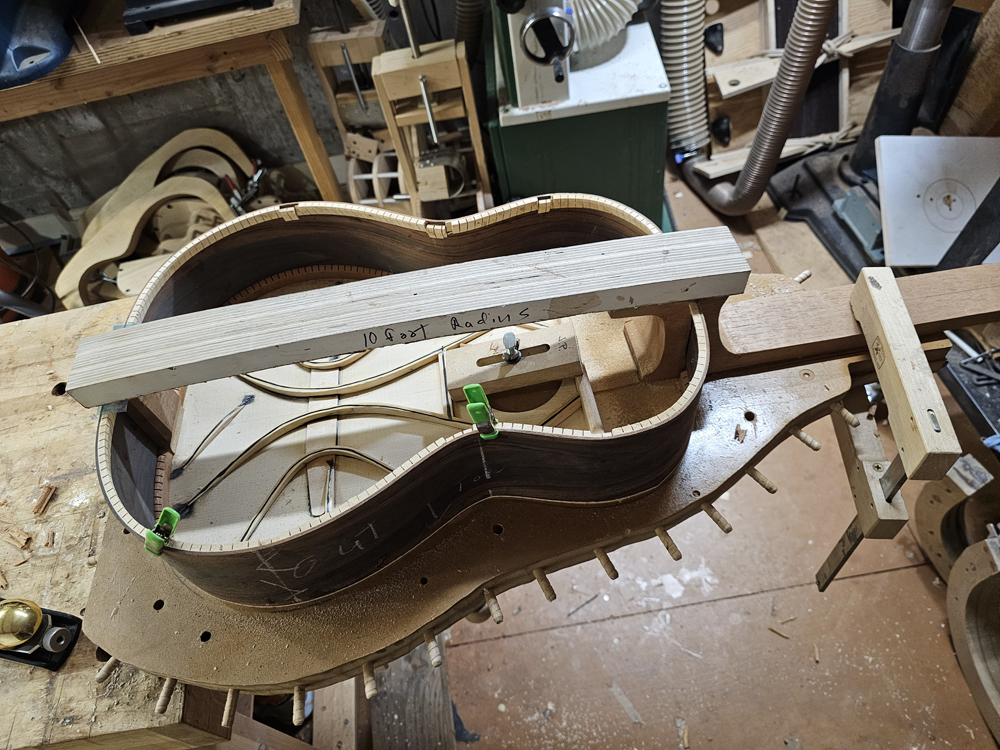
With the replacement top complete I need to glue it top the guitar. Normally I glue on the top first and then set the angle when I glue on the back with the top resting in the solera. I thought about putting the top down in the solera putting glue on the rims and basically glue the rest on the guitar to the top. My fear as I thought it through was to assure that top was glued to the neck extension as I could not put any clamping there as the back was in the way. Instead I created long clamp caul with the neck angle built in. (straight on the body and 2 mm slope to the nut location.

I am not sure that this was better than using the solera, but with this caul I was able to set the neck and make sure the top was aligned with the body.

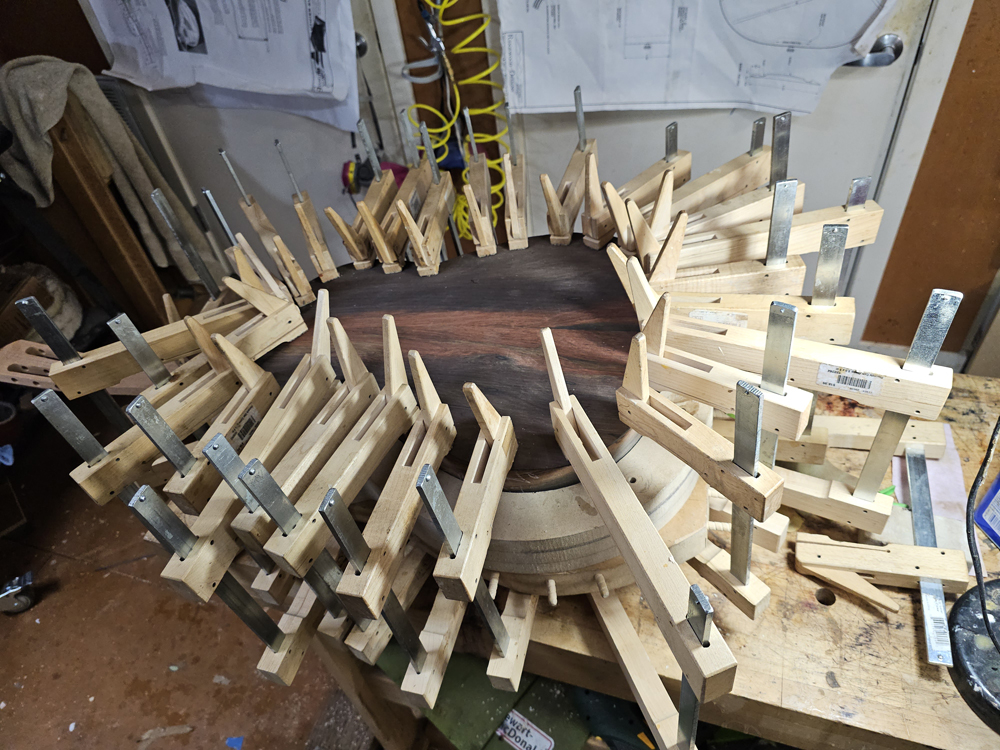
I do not have pictures but from the one above I put cam clamps all around.
I was happy with the glue-up and went ahead and bound the top.


Re: Starting a new BRW falcate braced falcate classical guitar
Posted: Mon Aug 18, 2025 5:47 pm
by John Parchem
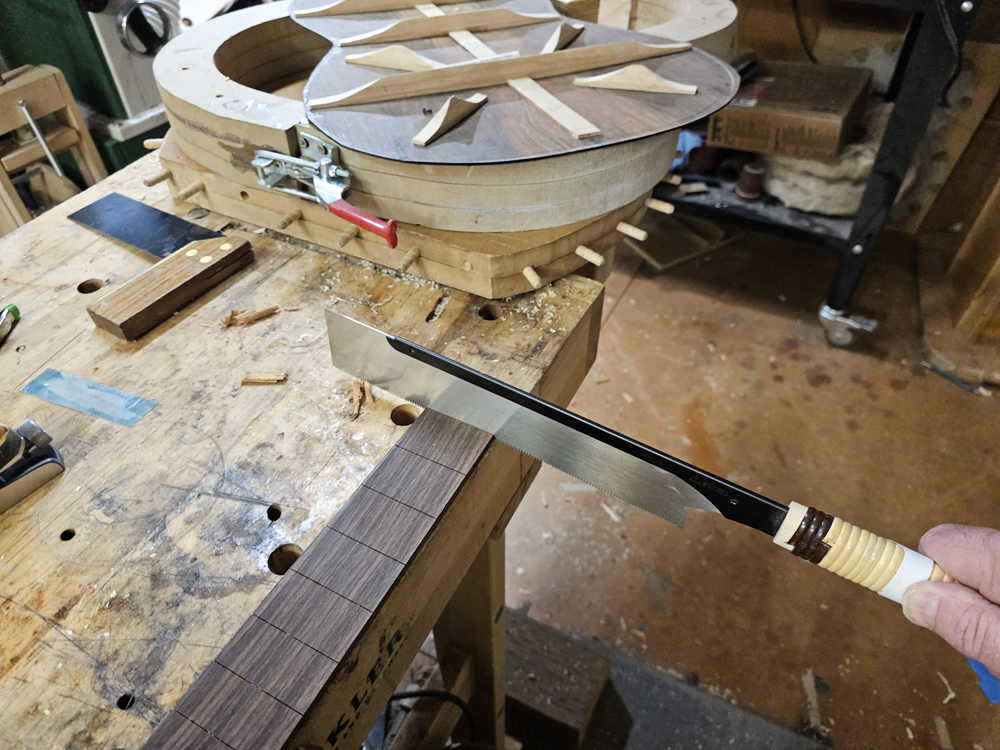
My kids got me a Proxxon Table Saw Fet a few years ago at Christmas but I was a little slow to make this jig with it.
I build a sled and mocked up what it could be. I will use a 2" diameter blade so I made the sled on 1/4" birch plywood.

I made sure the sides were square to the blade.

I found a 2" .5 mm kerf proxxen NO 28 011 (with no set) that was perfect for a slot, .020". I made a test cut and it seemed perfect.

I used the pin from my LMI fretting jig and set it so that it was the correct height for the guide.

Here is the complete jig. It is sized for my LMI fretting jigs.

I should have made this awhile ago as I had all the parts. Made quick work of the job.
align the fret board on the template

cut the frets advancing the fretboard and template

Nice!


I like for the bass side of the fretboard to 1 mm thinner than the treble. This helps compensate for the action difference bass to treble. I tape a couple purfling strips (.5 mm + .5mm) along the bass side and run it through my thickness sander until I have sanded across the fret board. I do it slowly as I really should be using a sanding board for the fretboard to sit on.


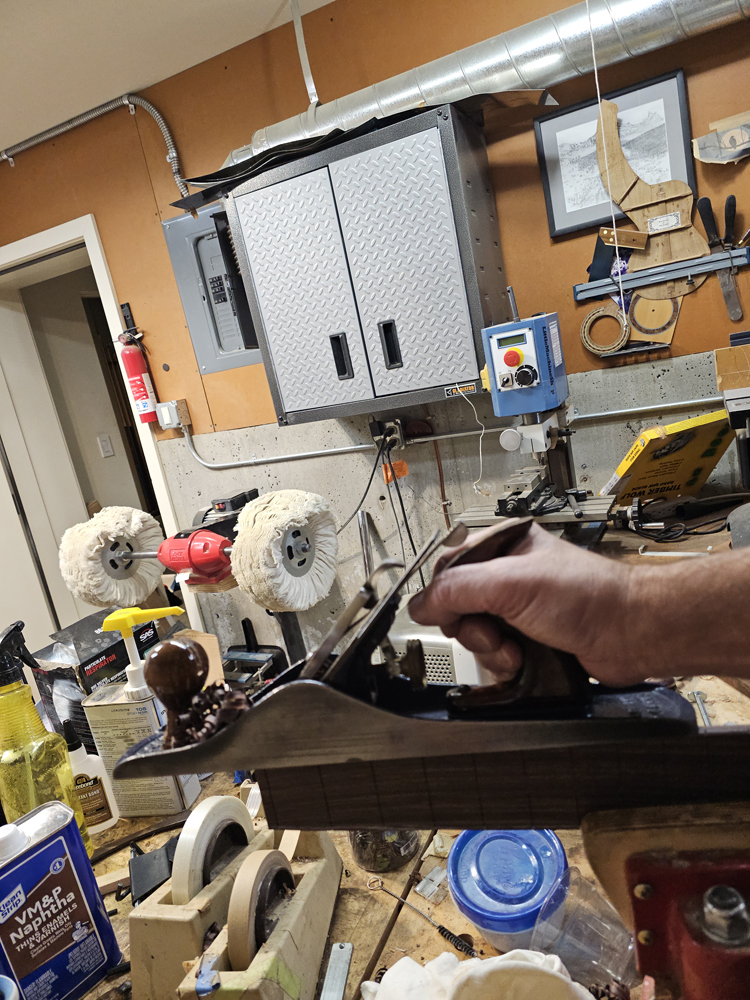
I used my bandsaw and plane to profile the fret board.

Re: Starting a new BRW falcate braced falcate classical guitar
Posted: Mon Aug 18, 2025 6:15 pm
by John Parchem
With all of the components ready to finish the guitar. I went back to finishing the bridge. I made the bridge earlier in this build on my CNC machine. Before I went any farther I needed to drill the string holes in the bridge. I had a "friend" who once glued a bridge on before drilling the string holes

As mentioned earlier in this build I changed the layup of my contemporary classical removing the bottom strip of CF weave. (I put this layer on the braced side of the top under a bridge patch.) This allows me to drill the string holes at a slight angle without running in the CF. Not a big deal but stringing up the guitars will be easier with the sloped string holes (more like a classical bridge).
I used my straight string hole guide to just mark the hole placement on the bridge.

Then I used a block with a 5° angle. With the hold positions marked I used my drill press to drill the holes.

I like to use Mitchell Abrasives cord of the right size to sand the hole and remove the edge on each side. Again makes it easier to string the guitar.

I radiused the bottom on a 25' convex radius dish.


I probably checked my calculations, assumptions and measured 10 times to place the bridge.

With the bridge placed I was able to start French polishing the top.


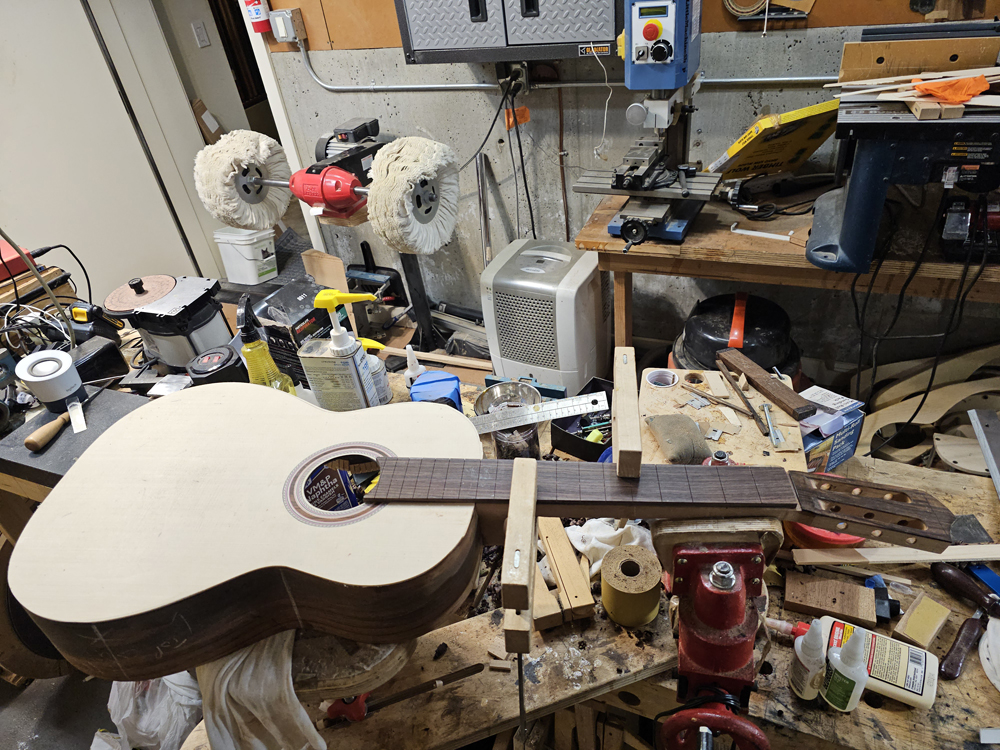
Ready to glue on the fretboard so that I can finish carving the neck.


Re: Starting a new BRW falcate braced falcate classical guitar
Posted: Mon Aug 18, 2025 6:24 pm
by John Parchem
The neck was rough carved. I used knifes, chisels, rasps and sand paper to clean up the neck.

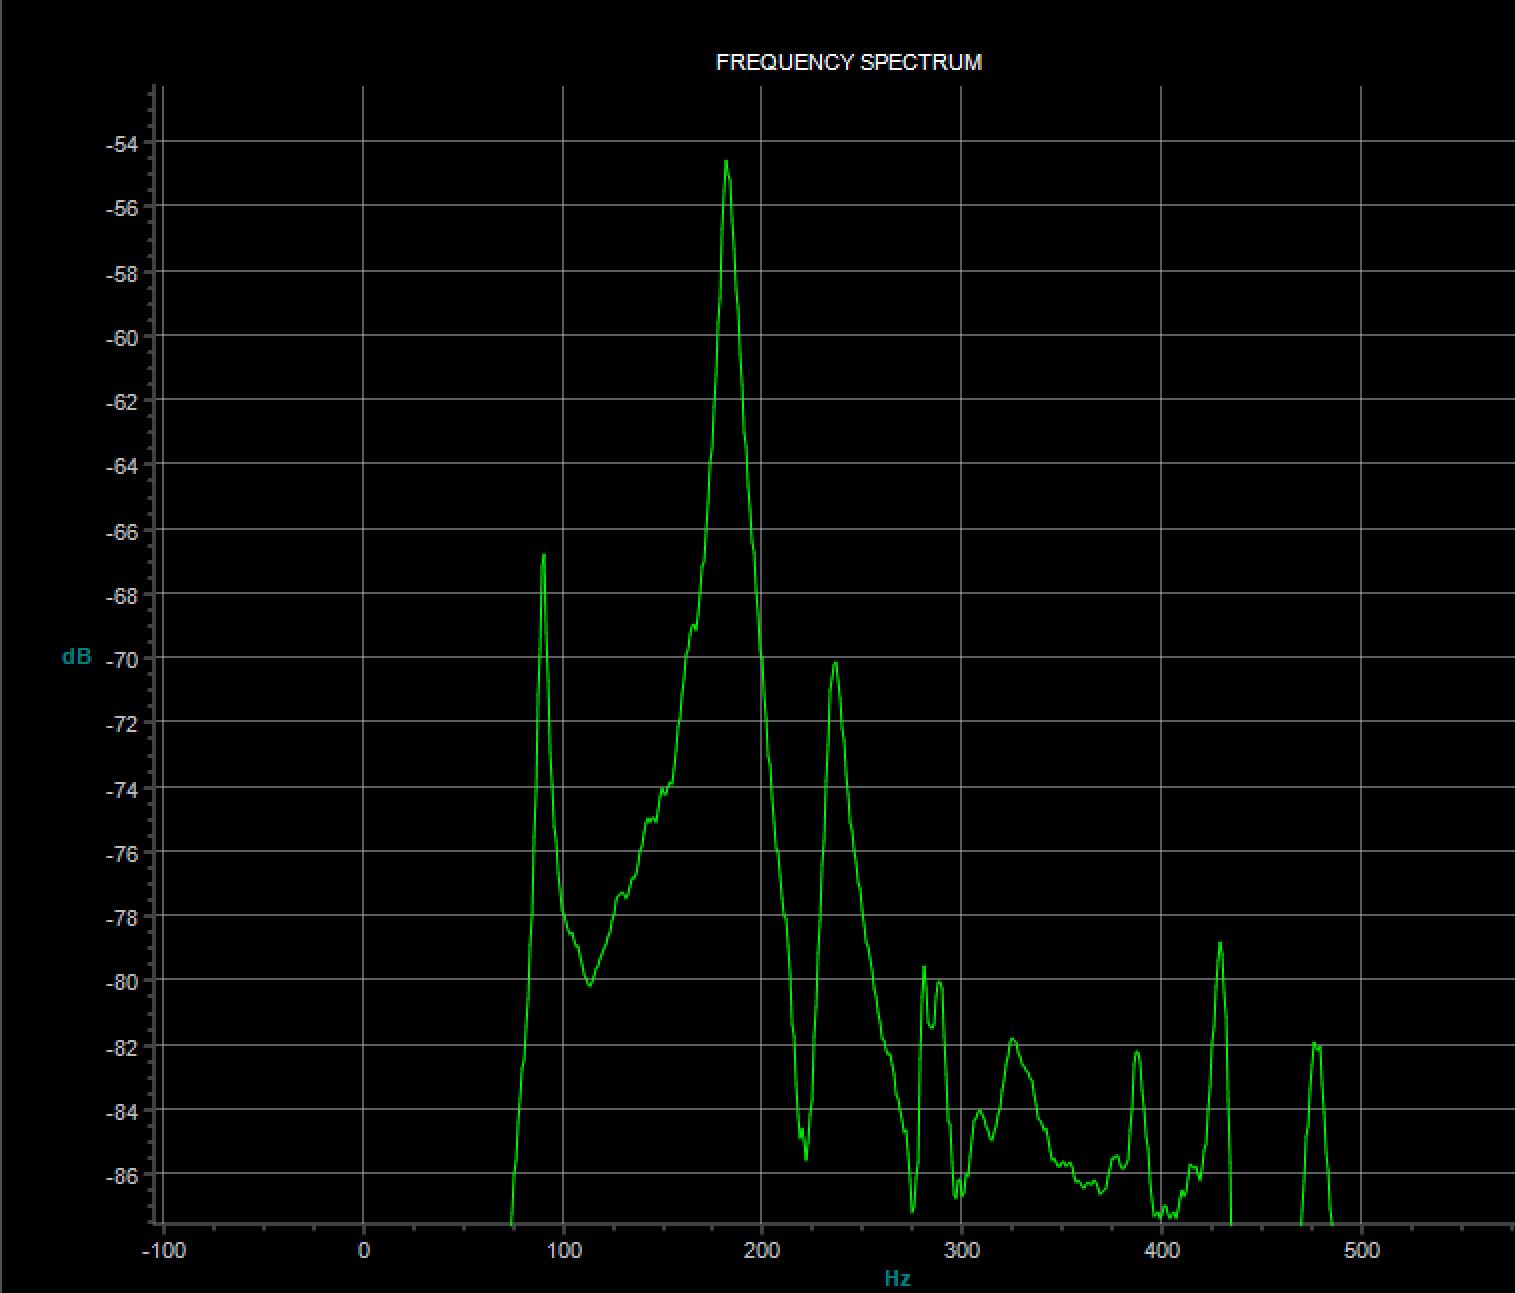
I could have waited but I want to see where I was with body resonances so I glued on the bridge.

amazingly the resonances are very close to the first top. More on this later.
I pounded in some frets

Here is where I am now french polishing the rest of the guitar. I used system 3 silvertip for the pore fill on the back and neck.