Re: Falcate Braced Classical Guitar
Posted: Mon Feb 16, 2015 10:38 pm
I am sort of stuck again with two long epoxy cure waits so you get another post.
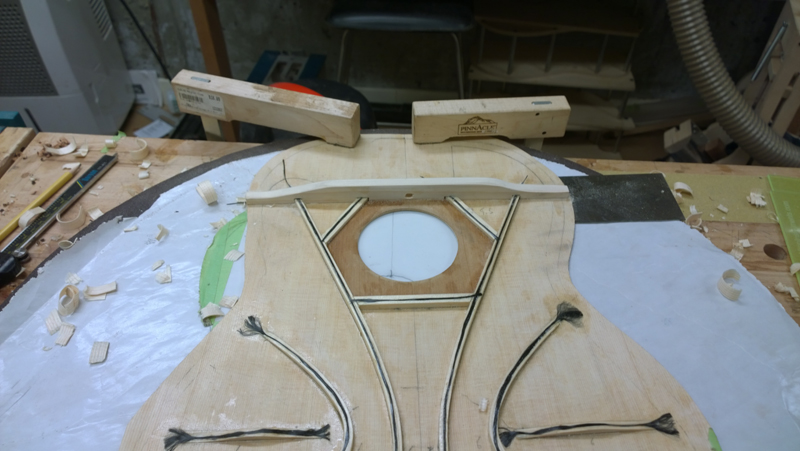
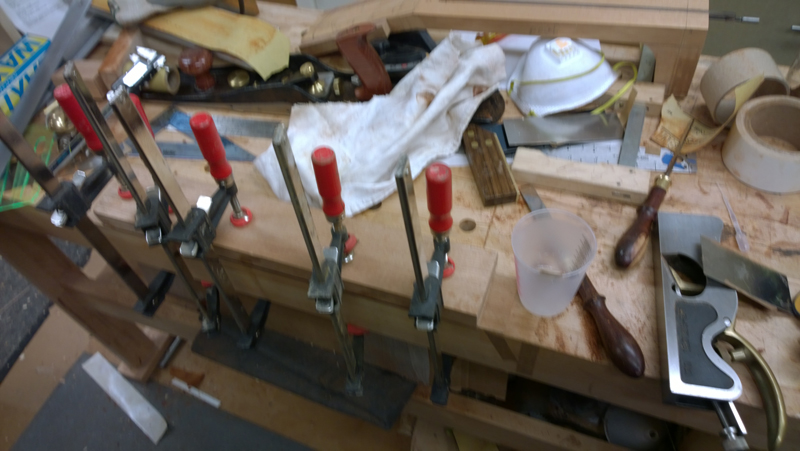
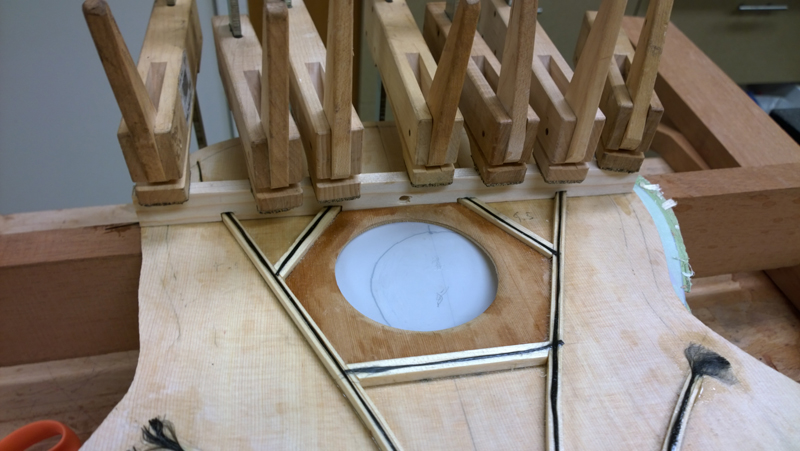
Bit by bit I am finding there are little things between clean craftsmanship and my usual work. On the falcate brace design the falcate braces pass through a rebate in the upper transverse brace. On my previous two falcate guitar my work was not as tight as it could have been. The problem had been that I was a bit sloppy marking where the rebates should be. My brilliant light bulb moment was to take the 1.4 second I needed to clamp the brace as shown before I attempted to mark the 4 corners of the rebate.
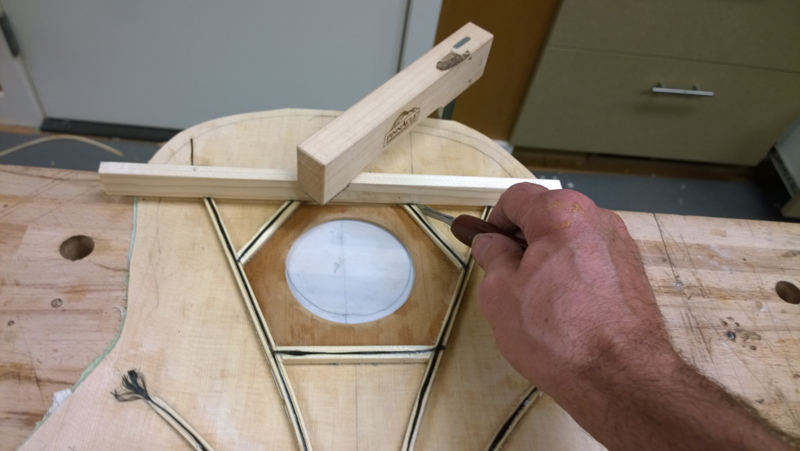
With the brace stable it was really easy to take the time to make really clean tight marks on the brace.
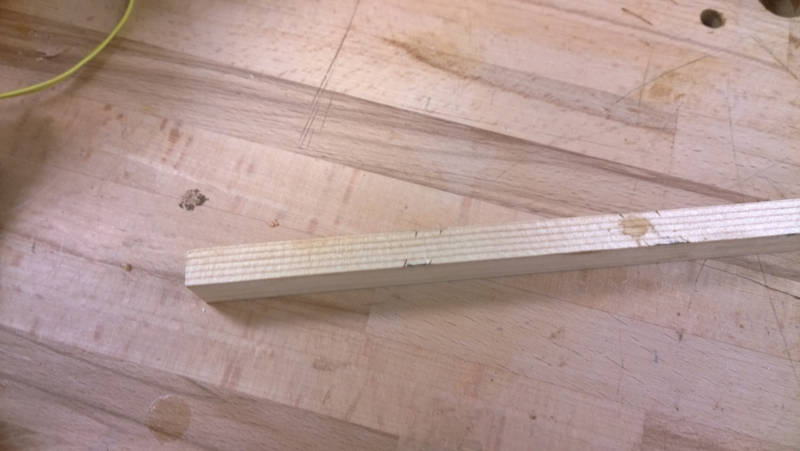
Not shown but I measure the height of each brace on the top and marked the height on the transverse brace. Then it was easy to put the brace in my parrot vice with the jaws right on the marked depth line. I used a razor saw to both cut the out line and some inside cuts to make clearing the channel with a chisel easy.
Much better this time
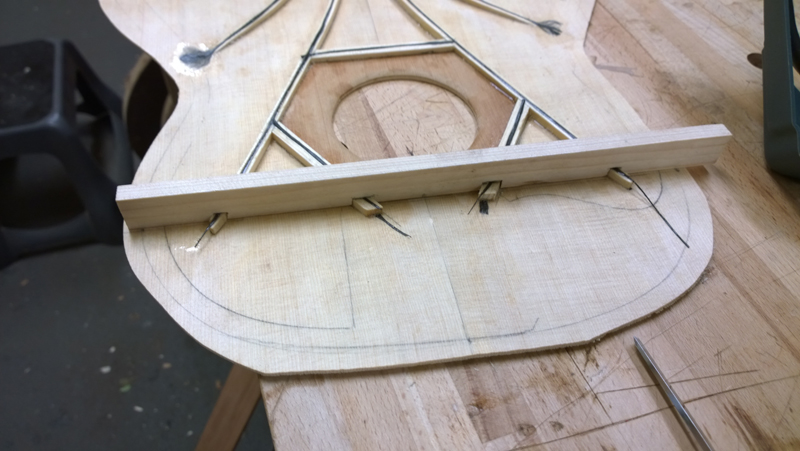
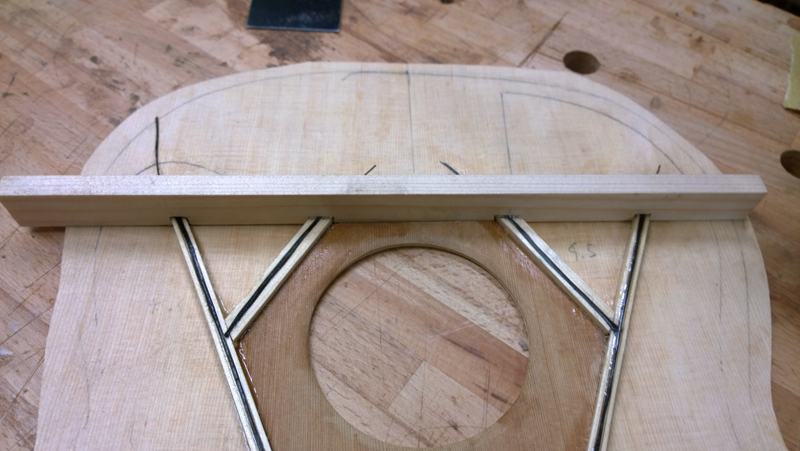
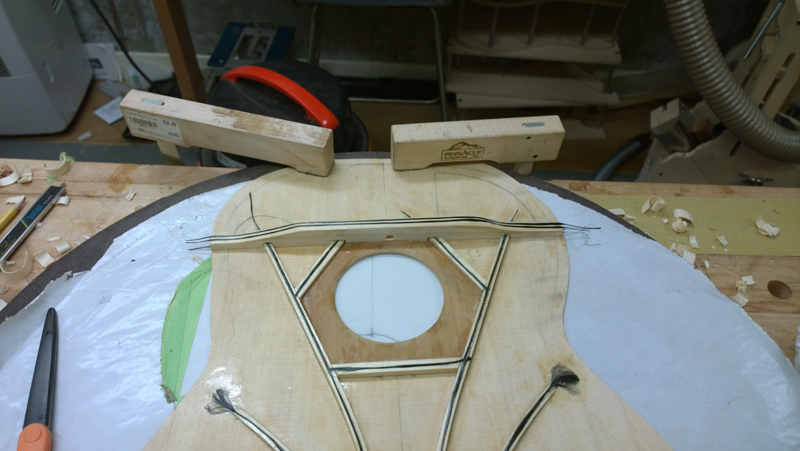
This brace was clamped flat
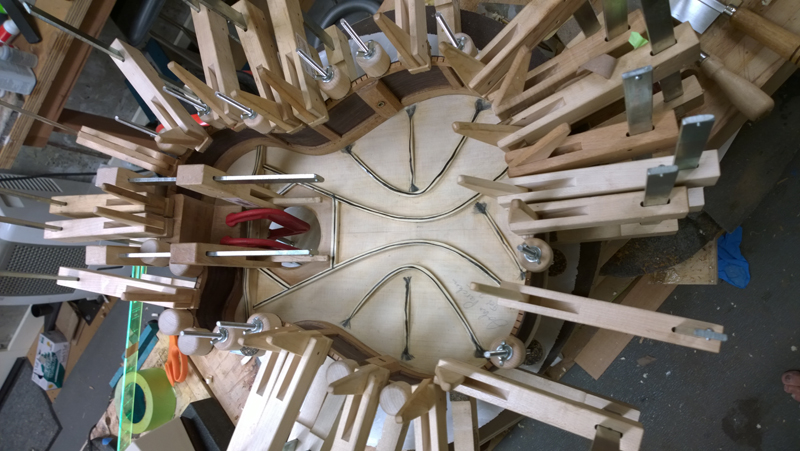
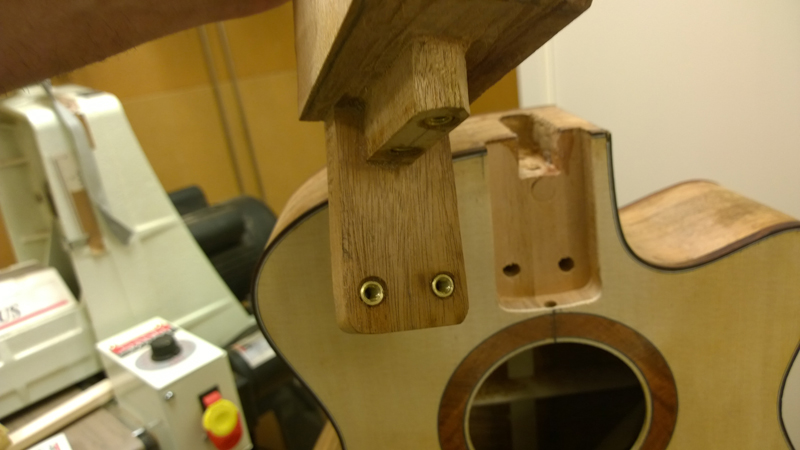
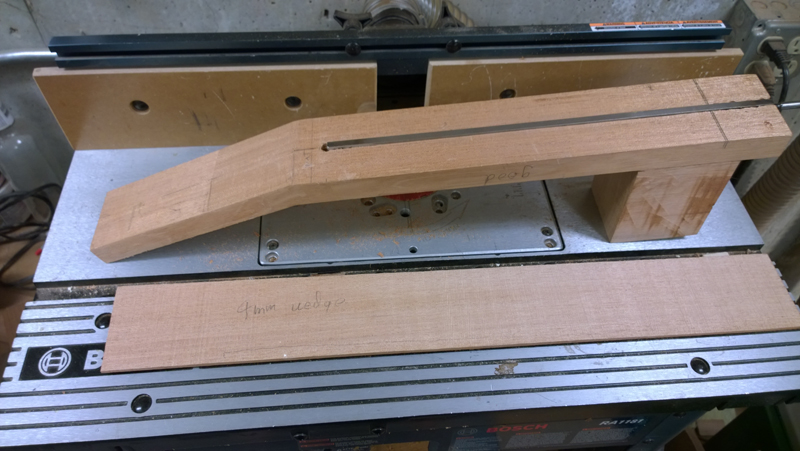
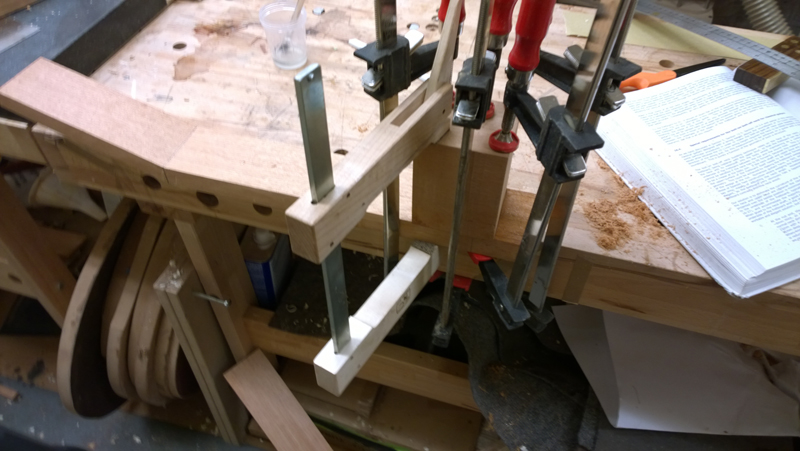
I had some extra epoxy after gluing down the transverse brace so I used the excess to glue the heel block on to my neck blank.
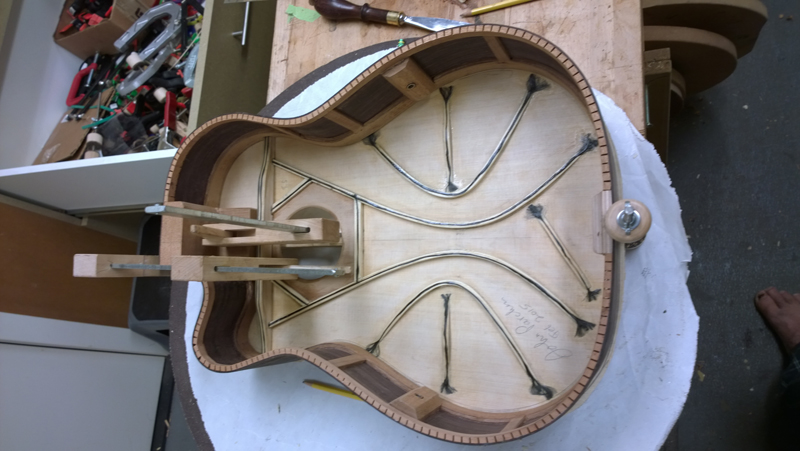
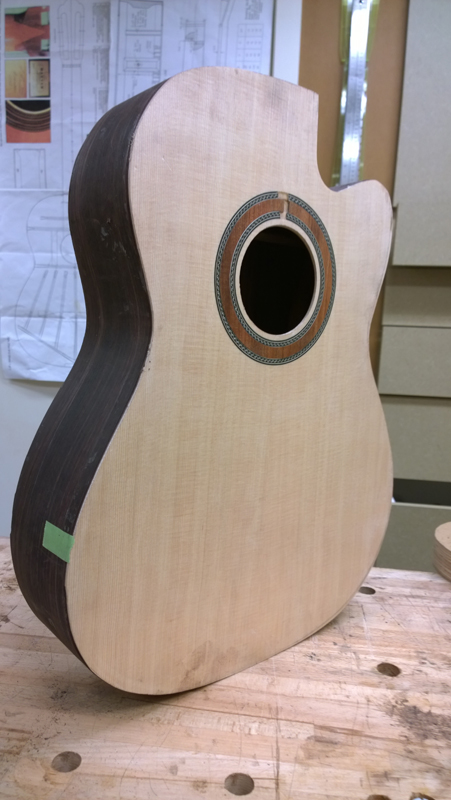
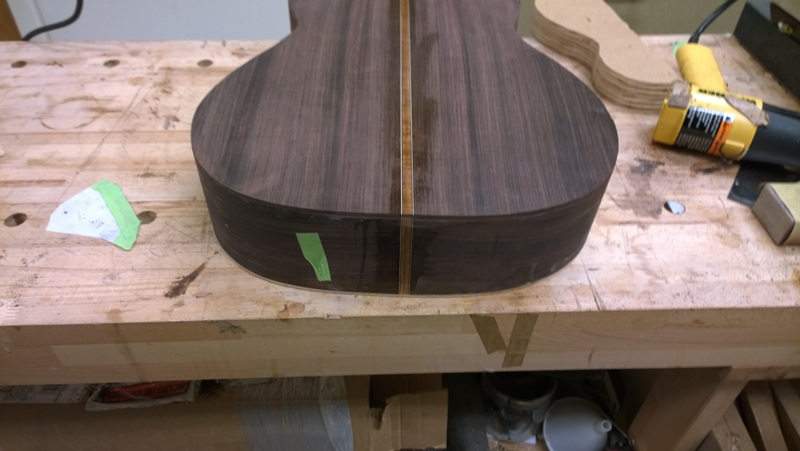
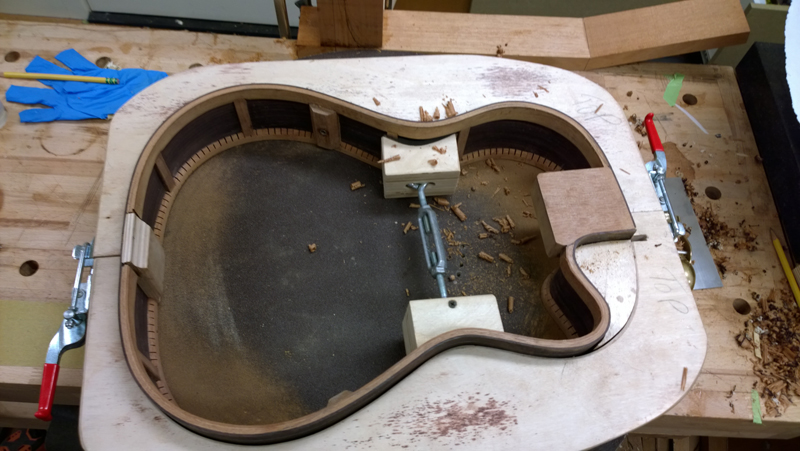
I also went ahead and completed the top profile on the rims by first using the radius dish to mark a 32 ft radius on the rims. I planed the neck side and the bottom side close to my line and used the 32' sanding dish to clean up the profile.
Because I want the top with very little angle I then flattened the upper bout mostly with a plane. I think a straight edge on the top following the neck block extension will be 1 maybe 2 mm above the top. I will use the wedge I talked about in the last post reverse that slope.
Bit by bit I am finding there are little things between clean craftsmanship and my usual work. On the falcate brace design the falcate braces pass through a rebate in the upper transverse brace. On my previous two falcate guitar my work was not as tight as it could have been. The problem had been that I was a bit sloppy marking where the rebates should be. My brilliant light bulb moment was to take the 1.4 second I needed to clamp the brace as shown before I attempted to mark the 4 corners of the rebate.

With the brace stable it was really easy to take the time to make really clean tight marks on the brace.

Not shown but I measure the height of each brace on the top and marked the height on the transverse brace. Then it was easy to put the brace in my parrot vice with the jaws right on the marked depth line. I used a razor saw to both cut the out line and some inside cuts to make clearing the channel with a chisel easy.
Much better this time


This brace was clamped flat

I had some extra epoxy after gluing down the transverse brace so I used the excess to glue the heel block on to my neck blank.

I also went ahead and completed the top profile on the rims by first using the radius dish to mark a 32 ft radius on the rims. I planed the neck side and the bottom side close to my line and used the 32' sanding dish to clean up the profile.
Because I want the top with very little angle I then flattened the upper bout mostly with a plane. I think a straight edge on the top following the neck block extension will be 1 maybe 2 mm above the top. I will use the wedge I talked about in the last post reverse that slope.

