Falcate Braced Classical Guitar - Finished!

Show us how your current project is progressing
John Parchem
Posts: 2746
Joined: Fri Dec 23, 2011 8:33 pm
Location: Seattle
Contact:

Re: Falcate Braced Classical Guitar

Post by John Parchem » Mon Feb 16, 2015 10:38 pm

I am sort of stuck again with two long epoxy cure waits so you get another post.

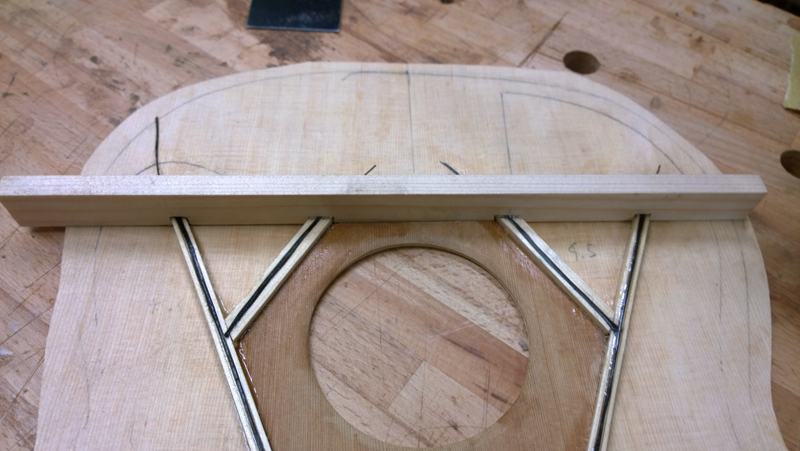
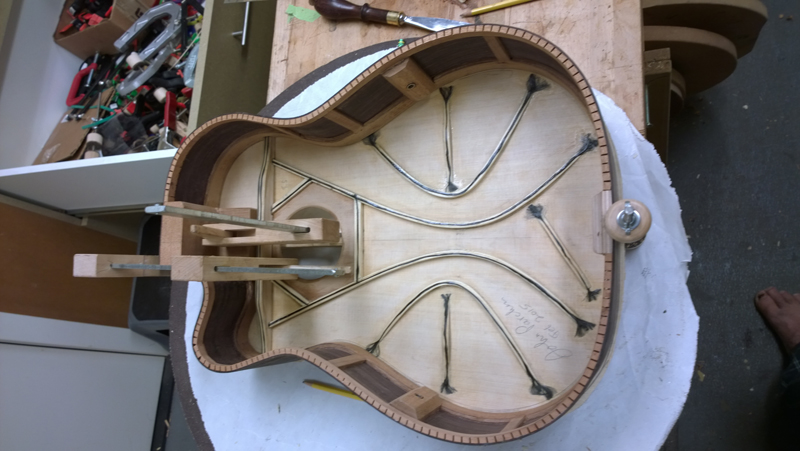
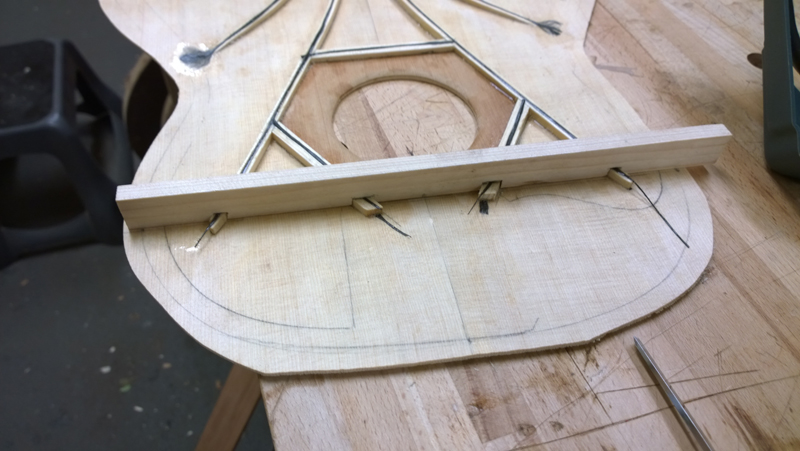
Bit by bit I am finding there are little things between clean craftsmanship and my usual work. On the falcate brace design the falcate braces pass through a rebate in the upper transverse brace. On my previous two falcate guitar my work was not as tight as it could have been. The problem had been that I was a bit sloppy marking where the rebates should be. My brilliant light bulb moment was to take the 1.4 second I needed to clamp the brace as shown before I attempted to mark the 4 corners of the rebate.
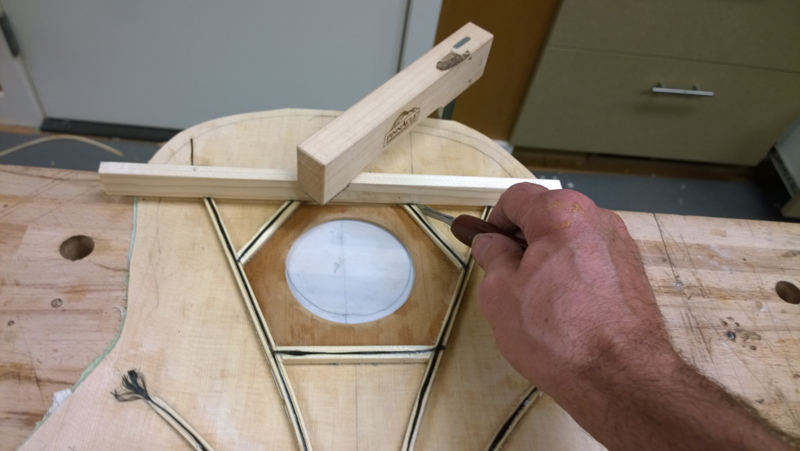
Image

With the brace stable it was really easy to take the time to make really clean tight marks on the brace.
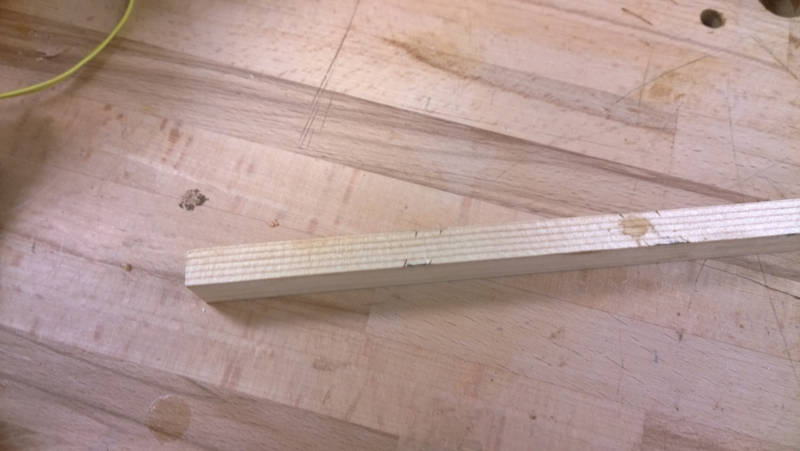
Image

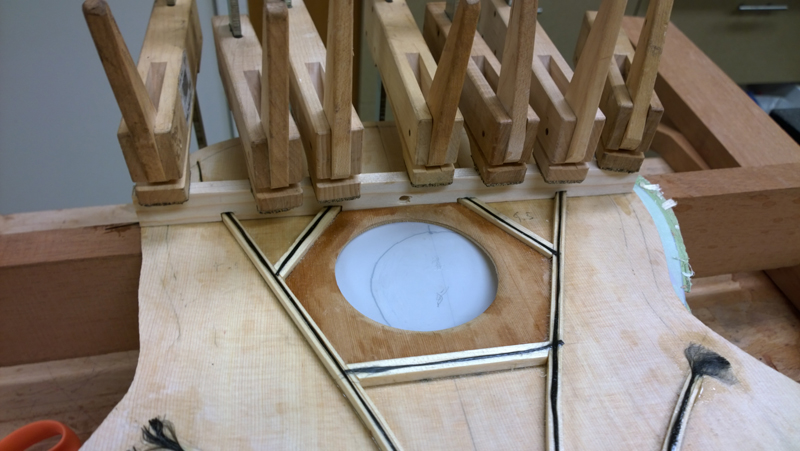
Not shown but I measure the height of each brace on the top and marked the height on the transverse brace. Then it was easy to put the brace in my parrot vice with the jaws right on the marked depth line. I used a razor saw to both cut the out line and some inside cuts to make clearing the channel with a chisel easy.

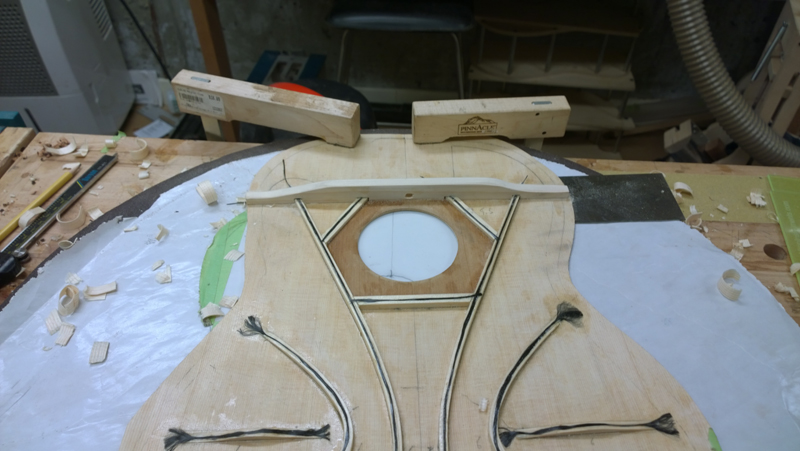
Much better this time
Image

Image

This brace was clamped flat

Image

I had some extra epoxy after gluing down the transverse brace so I used the excess to glue the heel block on to my neck blank.
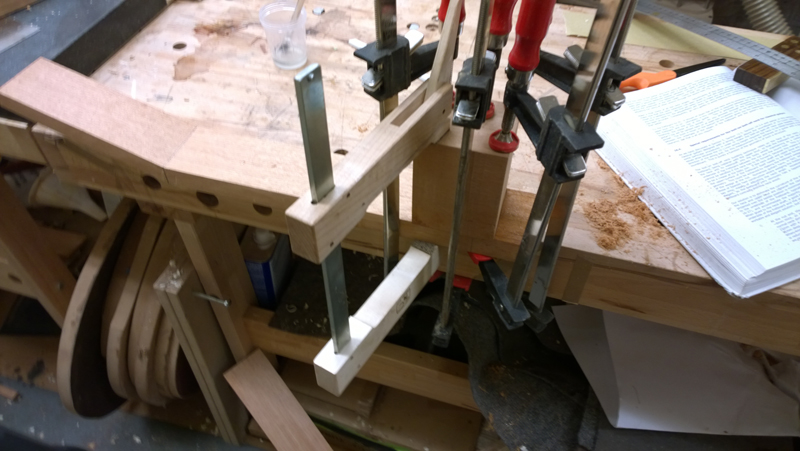
Image

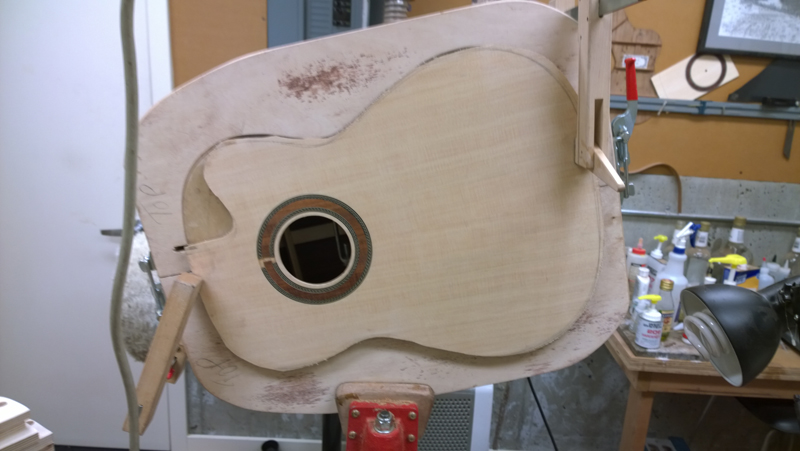
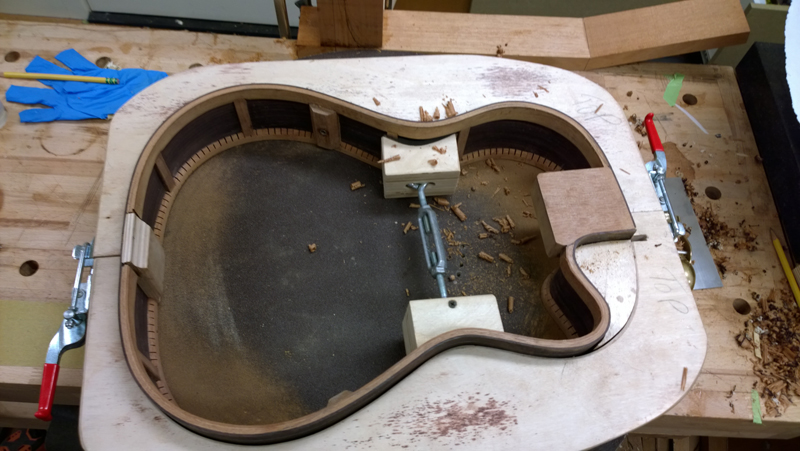
I also went ahead and completed the top profile on the rims by first using the radius dish to mark a 32 ft radius on the rims. I planed the neck side and the bottom side close to my line and used the 32' sanding dish to clean up the profile.

Because I want the top with very little angle I then flattened the upper bout mostly with a plane. I think a straight edge on the top following the neck block extension will be 1 maybe 2 mm above the top. I will use the wedge I talked about in the last post reverse that slope.
Image

ken cierp
Posts: 3924
Joined: Tue Dec 13, 2011 11:23 pm

Re: Falcate Braced Classical Guitar

Post by ken cierp » Thu Feb 19, 2015 11:00 am

So what is the carbon fiber actually supposed to be doing? What's the point/purpose of it especially on the straight braces?

John Parchem
Posts: 2746
Joined: Fri Dec 23, 2011 8:33 pm
Location: Seattle
Contact:

Re: Falcate Braced Classical Guitar

Post by John Parchem » Thu Feb 19, 2015 1:04 pm

ken cierp wrote:So what is the carbon fiber actually supposed to be doing? What's the point/purpose of it especially on the straight braces?
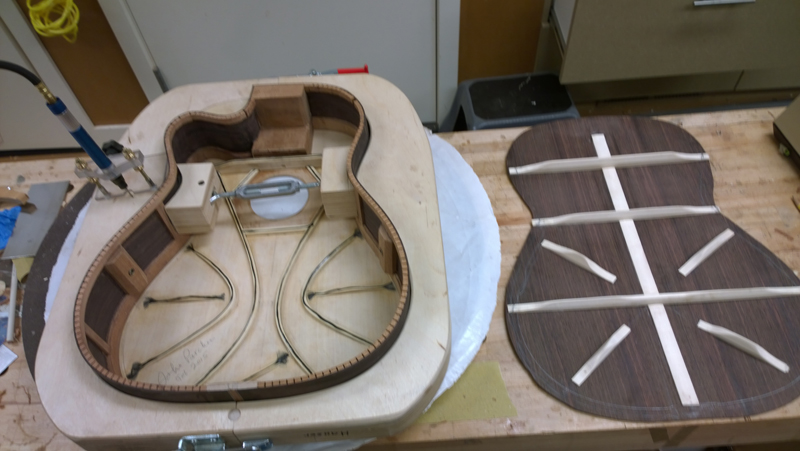
The carbon fiber is both under and over the brace. It makes the braces significantly stiffer while adding little mass. So I can get a lighter top for a given stiffness than an all spruce brace. Another feature is that the CF will significantly reduce cold creep of any of the braces under tension. Probably is overkill on the sound hole braces.

John Link
Posts: 800
Joined: Tue Nov 27, 2012 8:01 pm
Location: Kalamazoo, MI

Re: Falcate Braced Classical Guitar

Post by John Link » Thu Feb 19, 2015 6:15 pm

The CF, top and bottom, amounts to forming an I-beam, one of the strongest type of structures around. I understand how this extra strength can be the occasion for making the top thinner. But what troubles me about T. Gore's use of CF is that it seems like it makes each brace difficult to adjust. I wonder how much difference carving off the sides of the brace to weaken the top makes, given the intrinsic strength of the I-beam configuration. You can't change the distance between the two strips, which renders the basic mechanism of the I-beam non-adjustable.

So John, is it the case where you need to get all the parts sized and adjusted the first time out, before glue up? Gore discusses ways to measure and predict a good outcome with both the top and back. But what if the apriori measurements do not seem to be working and the horse is too far out of the barn to reasonably call it back? Does selective sanding down of the braced top make much difference? The geometry of the brace layout looks like it too contributes to overall rigidity, even if the CF were not used, at the same time pushing more of the string energy into moving the top as a whole, which might favor bass.

This is a very interesting project because it uses a bracing scheme that is known to serve the relatively high energy steel stringed instruments well, but will need to function with a much lower energy budget when used with the less tense nylon strings. I'm looking forward to some You Tube video of this instrument.
John

ken cierp
Posts: 3924
Joined: Tue Dec 13, 2011 11:23 pm

Re: Falcate Braced Classical Guitar

Post by ken cierp » Thu Feb 19, 2015 7:29 pm

When the issue of energy usage and transfer comes up -- I go back to a conversation I had with Bob Taylor regarding an 800 series guitar I was not real happy about -- he instantly said "you must have the wrong tension strings on it -- That guitar was intended to have such and such total tension." He suggested a set and sure enough the guitar came to life. From that day on -- my first suggested adjustment on a poor performing guitar is to increase the total string tension -- even a couple of different strings (a custom set) can make a big difference. My point is you may not to carve on a guitar to make it sound better.

John Parchem
Posts: 2746
Joined: Fri Dec 23, 2011 8:33 pm
Location: Seattle
Contact:

Re: Falcate Braced Classical Guitar

Post by John Parchem » Thu Feb 19, 2015 8:09 pm

Yes, there is no adjusting the top braces on these guitars I have as Ken suggested changed the tension son one or more of the strings when I was unhappy with the sound, I have never trusted going in and carving braces.

With this design I can lower the top resonance a bit by adding side mass (I have mounts) I also have a place to carve on the lower back brace that would allow me to lower that resonance. These are for fine tuning.

This whole system is designed to achieve some constancy, once a bunch of targets are set to calibrate a design. The book has a way to calculate the stiffness of the top as a system of braces, as this guitar was so close to my steel string brace wise, I thinned the top more than a SS and lowered the braces 1 mm. I think this about halved the stiffness of the top. This matches the 2 to 1 difference in tension SS to nylon. We will see where this ends up. If it is off I end up with data to tweak my design for the next one. Knowing what the knobs are and being able to measure the results will make that iterative process easier.

I think this will be an OK guitar as I believe that I can hit my tap tuning targets. I have the first tap results at the end of this post.

I just closed it today.

While waiting for the previous epoxy to cure I did end up radiusing the top rims to 32'. I then flatten the upper bout as the to of a classical really should be nearly square to the the rims on the neck side. I did most of the profile with a plane. The rims were already level, so I did not want to go totally with the sanding dish. It is really easy to go heavy on the neck side and round back the top rims near the neck joint. I place the rims top down in my dish and used a pencil against the dish to mark out the profile. I did clean it up of the radius dish. A lot less sanding so less time to make errors.

Image

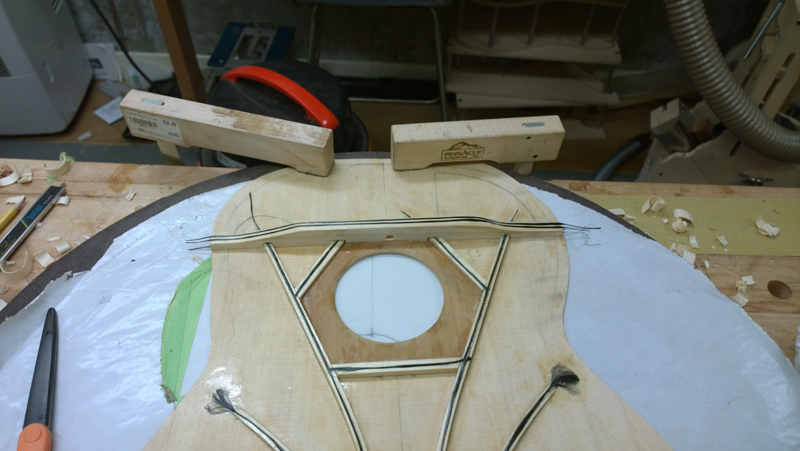
One last epoxy layup step is to apply a couple of CF rows to the transfer brace.
Image

Image

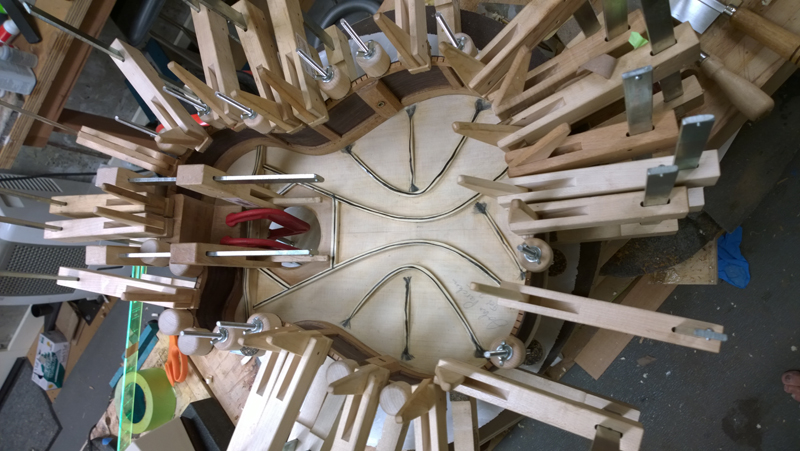
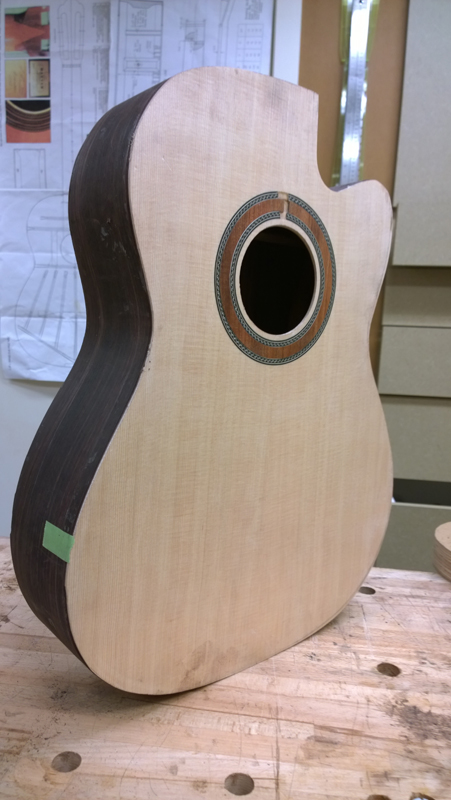
Not shown but I used l pencil mill grinder to route out the linings to accept the top and used a bunch of clamps to glue the top down. I did not use a caul on the top, Just a bunch of Cam clamps and violin clamps.

Image

Image

I routed off the overhang and prepared everything to glue the back on.
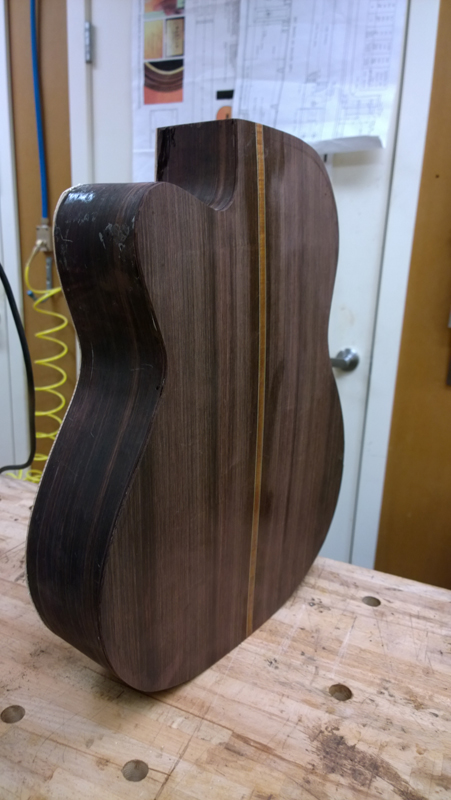
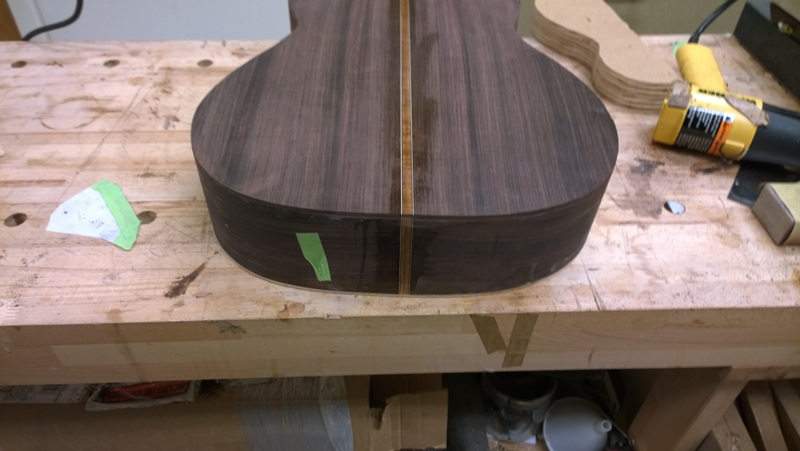
I vary carefully aligned the back to the rims to make sure the center strip matched the center of the neck and and the end graft. With the back clamped on I used a scalpel to mark where the braces need to be inlet into the kerfed linings.

Image

Image

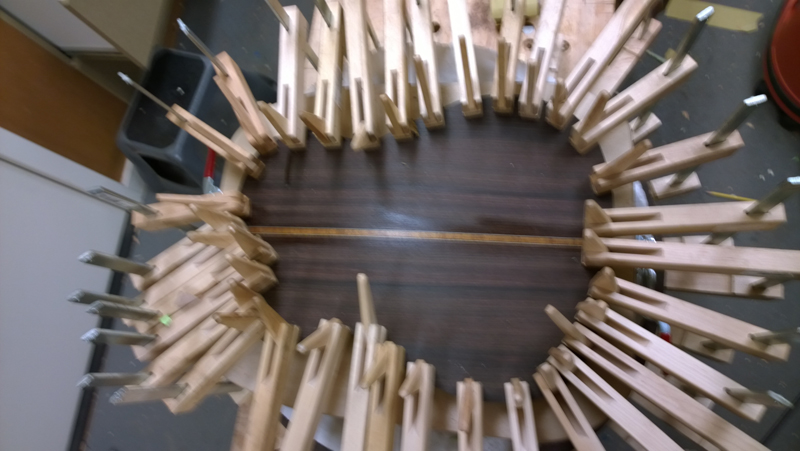
I used the 32' radius dish as a gluing caul when I glued the back on, Keeping the mold, the spreader clamp and the using the dish as caul helped me make sure the sides were aligned when I glued the back on.

Image

Image

Image

Image

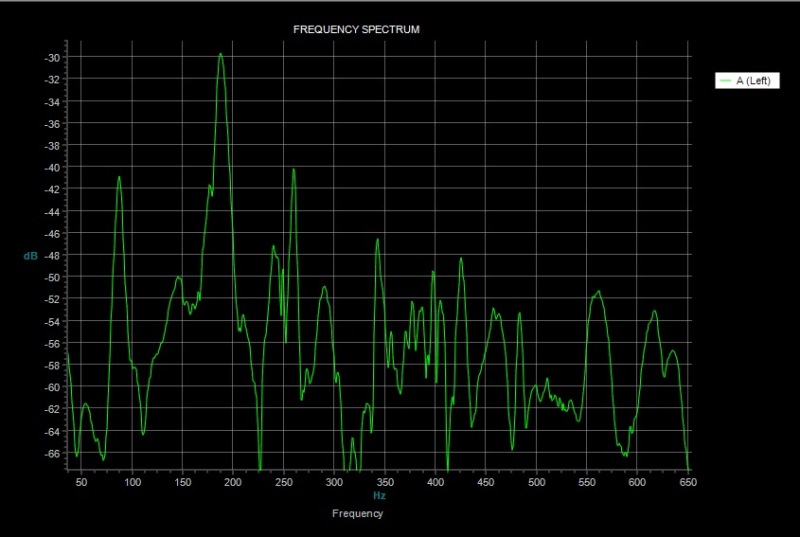
The resonance frequencies will change as the guitar is finished with a bridge and strung but I tapped it to see what it is doing at this point. It looks sort of wild to me. I see a clear peak at about 87Hz T(1,1)1 the top is at about 187Hz T(1,1)2 and the back was 238Hz T (1,1)3. It looks like the cross dipole was at about 257Hz. The taps do sound good.

It will be interesting to see the tap after I get a neck and bridge on and string it up.

Image

John Parchem
Posts: 2746
Joined: Fri Dec 23, 2011 8:33 pm
Location: Seattle
Contact:

Re: Falcate Braced Classical Guitar

Post by John Parchem » Sun Feb 22, 2015 6:06 pm

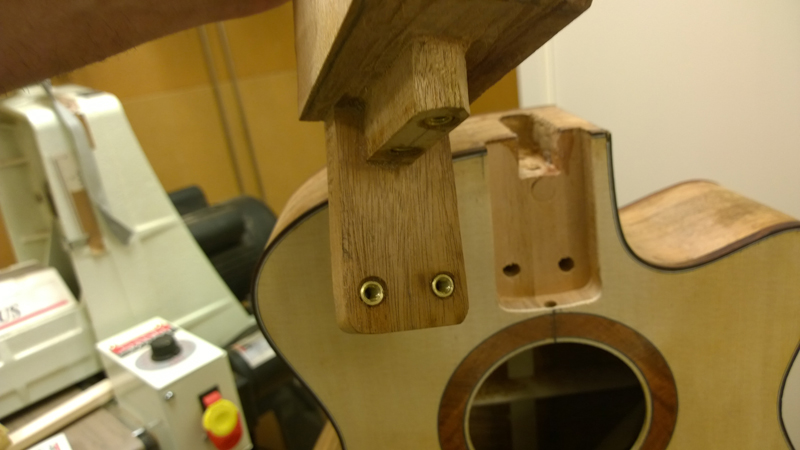
As I mention earlier this guitar is going to use the bolt on bolt off neck design offered in the Gore|Gilet build book. Here is a peak of the first one I did for a steel string.

Image

To make one of these necks the neck needs to be co-planer with the body. Unfortunately I want the neck of a classical to angle in (opposite of the SS) and I do not want the top to have that angle. Classical guitar builder deal with this in a few ways, build everything square and taper the fret board, tilt the neck forward a bit and taper the fret board extension to match the top or some build the neck elevated so that it can include the taper for the desirered geometry.

In this case the top has a very slight angle back more for looks than anything else. The neck will be built co-planer to the top and a mahogany wedge will be glued to the bottom of the fret board. Thus the fret board will be on the desired plane. With my slight angle back on the neck the wedge will be 3-4 mm at the nut. In the following you will see the start of how I have to deal with the many issues this causes.

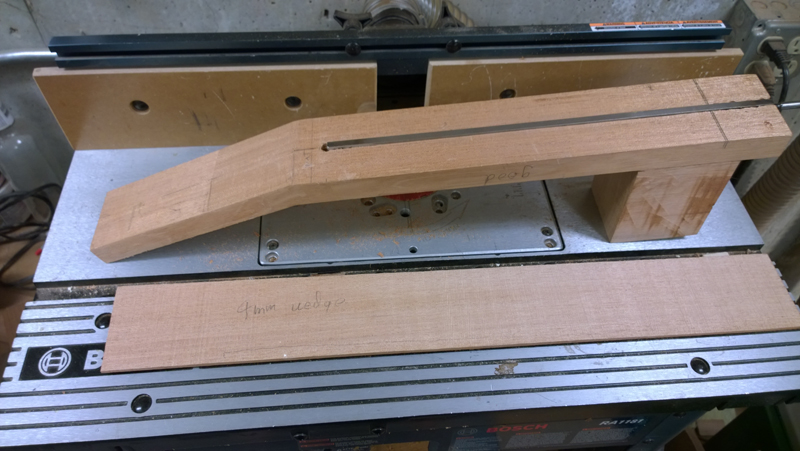
First off the 4 mm wedge between the neck and fret board means the back of the neck will need to be 4" mm thiner so that the total thickness of the neck is maintained. Not enough depth for a truss rod. So first up I needed to rout the truss rod (not usually in a classical but why not?) with a slope so that the truss rod will basically end up under the fret board.

I set the router for a full depth rout for the truss rod and taped a 4 mm strip near the nut .
Image

Here you can see the mahogany I will use to make the wedge in future steps. Ultimately, after the glue cures on the fretboard \ mahogany layup I will route the rest of the slot.

Image

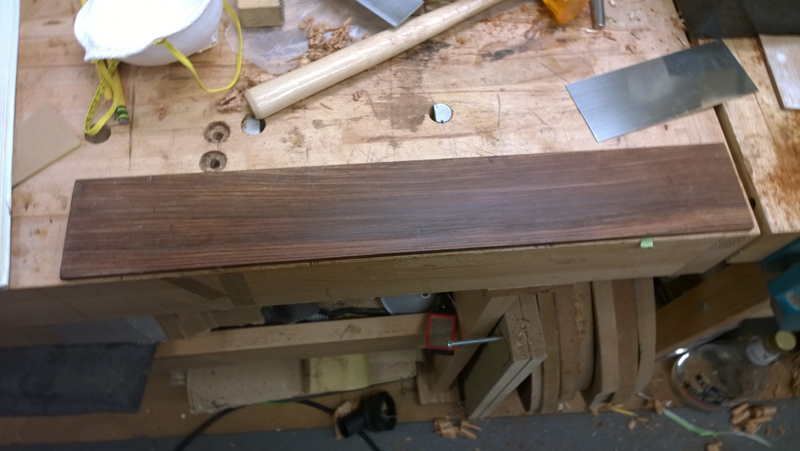
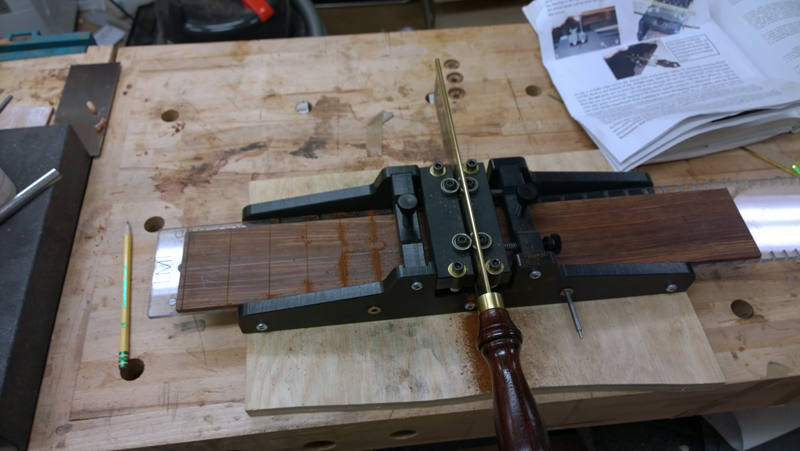
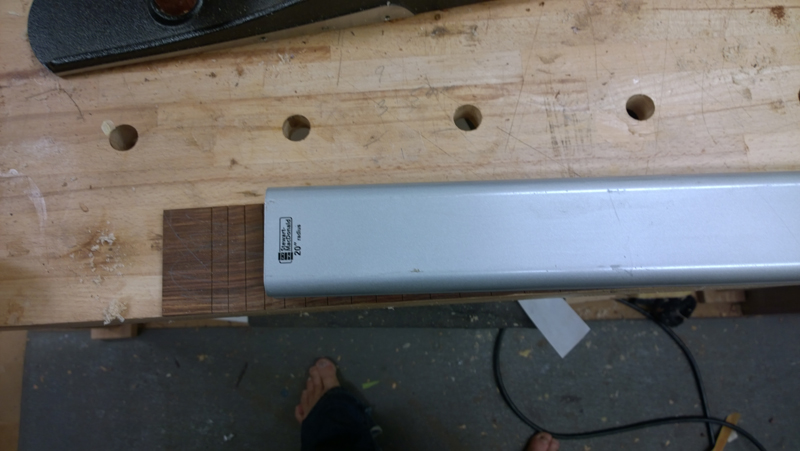
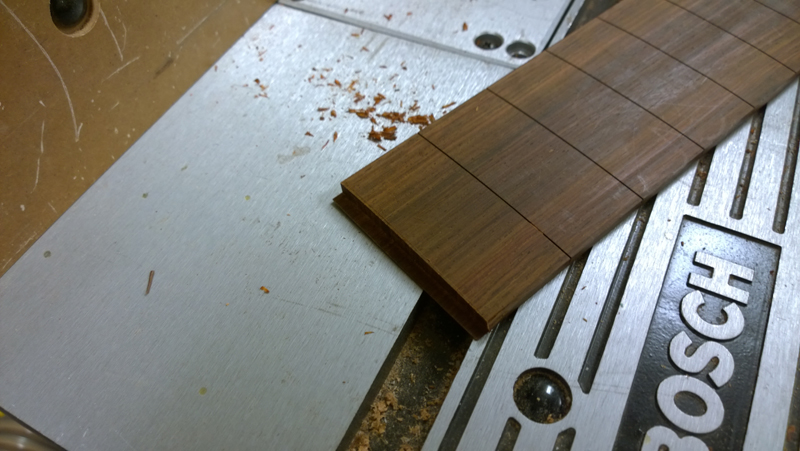
I went ahead and made my fret board out of mystery wood that is now assumed to be cocobolo. I jumped the gun on putting a radius on the fret board as I have steps where a flat top would be an advantage. Luckily I realized this and the center 3/4" inch still is flat.

Image

Image

Image

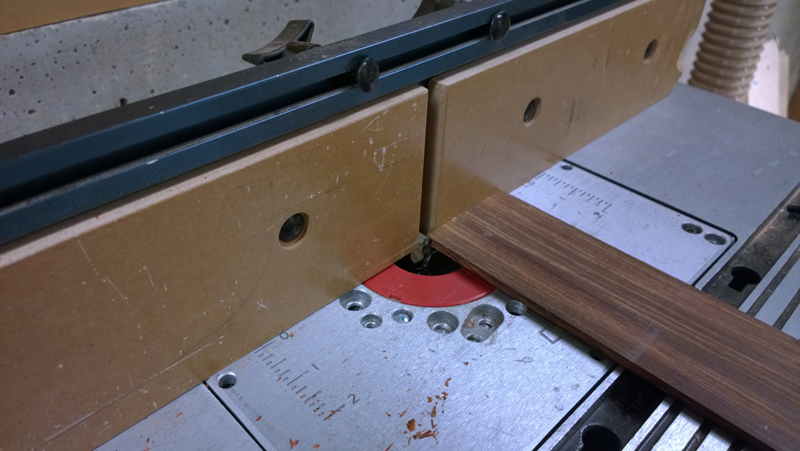
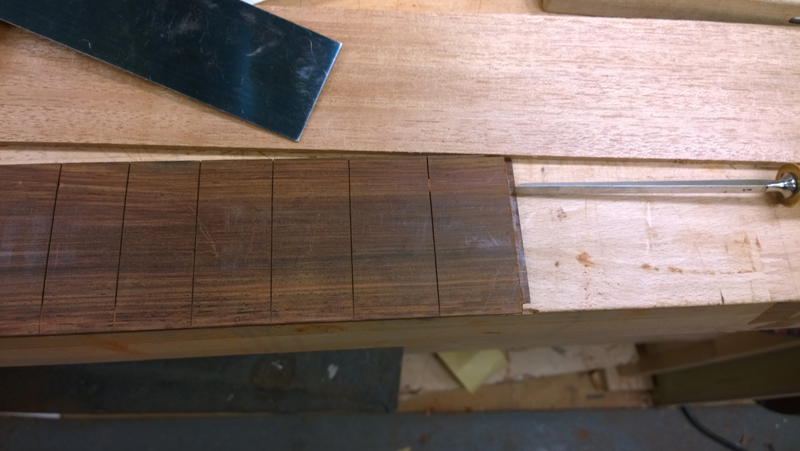
Instead of having the nut rest on the neck I milled a ledge on the end of the fret board. I plan to build a fully compensated nut so I actually moved the front of the nut 3 mm in front of the zero fret location. I used my router table to get close to the correct location, and used a chisel as a scraper to fine tune the ledge.

Image

Image

Image

I am taking the slow route gluing the strip I will turn into the 4 mm wedge using structural epoxy to the bottom of the fret board.

Image

That is where I am now. In the glue-up you might be able to see that I have excess mahogany at the nut end. Ultimately a bit of this excess will be used as part of sloped head stock, so that the head stock veener can hit the fret board at the correct height. It will be easier to see than explain.

Post Reply