Re: Starting to put together a 00-14 fret to the body guitar
Posted: Fri Sep 12, 2014 9:06 pm
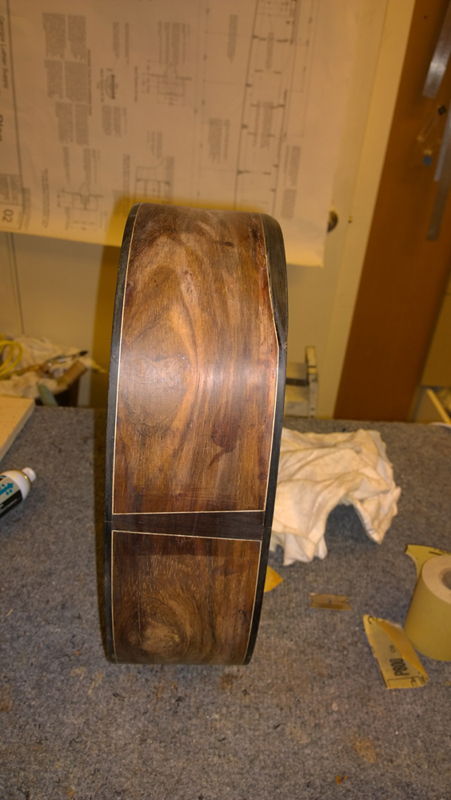
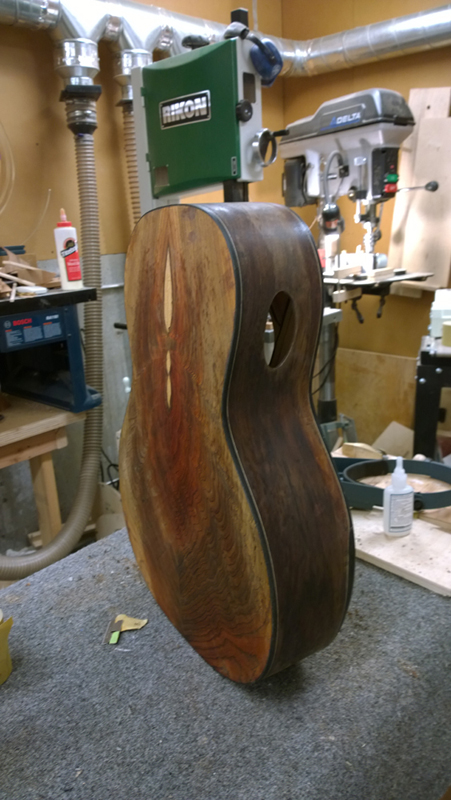
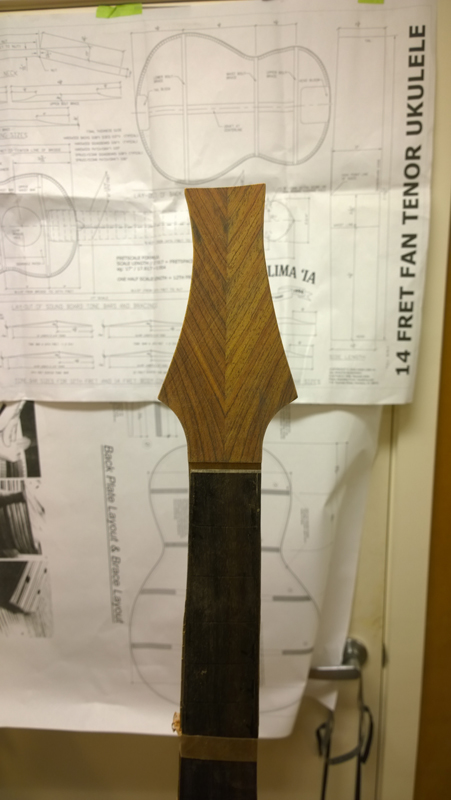
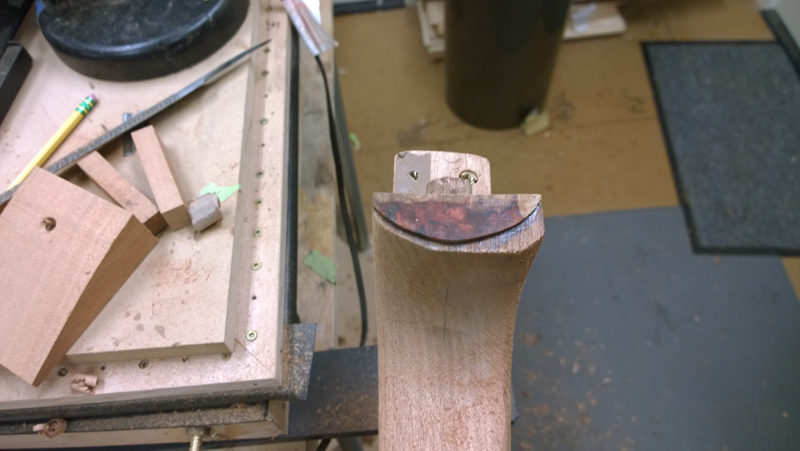
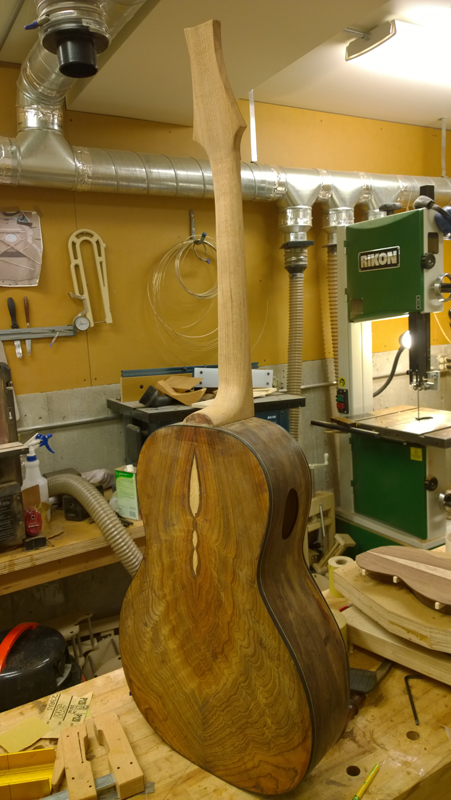
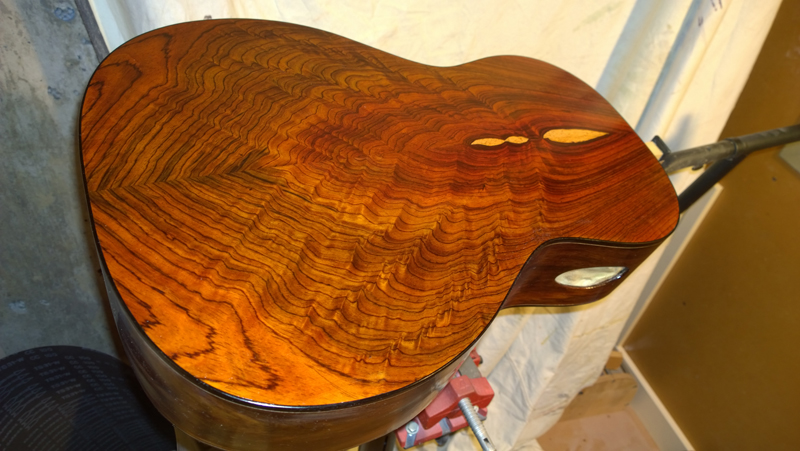
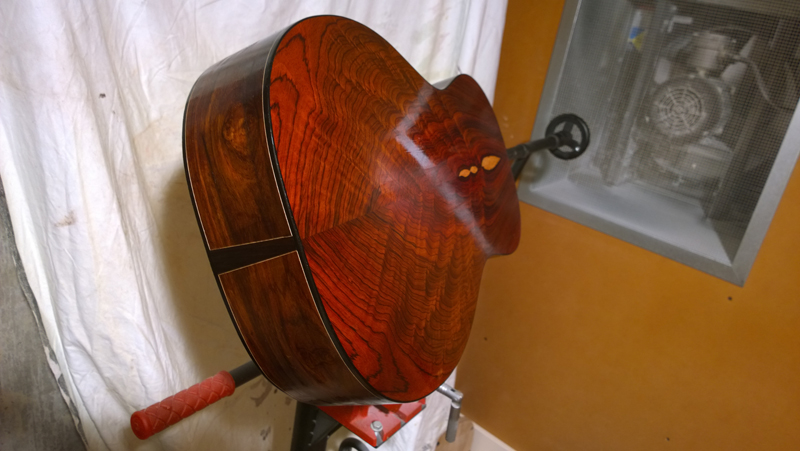
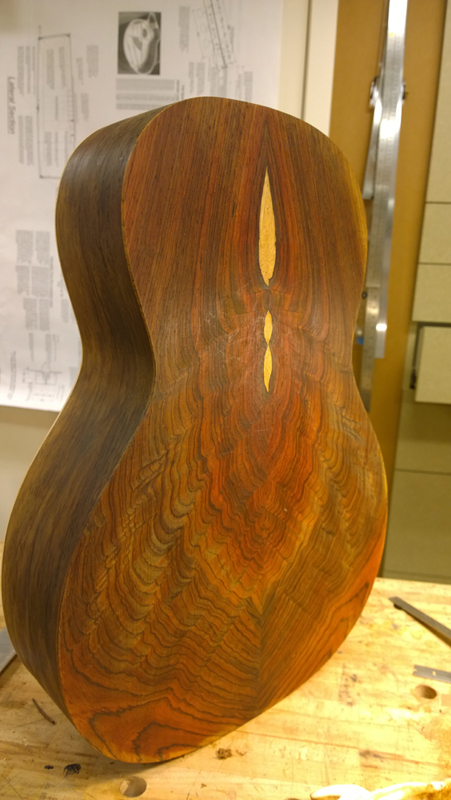
Kyle I agree with you with regards to using the burl, but customer decided on using the cutoff from the back, flipped so the lines point up and out.
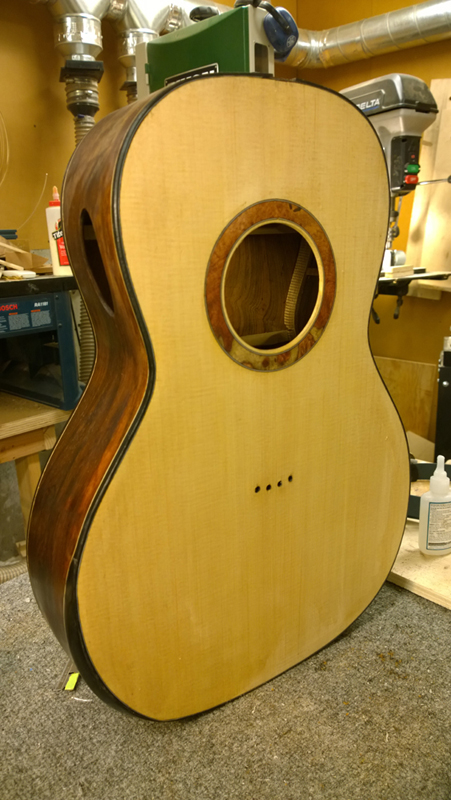
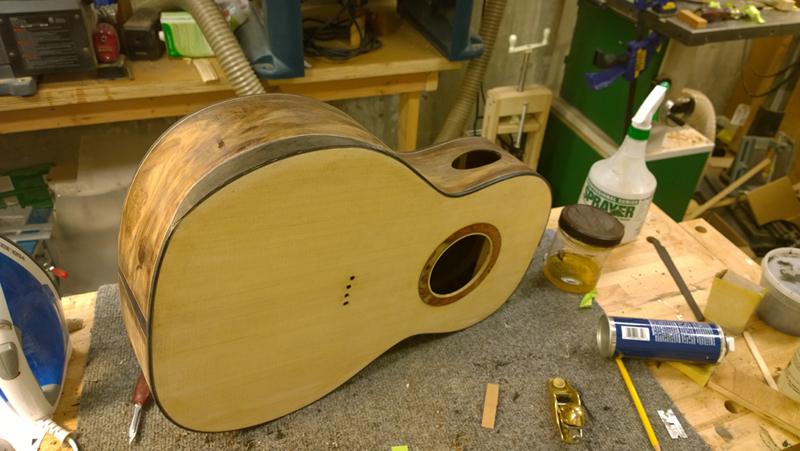
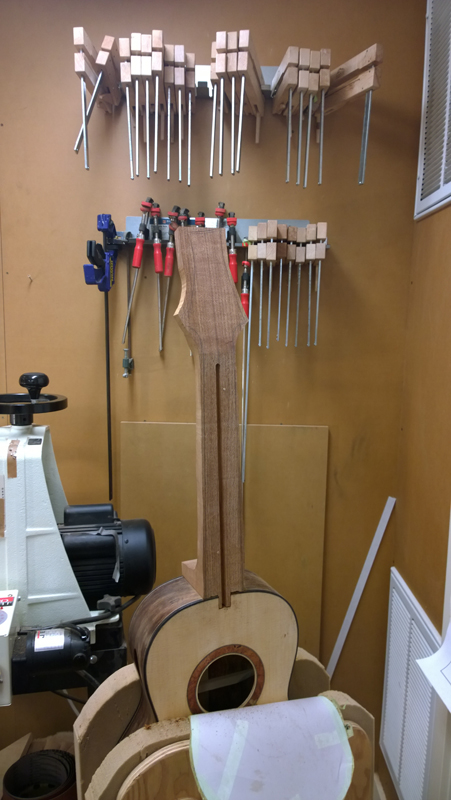
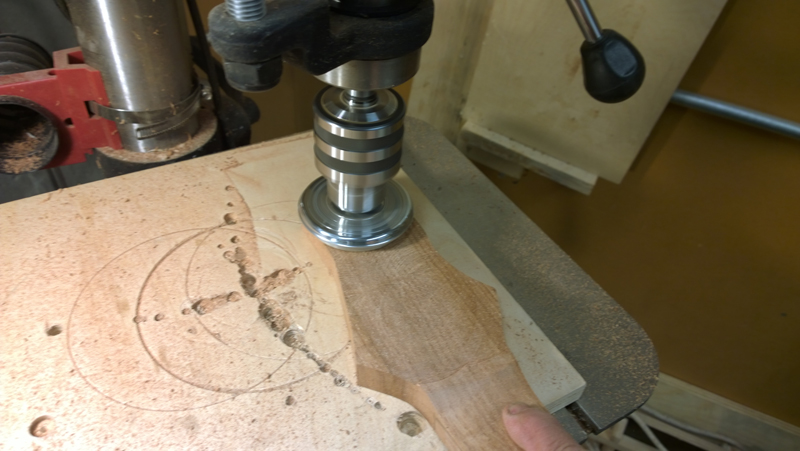
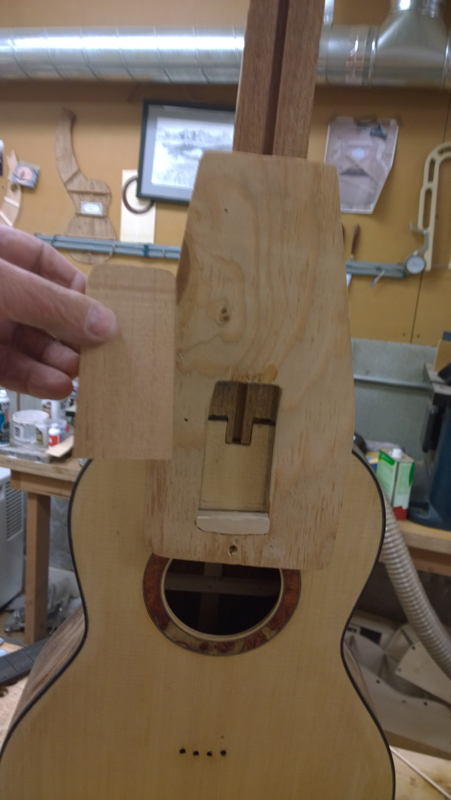
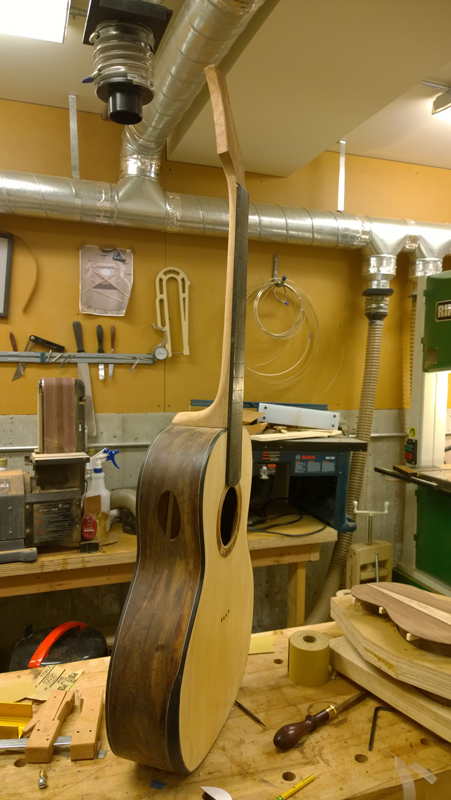
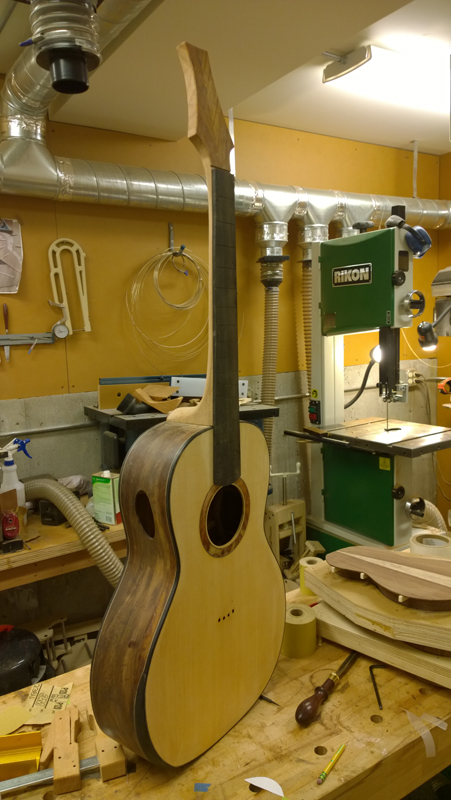
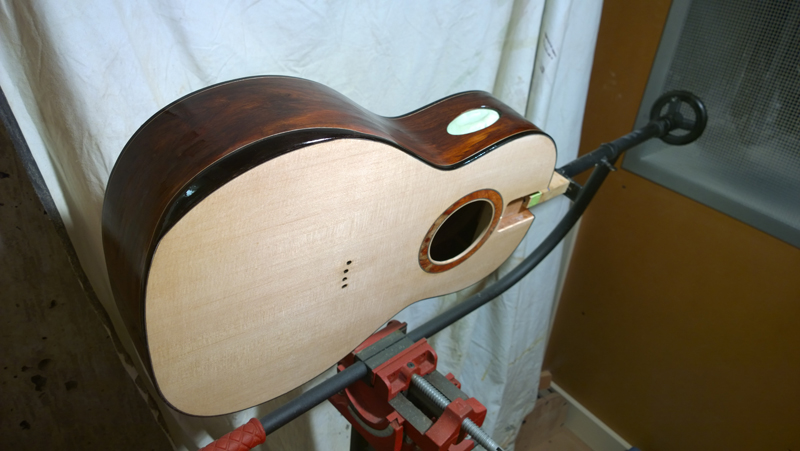
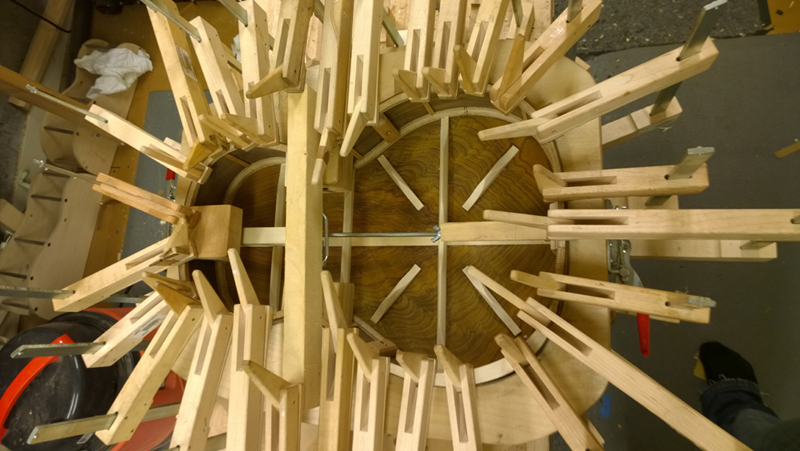
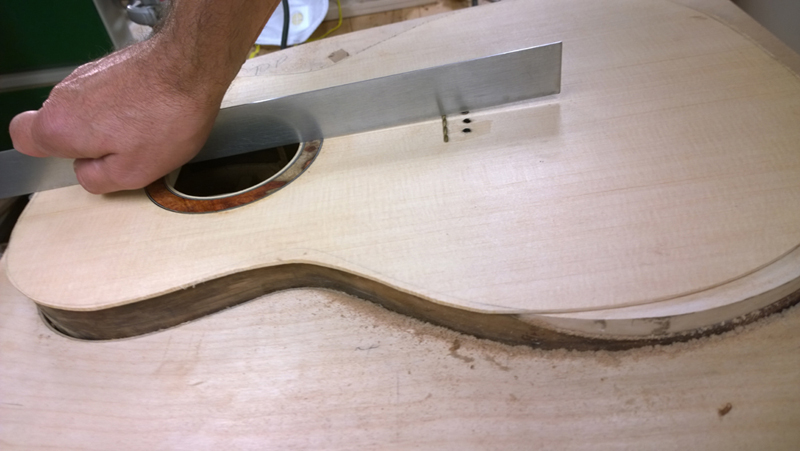
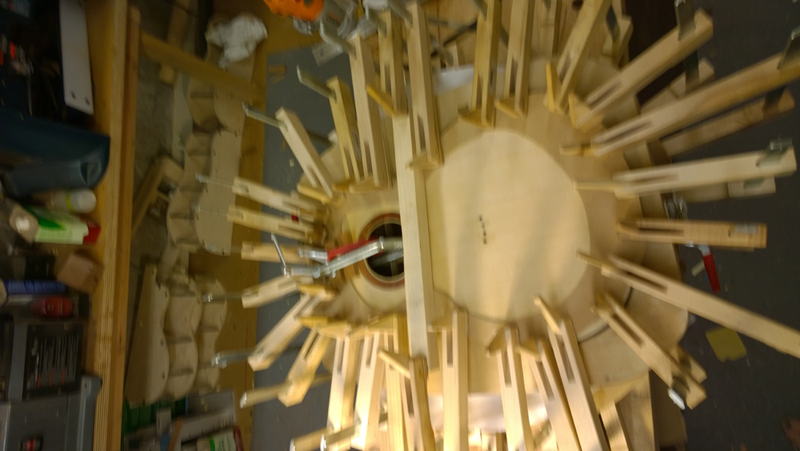
I got a bit more work done on this guitar. I glued on the top and back using CAM clamps. I glued on the back first and made sure that the insides were clean. Before gluing on the top I checked the angle of the upper bout to make sure I had a good angle that will match the desired neck angle. When I checked I found that I was a bit steeper than I wanted. I used a plane and a 40' radius dish to take a bit of the curve out of the top mainly lowing the waist a bit. Ultimately I was happy and glued the top down.
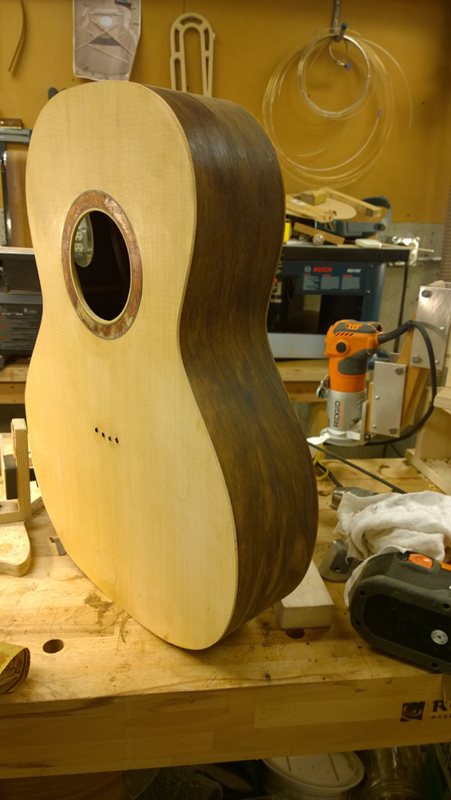
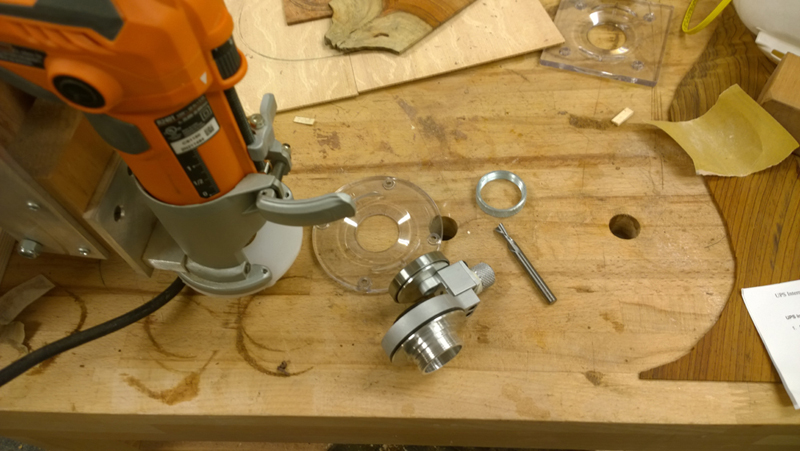
I waited for a couple of weeks to get my self aligning binding cutting head from Luthier Tool. I really like this product as it mounted like a router template. So I was able to easily install it in my Fleishman binding machine. Now I can use a 1/4 down cut spiral bit in stead of use the router bit with bearings.
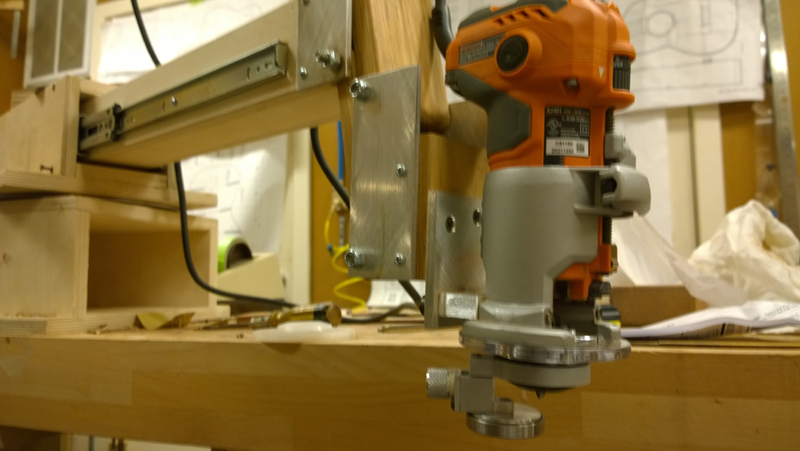
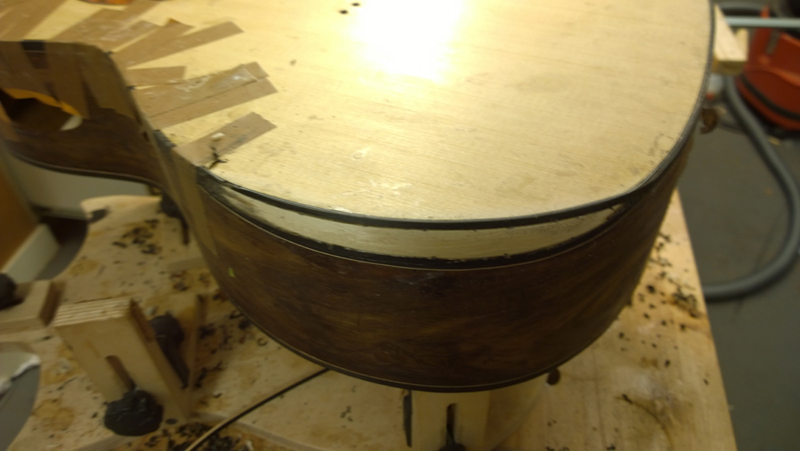
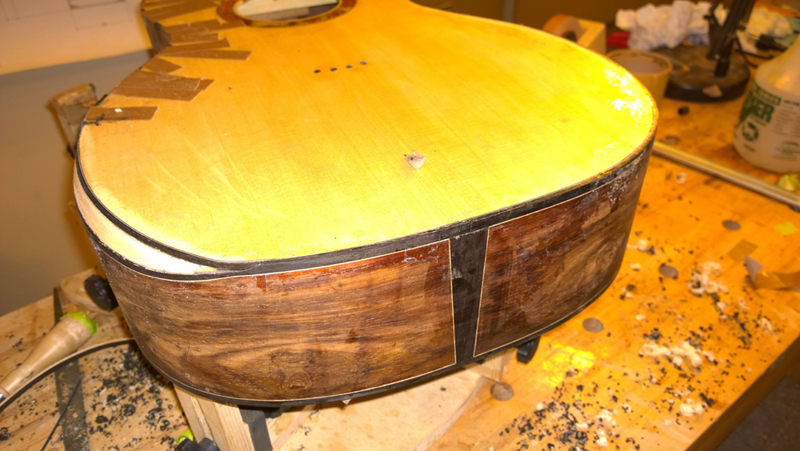
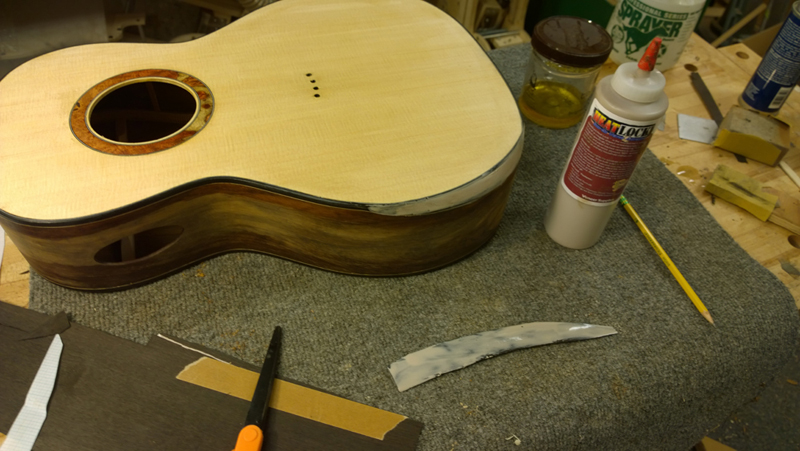
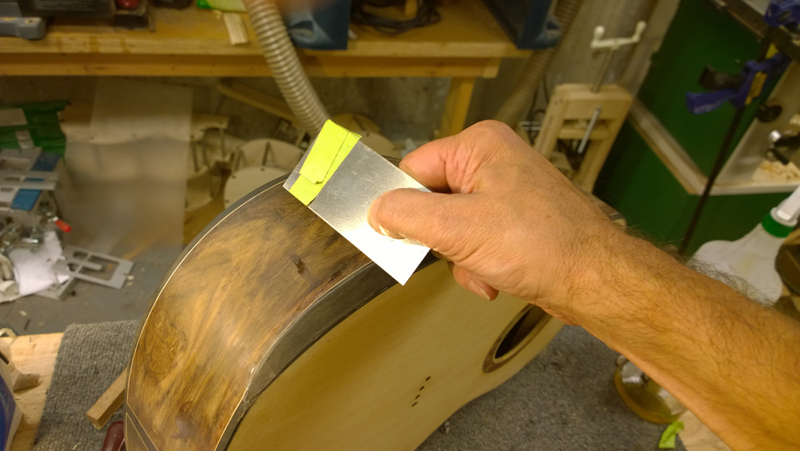
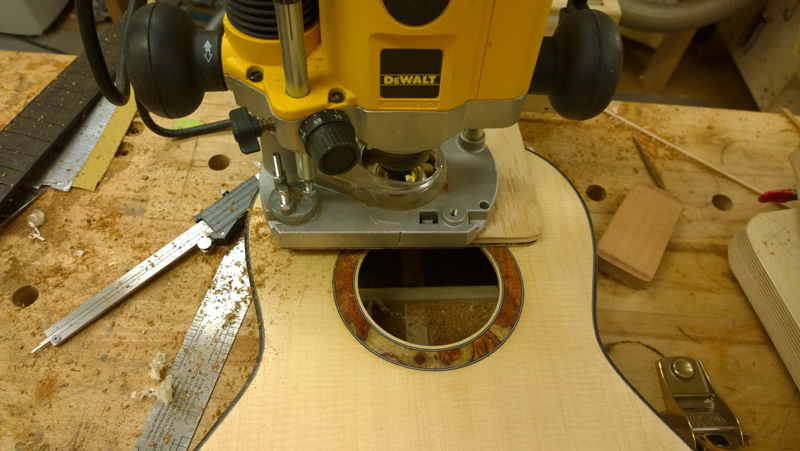
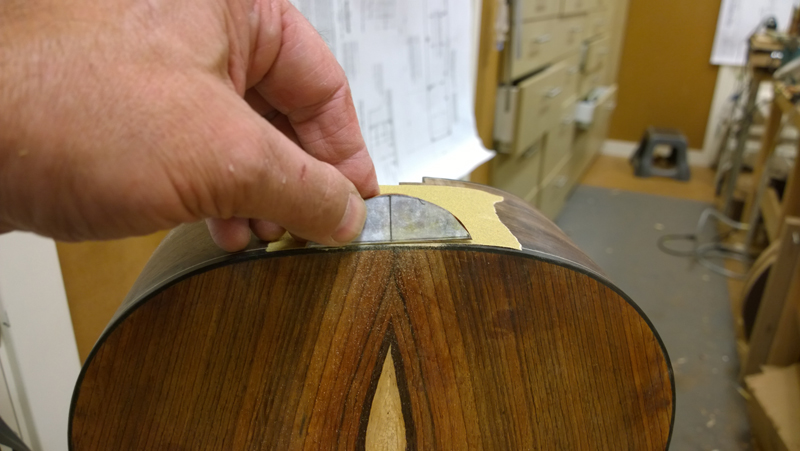
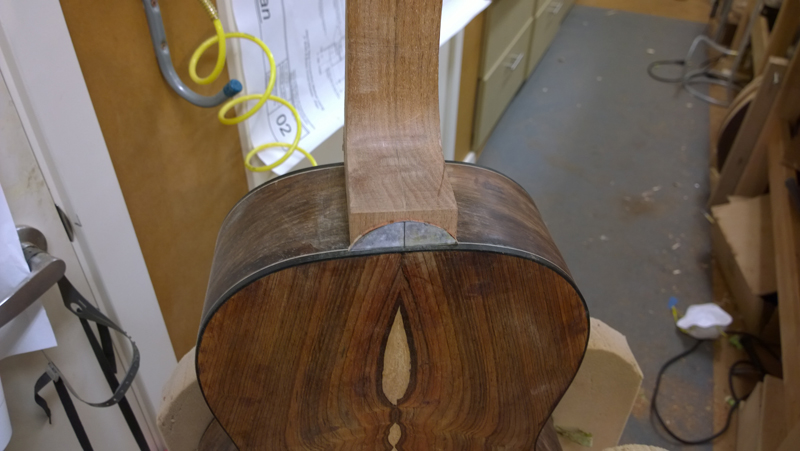
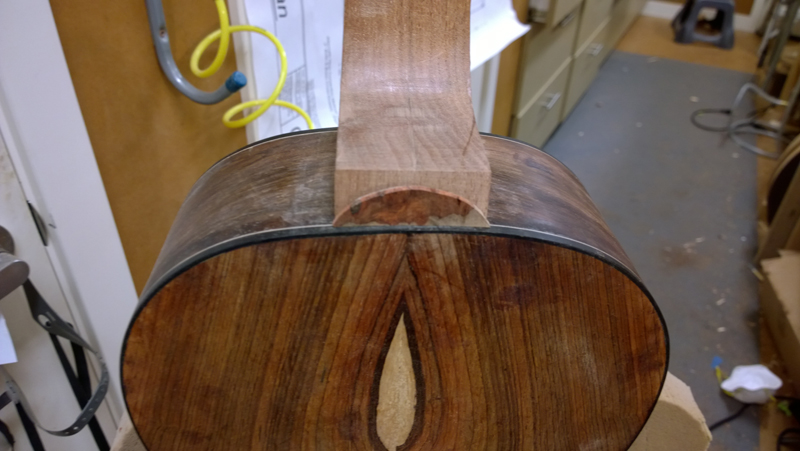
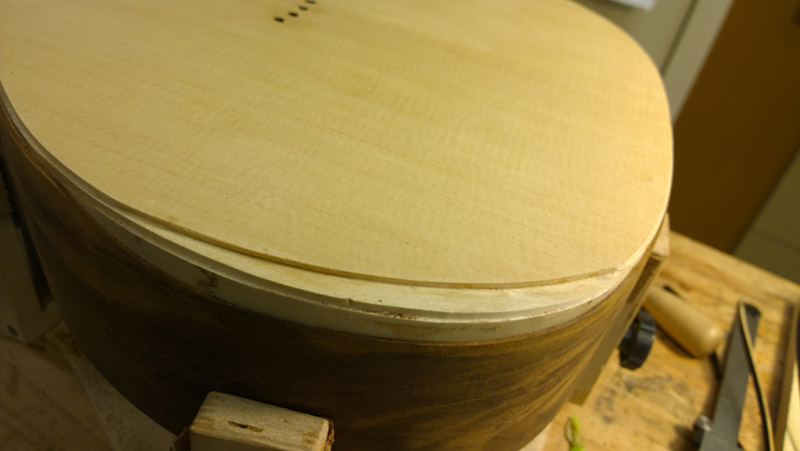
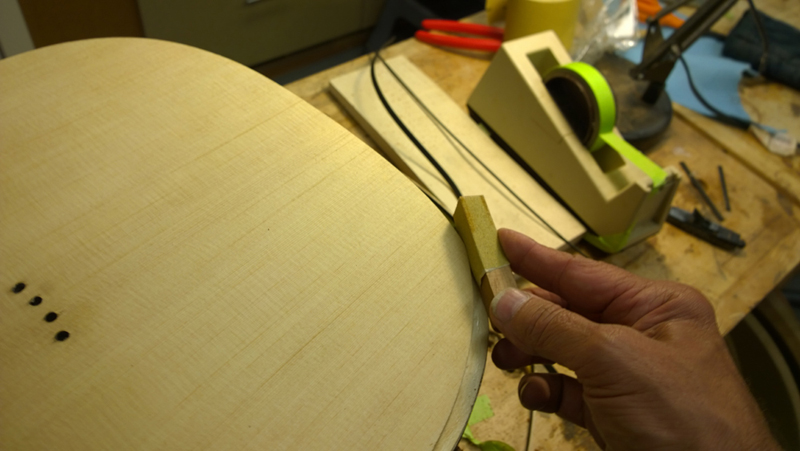
Routing the channels went well. I am installing BWB purfling on the top so I need a ledge for it. The bearing on the binding head was low enough so I was able to route right into the arm bevel area with out causing harm. This allow a clean transition between the the binding and purfling channels and the cut for the arm bevel. I did shooth out the transitions a bit with sand paper on a small block. I did tape a bit of purfling above the the end wedge on both the top and back to lift the router at that point. I went back with a chisel to cut cleanly to the end wedge purfling.
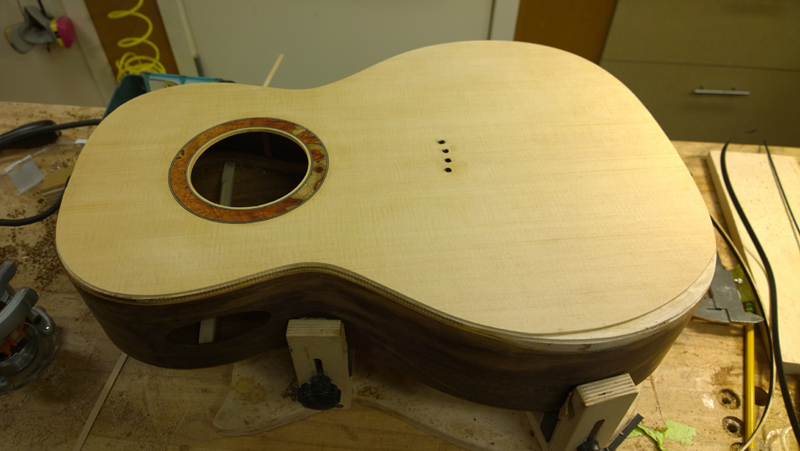
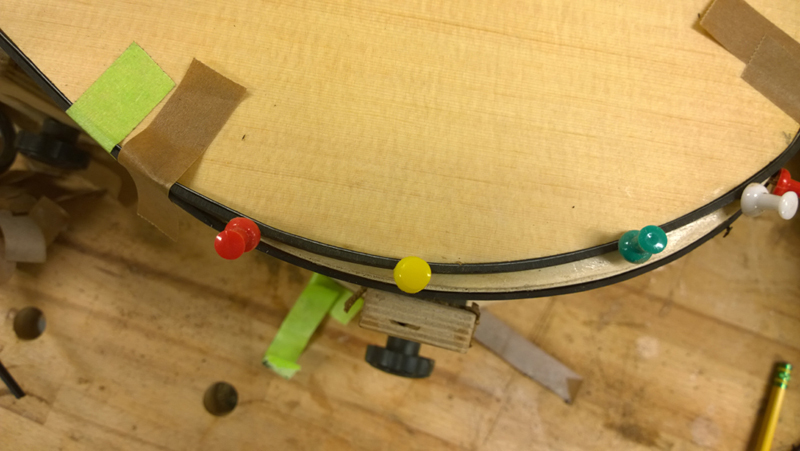
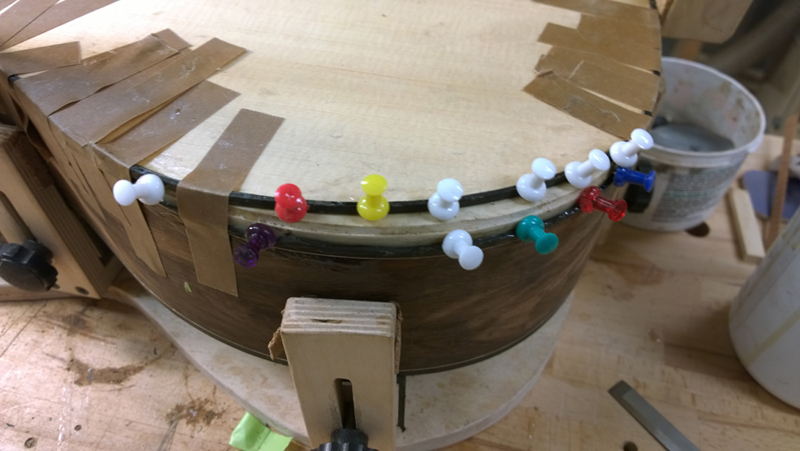
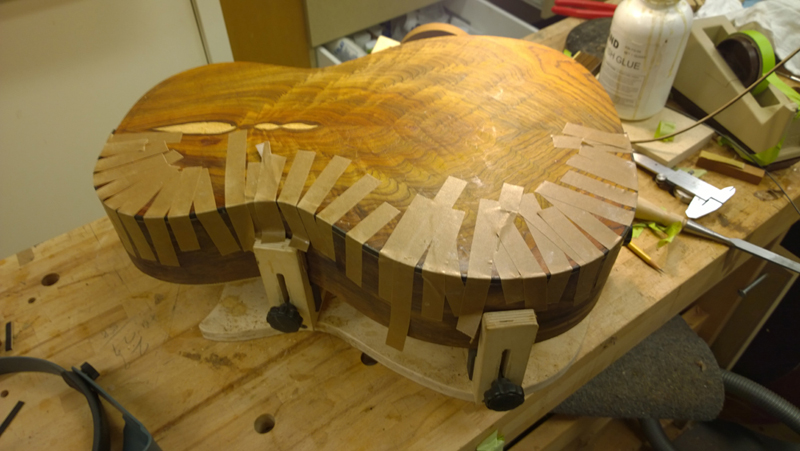
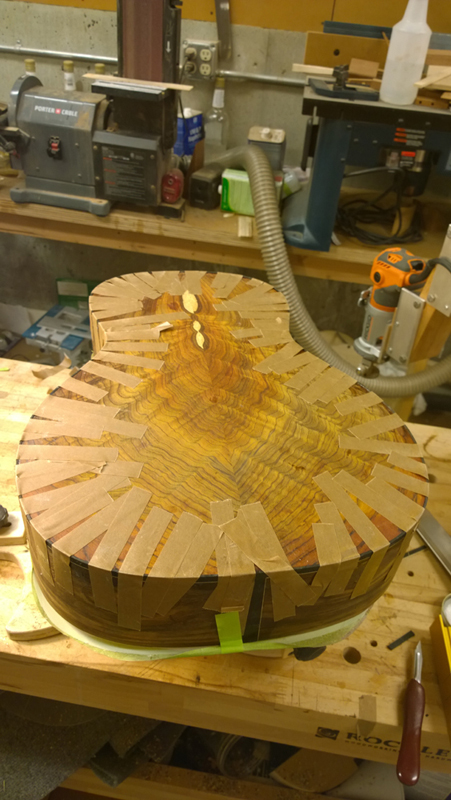
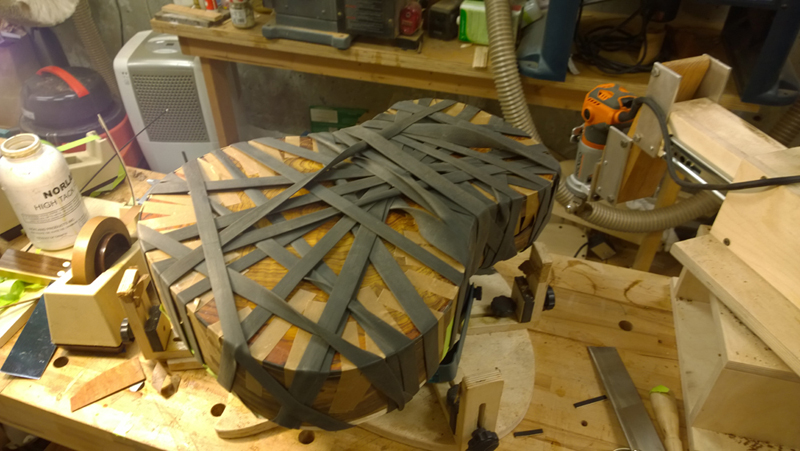
I used fish clue to glue on the back bindings. I took some time to get the bindings and purflings and the end wedge joints to look good. Fish glue as a long open time, so I taped both bindings in very tight and then wrapped with a rubber strap.
I got a bit more work done on this guitar. I glued on the top and back using CAM clamps. I glued on the back first and made sure that the insides were clean. Before gluing on the top I checked the angle of the upper bout to make sure I had a good angle that will match the desired neck angle. When I checked I found that I was a bit steeper than I wanted. I used a plane and a 40' radius dish to take a bit of the curve out of the top mainly lowing the waist a bit. Ultimately I was happy and glued the top down.


I waited for a couple of weeks to get my self aligning binding cutting head from Luthier Tool. I really like this product as it mounted like a router template. So I was able to easily install it in my Fleishman binding machine. Now I can use a 1/4 down cut spiral bit in stead of use the router bit with bearings.


Routing the channels went well. I am installing BWB purfling on the top so I need a ledge for it. The bearing on the binding head was low enough so I was able to route right into the arm bevel area with out causing harm. This allow a clean transition between the the binding and purfling channels and the cut for the arm bevel. I did shooth out the transitions a bit with sand paper on a small block. I did tape a bit of purfling above the the end wedge on both the top and back to lift the router at that point. I went back with a chisel to cut cleanly to the end wedge purfling.


I used fish clue to glue on the back bindings. I took some time to get the bindings and purflings and the end wedge joints to look good. Fish glue as a long open time, so I taped both bindings in very tight and then wrapped with a rubber strap.


