continuing build thread for Gore Medium body SS
Re: continuing build thread for Gore Medium body SS
What a beautiful garden you have there, and with morels nearby? You're killing me! :)
-
Dave Bagwill
- Posts: 5951
- Joined: Tue Dec 13, 2011 7:44 pm
Re: continuing build thread for Gore Medium body SS
Laminated bindings, John - you can use whatever wood you like, no breaking. :-)
-Under permanent construction
-
John Parchem
- Posts: 2754
- Joined: Fri Dec 23, 2011 8:33 pm
- Location: Seattle
- Contact:
Re: continuing build thread for Gore Medium body SS
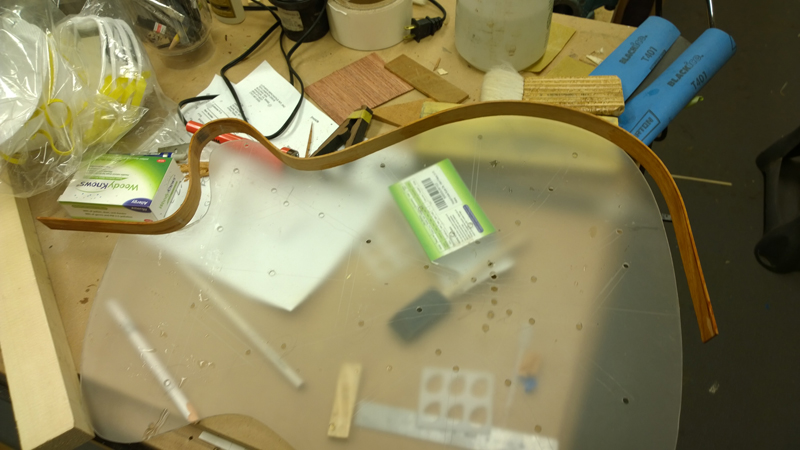
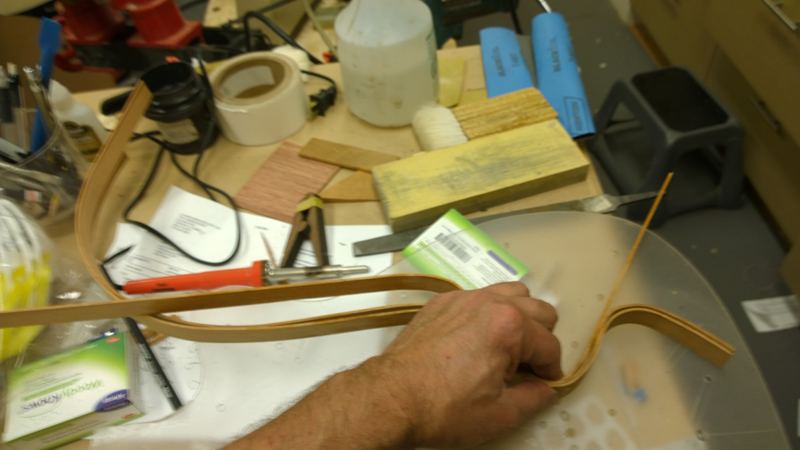
Laminated binding sound like a good idea. I just bent 3 .085" strips of Honduran mahogany on my bending iron to laminate for the linings. The last strip sure was tight. I got better as I did them. I actually found that they bent better dry than wet. I have a whole stack of practice sides that I bought once for bindings and linings. I have a mahogany side as well that I might try. Although I think these will work.


-
Beth Mayer
- Posts: 11
- Joined: Fri Nov 02, 2012 11:01 am
Re: continuing build thread for Gore Medium body SS
Are those really for bindings? Maybe they are going to be laminated linings? Nice job on the hand bending. I'm wanting to have a hot pipe bender for odd shapes and to touch up after using the bending machine, but it's a pretty big expense if you get the SM/LMII versions and I'm afraid to use the propane torch method! Maybe I'll try to squeeze down a hot BBQ starter to fit in a pipe.
I'm enjoying your build and following along in Gore/Gillet's book :)
I'm enjoying your build and following along in Gore/Gillet's book :)
Re: continuing build thread for Gore Medium body SS
I think John mentions that they are indeed linings.
Yep -- tools from the LMII and that other place will put you in the poor house,
how about this
http://www.acousticguitarconstructionfo ... ?f=8&t=794
Yep -- tools from the LMII and that other place will put you in the poor house,
how about this
http://www.acousticguitarconstructionfo ... ?f=8&t=794
ken cierp
http://www.kennethmichaelguitars.com/
Store Front
http://www.cncguitarproducts.com/
KMG Guitar Kit Information
http://www.kennethmichaelguitars.com/ki ... ckage.html
http://www.kennethmichaelguitars.com/
Store Front
http://www.cncguitarproducts.com/
KMG Guitar Kit Information
http://www.kennethmichaelguitars.com/ki ... ckage.html
-
John Parchem
- Posts: 2754
- Joined: Fri Dec 23, 2011 8:33 pm
- Location: Seattle
- Contact:
Re: continuing build thread for Gore Medium body SS
Hi Beth,
Thanks for following the posts. I like the electric bending iron from LMI but it is pricey. If you were to make one, Ken's design looks good, others used charcoal lighters but I would make a couple of sizes if you are going to bend cutaways. You really can not make a bend a tighter than the radius of the pipe. One nice thing about the bender I have is its odd shape with a small radius on the bottom and a larger radius on the top. In between are 2 really large radiuses (nice for heating a good section of wood). I use them all. I may start moving more toward using the iron. The forms are really taking up a lot of space. It is not very hard to bend sides for a guitar without a cutaway. I like to build different types of guitar.
Thanks for following the posts. I like the electric bending iron from LMI but it is pricey. If you were to make one, Ken's design looks good, others used charcoal lighters but I would make a couple of sizes if you are going to bend cutaways. You really can not make a bend a tighter than the radius of the pipe. One nice thing about the bender I have is its odd shape with a small radius on the bottom and a larger radius on the top. In between are 2 really large radiuses (nice for heating a good section of wood). I use them all. I may start moving more toward using the iron. The forms are really taking up a lot of space. It is not very hard to bend sides for a guitar without a cutaway. I like to build different types of guitar.
-
John Parchem
- Posts: 2754
- Joined: Fri Dec 23, 2011 8:33 pm
- Location: Seattle
- Contact:
Re: continuing build thread for Gore Medium body SS
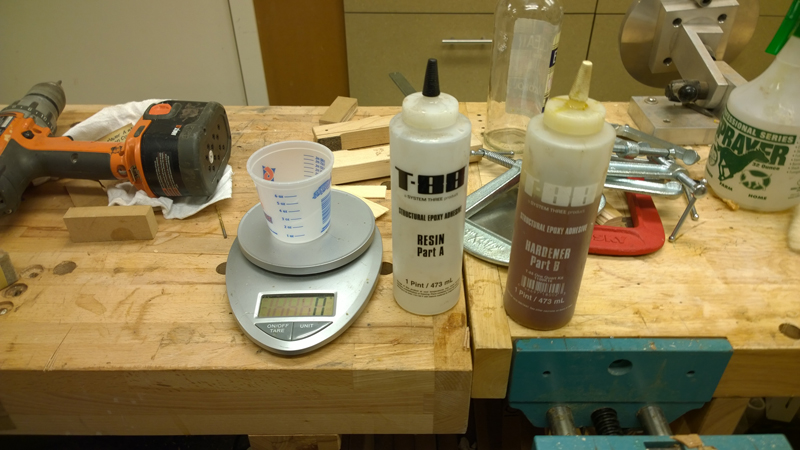
I made a bit of progress the last few days. This post will show my work to make the neck block for the bolt on bolt off neck joint and the tail block. The tail block is glued in with LMI glue and the neck block is currently clamped up while the structural epoxy I used is curing. More about the glue up further down the post.
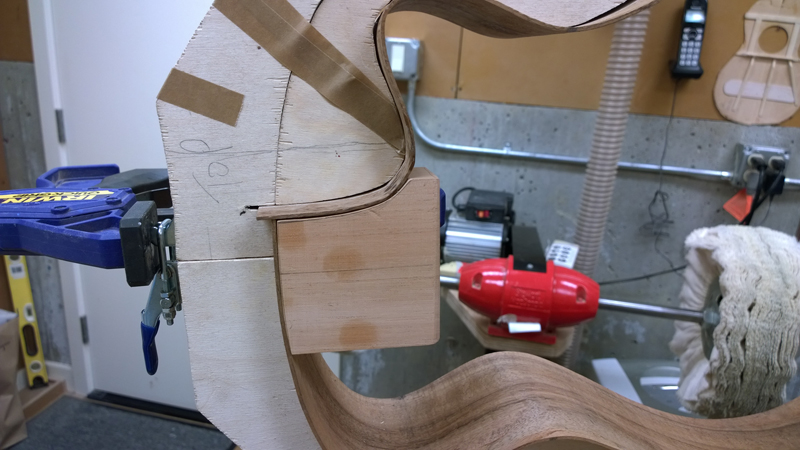
The bolt on bolt off neck block needs to support a neck extension that will be routed in to the neck block. Also the block needs to be profiled to match the Venetian cutway side. Here is a picture of the completed blocks.
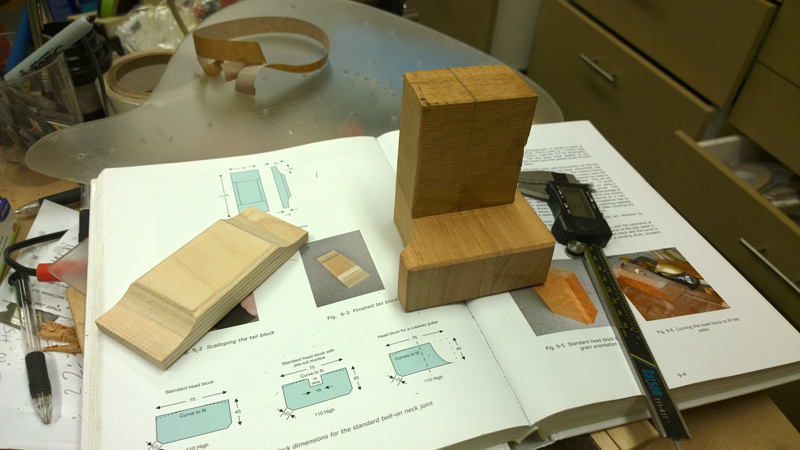
My first minor issue to make the neck block was to get a thick enough block of wood (I am using mahogany ) thick enough but with the a wide enough face to make the extension block. I have a lot of mahogany, but ultimately I needed to resaw and joint a thicker block.
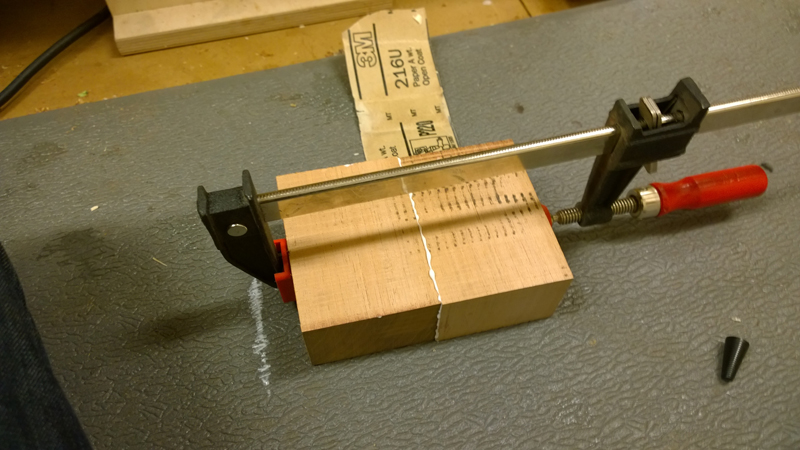
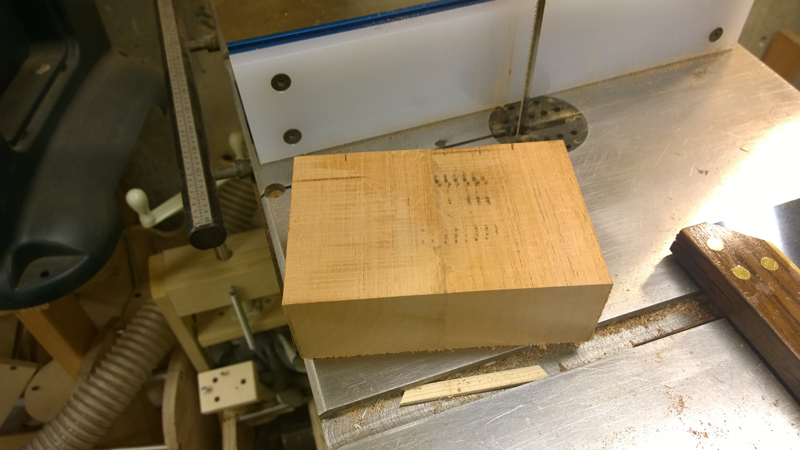
I glued the extension to a more typical sized neck block that would be used with a typical bolt on neck.
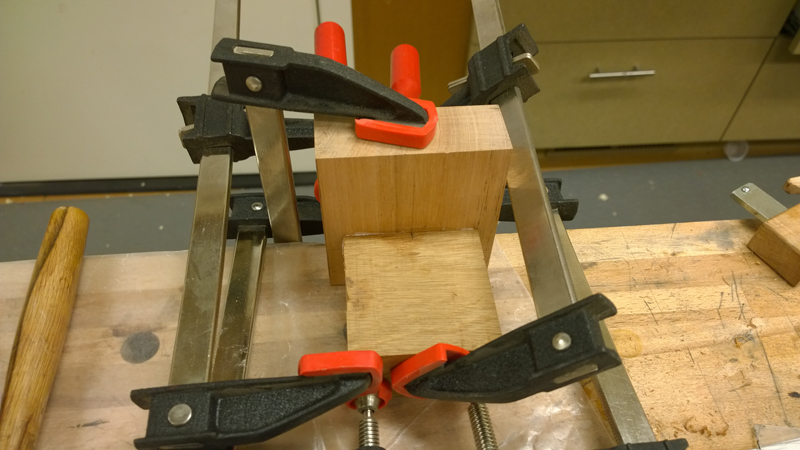
To get the correct profile on the block I made a template of the blocks face.
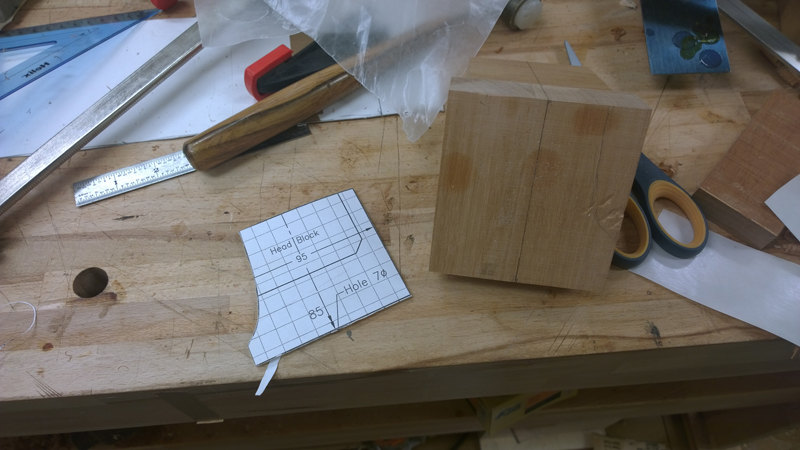
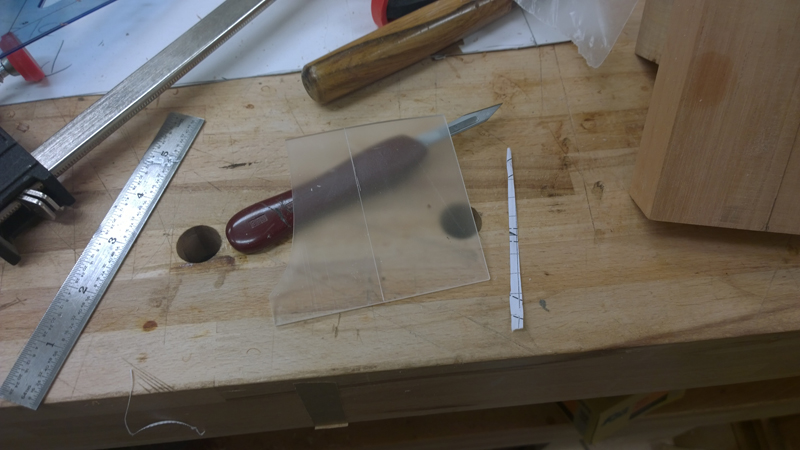
I transferred the profile to the glued on neck block and rough cut it on the band saw. I then also trimmed the block to fit the transverse brace. I do not have a picture but I cleaned up the neck block in a drum sander I had chucked in a drill press.
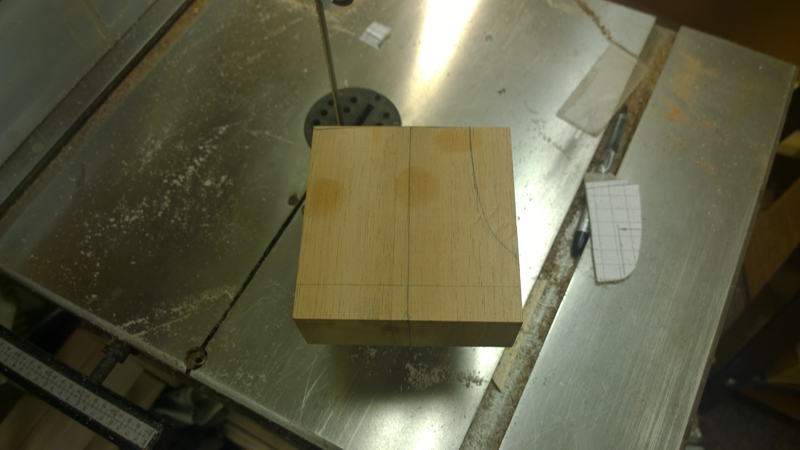
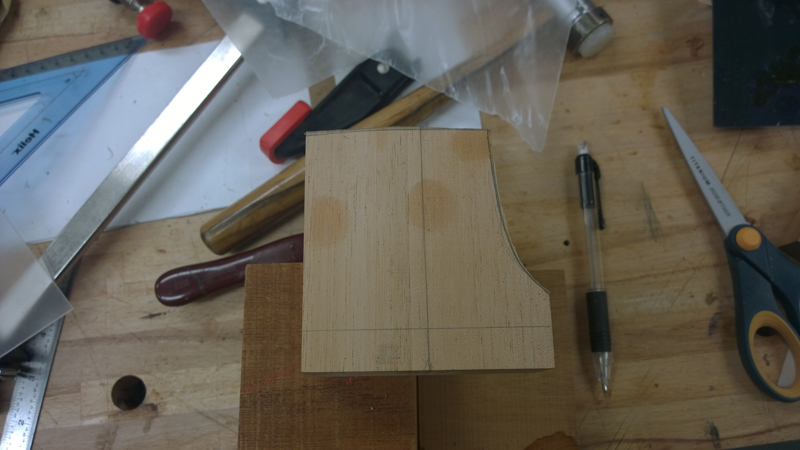
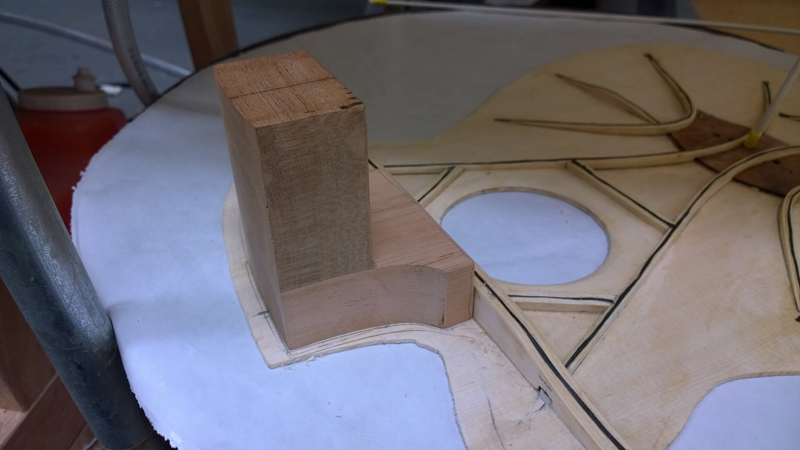
Pretty close fit!
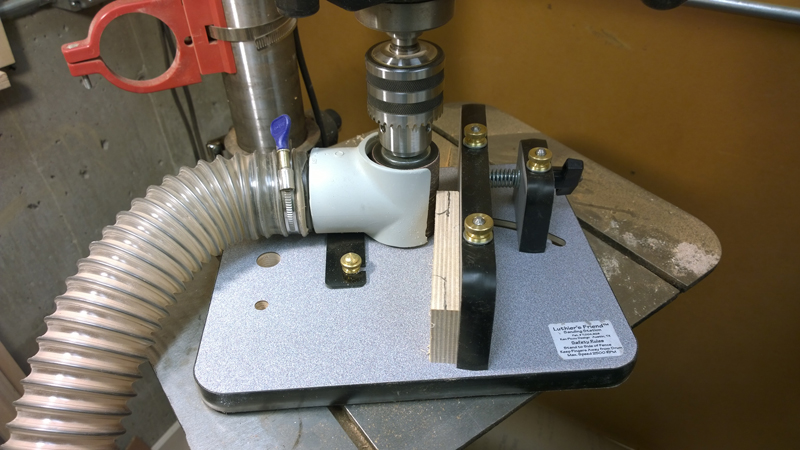
The tail block is just birch plywood with wings sanded using my luthiers friend.
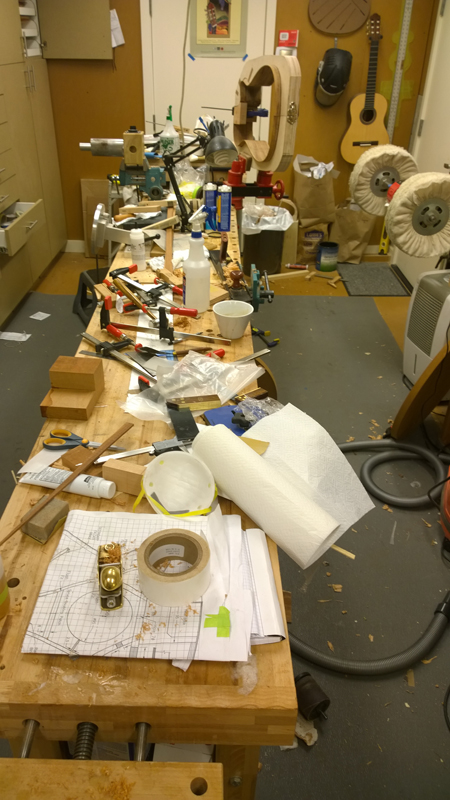
The work took a toll on my shop.
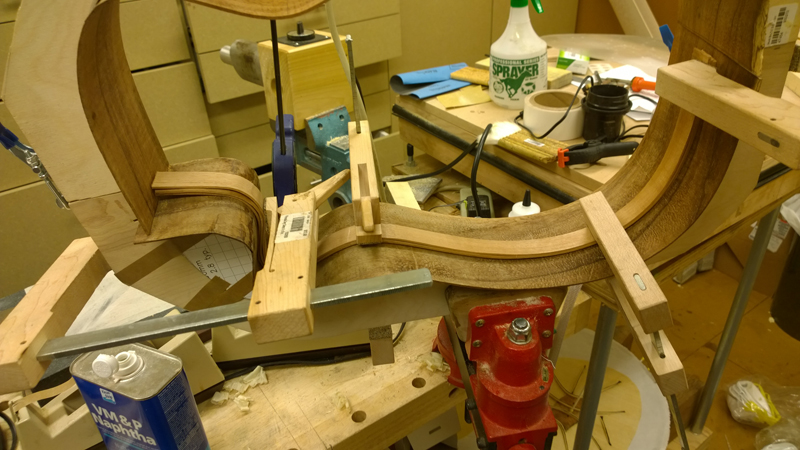
Bunches of clamps later I glued in the tail and am currently epoxying the nexk block on. My joint for the neck block was pretty tight and I probably could of just used LMI white glue. But it was such a complicated shape to clamp I though the add advantage of structural epoxy fill here or there would not hurt.
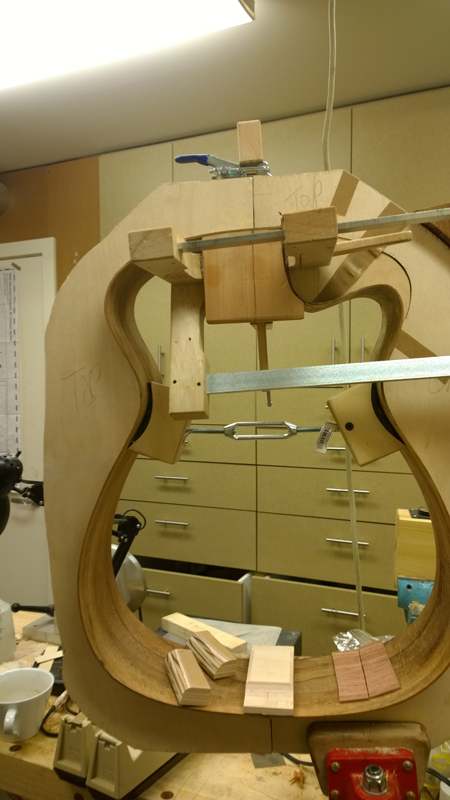
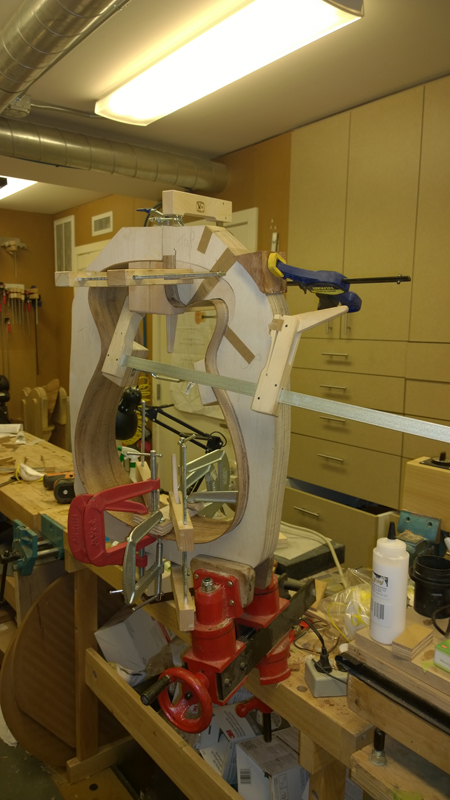
There were a lot of clamps used for the neck block
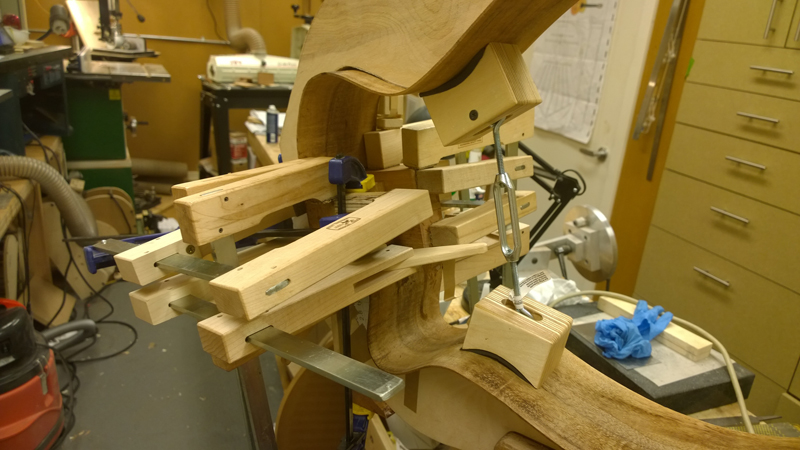
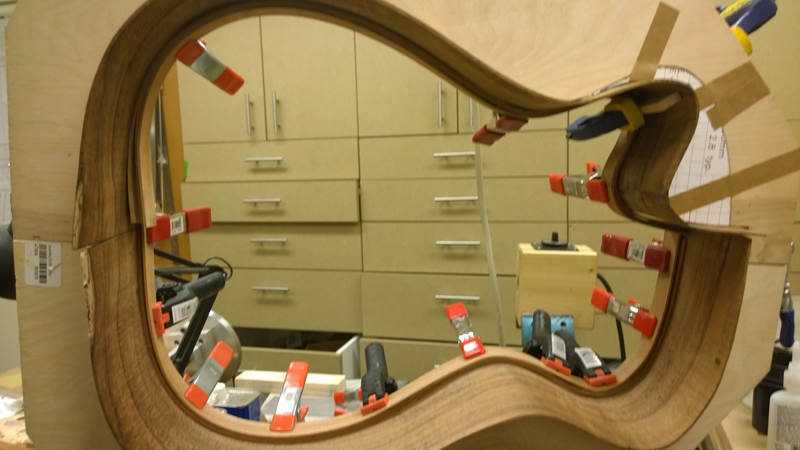
Also somewhere a long the line I bent the lines for the non-cutaway side. I did not have enough Honduran mahogany and used just mahogany instead for the two inside strips. It sure is a lot easier bending Honduran mahogany. I was sort of proud after the cutaway bindings. Now I know I still need practice.
The bolt on bolt off neck block needs to support a neck extension that will be routed in to the neck block. Also the block needs to be profiled to match the Venetian cutway side. Here is a picture of the completed blocks.

My first minor issue to make the neck block was to get a thick enough block of wood (I am using mahogany ) thick enough but with the a wide enough face to make the extension block. I have a lot of mahogany, but ultimately I needed to resaw and joint a thicker block.


I glued the extension to a more typical sized neck block that would be used with a typical bolt on neck.

To get the correct profile on the block I made a template of the blocks face.


I transferred the profile to the glued on neck block and rough cut it on the band saw. I then also trimmed the block to fit the transverse brace. I do not have a picture but I cleaned up the neck block in a drum sander I had chucked in a drill press.


Pretty close fit!

The tail block is just birch plywood with wings sanded using my luthiers friend.

The work took a toll on my shop.

Bunches of clamps later I glued in the tail and am currently epoxying the nexk block on. My joint for the neck block was pretty tight and I probably could of just used LMI white glue. But it was such a complicated shape to clamp I though the add advantage of structural epoxy fill here or there would not hurt.


There were a lot of clamps used for the neck block


Also somewhere a long the line I bent the lines for the non-cutaway side. I did not have enough Honduran mahogany and used just mahogany instead for the two inside strips. It sure is a lot easier bending Honduran mahogany. I was sort of proud after the cutaway bindings. Now I know I still need practice.

