Page 3 of 10
Re: Gypsy Guitar Selmer Style Oval Hole
Posted: Sat Dec 08, 2018 10:22 am
by John Parchem
That is how I prep the wood for the cutaway bends as well. I have used a bending machine and have bent on a pipe. I finding pending on a pipe just as accurate if not more as because of the spring back I get coming out of a fox bender. I like the softer shape you ended up with after your hand bend; it looks good in the last picture.
Re: Gypsy Guitar Selmer Style Oval Hole
Posted: Sat Dec 08, 2018 11:43 am
by Dave Bagwill
Excellent tutorial so far, H! A wise move I think, not trying to bend any sharper of a curve.
Re: Gypsy Guitar Selmer Style Oval Hole
Posted: Sat Dec 08, 2018 12:30 pm
by Herman
Thanks guys,
Yes, I could try to make a sharper curve, but that would affect the other bends. The fitting in the mold would be less perfect. Living with imperfections, be Zen.
Herman
Re: Gypsy Guitar Selmer Style Oval Hole
Posted: Sat Dec 08, 2018 2:49 pm
by Dave Bagwill
Ommmmmmmmmmmmmmmmmmmmm.....
Re: Gypsy Guitar Selmer Style Oval Hole
Posted: Sat Dec 08, 2018 3:20 pm
by Tim Benware
Looking good.
Re: Gypsy Guitar Selmer Style Oval Hole
Posted: Sun Dec 09, 2018 11:54 am
by Herman
The back plates are joint and glued together. No pics, nothing special. Same as always.
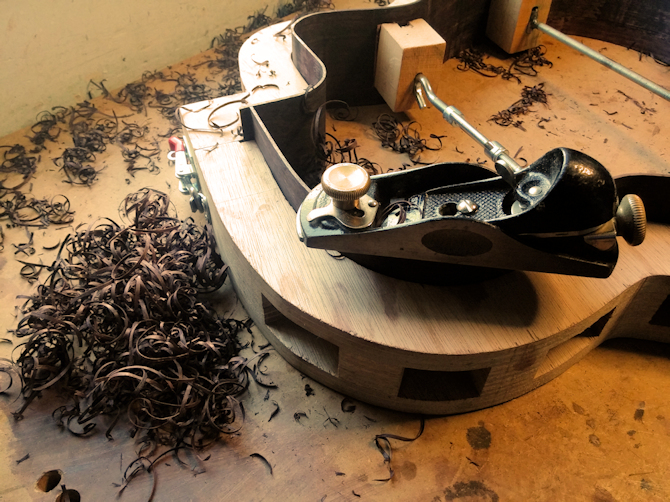
One night cure and the back can be thicknessed. Selmers have a very thin back. 2.2mm/0.085" in the middle and 1.8mm/0.070" along the sides. At first I use a plane up to almost final thickness and true it with my thickness sander.

I follow Michael Collins book and he has a certain way to profile the sides. Both top and back are profiled. No flat top here. His base is a center line on the sides. From there the measurements are drawn and planed/sanded then.

Meanwhile I am bending the top on the forming box. At the moment it is sitting there on a 75 Watt lamp. Does not bend yet, maybe a hotter source.


Re: Gypsy Guitar Selmer Style Oval Hole
Posted: Mon Dec 10, 2018 10:47 am
by Herman
Today nothing special.
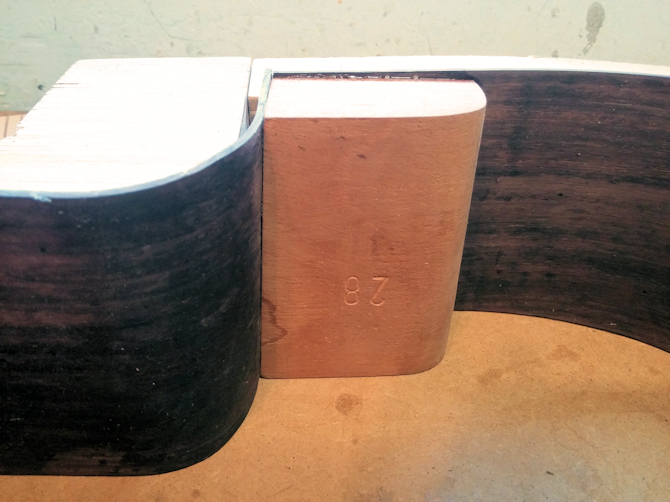
The neckblock is glued in place. Had to use my heatgun to correct a tiny bit of side curve up to the block. But now it fits nice.
I use a long screw to pull the block perpendicular up to the mold. It is positioned in the area where the dovetail will be routed, so no harm is done.
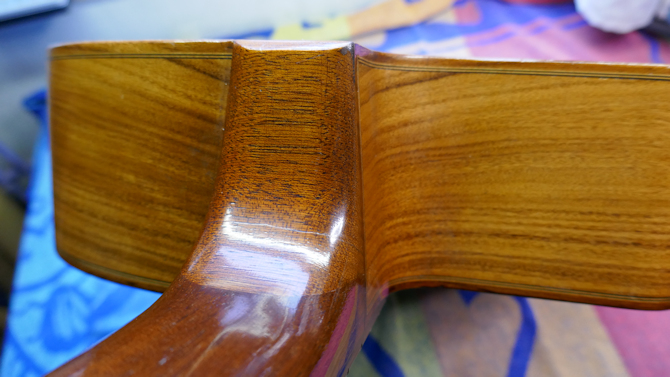
For those who think: "Huh, the block is not in the corner!": This it is because the block has a 5 degree angle towards the back, to match the profile of the neck's heel

. Be at ease, the top side does fit the corner of the mold.

This is how it should become. It gives an idea why the neck block has several angles:

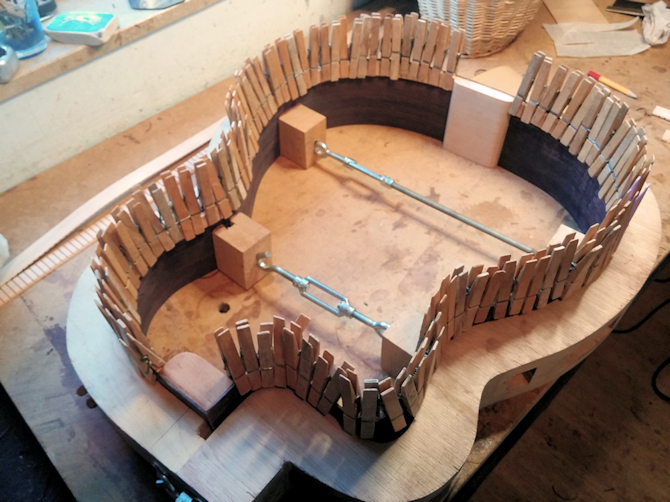
The kerfed lining is attached the ancient way.


