Number 13 - EIR\Sitka Drednought -Finished
Re: Number 13 - EIR\Sitka Drednought
Looking good !
-
John Parchem
- Posts: 2749
- Joined: Fri Dec 23, 2011 8:33 pm
- Location: Seattle
- Contact:
Re: Number 13 - EIR\Sitka Drednought
Thanks, Paul
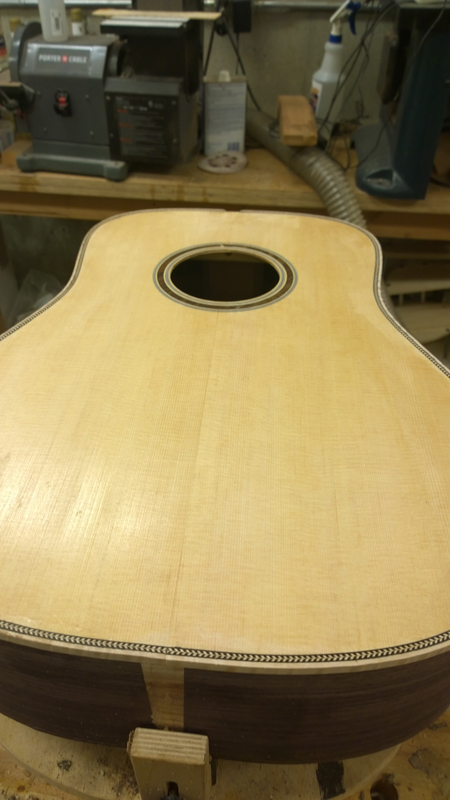
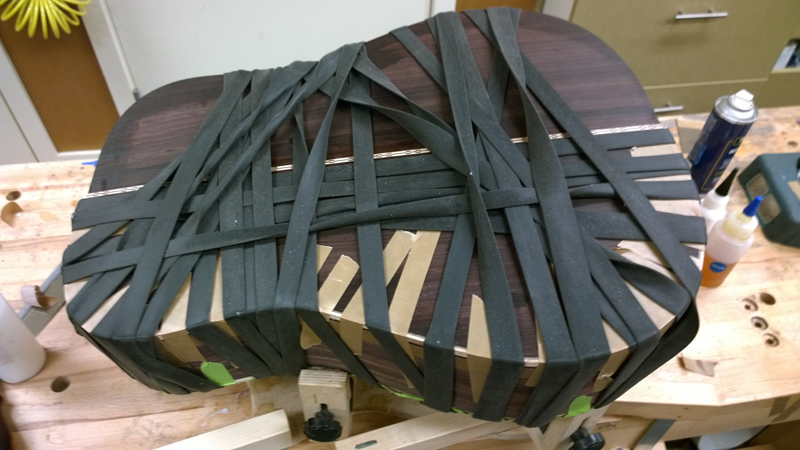
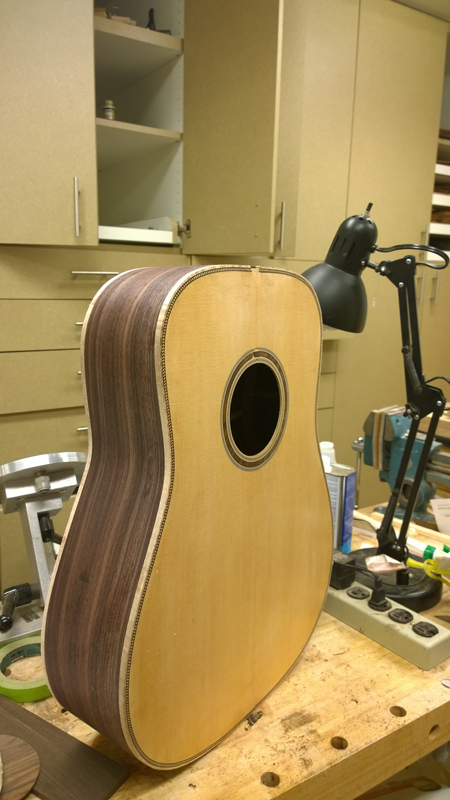
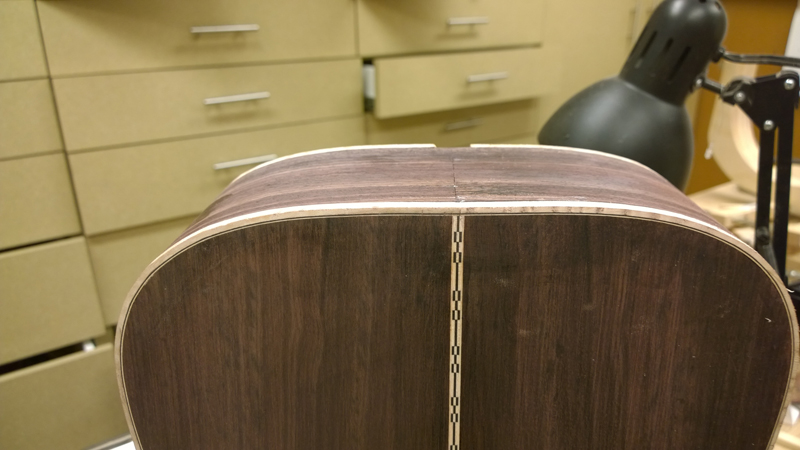
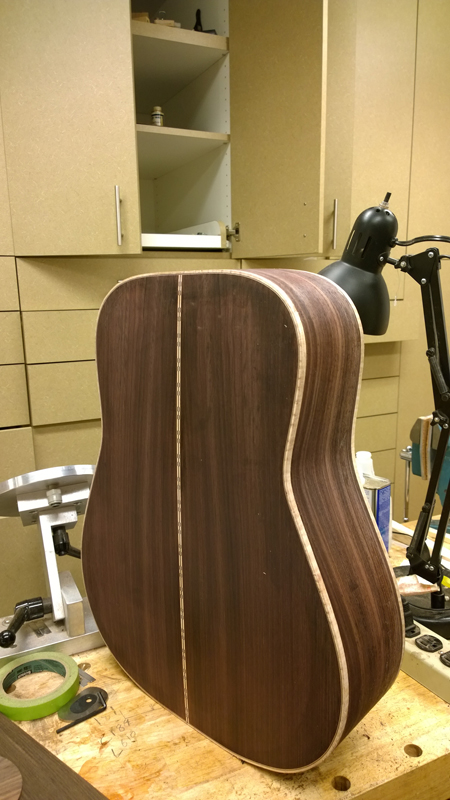
The rest of the binding went well with no mishaps. On the back I decides to add a BW purfling to the binding. The purfling maple matches the center strip and the black fiber frames the contrast with the bindings. I am liking the rubber strip for binding. For the first time ever I had no gaps to the plates or to the rims. I used LMI instrument glue for the binding, so I only did one strip at a time. The LMI glue does not have the longest open time. I think in the future I will use fish glue and at least bind both strips for the top or back together.
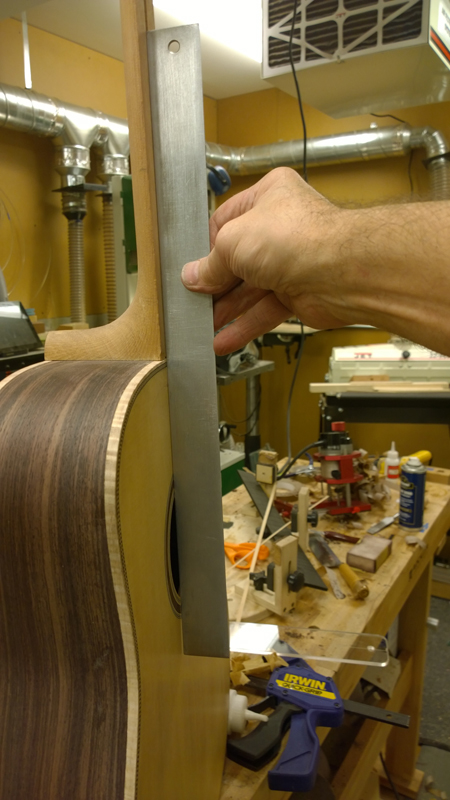
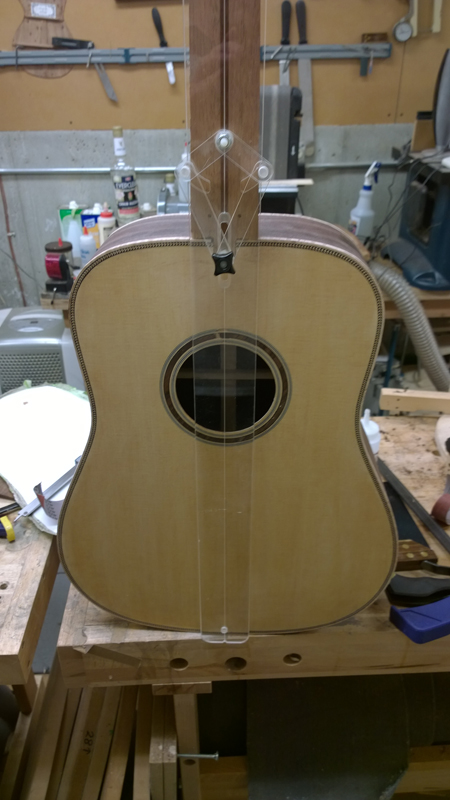
I had an a couple year old LMI neck with a matching heel block that I am using on this guitar. I drilled a couple of holes and used a flush cut bit to open the mortise. The neck is centered nicely and with only a little adjustment is at the correct angle.


Re: Number 13 - EIR\Sitka Drednought
With the addition of the security cameras at John's house (the night vision cameras were a wise move my friend) I will be following along on the forum with everyone else. Looks great John. Your work is impeccable as always.
-
John Parchem
- Posts: 2749
- Joined: Fri Dec 23, 2011 8:33 pm
- Location: Seattle
- Contact:
Re: Number 13 - EIR\Sitka Drednought
Tony, just to make sure I added a couple of more cameras this week. Having got that out of the way thank for your kind comments.
Since my last post, I glued on the headstock veneer and profiled it. I cut the slots and profiled the fret board and carved the bridge. I used Brazilian rosewood for these three parts.
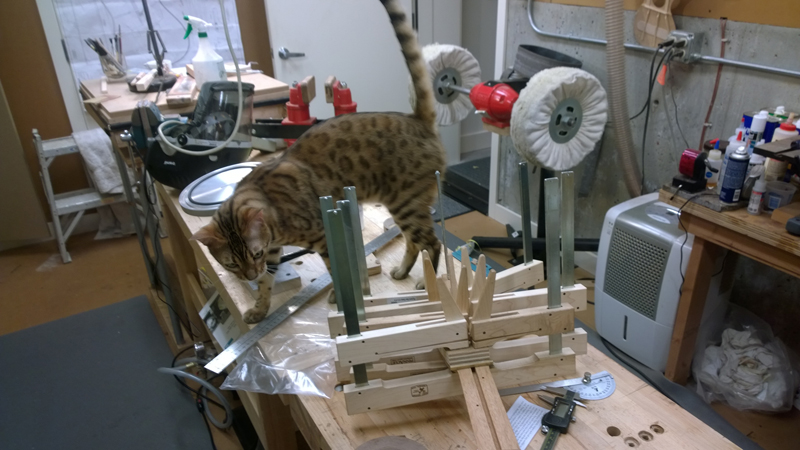
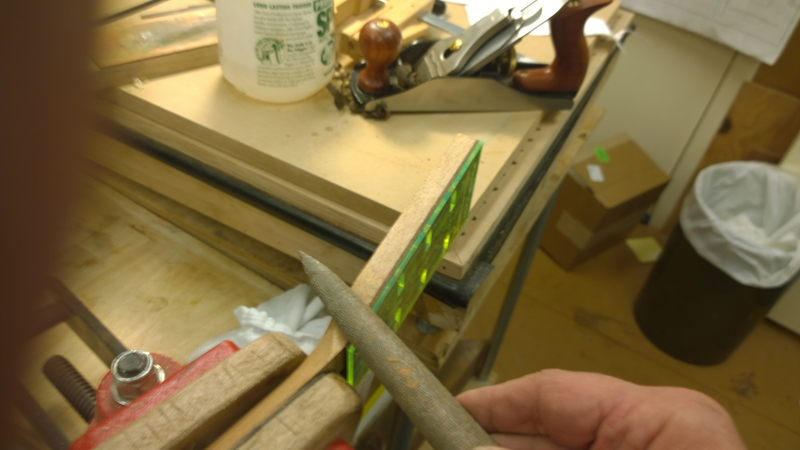
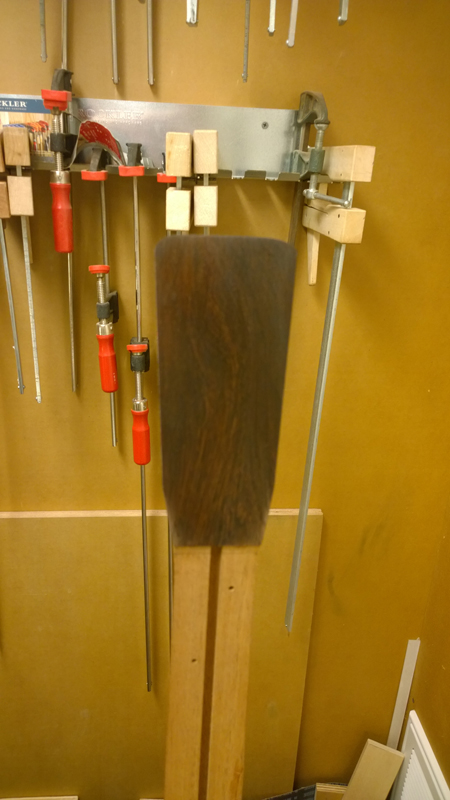
Nothing too exciting, in any of these processes. For the head stock I rough cut the head stock profile out on the band saw, I sanded the nut edge of the headstock veneer to the correct angle first and carefully placed and glued it to the headstock (You can see in the pictures I had a little help). In the past I would use template following router bit to do the final profile, but seeing as I ruined multiple neck when this process went wrong I just shaped it by hand with a plane and a rasp.
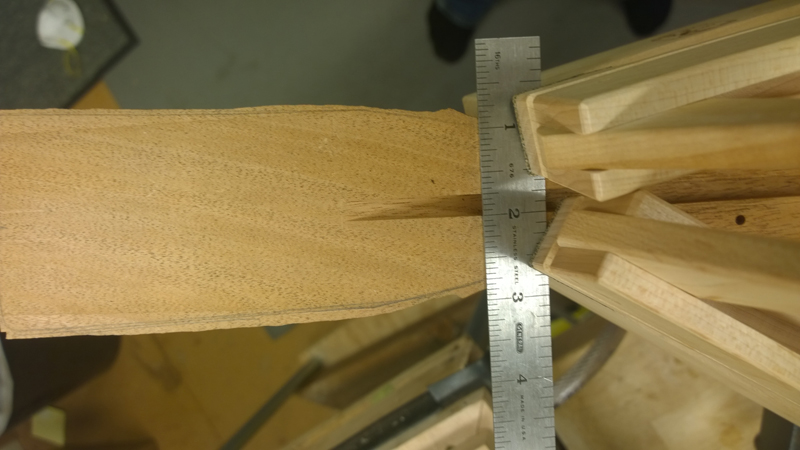
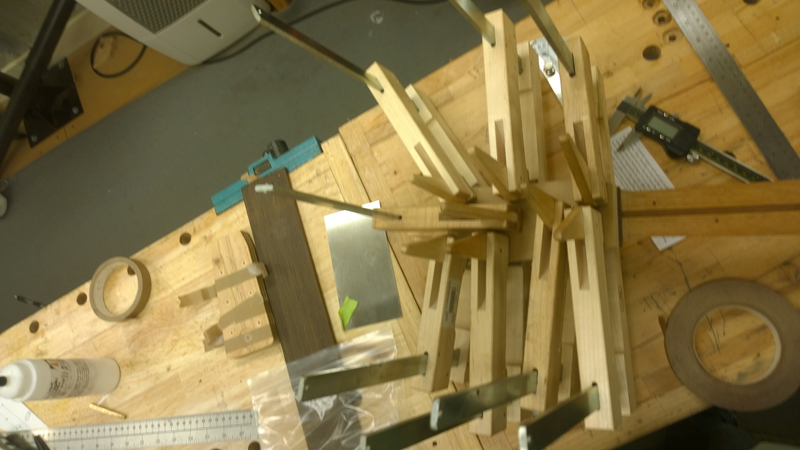
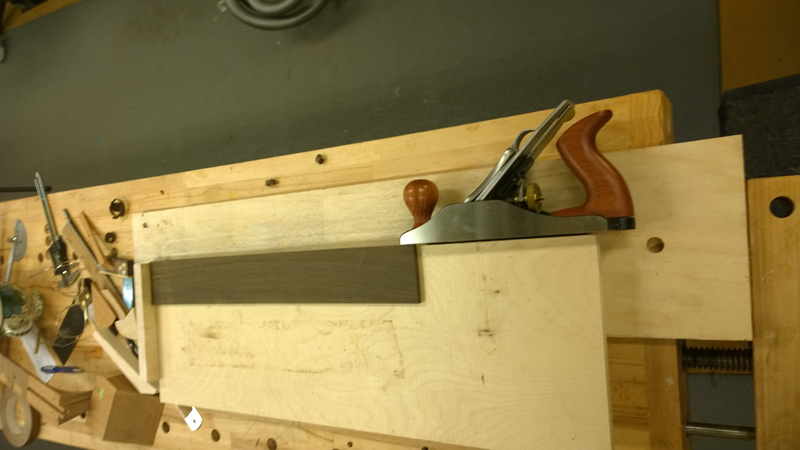
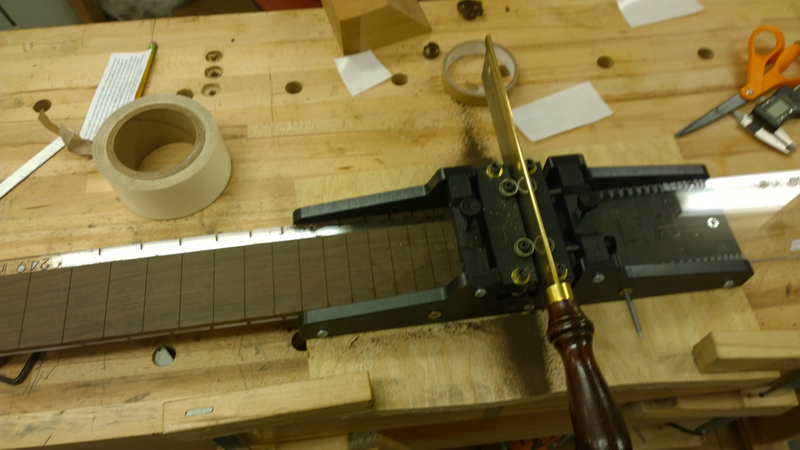
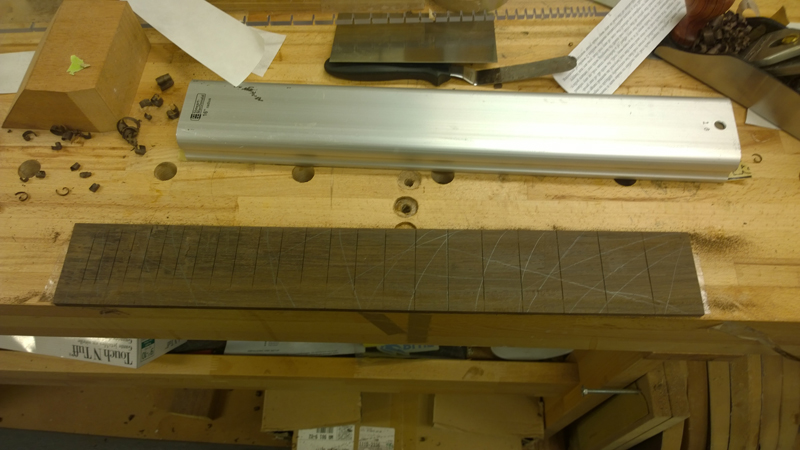
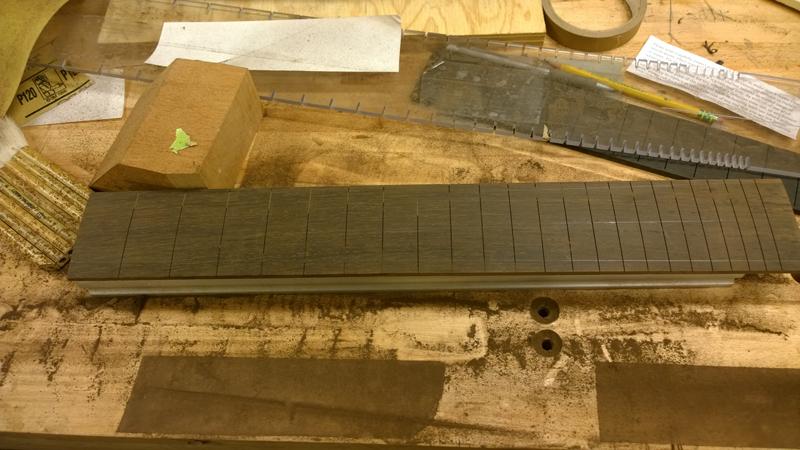
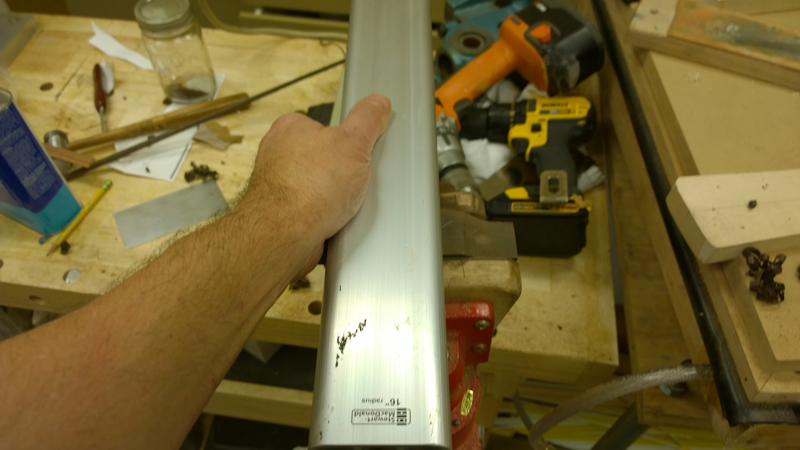
I use LMI's fretting jig and templates. The first thing I do is to get a straight edge on my shooting board to use as a reference through out the process. The jig and the saw make quick work of the fret board. The BRW is a lot easier to cut than the ebony I cut in the past. I use the long stewmac 16" radius bar to radius the slotted fret board. To make life easier I planed a rough radius on the fret board first.
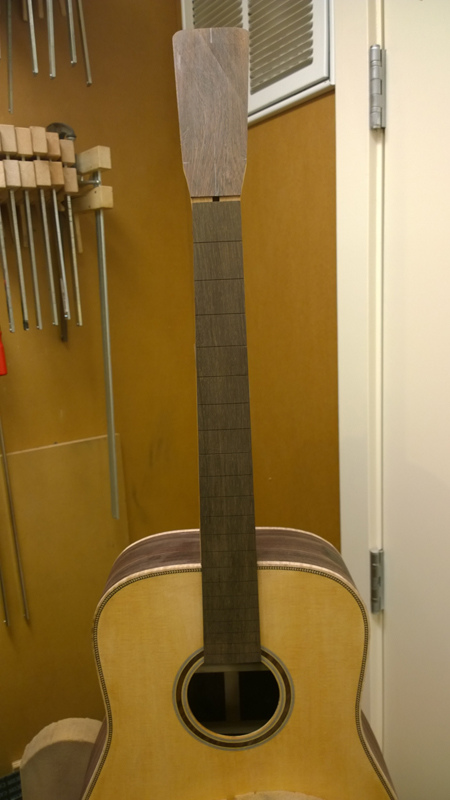
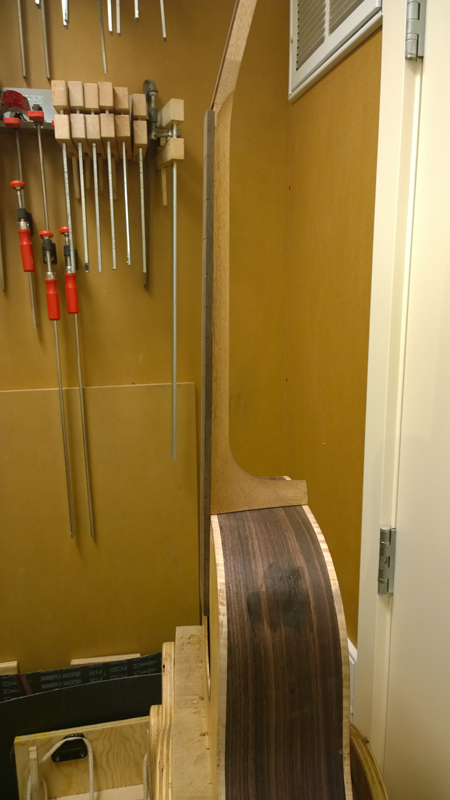
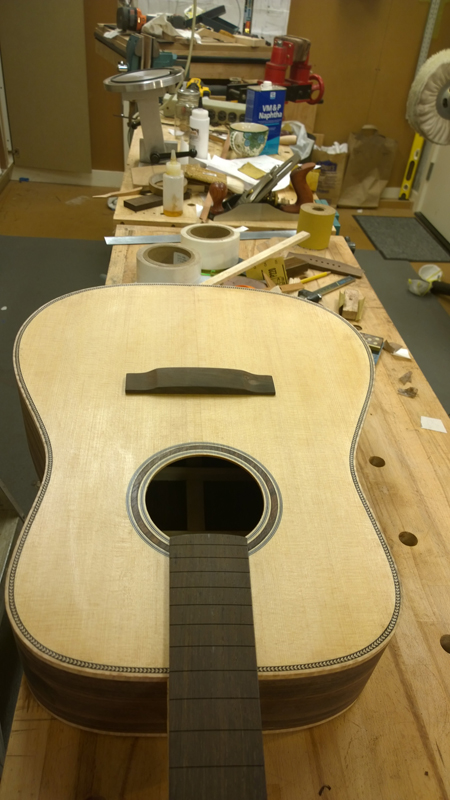
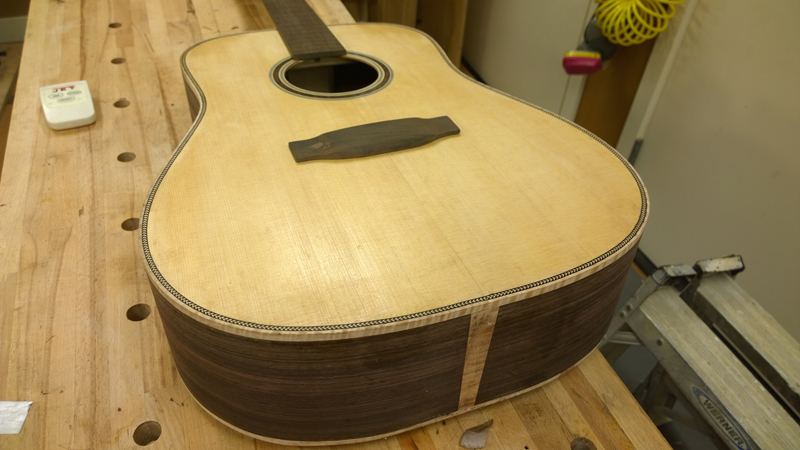
You can see I have a matching body and neck angle.
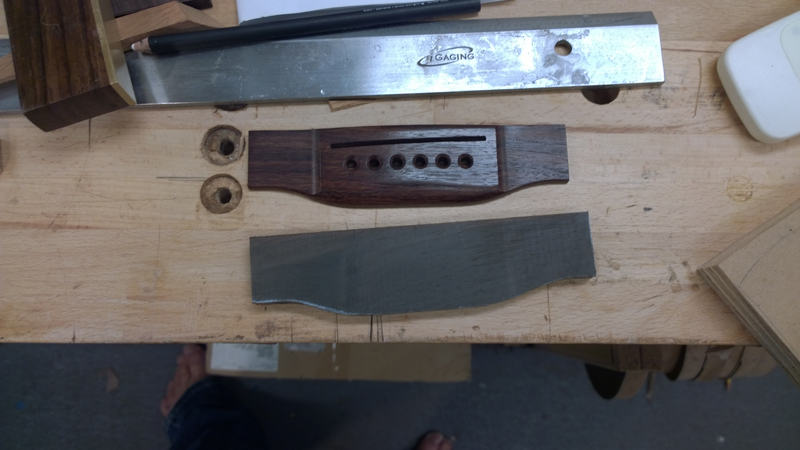
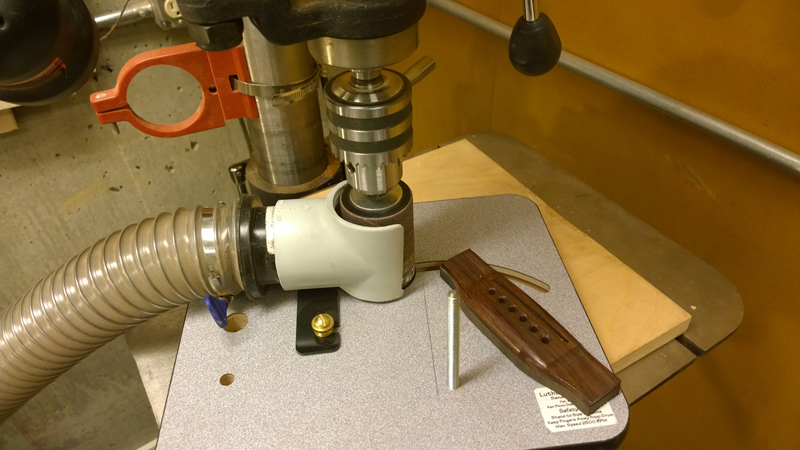
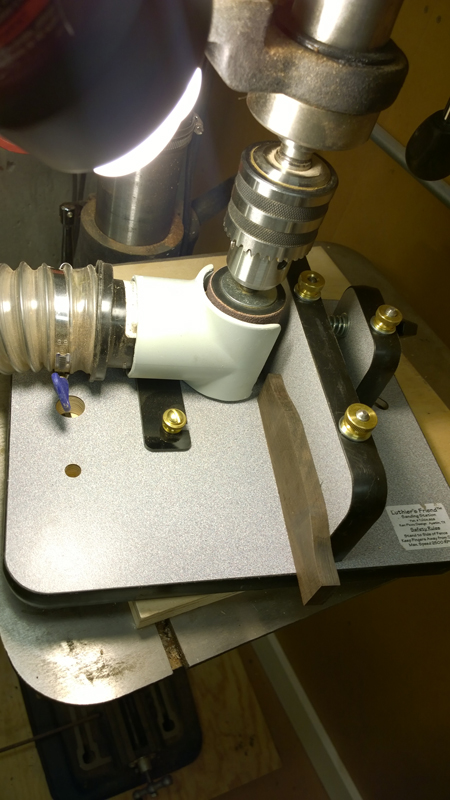
This is the first steel string bridge that I carved. I copied a martin style bridge as closely as I could. I cut out the rough shape on a Brazilian Rosewood bridge blank, did most of the profiling using my luthiers friend sanding station on a drill press. I used the drum as both a spindle sander for the shape and as a drum sander for the wings. I used my 16" radius bar to put a radius on the bridge itself to match the fret board bridge. I noticed that my store bought bridge had a 12" radius.
I still need to install the nut inserts into the neck tenon and glue on the fret board until I can start my finish prep, but I am getting very close.
Since my last post, I glued on the headstock veneer and profiled it. I cut the slots and profiled the fret board and carved the bridge. I used Brazilian rosewood for these three parts.
Nothing too exciting, in any of these processes. For the head stock I rough cut the head stock profile out on the band saw, I sanded the nut edge of the headstock veneer to the correct angle first and carefully placed and glued it to the headstock (You can see in the pictures I had a little help). In the past I would use template following router bit to do the final profile, but seeing as I ruined multiple neck when this process went wrong I just shaped it by hand with a plane and a rasp.


I use LMI's fretting jig and templates. The first thing I do is to get a straight edge on my shooting board to use as a reference through out the process. The jig and the saw make quick work of the fret board. The BRW is a lot easier to cut than the ebony I cut in the past. I use the long stewmac 16" radius bar to radius the slotted fret board. To make life easier I planed a rough radius on the fret board first.


You can see I have a matching body and neck angle.

This is the first steel string bridge that I carved. I copied a martin style bridge as closely as I could. I cut out the rough shape on a Brazilian Rosewood bridge blank, did most of the profiling using my luthiers friend sanding station on a drill press. I used the drum as both a spindle sander for the shape and as a drum sander for the wings. I used my 16" radius bar to put a radius on the bridge itself to match the fret board bridge. I noticed that my store bought bridge had a 12" radius.


I still need to install the nut inserts into the neck tenon and glue on the fret board until I can start my finish prep, but I am getting very close.
Re: Number 13 - EIR\Sitka Drednought
I always seem to learn a thing or two from your pics. Good stuff.
-
John Parchem
- Posts: 2749
- Joined: Fri Dec 23, 2011 8:33 pm
- Location: Seattle
- Contact:
Re: Number 13 - EIR\Sitka Drednought
Thanks Paul,
With the neck bolt inserts in and the fret board glued on I am ready to start finish prep, I still have a bit of fussing to do with the neck including the fret board inlays that I am waiting for.
and drill the tuner holes. Other than that I can start prepping the body.
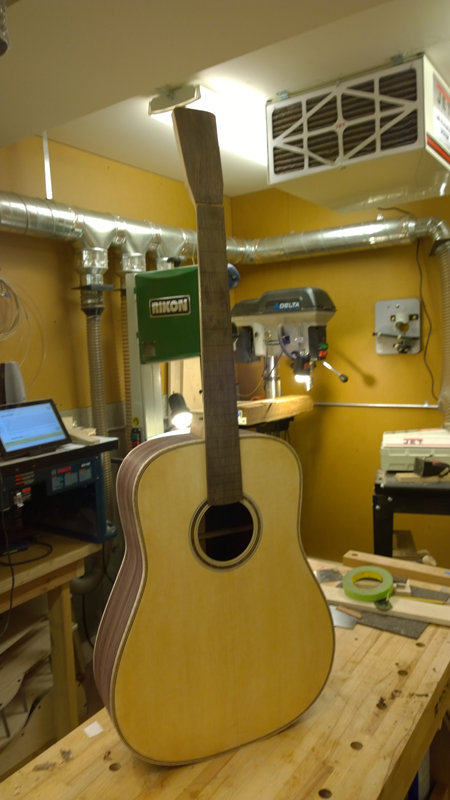
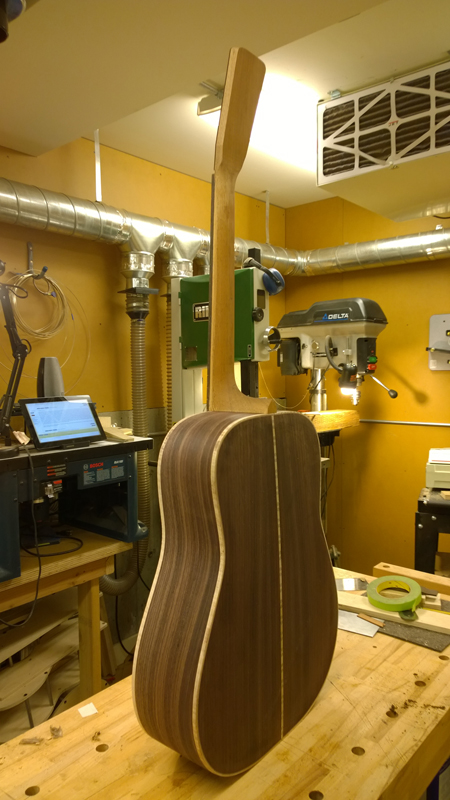
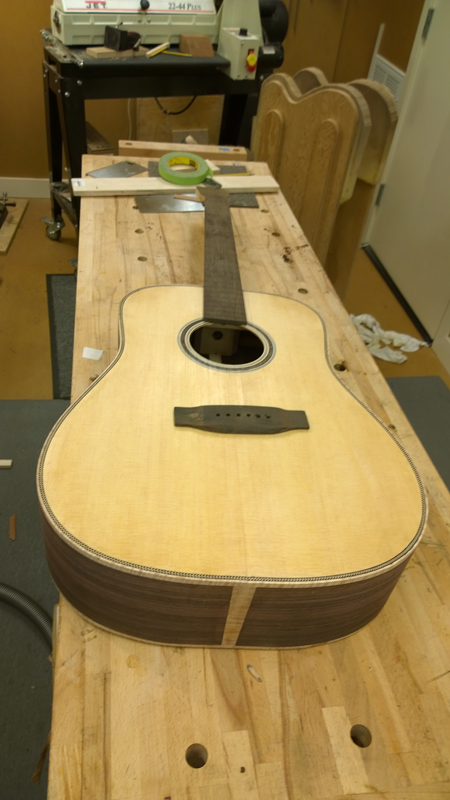
With the neck bolt inserts in and the fret board glued on I am ready to start finish prep, I still have a bit of fussing to do with the neck including the fret board inlays that I am waiting for.
and drill the tuner holes. Other than that I can start prepping the body.


-
Kevin in California
- Posts: 2804
- Joined: Mon Dec 19, 2011 4:19 pm
Re: Number 13 - EIR\Sitka Drednought
Sweet John, very nice job on the bridge too.
I've found I really like making my own bridges.
I've found I really like making my own bridges.
