First kit build - hide glue
-
John Parchem
- Posts: 2749
- Joined: Fri Dec 23, 2011 8:33 pm
- Location: Seattle
- Contact:
Re: First kit build - hide glue
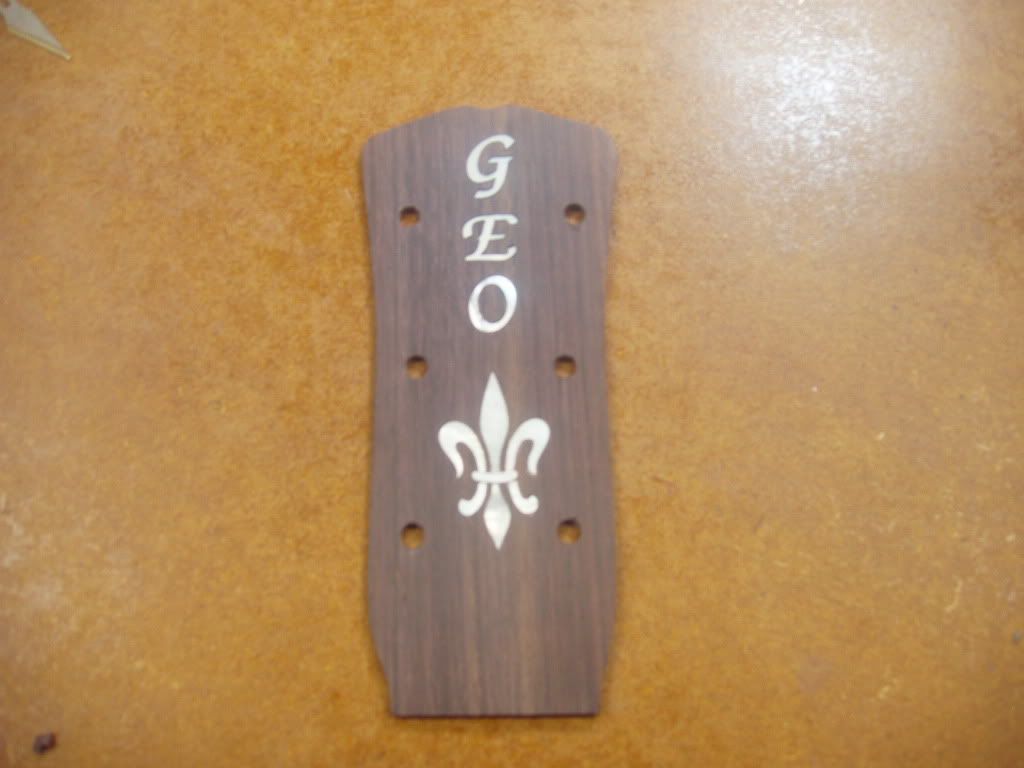
Nice Job on the inlays. It is had doing inlays into rosewood or any other wood where it is hard to hide ones mistakes.
-
Dave Bagwill
- Posts: 5951
- Joined: Tue Dec 13, 2011 7:44 pm
Re: First kit build - hide glue
I have not tried the inlays yet. You've been an encouragement though!
One last comment on blade direction in cutting binding channels (for those, like myself, for whom it is a puzzler for some reason). If I wanted to plane off overhangs, for instance like in the picture attached, if I drew the plane toward me (at this particular section of the body) there would be a chance of nicking some exposed endgrain and pulling out a chip. If I ran the plane away from me, that possibility would be greatly minimized. Think of that spinning router blade as if it is a plane and it might make it easier to visualize.
One last comment on blade direction in cutting binding channels (for those, like myself, for whom it is a puzzler for some reason). If I wanted to plane off overhangs, for instance like in the picture attached, if I drew the plane toward me (at this particular section of the body) there would be a chance of nicking some exposed endgrain and pulling out a chip. If I ran the plane away from me, that possibility would be greatly minimized. Think of that spinning router blade as if it is a plane and it might make it easier to visualize.
- Attachments
-
- forum.jpg (196.94 KiB) Viewed 487 times
-Under permanent construction
Re: First kit build - hide glue
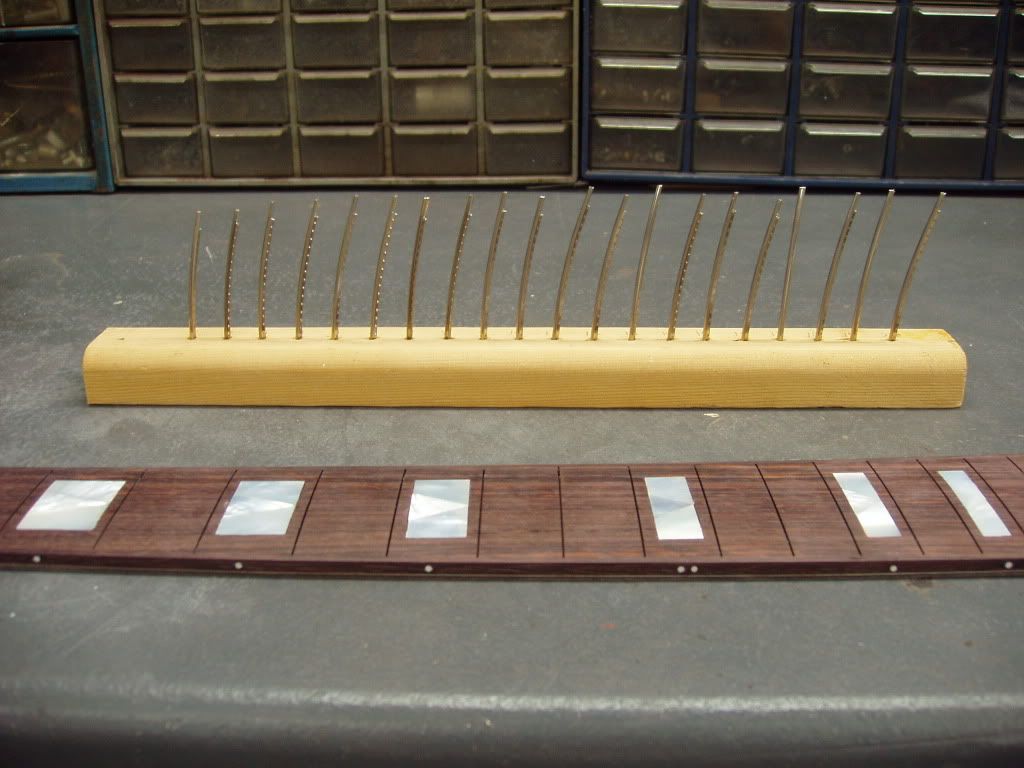
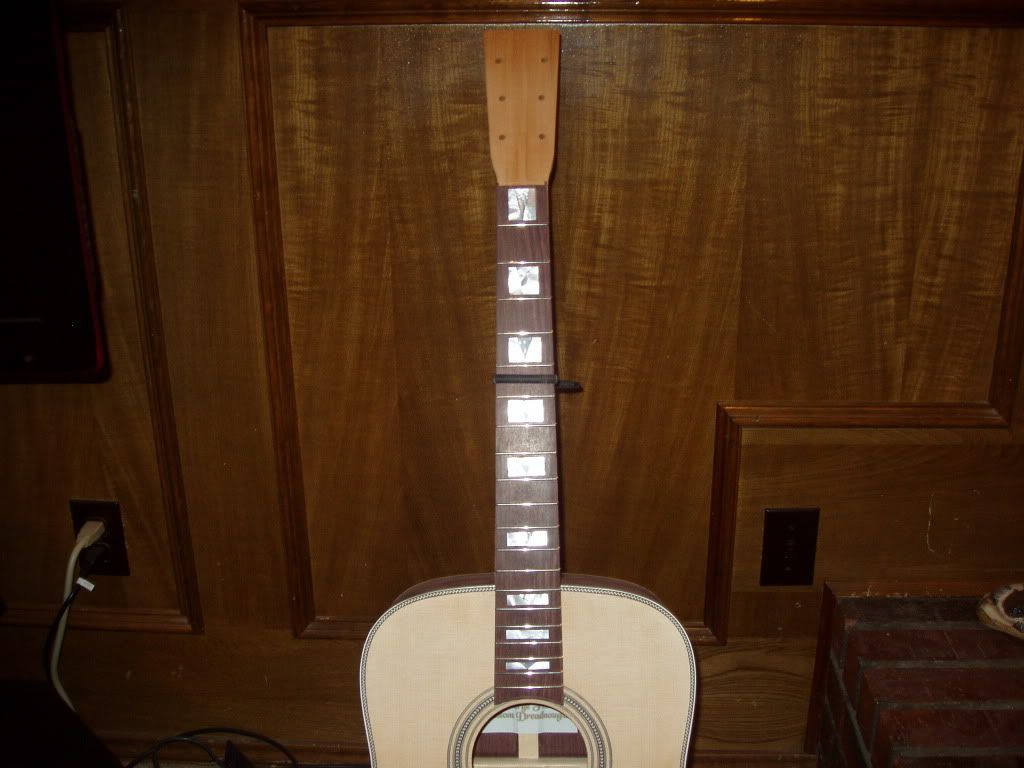
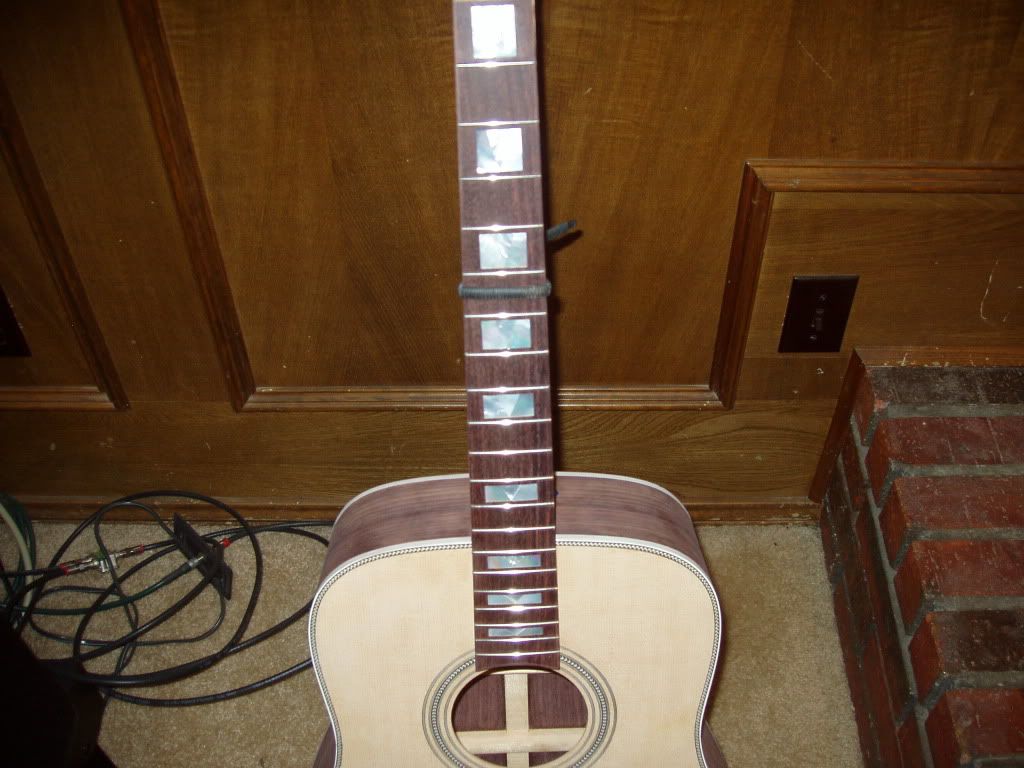
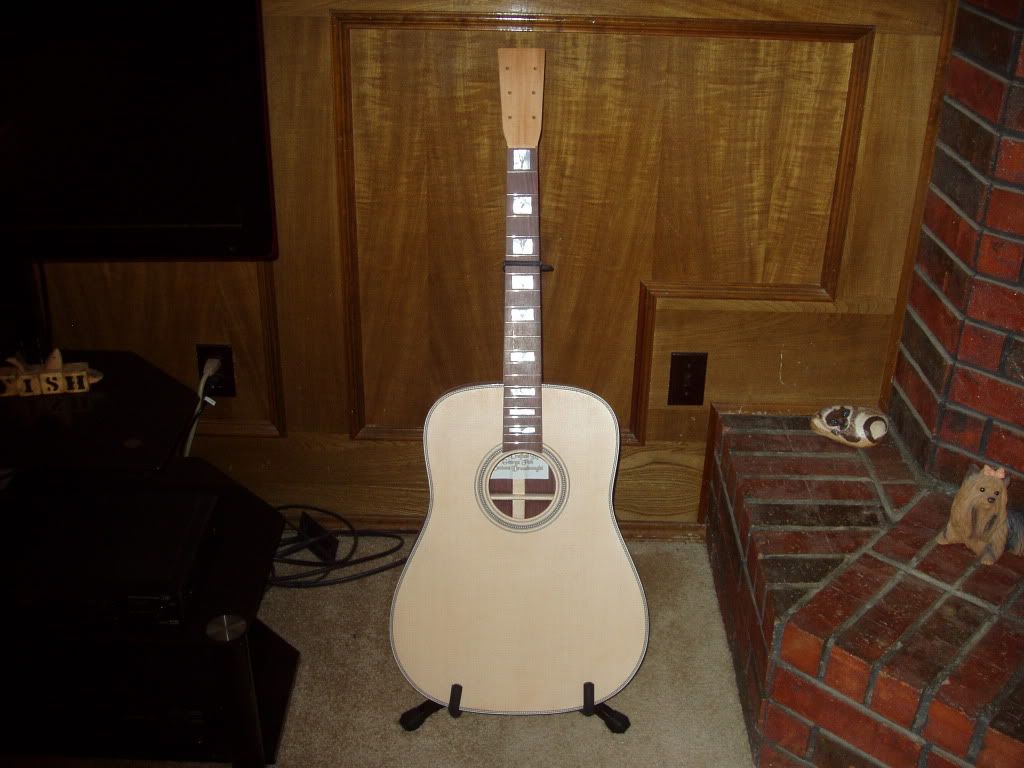
I got the frets installed,,,, then strapped the fingerboard to the neck and placed the neck on the body to get an idea how she's going to look. I’m about the attempt some inlays on the head plate. There’s still some sanding to be done on the neck and some tweaking to the dovetail but I’m getting closer to having a guitar.
George


George
Re: First kit build - hide glue
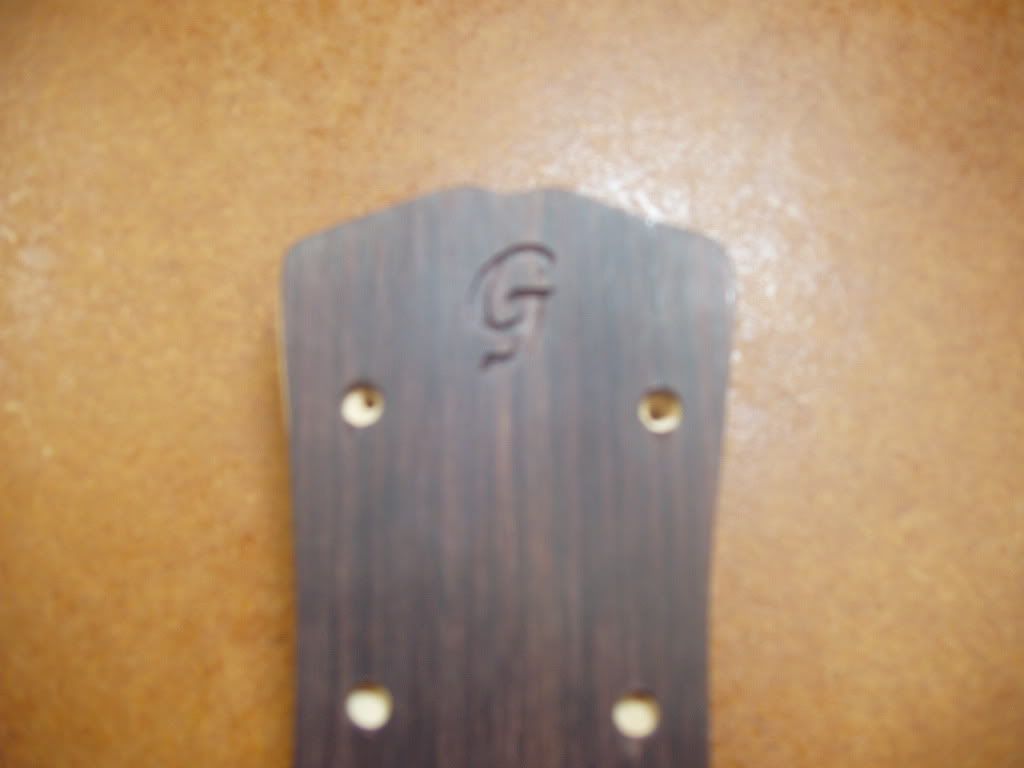
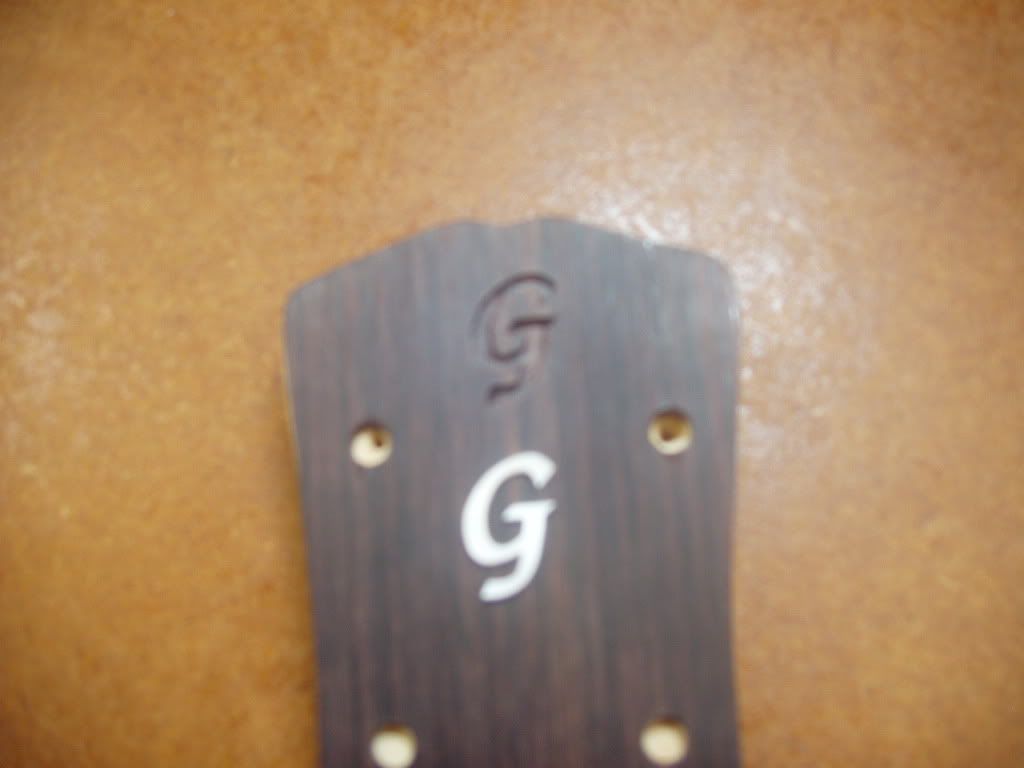
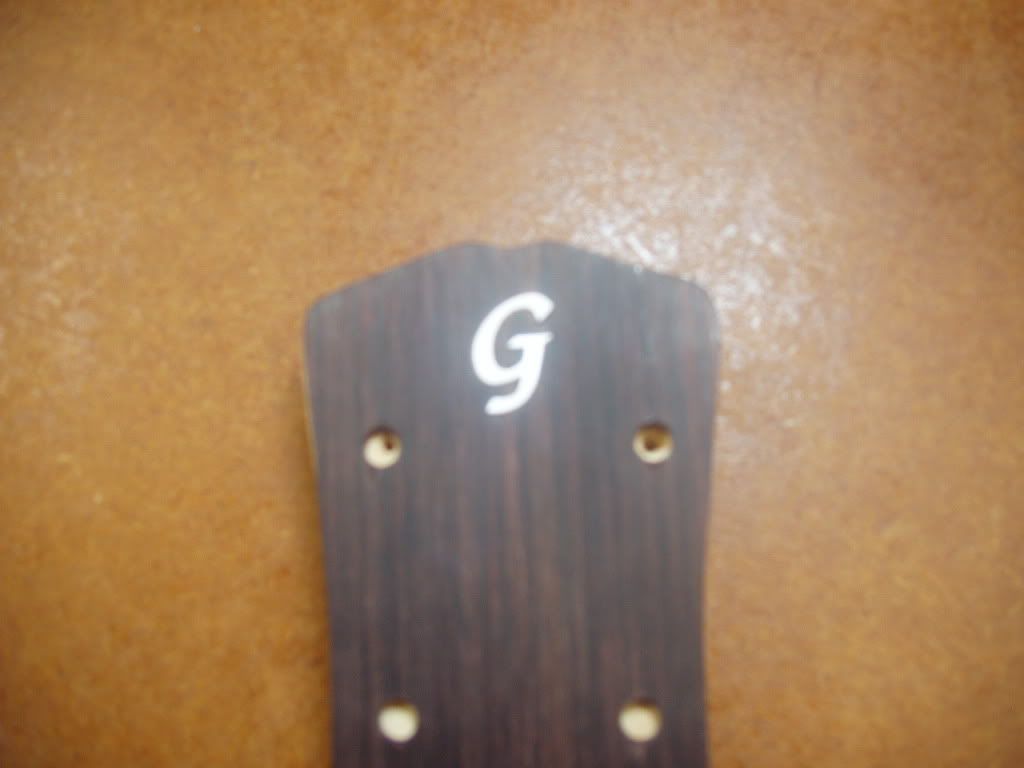
Had a lot going on lately but finally got back to work on the guitar. I got the headstock shaped and the inlays installed. I was limited to what shape I could choose due to the small size of the pre-cut Martin style pegheag that came in the kit but I like the way it turned out. Inlays look good for a beginner. I'm happy with them and can only get better with practice. Still a little sanding and shaping details to do but making progress.
George
George


