# 10 a Martin 00 size guitar. With Strings!
Re: # 10 a Martin 00 size guitar.
You sure do some nice work John. Very clean.
-
John Parchem
- Posts: 2746
- Joined: Fri Dec 23, 2011 8:33 pm
- Location: Seattle
- Contact:
Re: # 10 a Martin 00 size guitar.
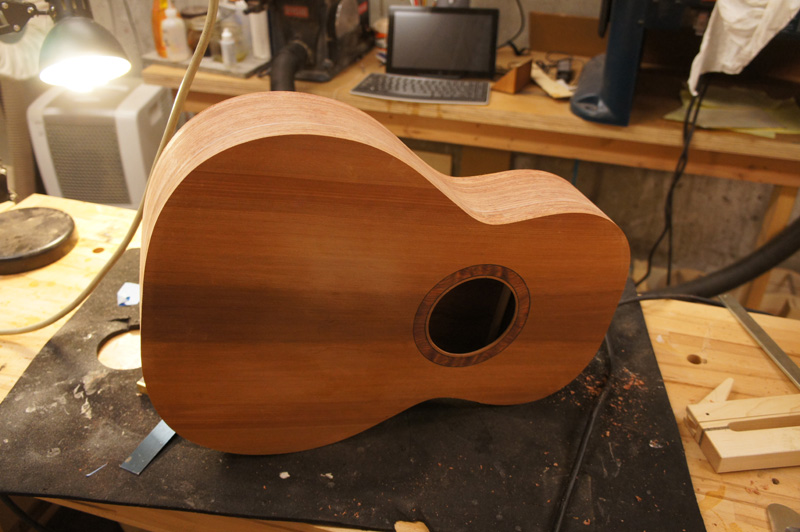
I managed to close the box today and trimmed the plates flush to the sides. Before I closed the box up I did some final tap tuning and was able to open up the sound a bit. Through the tap tuning and before I closed the box I used a free software tool visual analyzer to take spectrum traces. After I finished tap tuning I took and recorded another sample. I am not sure what I am going to do with it but I am including it in my notes with the top thickness and the brace sizes.
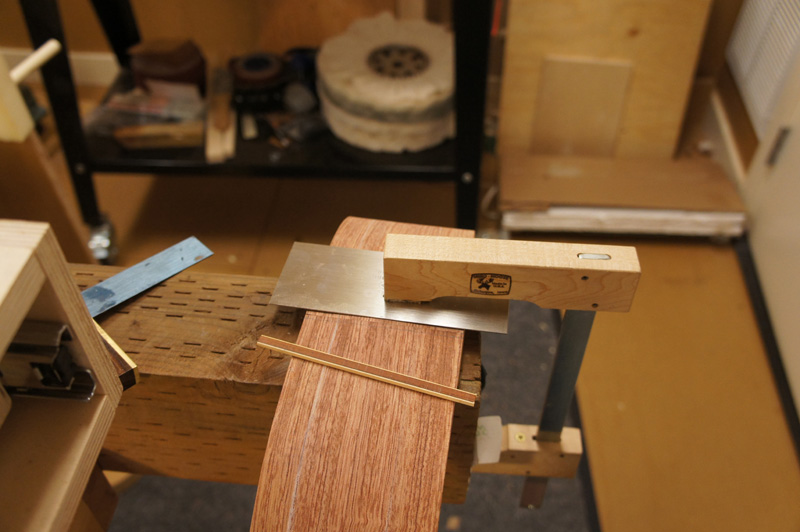
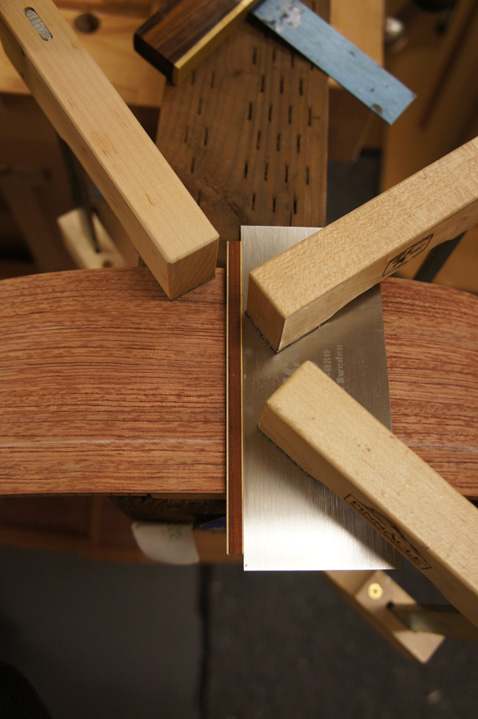
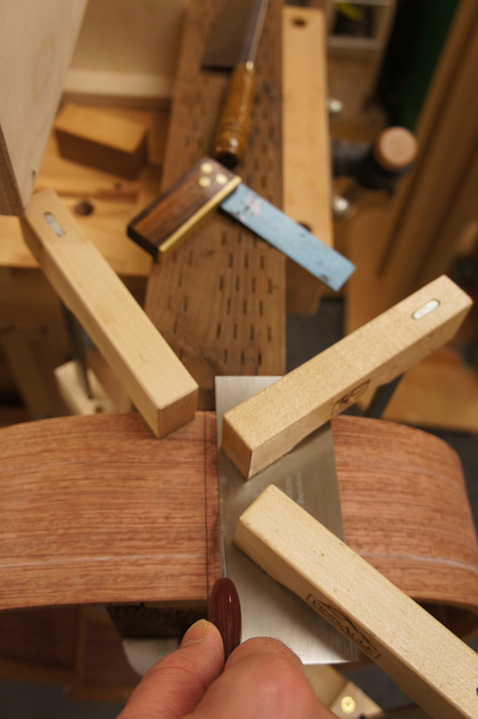
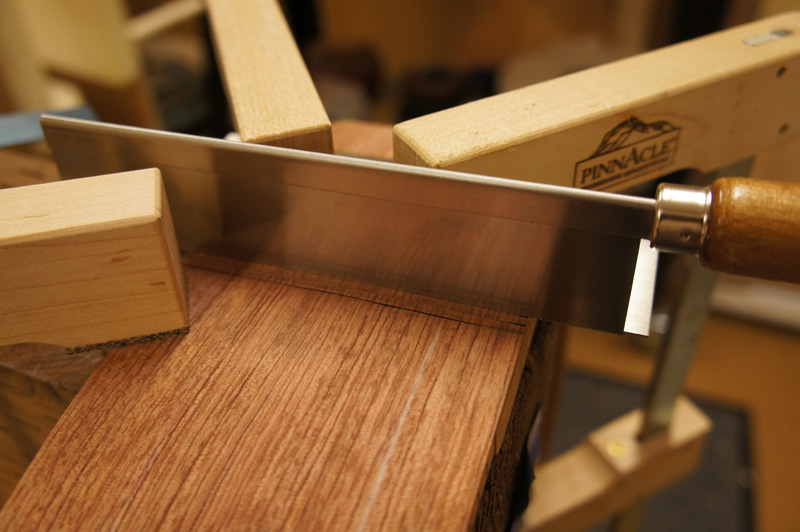
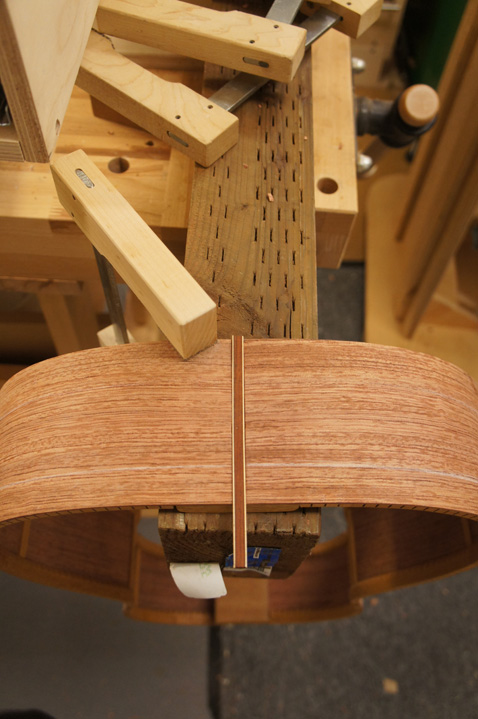
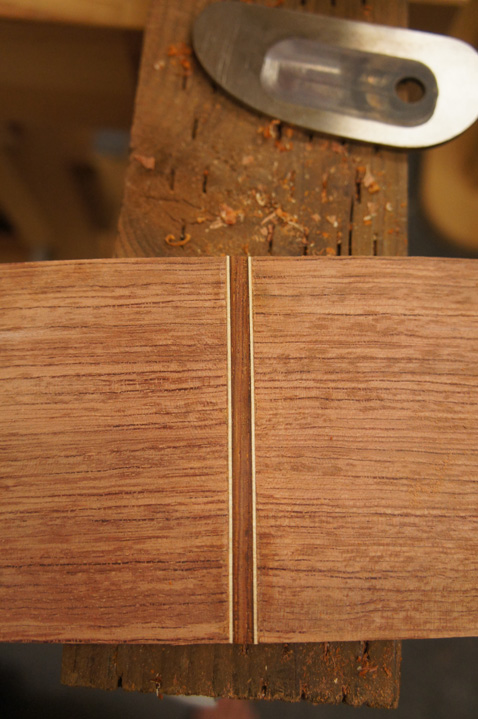
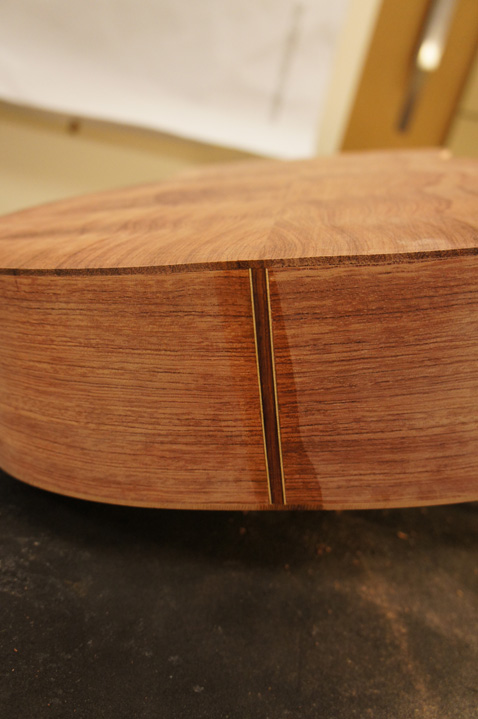
Before I closed the box I added the end wedge (although I am doing it more like a classical guitar and it is more of a strip than a wedge. In the past this gave me fits as it has to be cut right or the install looks a little messy. This time I measured and marked where I thought the cuts should be. Placed my strip (I am using a back center strip) to make sure that I had marked it correctly. I used a scraper has a guide and scored the wood deep on one side with a scalpel. I very carefully razor sawed in the scalpel line to I was through the sides to the end block.
I placed the strip back on the rims against my scraper guide to double sure that I had the correct line for the strip. I scored that line with the scalpel and moved the guide against my scored line. Scored the line a bit deep with the scalpel finished the cut with the razor saw and chiseled out the waste.
The scalpel really helped by starting the initial cut clean. In the past I had worn the edge of cut on the rims so that when I installed the strip even when it was tight I would get a visible (messy) joint.
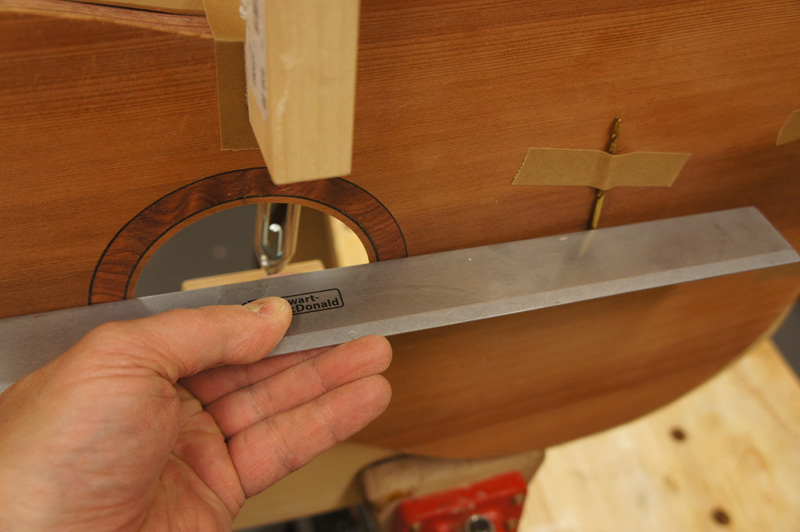
Before gluing on the top I did a final check that I got the top geometry correct. With a straight edge on the top where the fret board extension go I checked to make sure I had 1/8th inch off of the top at the bridge saddle location. I use a drill bit as my gauge.
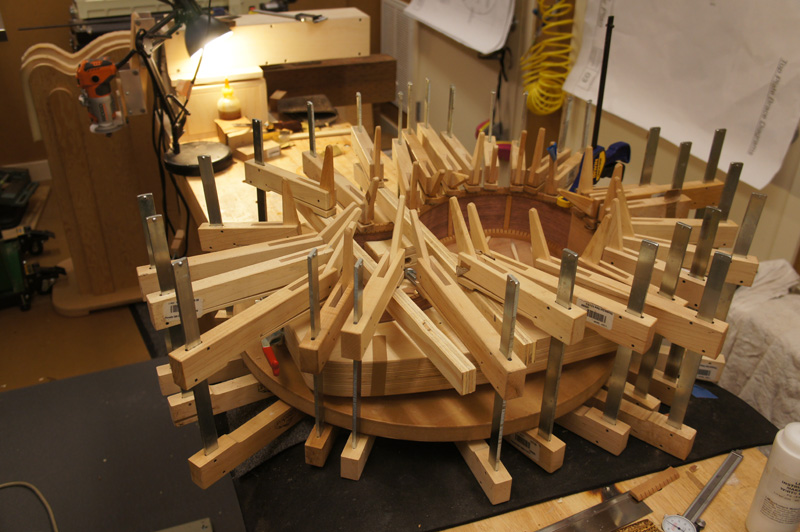
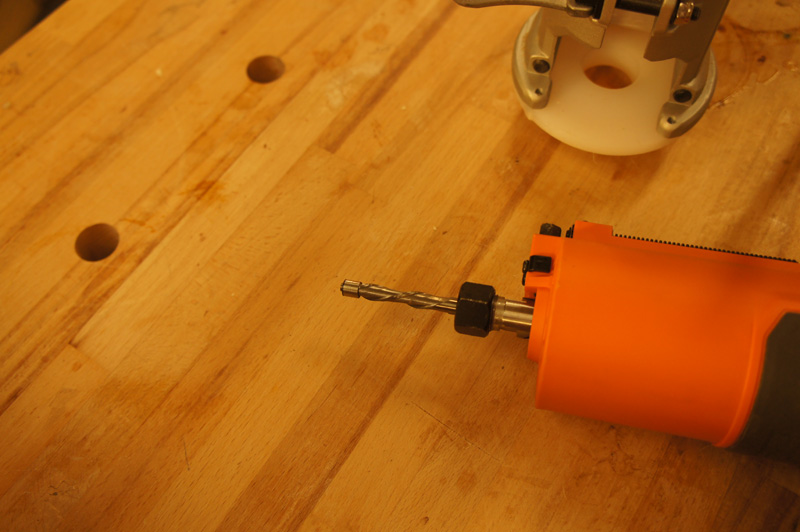
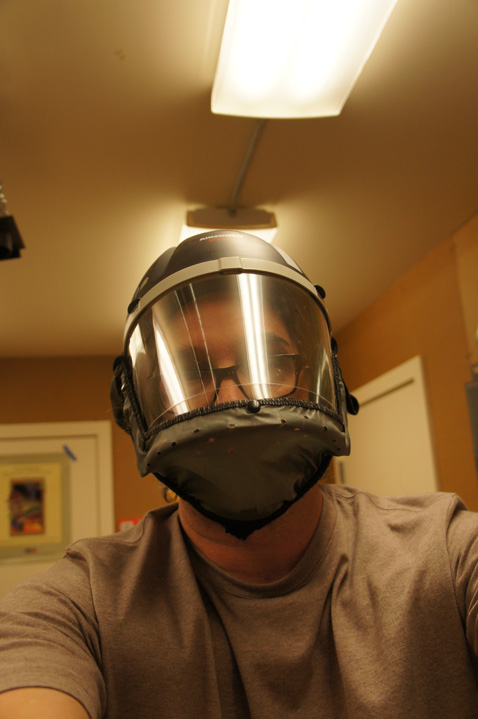
After that check I glued on the top, did my final tuning of the braces, glued on the back and trimmed the plate edges with my new spiral cut flush bit. For the first time I used my new powered full face dust mask. I have been breathing too much wood dust, so I though I better take care of myself.


Re: # 10 a Martin 00 size guitar.
Wow!! You’ve done an exceptional job with dazzling results. Great pictures of what’s going to be a remarkable guitar. Thanks for sharing!!
George
George
Re: # 10 a Martin 00 size guitar.
Nice work John. I did a "wedge" similar to yours once and it made me much more nervous than a wedge does, and for the same reason. Harder to fit. I have never fit the tail wedge before completing the box but it definitely looks easier to do. Have you ever done it on a completed box prior to binding? Seems like the binding job gets more complicated, especially for mitered purfling. Any thoughts?
-
Tim Benware
- Posts: 1489
- Joined: Thu Dec 22, 2011 1:22 pm
- Location: Asheboro, NC
Re: # 10 a Martin 00 size guitar.
It looking really good John. I want to build a 00 s00n. Question - is there any reason you don't pre-shape your baces more before gluing them up? Is it because you use a go-bar deck?
I've "Ben-Had" again!
Tim Benware
Creedmoor, NC
Tim Benware
Creedmoor, NC
-
John Parchem
- Posts: 2746
- Joined: Fri Dec 23, 2011 8:33 pm
- Location: Seattle
- Contact:
Re: # 10 a Martin 00 size guitar.
Ben-Had wrote:It looking really good John. I want to build a 00 s00n. Question - is there any reason you don't pre-shape your baces more before gluing them up? Is it because you use a go-bar deck?
Mainly it is the go bar deck the extra wood is my caul. I am gathering the supplies for a vacuum clamp for my tops and backs then I might pre-shape more.
-
John Parchem
- Posts: 2746
- Joined: Fri Dec 23, 2011 8:33 pm
- Location: Seattle
- Contact:
Re: # 10 a Martin 00 size guitar.
I have done it after the box is closed with the binding channels cut. At one point I did not have a good way to hold the box stable upside down after closing it up and I got in the habit of adding the strip before I closed the box. When I route the bindings I will tape a bit of purfling on the top and back to avoid routing the top of the strip off. Then a bit of chisel work and I can complete the miters.TonyinNYC wrote:Nice work John. I did a "wedge" similar to yours once and it made me much more nervous than a wedge does, and for the same reason. Harder to fit. I have never fit the tail wedge before completing the box but it definitely looks easier to do. Have you ever done it on a completed box prior to binding? Seems like the binding job gets more complicated, especially for mitered purfling. Any thoughts?
