harp ukulele project - Gluing down the bridge...
-
Dave Bagwill
- Posts: 5951
- Joined: Tue Dec 13, 2011 7:44 pm
Re: Starting a harp ukulele
This is interesting and enjoyable, John, thanks.
-Under permanent construction
-
John Parchem
- Posts: 2746
- Joined: Fri Dec 23, 2011 8:33 pm
- Location: Seattle
- Contact:
Re: harp ukulele build -- Power tool wake-up call :(
On the back of the harp headstock there is going to be 1 " radius curve. I have a very sharp 1" radius cove bit. A big bit 2 inch around an inch or so high. Some how I must not have tighten down the bit well enough in the router because half way through the cut the bit took off into the air like a whirly toy taking the board and my hands with it. I think I let go of the board but as the bit was flying by it nicked my index finger. Ouch! Nice clean but deep cut. I did not hit any thing important as it hit the out side index finger between the first joint and nail.
But ignore all of that; with nice safe hand tools (as long as one keeps their body parts out of the way) I have the neck rough carved.
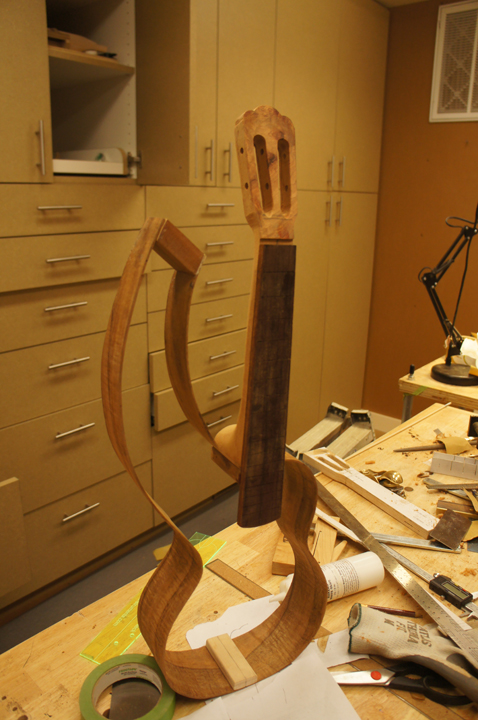
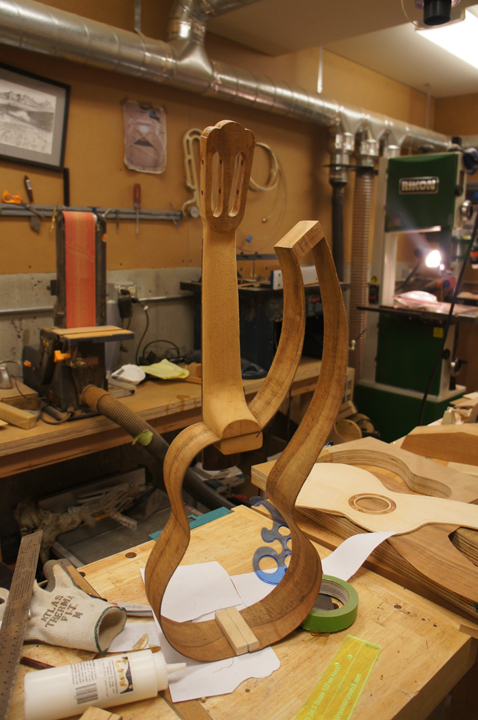
But ignore all of that; with nice safe hand tools (as long as one keeps their body parts out of the way) I have the neck rough carved.


Re: harp ukulele build -- Power tool wake-up call :(
Great log -- Thanks
Where you using a table top router or handle hand when the bit took off? What brand of router? I tell folks this can happen no matter what the price range of the tool -- just courious.
Where you using a table top router or handle hand when the bit took off? What brand of router? I tell folks this can happen no matter what the price range of the tool -- just courious.
ken cierp
http://www.kennethmichaelguitars.com/
Store Front
http://www.cncguitarproducts.com/
KMG Guitar Kit Information
http://www.kennethmichaelguitars.com/ki ... ckage.html
http://www.kennethmichaelguitars.com/
Store Front
http://www.cncguitarproducts.com/
KMG Guitar Kit Information
http://www.kennethmichaelguitars.com/ki ... ckage.html
-
John Parchem
- Posts: 2746
- Joined: Fri Dec 23, 2011 8:33 pm
- Location: Seattle
- Contact:
Re: harp ukulele build -- Power tool wake-up call :(
Thanks Ken,
I have a Bosch 1617EVS in a Bosch table. I am very careful watching where my hands are, staying out of kick back area and the like. Every time I use a power tool I think about the fact that I am using one. Still I was shocked by how quickly things happened.
I have a Bosch 1617EVS in a Bosch table. I am very careful watching where my hands are, staying out of kick back area and the like. Every time I use a power tool I think about the fact that I am using one. Still I was shocked by how quickly things happened.
-
John Parchem
- Posts: 2746
- Joined: Fri Dec 23, 2011 8:33 pm
- Location: Seattle
- Contact:
Re: harp ukulele build -- Power tool wake-up call :(
I was on vacation for 10 days enjoying tropical storm Debby in Orlando for most of it. But I have made a bit more progress.
I used some scrap sinker redwood to make a back strip and rounded it off with my backstrip sanding block. The rims are profiled with some ukulele sized kerfling I got from Waldron Instruments. I chose to use some Adirondack brace stock for the top braces. The back braces are from some Spanish cedar I have from my classical guitar projects.
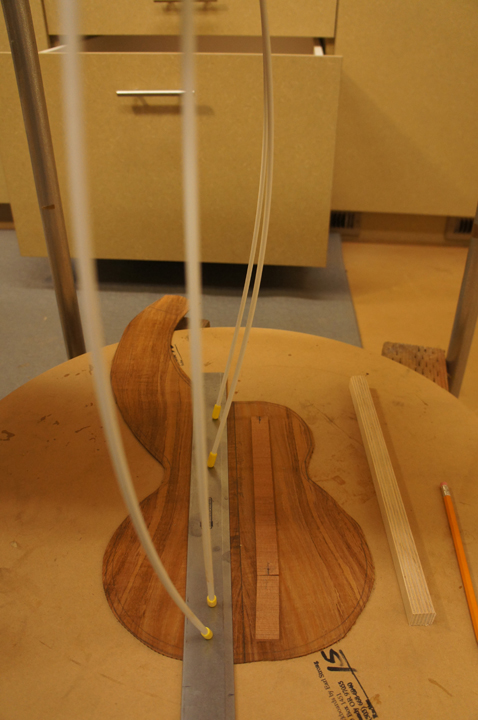
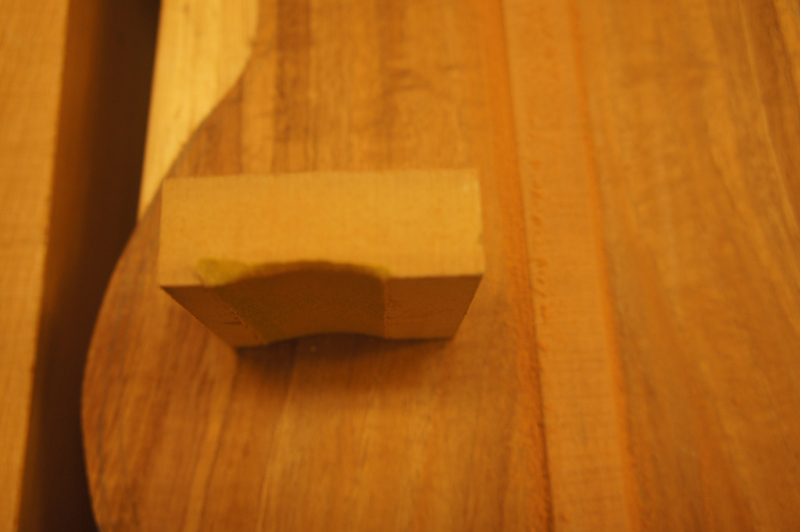
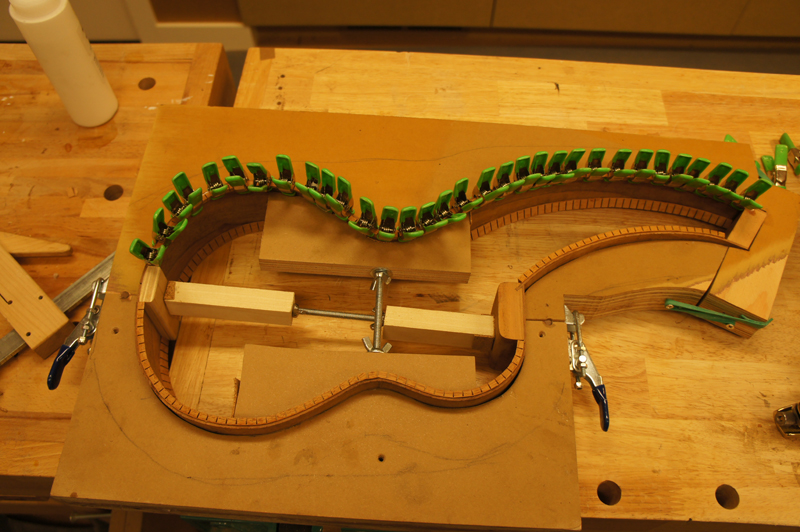
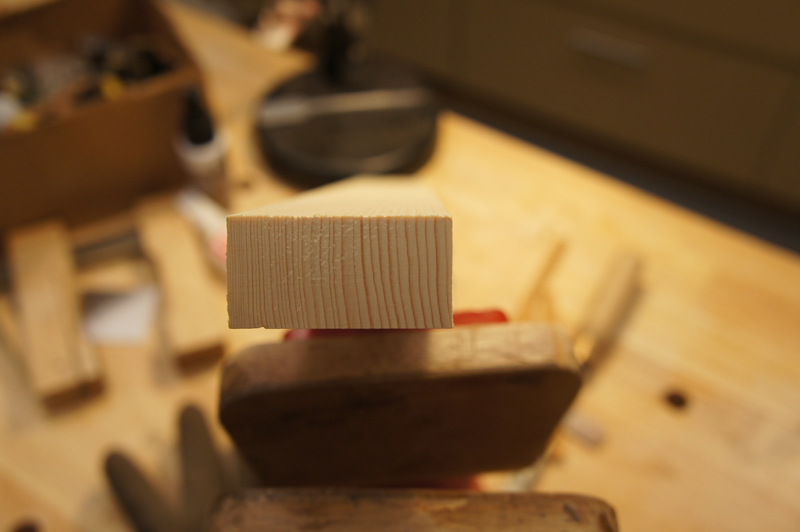
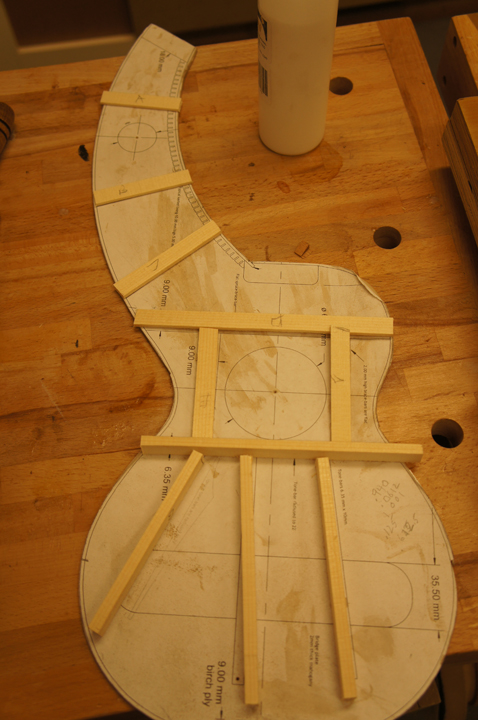
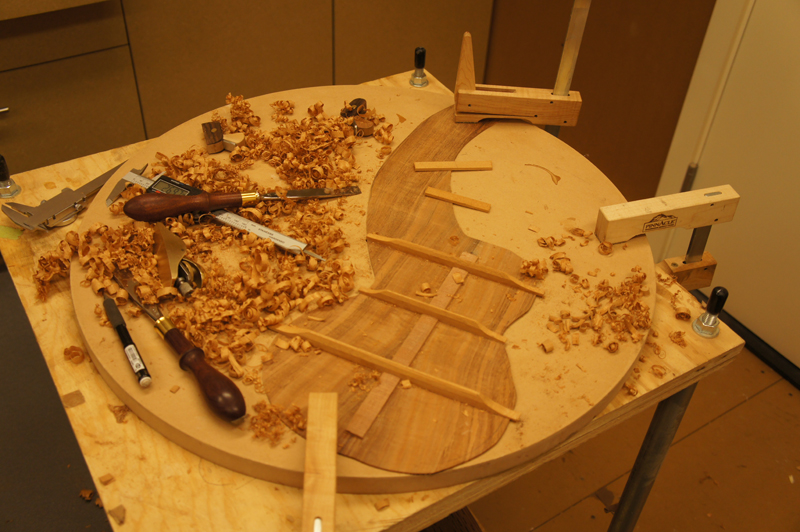
I used some scrap sinker redwood to make a back strip and rounded it off with my backstrip sanding block. The rims are profiled with some ukulele sized kerfling I got from Waldron Instruments. I chose to use some Adirondack brace stock for the top braces. The back braces are from some Spanish cedar I have from my classical guitar projects.


-
John Parchem
- Posts: 2746
- Joined: Fri Dec 23, 2011 8:33 pm
- Location: Seattle
- Contact:
Re: harp ukulele project blog
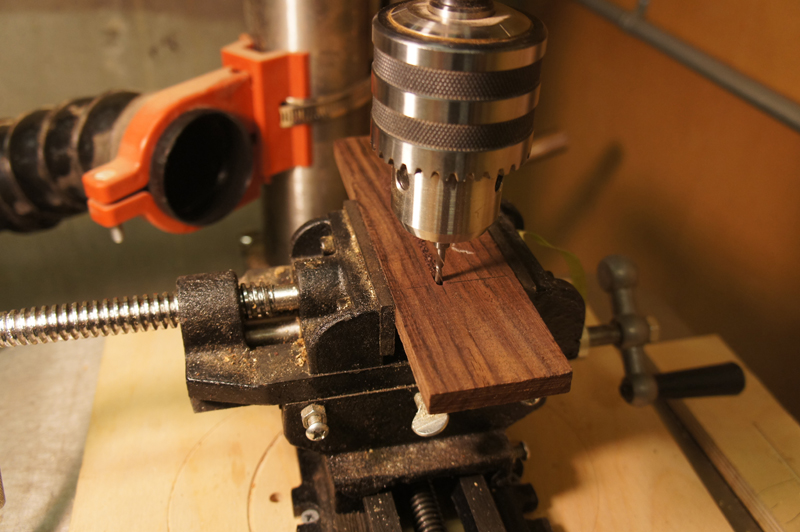
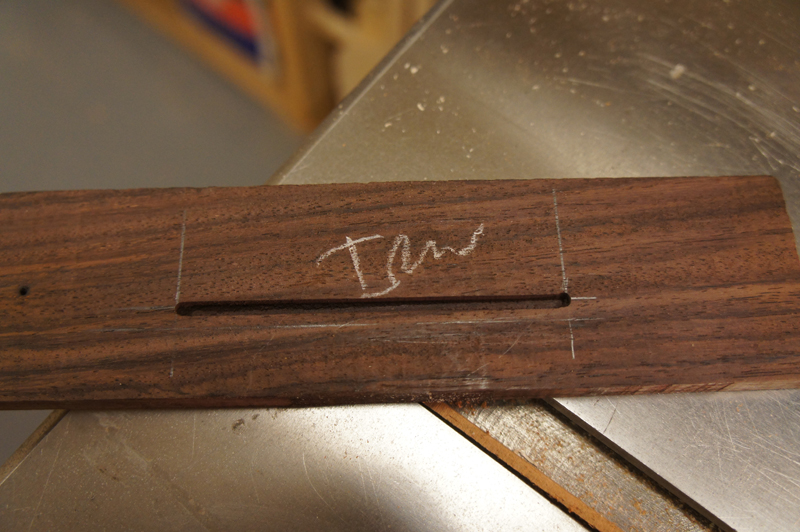
I made my first bridge today. No one seems to stock harp ukulele bridges so I was forced to make my own. Quite awhile ago I bought a cheap under $80 cross vise. Although I am sure that it is not really accurate it is more accurate than me with a router including using a guide. I used a 1/8th inch end mill with my table saw running at its fastest speed. I very carefully made sure that the bridge blank was at an even height across the run and then made the plunge. I cranked away on one of the handles until the cut was finished. I ended up with a very nice slot.
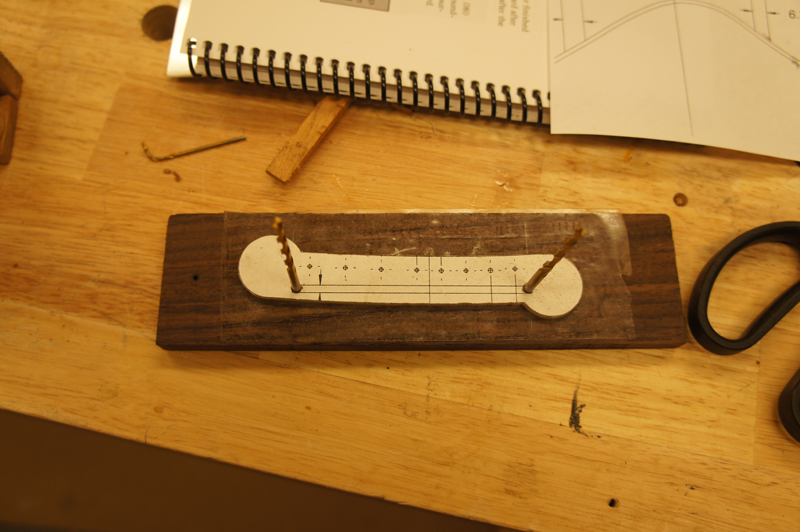
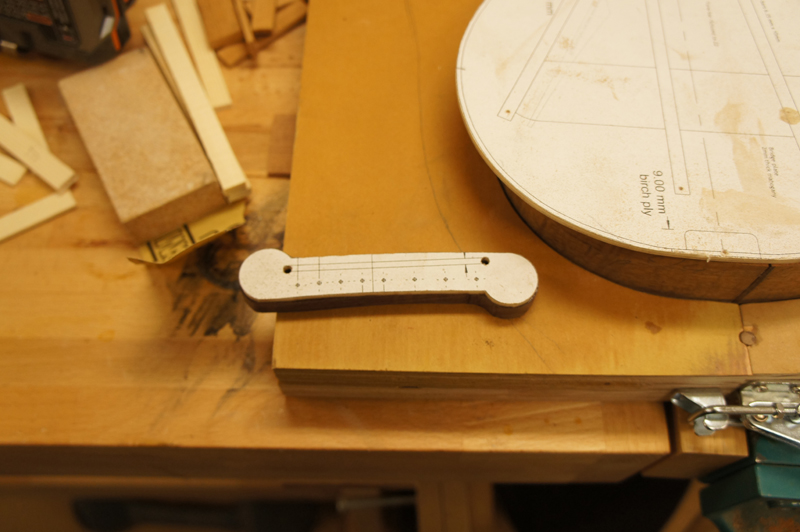
I used a couple of drill bits as guides to help me tape my template on the blank and cut the rough shape on a band saw. I also played with my cross vise to drill the string holes. After planing the bridge close to the correct thickness I used a chisel to bevel the ends of the bridge. I am really happy with the results. It will really be clean with a bit of sandpaper.
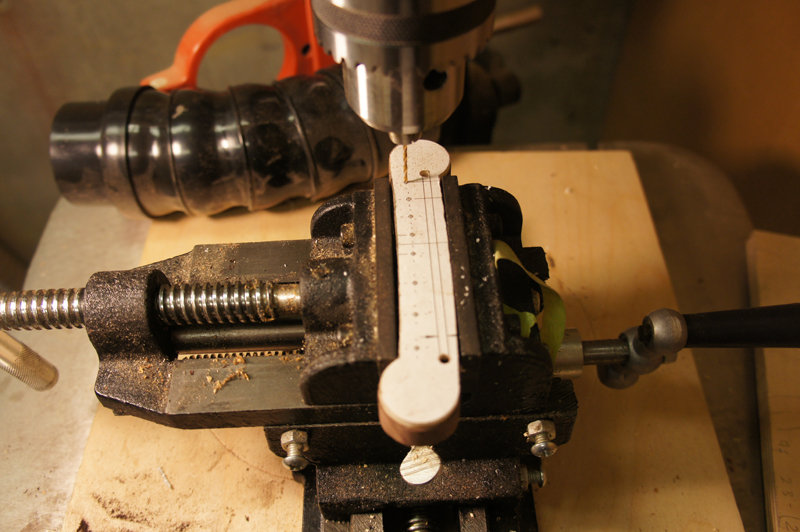
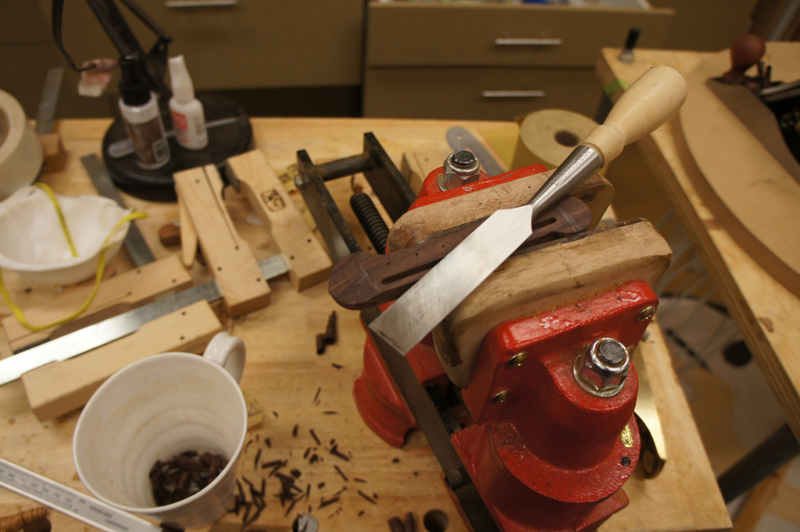
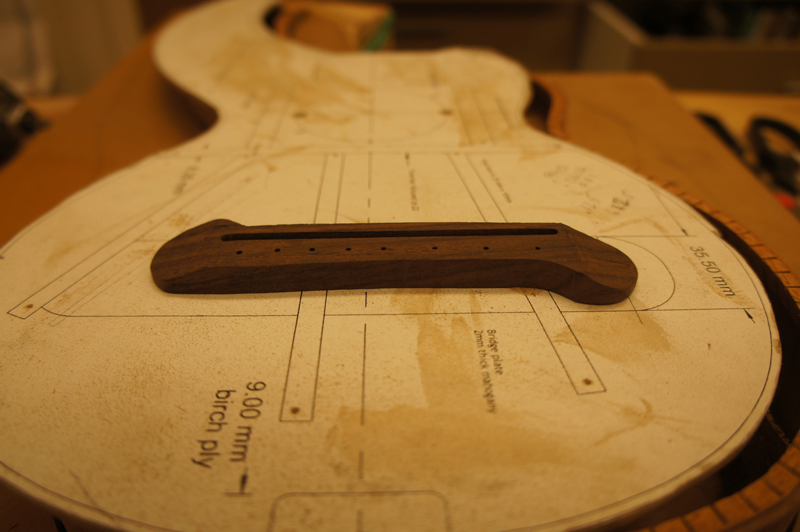
I used a couple of drill bits as guides to help me tape my template on the blank and cut the rough shape on a band saw. I also played with my cross vise to drill the string holes. After planing the bridge close to the correct thickness I used a chisel to bevel the ends of the bridge. I am really happy with the results. It will really be clean with a bit of sandpaper.


-
John Parchem
- Posts: 2746
- Joined: Fri Dec 23, 2011 8:33 pm
- Location: Seattle
- Contact:
Re: harp ukulele project blog - made my first bridge today!
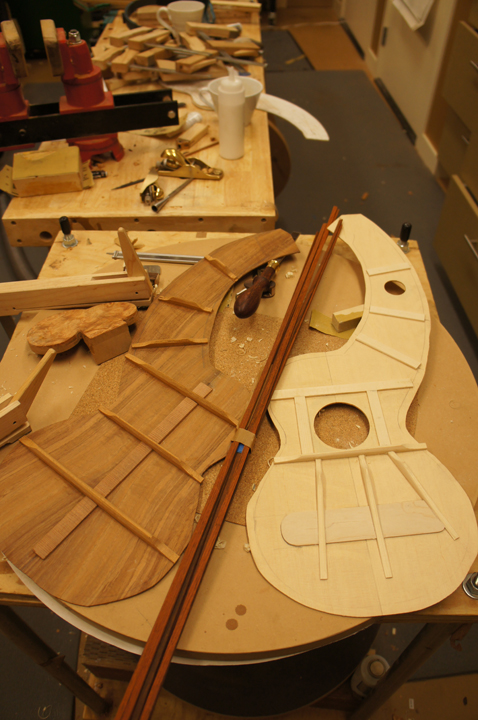
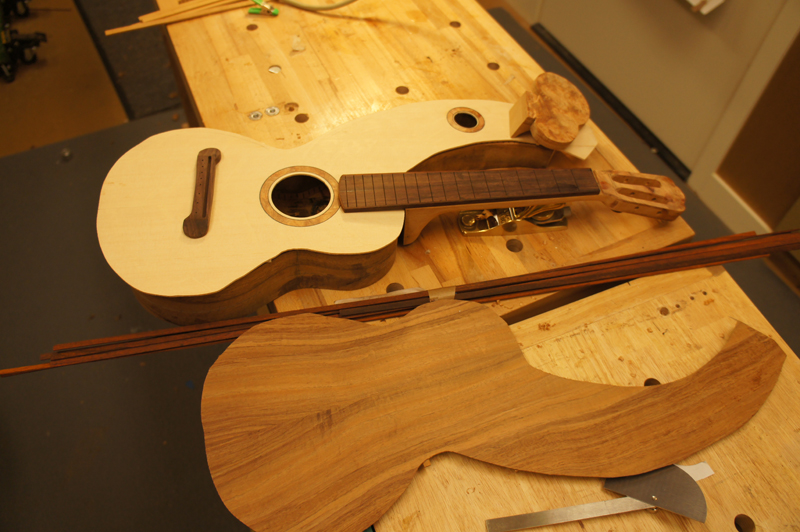
I finished making all the components for the harp ukulele this morning and am ready to start putting the instrument together. Thanks to a timely post on Kathy Matsushita's website, http://home.comcast.net/~kathymatsushit ... /2hu1.html, about binding her instrument around the harp peg board I realized I was heading for trouble. The design has the top extend up and into the harp peg board. My initial thought was to bind to the top of the sound box and miter across the top of the rims. The problem Kathy pointed out is as viewed from the top the binding stops before the top does.
I could extend the binding around the peg board but I am not brave enough to try that. I finally decided to run the binding up the stalk of the organically shaped pegboard on the top side and forgo the horizontal binding on the rim between the sound box and the peg board. On the back side I will close off the sound box with a mitered binding. I can finish the back bindings before I glue on the harp peg board or at least route the rebate on the harp neck end block. I think it will end up with a clean and finished look.
My last outstanding decision (I am sure more will come up) is what binding to use. My thoughts up until this morning was to use the cocobolo bindings shown in the pictures. I am such a minimalist design wise that I am starting to think of switching to ebony bindings to avoid adding another color to the instrument. Both the amboyna and the koa already present a lot of figure and color. I am going to use amboyna from the same block as the rosette and pegboard veneers for the end wedge. If I go with ebony bindings I can frame the end wedge with black fiber purfling. I could get a nice jointed look with no joinery. We will see; I have a few days to decide that.


