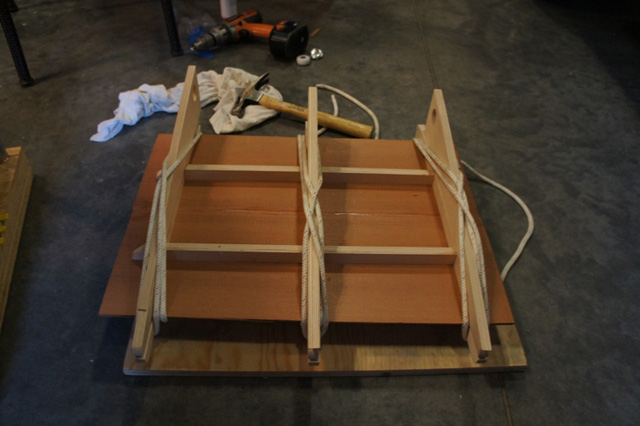
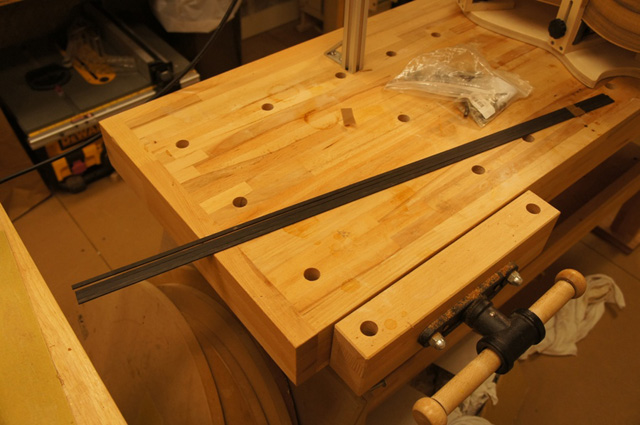
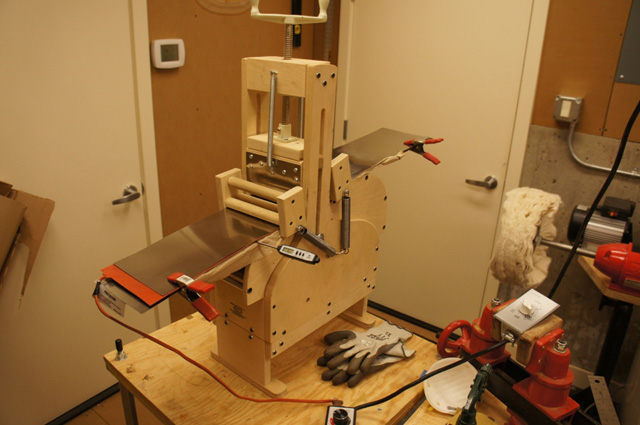
You will see in the pictures that I was able to use my new handy gluing jig to glue my top and back plates together.
I made a rosette from some spalted veneer I had from a mystery pack of rosette wood that I have. It was progressing nicely until I tried to fill in the purflex purflings with black epoxy, before I sealed the end grain of the redwood. It is still too early to show that picture. Lets just say I have some nice wood for a ukulele top that I can salvage.
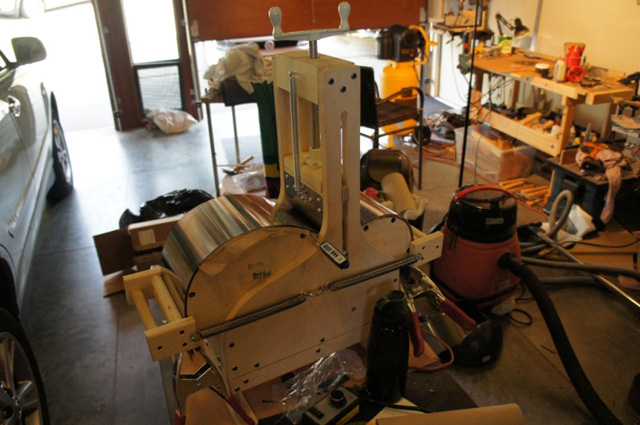
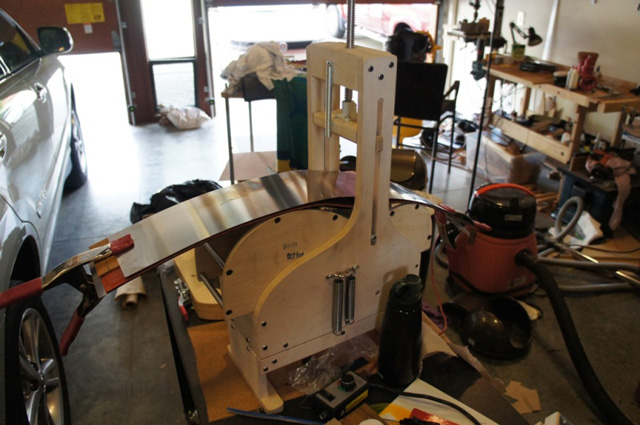
I thinned the sides to a bit over .09" before bending.

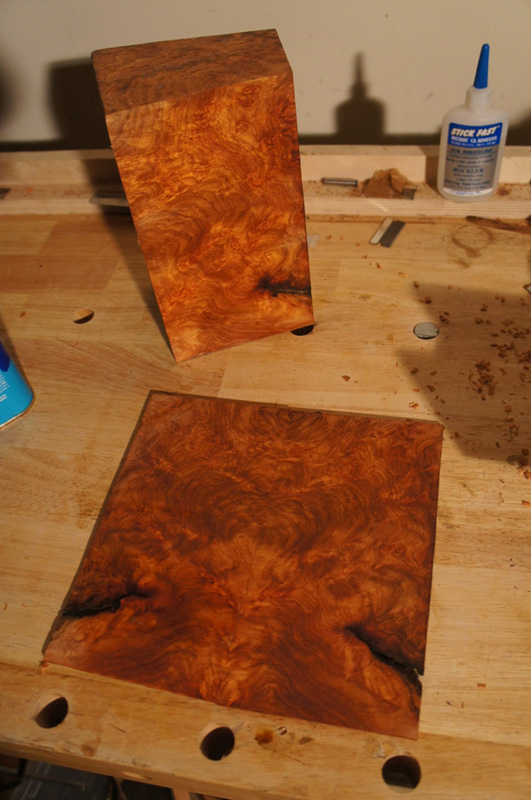
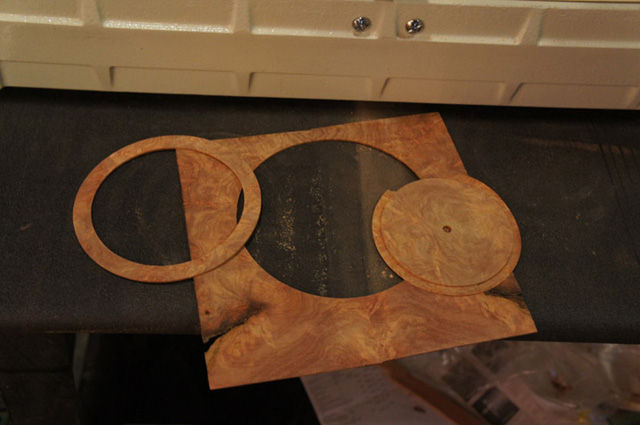
Feeling bad about the lost top, I went to my local Rocklier store and found a chunk of Amboyna Burl to use for the rosette and possibly a head stock veneer. I resawed a couple a pieces of veneer, sanded them level and then glued them together book matched. It looks like I can get a cool rosette from it.
Rosette and top take 2:
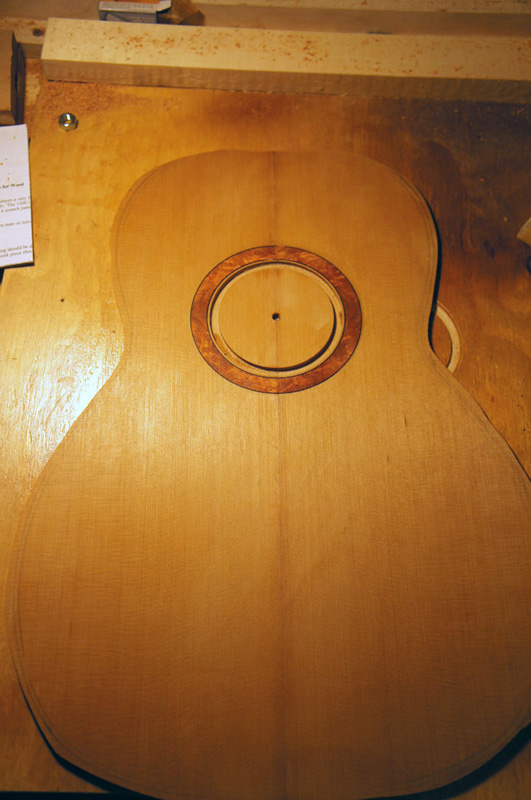
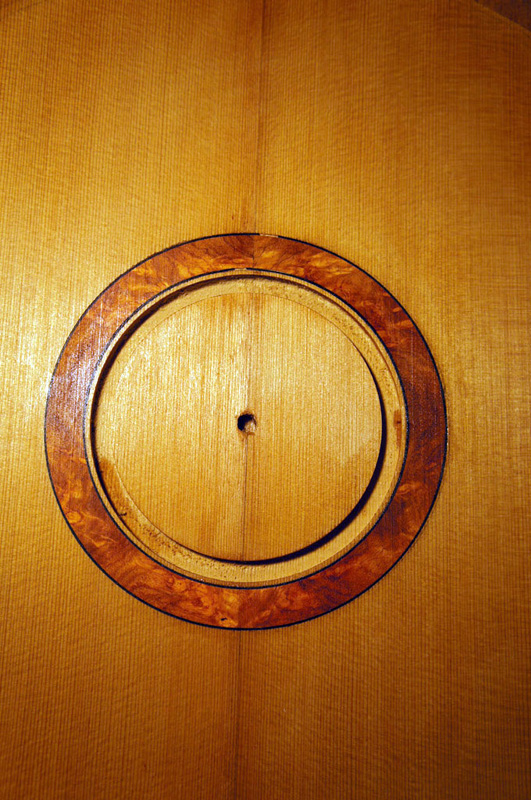
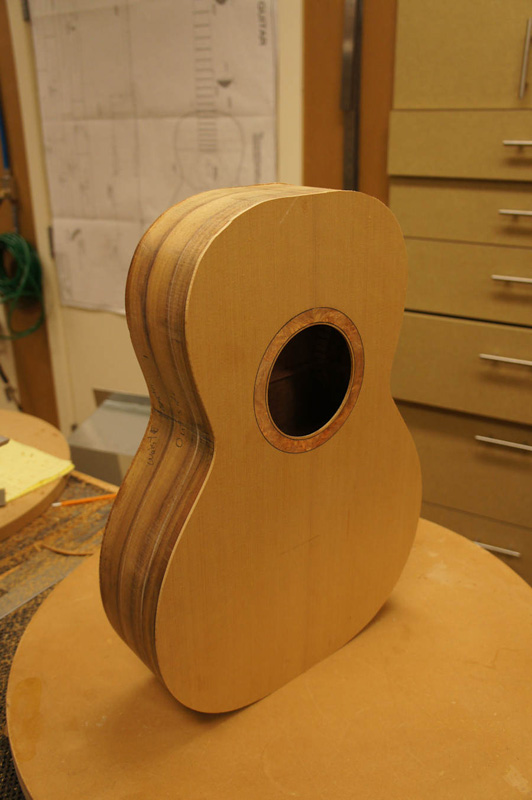
After the last top disaster I set off to put a new rosette on the to my new top. As shown in the previous post I cut and book matched the rosette veneer out of an amboyna burl. I spent a little time laying out exactly what I wanted as opposed to winging it which is my normal style..
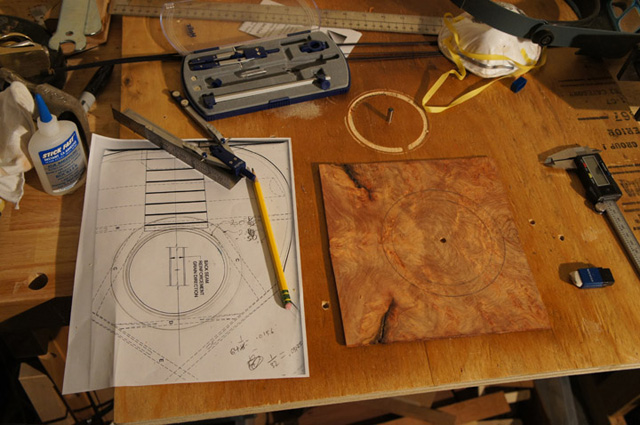
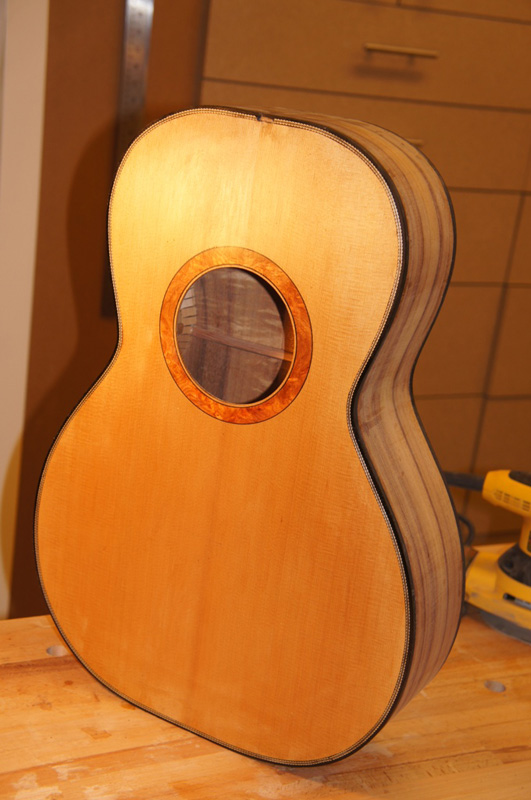
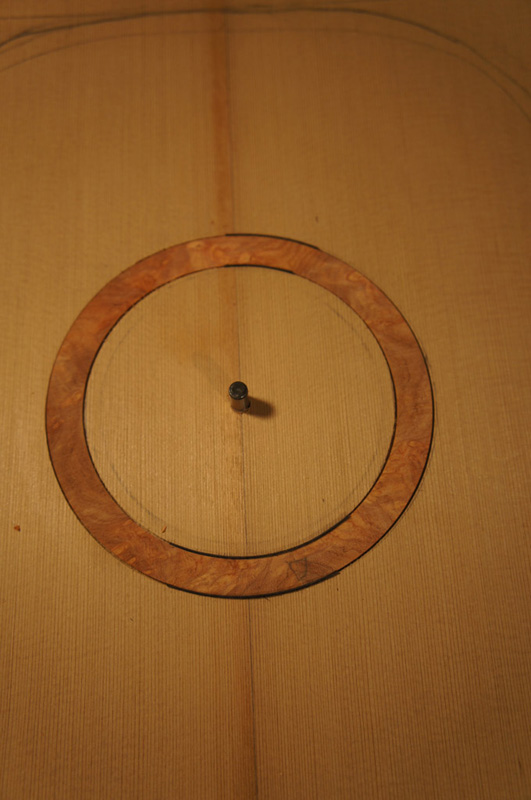
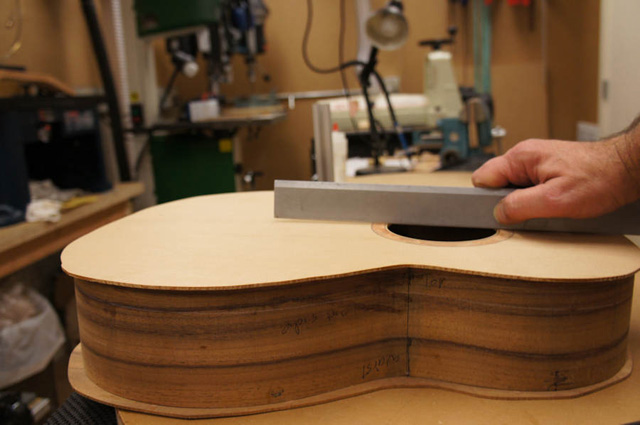
I went with a slightly bigger sound hole 3 3/4 than the Rick Micheletti plans I have show. I like the look and I hope that it give my a bit of a deeper resonance than the 3.5" hole the plans had.
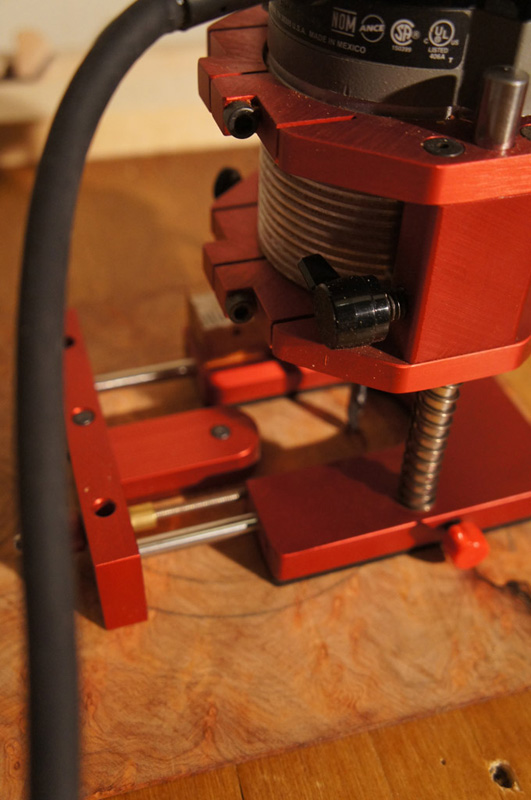
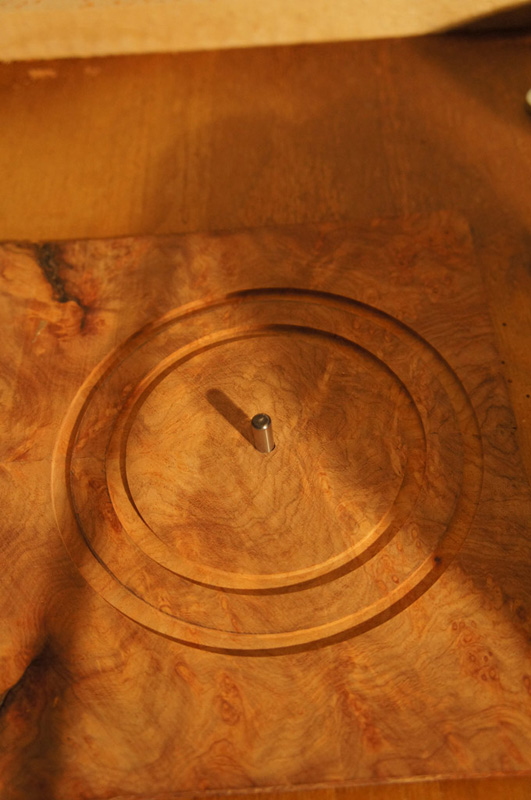
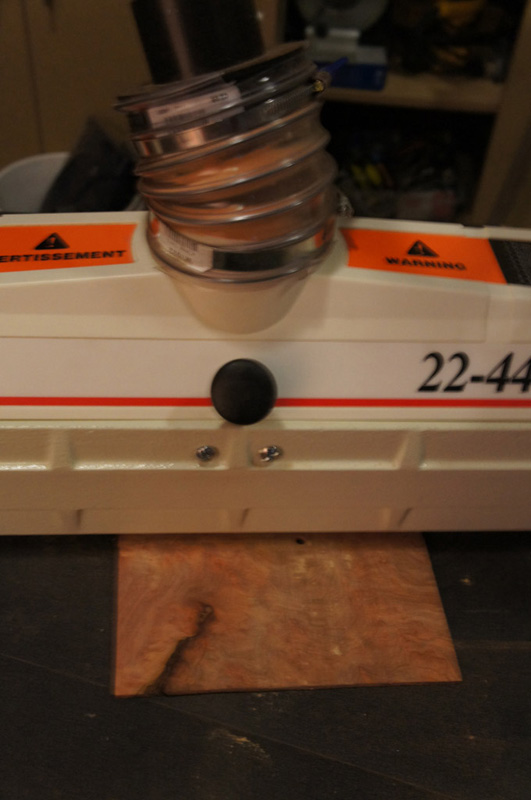
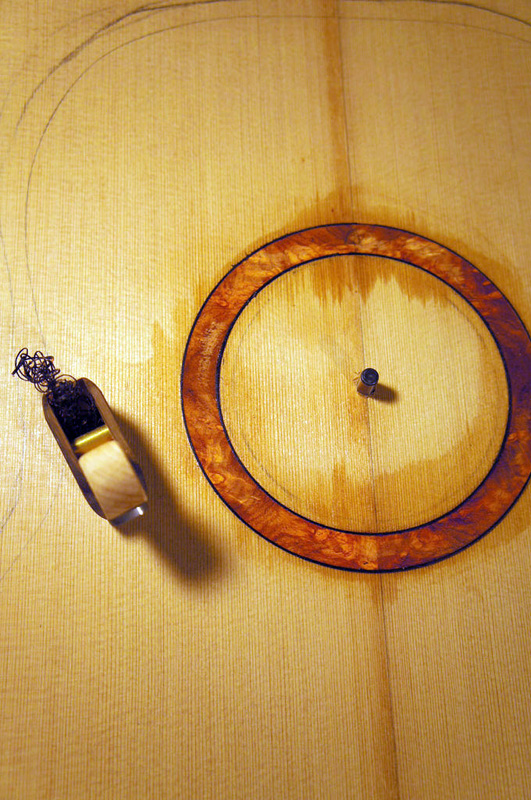
The next batch of picture show how I learned to make wood rosettes. Using the router I carefully route out the rosette only to the depth that matches the thickness of the rosette I want. (than a smudge more). Once routed I run it upside down through my drum sander until the rosette drops out. Doing it this way keep the rosette nicely centered in good wood while doing all of the routing.
With the rosette made, I carefully laid out and routed the rebate for the rosette and an inside and outside fiber purfling .020".
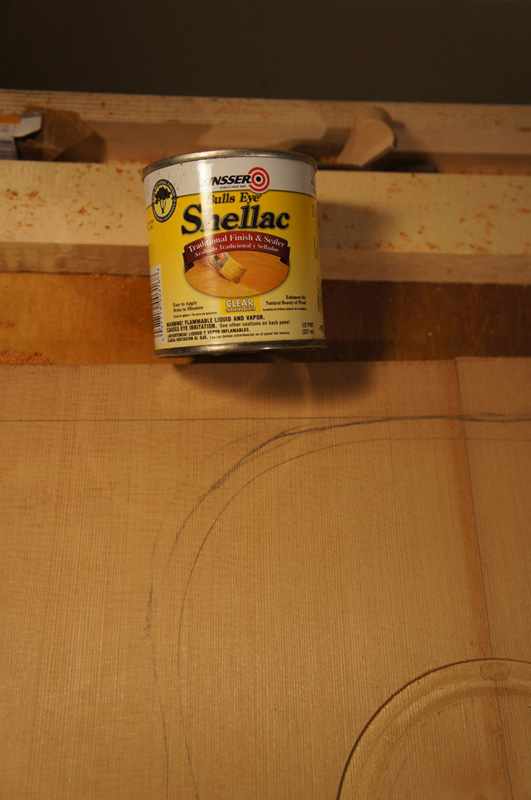
This time before I did anything with glue I shellaced the rebate to avoid stains.
The rosette fit so well I used thin CA to glue it down. After leveling the rosette, I applied a wash coat of shellac to protect the top until much later in the project.
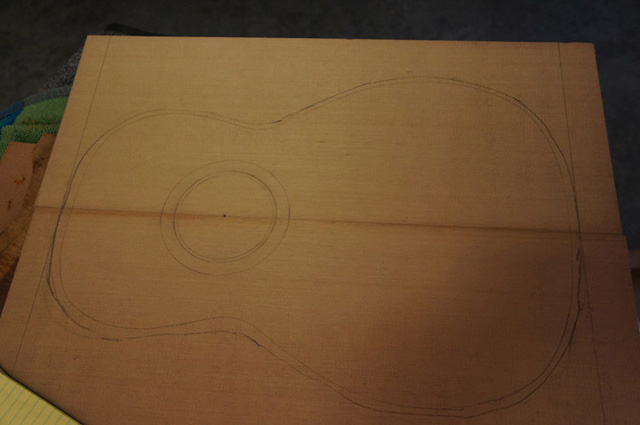
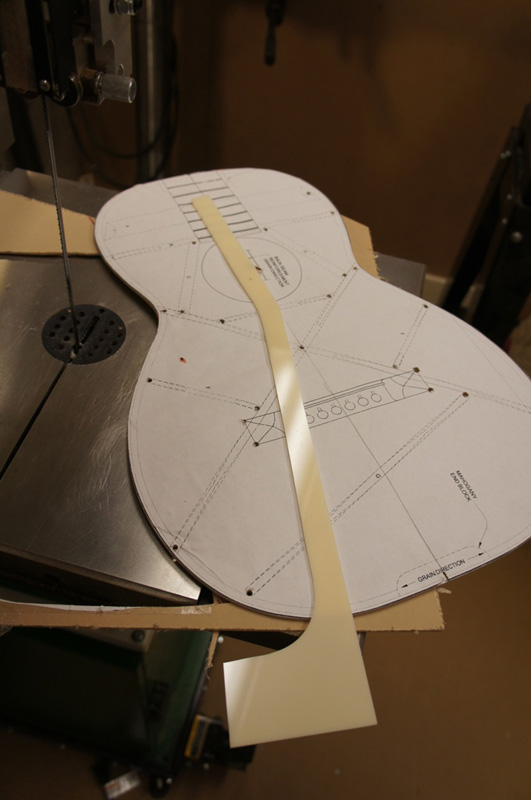
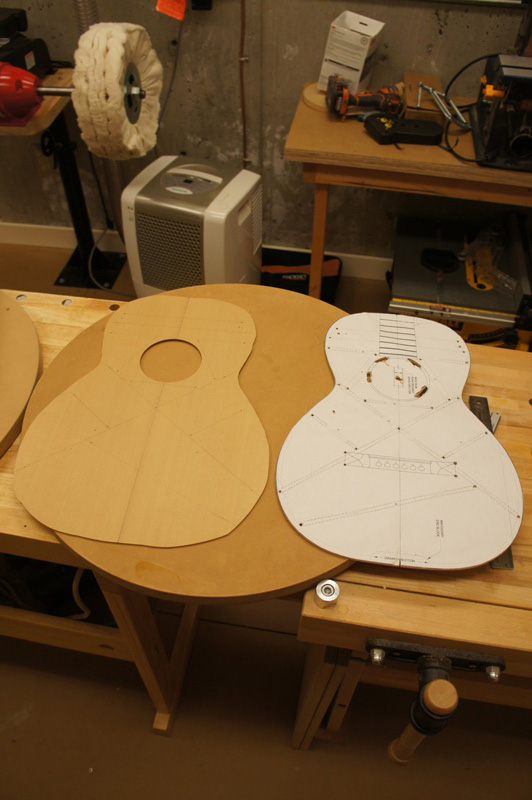
I had some cut-off from a plastic place I stopped at last month so I used it to make a body and neck template for a Martin 1905 Parlor guitar using the andes plans for a template. This guitar will not have a slotted peghead so I increased the angle a bit from the plan.
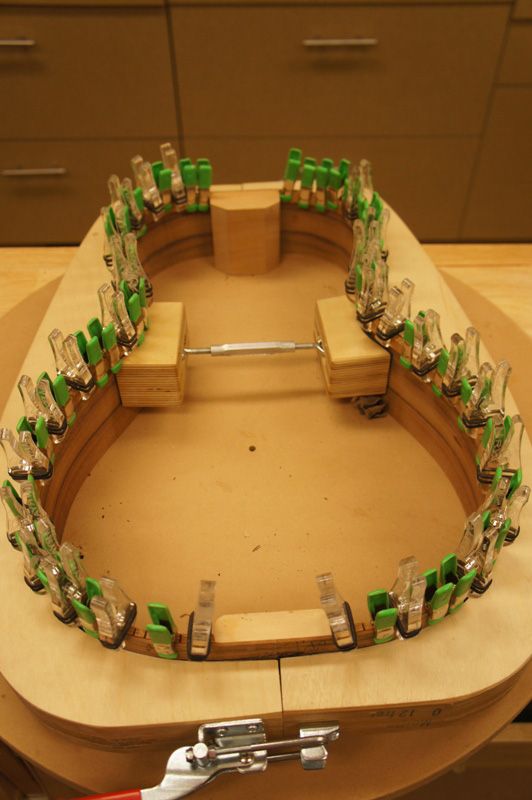
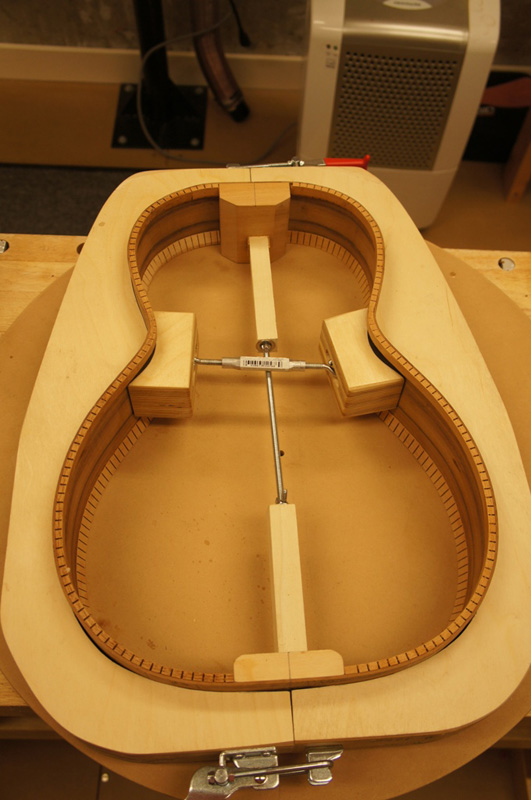
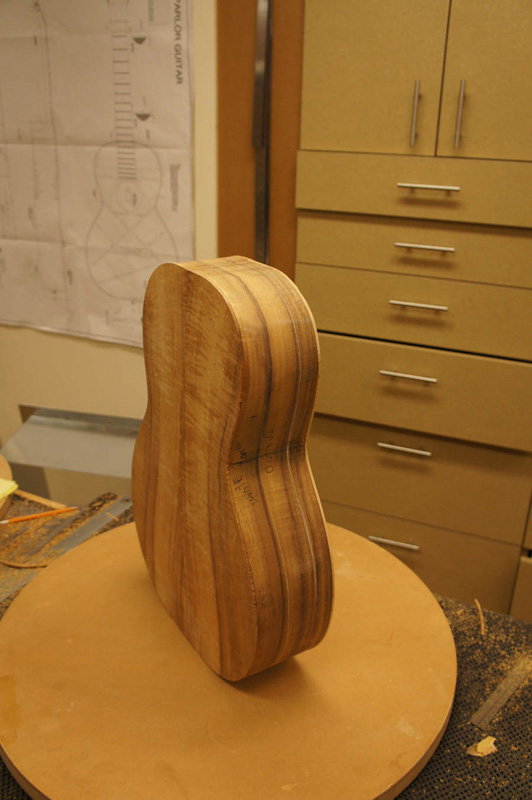
I fit the previously bent side into the rim. I was really happy with the way the sides book matched. I was not really thinking about book matching when I cut and bent the sides, but .. As I had an accurate side profile I was very carefull to mark and line up the the waist. Also when I cut out the sides I cut them together on the bandsaw. What I was really after was to have the side profile actually come close to matching the 15' dish, I ended up with perfecty book matched sides. Learn something new everyday.

I went ahead and profiled the sides in a 28' and 15' dish and glued in the kerfling. I used reverse kerfling on the top for the first time.
I thicknessed the top and back on the drum sander. I tried tap tuning as I was taught. I thinned the top tapping as I got close to the desired thickness. At one point the top really rang out. As I was taught I kept going (with the thought that the top will get stiffer with the braces.) At the point the top started to sound a bit chaotic I stopped. I ended up with the western red cedar redwood at .110" actually, actually 2.8 mm (I my heart I am a classical guitar builder.)
I got to use my handy dandy new template to mark out the braces on the back of the top.
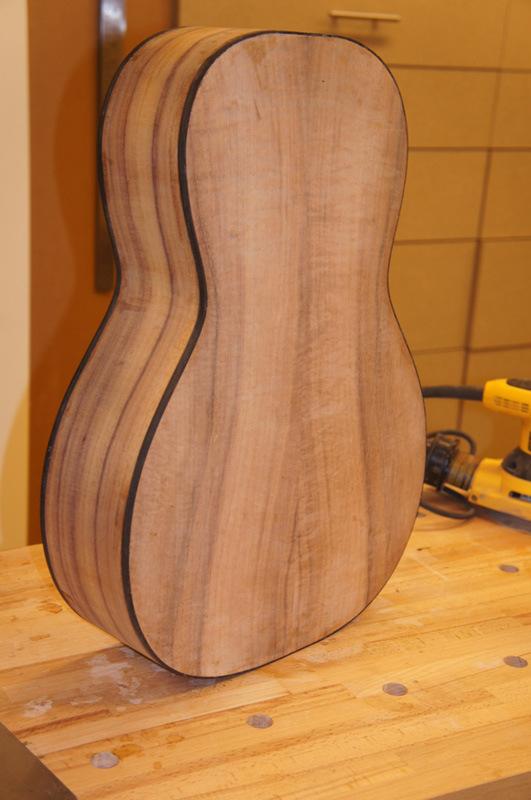
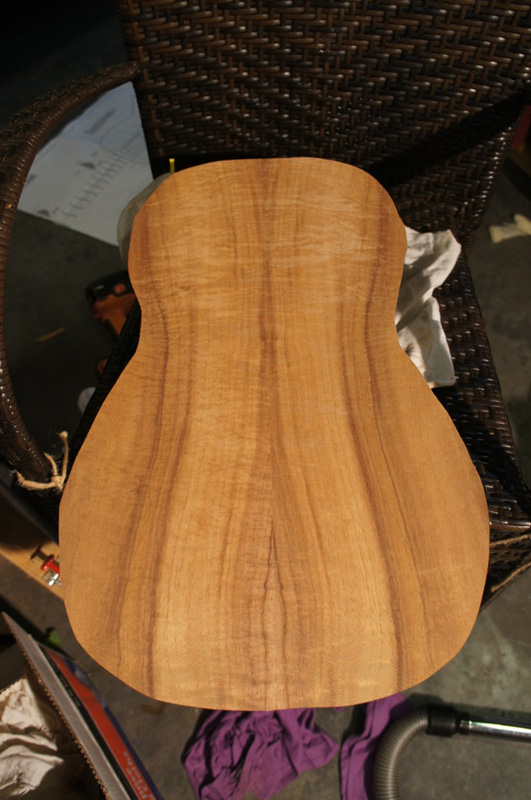
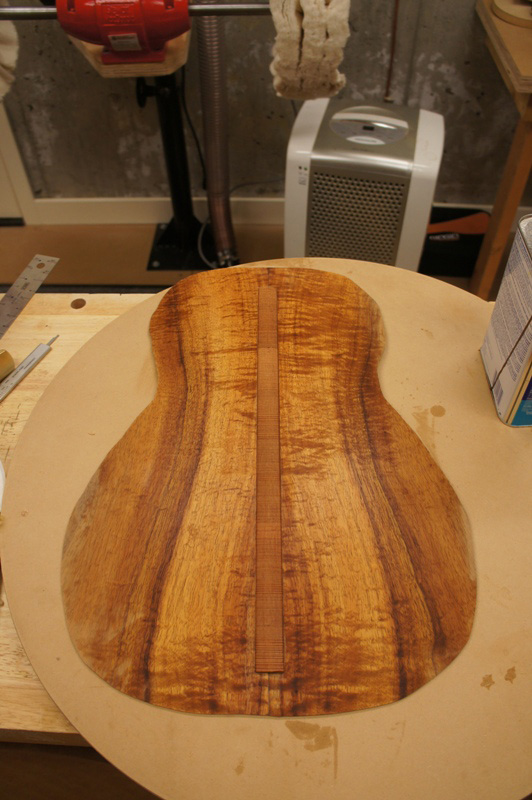
I have a bunch of master grade redwood strips from the top that I ruined, so I used one as the center strip of the Koa back.

I am pretty excited about the Koa, This is obviously the inside. I picked the best for the outside.
I noticed some people glue the braces on first and then fits the back strip in between the braces. I thought about it, but for me doing the strip first allows me to glue up against a straight edge assuring the strip is in a straigt line.
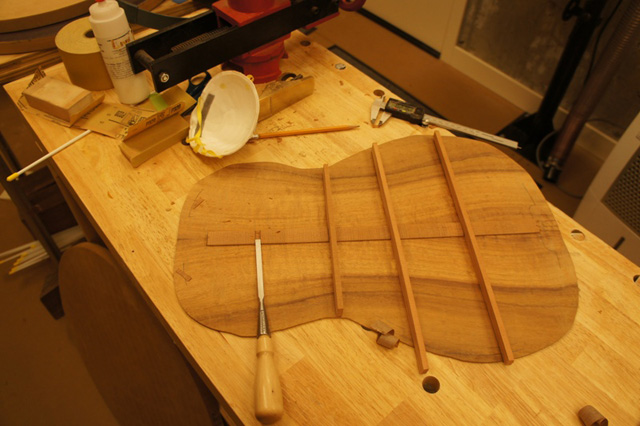
While waiting for the glued up back braces to cure I roughed out all of the braces I need for the top.
I finished the back. Now on to the top..
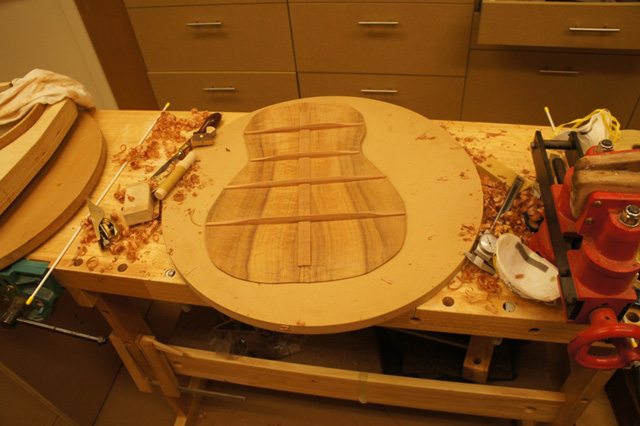
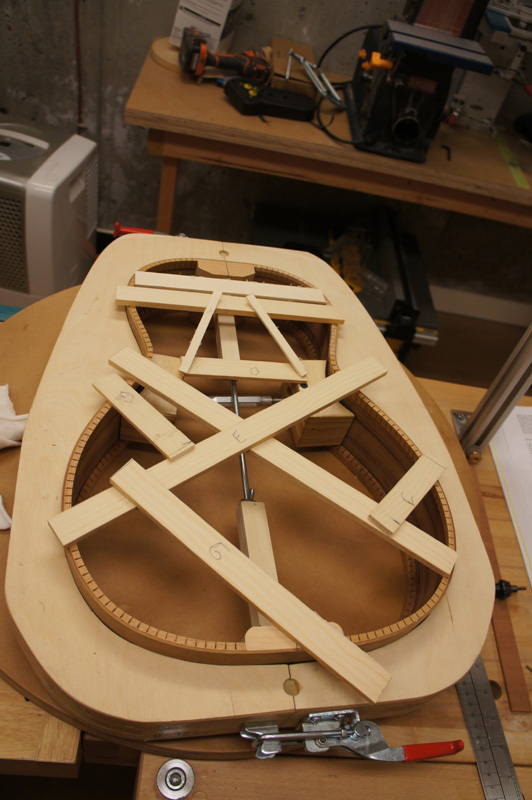
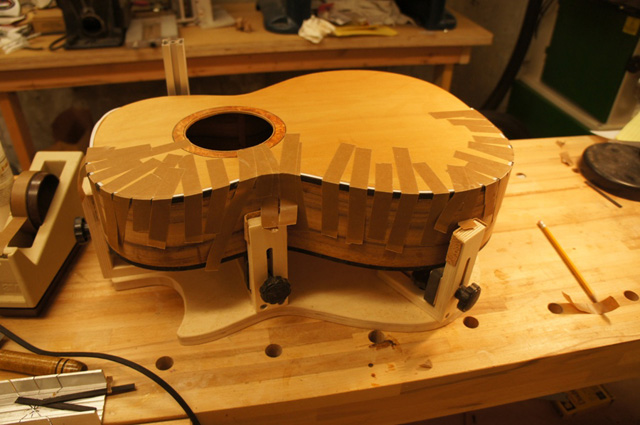
I glued on most of the braces to the top. While waiting for braces to dry today I roughed out the neck blank.
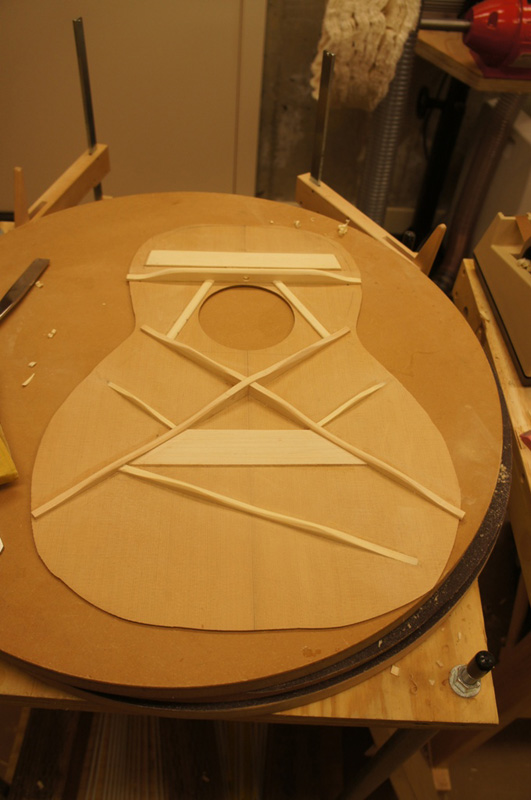
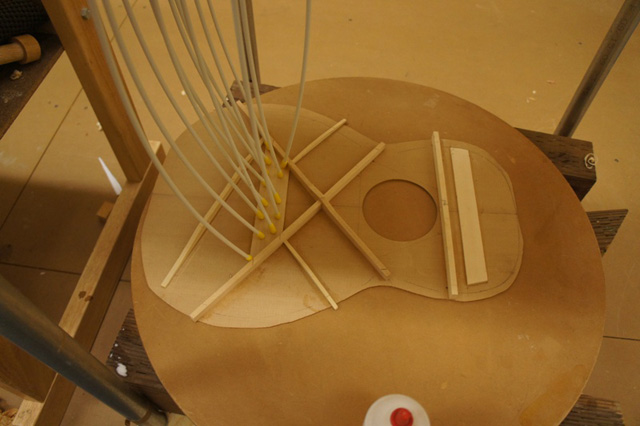
I made three sets of x-braces before I was happy with the fit and angle. The first was at the wrong angle. The second was close but the slot on one was angled so one brace leaned. If you look closly at the picture you will see the preview to my next mistake. I drew the face brace line from the mark I had for the lower bridge. You can see the correct mark under the line.

I did finally on my third try get the face brace glued in the correct position and not backwards.

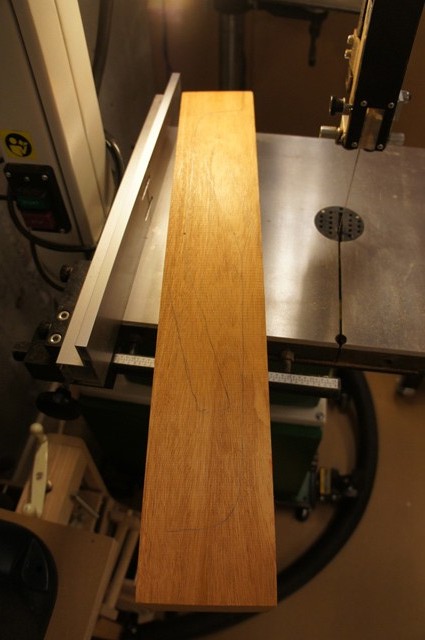
I used my bandsaw to cut out the neck blank a little oversized.
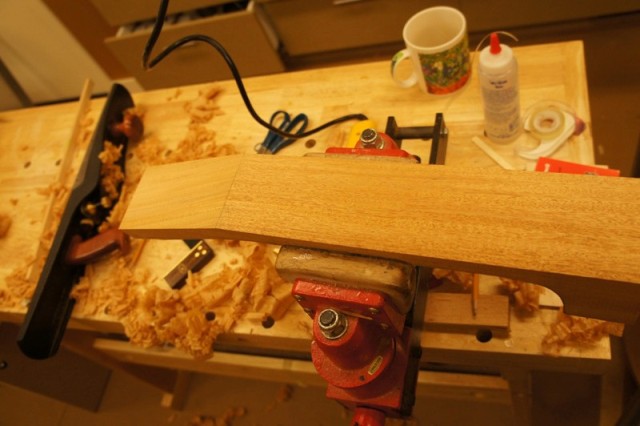
I have a Veritas low angle jointer that cleaned up the faces quickly allowing me to establish the line for the nut, and 12th fret.
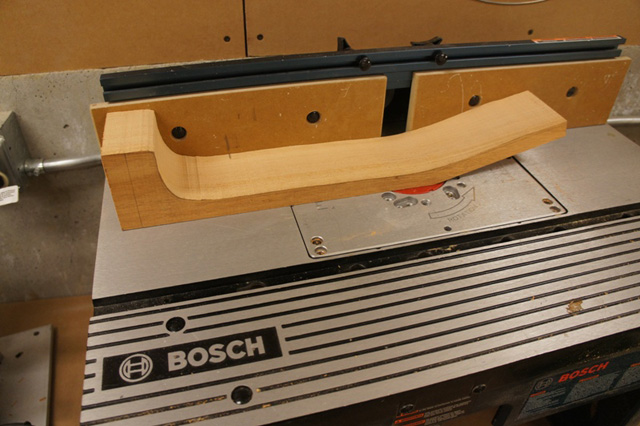
I used a 1/2 inch end mill on my router table and cut a channel for the carbon rods and the truss rod.
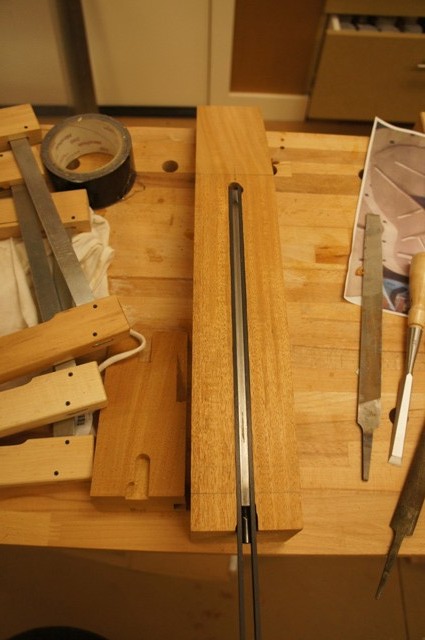
I used a half inch chisel to clean out the channel and made sure the carbon rods and the truss rod were slightly below the neck face.
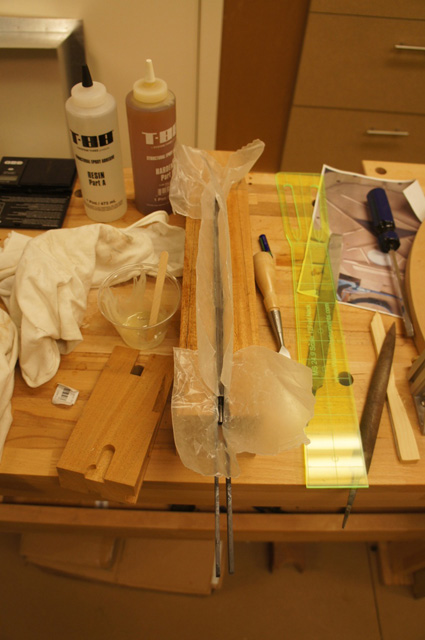
I epoxyed in the carbon rods using the truss rods as a clamp.
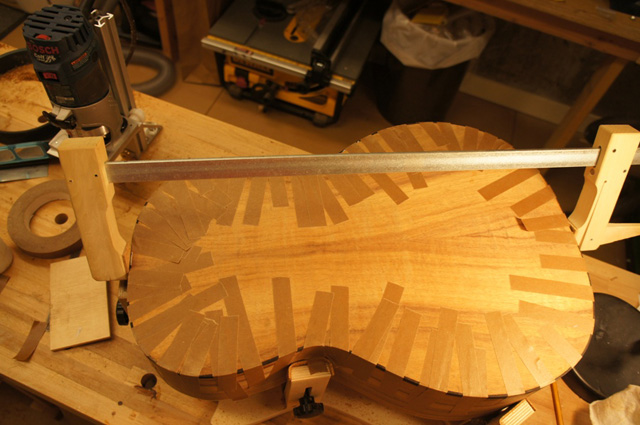
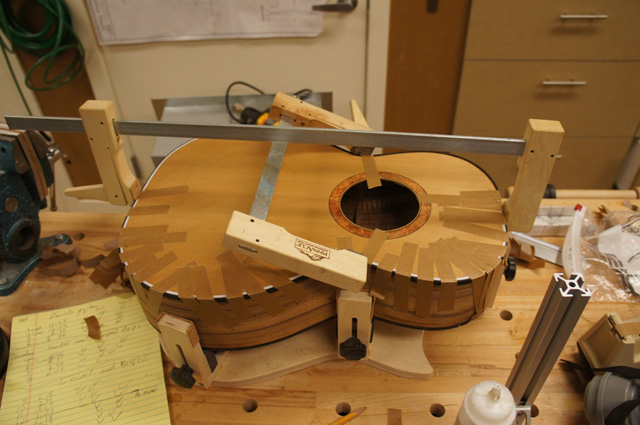
I have the back fit into the body and top is finished. I marked out where I need to cut the rebates for the top braces. I was going to push on tonight but thought it is best to call it a night. I got to use my mini die grinder to cut the rebates. It was fun to have a light narrow tool use. It cut like a dream, it is easy to see around and it does not block light. For the first time ever the back fit in one try after I marked and cut the rebates and trimmed the braces.
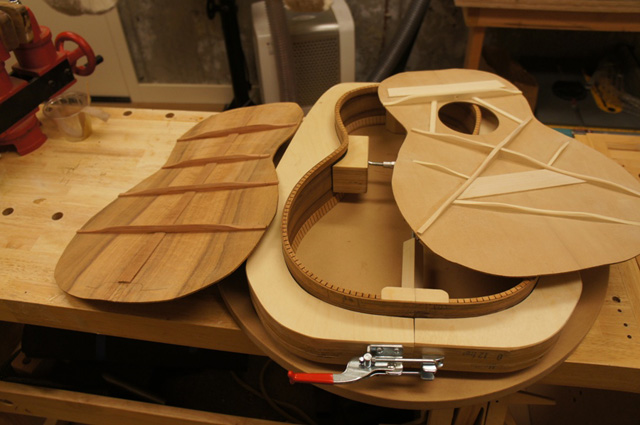
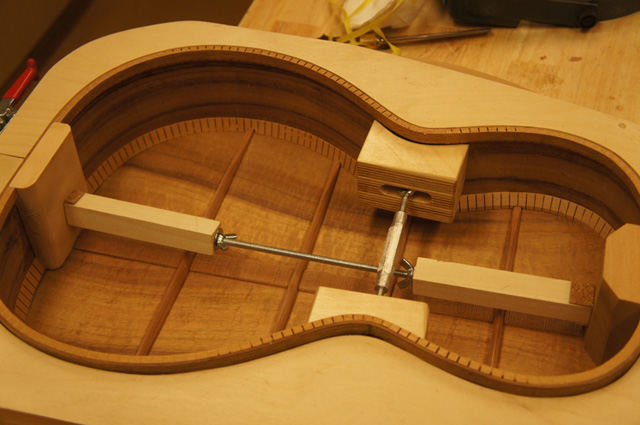
Before I glued on the I carefully checked to make sure the geometry the geometry was correct. Checking the geometry before gluing the top I found that the rims had more of a top to bottom bow than I wanted. If I had glued it up that way I would have struggled the rest of the build to compensate. The top braced top itself had the correct geometry. I took the body back to the radius disk and sanded down the waist a bit, deepened the rebates for the braces and then recheck the geometry. After the glue-up using a straight edge I have a gap of 2.5 mm or 3/32" inch at the bridge saddle location. This is the number I was shooting for.
I finished the day cutting and gluing down the maple bridge plate
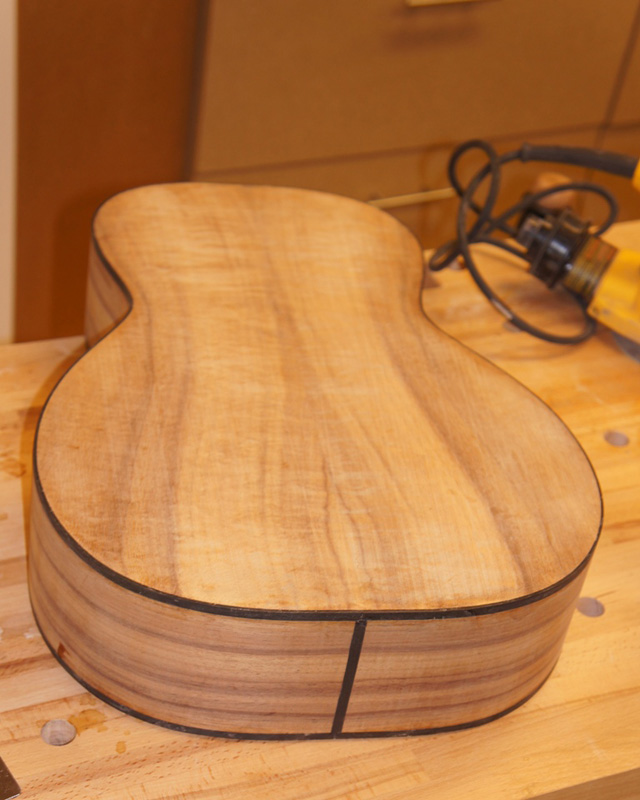
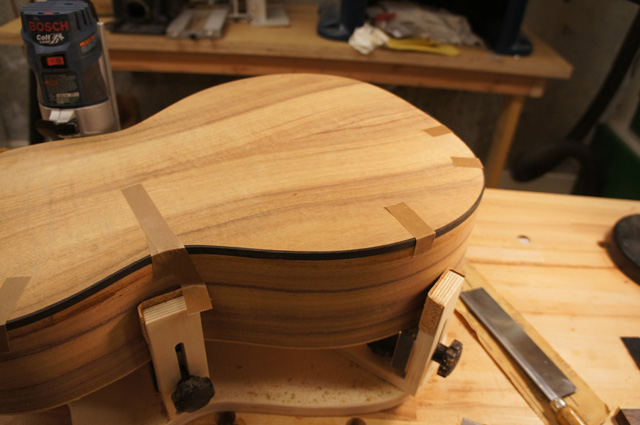
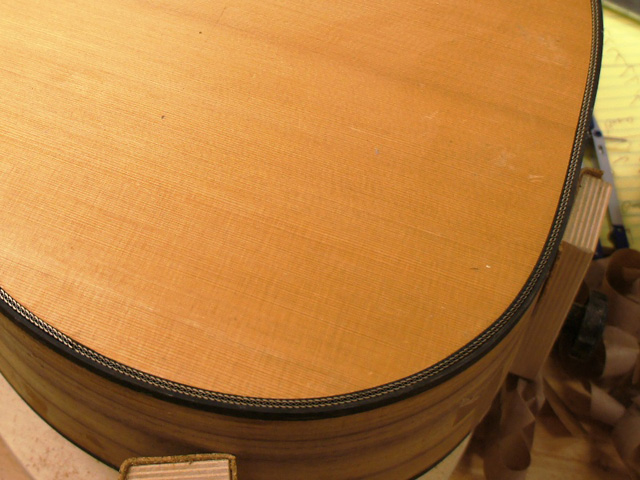
I made it through the scary parts routing out the binding rebates and the purfling rebate. I am excited about the binding as it is setting perfectly flush on the side and top, so I can avoid ending up with thin bindings.
As you will see in the picture I am using purflex (from the makers of zipflex) on the top. It looks like a laser cut pattern in wood glued into a rubber base. The back I am using just ebony bindings. I glued up the bindings on the top with two thin teflon strips that made up the same size as the purflex.
The final picture shows the purflex just sitting in the slot. When I finished my second (and last) glass of wine I thought I would stop for the night.
I taped 4 strips of ebony binding togther for bindings.
I bent the bindings on the same pattern I used for the sides. As a note the next time I bend bindings I am going to bend the waist a bit more by hand to make the binding installation easier.
While waiting for the bindings to set I cut the rebates for the back bindings. I use the tower tool with a bearing router bits as well. Becasue I am using standard sized bindings my kit had the perfect bearing
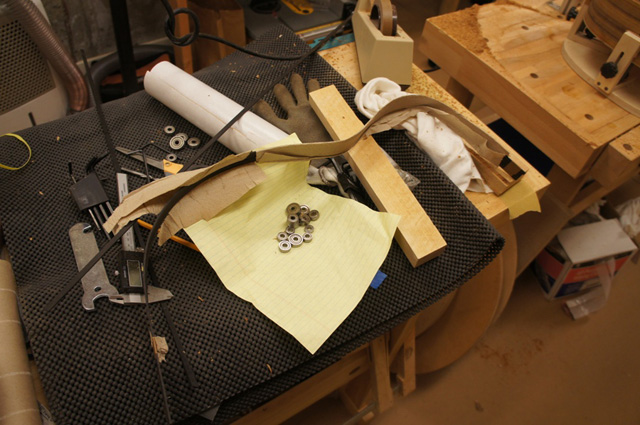
Here in my growing mess are the bent bindings. I rushed them so there is a lot of spring back. But no problem as they will easily bend into the rebates.
I fit the binding before gluing them on.
To helps assure nice joints I use a very long clamp.
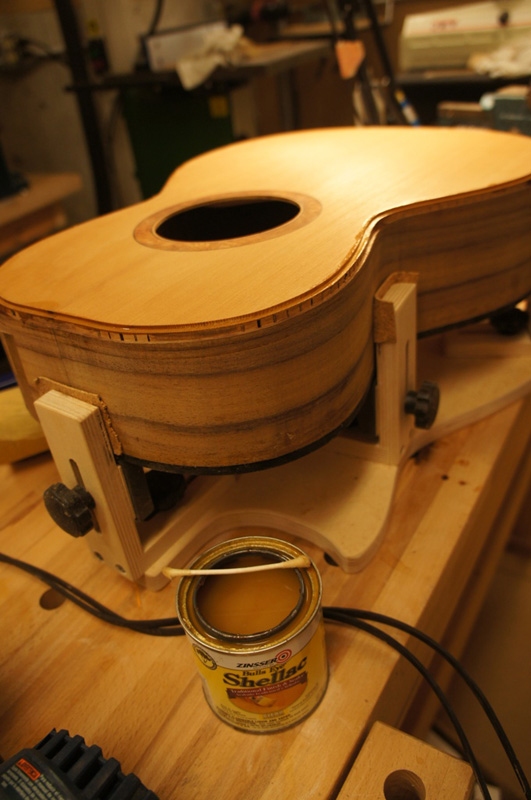
Before and after routing the for the bindings and purflings on the top I coated the top and the purfling rebate. I am going to use CA for the purflex and I do not want to ruin another top.
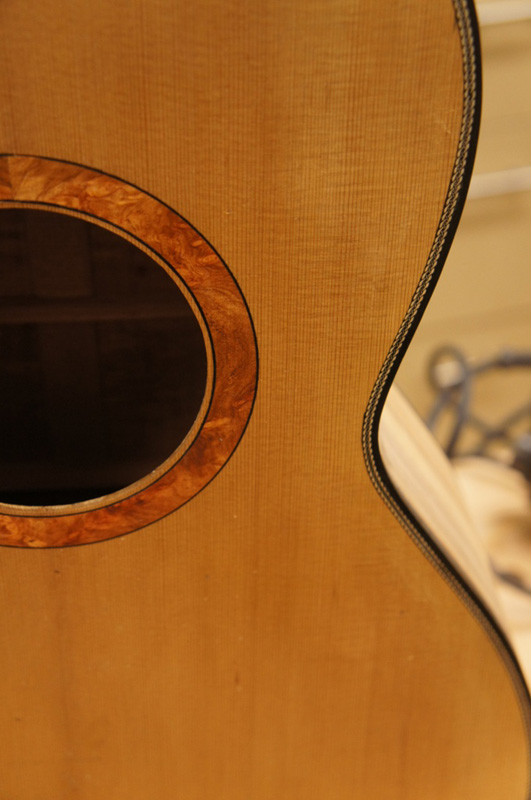
Here is the look I am going for with the purflex
One side. Note the teflon strips in the purfling rebate.
Let the second side cure. I only have enough teflon for one side at a time
The purflex is just setting in the rebates now. I will glue and fill tomorrow.
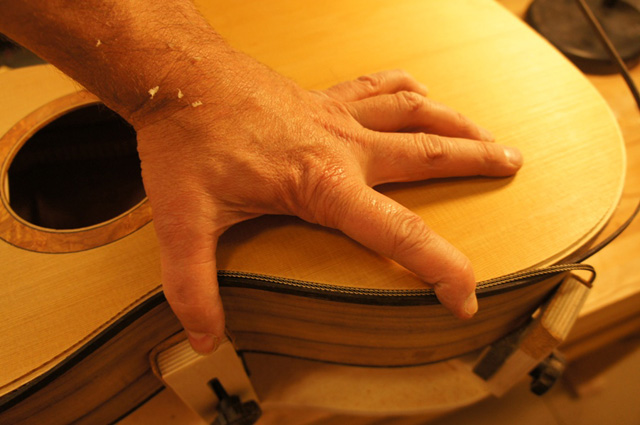
Well, After destroying a top at this stage with purflex when using it for the rosette, I have to say I was nervous. Less so as I had shellac on the top and the purflex (it can stain as well); also I tried it on the portion covered by the fret board.
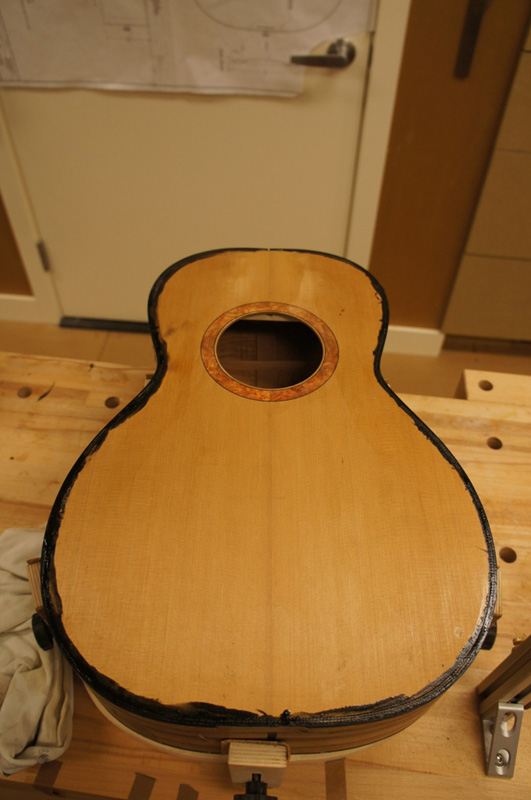
But all came out OK. I mostly used a scraper to clean up everything.