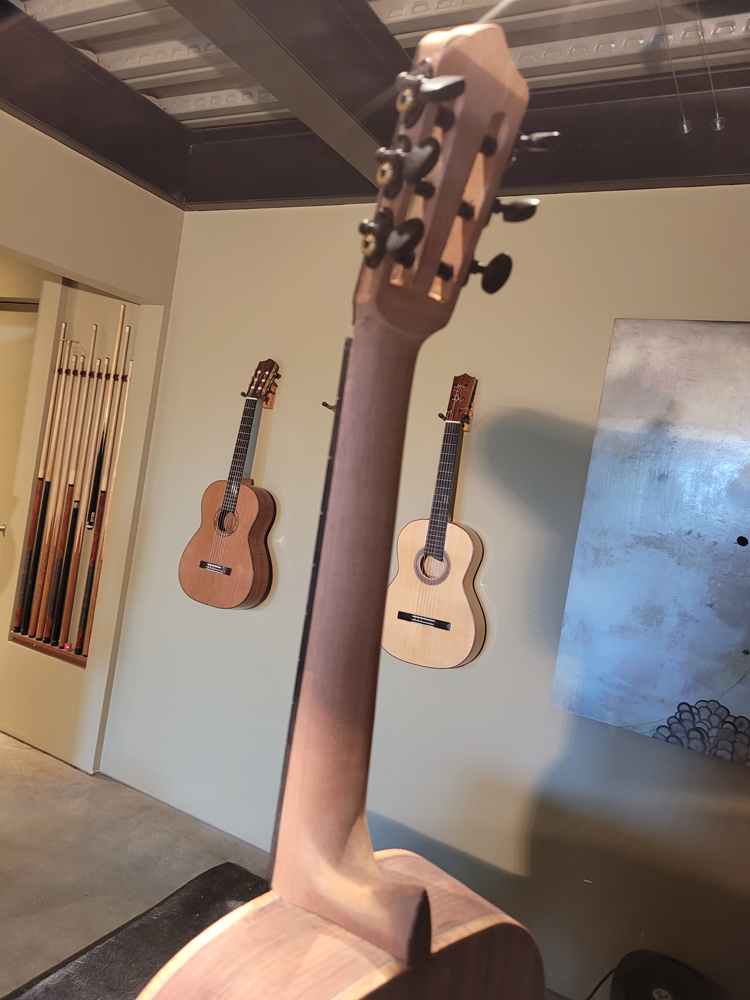
Yes and some do carve the neck before. I rough carved it but there is no reason it can not be completely finished.
Just starting a Flamenco Negra
-
John Parchem
- Posts: 2746
- Joined: Fri Dec 23, 2011 8:33 pm
- Location: Seattle
- Contact:
Re: Just starting a Flamenco Negra
-
John Parchem
- Posts: 2746
- Joined: Fri Dec 23, 2011 8:33 pm
- Location: Seattle
- Contact:
Re: Just starting a Flamenco Negra
Moving on I decided to have square ramps and for nun to square the the bottom of the slot to match
I used a scalpel to score the lines for the slots using a ruler lined up with the slot edges as a guide. With the slots scored, I used a razor saw following the score can cutting to depth on both sides of the ramp. I stayed inside 1 mm or so.
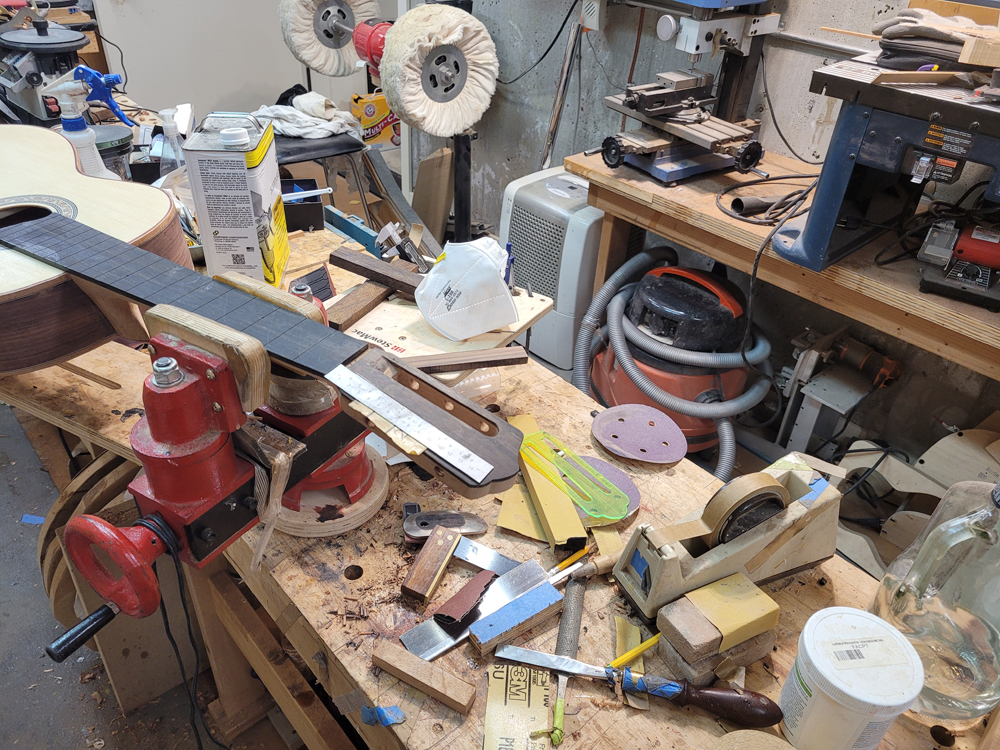
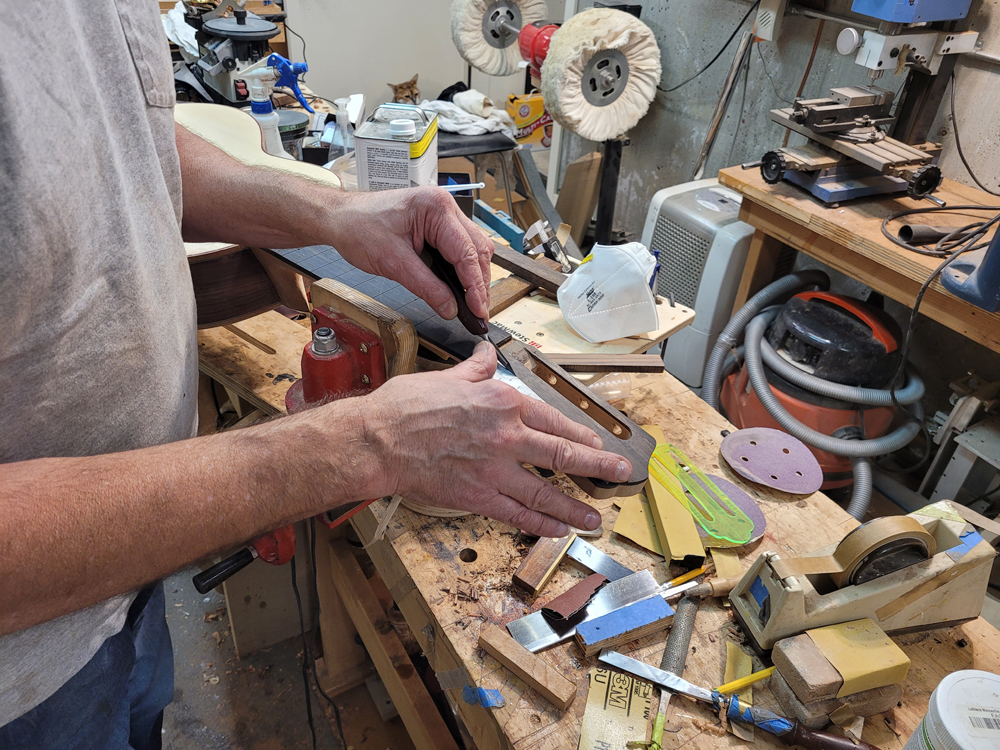
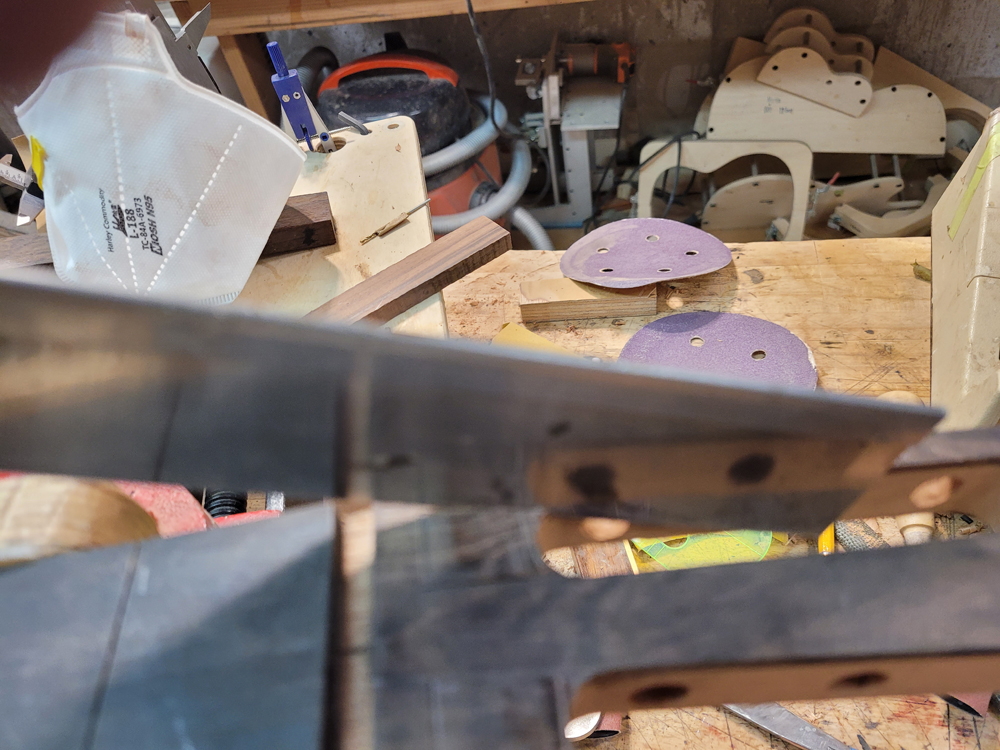
With the sides of the ramp cut I cleared the waste with a chisel
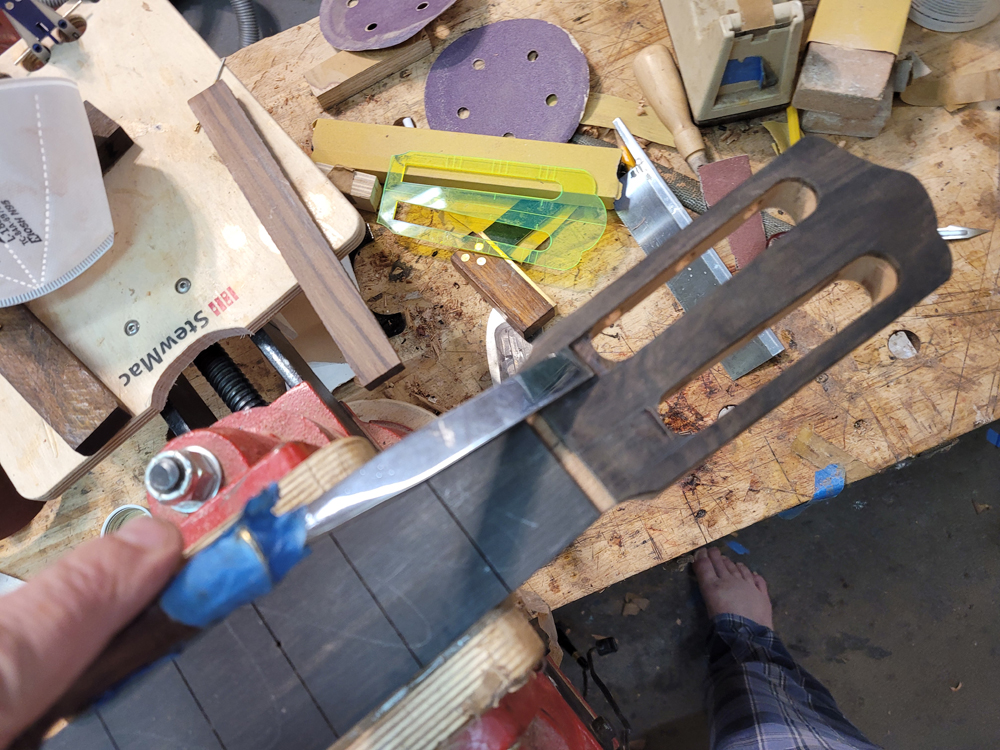
I used a paring chisel to clean up right to the scored line. The edge of the slot made a good guide for the chisel.
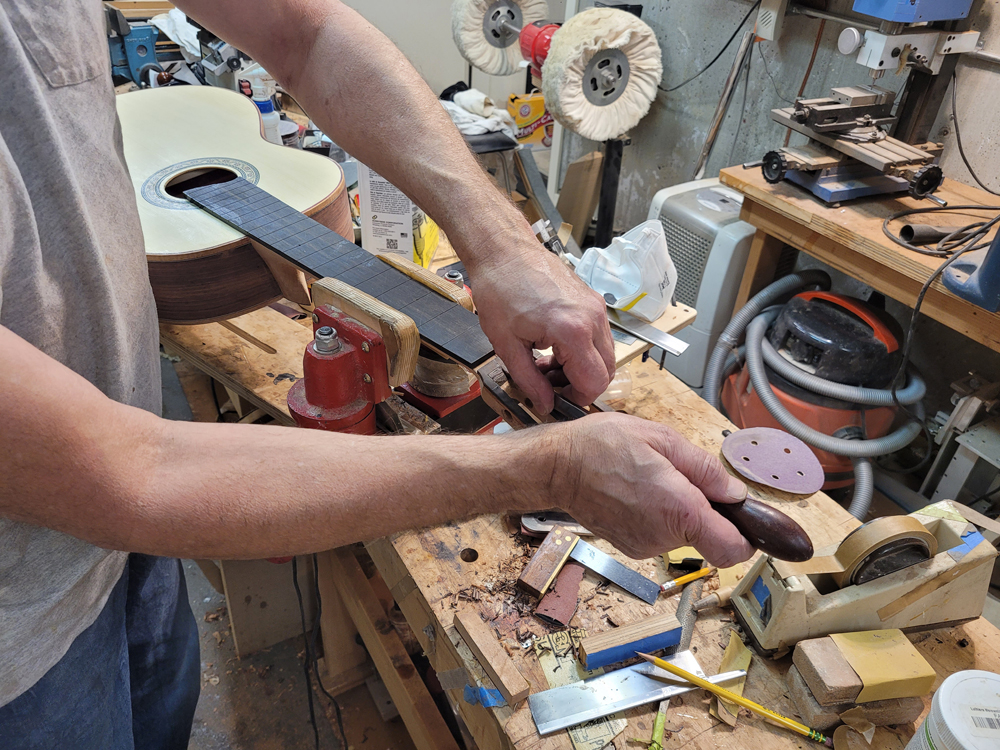
Then just for fun I squared the bottom of the slot as well.
I mostly used a chisel but I also cut a sanding block the thickness of the slot.
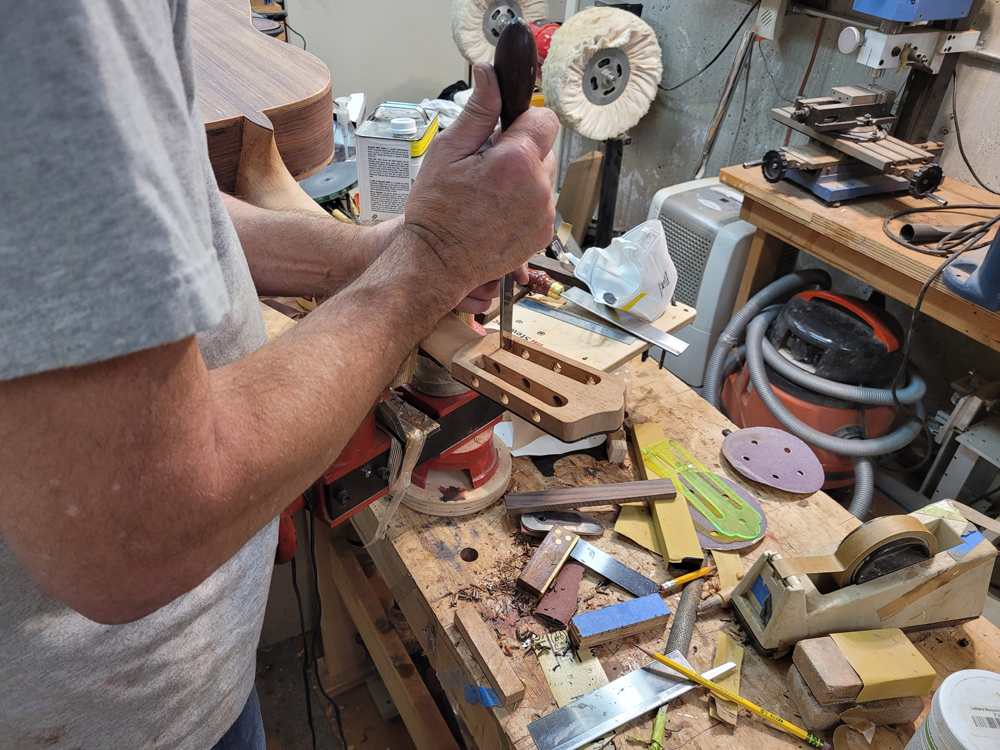
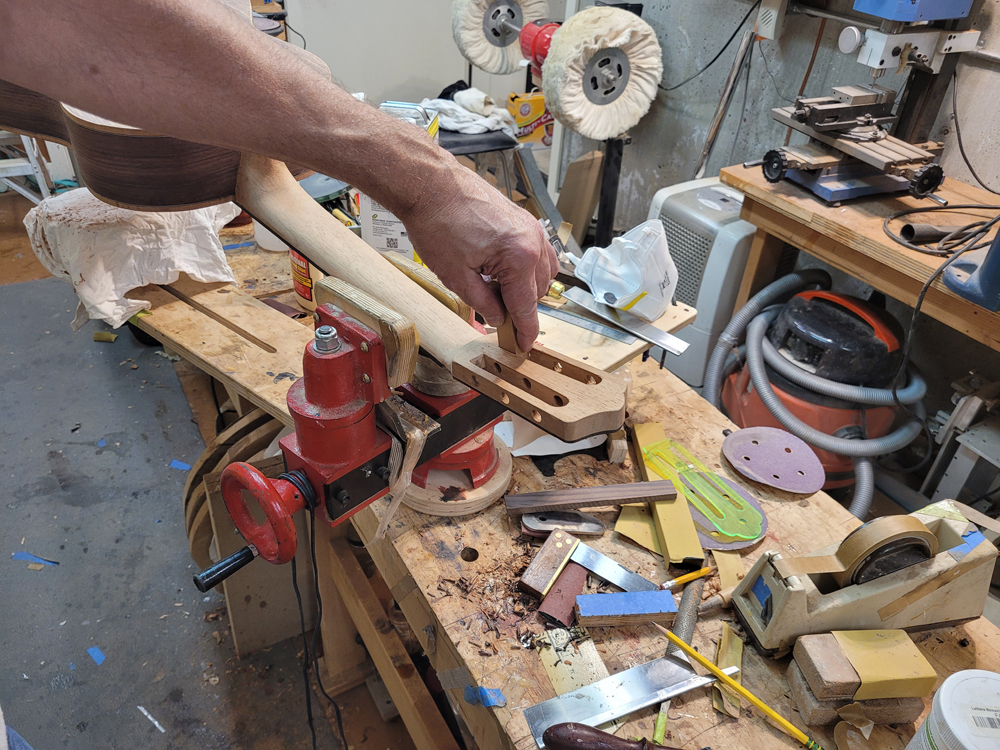
One done
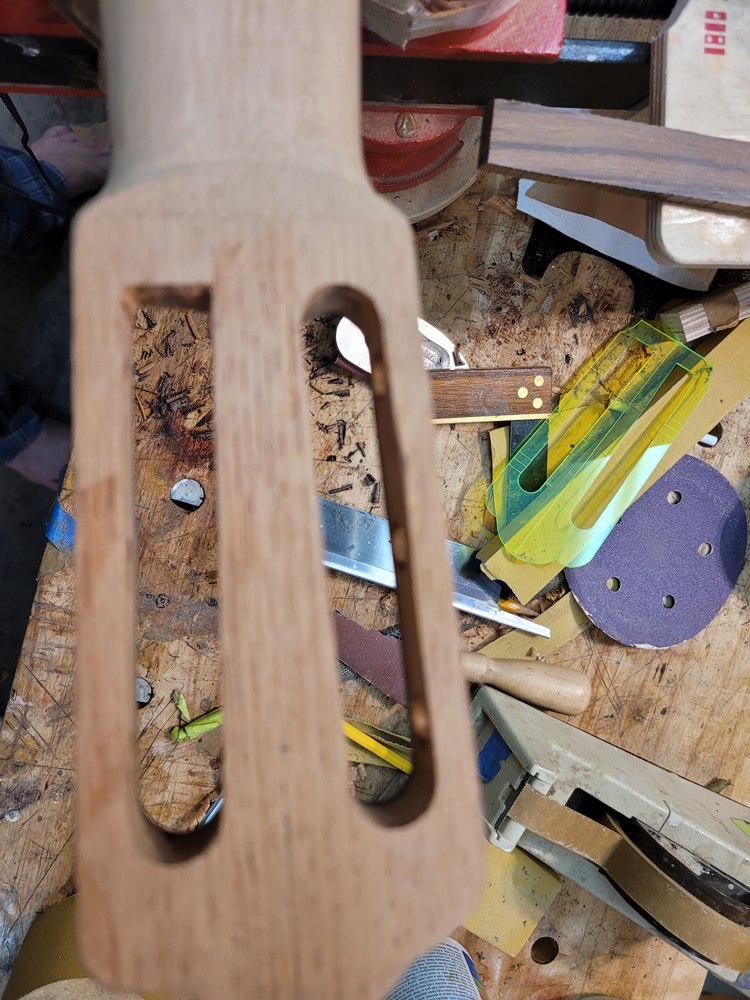
It will look OK.
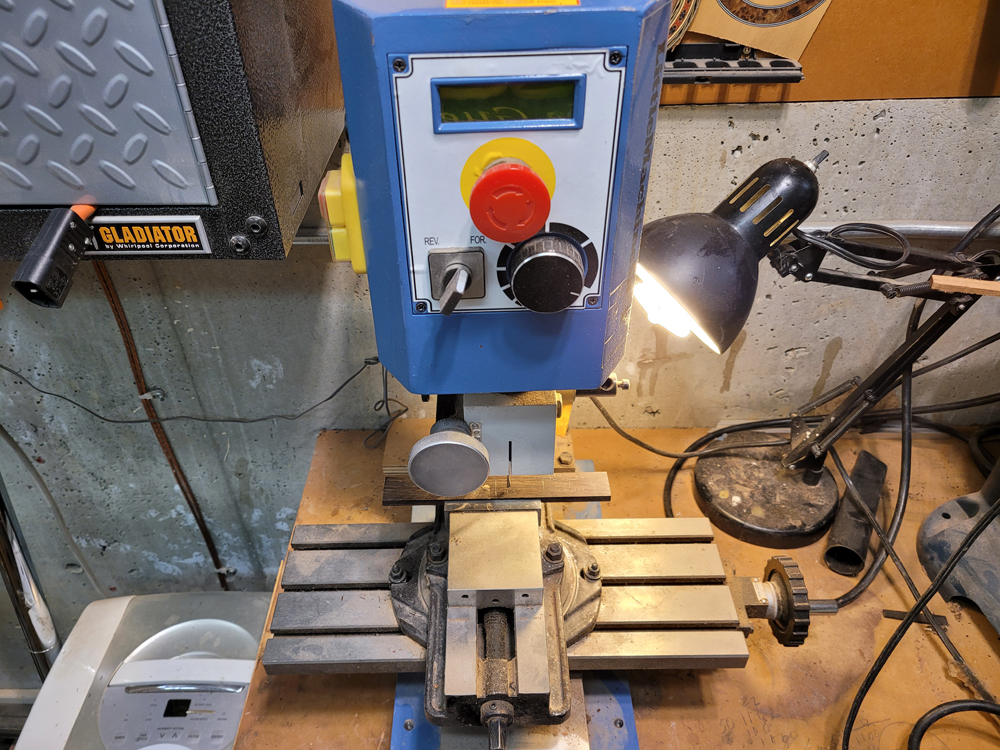
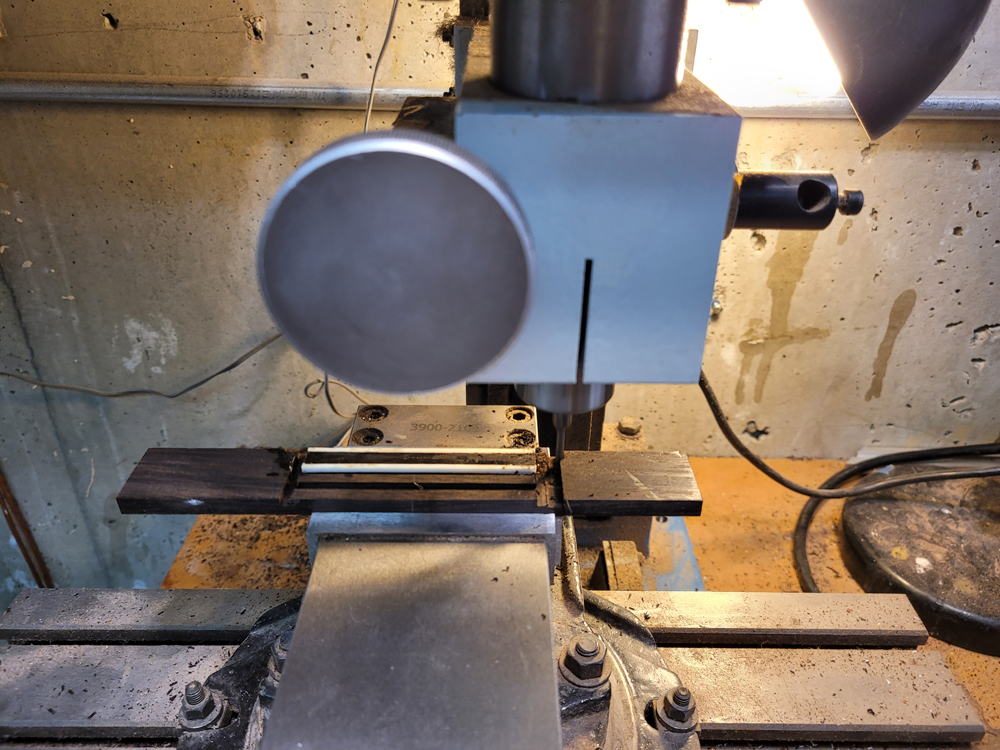
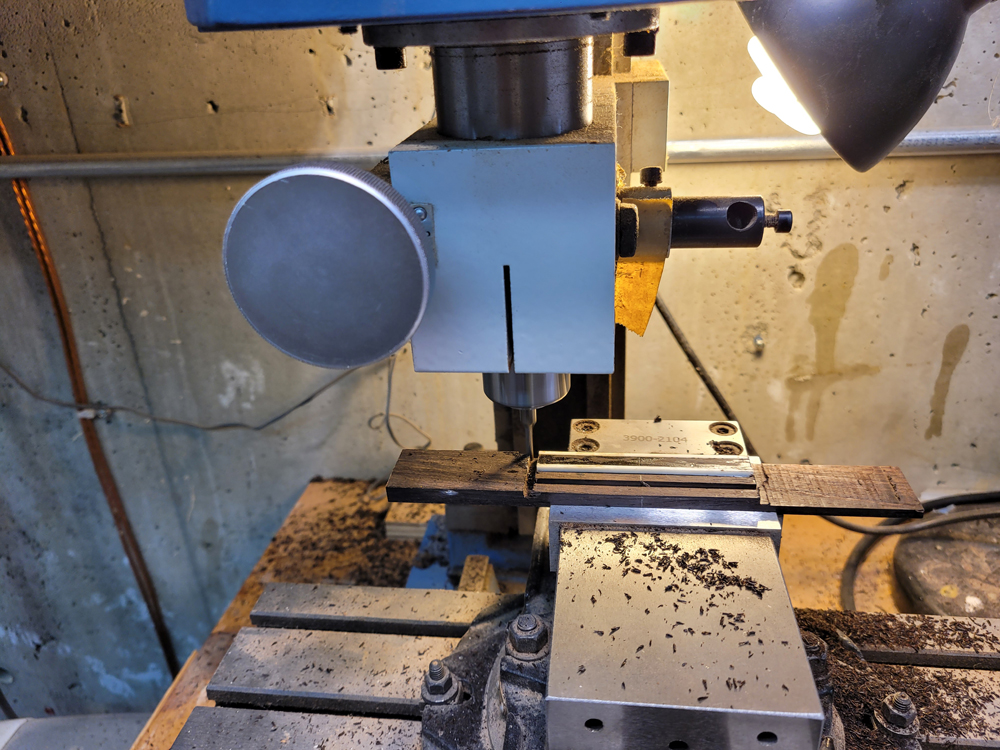
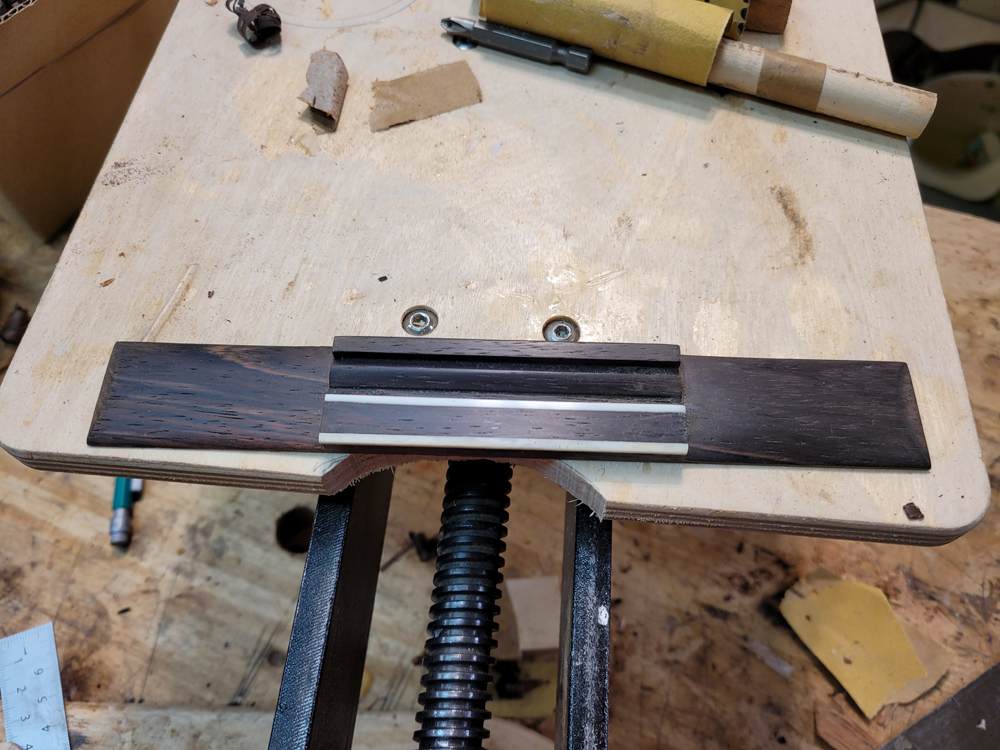
I used my mini mill to rough out a bridge. I started with a blank thicknessed to 7 mm and sanded and planed to size. On that blank I laid out the rough cuts in pencil. I use the milling machine to actually position the bit to a measurement. The lines help as I can check if I made a mistake with the numbers of rotations.
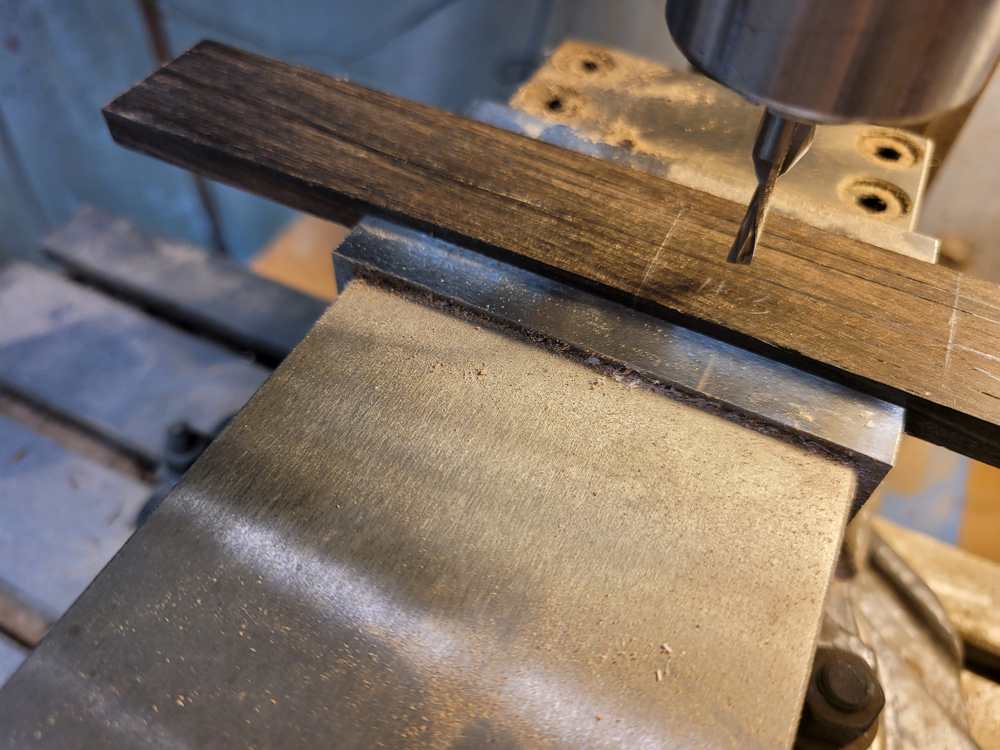
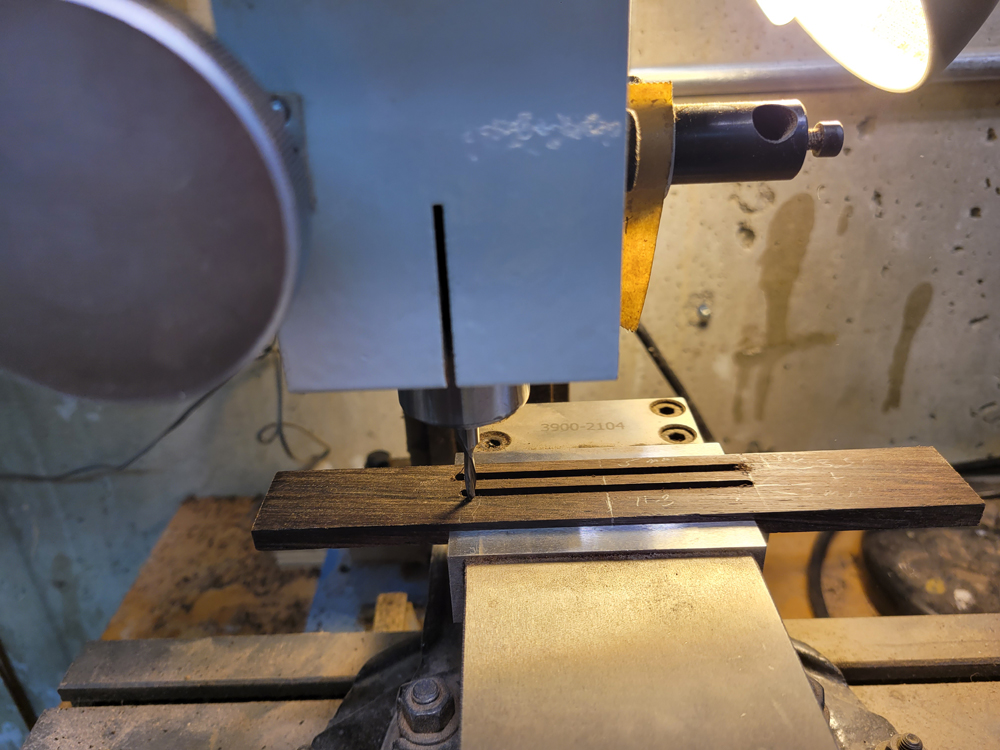
I cut the saddle slot and the tie block, then follow up and cut a ledge for the bone edges.
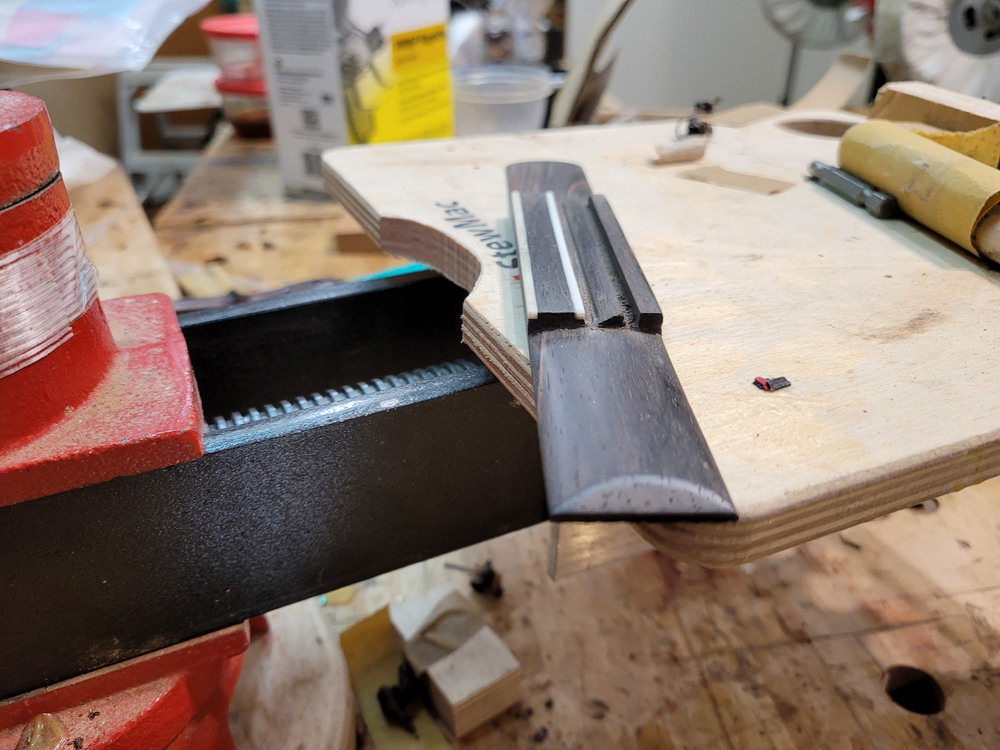
I used CA to install the bone strips and then cut the side edges of the tie block and saddle block. and proceeded to rough clear the wings. A bunch of slow 1/16" paths. Doing it this way allows me to make a clean perfectly square cuts for the two blocks.
I used a chisel to bevel the inside ramp to the saddle.
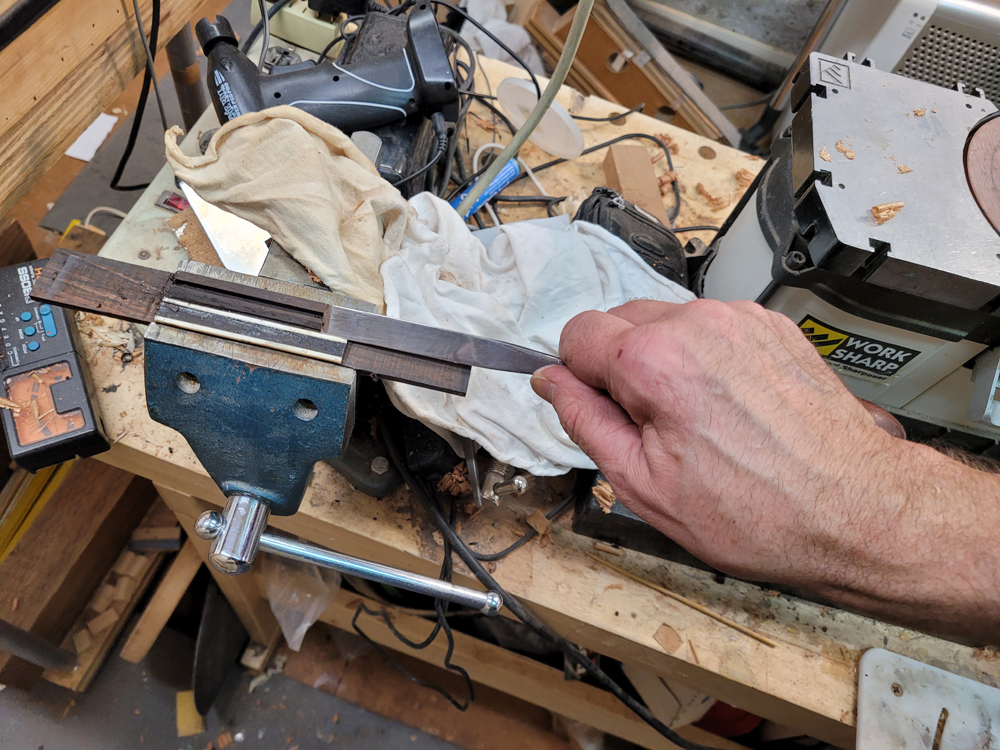
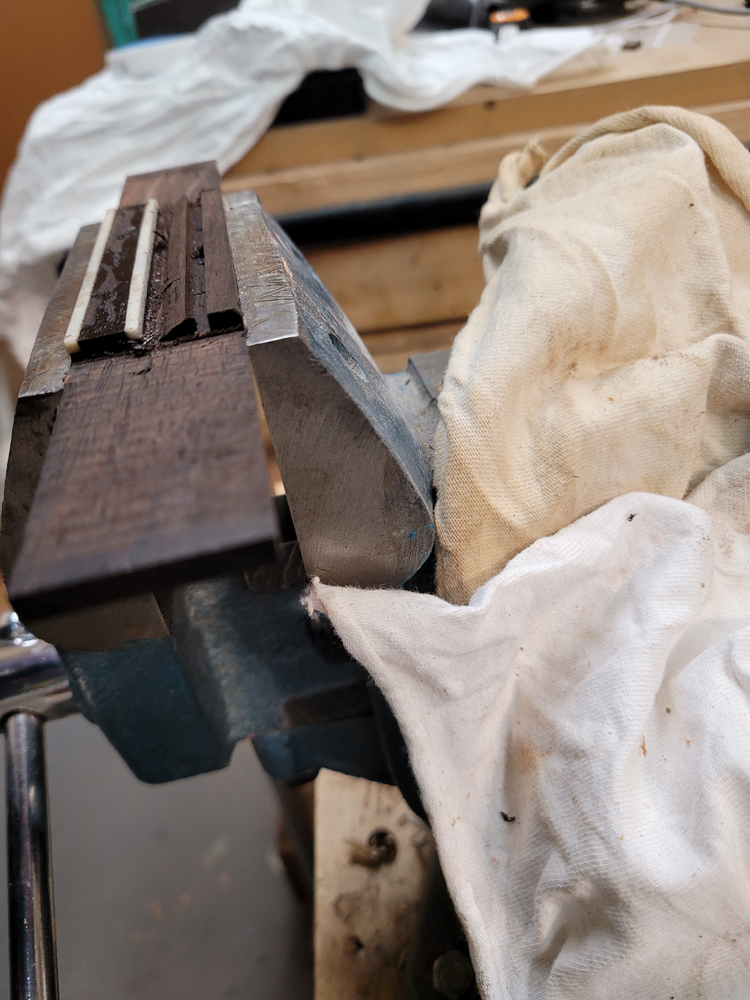
I used a fine rasp and chisels to shape the wings
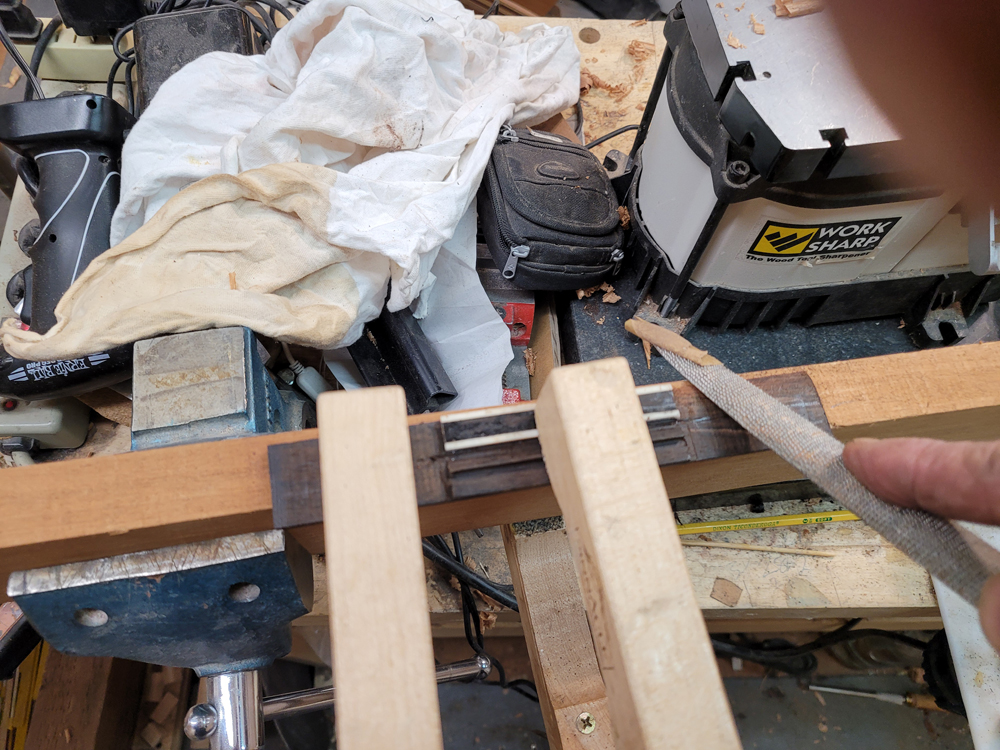
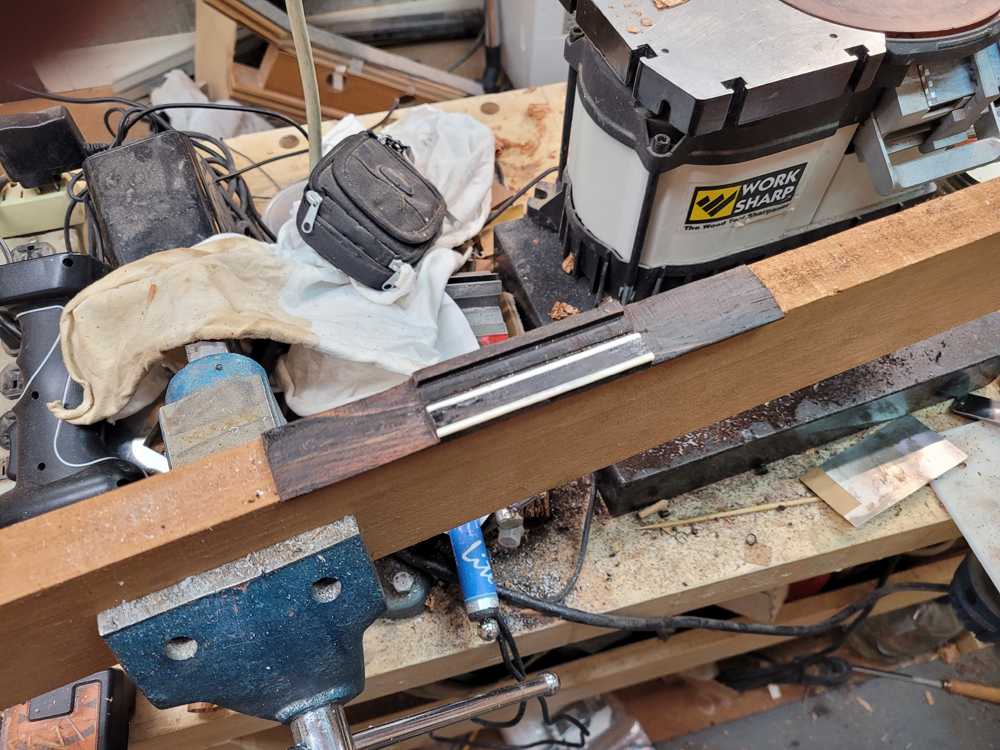
Then I use a blade sharpening guide to bevel the wing ends.
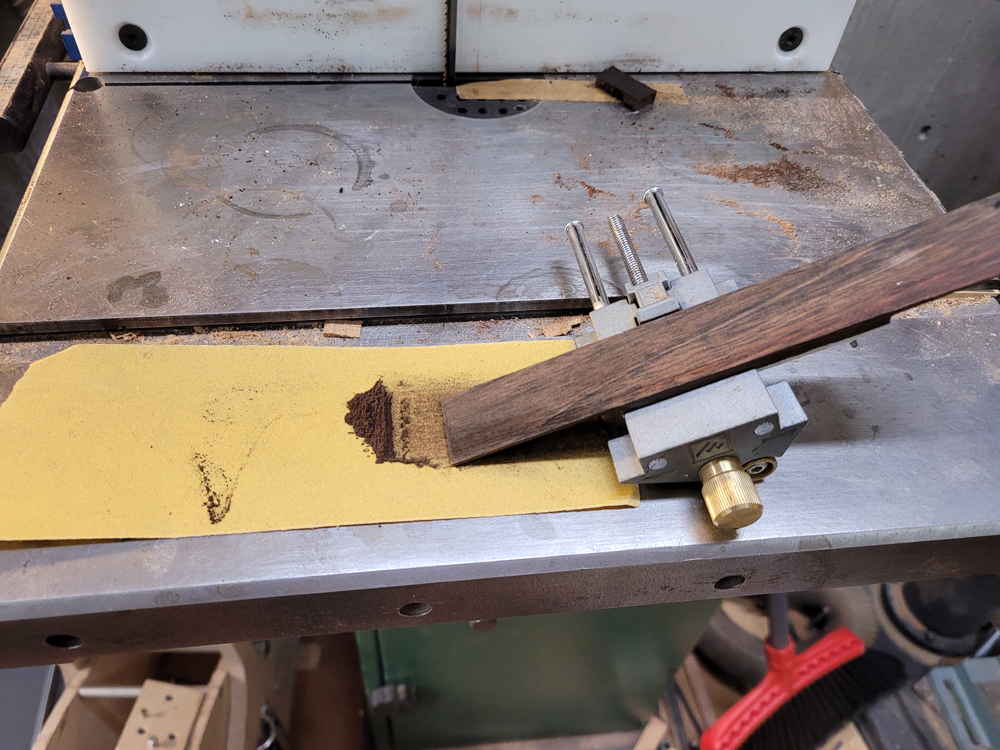
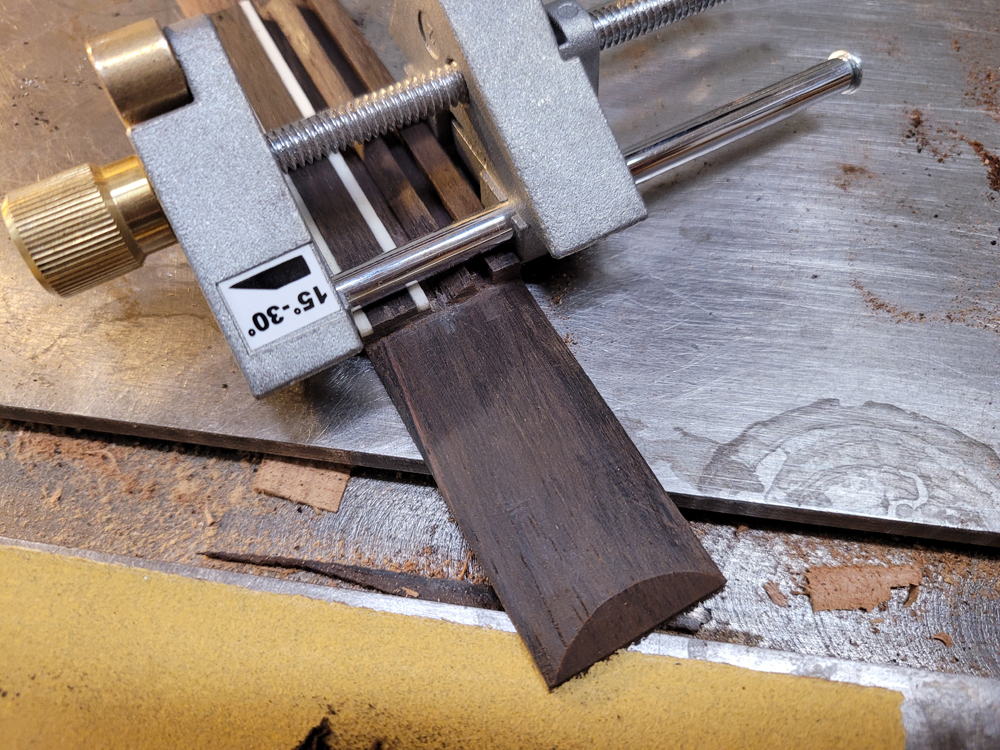
A bit of quality time with chisels, scrapers and sand paper and I have a bridge.
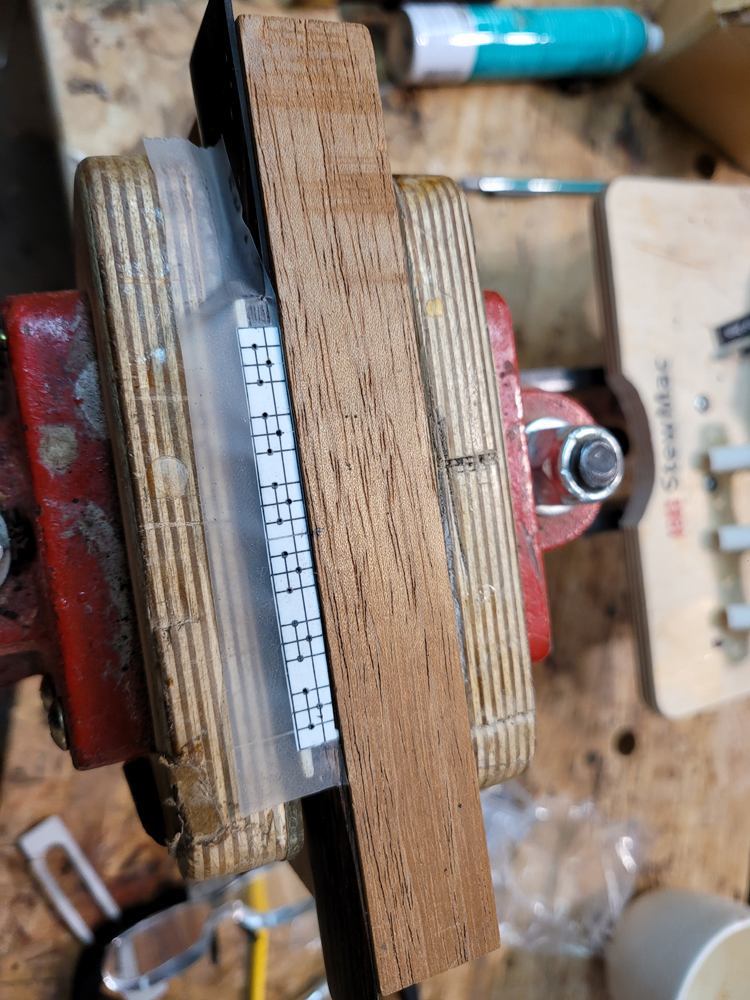
I used a drilling template to mark out the holes for the bridge. I chickened out and only did six holes. Sorry no picture drilling the holes. I have a block with a 3° angle that I clamp to the table of my drill press. I position the depth for the holes and clamp the table anyplace. THat way I can just slide to the next hole location.
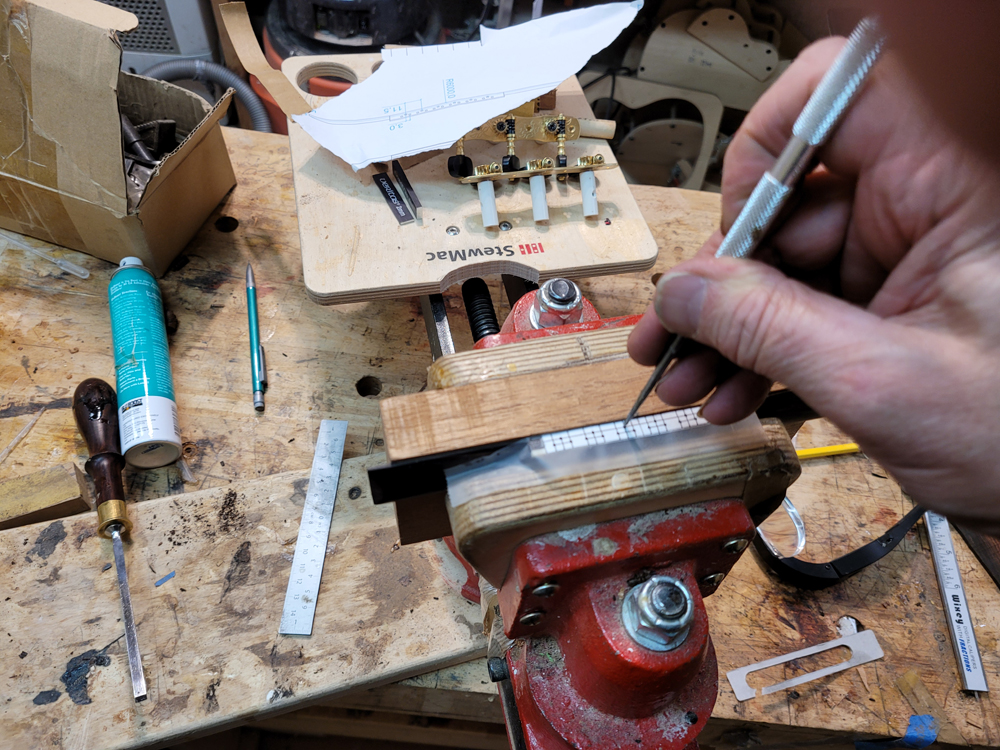
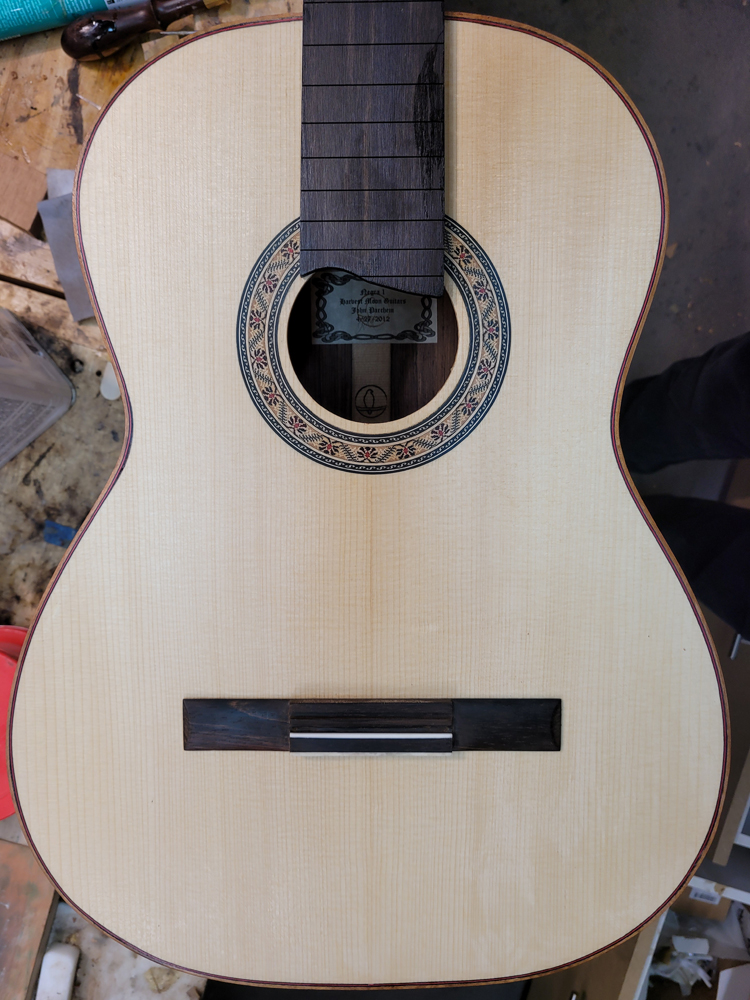
I positioned and centered the bridge. I will have some nut compensation so I only have a bit more than 1 mm of saddle compensation. I used a centering guide that I index on the nut (in this case a spacer). I have a mark where to put the saddle. (I double check after taping in place.)
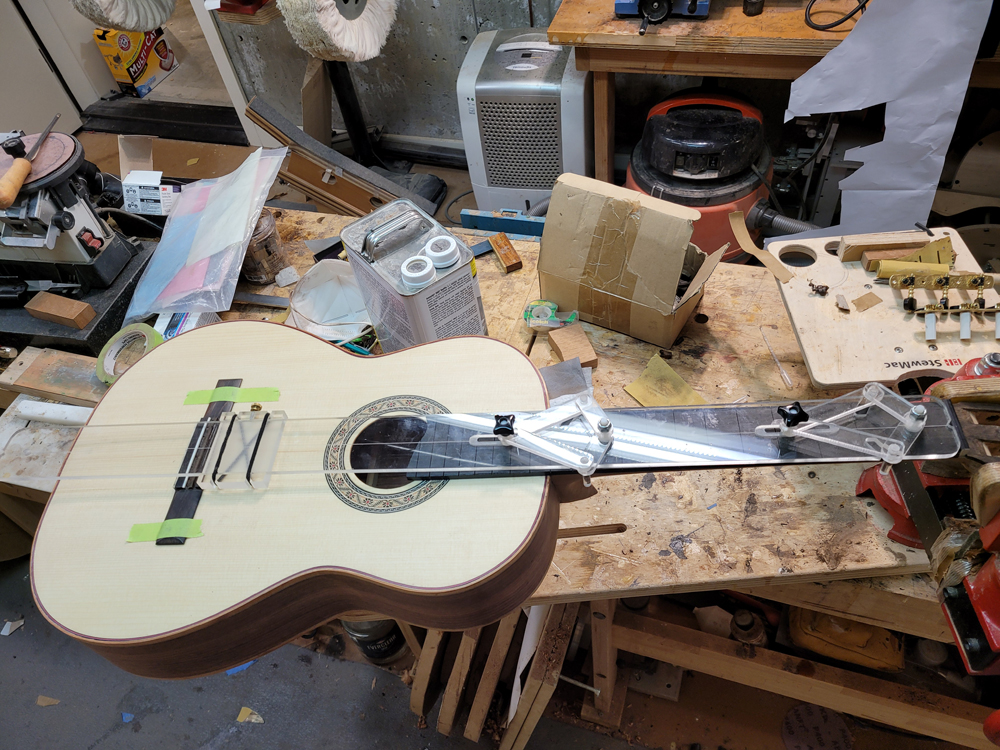
To make sure the center is correct, I stretch a string on the string paths.
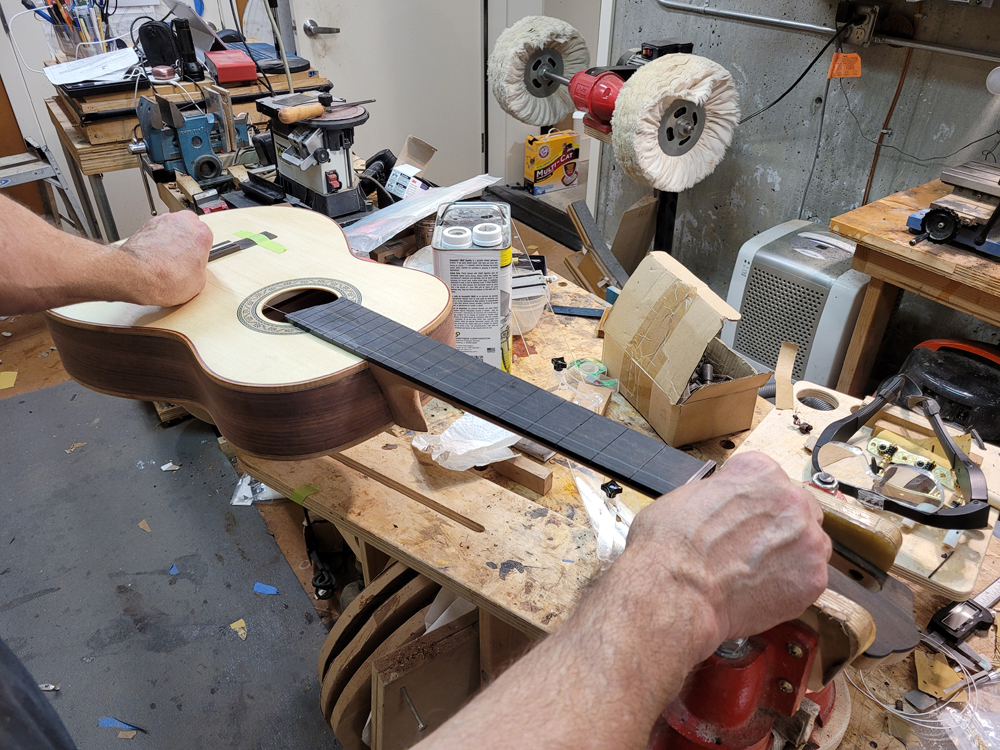
I drilled a a couple of index holes in the saddle slot and cut a mask for finishing
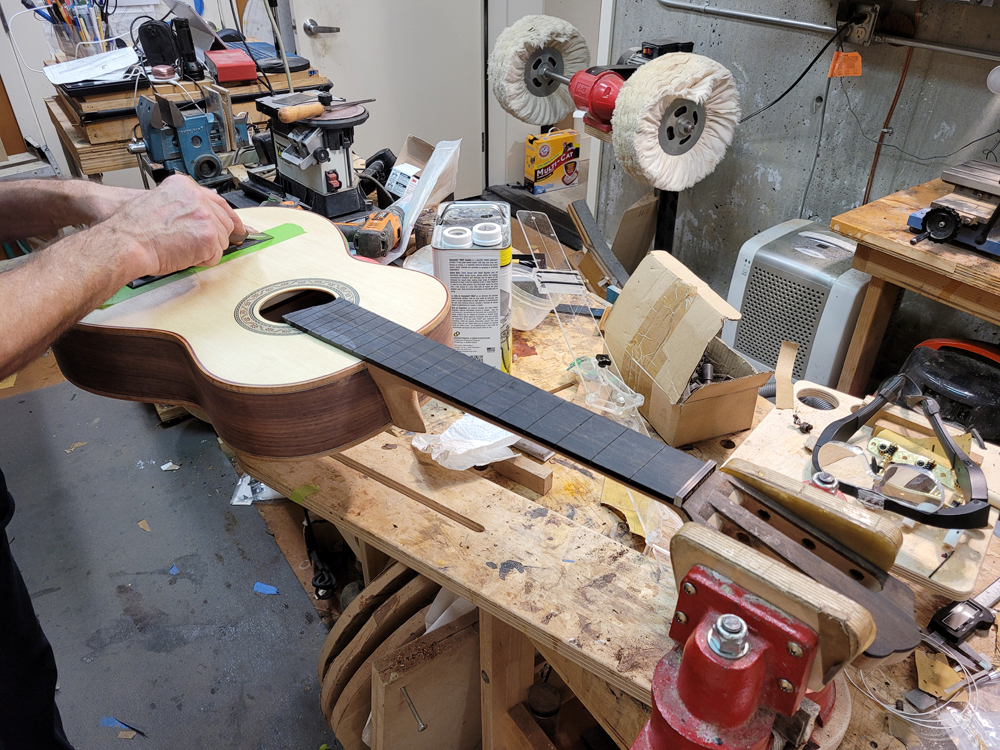
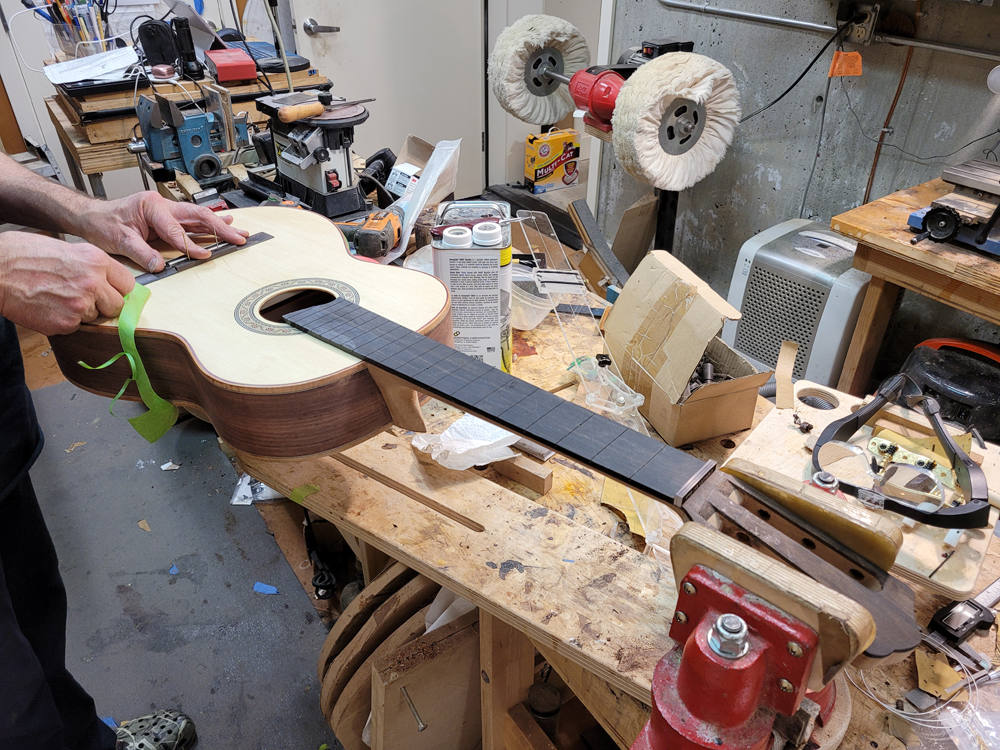
Enough for today!
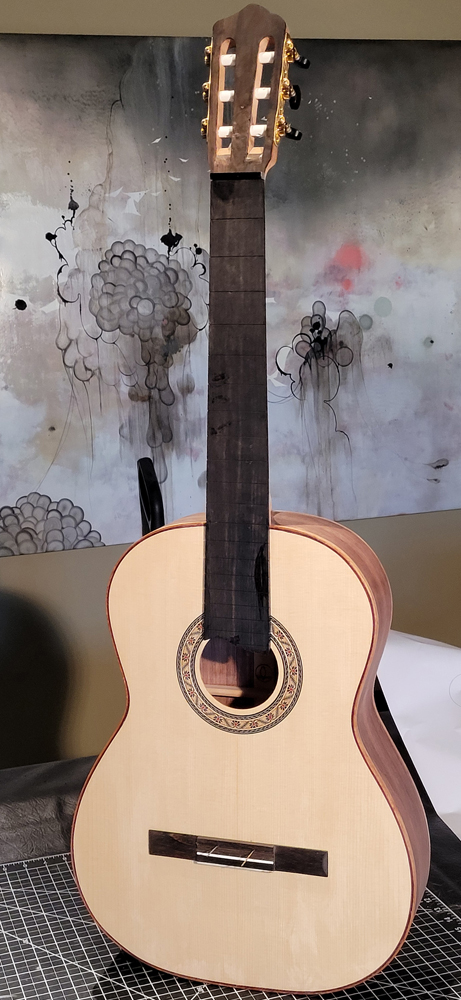
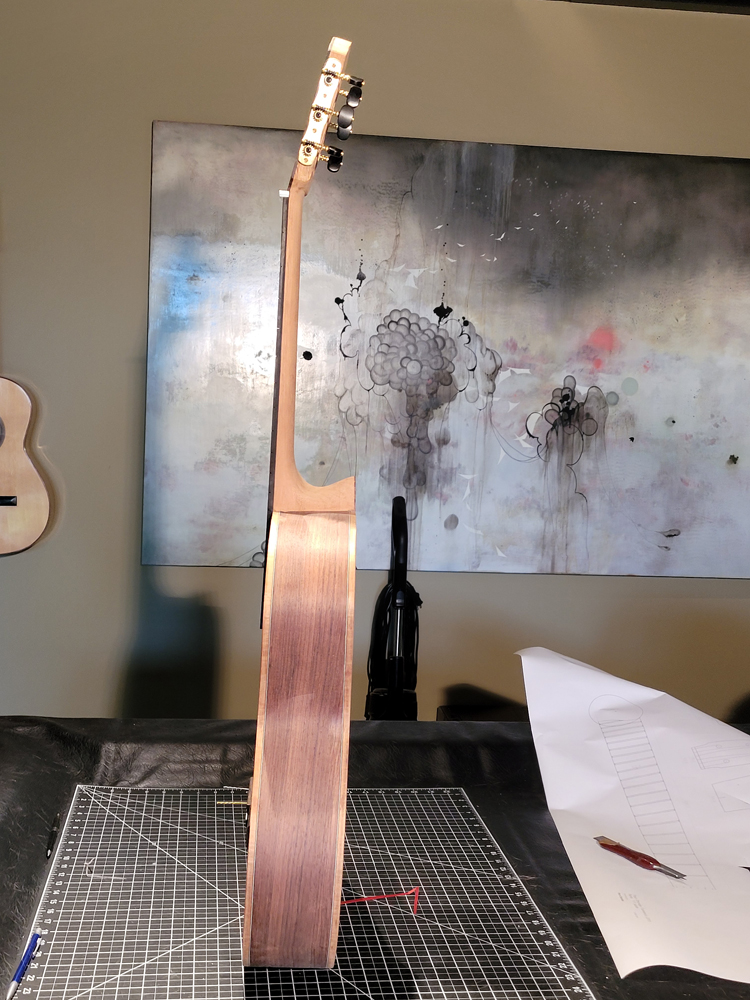
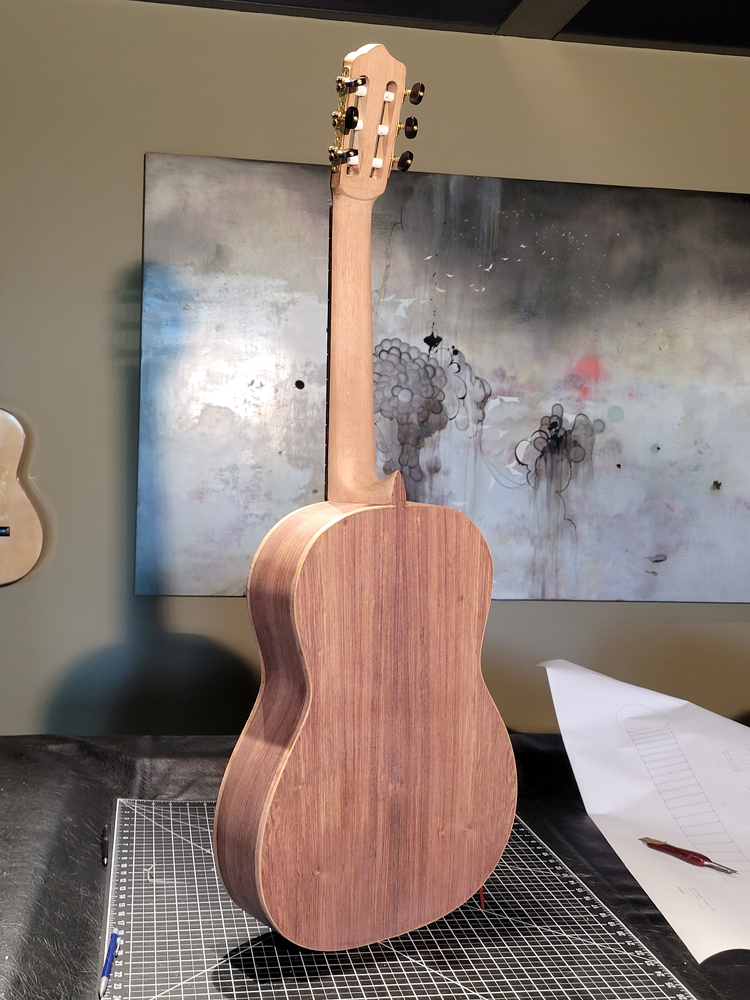
I
I used a scalpel to score the lines for the slots using a ruler lined up with the slot edges as a guide. With the slots scored, I used a razor saw following the score can cutting to depth on both sides of the ramp. I stayed inside 1 mm or so.


With the sides of the ramp cut I cleared the waste with a chisel

I used a paring chisel to clean up right to the scored line. The edge of the slot made a good guide for the chisel.

Then just for fun I squared the bottom of the slot as well.
I mostly used a chisel but I also cut a sanding block the thickness of the slot.


One done

It will look OK.

I used my mini mill to rough out a bridge. I started with a blank thicknessed to 7 mm and sanded and planed to size. On that blank I laid out the rough cuts in pencil. I use the milling machine to actually position the bit to a measurement. The lines help as I can check if I made a mistake with the numbers of rotations.


I cut the saddle slot and the tie block, then follow up and cut a ledge for the bone edges.

I used CA to install the bone strips and then cut the side edges of the tie block and saddle block. and proceeded to rough clear the wings. A bunch of slow 1/16" paths. Doing it this way allows me to make a clean perfectly square cuts for the two blocks.


I used a chisel to bevel the inside ramp to the saddle.


I used a fine rasp and chisels to shape the wings


Then I use a blade sharpening guide to bevel the wing ends.


A bit of quality time with chisels, scrapers and sand paper and I have a bridge.


I used a drilling template to mark out the holes for the bridge. I chickened out and only did six holes. Sorry no picture drilling the holes. I have a block with a 3° angle that I clamp to the table of my drill press. I position the depth for the holes and clamp the table anyplace. THat way I can just slide to the next hole location.


I positioned and centered the bridge. I will have some nut compensation so I only have a bit more than 1 mm of saddle compensation. I used a centering guide that I index on the nut (in this case a spacer). I have a mark where to put the saddle. (I double check after taping in place.)

To make sure the center is correct, I stretch a string on the string paths.

I drilled a a couple of index holes in the saddle slot and cut a mask for finishing


Enough for today!


I
-
John Parchem
- Posts: 2746
- Joined: Fri Dec 23, 2011 8:33 pm
- Location: Seattle
- Contact:
Re: Just starting a Flamenco Negra
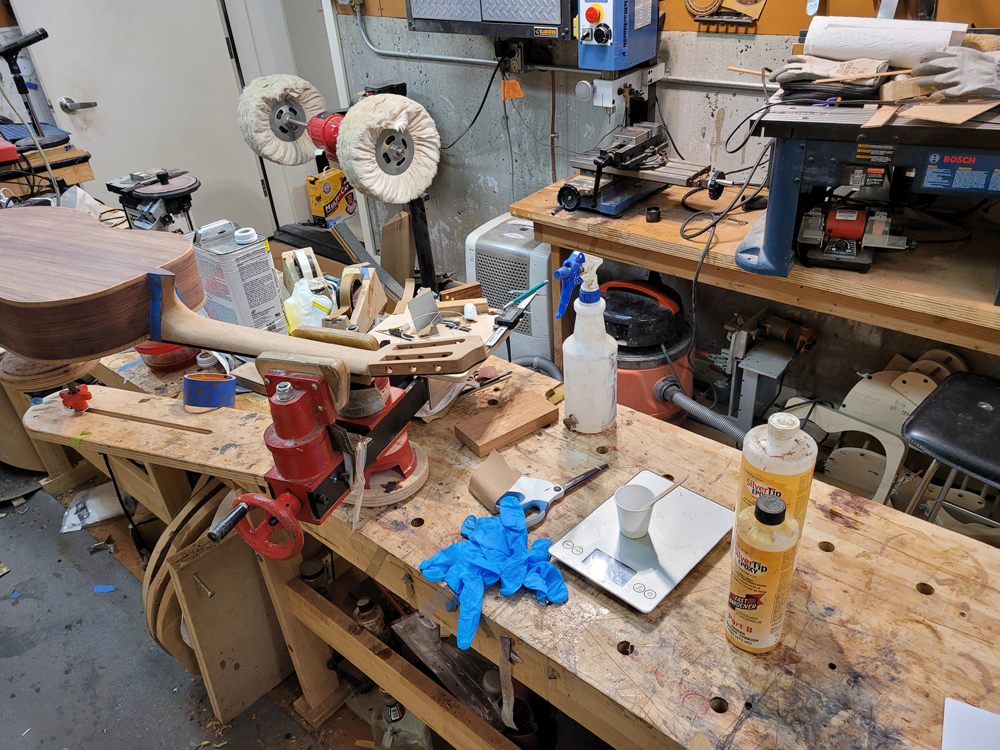
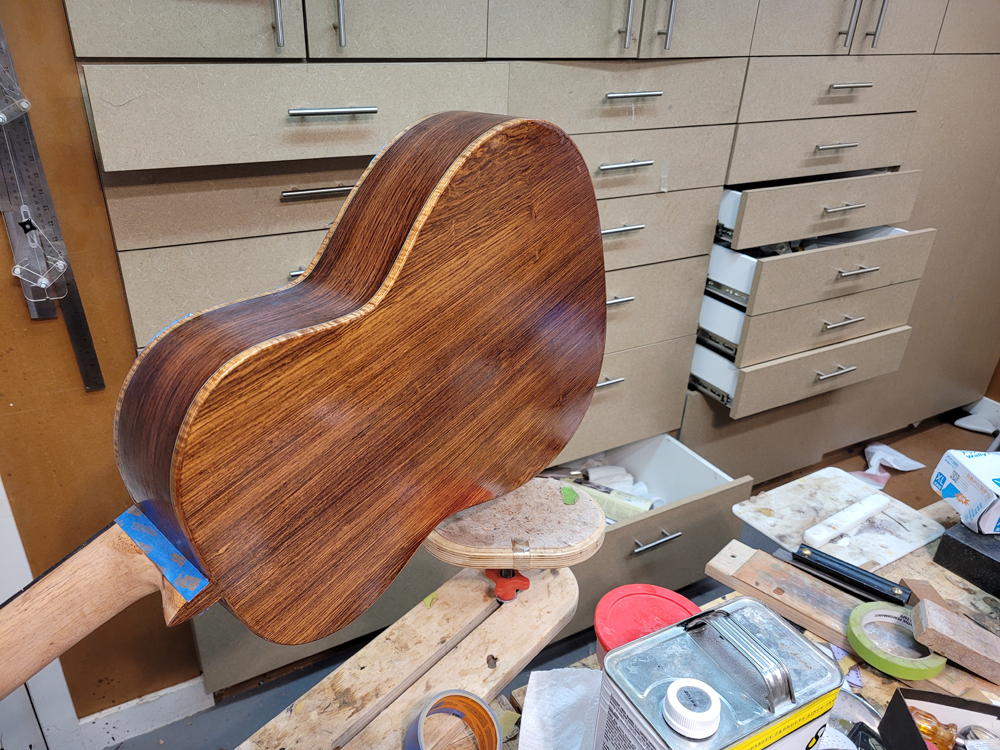
To Finish the guitar I am doing a French Polish on top of Silvertip Epoxy for the neck, back and sides and bare wood on the top. I want a perfectly level instrument coming out of the pore fill so I spend a lot of time. I have learned if I can not level the pore fill without sand throughs, I will never be able to level a finish. On this instrument I did an ok job on the back, but during the pore fill I found some low spots on the sides. So I kept applying and sanding level until the pores were filled and I could sand it level without sanding through. I think I applied the epoxy 4 times. On the last application I sanded back through level to where I was getting sand through. At this point I knew I had a thin coat of epoxy at most. I mixed a new batch of epoxy diluted it 50% with alcohol and wiped it on very thin with a cotton rag. I started my French polish the next day.
Ready to apply Silvertip epoxy.
First application
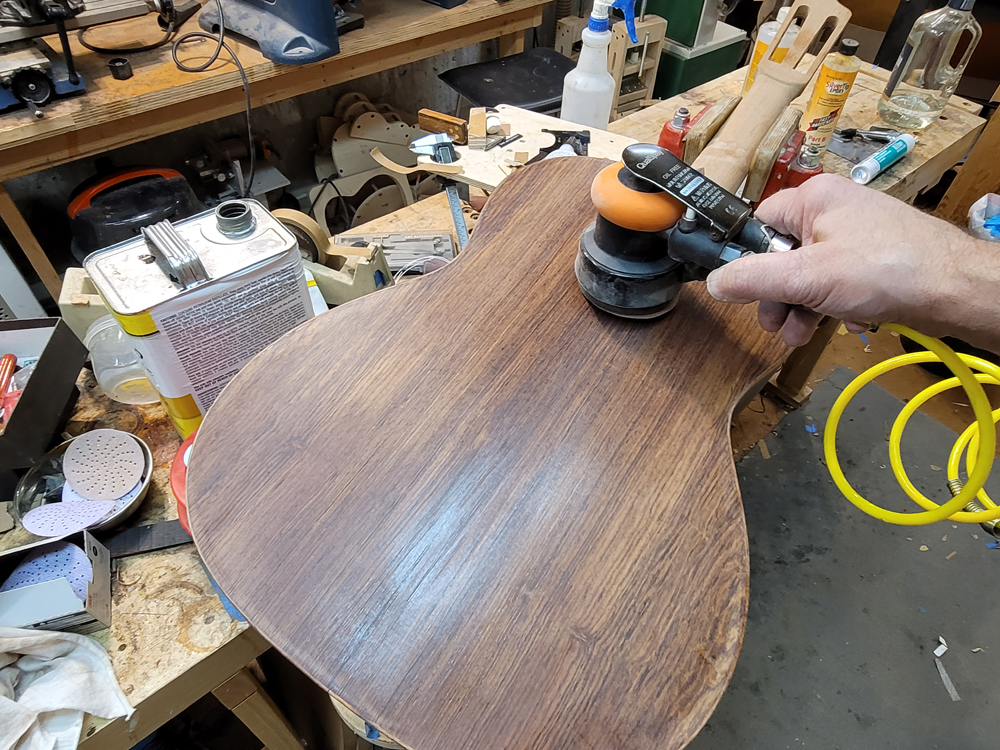
I am leveling the fill with 600p.
The coats are left very thin. I try to remove all of the epoxy with a plastic card.
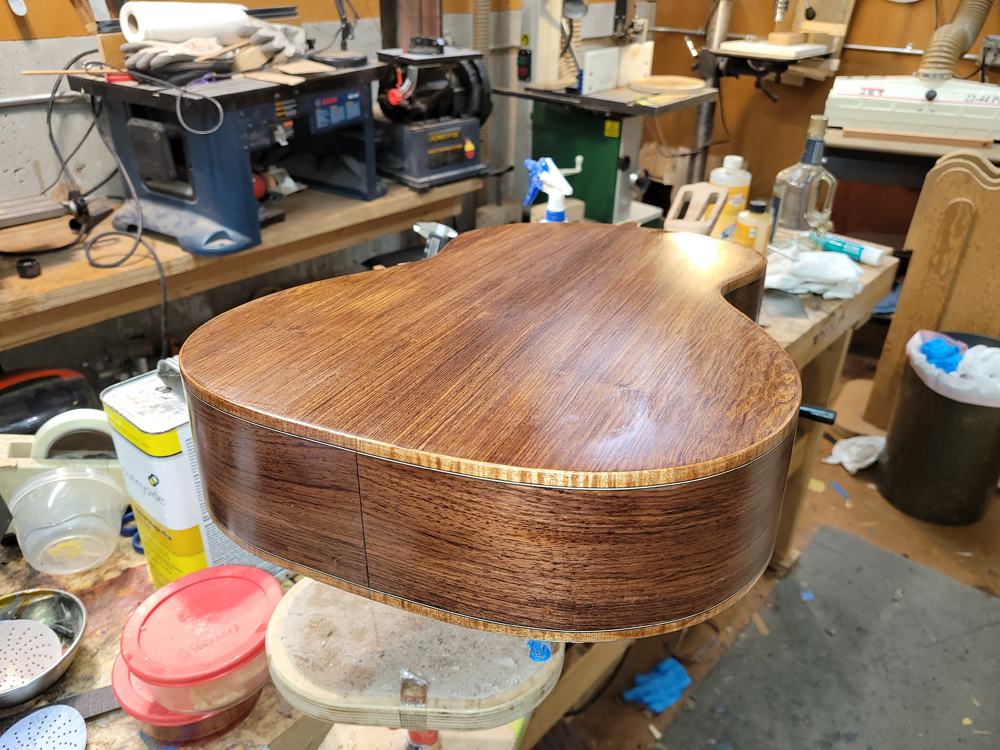
Starting to look like a guitar
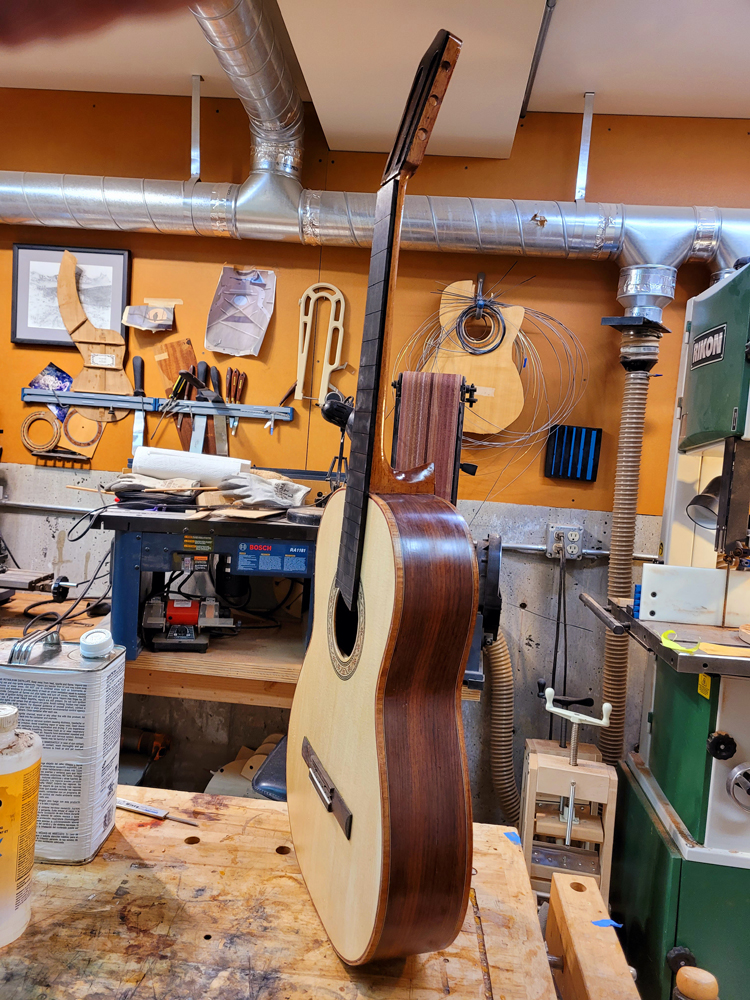
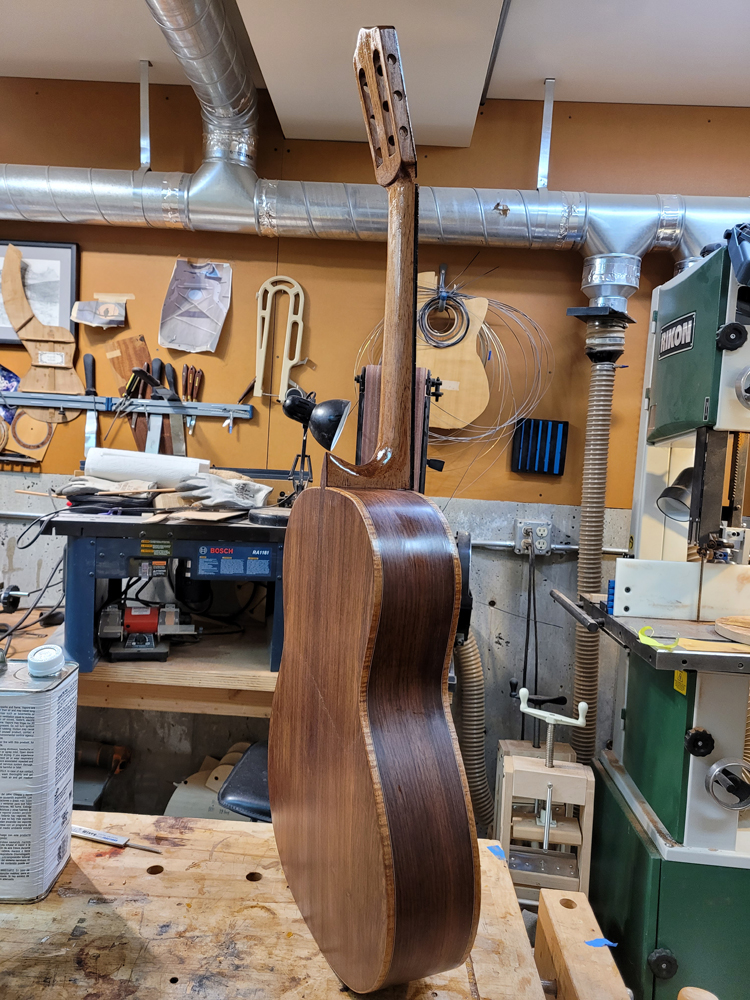
I still French Polish using a technique I learned from Robbie O'Brien French polish class. It is the best most repeatable method I have used. If one has the patience a guitar can be polished in a day that looks good off of the pad. This was after 1 hour of work. It is about where I would stop for a top, but I will continue working for the back and sides. I can not say enough about Robbie O'Brien French polishing technique and his on line class. I have successfully learned a few different methods including Milburn's. Robbie's is the clearest most straight forward, and repeatable method I have tried. For me it was worth the cost of the course, I have use this technique on most of my classical guitars.
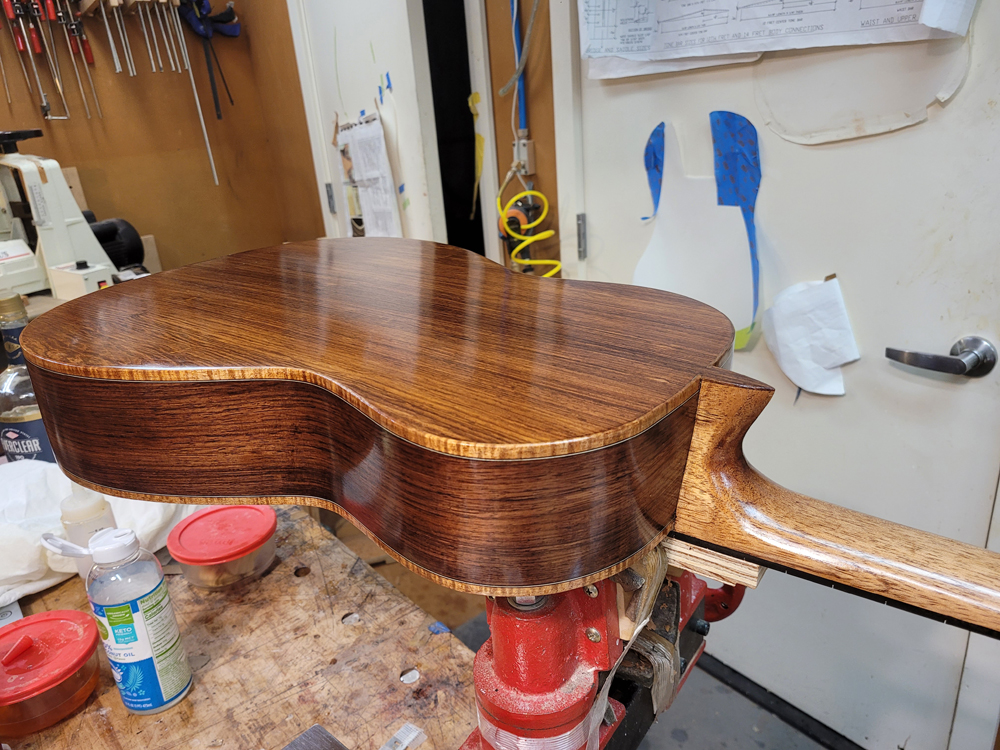
Ready to apply Silvertip epoxy.

First application

I am leveling the fill with 600p.

The coats are left very thin. I try to remove all of the epoxy with a plastic card.

Starting to look like a guitar


I still French Polish using a technique I learned from Robbie O'Brien French polish class. It is the best most repeatable method I have used. If one has the patience a guitar can be polished in a day that looks good off of the pad. This was after 1 hour of work. It is about where I would stop for a top, but I will continue working for the back and sides. I can not say enough about Robbie O'Brien French polishing technique and his on line class. I have successfully learned a few different methods including Milburn's. Robbie's is the clearest most straight forward, and repeatable method I have tried. For me it was worth the cost of the course, I have use this technique on most of my classical guitars.

-
John Parchem
- Posts: 2746
- Joined: Fri Dec 23, 2011 8:33 pm
- Location: Seattle
- Contact:
Re: Just starting a Flamenco Negra
I just completed my Flamenco Negra.
There was not much to do I glued on the bridge and fretted the guitar.
With the fretting I removed the barb of the fret for the last fret out over the sound hole and just glued it in with CA
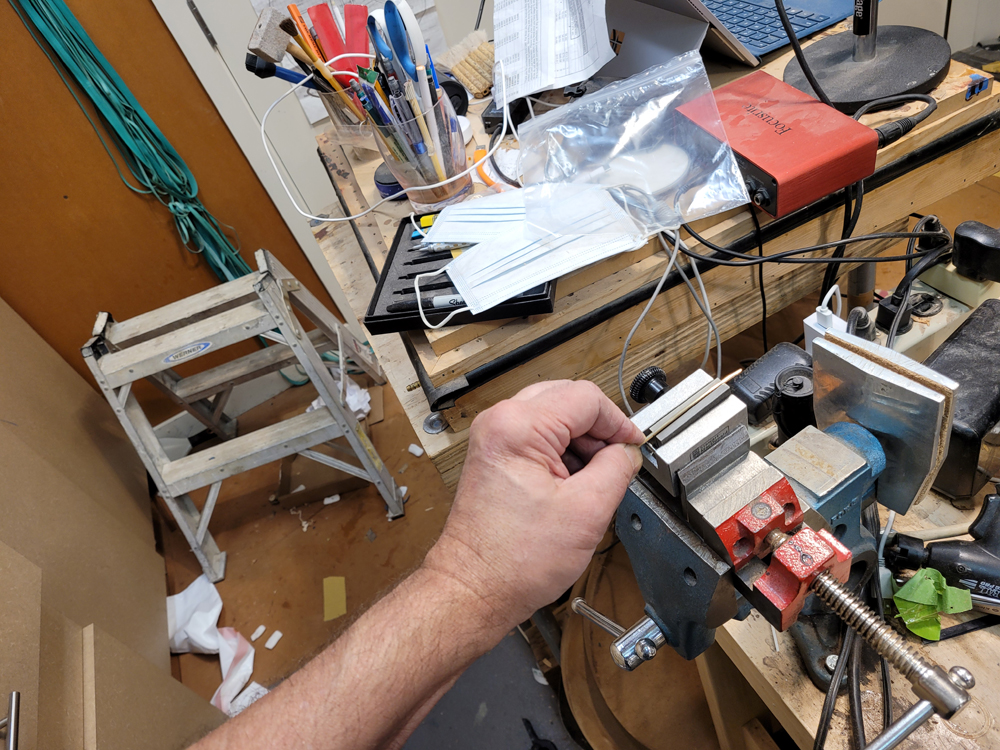
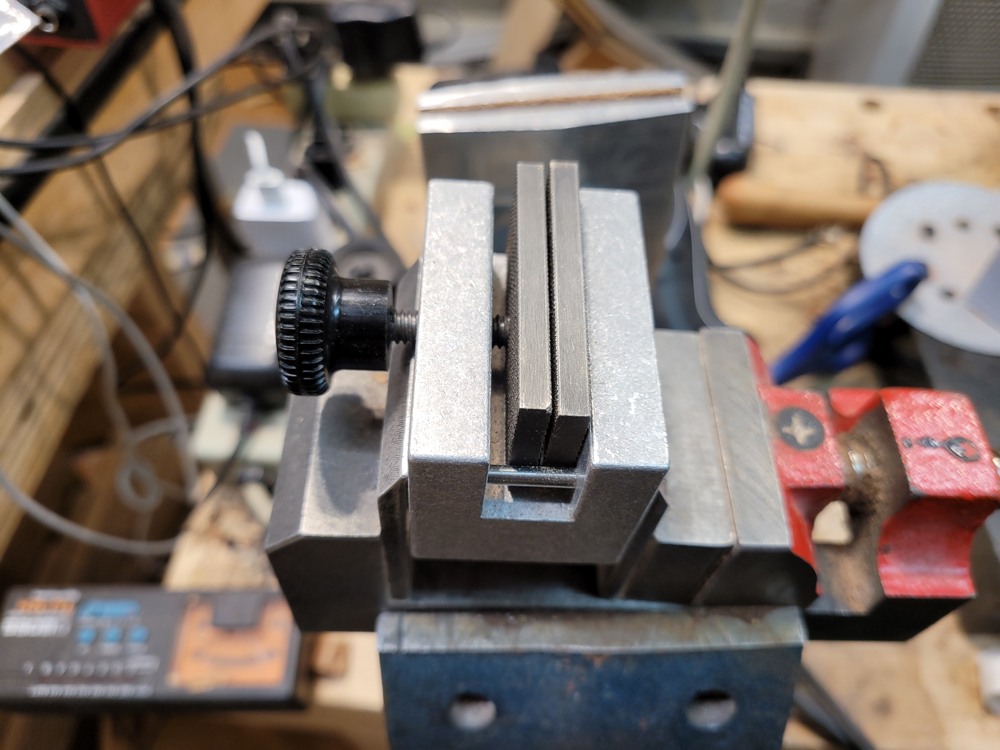
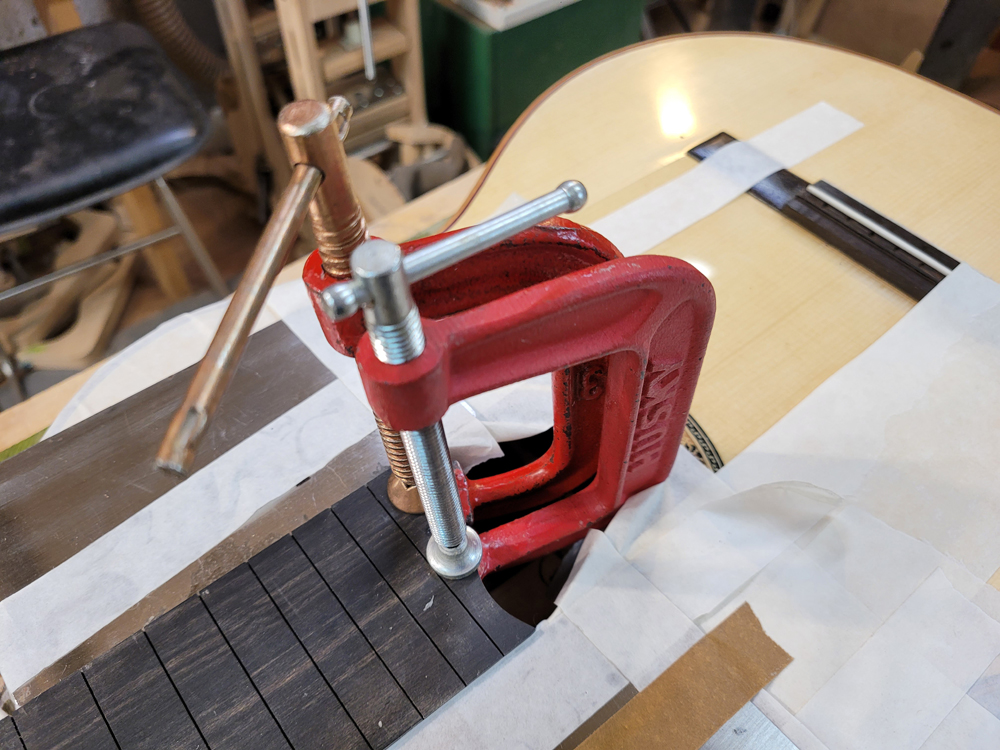
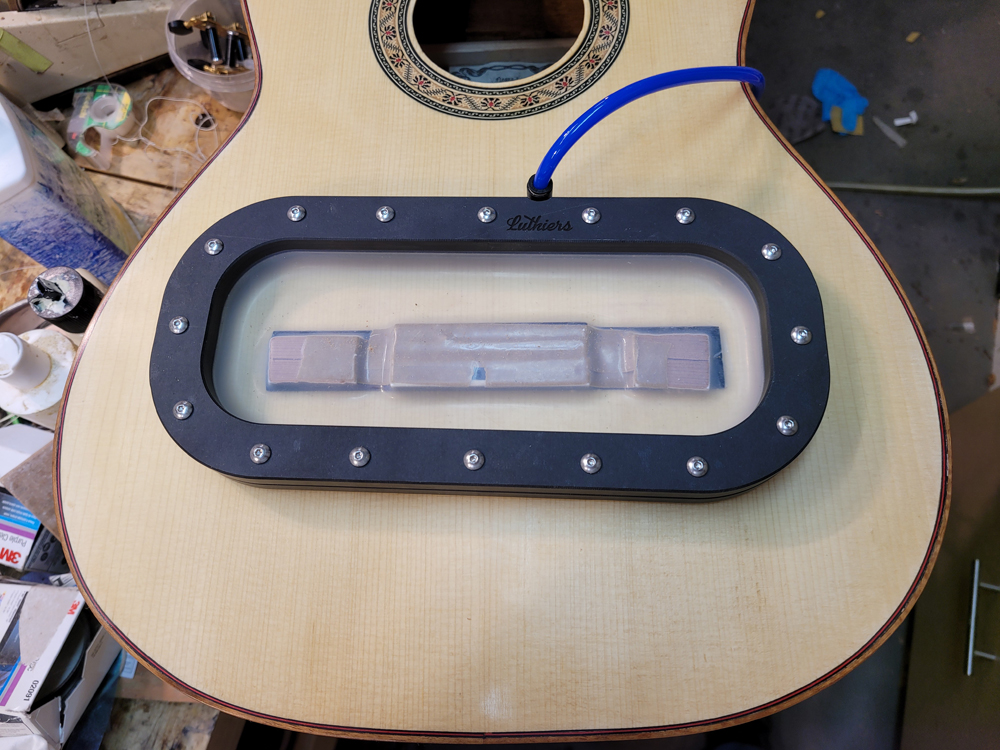
I got to use my new LMI vacuum clamp
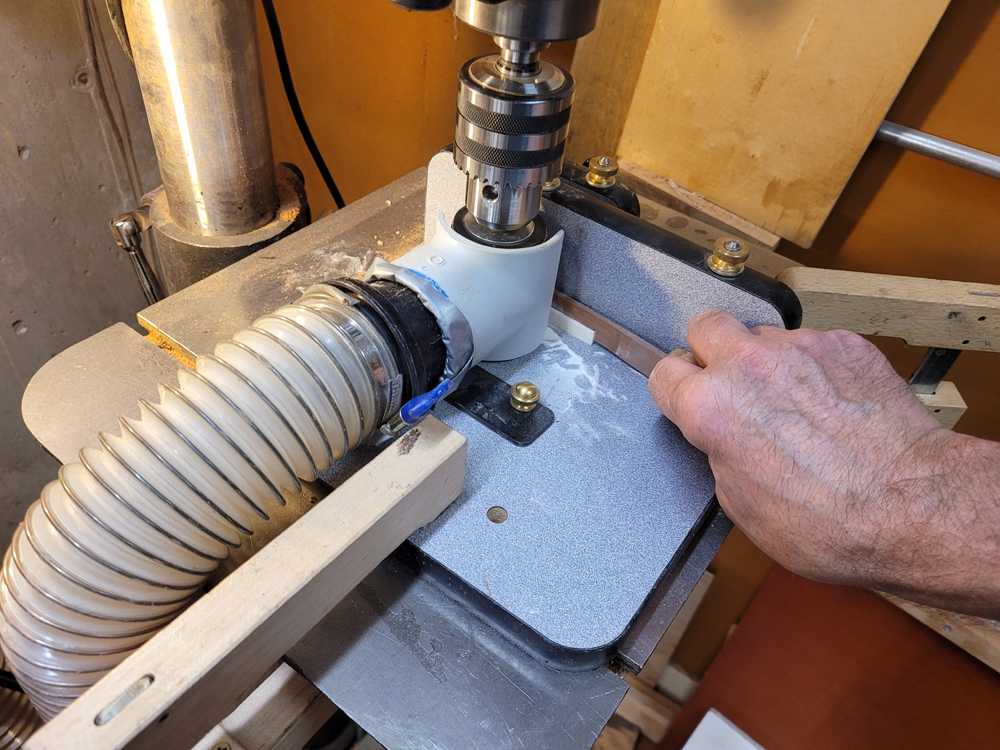
Made a nut
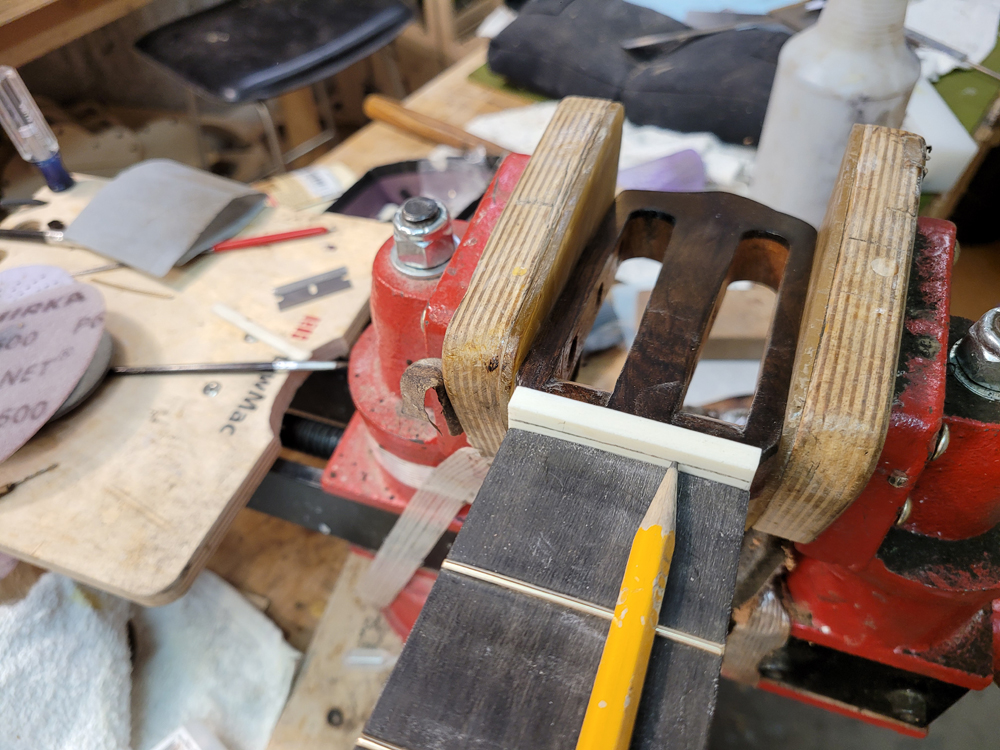
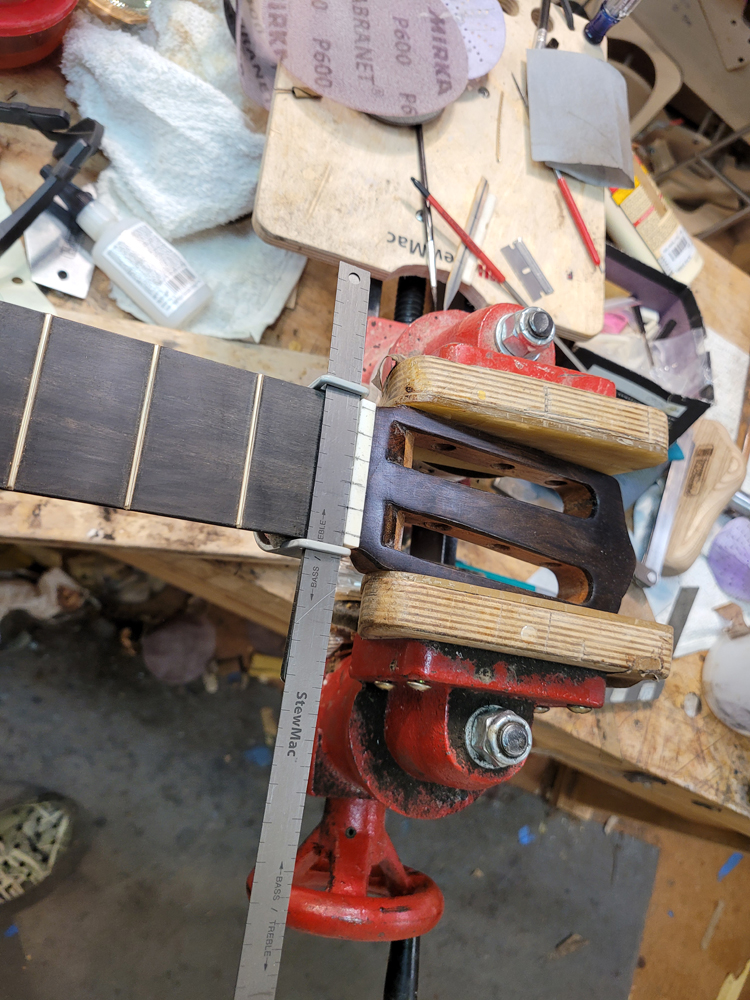
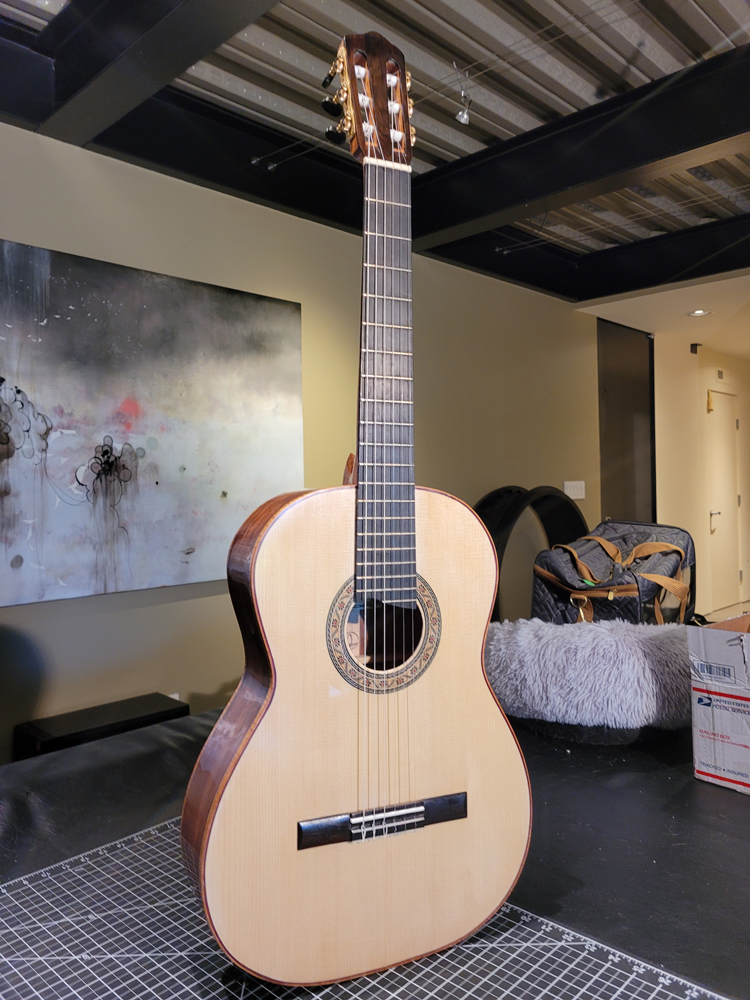
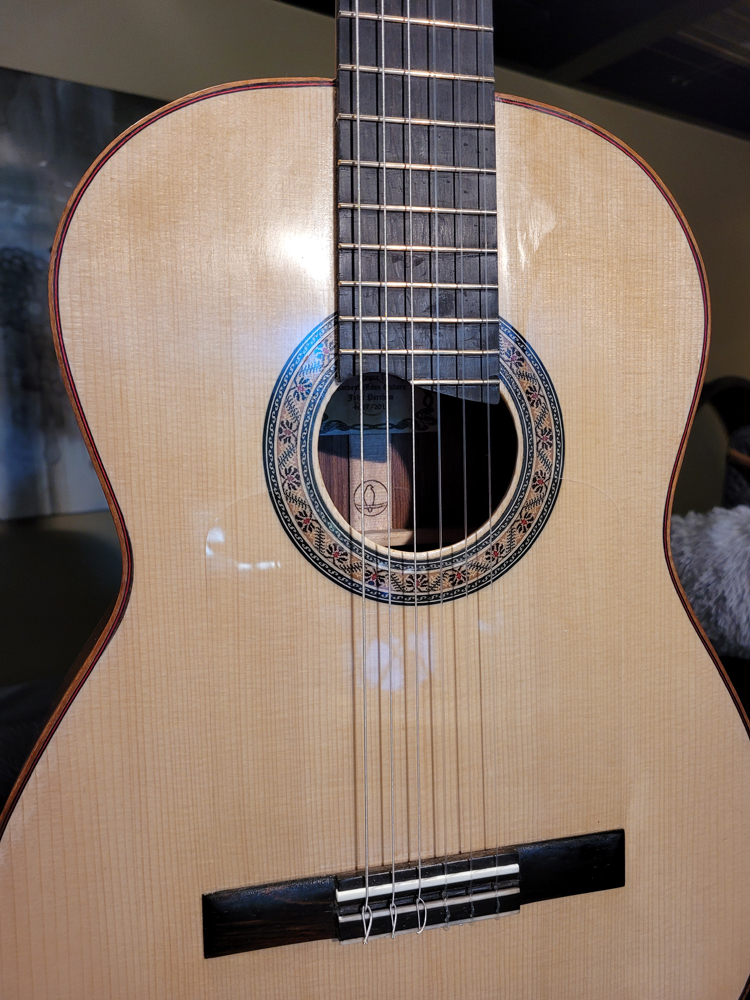
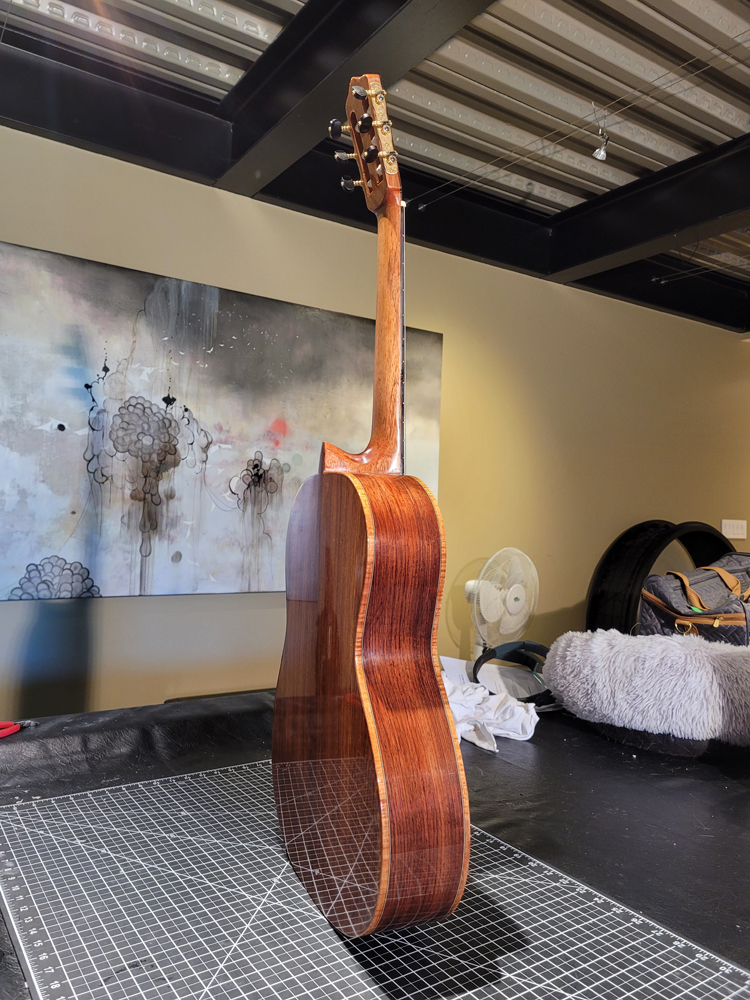
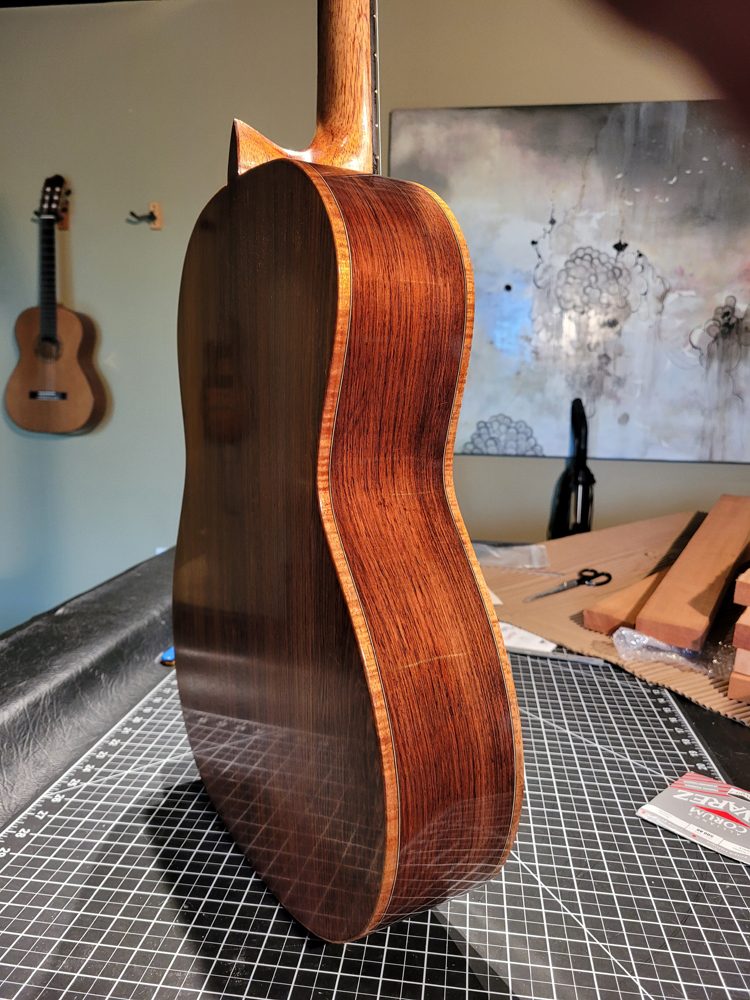
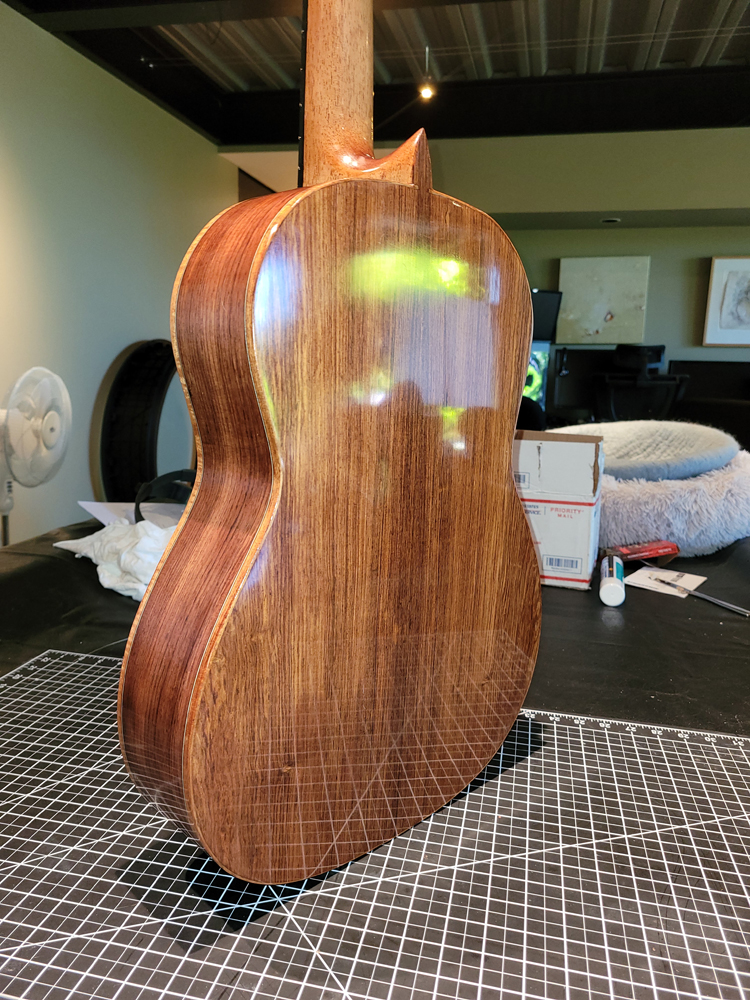
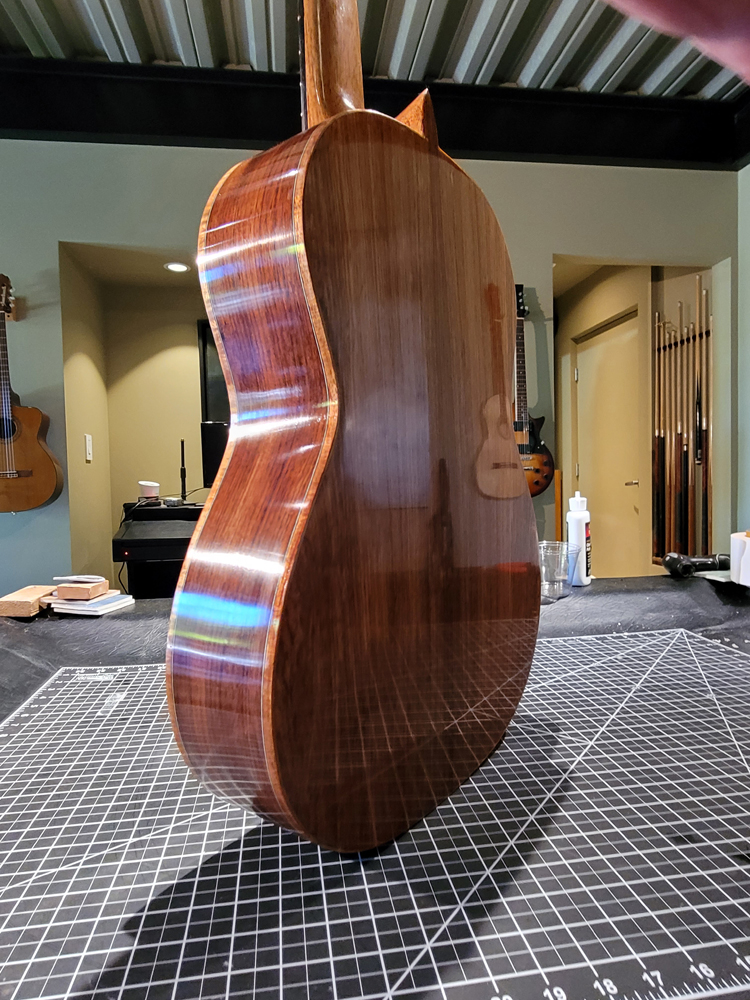
A new flamenco!
Carpathian Spruce Top
Honduran Rosewood Back and Sides
Spanish Cedar neck
Ebony Fretboard
Brazilian Rosewood bridge and headstock veneer
Australian Blackwood bindings
Shellac French Polish on Silvertip epoxy pore fill.
There was not much to do I glued on the bridge and fretted the guitar.
With the fretting I removed the barb of the fret for the last fret out over the sound hole and just glued it in with CA


I got to use my new LMI vacuum clamp

Made a nut


A new flamenco!
Carpathian Spruce Top
Honduran Rosewood Back and Sides
Spanish Cedar neck
Ebony Fretboard
Brazilian Rosewood bridge and headstock veneer
Australian Blackwood bindings
Shellac French Polish on Silvertip epoxy pore fill.


