Thanks Guys,
Dave, I love that guitar. I could see how the lack of bindings in the back works. I have worked on old Martin Guitars without bindings. I wonder if they are a bit more work as the top and back joint needs to be really good. Generally I am happy if they are glued on the linings and often there is a gap between the rims and the top or back. With bindings it get routed away.
More progress on the flamenco.
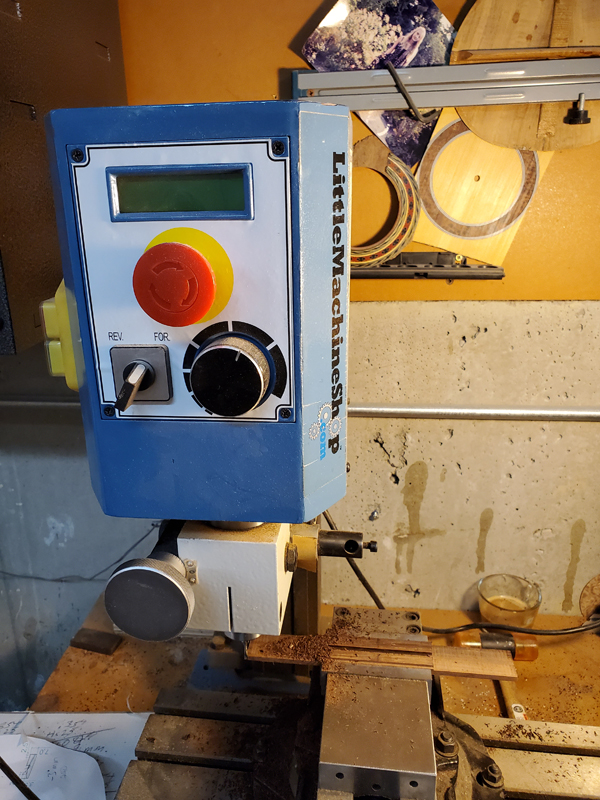
I used my Micro Mill to rough out a bridge.
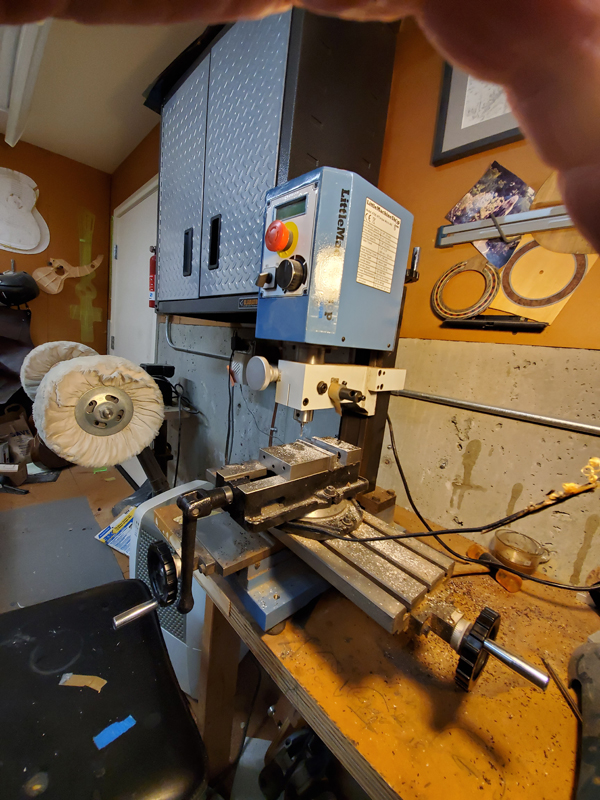
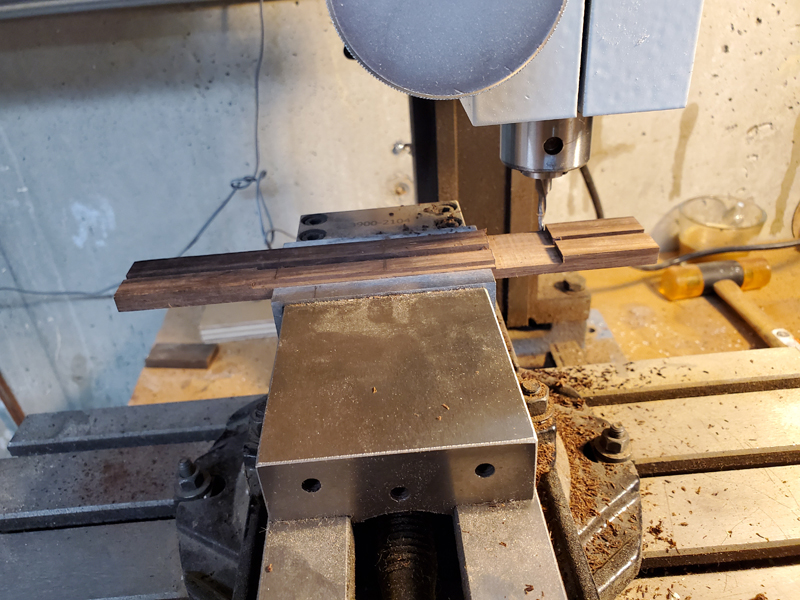
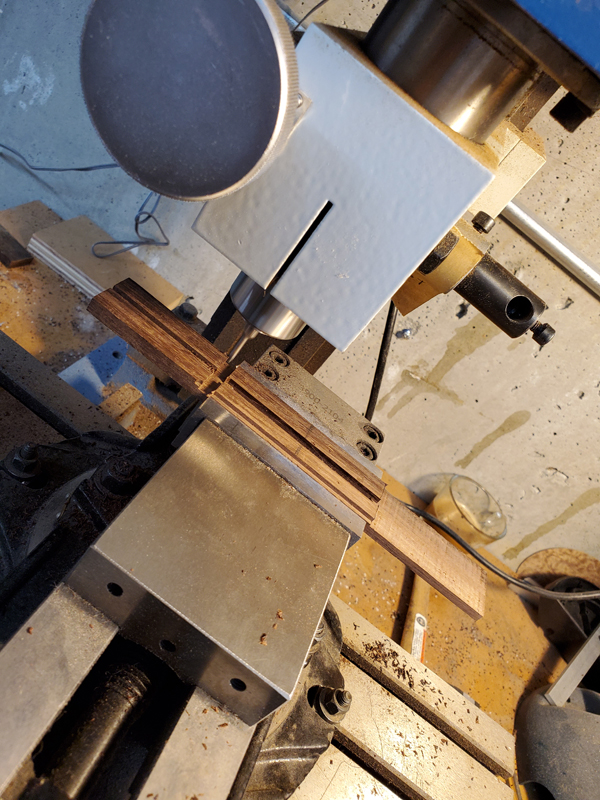
I have been working with a 1/8" end mill. Here are some pictures of me making the bridge with some descriptions
I work the tie block starting with the bottom of the bridge and work forward into the bridge. That way I can keep going in the same y direction without having to come back and zero. The tool is accurate to .001" if you deal with the backlash. So my first cut is a 2 mm deep cut 2 mm in for the tie block bone strip.
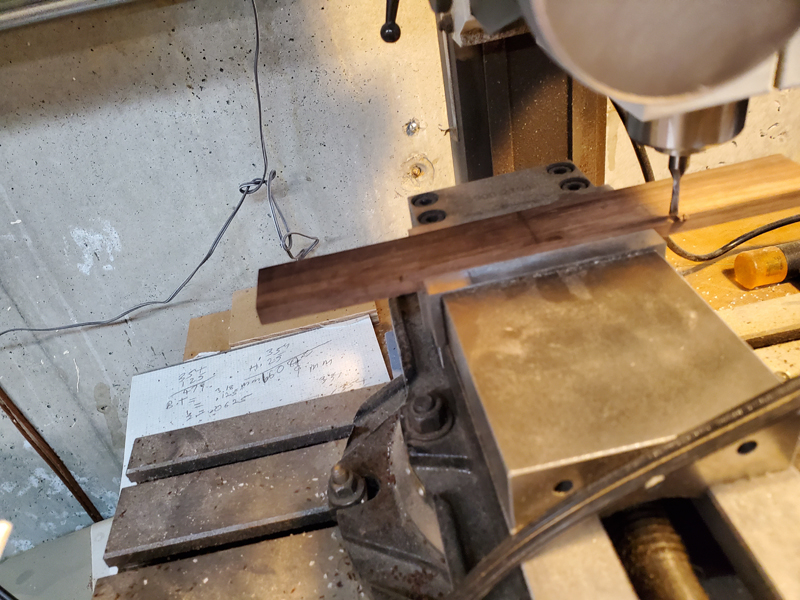
Testing the size
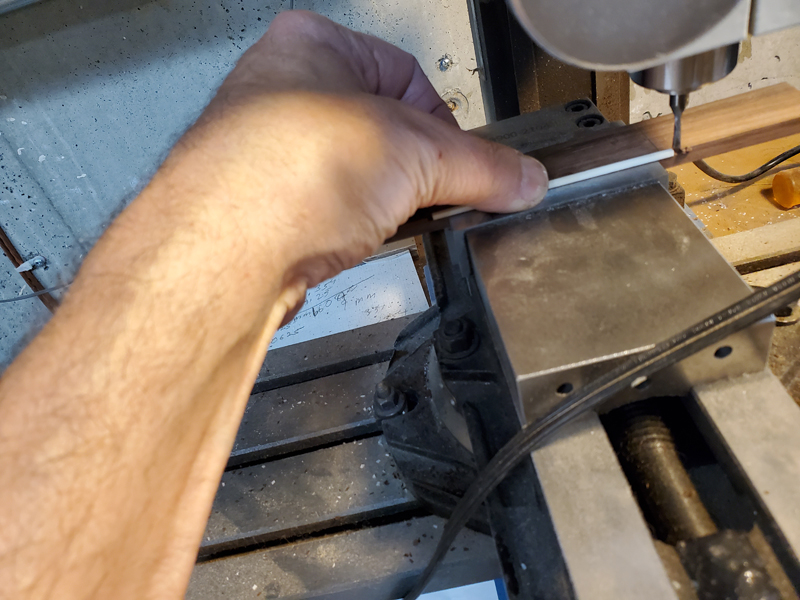
The next cut is the for the inside tie block strip. I am constantly converting mm to mils. So to move forward I wanted the back of the end mill to end up at 8 mm in. Once I calculated the distance I crank it in 50 mils per turn. I have a very accurate vertical adjustment that I bought extra with this machine. With it I can easily get 2 mills accuracy.
I move in another 2 mm, and did a 2 pass 3 mm cut for the separation between the saddle block and tie block. I made this all the way across the bridge as this left 4 mm, the thickness I wanted the wings.
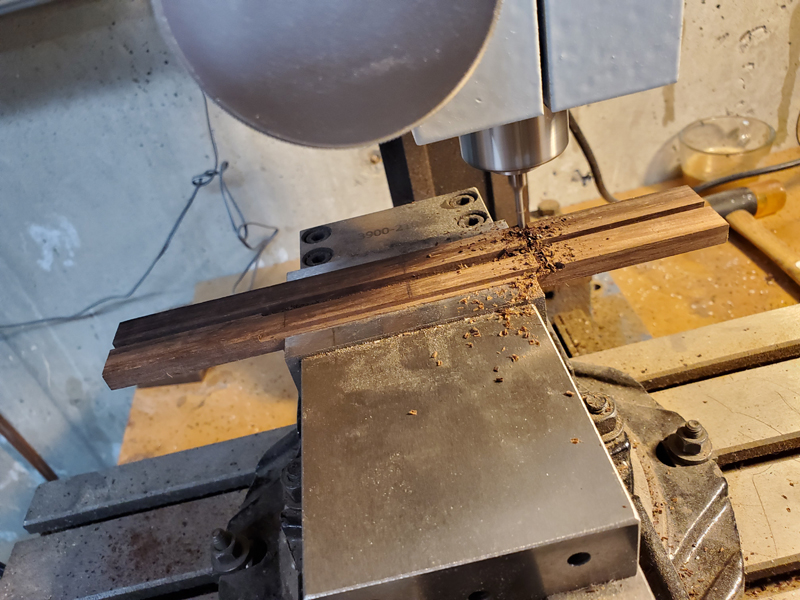
I used a file to round off the wings, also not shown chisels to angle back the saddle block on eanc side.
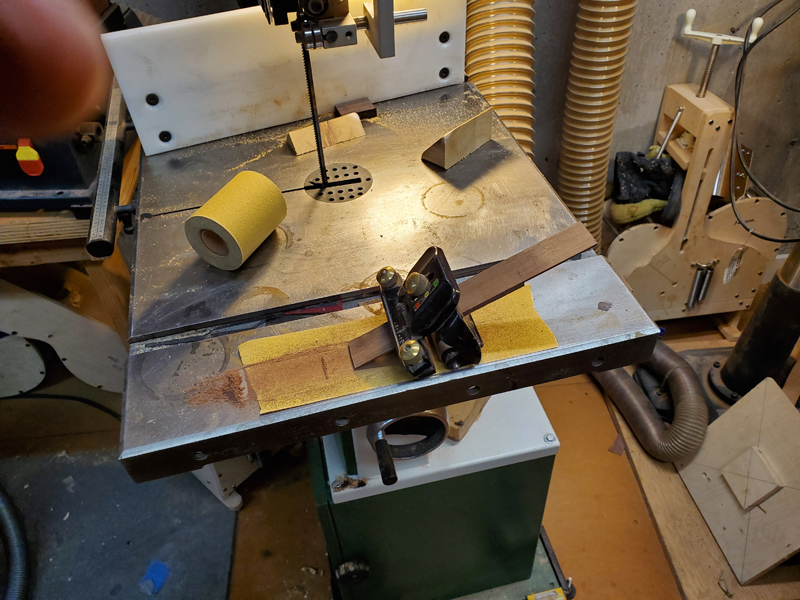
Scraper to put the 20 ' radius on the bridge
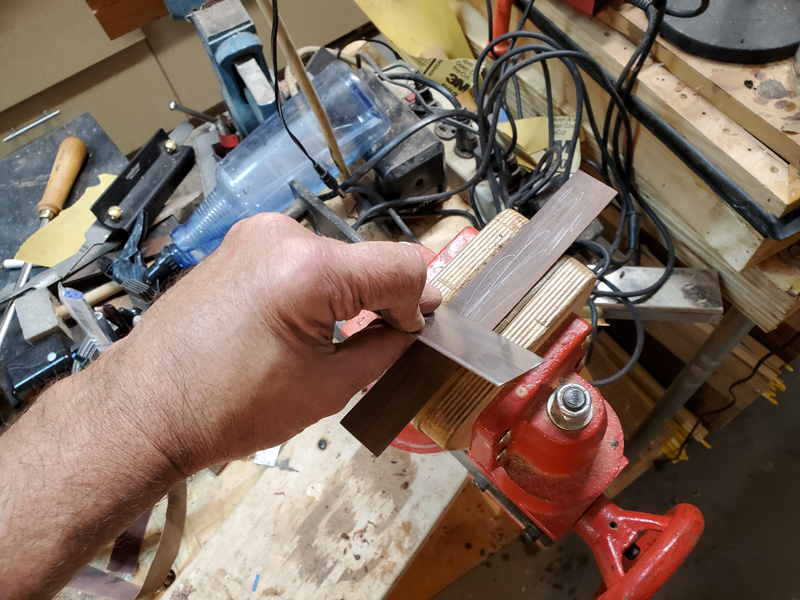
I used a chisel sharpening jig to put an even bevel on each side.
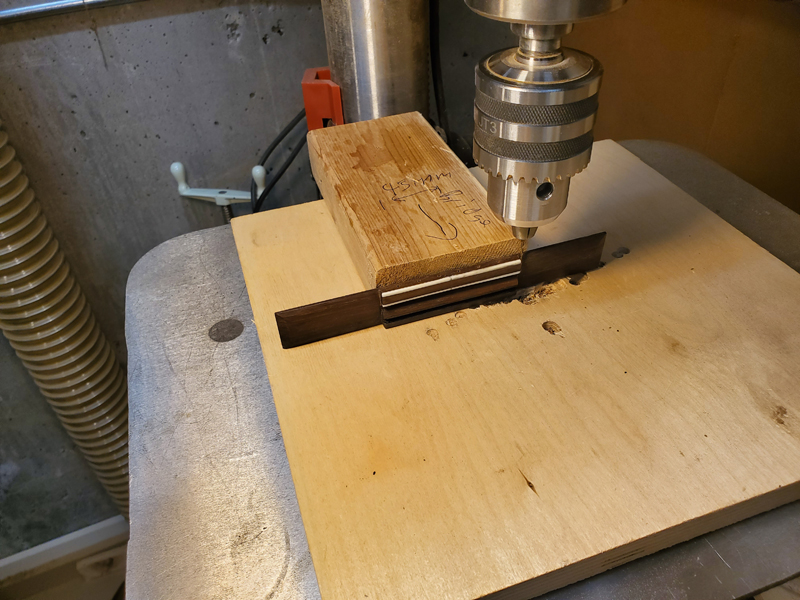
I drilled the holes on my pillar drill angling the bridge 3 degrees to make the string path work.
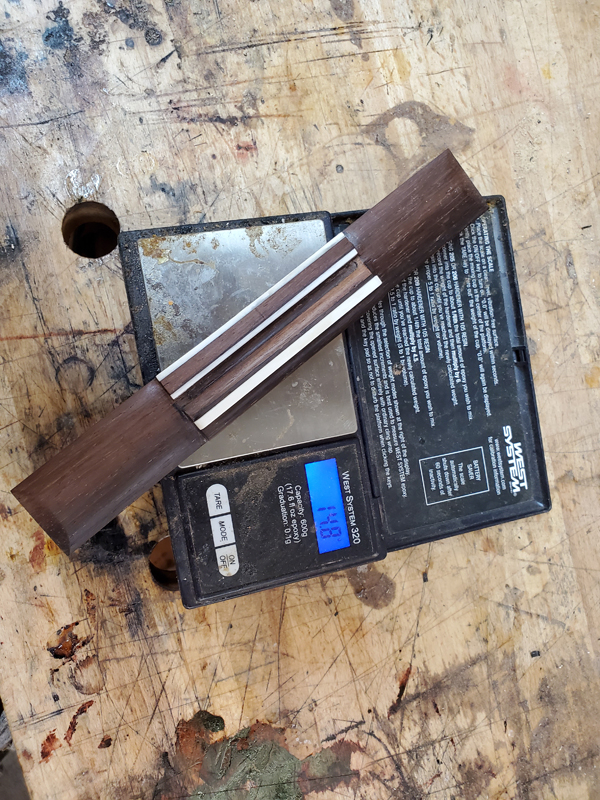
A little clean up with sand paper and scrapers and a 15 gram bridge.
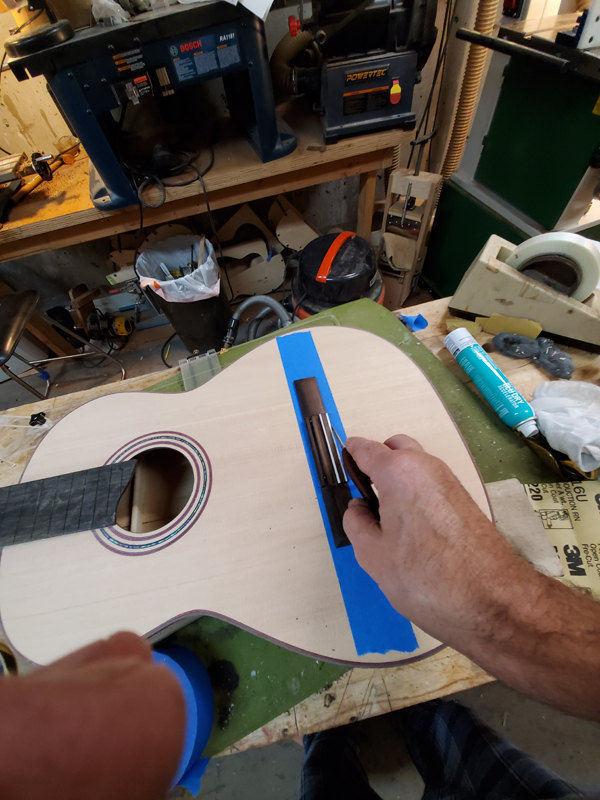
I used my center finder and a ruler to place the bridge and make a mask.
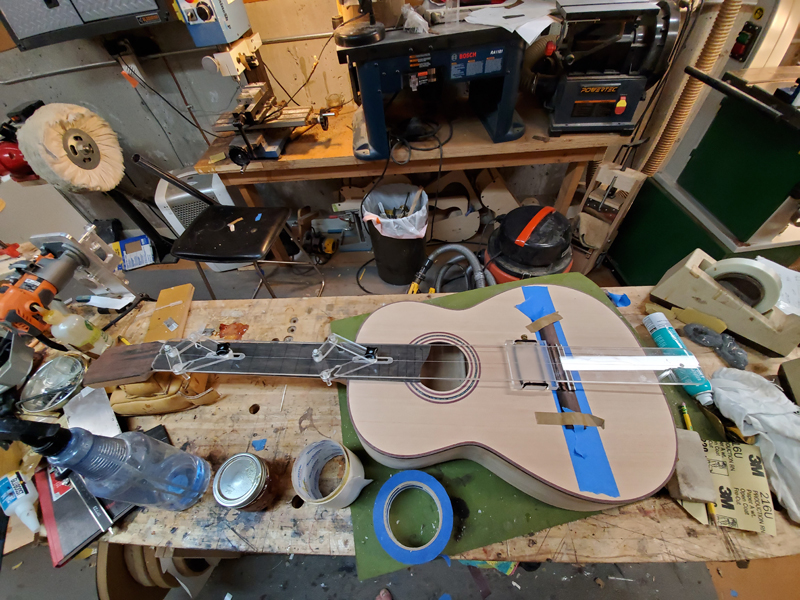
It looking OK. I am away for a few days but will come back and french polish the instrument next week.
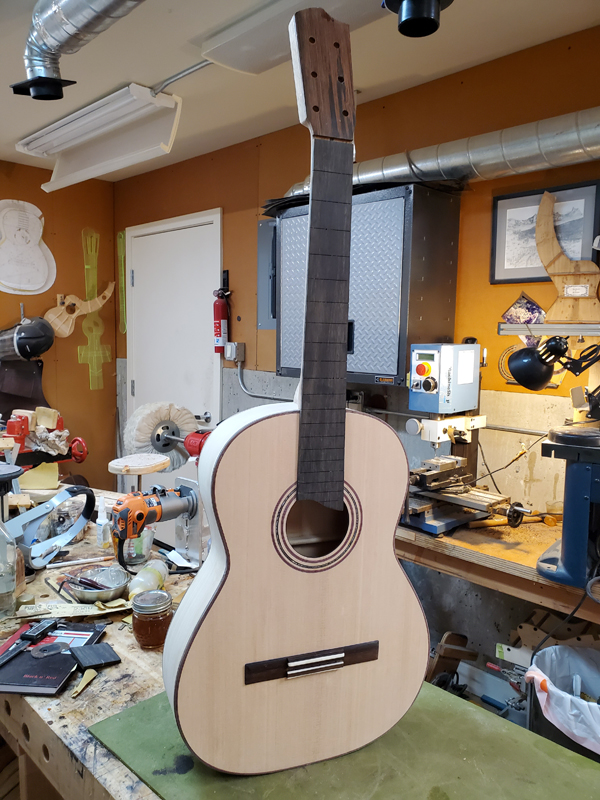
Very traditional Spanish Cyprus\spruce Flamenco Guitar
-
- Posts: 2746
- Joined: Fri Dec 23, 2011 8:33 pm
- Location: Seattle
- Contact:
-
- Posts: 2795
- Joined: Mon Dec 19, 2011 4:19 pm
Re: Very traditional Spanish Cyprus\spruce Flamenco Guitar
Looks Great John! YOur work keeps getting better and better.
How many instruments have you completed now?
I know we started about the same time, I made it to 14 but nothing made in the past year.
How many instruments have you completed now?
I know we started about the same time, I made it to 14 but nothing made in the past year.
-
- Posts: 2746
- Joined: Fri Dec 23, 2011 8:33 pm
- Location: Seattle
- Contact:
Re: Very traditional Spanish Cyprus\spruce Flamenco Guitar
Thanks! I am in my mid 20s. So far this is one of my cleaner project. I will see if I can get it through finishing without dropping something on the top.Kevin in California wrote:Looks Great John! YOur work keeps getting better and better.
How many instruments have you completed now?
I know we started about the same time, I made it to 14 but nothing made in the past year.
-
- Posts: 5951
- Joined: Tue Dec 13, 2011 7:44 pm
Re: Very traditional Spanish Cyprus\spruce Flamenco Guitar
Great - now you've jinxed yourself!!!
-Under permanent construction
-
- Posts: 2746
- Joined: Fri Dec 23, 2011 8:33 pm
- Location: Seattle
- Contact:
Re: Very traditional Spanish Cyprus\spruce Flamenco Guitar
so far so good ding wise ...
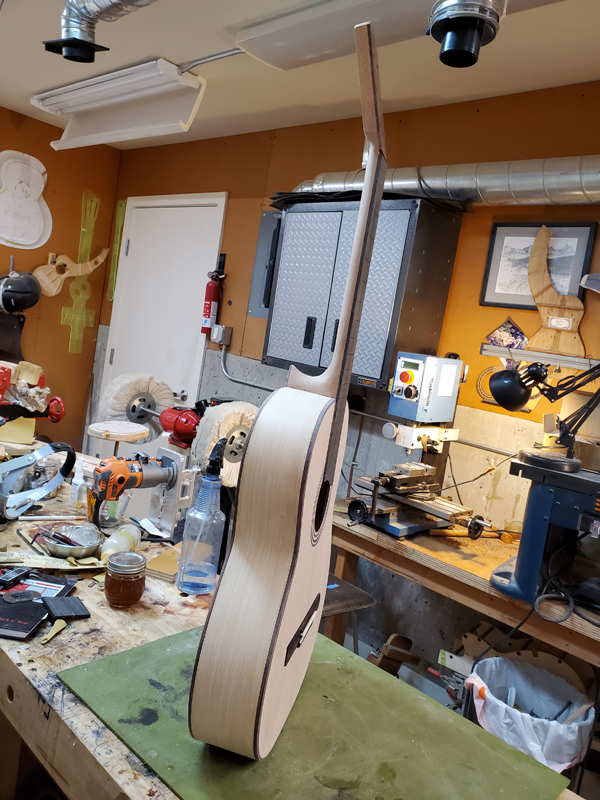
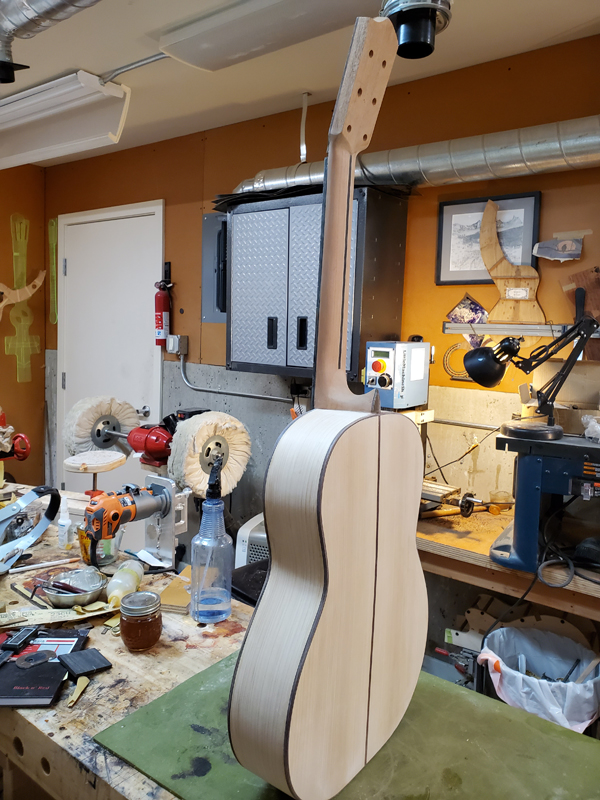
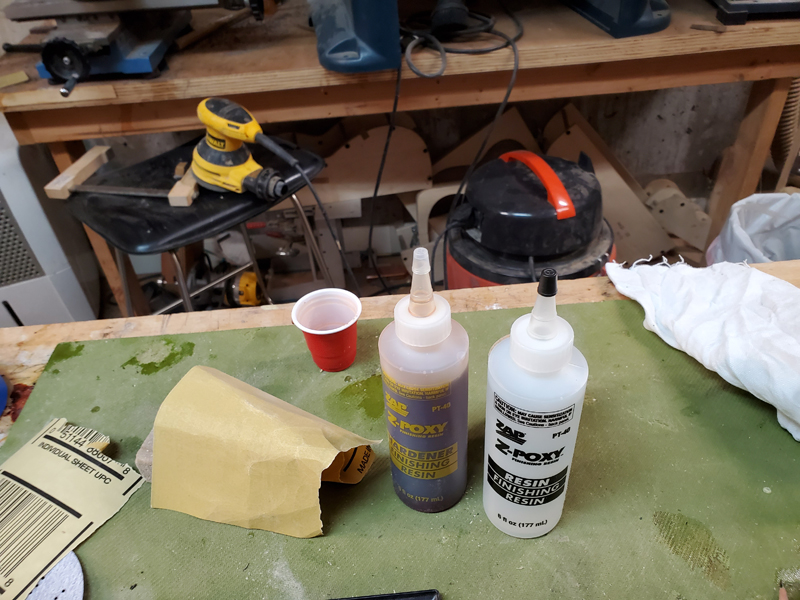
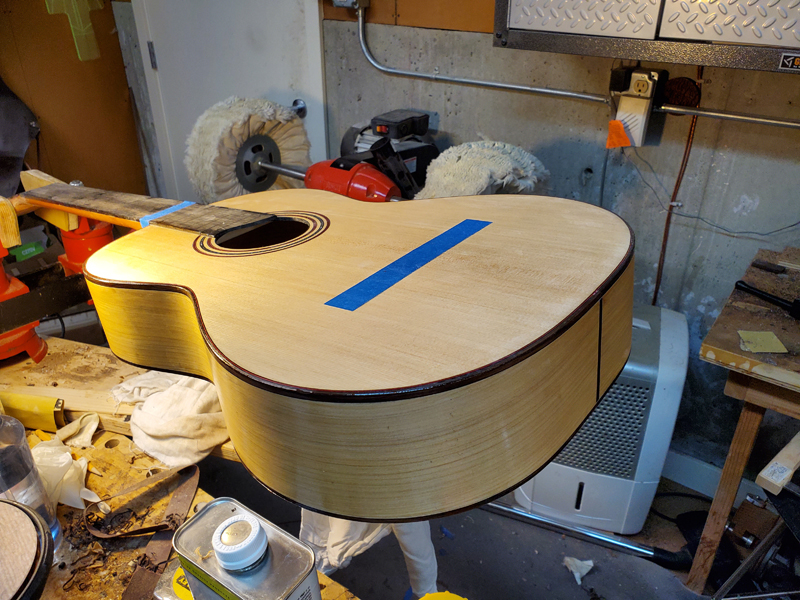
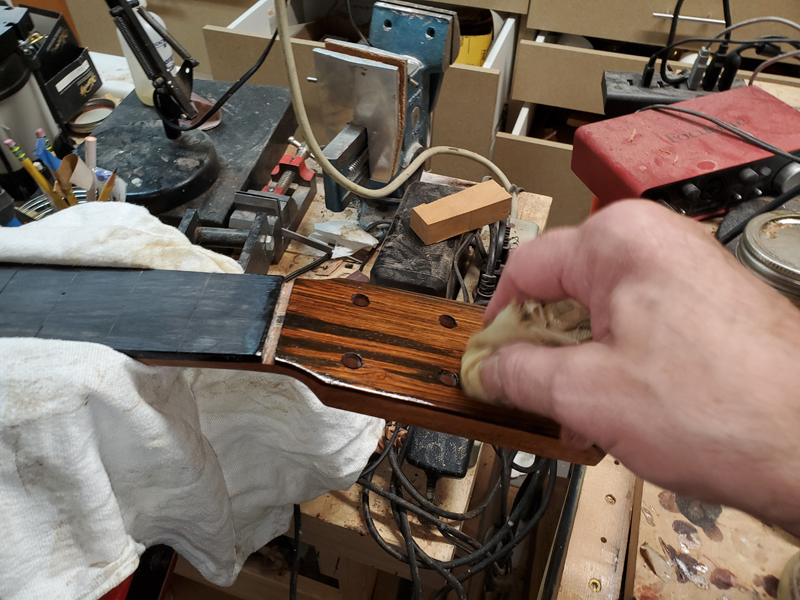
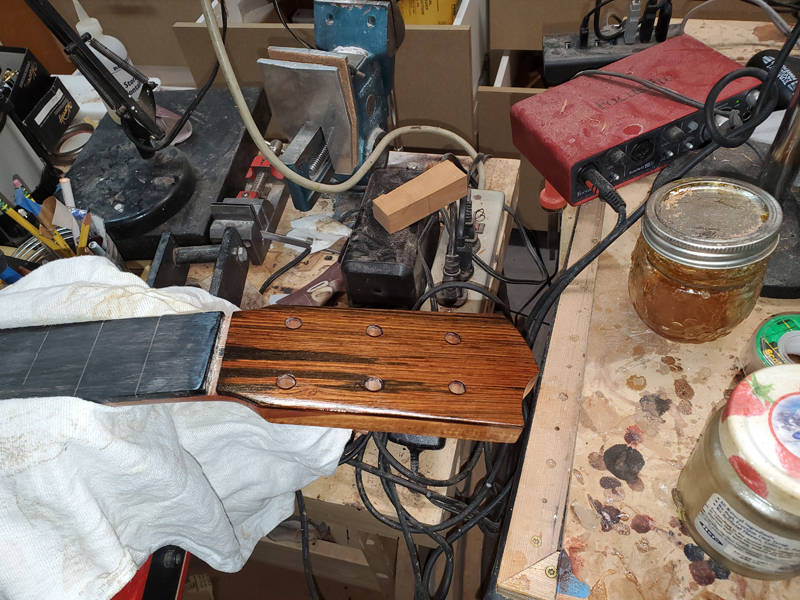
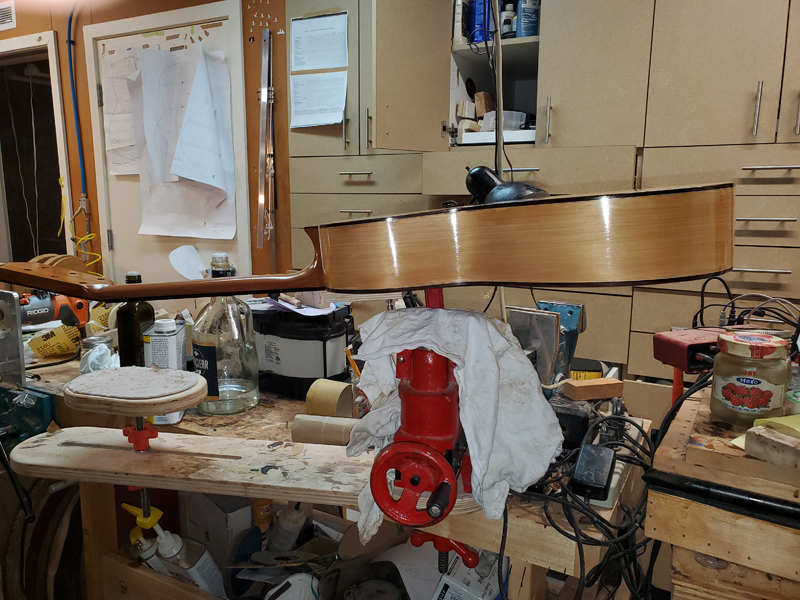
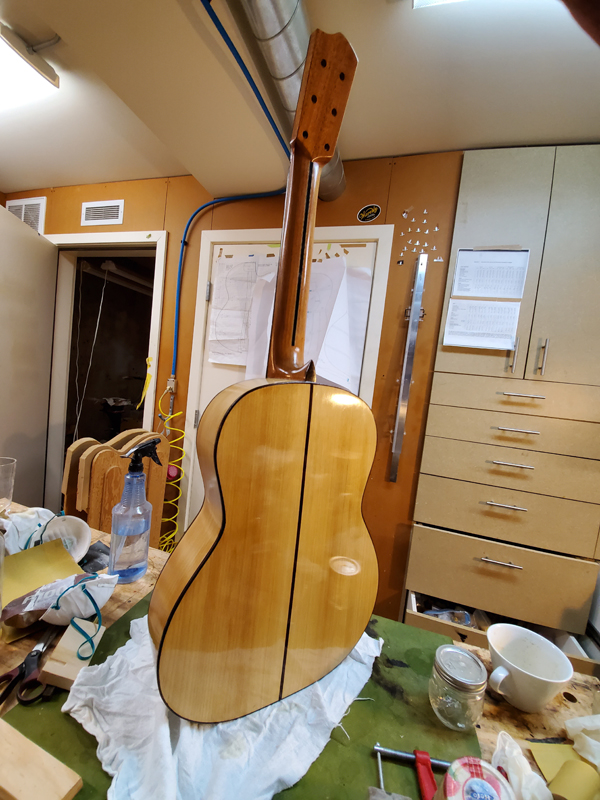
The guitar is French polished with blond shellac. Before French polishing the back and sides I did use zpoxy as a pore filler on the back and sides. As cooltouch wrote, spanish cypress does not need to be pore filled. I used zpoxy and pore filled for two reasons: I like the amber tone, also it helps me see if I am level or have small dings I need to fill. I applied a very thin coat taking most off with a plastic name tag card, and then sanded the guitar level 400p paper. In doing so I did sand through the zpoxy in a few places, but for the most part I did have the guitar level. I filled a couple dings and very small binding gaps that showed up and use a rag to wipe on a 30-35 percent alcohol diluted zpoxy to even out the color. Not shown I used gluboost fill and finish to pore fill the neck and head stock.
To french polish I mostly follow what I learned from a Robbie O'Brien French Polish lesson in his classical guitar course. I start with a few with the grain wash coats using 2 lb cut (note. I stopped measuring about three years ago) wiped with the grain. To actually polish I dilute to somewhere close to a 1 lb cut. My technique is too charge the wad in the pad, fairly wet but I wring it out so I do not get drips. I very lightly wipe with the grain until the muneca (rubber) starts to pull and I apply a drop of oil and work in a circular polishing motion. I will do this with incremental pressure until the muneca is getting dry. I will finish up with straight strokes. I call the charge to the finish with the straight strokes a session. I will do three of the above described sessions and then spirit off with straight alcohol. I charge with straight alcohol farly wet, but no drips. All with the grain I start up with very light strokes, watching how much alcohol is being applied as I go. As the muneca drys I apply more and more pressure until I am really working the surface. Never so much pressure that the muneca will leave a noticeable wet spot or drip. I look for a thin disappearing trail of evaporation alcohol.
I will repeat the 3 sessions with the spirit off session maybe three times. I pick up things like the neck and the headstock as the opportunity arises.
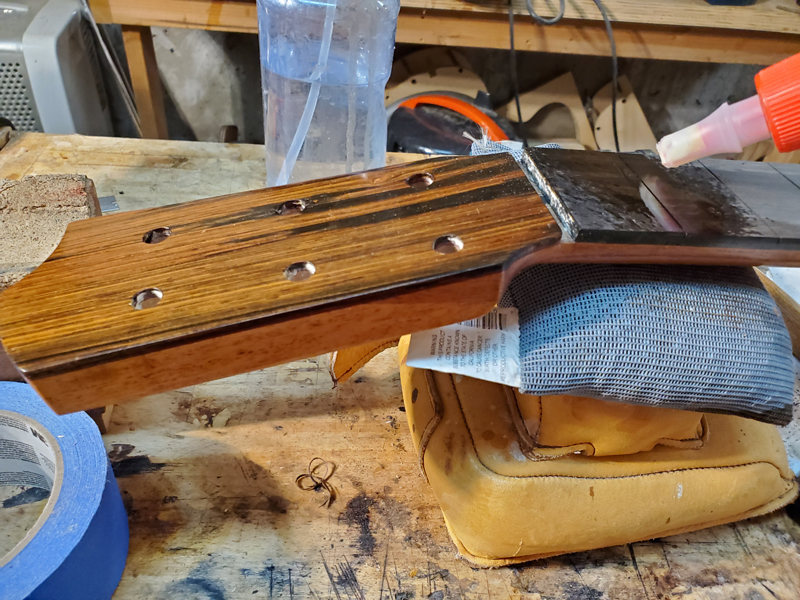
I did the top first as I clamped the neck in a vice. (also the headstock veneer.)
Then I use a C clamp clamped on a caul on the fretboard and inside the sound hole to form a handle.
While doing the back I slip on to the sides and the neck. I will especially do this if I am feel the back is softer than I like to work.
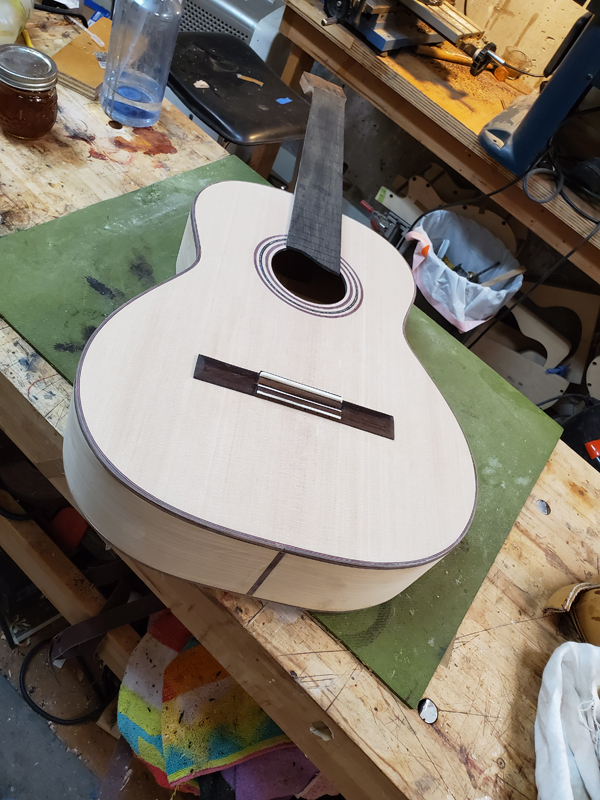
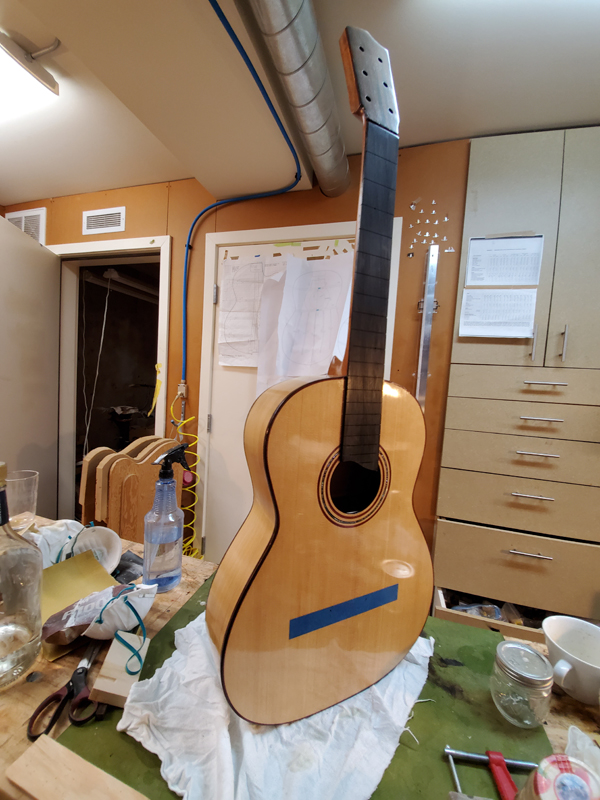
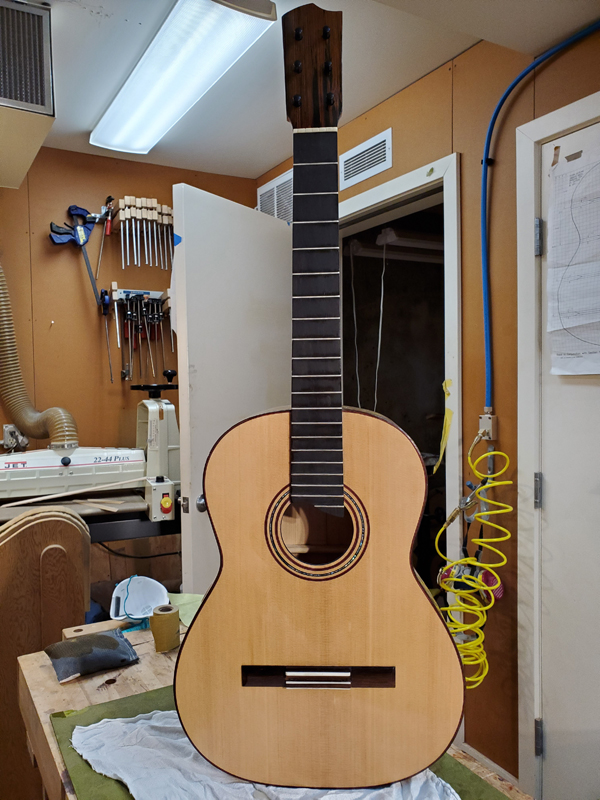
Now I am just waiting a few days before gluing on the bridge.
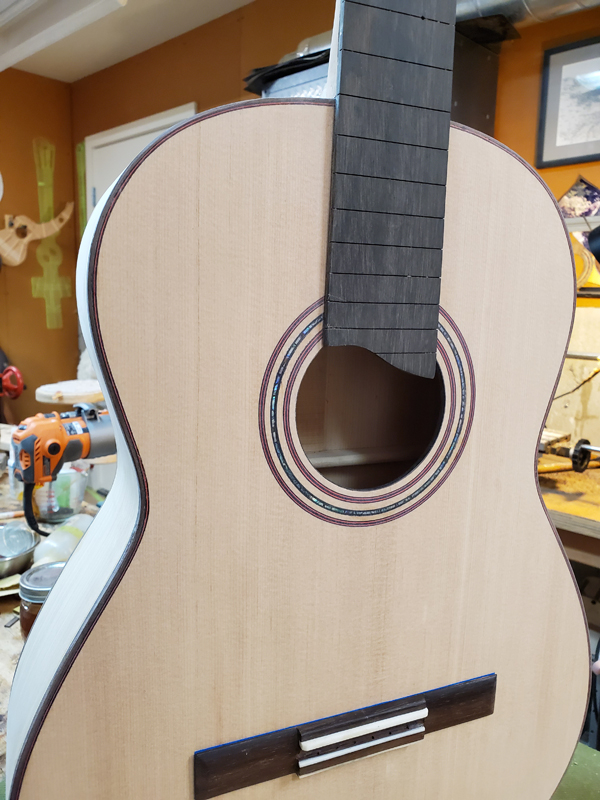
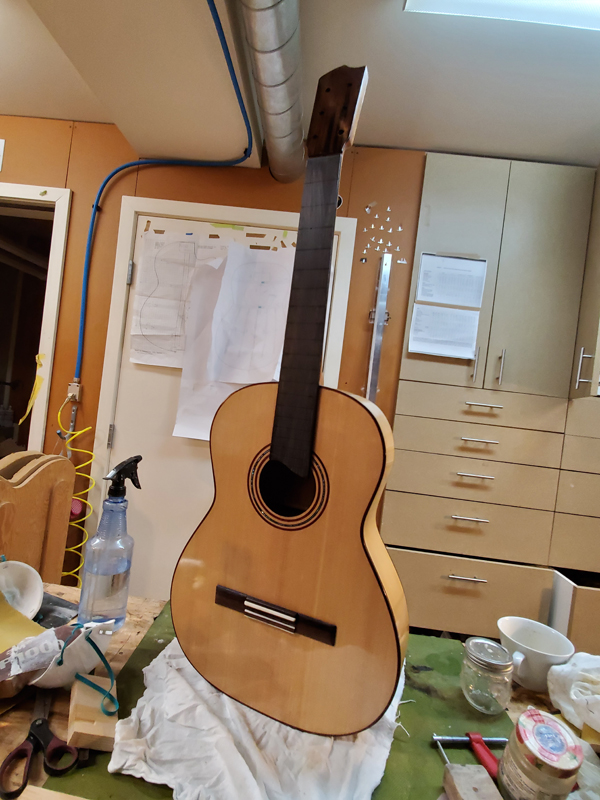
Here the bridge is just pined on
Re: Very traditional Spanish Cyprus\spruce Flamenco Guitar
So simple and clean. So beautiful. Congrats.
John
-
- Posts: 2746
- Joined: Fri Dec 23, 2011 8:33 pm
- Location: Seattle
- Contact:
Re: Very traditional Spanish Cyprus\spruce Flamenco Guitar
Thanks john,
I glued the bridge on, fretted the instrument and strung it up and set it.
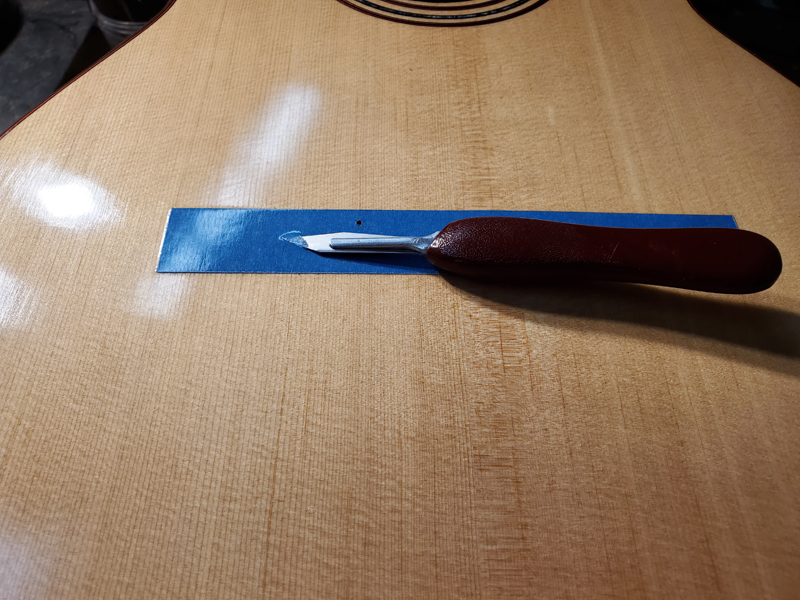
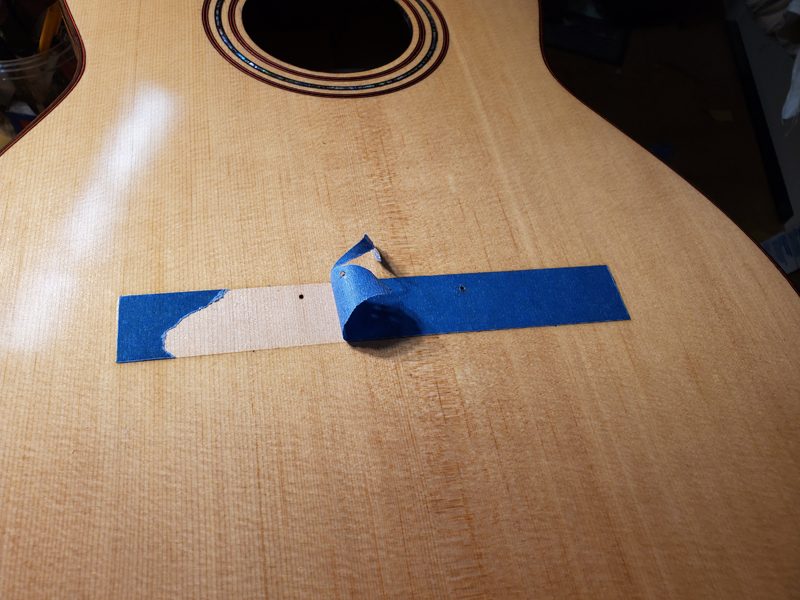
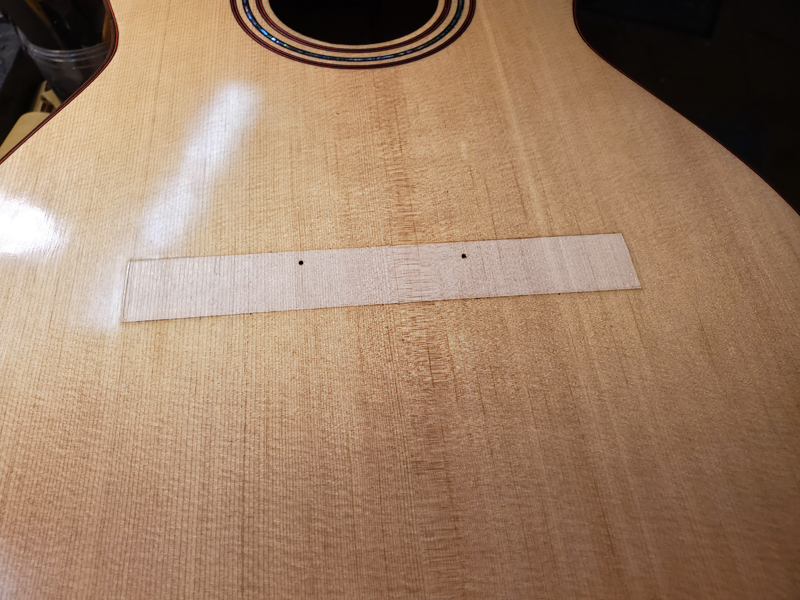
I had a full mask on the bridge. I make the mask by locating the bridge on some tape. Using a scalpel to score the tape and removing the tape that is not the mask.
Here I am removing the the tape after allowing the finish to cure for a few days.
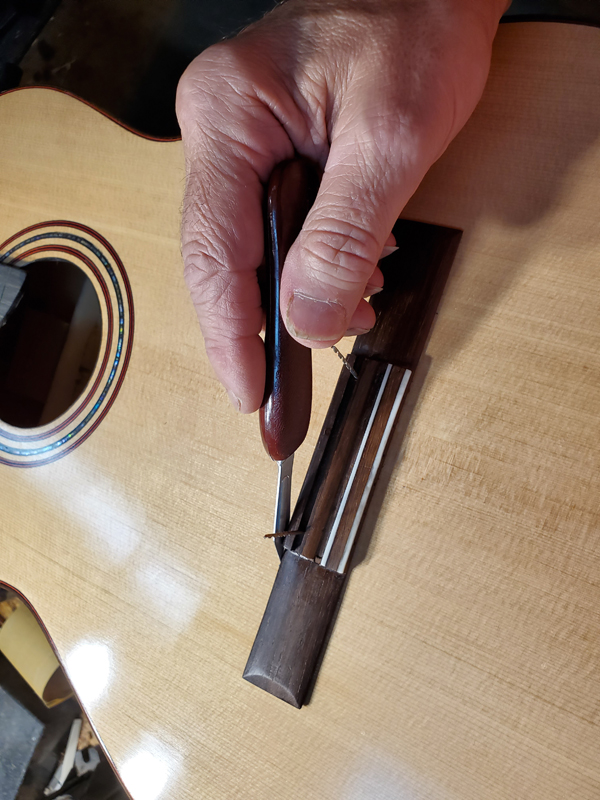
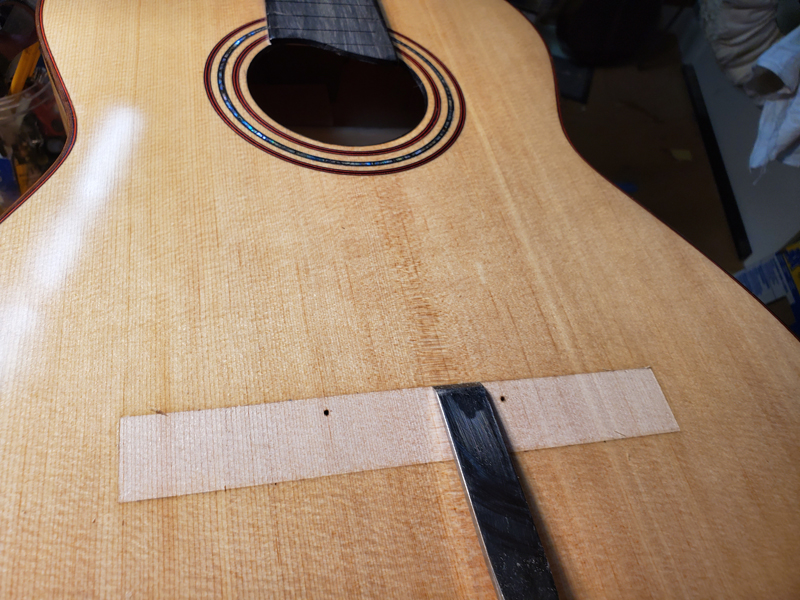
I very lightly score along the bridge again to make sure I know where the finish line needs to be. Then I use a chisel to lean up any finish to the score line.
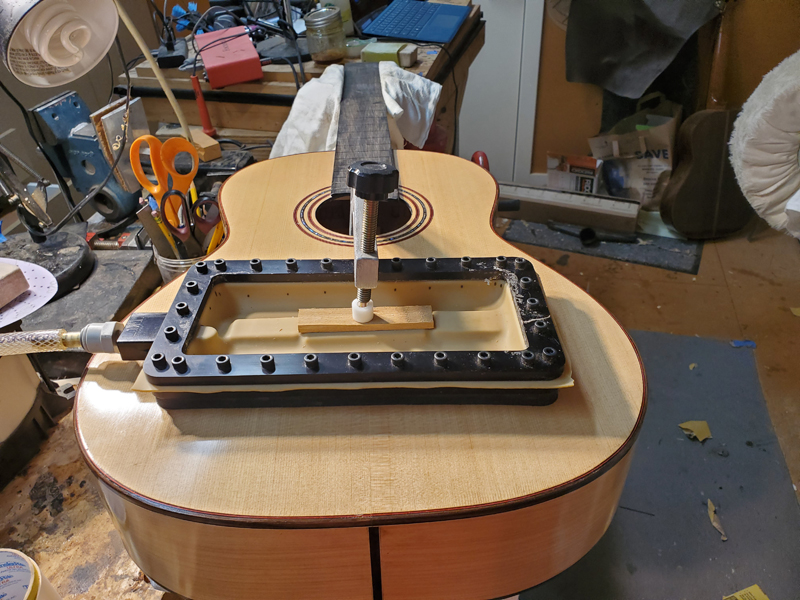
Not shown I radiused the bridge to 28' feet which is about what the dome will be. I use a vacuum clamp but you will also note I also use a clamp. I got into this habit with my falcate guitars which do not have longitudinal braces near the bridge. The clamp supports the dome pulling the top up to the radius in the brace. I have found that if I turn on the vacuum pump when there is a gap between the top and bridge, the vacuum will suck the glue right out. In any case I am using the bridge to force the dome I want.
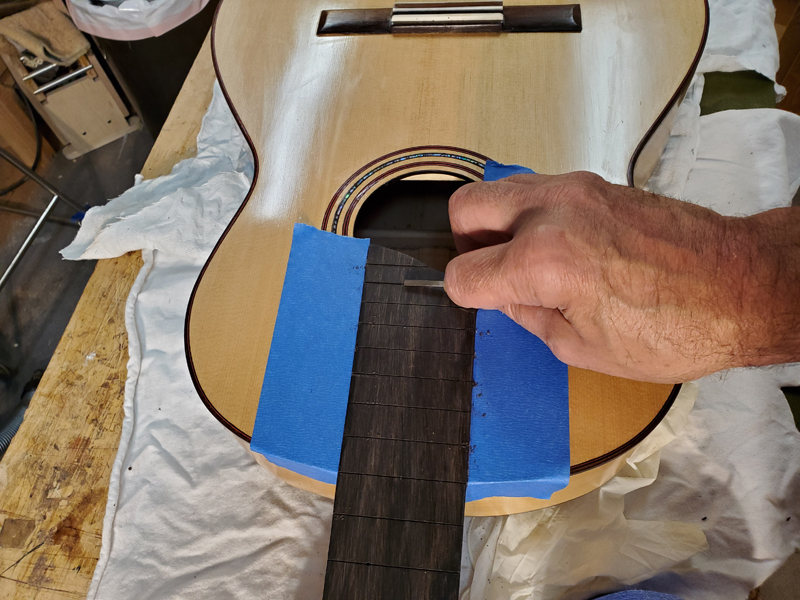
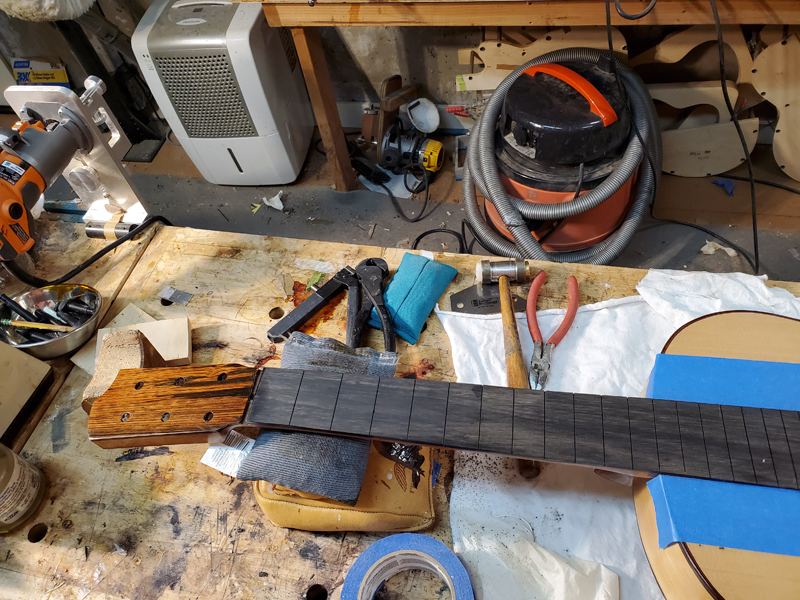
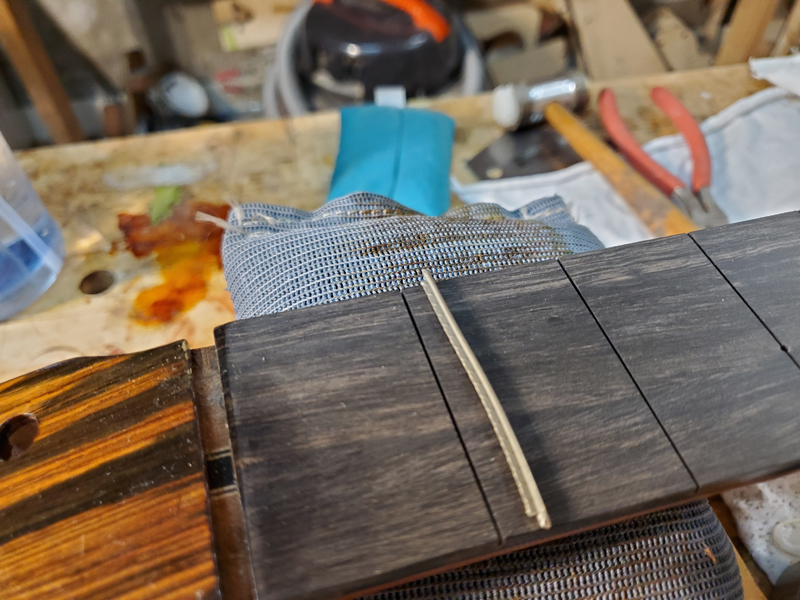
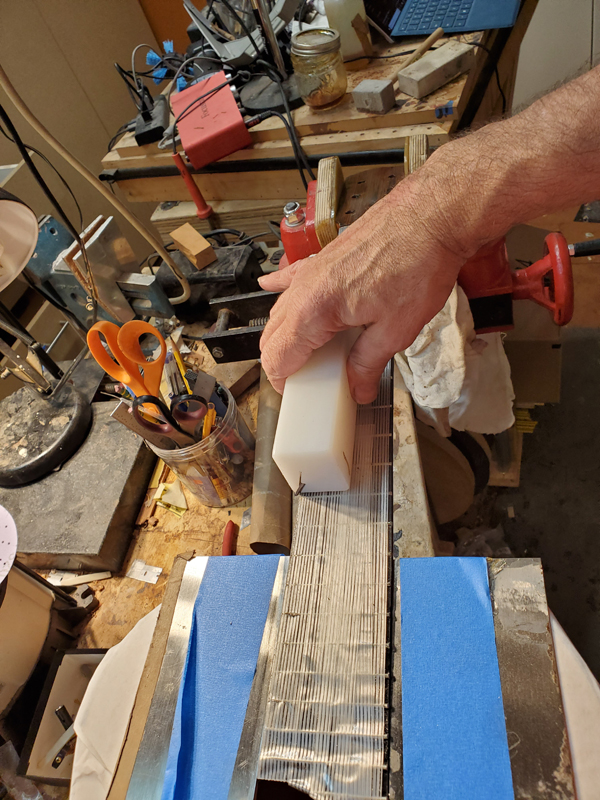
I hammered in the frets. I have started notching the tang back a bit, like one would do with a bound fretboard. Especially on ebony one can come back and fill the slots ends. I put diluted glue in the slots before hammering the frets.
I beveled the fret ends with a file
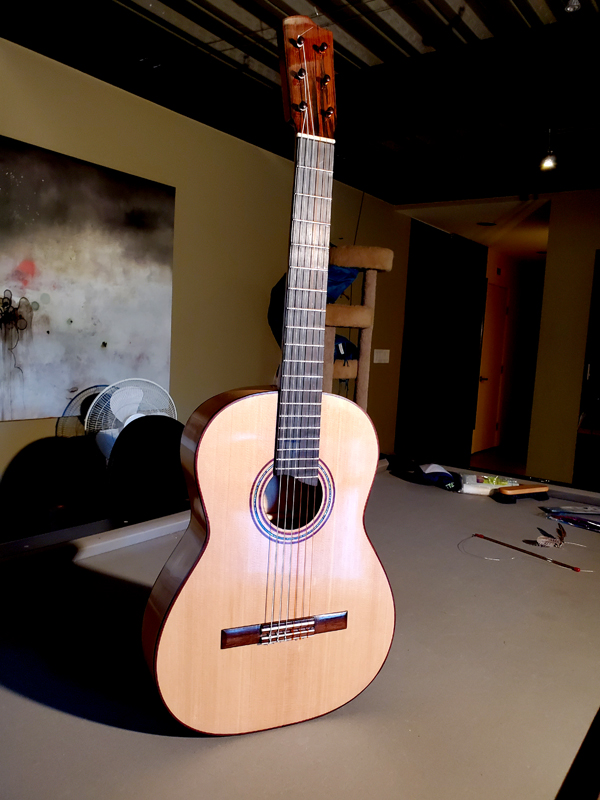
Ready for strings.
With strings!