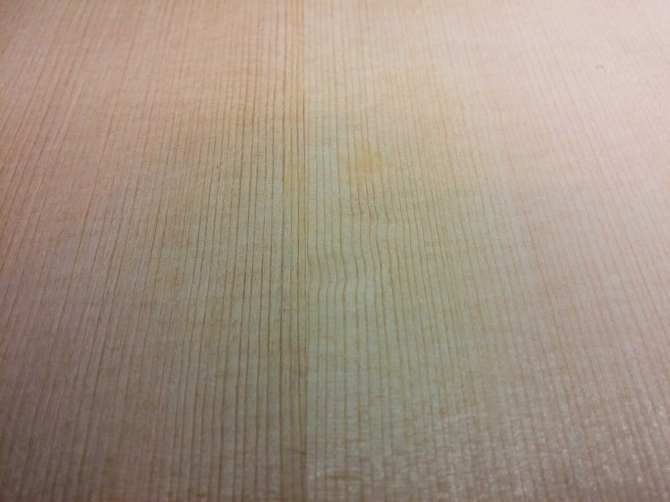
The top is joint on the shooting board, and to be honest it is nearly perfect. The seam is tight and the plates are almost at the same height. Lucky me.
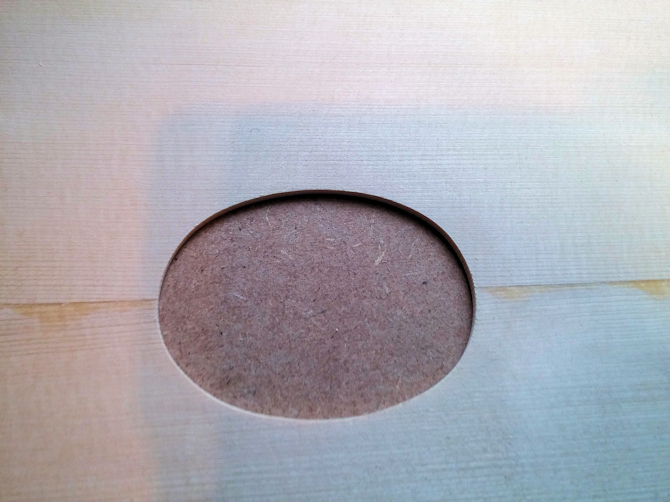
The oval soundhole was made by putting a print with the right dimensions of it on the top. I drew a pencil line and routed it out by hand with the dremel. The little imperfections were sanded smooth. Lucky again.
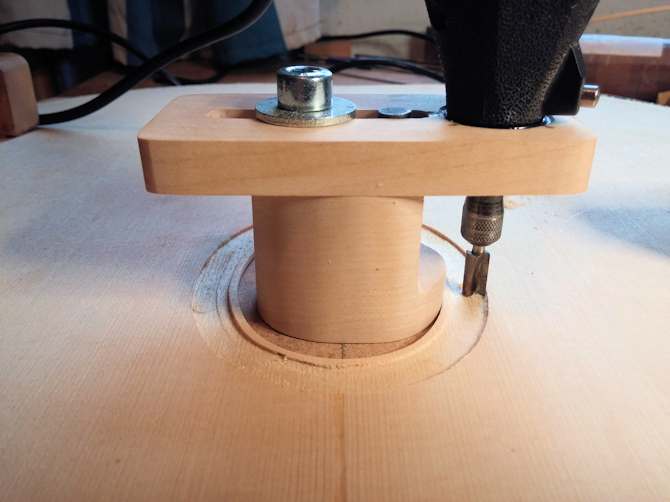
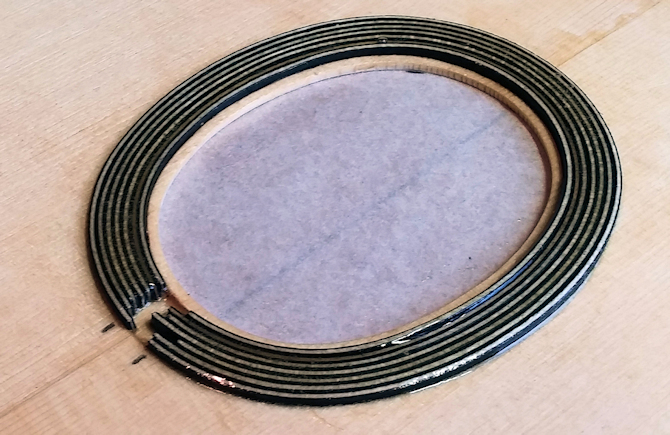
Then the scary part: routing the rosette channel with my home made tool. A oval design cannot be routed with the normal obvious tools. Rocket science is demanded!
For this operation you need a steady hand. One slip and the top is ruined. Well, it worked quite good. The edge chipped a little bit, but otherwise not bad at all
Gypsy Guitar Selmer Style Oval Hole
Re: Gypsy Guitar Selmer Style Oval Hole
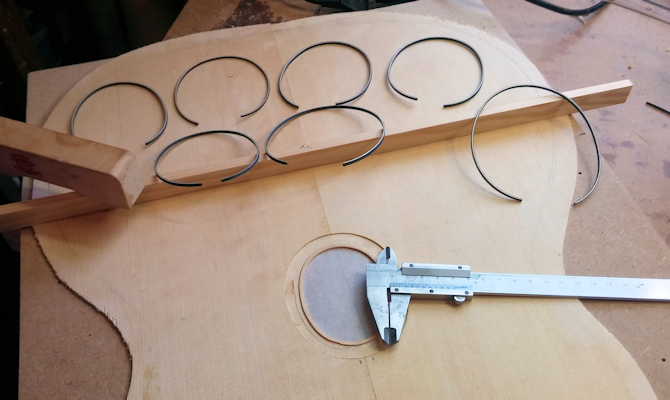
Normally I make rosettes with unbent b/w strips. But here the curves are that tight, the strips break. So bending the strips is a must.
The Selmer design has wide b/w veneer, that I find more diffucult to bend in nice curves. For that a lot of thin b/w strips were made in shape.
With some slow setting epoxy they were put in place. No wood glue, 'cause that sets too fast. And it makes the wood swell so the slot could become too narrow. Trouble!! A lot of tiny monsters have to go in place. It takes a few moments. And of coarse the helping hands of my lovely.
Last edited by Herman on Sat Dec 22, 2018 11:14 am, edited 1 time in total.
Re: Gypsy Guitar Selmer Style Oval Hole
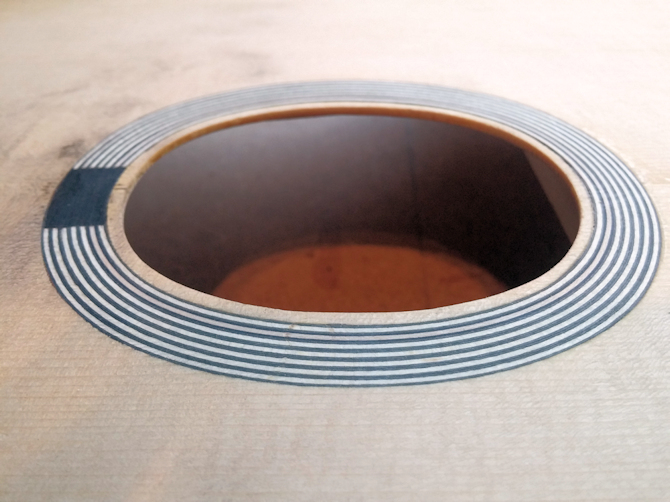
After one night curing the excess was routed and sanded off. I took some time, because, again, the top is very thin. No room for flaws. The end of the rosette strips were cut in a straight line with a scalpel. A one millimeter thick piece of ebony was sanded in the right dimensions to fit in the rosette gap. It fills nicely. The allignment to the center of the top is quite good, but could be better. Yes, I too make flaws. I call it "personality", Ha!
All the braces of the top are 7mm/0.275" wide. The vertical braces have a flat bottom. The horizontal braces 1 and 2 have a 12' radius ,number 3 and 4 have 7 'radius. Quite curvy. My worries did conciern number 5, the lowest one.
The book of Michael Collins mentions it has a 7' radius. But in my stubborn calculations, it would result in a high part behind the bridge. And according to the French plan I have, the slope behind the bridge is straight down to the tail. So a did some thinking and my conclusion is to make the radius of that brace rather 12' (less high) instead of 7'. Shoot me if I am wong!?
The braces were glued one by one, with the top sitting on top of the radius caul, matching the individual braces.
I still need to profile the top of the braces. Does this Selmer design look heavy braced to you too? It does to me, but hey, I follow thw plan, so this is how it is.
-
- Posts: 2750
- Joined: Fri Dec 23, 2011 8:33 pm
- Location: Seattle
- Contact:
Re: Gypsy Guitar Selmer Style Oval Hole
I like the treatment with the ebony at the top of the rosette. That is a really clean look. The braces do look heavy for my flattop guitar sensibilities, but once profiled those braces probably match the sound that I hear from selmer gypsy guitars. I not sure how to describe it but more of a jazz sort of sound, no deep rich bass in its voice, rather a cleaner sound focusing more on the fundamental harmonics of the notes.
-
- Posts: 5951
- Joined: Tue Dec 13, 2011 7:44 pm
Re: Gypsy Guitar Selmer Style Oval Hole
Great work, Herman. I've heard a few of Collins' guitars over at djangobooks.com and they sounded very good.
They are dedicated to strong fundamental, little overtone, and loud projection - the soloist has to be heard with like 4 guys behind him playing 'rhythm', so a thick pick - really thick - also used.
I talked to Michael Collins some years back about building a gypsy guitar but giving it a fuller, rounder sound and he said sure you could do that, but calling it a gypsy guitar would not be right. There is a sound those players want.
This guy built one and I think it sounds great.
-Under permanent construction
-
- Posts: 2750
- Joined: Fri Dec 23, 2011 8:33 pm
- Location: Seattle
- Contact:
Re: Gypsy Guitar Selmer Style Oval Hole
It does sound great with that gypsy sound although I think that guy can make anything sound good.
some background on the style
Re: Gypsy Guitar Selmer Style Oval Hole
Thanks John,
It is almost a summary of the book from Mr Charle about the Selmer history. So if you do not want to spend a 100 bucks, this is the history in a nutshell.
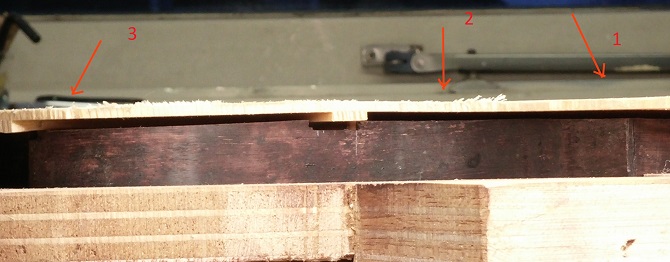
Now the sides need to meet the top's profile. You can clamp anything togehter with force, but I like my tops fall naturally on the sides. Here I met an issue with the directions. The book says to draw a straight line from the neckblock to the cutaway upper bout. But just behind the cutaway lies a 12' radiused brace. And the neckblock is "flat" on top. (area1). So with my first profiling, the upper bout attached to the side (area 3) and the area 1 flat on the neckblock: A serious gap in area 2 occurred. For that I sanded down the upperbout somewhat down, till the area 2 falls in place. almost the whole top is arched so a little downcurve in area 3 will not be noticed.
Aesthetically maybe a minus, but technically plain brilliant .....Urrrrgh, Basket!
This is a pic of how it is now: