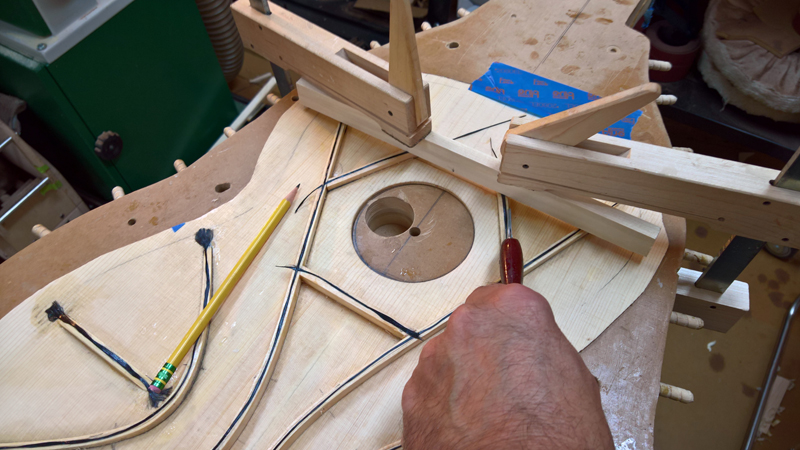
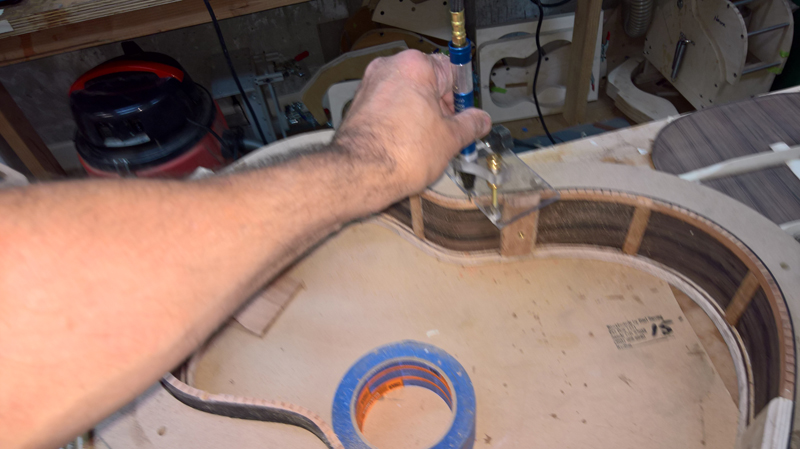
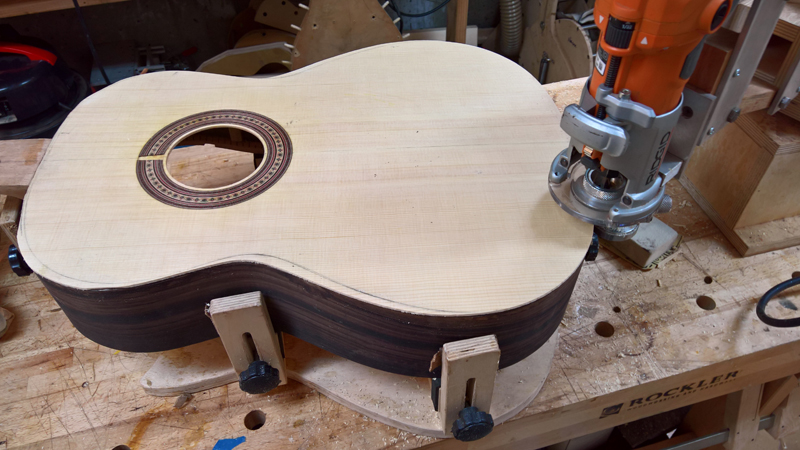
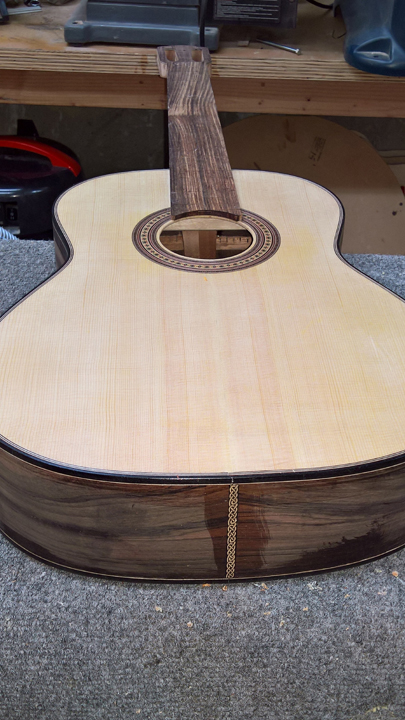
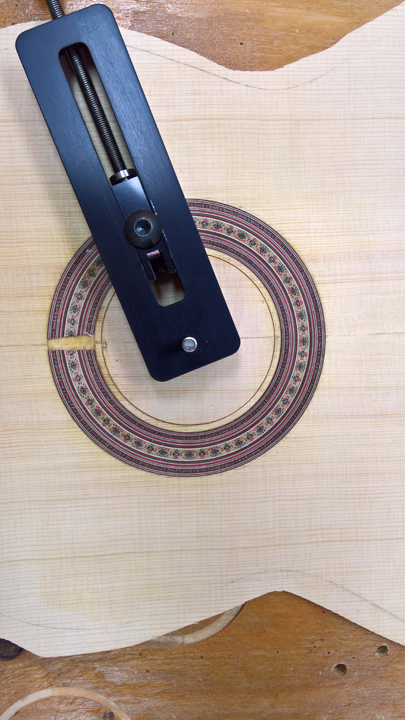
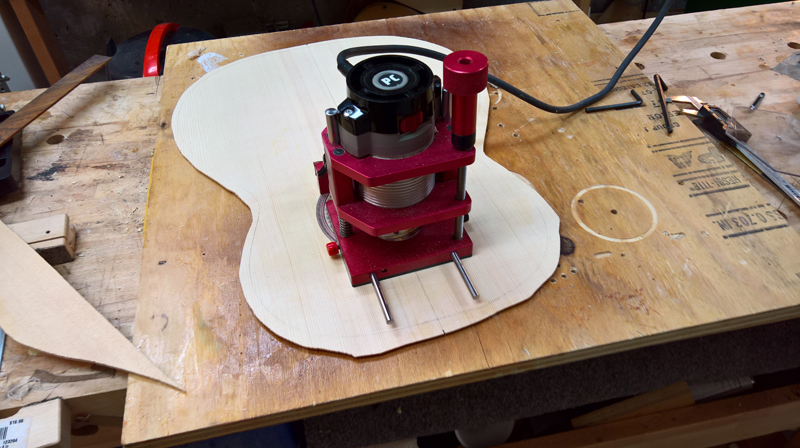
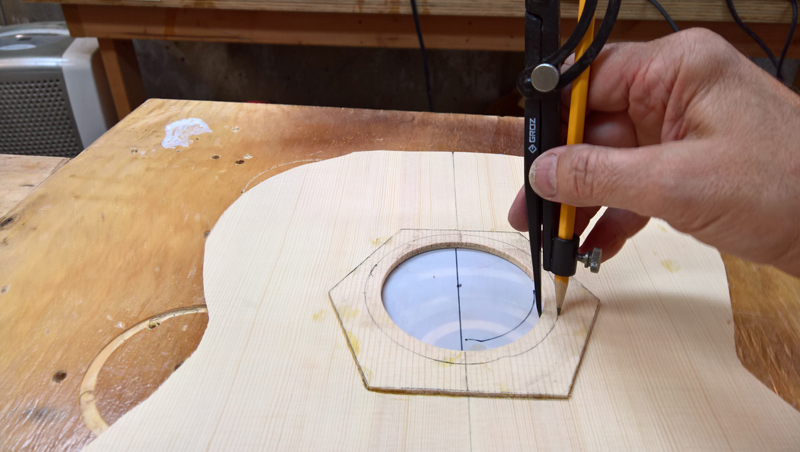
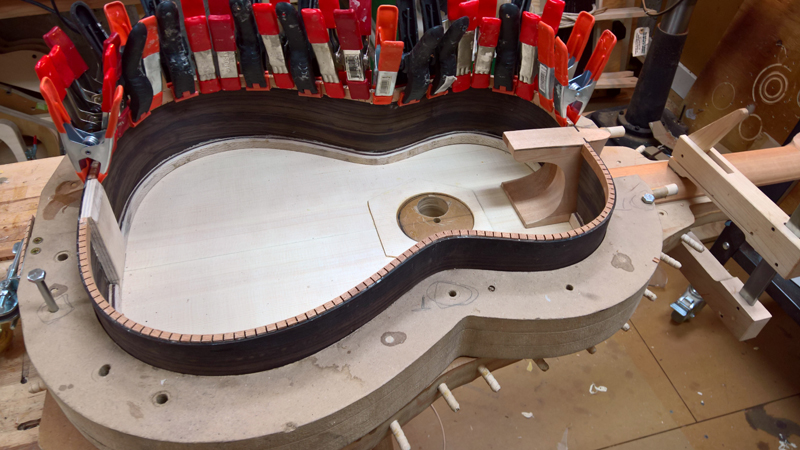
I used the LMI circle cutter to mostly cut out the sound hole. With the sound hole doubler patch I need to cut about 4 mm deep. A bit much for one pass. One bad feature of the tool is that I need to back out the radius to get the hex wrench on the set screw for the blade. Screw that! after I made the initial cut I pulled out the router and left just enough wood to keep my pilot hole center. I did have a nice clean knife cut on the top.
![Image](http://www.harvestmoonguitars.com/hauserclassical/hauserfalcate%20%2849%29.jpg)
![Image](http://www.harvestmoonguitars.com/hauserclassical/hauserfalcate%20%2850%29.jpg)
![Image](http://www.harvestmoonguitars.com/hauserclassical/hauserfalcate%20%2851%29.jpg)
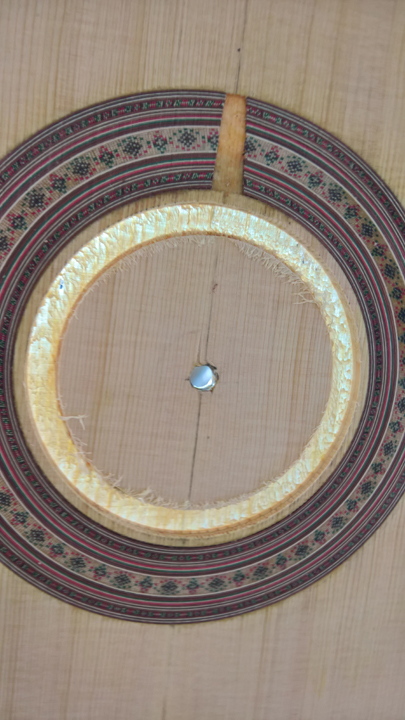
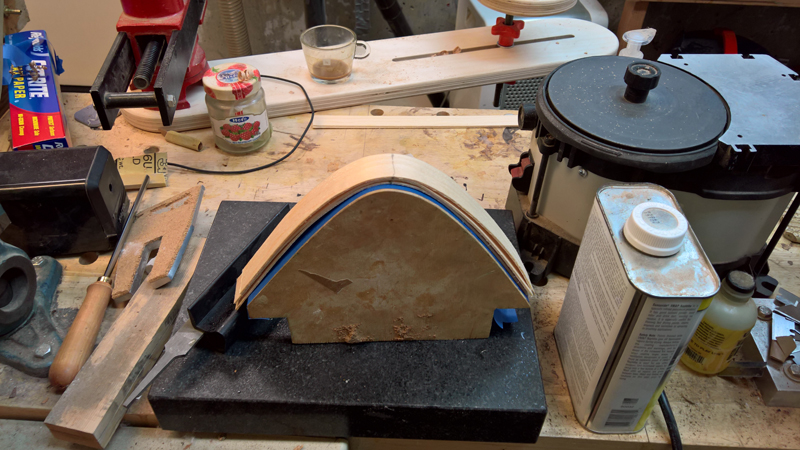
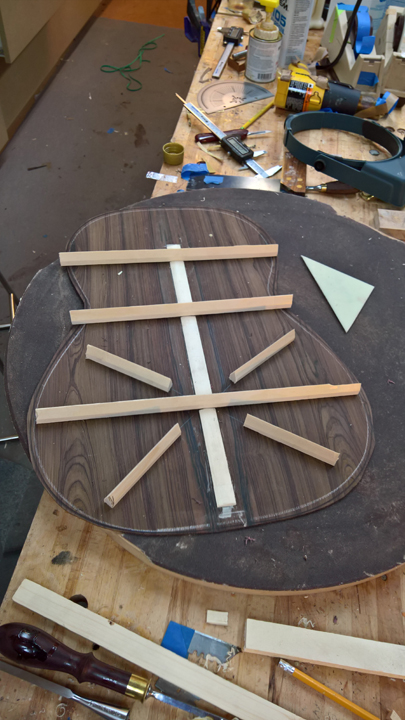
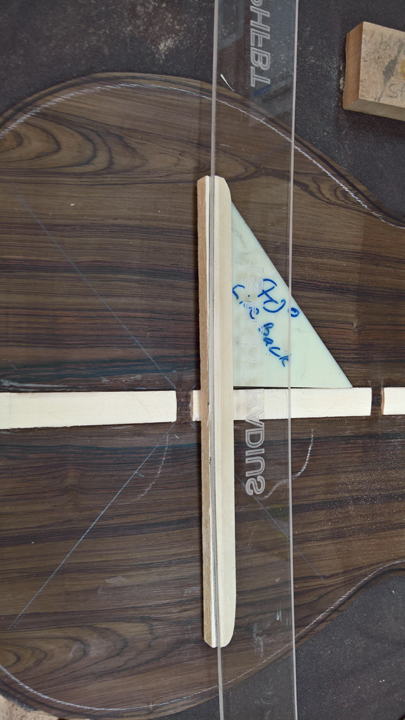
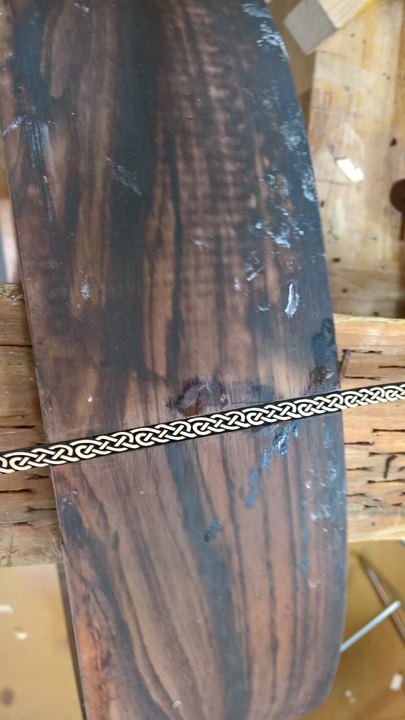
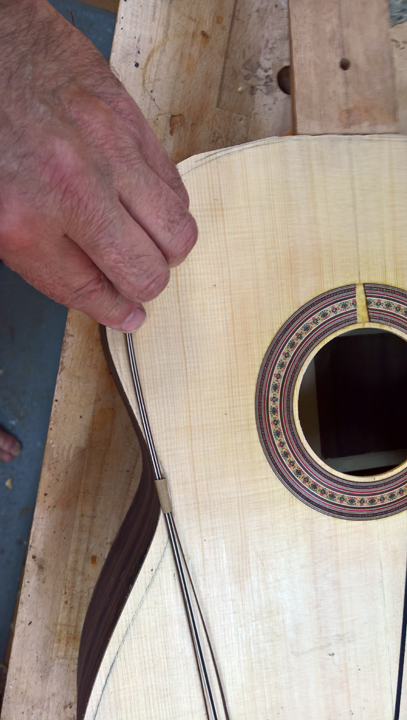
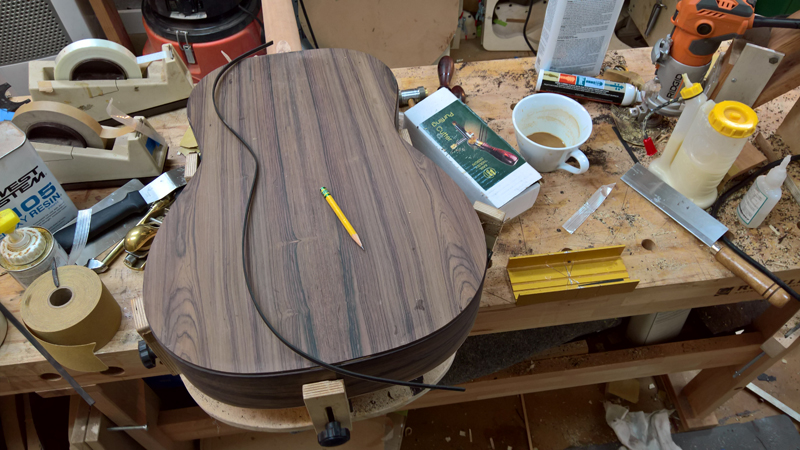
I marked and beveled the sound hole patch to make it look good from the front.
![Image](http://www.harvestmoonguitars.com/hauserclassical/hauserfalcate%20%2853%29.jpg)
![Image](http://www.harvestmoonguitars.com/hauserclassical/hauserfalcate%20%2854%29.jpg)
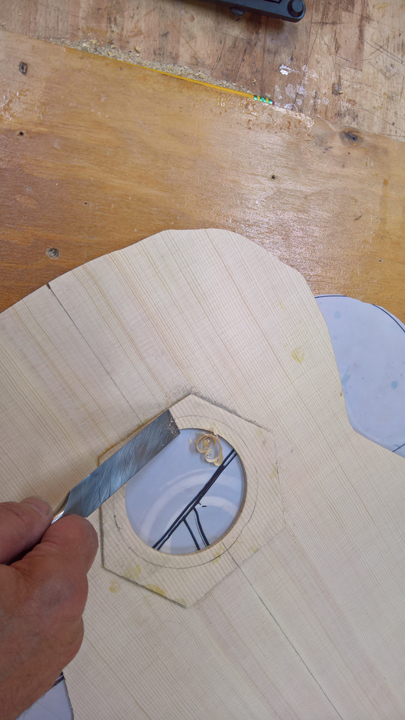
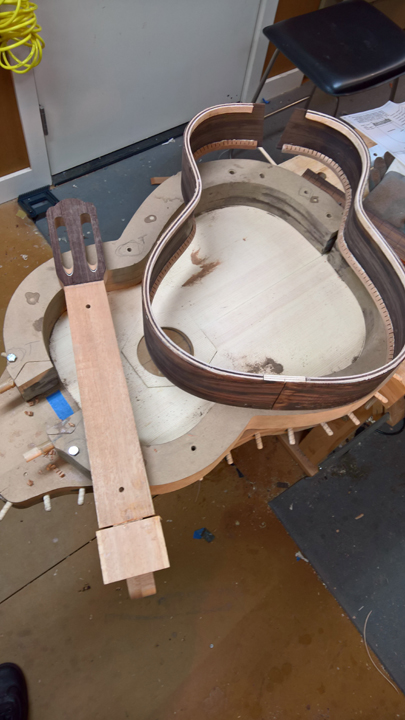
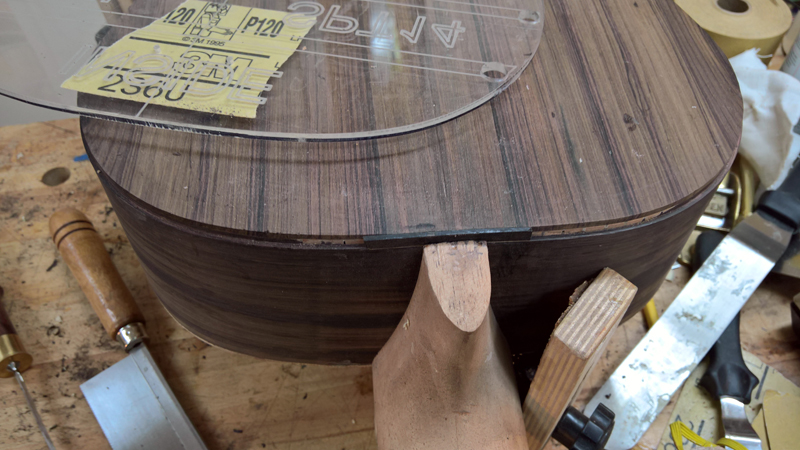
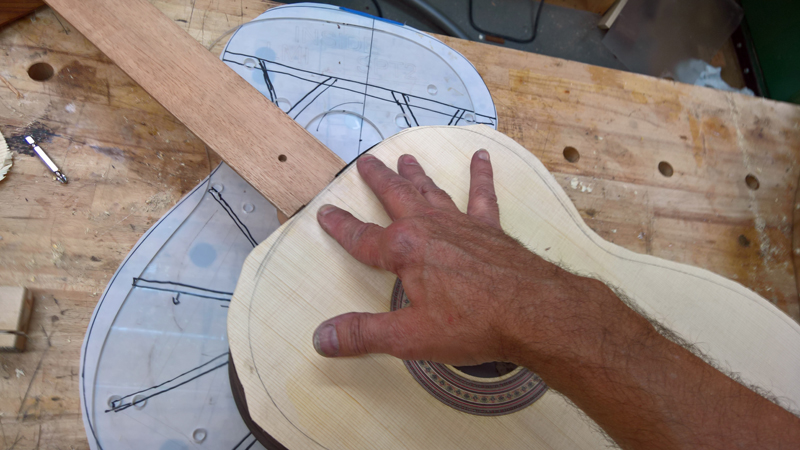
I also trimmed the neck side of the top real close to the final profile to fit on the neck heel.
![Image](http://www.harvestmoonguitars.com/hauserclassical/hauserfalcate%20%2855%29.jpg)
![Image](http://www.harvestmoonguitars.com/hauserclassical/hauserfalcate%20%2856%29.jpg)
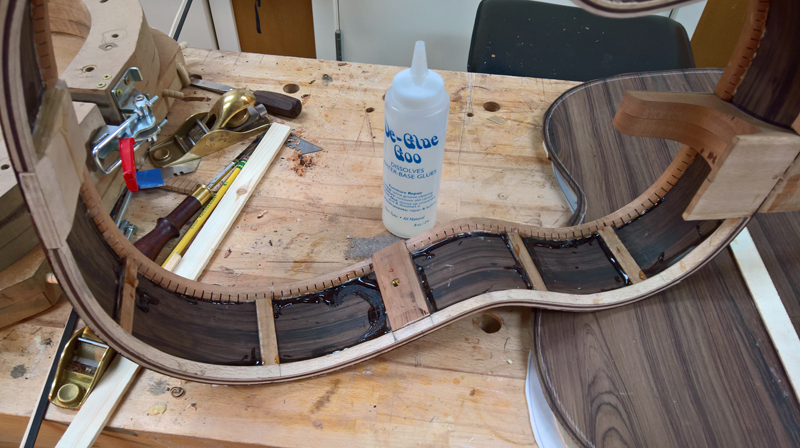
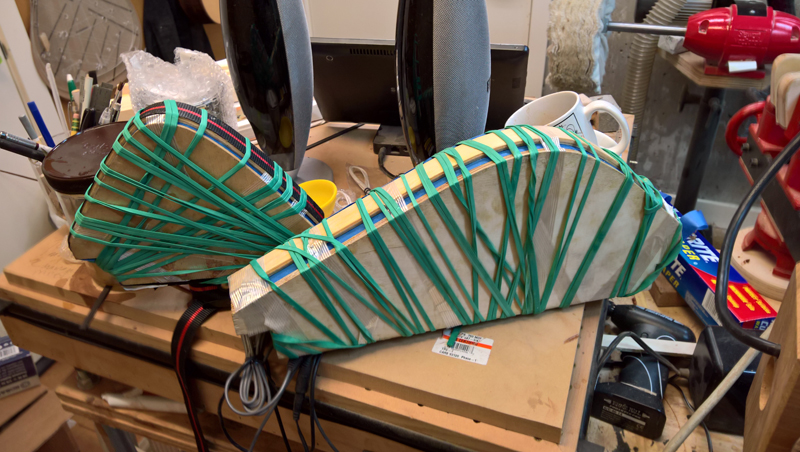
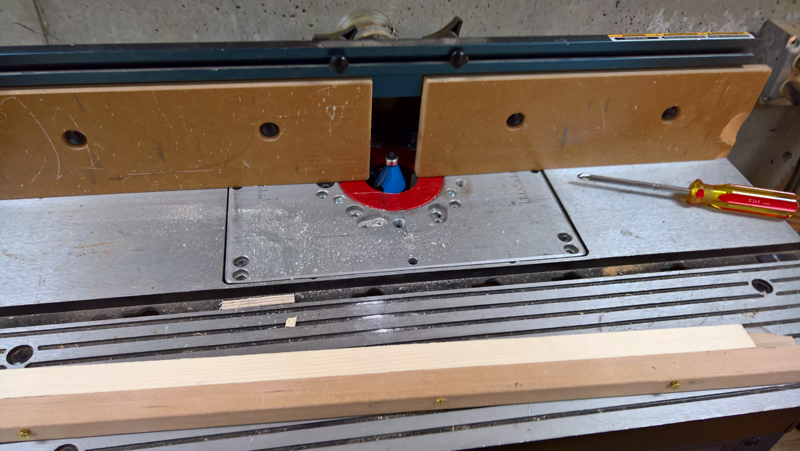
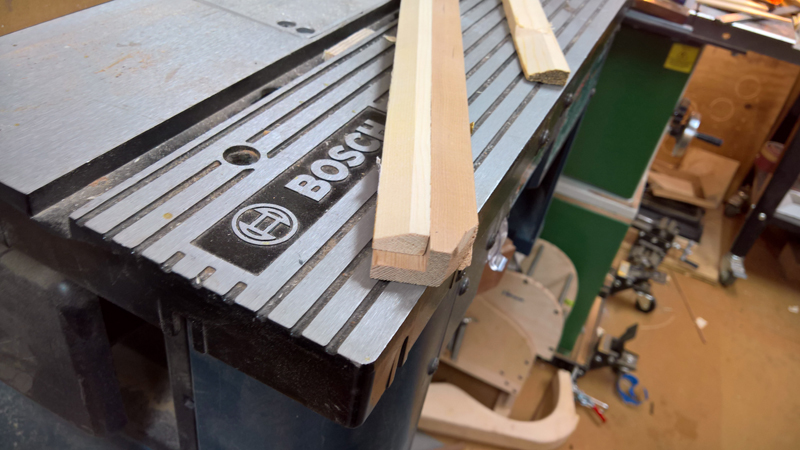
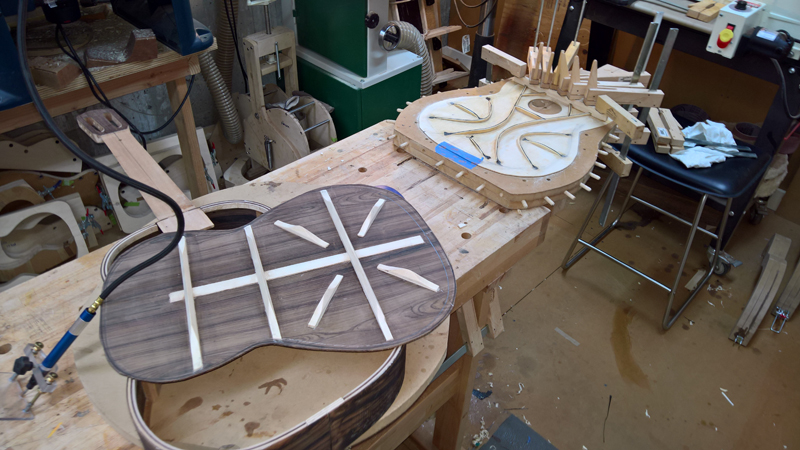
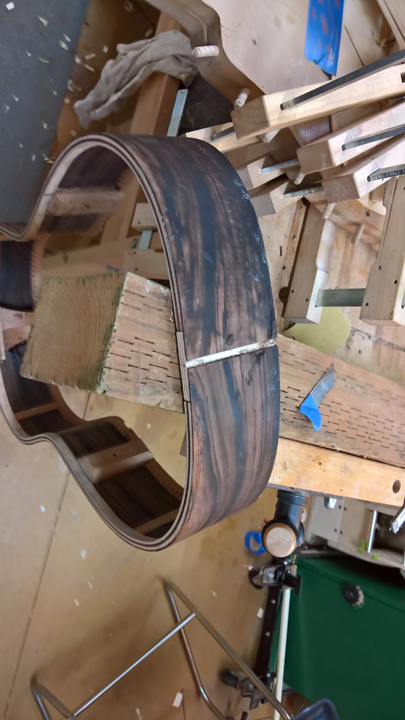
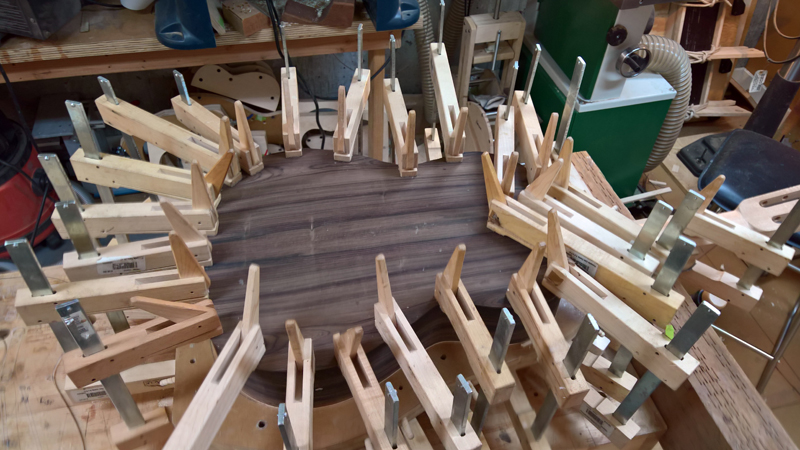
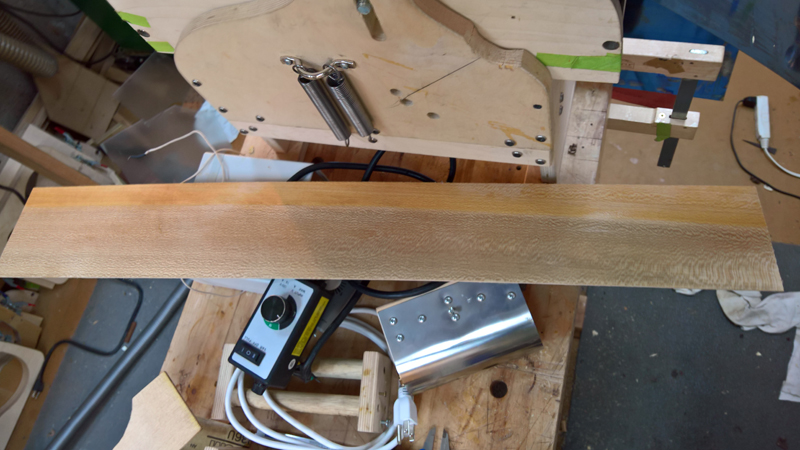
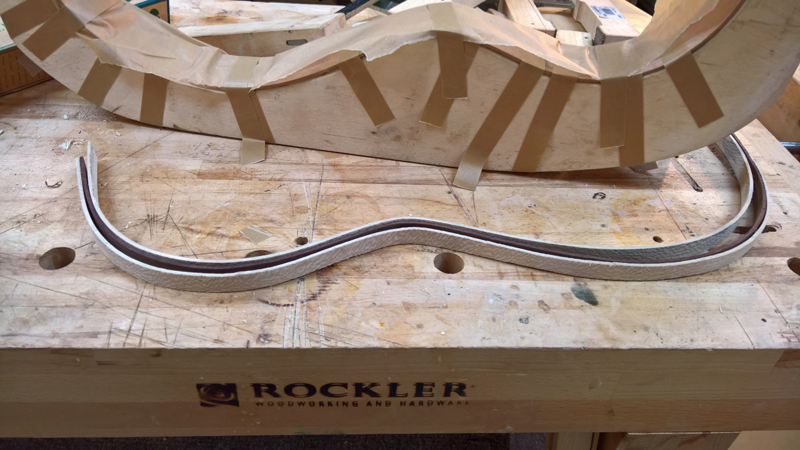
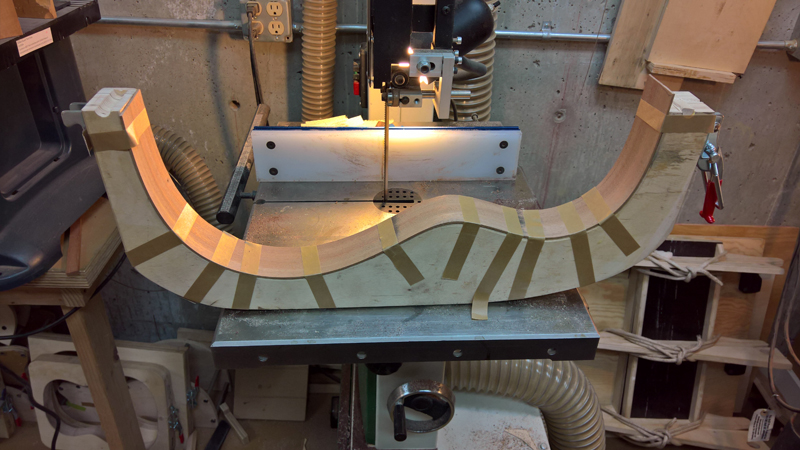
I grabbed a sycamore side from my stash of orphaned sides I have bought over the years bent it and ripped it to make solid linings for the top. I also had a pre-bent EIR side hanging around for a few years, so I also popped it back into the bender and riped it to make fancy laminated linings.
![Image](http://www.harvestmoonguitars.com/hauserclassical/hauserfalcate%20%2859%29.jpg)
![Image](http://www.harvestmoonguitars.com/hauserclassical/hauserfalcate%20%2860%29.jpg)
![Image](http://www.harvestmoonguitars.com/hauserclassical/hauserfalcate%20%2865%29.jpg)
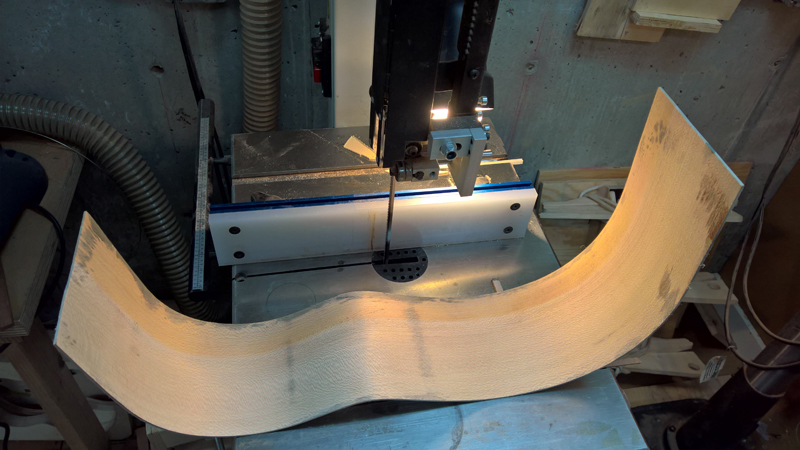
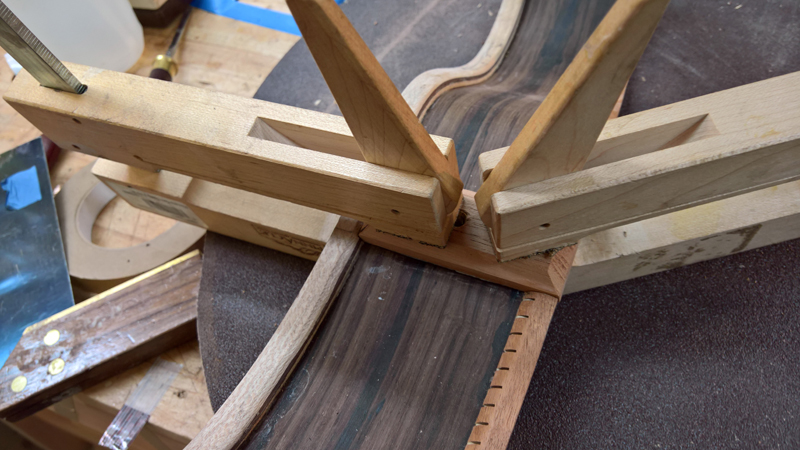
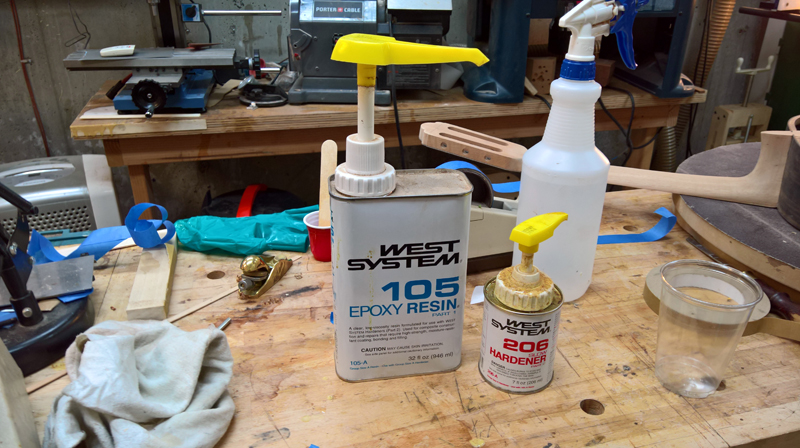
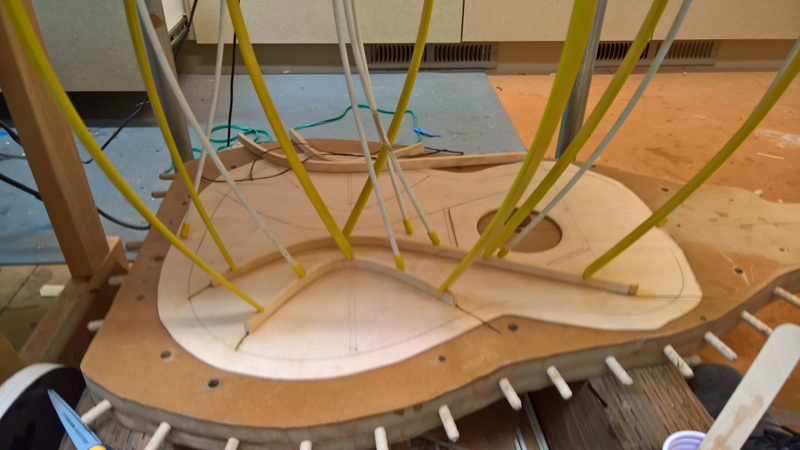
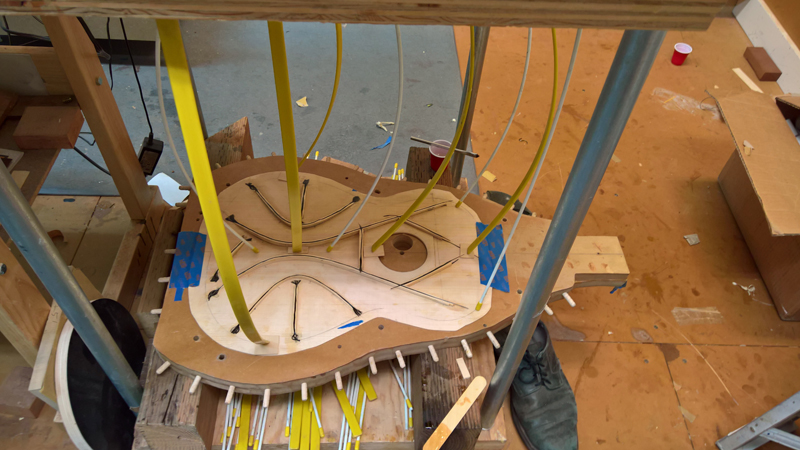
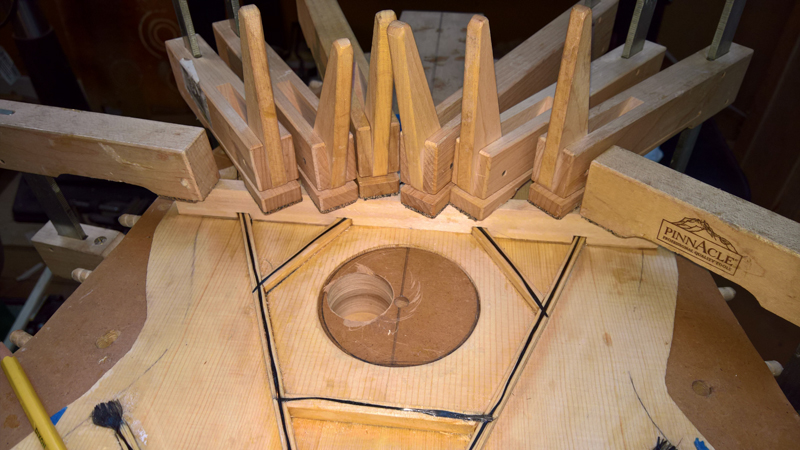
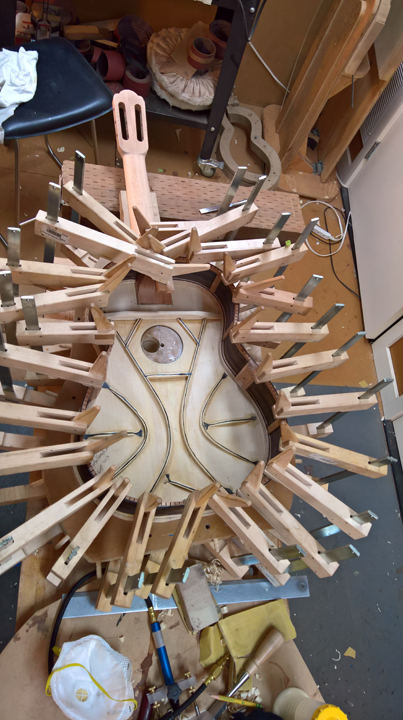
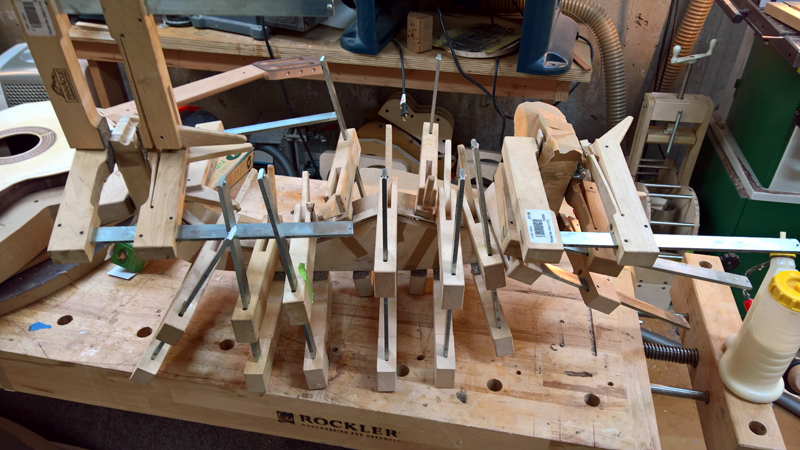
I just used my mold with another bend side to laminate the stack. I just used LMI yellow glue. Never enough clamps though. I needed to do one lining at a time.
![Image](http://www.harvestmoonguitars.com/hauserclassical/hauserfalcate%20%2864%29.jpg)
![Image](http://www.harvestmoonguitars.com/hauserclassical/hauserfalcate%20%2866%29.jpg)
![Image](http://www.harvestmoonguitars.com/hauserclassical/hauserfalcate%20%2867%29.jpg)
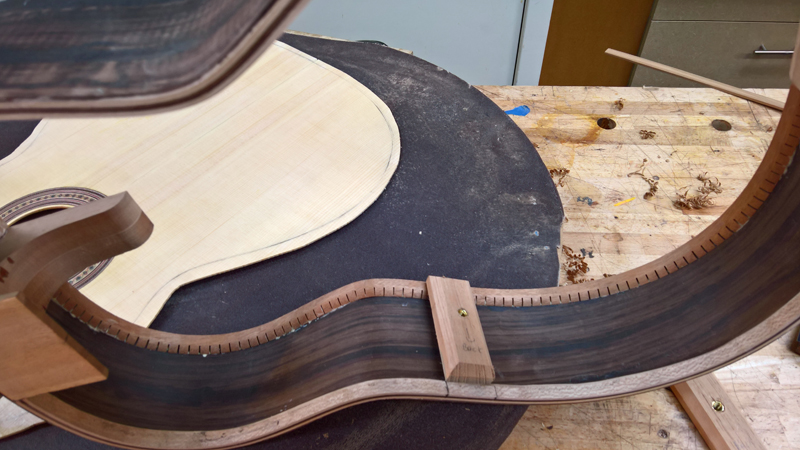
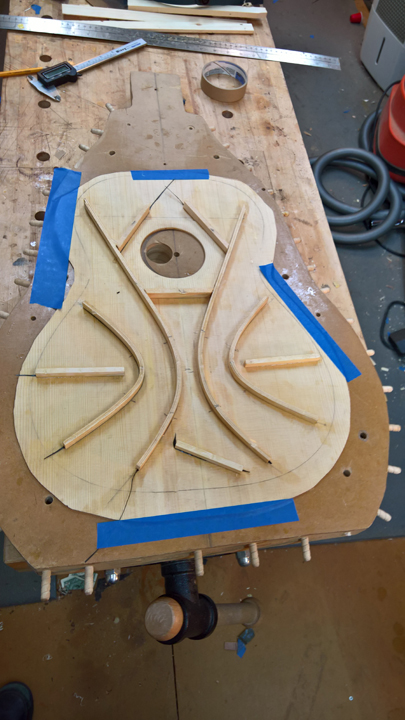
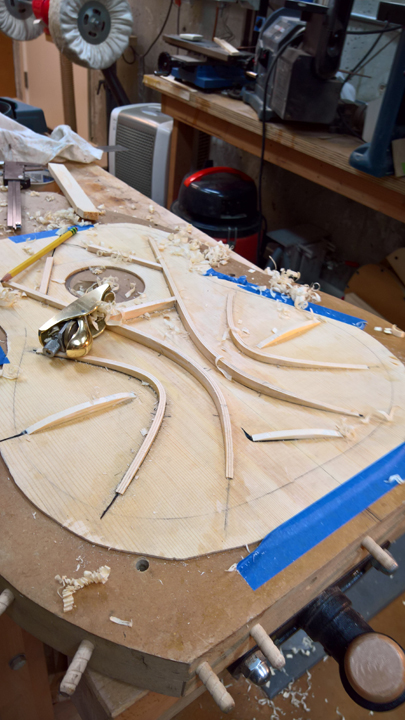
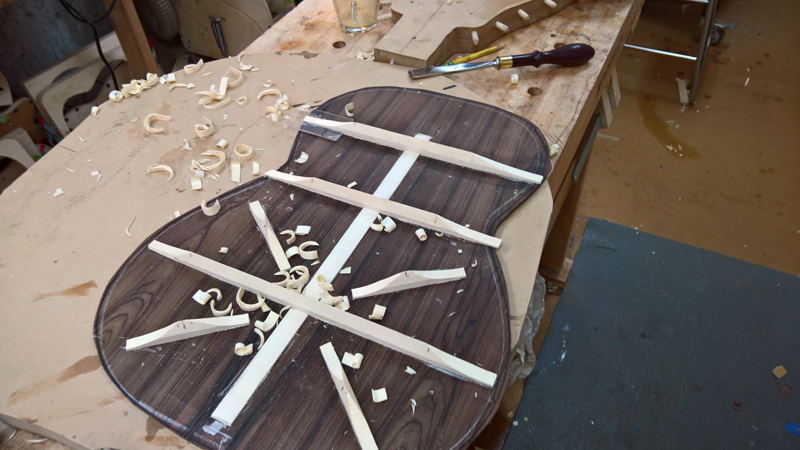
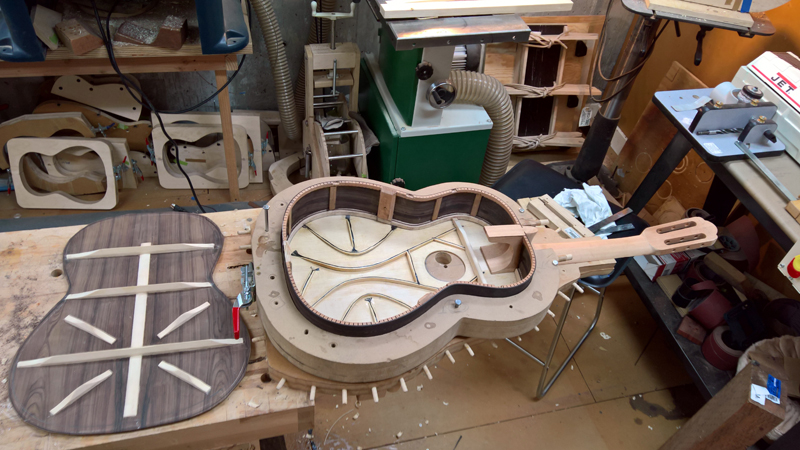
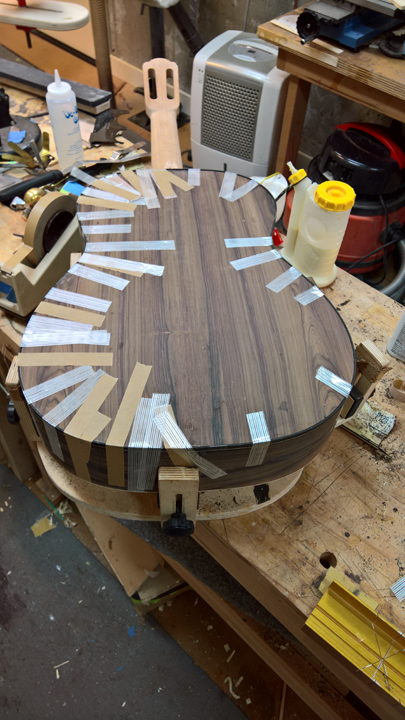
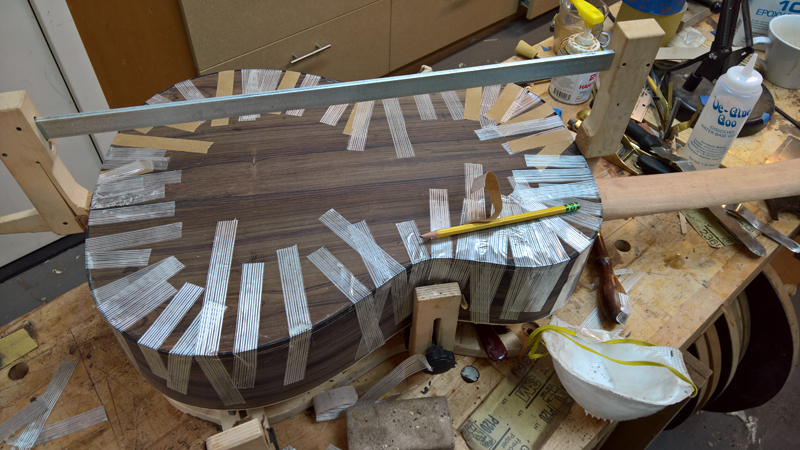
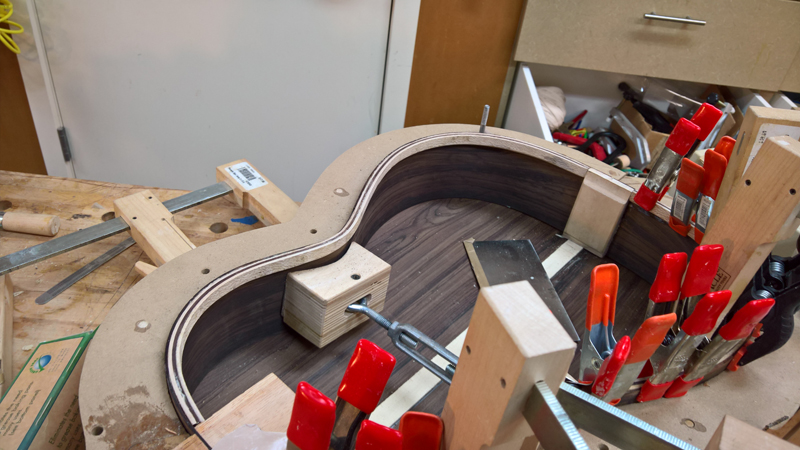
By hook or by crook I got the solid linings in the top and reverse kerfed linings for the back.
![Image](http://www.harvestmoonguitars.com/hauserclassical/hauserfalcate%20%2871%29.jpg)
![Image](http://www.harvestmoonguitars.com/hauserclassical/hauserfalcate%20%2877%29.jpg)
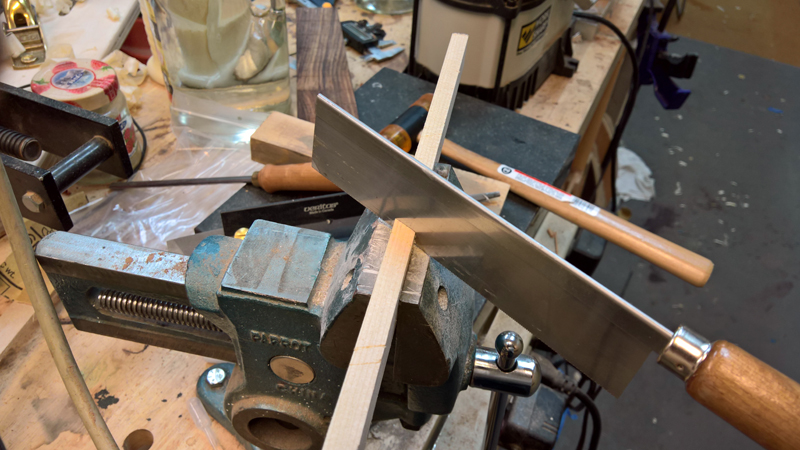
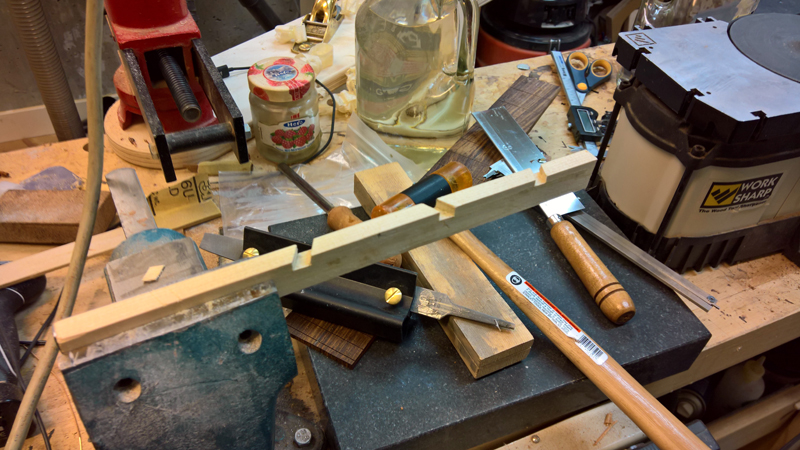
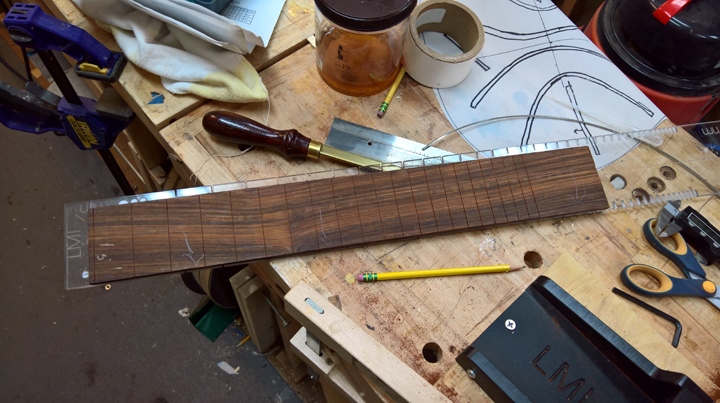
During the binding glue ups I made the fret board and worked on cleaning up the headstock
![Image](http://www.harvestmoonguitars.com/hauserclassical/hauserfalcate%20%2876%29.jpg)
![Image](http://www.harvestmoonguitars.com/hauserclassical/hauserfalcate%20%2878%29.jpg)
![Image](http://www.harvestmoonguitars.com/hauserclassical/hauserfalcate%20%2879%29.jpg)
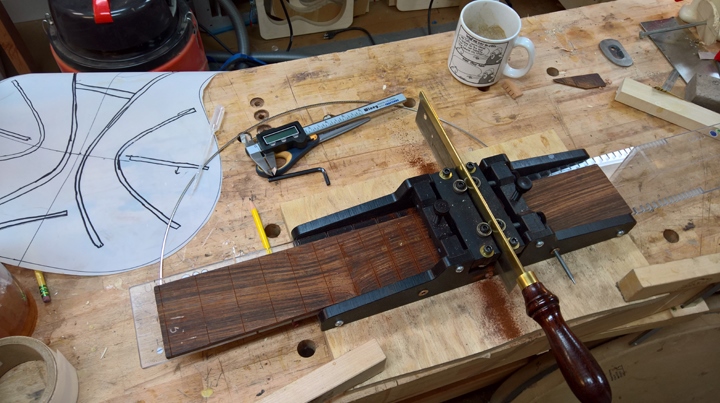
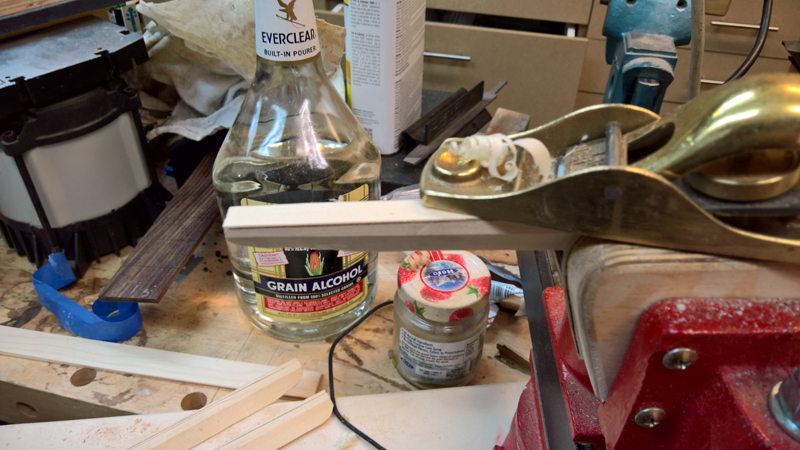
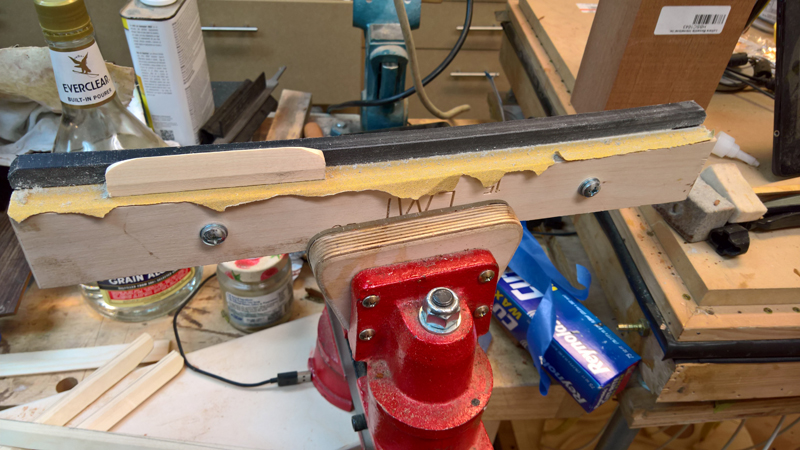
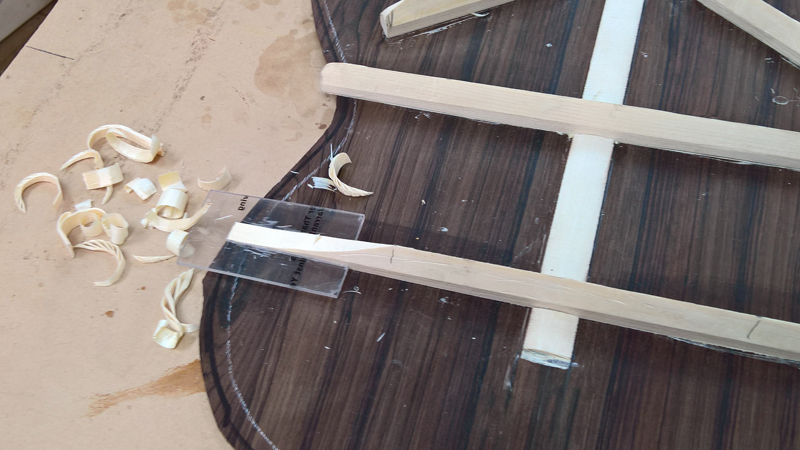
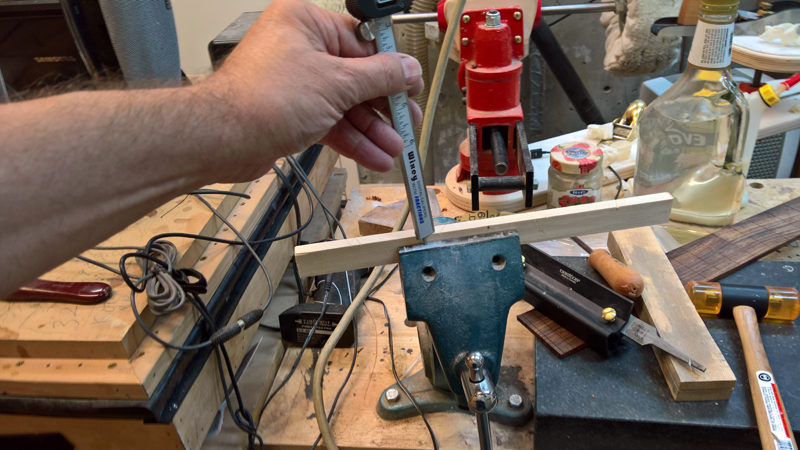
I glued a 1mm thick strip on the base side of the fret board and then thickness sanded it. Now the base is 1 mm thinner than the treble.
![Image](http://www.harvestmoonguitars.com/hauserclassical/hauserfalcate%20%2881%29.jpg)
![Image](http://www.harvestmoonguitars.com/hauserclassical/hauserfalcate%20%2882%29.jpg)
![Image](http://www.harvestmoonguitars.com/hauserclassical/hauserfalcate%20%2883%29.jpg)
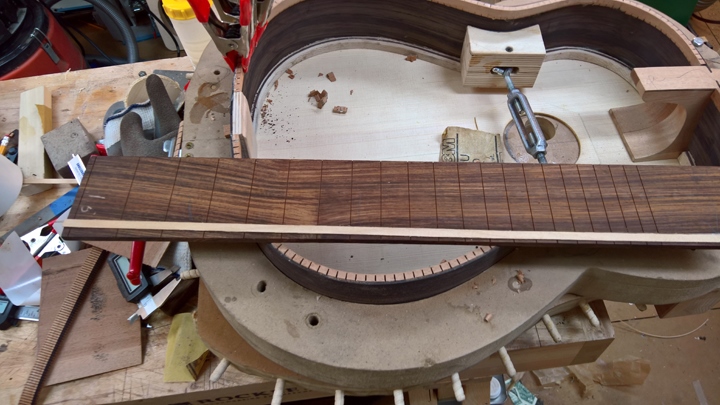
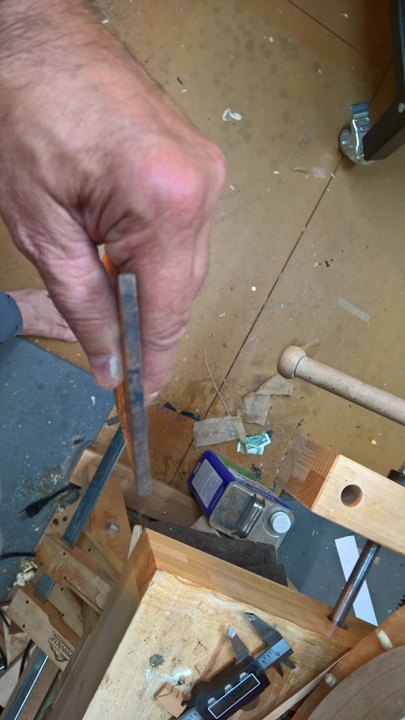
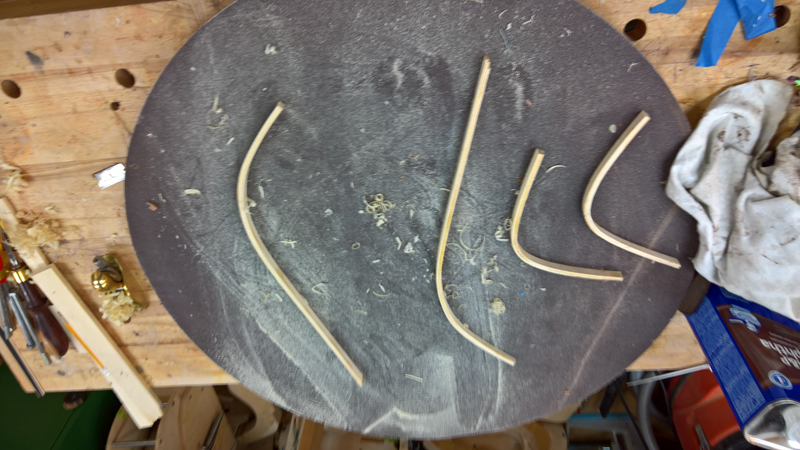
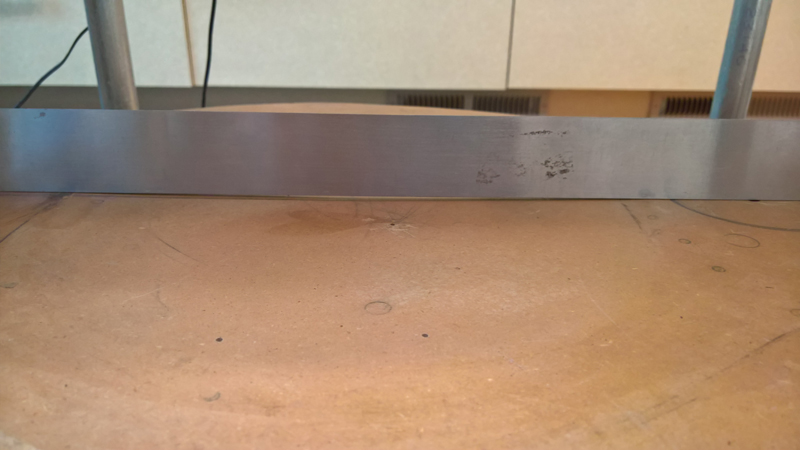
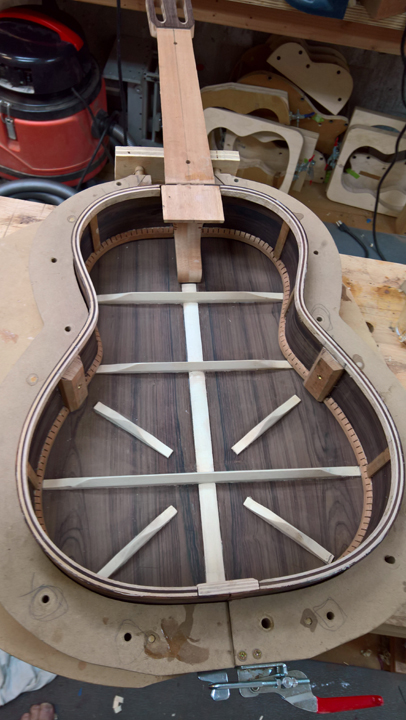
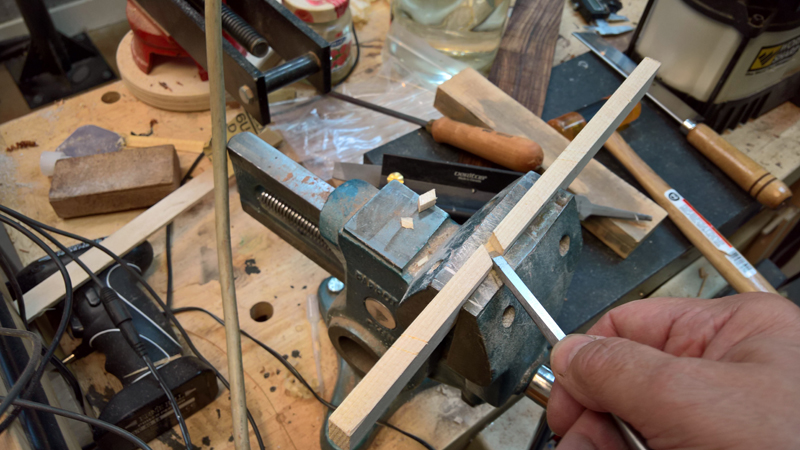
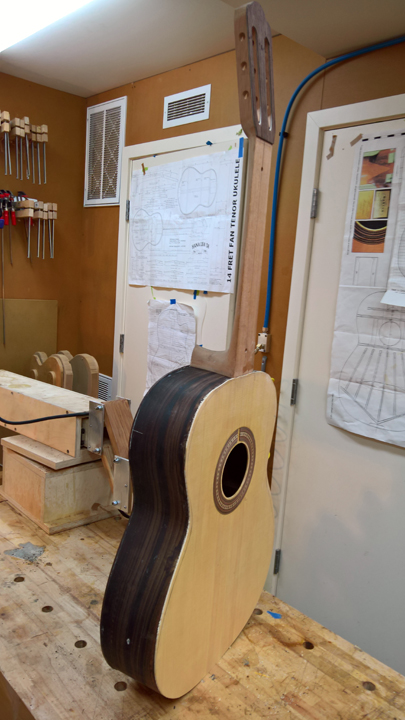
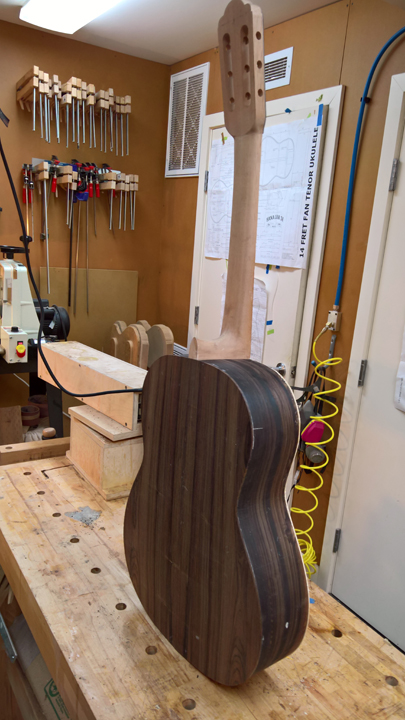
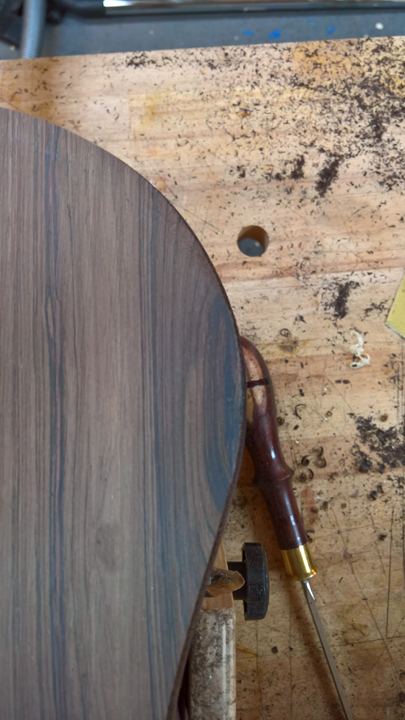
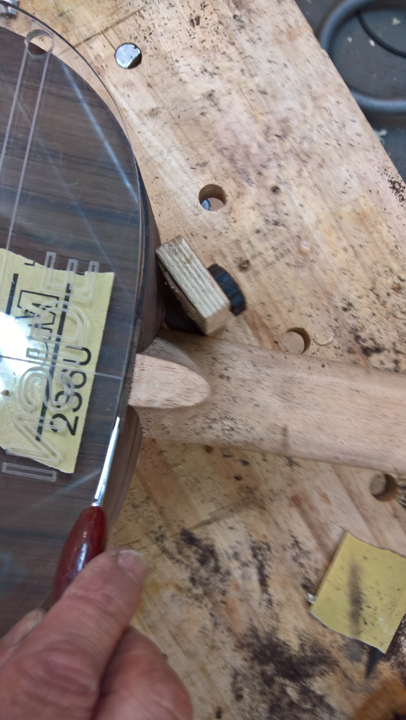
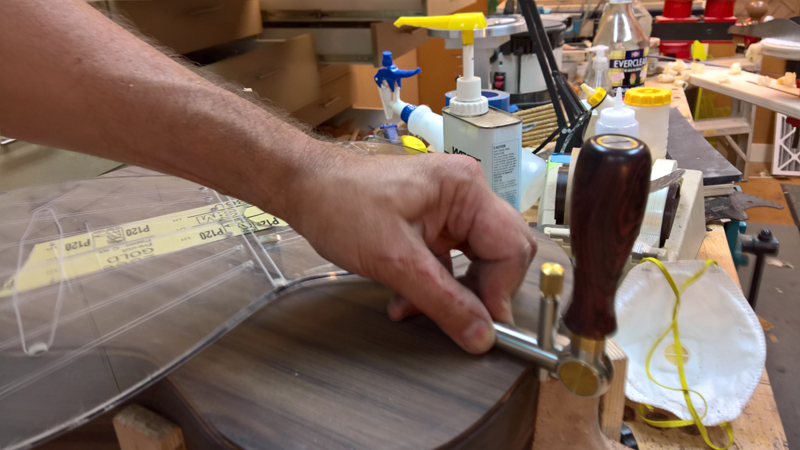
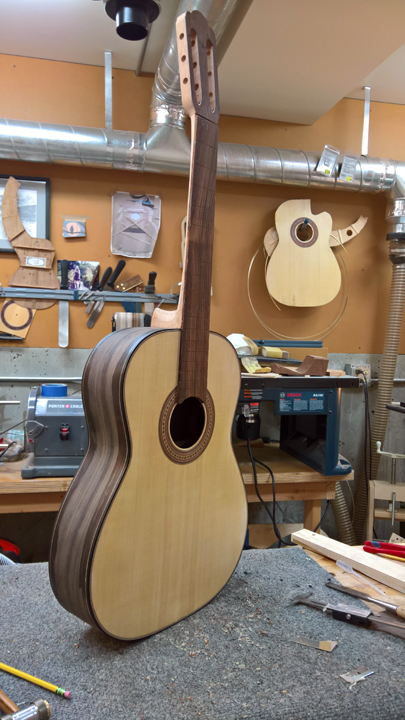
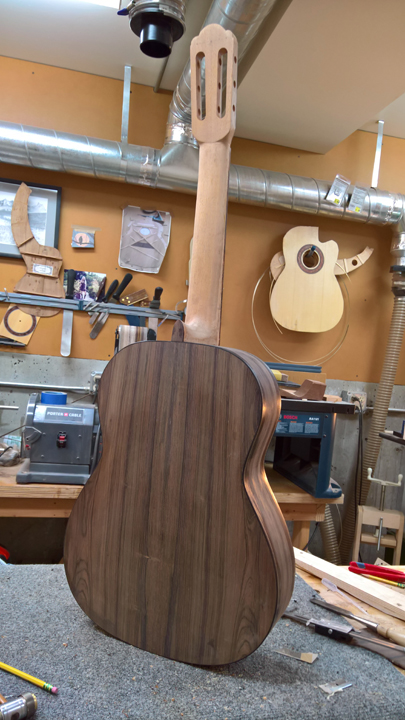
I re-radiuded the back of the rims, also along the way I profiled the fretboard.
![Image](http://www.harvestmoonguitars.com/hauserclassical/hauserfalcate%20%2887%29.jpg)
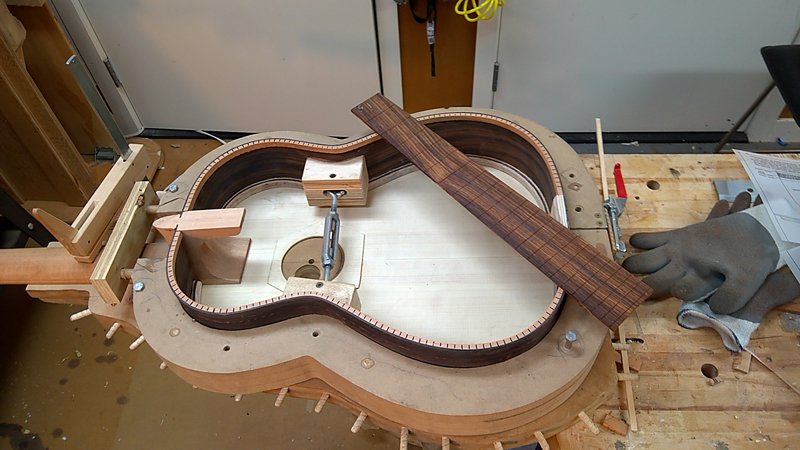
I have yet to glue the sides to the neck so I removed the sides and will be ready to profile the neck tomorrow. Hopefully I will also finish the rims with a mass support block and some of the side reinforcement strips.
![Image](http://www.harvestmoonguitars.com/hauserclassical/hauserfalcate%20%2889%29.jpg)