John, looking great. That method making the rosette and inlaying works great every time!
How was your time in Japan?
12 String SS Falcate braced Ziricote\spruce guitar.
-
Kevin in California
- Posts: 2798
- Joined: Mon Dec 19, 2011 4:19 pm
Re: 12 String SS Falcate braced Ziricote\spruce guitar.
Pretty active John. Jeah, tell about Japan.
Herman
Herman
-
John Parchem
- Posts: 2746
- Joined: Fri Dec 23, 2011 8:33 pm
- Location: Seattle
- Contact:
Re: 12 String SS Falcate braced Ziricote\spruce guitar.
THanks! The Japan trip was a lot of fun We visited a few cities, Kyoto, Osaka, Nara, and Tokyo. The cities were each fun in their own ways. The ancient temples in Nara and Kyoto with their Zen gardens were eye opening to me. I was finally able to begin to understand the dry gardens and see their beauty. Tokyo was just wild, it is a big city. Food everywhere was good. We would pick random restaurants and each time thinking we were having the meal of a life time. The highlight for me was a 4 day hike through the mountains on the Kumano Kodo Pilgrimage Route. In mountain villages we would stay in small traditional Japaneses lodging, often the only English speakers in the lodging. They would set out a traditional meal for dinner and breakfast. All of the guest ate at the same time. Usually 6 to 8 people. The meals were all great. Japan is expensive, even by European or Big city US standards. But it was well worth the trip.
back to the build
Well I am close to finishing up the top. I end up taking about 4 calendar days (not much time though) to get the top braced. I could do it quicker by epoxying down all of the braces at the same time. I just found that for me that I felt too hurried working within the working time of the epoxy. While trying in an earlier guitar I would bump a go bar that would knock a brace over that would goof up the CF ... Now I am a bit more relaxed. I do the falcate braces first an shown in the earlier post and follow up with all of the remaining braces except the transverse brace. I then follow on with with all of the top carbon fiber. (I could probably have epoxied the transverse brace with the last step)
After the epoxy cured on the transverse I shaped them to there final dimensions. IN the first post I was deciding between 10 and 11 mm based on a load analysis. I ended up about 10.6 mm as the braces crossed the bridge pad. I took the secondary braces down to 8 mm. The extra load of the 12 strings is really in the main falcate braces.
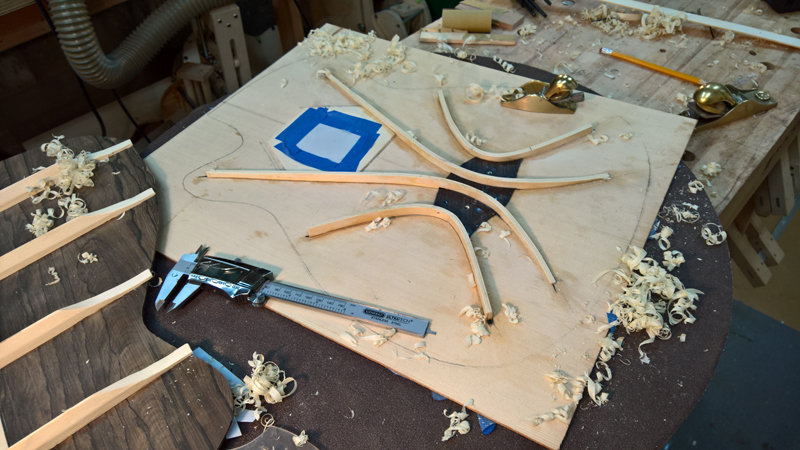
Given that the bridge is basically placed already, with the bridge pin holes drilled, I took the time to place the body with the rims and make sure while properly placed I will have 10 mm between the bridge patch and the neck block extension for the transverse brace.
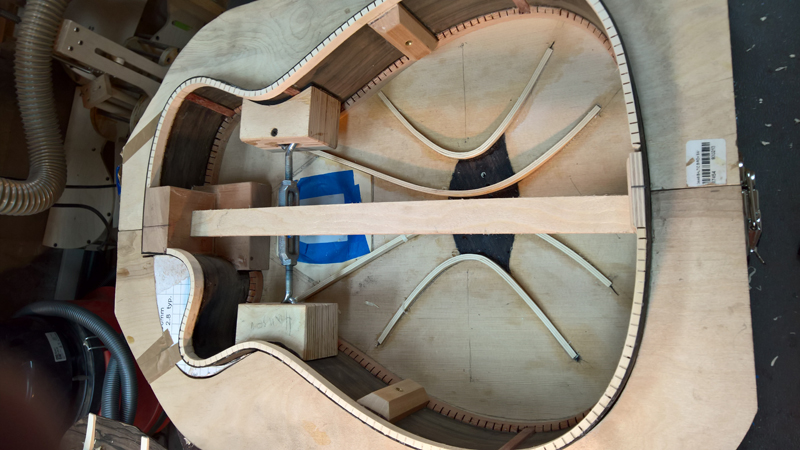
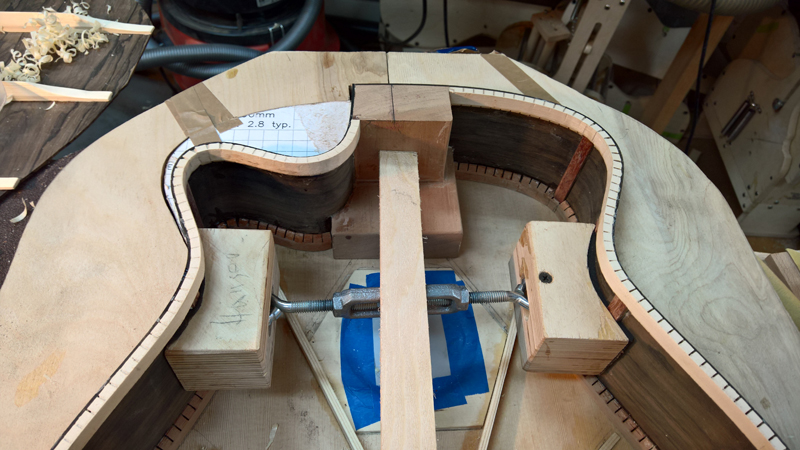
I cut, placed, epoxied and shaped the sound hole braces and a few finger braces
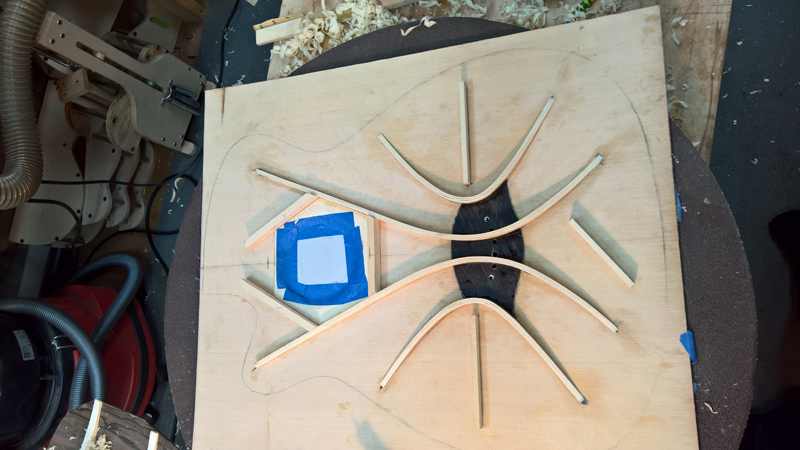
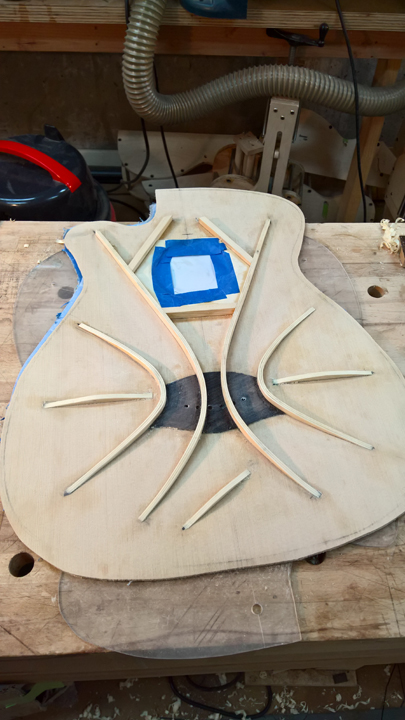
Now I am waiting for the epoxy to cure on the top application of CF.
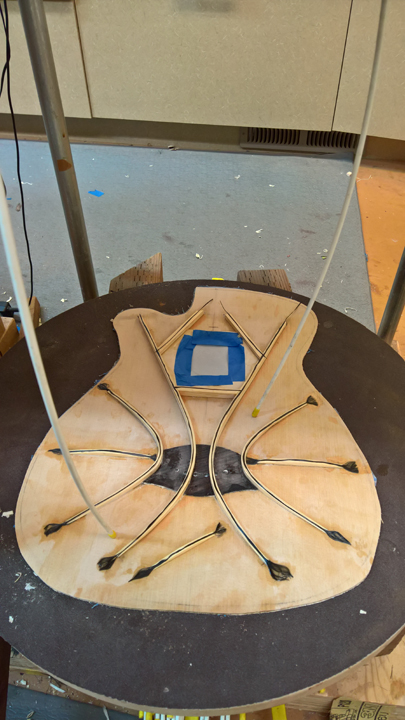
back to the build
Well I am close to finishing up the top. I end up taking about 4 calendar days (not much time though) to get the top braced. I could do it quicker by epoxying down all of the braces at the same time. I just found that for me that I felt too hurried working within the working time of the epoxy. While trying in an earlier guitar I would bump a go bar that would knock a brace over that would goof up the CF ... Now I am a bit more relaxed. I do the falcate braces first an shown in the earlier post and follow up with all of the remaining braces except the transverse brace. I then follow on with with all of the top carbon fiber. (I could probably have epoxied the transverse brace with the last step)
After the epoxy cured on the transverse I shaped them to there final dimensions. IN the first post I was deciding between 10 and 11 mm based on a load analysis. I ended up about 10.6 mm as the braces crossed the bridge pad. I took the secondary braces down to 8 mm. The extra load of the 12 strings is really in the main falcate braces.

Given that the bridge is basically placed already, with the bridge pin holes drilled, I took the time to place the body with the rims and make sure while properly placed I will have 10 mm between the bridge patch and the neck block extension for the transverse brace.


I cut, placed, epoxied and shaped the sound hole braces and a few finger braces


Now I am waiting for the epoxy to cure on the top application of CF.

-
Tim Benware
- Posts: 1489
- Joined: Thu Dec 22, 2011 1:22 pm
- Location: Asheboro, NC
Re: 12 String SS Falcate braced Ziricote\spruce guitar.
John, I like what you did with that brace end template. Isn't it amazing how such a simple idea can escape you for so long when you get locked into doing things a certain way. Thanks for the idea.
I've "Ben-Had" again!
Tim Benware
Creedmoor, NC
Tim Benware
Creedmoor, NC
-
John Parchem
- Posts: 2746
- Joined: Fri Dec 23, 2011 8:33 pm
- Location: Seattle
- Contact:
Re: 12 String SS Falcate braced Ziricote\spruce guitar.
Sorry I been slow to post and this really should be about four posts I finished all of the bracing and closed the box (of course forgetting to drill the hole for the truss rod in the transverse brace.)
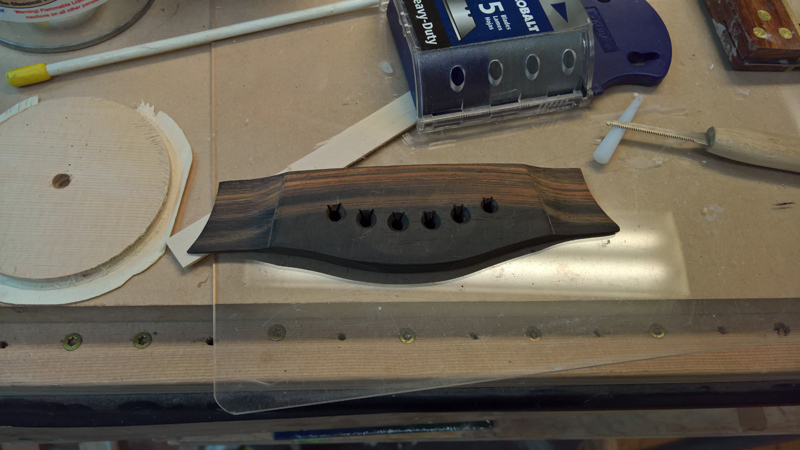
I also started the neck and made a bridge that I will use if I go with two holes per bridge pin.
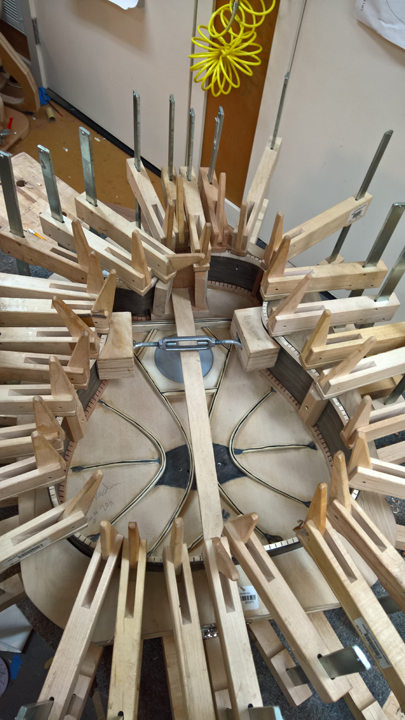
Here are the steps I went through before I closed the box.
Not shown I put a bit of a radius on the transverse brace. I left the center 3" or so flat, also I marked where the braces are let into transverse brace.
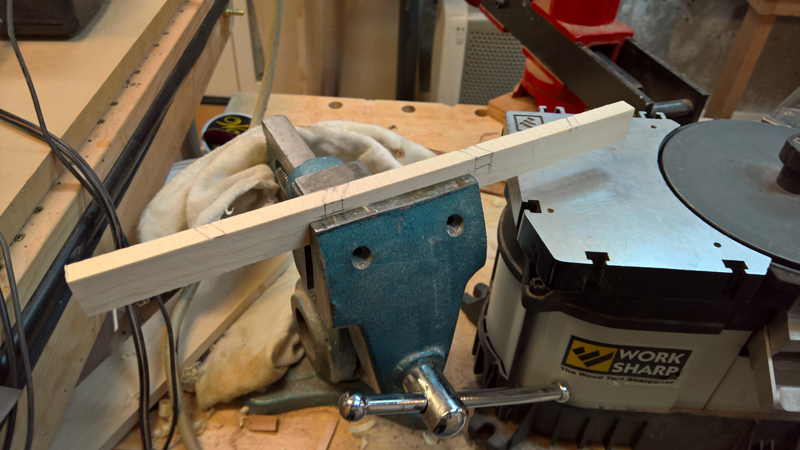
I use the jaws of the parrot vice as a depth stop and use a razor saw followed by chiseling out the waste.
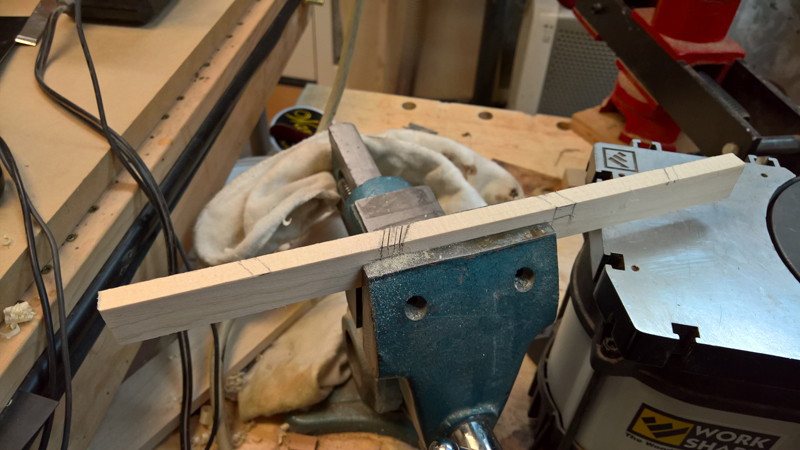
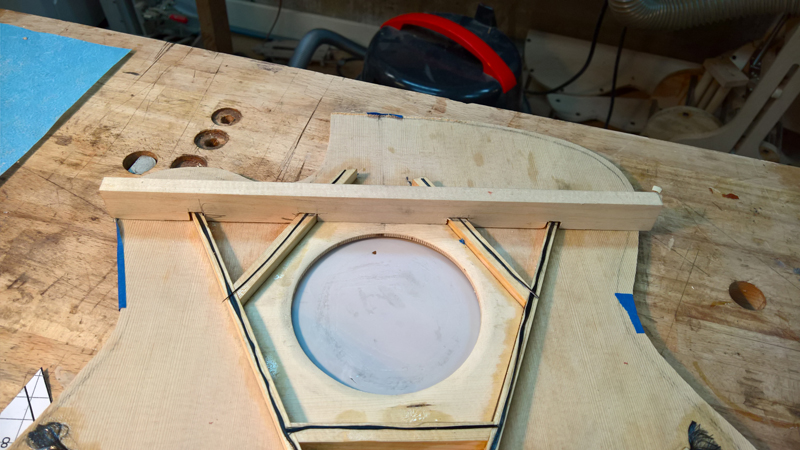
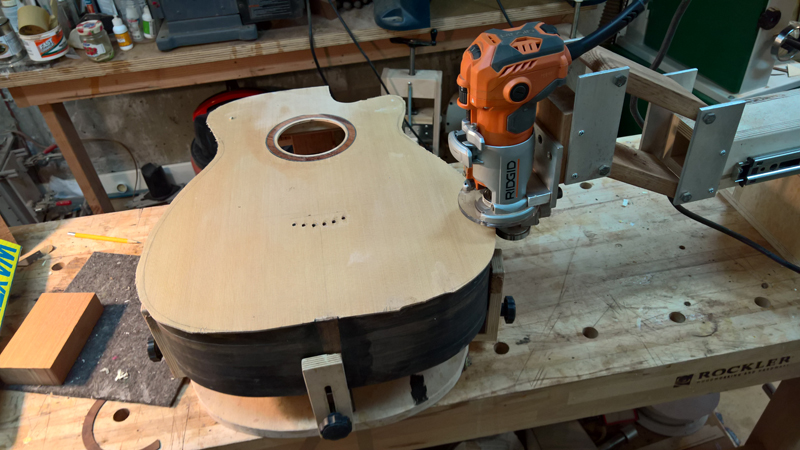
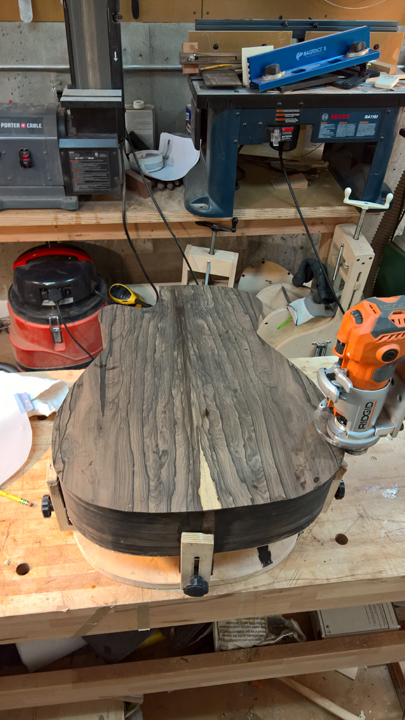
I do not have pictures but I epoxied the transverse brace to the top with a CF strip and shaped the brace. I prepared the rims for the top and back marking with a scalple and routing with a pencil mill grinder.
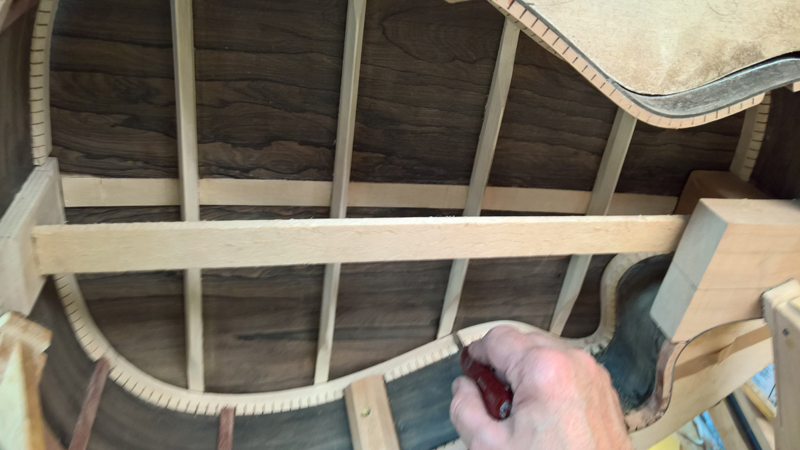
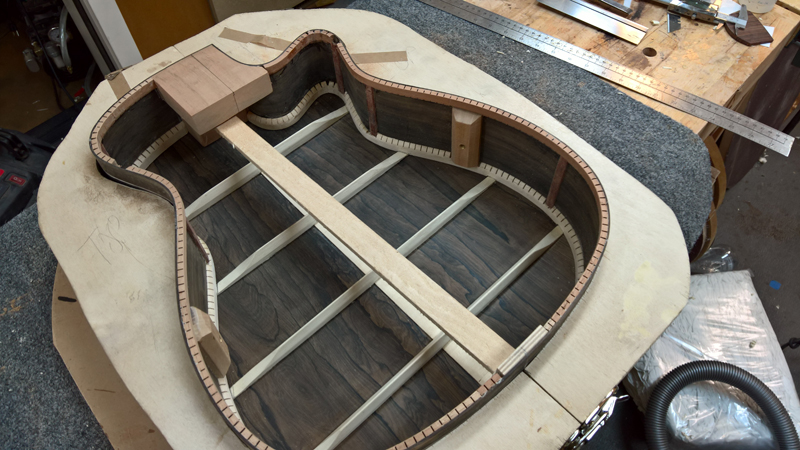
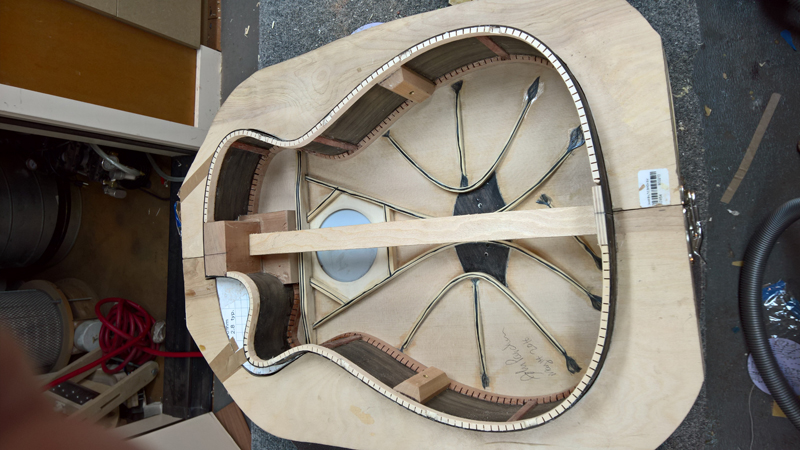
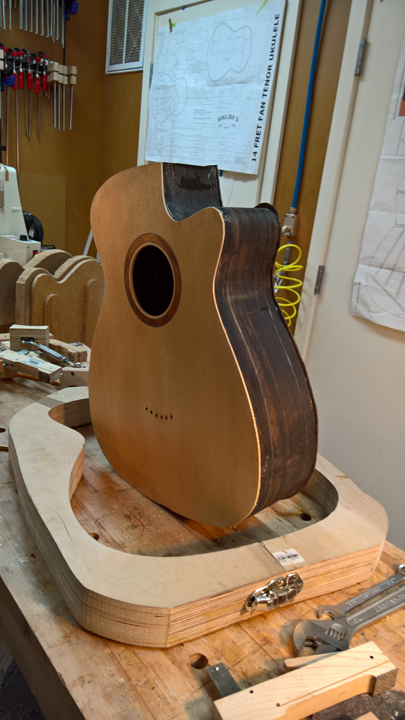
Outside of my normal process I glued the top first. I was waiting for a K$K pure pickup. Also before gluing the top to the rims I checked the angle of the top under the fret board extension to make sure I had the 2.5 mm gap at the saddle I was looking for.
Trimmed the top
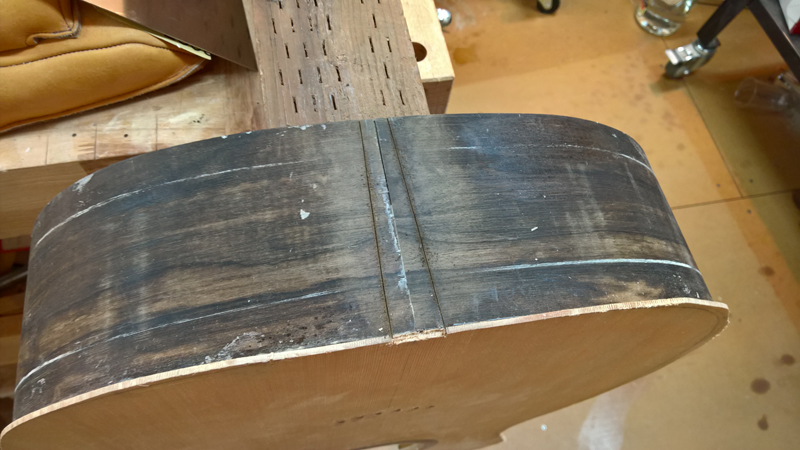
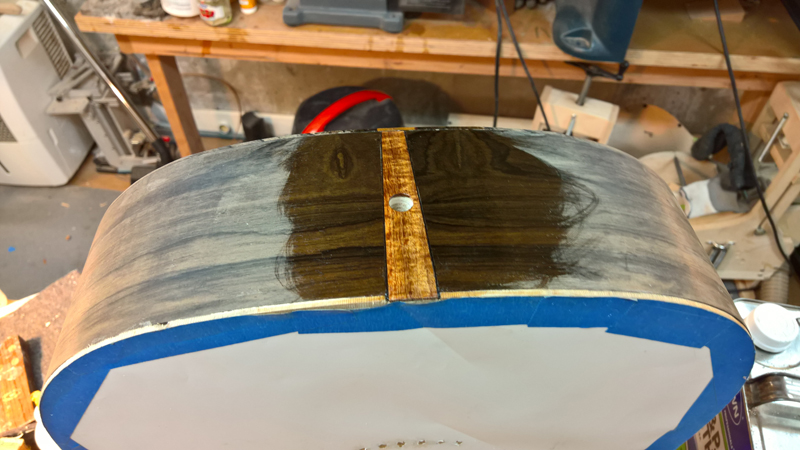
Before putting on the back I made an end wedge of Koa and installed it.
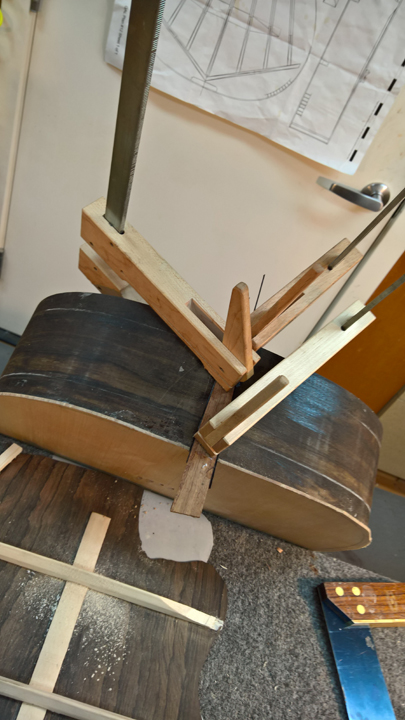
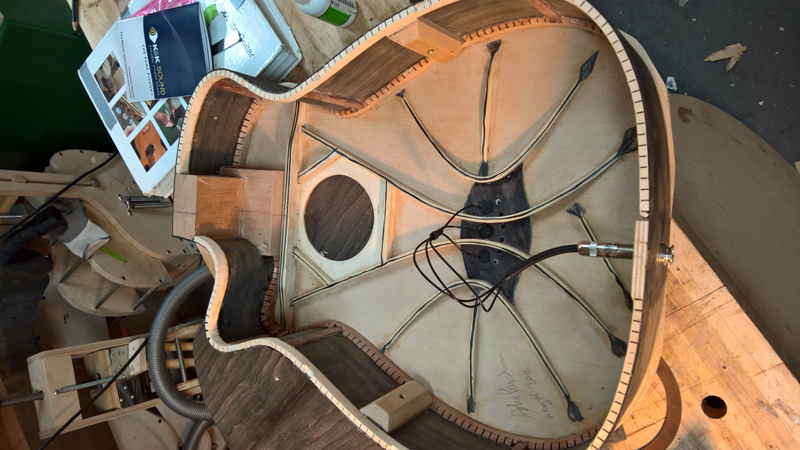
Also the pickup arrived so I installed them as well
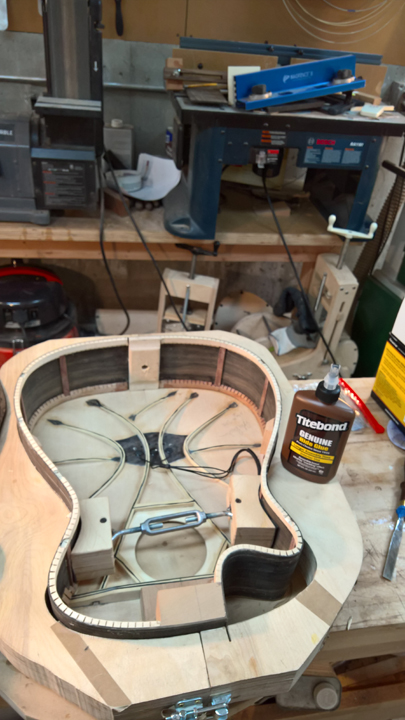
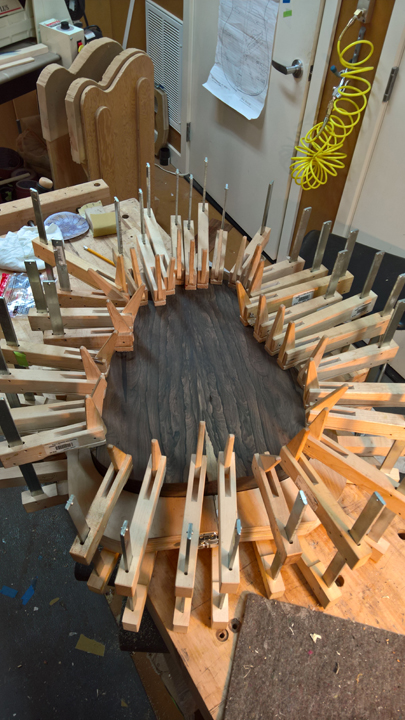
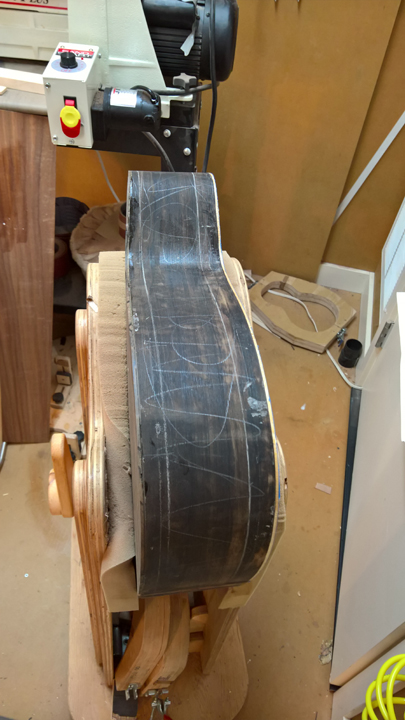
I decided to use a brand new, I check the date bottle of Tite bond hide glue to glue on the back.
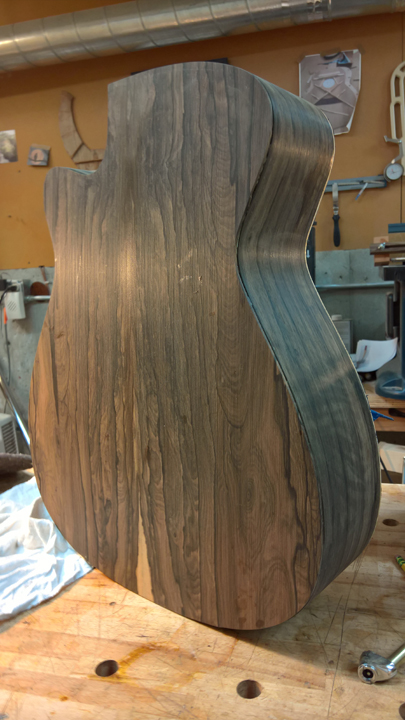
I sliced up a bridge blank into an 8 mm and a 3 mm strip. And laminated it back together with a sheet of CF weave.
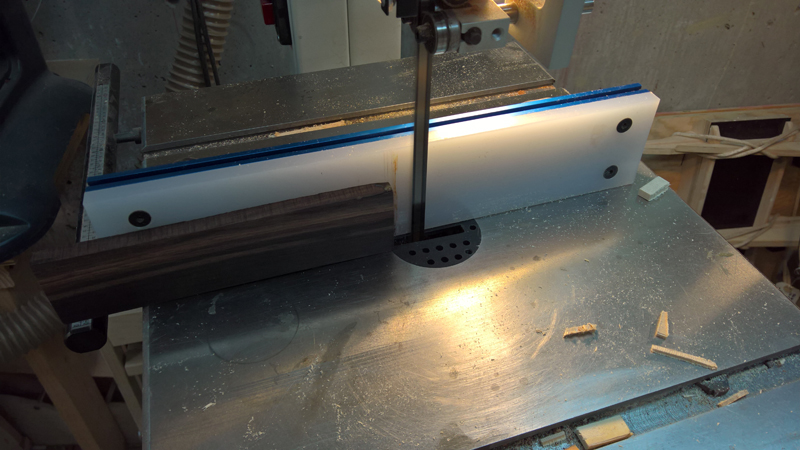
I have a template so I used the band saw and my belt sander to profile the bridge.
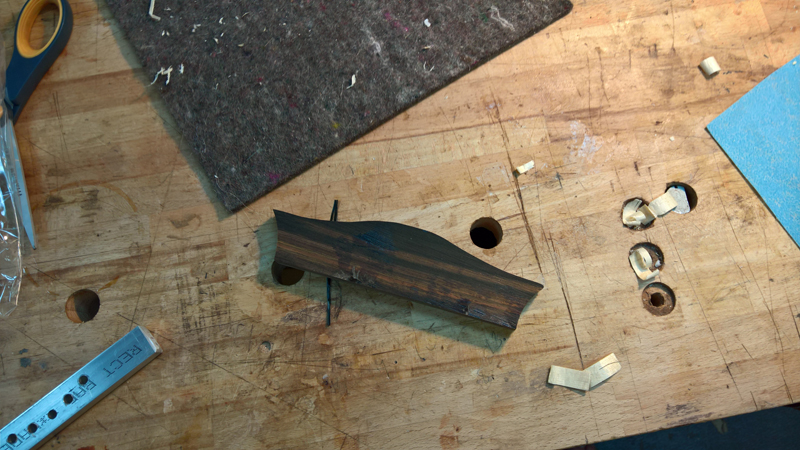
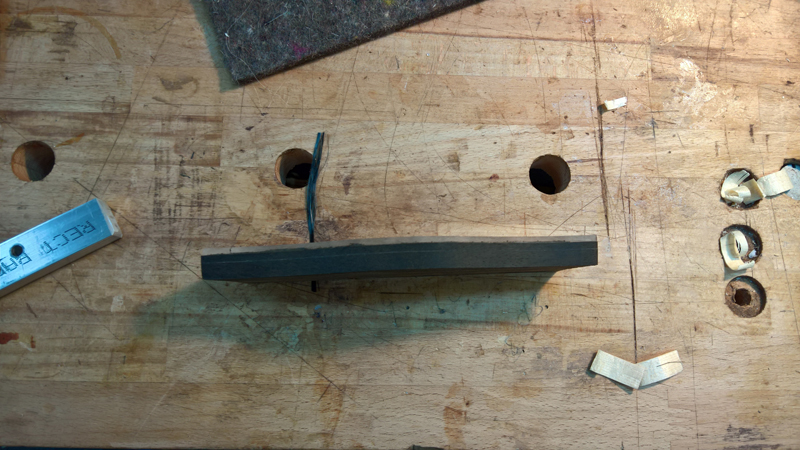
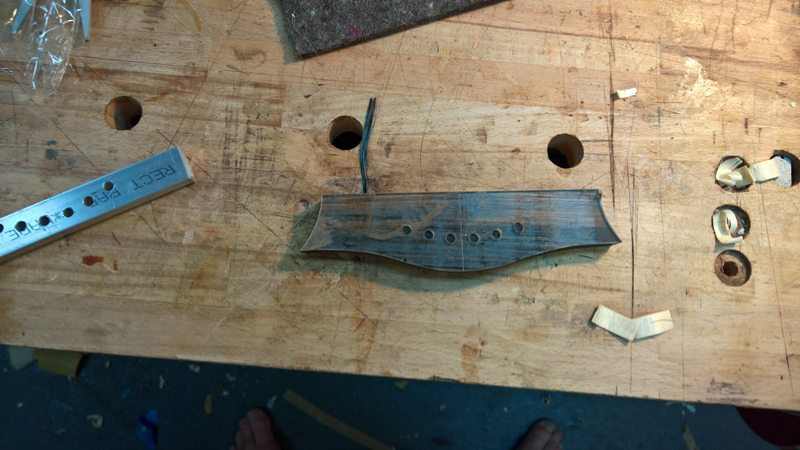
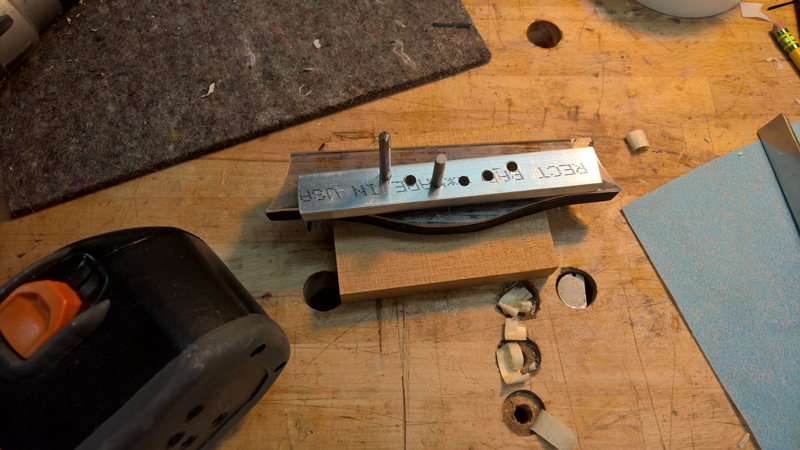
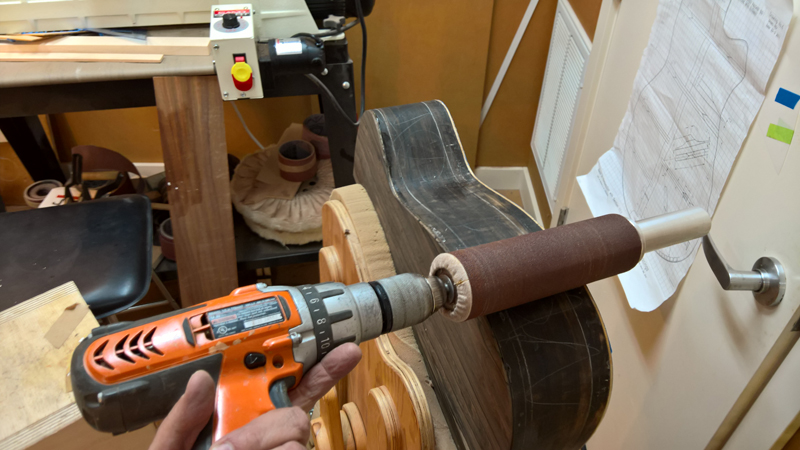
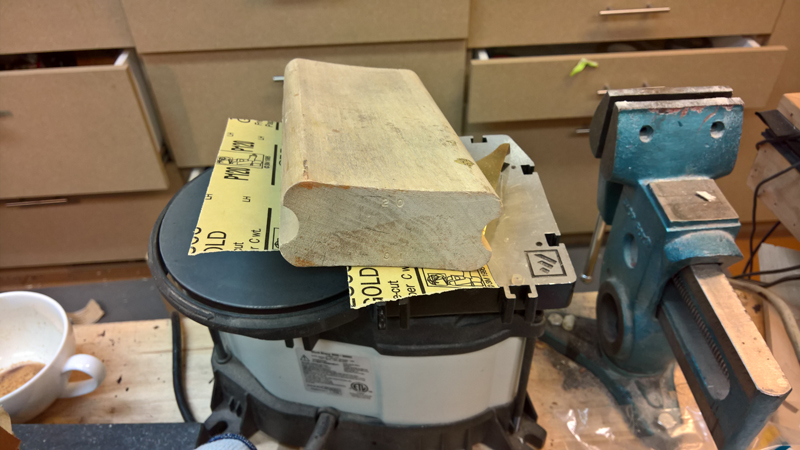
I used a drum sander in my luthiers friend to profile the wings I used a 16" sanding block to profile the top of the bridge.
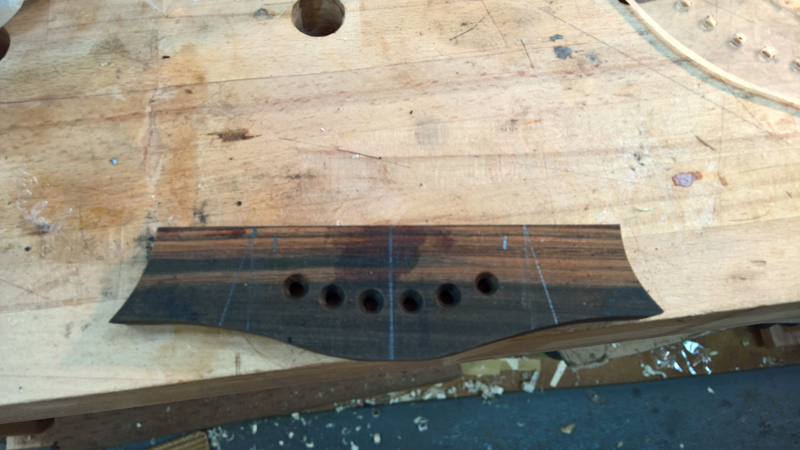
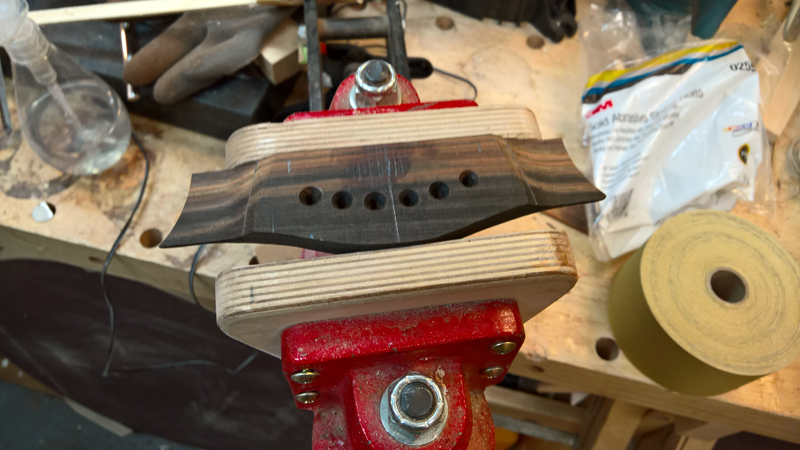
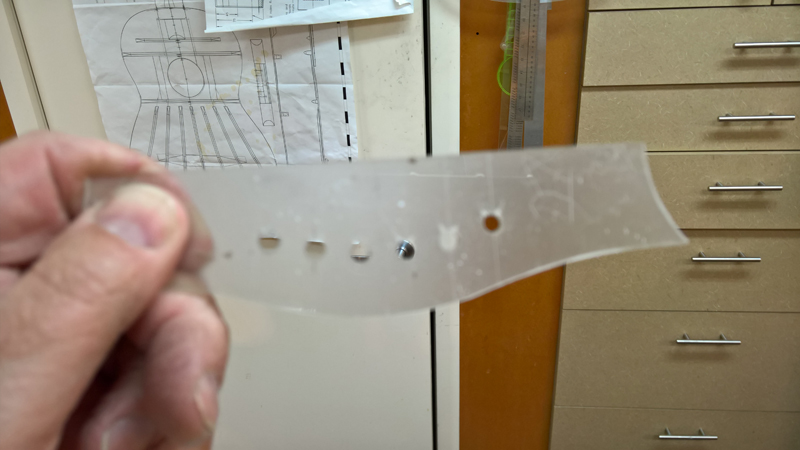
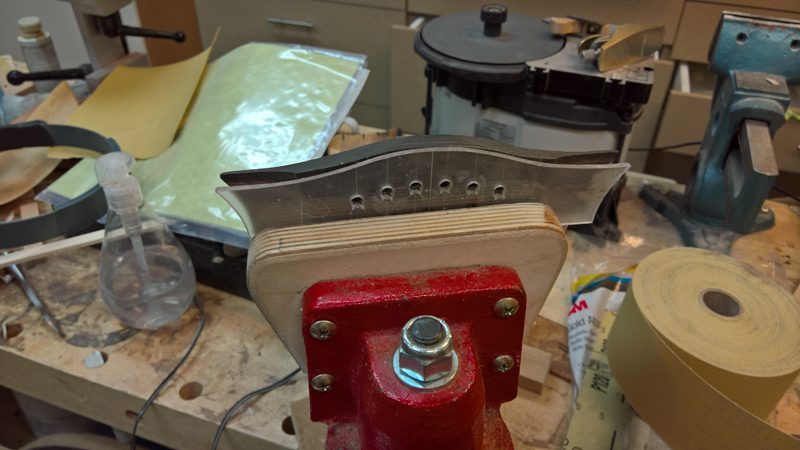
I modified my template to space the two string per pin and used the template to guide my cuts with a thin saw. I think I am close enough to make them work.
As mentioned I also started to make a neck.
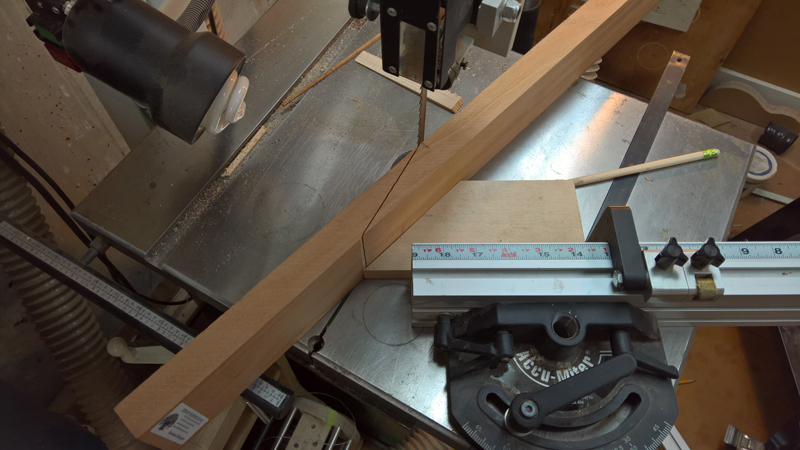
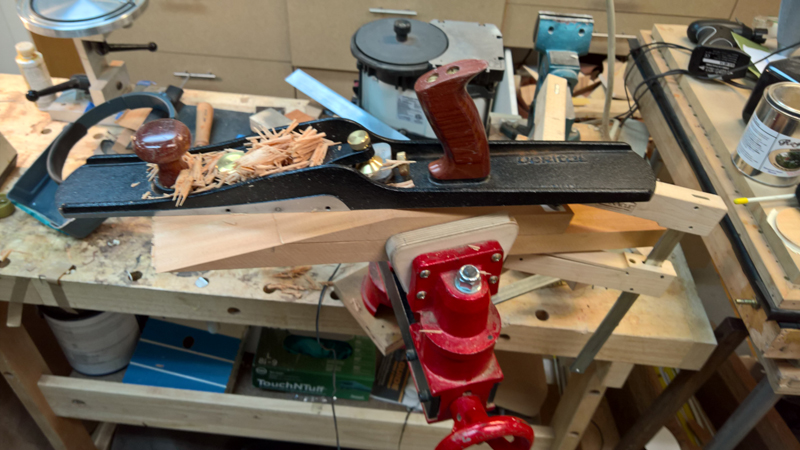
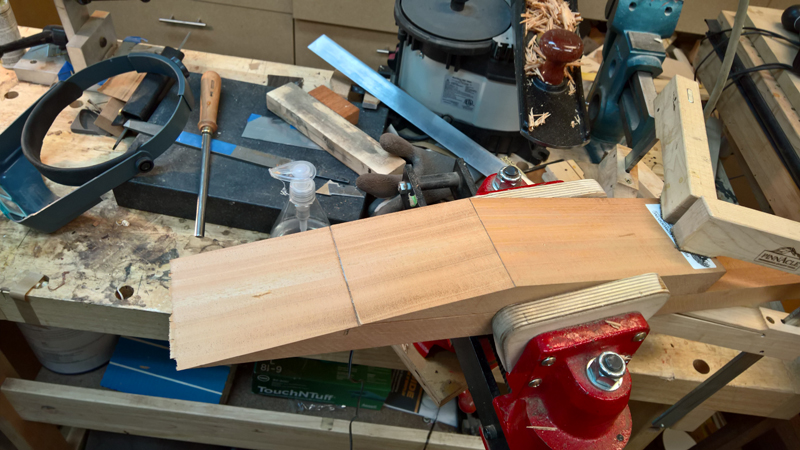
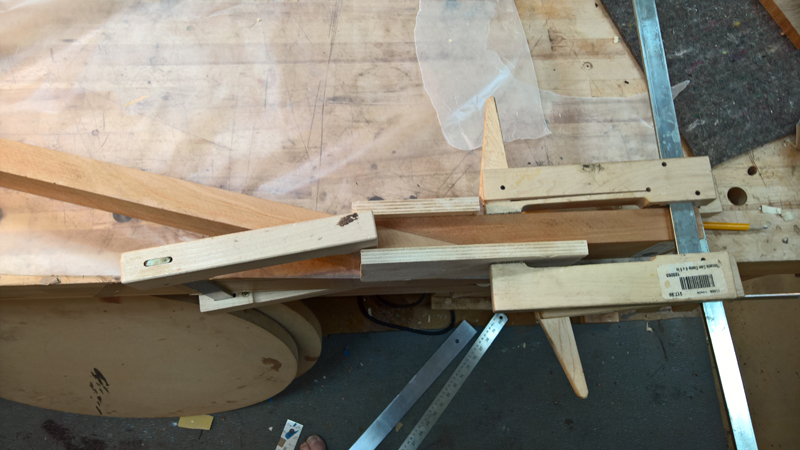
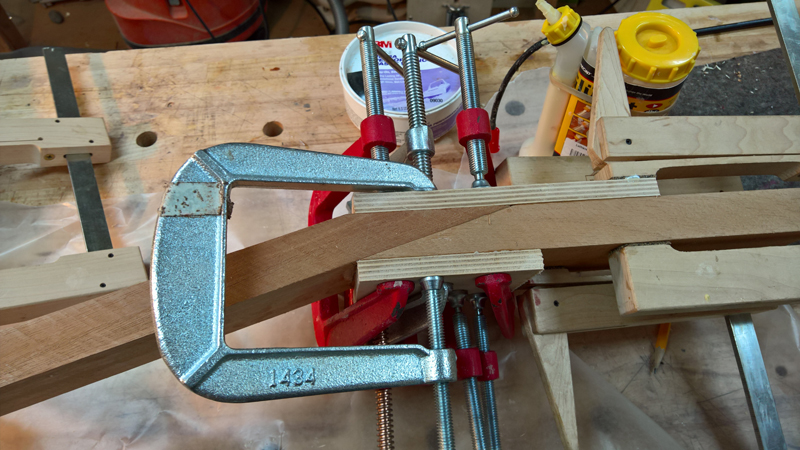
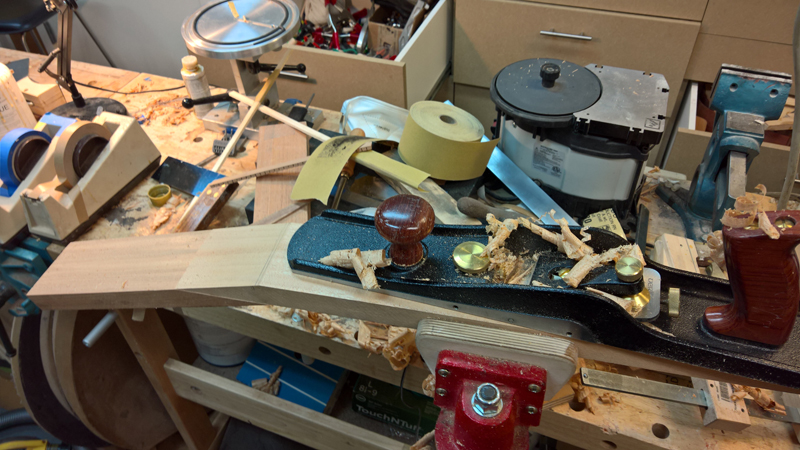
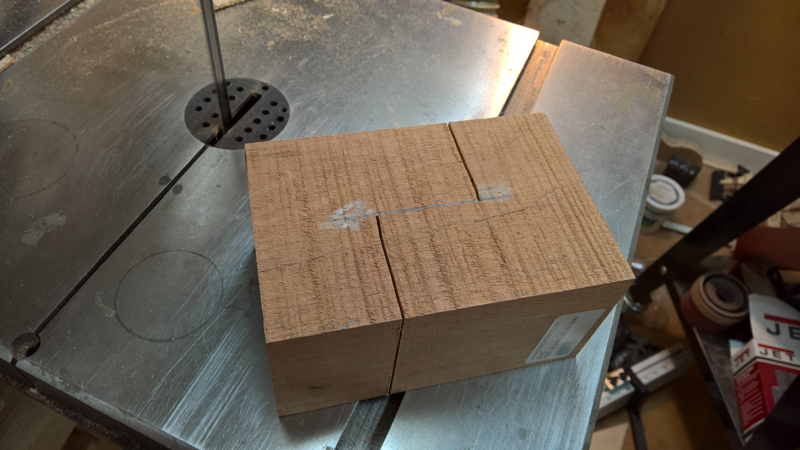
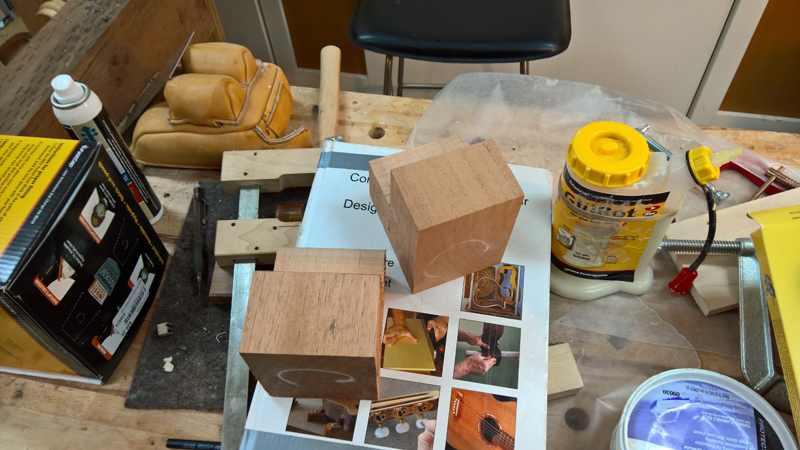
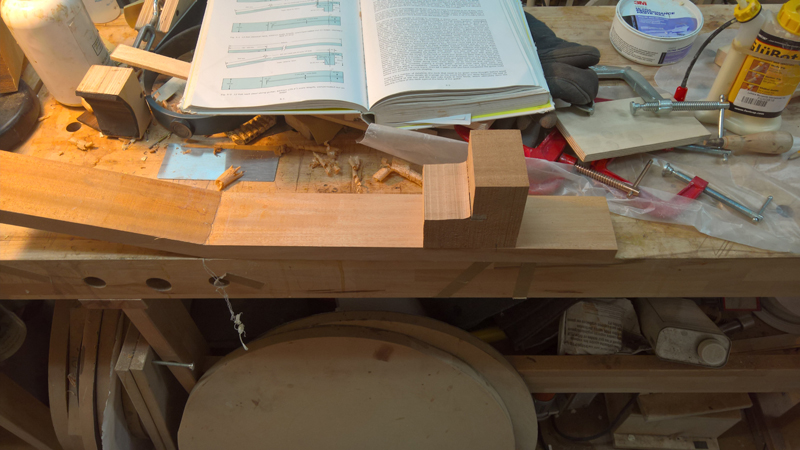
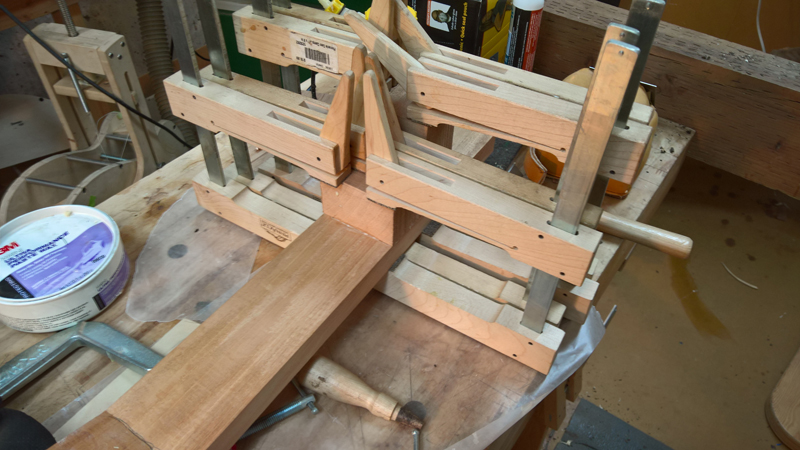
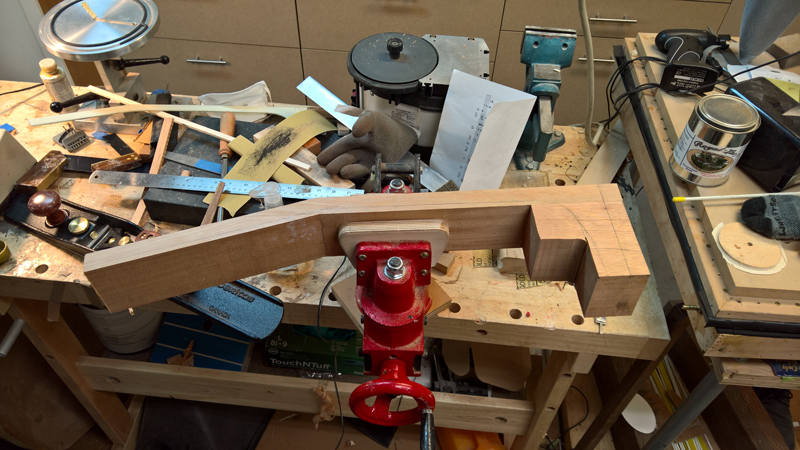
I also started the neck and made a bridge that I will use if I go with two holes per bridge pin.
Here are the steps I went through before I closed the box.
Not shown I put a bit of a radius on the transverse brace. I left the center 3" or so flat, also I marked where the braces are let into transverse brace.

I use the jaws of the parrot vice as a depth stop and use a razor saw followed by chiseling out the waste.


I do not have pictures but I epoxied the transverse brace to the top with a CF strip and shaped the brace. I prepared the rims for the top and back marking with a scalple and routing with a pencil mill grinder.


Outside of my normal process I glued the top first. I was waiting for a K$K pure pickup. Also before gluing the top to the rims I checked the angle of the top under the fret board extension to make sure I had the 2.5 mm gap at the saddle I was looking for.

Trimmed the top

Before putting on the back I made an end wedge of Koa and installed it.


Also the pickup arrived so I installed them as well

I decided to use a brand new, I check the date bottle of Tite bond hide glue to glue on the back.


I sliced up a bridge blank into an 8 mm and a 3 mm strip. And laminated it back together with a sheet of CF weave.

I have a template so I used the band saw and my belt sander to profile the bridge.


I used a drum sander in my luthiers friend to profile the wings I used a 16" sanding block to profile the top of the bridge.


I modified my template to space the two string per pin and used the template to guide my cuts with a thin saw. I think I am close enough to make them work.


As mentioned I also started to make a neck.


Re: 12 String SS Falcate braced Ziricote\spruce guitar.
Looking very good. Love the details. I'm glad to see I'm not the only one who's workbench looks like something exploded. :-)
JJ
Learning every day. And having fun doing it.
Learning every day. And having fun doing it.
-
John Parchem
- Posts: 2746
- Joined: Fri Dec 23, 2011 8:33 pm
- Location: Seattle
- Contact:
Re: 12 String SS Falcate braced Ziricote\spruce guitar.
Thanks John,
I have the box closed and bound. I was struggling to decide between ebony and koa for my bindings. I was browsing Gurian Instruments site and found ebony binding with a koa purfling strip. The of the amber koa line between the ebony and zircote settled the question. I got both!
But first I had to bend the ebony around the Venetian cutaway. I used the fox bender for the sides so I loaded up supersoft soaked strips into the binder and bent at around 300 degrees. Unfortunately I am not sure if the bending was successful (I suspect not), when I was taking the bindings out of the bender the spring steel exploded them in to a bunch of pieces. So I took out my free form bending iron and was able to bend the ebony was no issue. I bent very hot (I have a modified version that goes to 11, 10 was not hot enough)
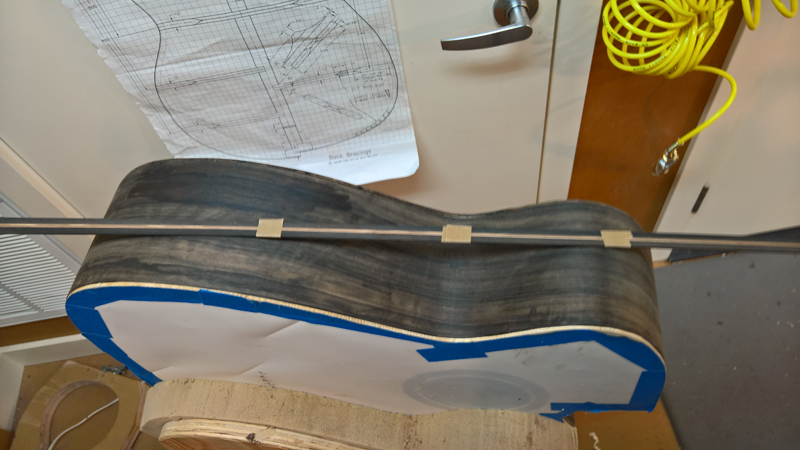
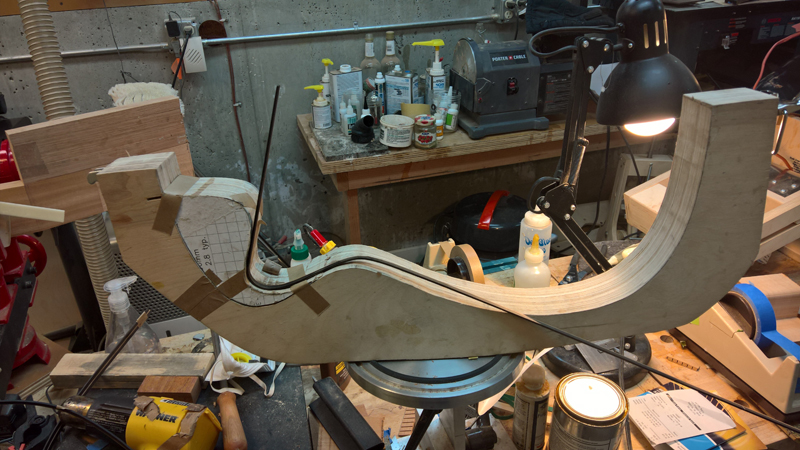
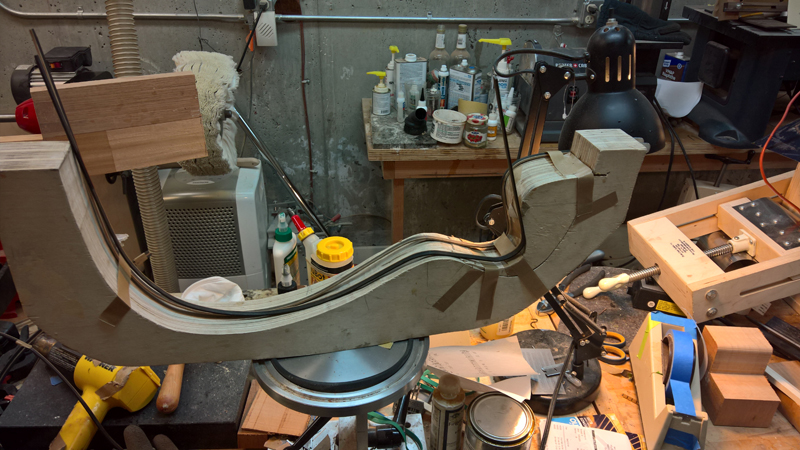
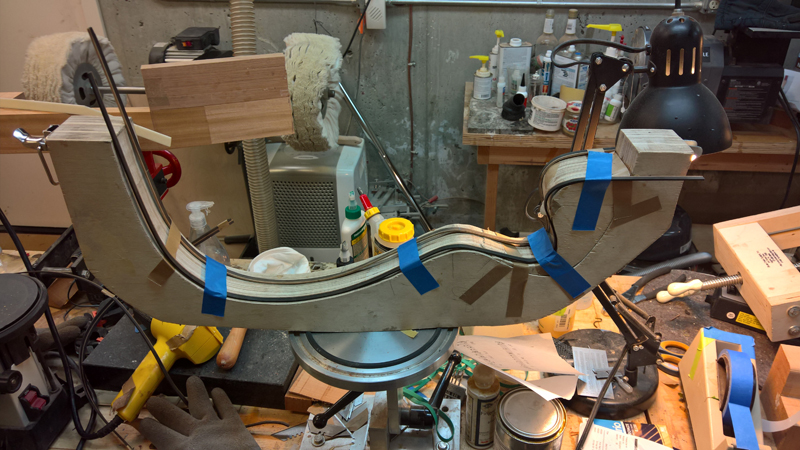
I started with the back set my Fleishman binding machine up for a perfect cut and routed out the back. I found that the channel was not quite deep enough. I test on a flat board but I am routing on the radiused back. So I cut the channel about 1/64" deeper on a second pass
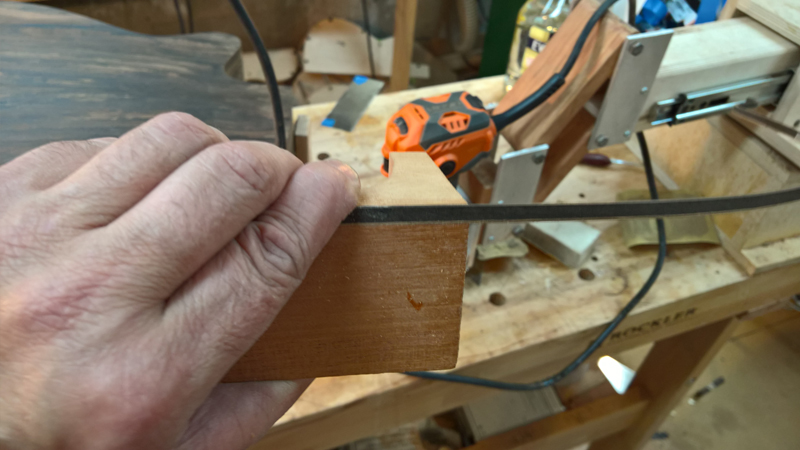
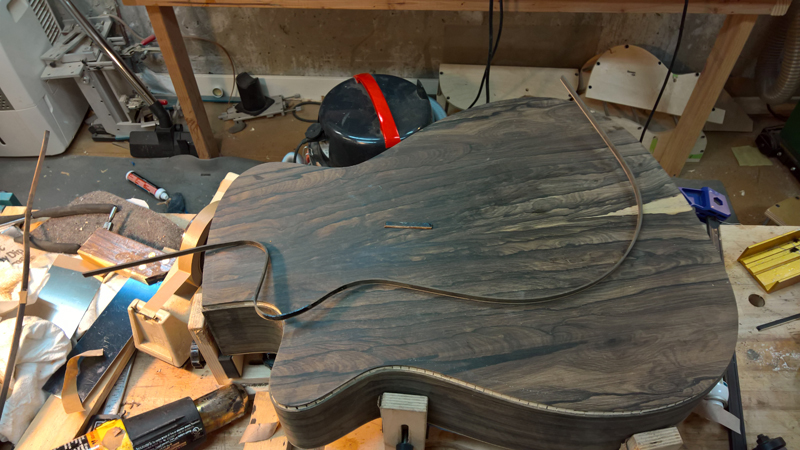
I just used tape to apply clamp on the bindings. On the back I used LMI yellow glue. On the top I used Franklin Hide Glue.
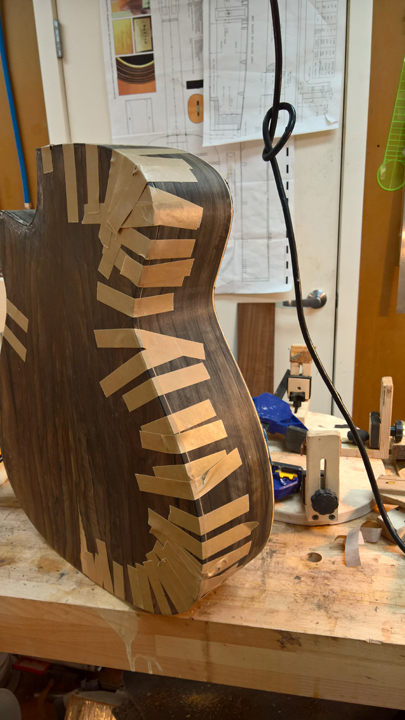
It went OK but I had a few gaps. I successfully tried a new trick for me where I had a gap between the binding and the side. I clamped the top of the binding with a cam clamp. I had a bit of pressure but not excessive. Then I used a heat gun to heat the binding. Sure enough it slid down and closed the gap, with a bit of squeeze out as well.
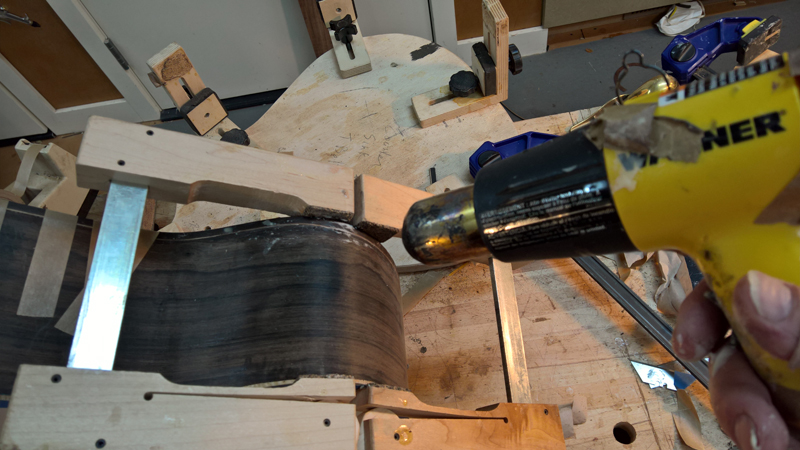
I closed a few gaps between the binding and back as well using heat and tape and or clamps to pull the binding in.
All and all it came out OK and I am really excited about the Koa pufling
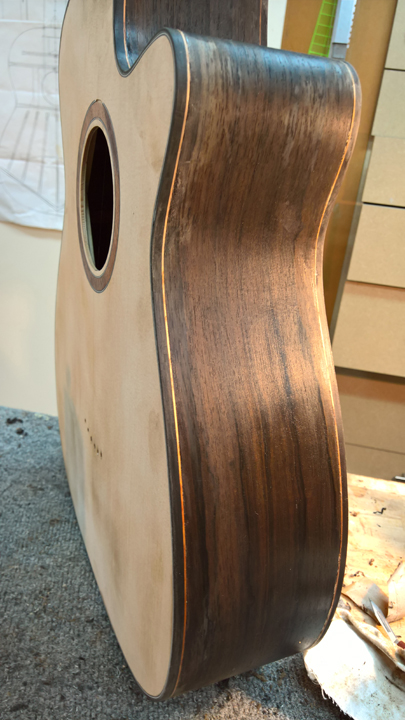
I have the box closed and bound. I was struggling to decide between ebony and koa for my bindings. I was browsing Gurian Instruments site and found ebony binding with a koa purfling strip. The of the amber koa line between the ebony and zircote settled the question. I got both!
But first I had to bend the ebony around the Venetian cutaway. I used the fox bender for the sides so I loaded up supersoft soaked strips into the binder and bent at around 300 degrees. Unfortunately I am not sure if the bending was successful (I suspect not), when I was taking the bindings out of the bender the spring steel exploded them in to a bunch of pieces. So I took out my free form bending iron and was able to bend the ebony was no issue. I bent very hot (I have a modified version that goes to 11, 10 was not hot enough)


I started with the back set my Fleishman binding machine up for a perfect cut and routed out the back. I found that the channel was not quite deep enough. I test on a flat board but I am routing on the radiused back. So I cut the channel about 1/64" deeper on a second pass


I just used tape to apply clamp on the bindings. On the back I used LMI yellow glue. On the top I used Franklin Hide Glue.

It went OK but I had a few gaps. I successfully tried a new trick for me where I had a gap between the binding and the side. I clamped the top of the binding with a cam clamp. I had a bit of pressure but not excessive. Then I used a heat gun to heat the binding. Sure enough it slid down and closed the gap, with a bit of squeeze out as well.

I closed a few gaps between the binding and back as well using heat and tape and or clamps to pull the binding in.
All and all it came out OK and I am really excited about the Koa pufling

