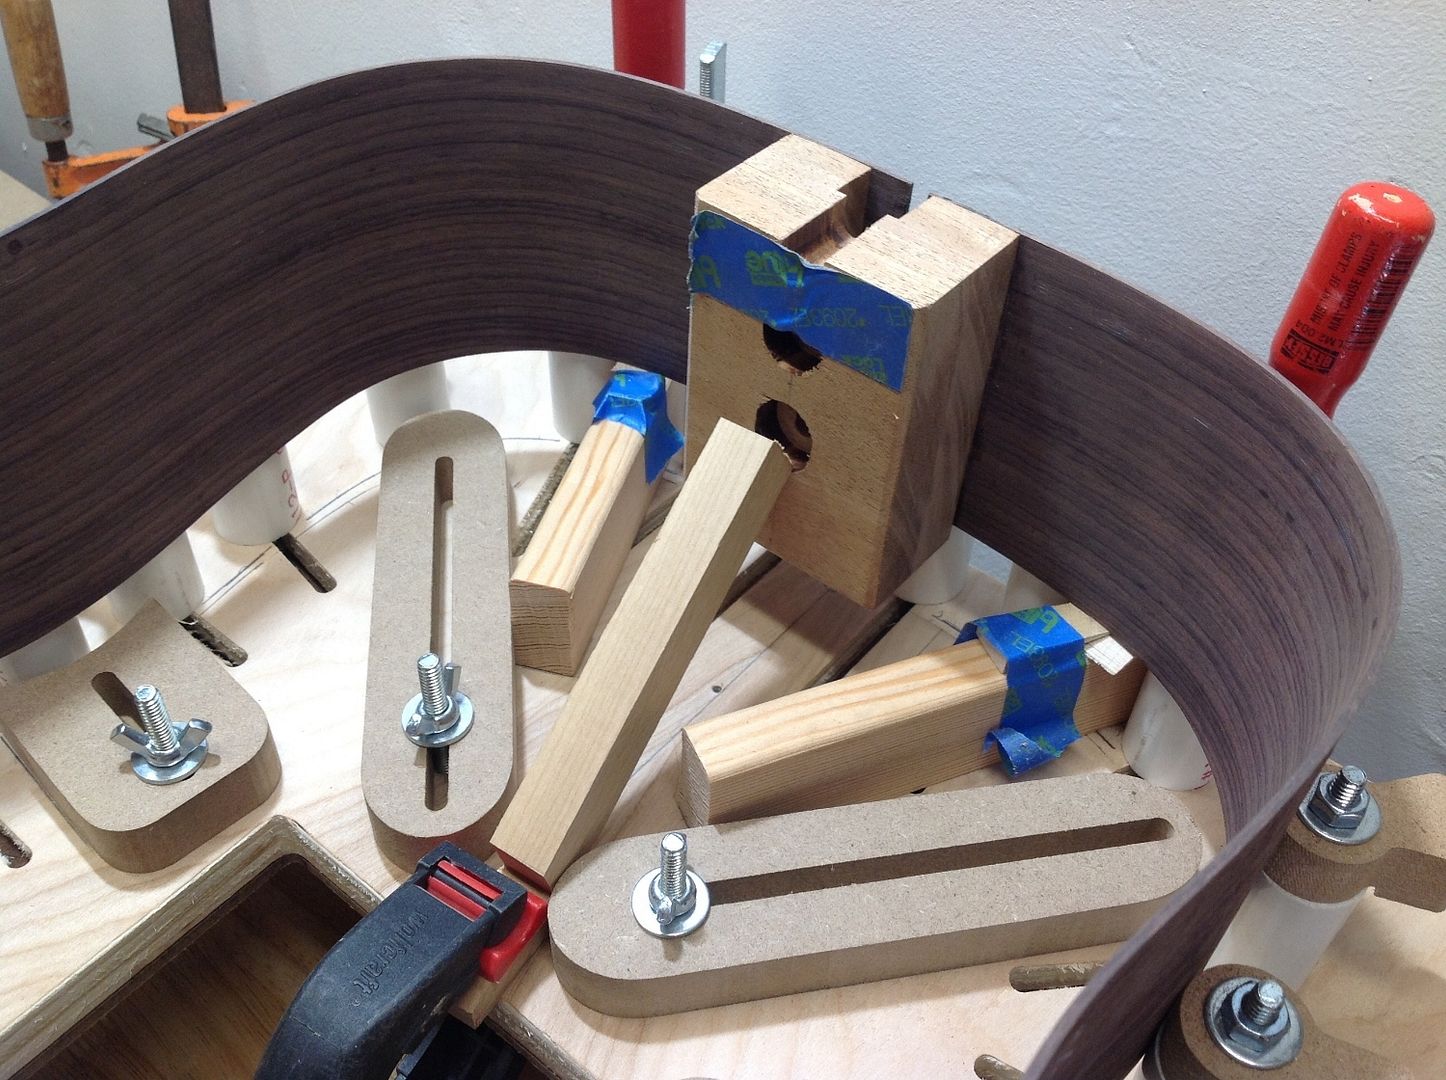
It starts today.
-
John Ficken
- Posts: 6
- Joined: Tue Nov 24, 2015 10:25 pm
Re: It starts today.
Right behind you, Brad! 2016 is the year I do this, so guys like you are my inspiration. Great photo log; keep it up!
Re: It starts today.
Still can't get the picture upload to work. I have the box closed up and the sides sanded and am ready to route the binding channels. I did run into a glitch today. While sanding a bit more on the back a brown spot about 3/8" long suddenly came through the herringbone backstrip. I don't understand how this is possible, as the individual pieces are solid all the way through. I have some cut offs and sliced one to verify. Right now the only fix I can come up with is to remove a thin slice and fill it with another new piece. Will be a challenge matching up the chevrons, but should be mostly invisible when done. I'm open to any alternative fix any of you can offer. This was my first exposure to the mysterious world of "tap tone". I listened to the top prior to gluing the braces on. Had a pleasant tone. After bracing the tone was more pronounced and the treble vs. bass side was evident. After profiling the tones were more pronounced and "musical" to my ears. Obviously I don't know what I'm doing or what exactly I'm supposed to hear, but I did like the sound and feel encouraged by it.
Re: It starts today.
If I recall correctly you inlay-ed the Herringbone rather than pinching it between the halves. So it sounds like you sanded through to the back plate.While sanding a bit more on the back a brown spot about 3/8" long suddenly came through the herringbone backstrip
ken cierp
http://www.kennethmichaelguitars.com/
Store Front
http://www.cncguitarproducts.com/
KMG Guitar Kit Information
http://www.kennethmichaelguitars.com/ki ... ckage.html
http://www.kennethmichaelguitars.com/
Store Front
http://www.cncguitarproducts.com/
KMG Guitar Kit Information
http://www.kennethmichaelguitars.com/ki ... ckage.html
Re: It starts today.
The spot is 2"" from the top edge, still 1/2 the thickness of the plate left under the backstrip. I mixed some rw dust with some alcohol and tried staining a scrap piece. Had no effect and cleaned right up. Guess it will remain a mystery.
Upon further examination, I think Kenneth is correct. There was a pronounced "bump" just ahead of the spot, which I now realize was the neck block. It just felt wrong after the box was glued up and I probably did sand through at that spot. I think I can patch it with a very thin inlay. It is a learning process.
Upon further examination, I think Kenneth is correct. There was a pronounced "bump" just ahead of the spot, which I now realize was the neck block. It just felt wrong after the box was glued up and I probably did sand through at that spot. I think I can patch it with a very thin inlay. It is a learning process.
Last edited by Brad Hall on Fri Dec 18, 2015 6:57 pm, edited 2 times in total.
Re: It starts today.
Yup --- got me there???Guess it will remain a mystery
ken cierp
http://www.kennethmichaelguitars.com/
Store Front
http://www.cncguitarproducts.com/
KMG Guitar Kit Information
http://www.kennethmichaelguitars.com/ki ... ckage.html
http://www.kennethmichaelguitars.com/
Store Front
http://www.cncguitarproducts.com/
KMG Guitar Kit Information
http://www.kennethmichaelguitars.com/ki ... ckage.html
Re: It starts today.
I routed the back binding channel today. Following Ken's admonition to practice on some scrap, I moved onto the guitar. Now I have a lot of woodworking experience, but I have never been as stressed as I was with this step. Probably because of all the work put in to get here, and the perceived possibly of screwing it up with one bad move. I took minute amounts with each pass. 4 times around the box and I could breathe again. Felt like I needed a cigarette and I don't smoke! Anyway, it came out real nice. I'll be much more comfortable when I do the top. I've seen where some do a scarf joint on the binding at the bottom end. I may give that a shot. Every step is a learning experience and the satisfaction when done is emence. Wish I had started 40 years ago.
Re: It starts today.
Brad just use the edit button in Photobucket --- resize to 1500 wide save copy the img file to the right then paste it here -- done


ken cierp
http://www.kennethmichaelguitars.com/
Store Front
http://www.cncguitarproducts.com/
KMG Guitar Kit Information
http://www.kennethmichaelguitars.com/ki ... ckage.html
http://www.kennethmichaelguitars.com/
Store Front
http://www.cncguitarproducts.com/
KMG Guitar Kit Information
http://www.kennethmichaelguitars.com/ki ... ckage.html
