Second Falcate Classical with strings!

Show us how your current project is progressing
John Parchem
Posts: 2746
Joined: Fri Dec 23, 2011 8:33 pm
Location: Seattle
Contact:

Second Falcate Classical with strings!

Post by John Parchem » Mon May 04, 2015 11:03 pm

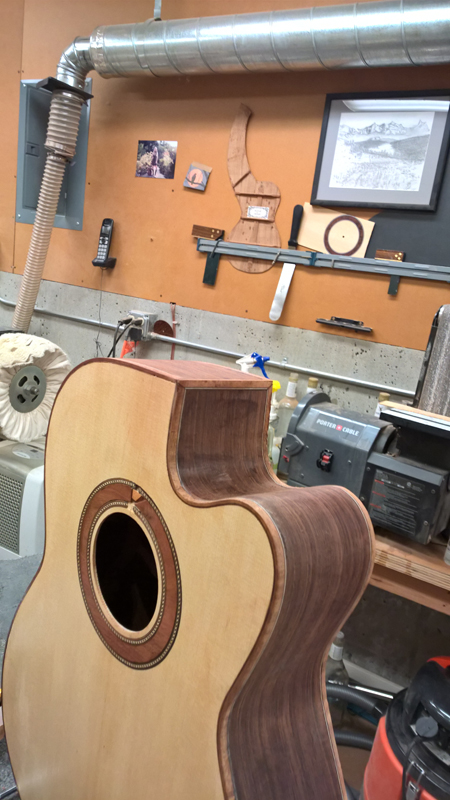
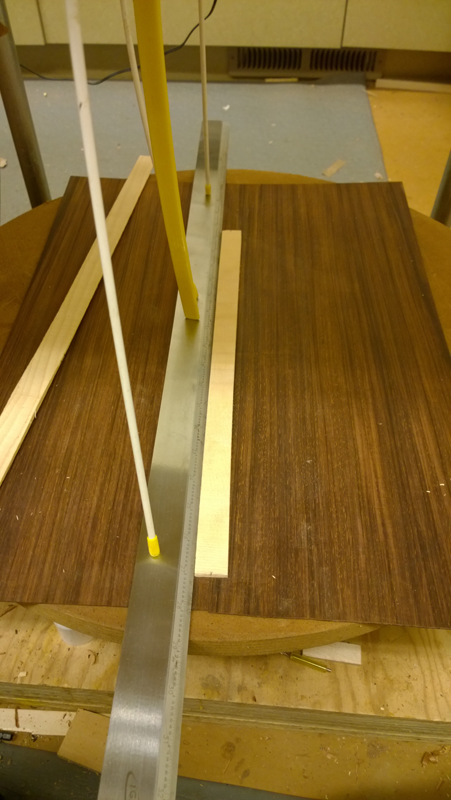
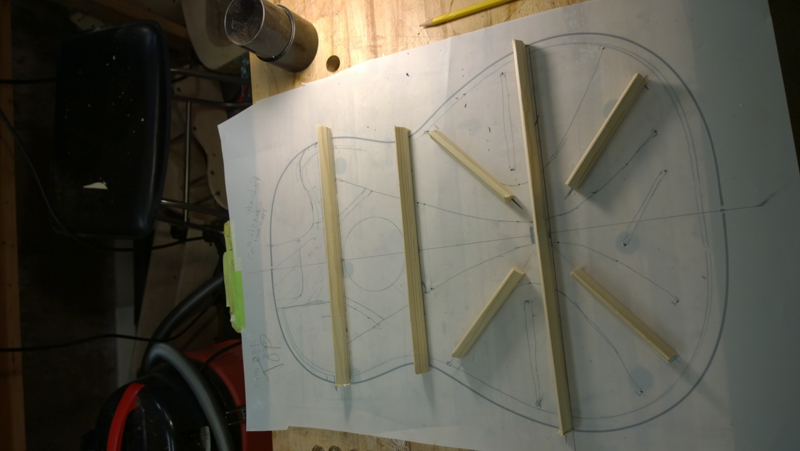
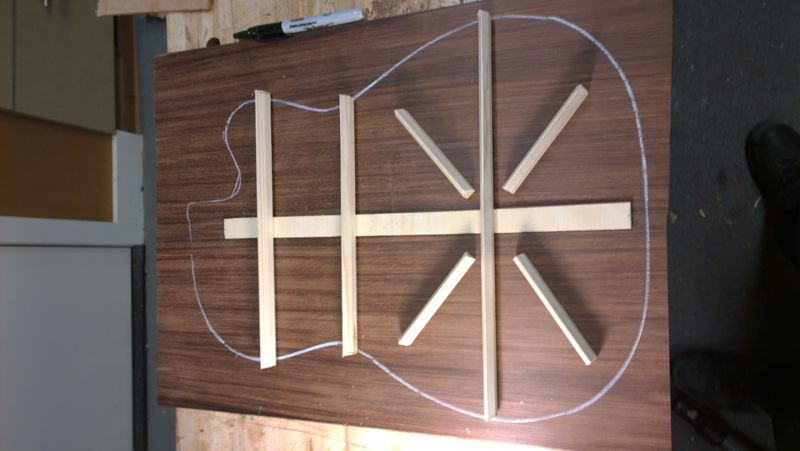
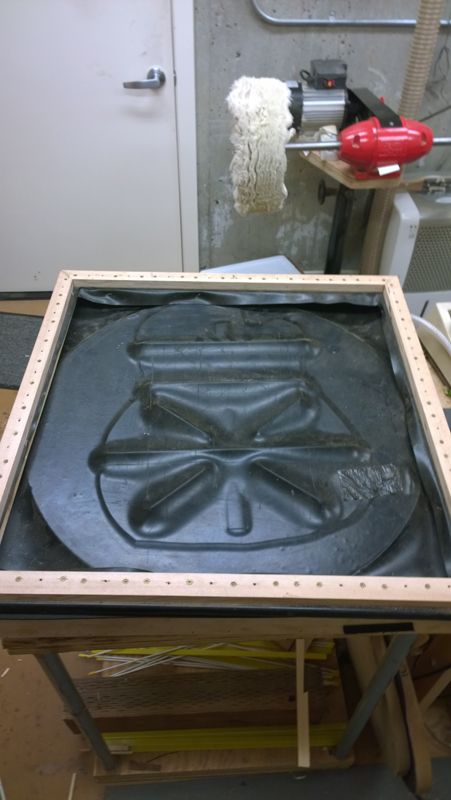
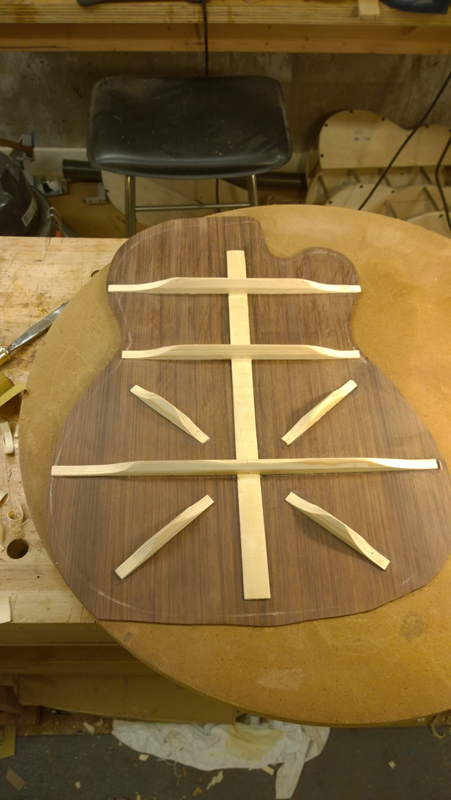
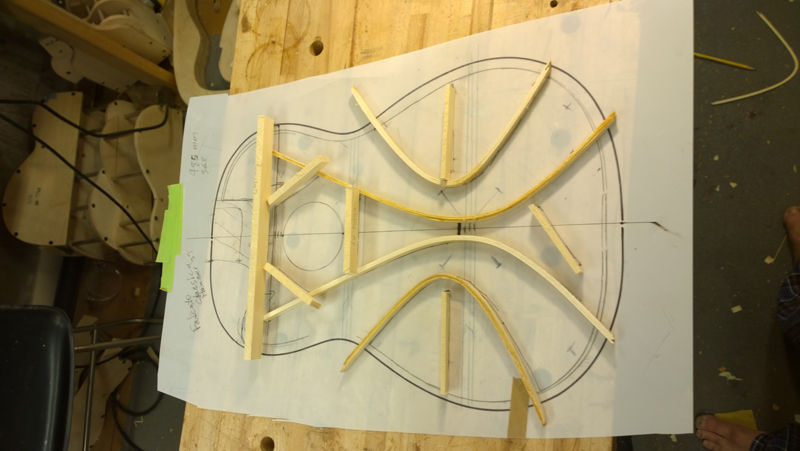
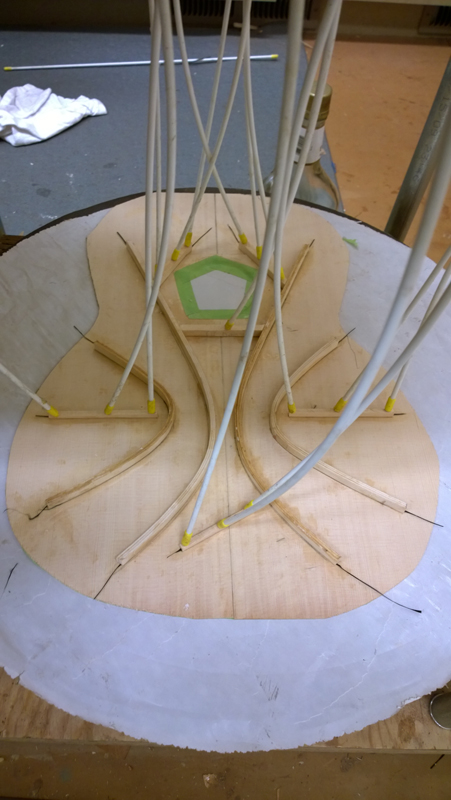
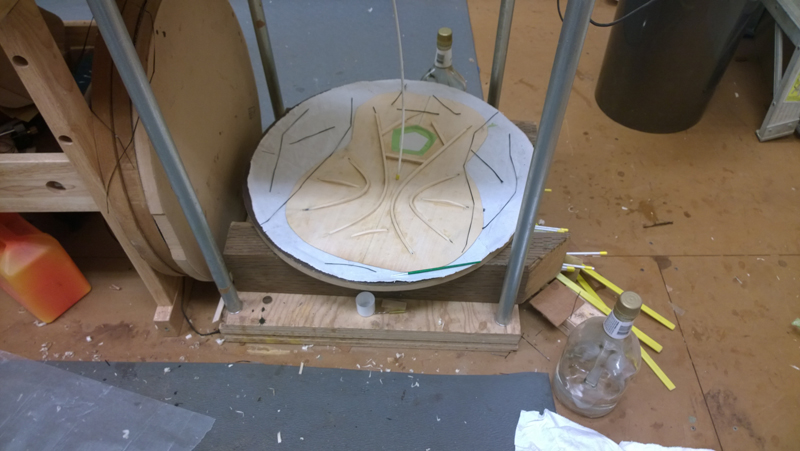
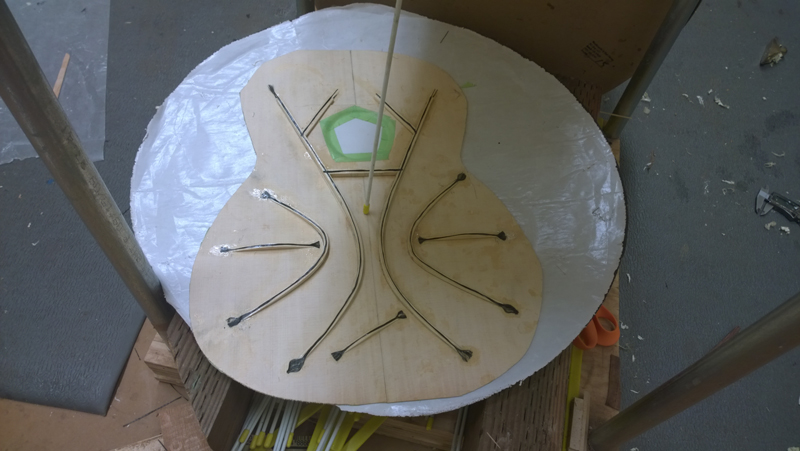
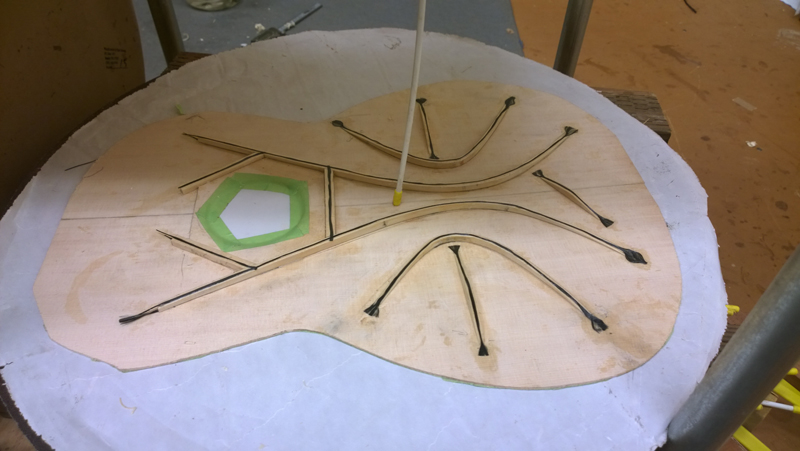
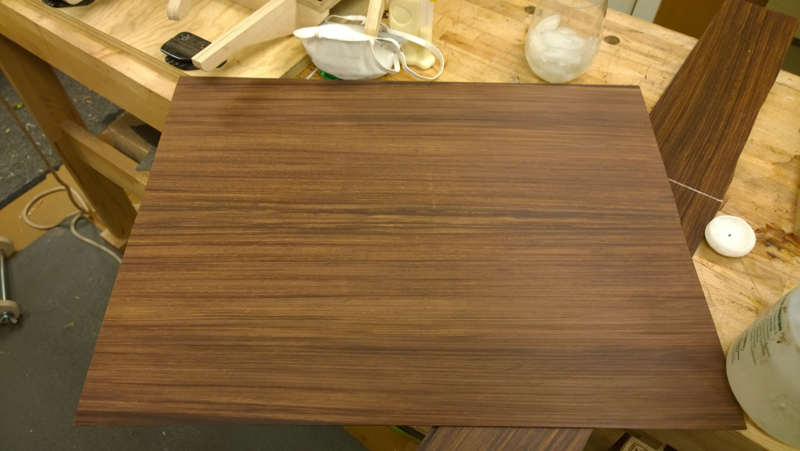
As I am building the same guitar as my last. I decided not to blog this build, I will highlight any new procedures that differ from last project. This guitar is a commission from my classical guitar instructor. He loved the sound of the last more importantly though is he really like the ergonomic features I added. Slightly narrower nut and the 20" radius on the fret board. He also like the cutaway. For this guitar I selected a nice engelmann spruce top and panama rosewood back and sides. The tap quality and the stiffness of the rosewood was outstanding. I picked up the rosewood set a couple of years ago from LMI. I went totally classical and chose spanish cedar for the neck. Other than the wood the only design difference is that I will make the braces a mm taller based on the results of my last guitar. Also I am trying to avoid all of the hidden mistakes I had in the last one. So far that is going well.

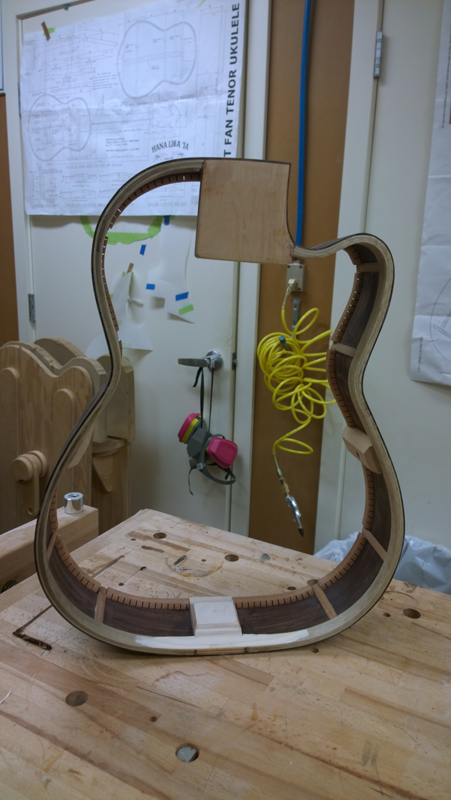
So far I have the rims built and profiled, the neck has been prepared and I am starting on bracing the top and the back.

Image

Image

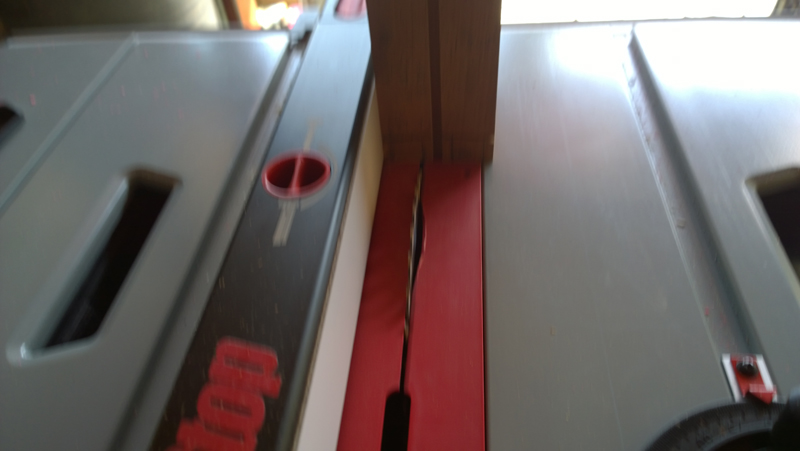
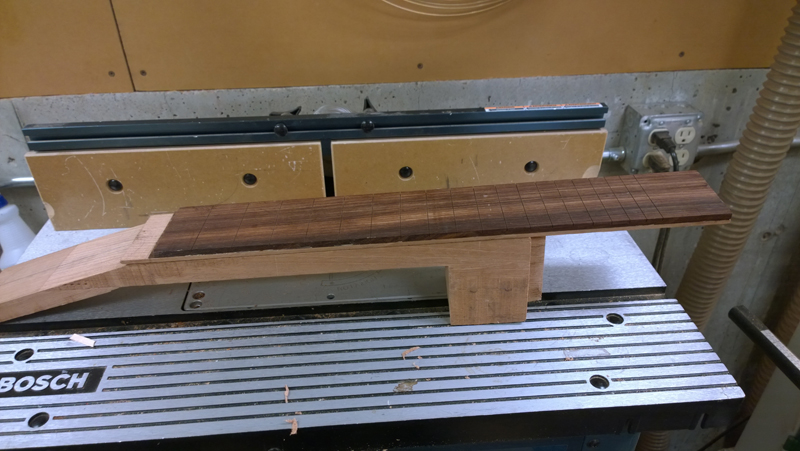
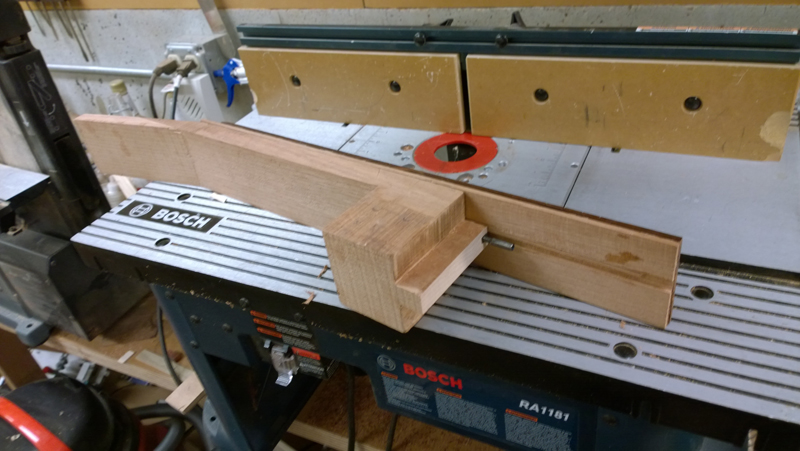
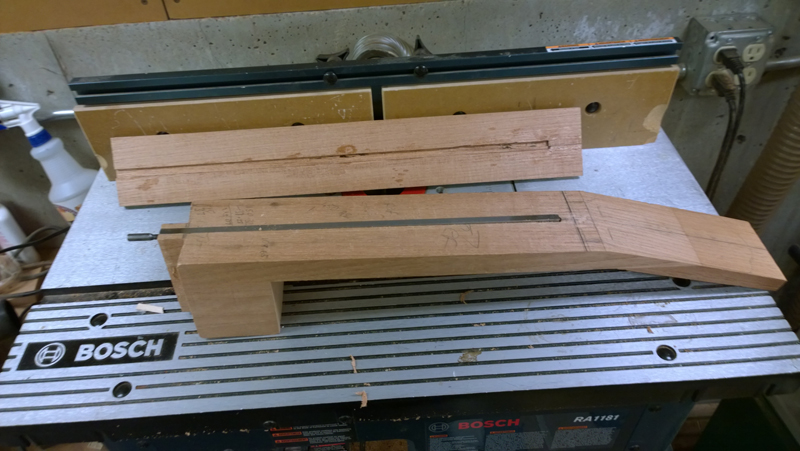
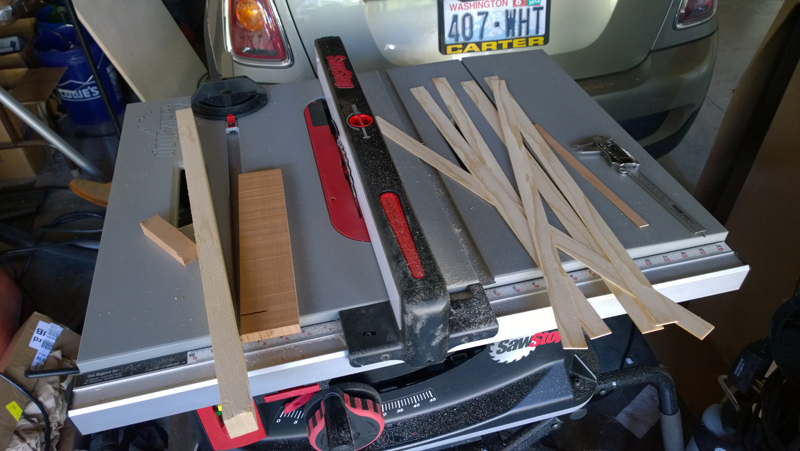
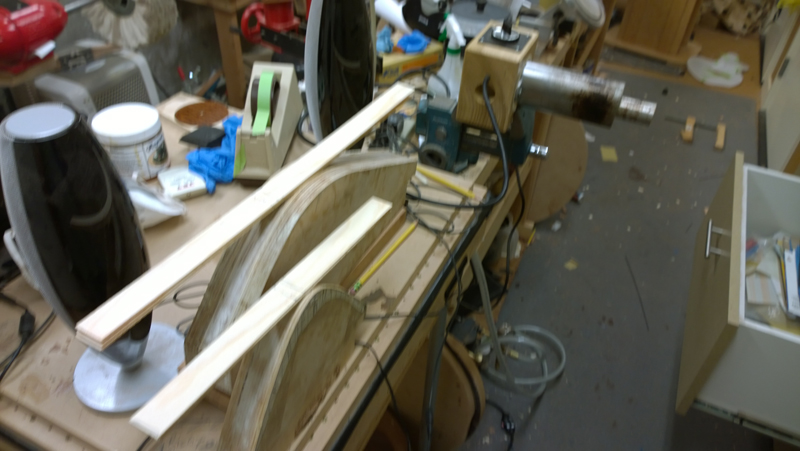
I went away from my neck jig and just used a table saw for the tenon. The advantages of the table saw is I can still set the neck angle, but I van also angle the cheeks making it easier to fit the neck on the body. Also the procedure was so clean compared to mucking with the 1/2 inch router bit. I have a sawstop saw, so I am less nervous about cutting my fingers off. Ultimately I will build a sled to make this an easier process. The neck will be a bolt on bolt off neck. The Spanish cedar glued to the fret board will be planed to a wedge to create the negative angle required for a classical.

Image

Image

Image

Image

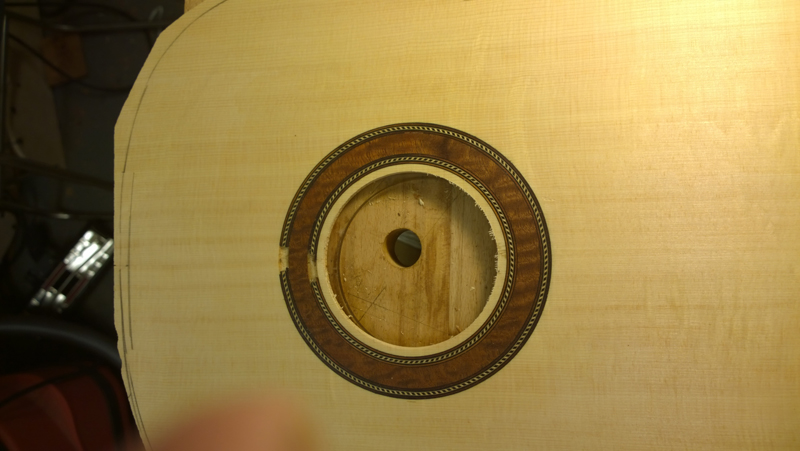
I posted my rosette build viewtopic.php?f=9&t=2291

Image

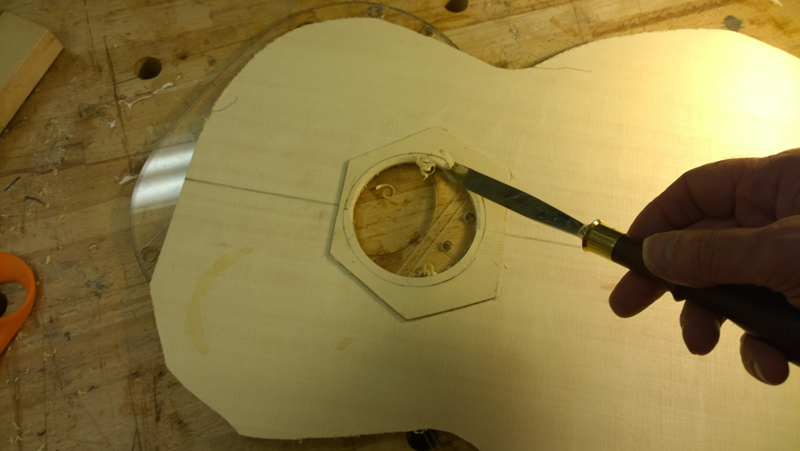
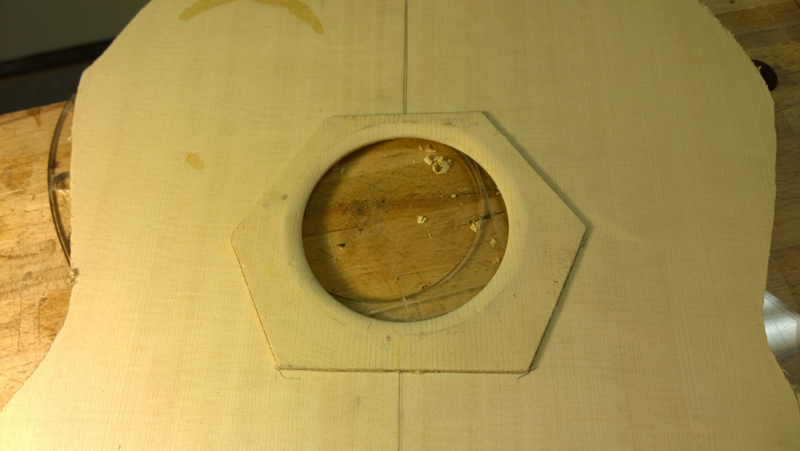
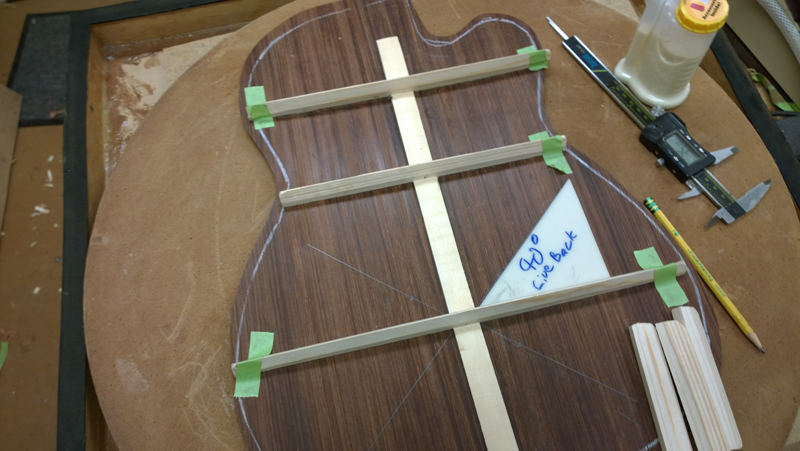
Today I installed the sound hole patch and am starting the back

Image

Image

Image
Last edited by John Parchem on Thu Nov 12, 2015 8:38 pm, edited 1 time in total.

Tim Benware
Posts: 1489
Joined: Thu Dec 22, 2011 1:22 pm
Location: Asheboro, NC

Re: Second Falcate Classical

Post by Tim Benware » Tue May 05, 2015 10:16 am

I like that idea for the back strip reinforcement alignment.
I've "Ben-Had" again!
Tim Benware
Creedmoor, NC

Daniel P
Posts: 519
Joined: Tue May 14, 2013 11:00 am
Location: the great Pacific NW

Re: Second Falcate Classical

Post by Daniel P » Tue May 05, 2015 11:00 am

John, It looks like another great build coming together. Interested to hear more of your thoughts on the table saw vs neck jig for creating the mortis and tenon. I just picked up a used Simpson jig a few months back, but have yet to use it.

I just used your back reinforcing strip alignment idea last night while glueing up a figured maple back for another 00-12. Works great.

Your posts are a great source of information and inspiration.

John Parchem
Posts: 2746
Joined: Fri Dec 23, 2011 8:33 pm
Location: Seattle
Contact:

Re: Second Falcate Classical

Post by John Parchem » Tue May 05, 2015 11:26 am

Daniel P wrote:John, It looks like another great build coming together. Interested to hear more of your thoughts on the table saw vs neck jig for creating the mortis and tenon. I just picked up a used Simpson jig a few months back, but have yet to use it.

I just used your back reinforcing strip alignment idea last night while glueing up a figured maple back for another 00-12. Works great.

Your posts are a great source of information and inspiration.
Thanks,

I used my Simpson\Woolson like guitar neck jigs for quite a few guitars. The main feature it offers is the ability to set the neck angle for the right saddle height based on the built guitar body. I quickly moved away from this feature because if the body's upper bout did not have the correct angle one had a situation where there was either a body join hump or a ski jump on the neck extension. So I take great care to get body correct and then build a neck with the designed angle. The jig still allowed that, I just set it to rout the angle I wanted. I decided to try the table saw for a few reasons. One, is I have a new sawstop saw so I am less afraid of cutting off my fingers. Two, I have a nice blade that makes a really clean cut. Three, I can cut the cheeks at a slight angle making it easier to floss the correct angle; the relief is built in. Lastly I tired of pulling out the tool, adjusting it, getting the router setup with 1/2" mill getting the neck correctly mounted and then making a mess routing out the waste. The table saw worked out well and was a lot cleaner. Now if I were cutting dovetails instead of mortise and tenons I would use the neck jig.

John Parchem
Posts: 2746
Joined: Fri Dec 23, 2011 8:33 pm
Location: Seattle
Contact:

Re: Second Falcate Classical

Post by John Parchem » Mon Jun 08, 2015 1:08 pm

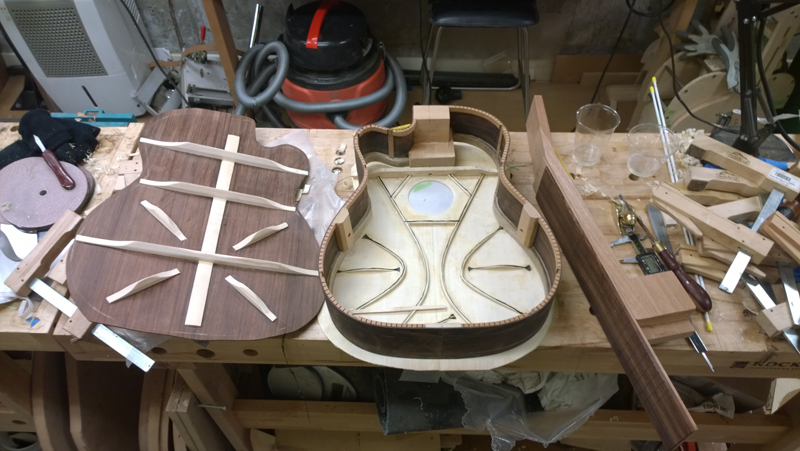
Bit by bit with my travels, I am going to be starting to put the guitar together. I have the rims, top and the back ready to close the box. I will route the rims for the braces and double check my neck angle and then close the box.

I was a bit more deliberate while epoxying on the braces and CF and overall I was less messy. Still have a ways to go in that regard.

Image

Image

Image

Image

Image

Image

Image

Image

Image

Image

Image

Image

Image

Image

Kevin in California
Posts: 2799
Joined: Mon Dec 19, 2011 4:19 pm

Re: Second Falcate Classical

Post by Kevin in California » Mon Jun 08, 2015 1:16 pm

Oooo lah lah. Moving right along there. Nice and clean on the inside.

John Parchem
Posts: 2746
Joined: Fri Dec 23, 2011 8:33 pm
Location: Seattle
Contact:

Re: Second Falcate Classical

Post by John Parchem » Fri Sep 04, 2015 8:19 pm

Thanks Kevin,

Well I did one step forward, about 8 steps back then forward again.

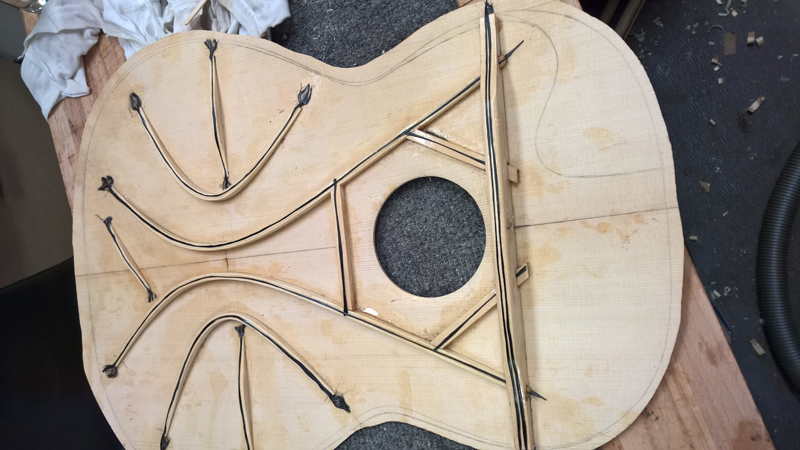
I closed the box successfully, but when I tapped the closed box I was not happy with the resonance frequency of the top. It ended up about 10 hertz lower than my target. I was pretty sure the guitar would end up close to my first. As I really wanted to hear would the higher pitched top would sound like I ripped off the top with plans to make another.

I put the project on the back burner and built a top for an eight string classical guitar with higher falcate braces (8.5mm) and ended up with a top pitched at my target.

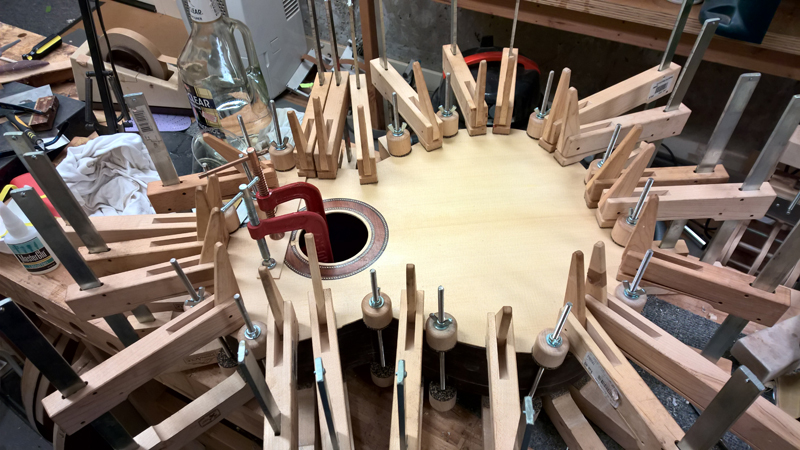
So I am back on this guitar. I made the new top, glued it to the rims and back and got the bindings on ...

I pulled the first top I was using for this project. I accidentally spilled a bottle of brown stain on the top after the rosette was installed and put it off in disgust. Well the stain came off with light sanding so I had a top with a nice rosette all ready for bracing.

Image

Image

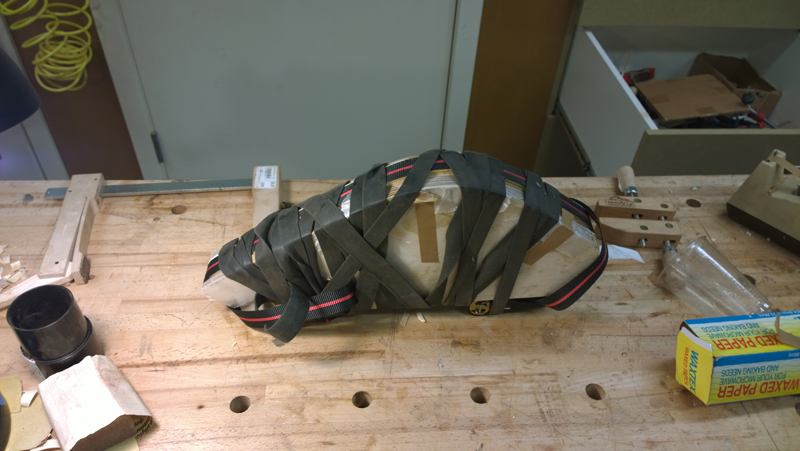
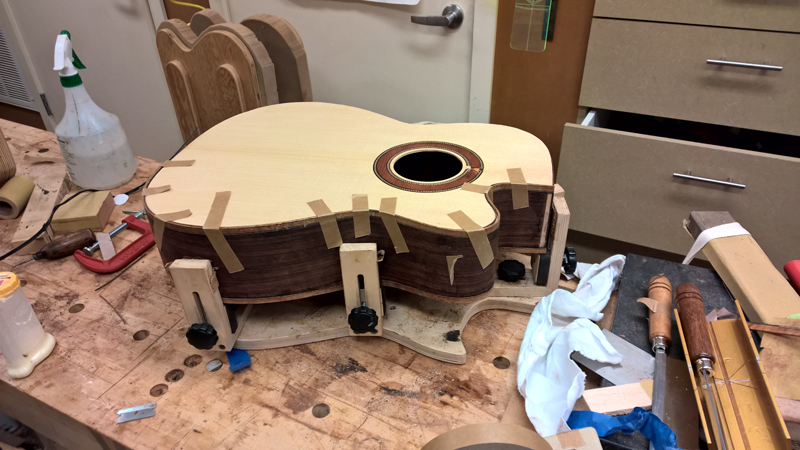
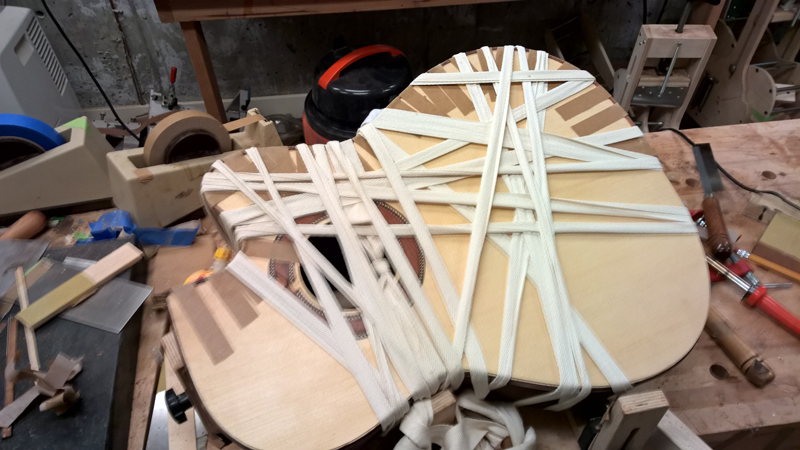
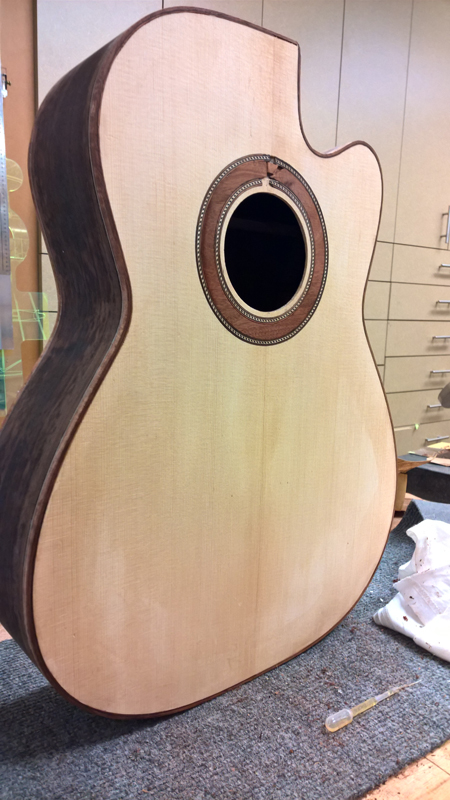
The Australian Blackwood bindings for the cutaway side I bent in the fox bender were cracked so I bent new ones on a hot pipe. A fun job but I did learn a few things about bending on a hot pipe. First after very carefully achieving a perfect bend for the waste and cut away sections be careful. One can still crack a side bending the lower bout. Also I bent these purflings dry. I use a very very hot pipe. I found the wood got plastic much quicker dry, probably as the moisture keeps the wood closer to 220 degrees as it evaporates. Bending by hand I ended up with bindings that fit without having to be forced into the channel shape wise. Also I used a long fabric strip to bind the bindings after I glued them on. I have a 10' radius on the back. The binds fit the profile but they still need to be forced to the back radius. That forcing wants to twist the bindings a bit so they pull away from the channel. Binding them helped close any gaps.
Image

Image

Image

Image

Also I am happy with the resonance frequency of the box now. I think when I finished the guitar it will be very close to my target.
Post Reply