Falcate Braced Classical Guitar - Finished!
-
John Parchem
- Posts: 2746
- Joined: Fri Dec 23, 2011 8:33 pm
- Location: Seattle
- Contact:
Re: Falcate Braced Classical Guitar - Complete ready for fin
Thanks Kevin, It is a Hauser 37 shape, before the cutaway. I had a Hauser cutaway bending mold made when I got the Hauser bending mold several years ago.
-
John Parchem
- Posts: 2746
- Joined: Fri Dec 23, 2011 8:33 pm
- Location: Seattle
- Contact:
Re: Falcate Braced Classical Guitar - Complete ready for fin
I am waiting a few more days until the finish cures of the guitar so that I can buff it out. While waiting I decided to build a contemporary bridge mostly following the instructions from Gore\Gilet build volume. This is a CF, 2 layers, reinforced Padauk. I used padauk as it is lighter than rosewood by a little bit. A lot lighter than cocobolo. It is a little heavier than black walnut, but at least as the time I wanted the color.
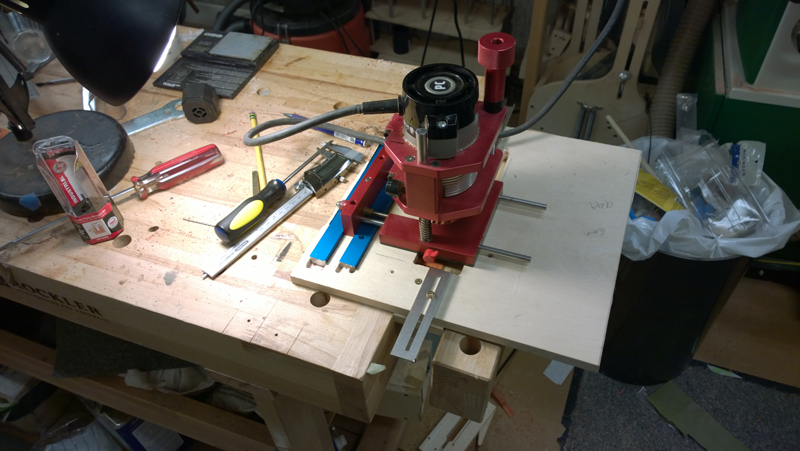
Before making the bridge I made a router jig to route the separation between the saddle block and the tie block. Also I used it to route a saddle. The jig is simple I routed a channel for two pieces of aluminium that were just right two hold the router base guide stable. With the tracks in place I used the router in the guides to route a well for to hold the bridge while I am working on it. The leading edge of the well is perfectly in line with the router track because I routed it using the track.
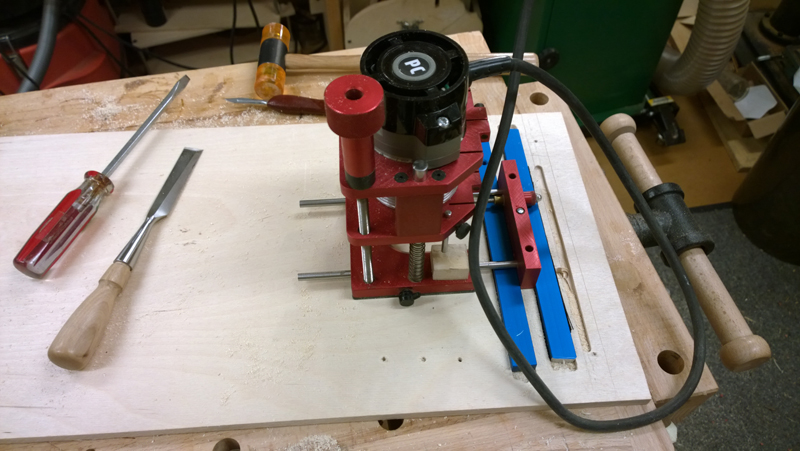
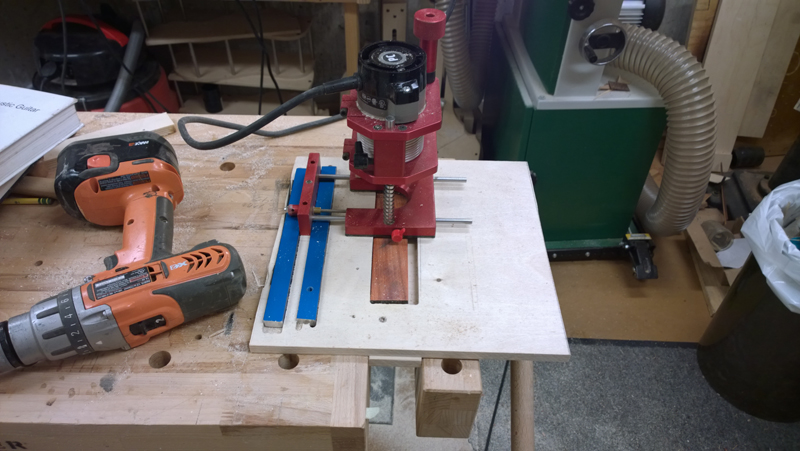
I sliced a strip of padauk close to the bridge size and resawed it so that I could make a 2 mm, 3 mm and a 4 mm slices to be laminated with the carbon fiber strips.
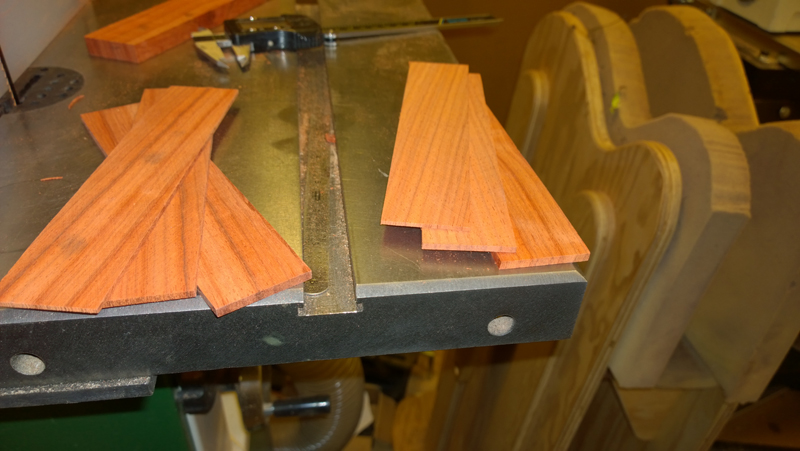
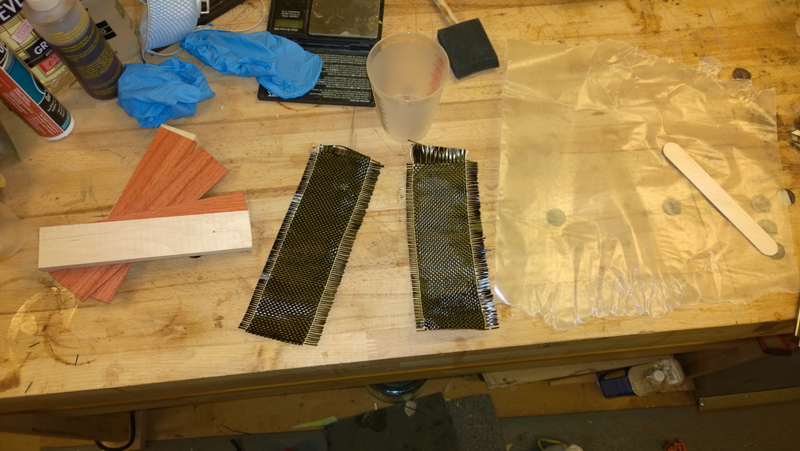
I used some west system epoxy 105\206, laminated the stack together, clamped it and let it cure overnight
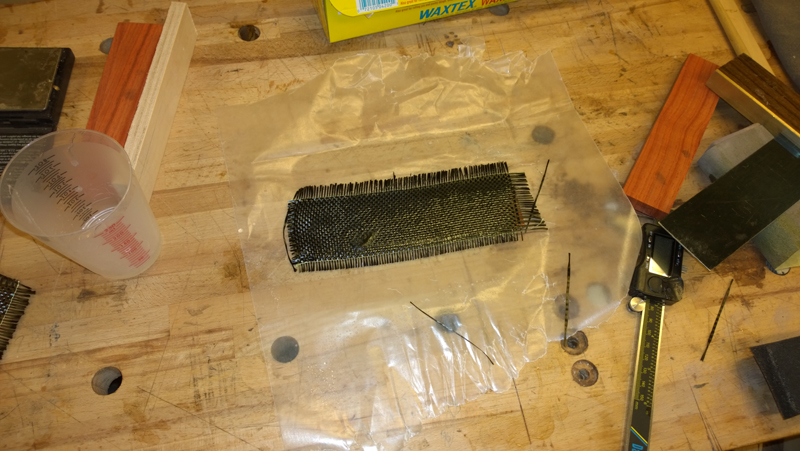
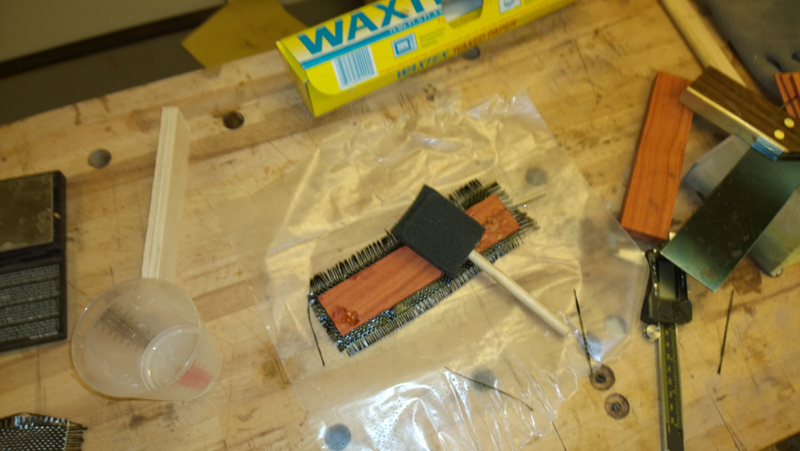
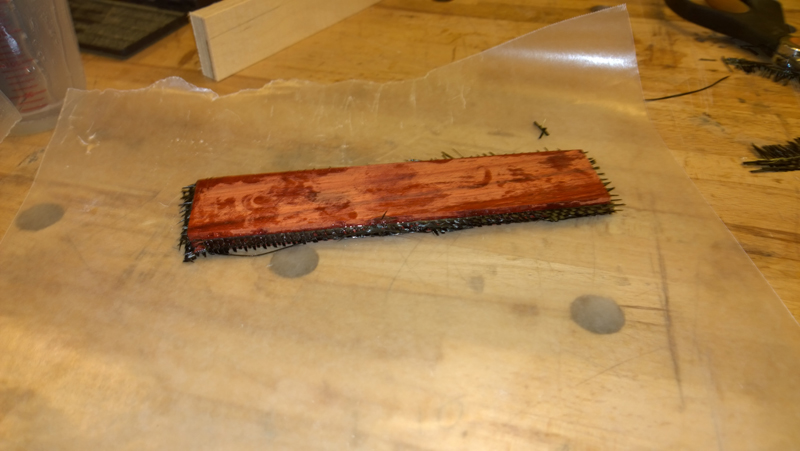
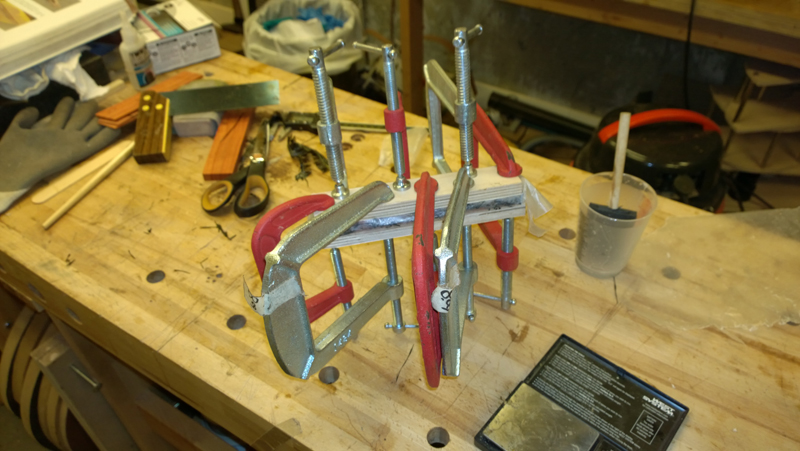
The next step was drilling the string holes. I tried to make I nice reusable jig out of wood and aluminium, but drilled one hole off center. So I just drilled the holes in the bridge on my drill press. I took a bunch of extra time to make sure that everything was square to the drill bit.
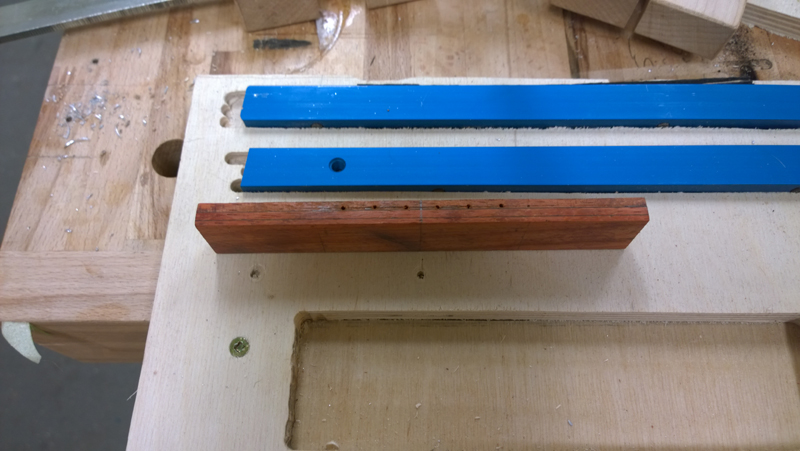
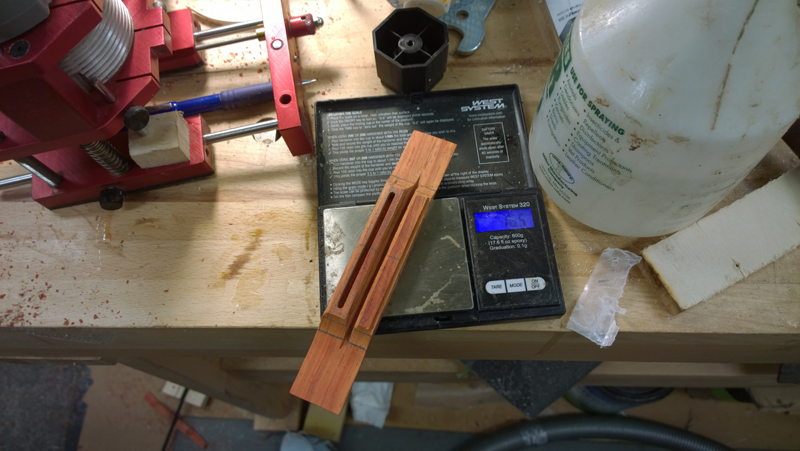
I used my jig to make the first cut to separate the tie block and the saddle block. This cut went to 2mm from the bottom of the bridge. I then shaped the saddle with my luthiers friend remounted the bridge in my jig and cut the saddle and cut ledges for some bone strips on the tie block. I shaped the saddle block a bit with chisels and sand paper.
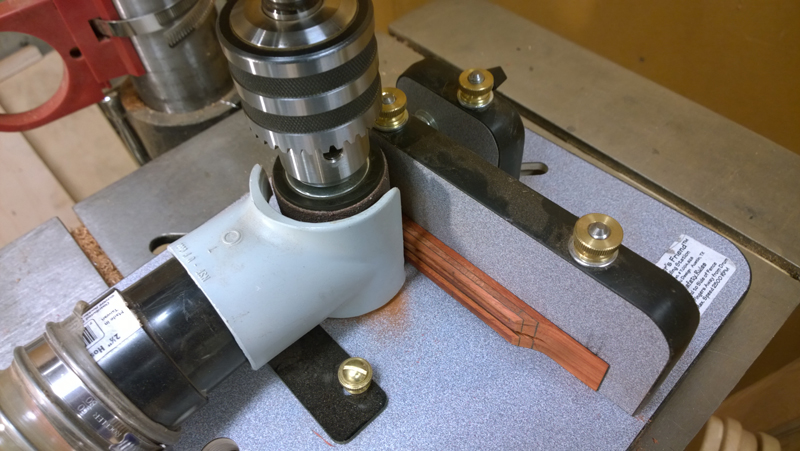
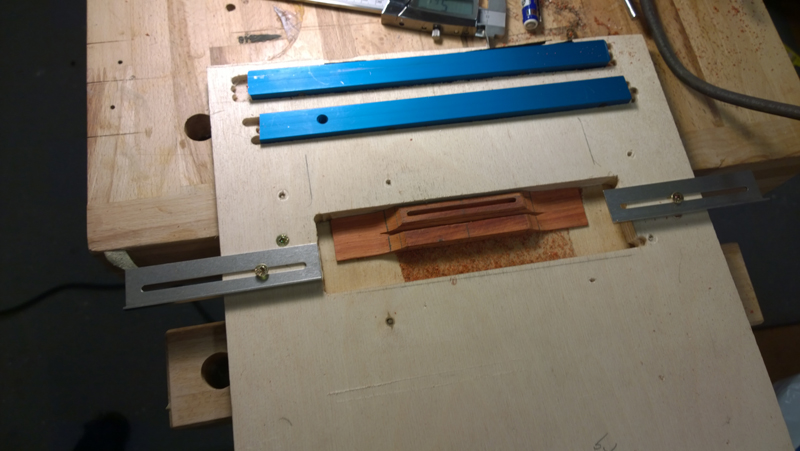
The bridge ended up at 16.5 grams (minus the bone that is coming)
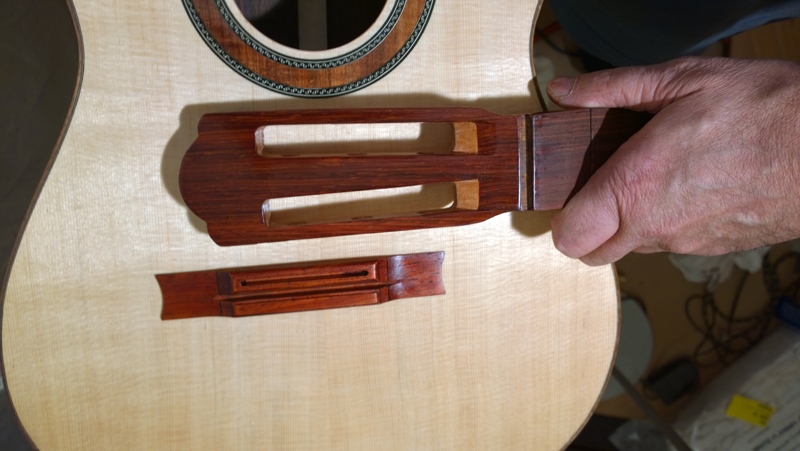
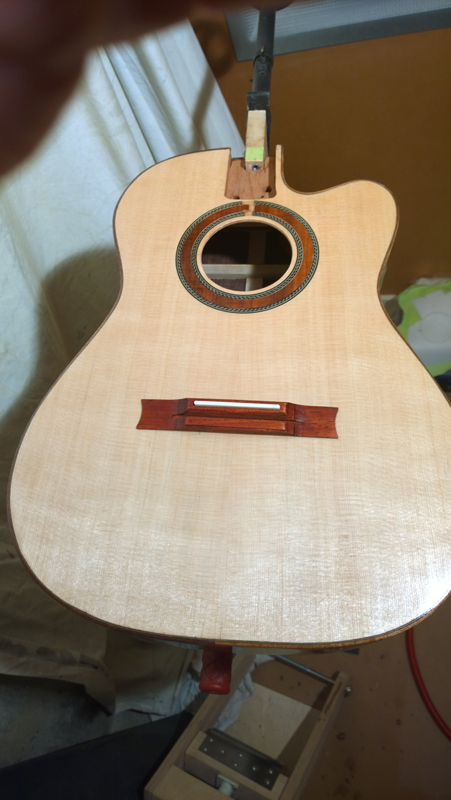
I am still nervous about the color, as it is different for a bridge. But with a hint of brown in shellac it is not horribly off of the cocobolo head plate.
Before making the bridge I made a router jig to route the separation between the saddle block and the tie block. Also I used it to route a saddle. The jig is simple I routed a channel for two pieces of aluminium that were just right two hold the router base guide stable. With the tracks in place I used the router in the guides to route a well for to hold the bridge while I am working on it. The leading edge of the well is perfectly in line with the router track because I routed it using the track.


I sliced a strip of padauk close to the bridge size and resawed it so that I could make a 2 mm, 3 mm and a 4 mm slices to be laminated with the carbon fiber strips.


I used some west system epoxy 105\206, laminated the stack together, clamped it and let it cure overnight


The next step was drilling the string holes. I tried to make I nice reusable jig out of wood and aluminium, but drilled one hole off center. So I just drilled the holes in the bridge on my drill press. I took a bunch of extra time to make sure that everything was square to the drill bit.

I used my jig to make the first cut to separate the tie block and the saddle block. This cut went to 2mm from the bottom of the bridge. I then shaped the saddle with my luthiers friend remounted the bridge in my jig and cut the saddle and cut ledges for some bone strips on the tie block. I shaped the saddle block a bit with chisels and sand paper.


The bridge ended up at 16.5 grams (minus the bone that is coming)

I am still nervous about the color, as it is different for a bridge. But with a hint of brown in shellac it is not horribly off of the cocobolo head plate.


-
Kevin in California
- Posts: 2798
- Joined: Mon Dec 19, 2011 4:19 pm
Re: Falcate Braced Classical Guitar - Complete ready for fin
Mighty sweet John, almost there. Now lets get some strings on her and make that video!
Re: Falcate Braced Classical Guitar - Complete ready for fin
Looks great!
I really like this project -- its a reminder that time and technology marches on, I have a real problem with the idea that the only good or best guitars were constructed in year 1937 or what ever. I firmly believe that guitars and their musical properties like all else will keep on getting better and better.
Way to go!
ken cierp
http://www.kennethmichaelguitars.com/
Store Front
http://www.cncguitarproducts.com/
KMG Guitar Kit Information
http://www.kennethmichaelguitars.com/ki ... ckage.html
http://www.kennethmichaelguitars.com/
Store Front
http://www.cncguitarproducts.com/
KMG Guitar Kit Information
http://www.kennethmichaelguitars.com/ki ... ckage.html
-
John Parchem
- Posts: 2746
- Joined: Fri Dec 23, 2011 8:33 pm
- Location: Seattle
- Contact:
Re: Falcate Braced Classical Guitar - Complete ready for fin
Thanks Kevin and Ken.
I am looking forward to hear how this one sounds. For me there is a lot of new new stuff, but how ever it turns out, I have documented everything I have done and can make changes on the next try. I appreciate you guys following the progress and the encouragement.
I am looking forward to hear how this one sounds. For me there is a lot of new new stuff, but how ever it turns out, I have documented everything I have done and can make changes on the next try. I appreciate you guys following the progress and the encouragement.
-
John Parchem
- Posts: 2746
- Joined: Fri Dec 23, 2011 8:33 pm
- Location: Seattle
- Contact:
Re: Falcate Braced Classical Guitar - Complete ready for fin
Yikes, when I installed the tuners in the middle of the head stock on one side the tuner was up above the veneer about a half of mm. I remember how proud I was of my ability to sharpen a scrapper while thicknessing the veneer to the final thickness. It appears on one side I scooped out a bit much. I thought for a bit of leaving it, but finally I got the nerve and lay my iron on to the top of the the head stock. cleanly pealed off the veneer and glued and shaped a new one. This time I put black fiber between the head stock and the veneer.


-
Kevin in California
- Posts: 2798
- Joined: Mon Dec 19, 2011 4:19 pm
Re: Falcate Braced Classical Guitar - Complete ready for fin
Wow John, nice save and it looks like nothing happened.
