Falcate Braced Classical Guitar - Finished!
-
OnlineJohn Parchem
- Posts: 2746
- Joined: Fri Dec 23, 2011 8:33 pm
- Location: Seattle
- Contact:
Re: Falcate Braced Classical Guitar
John, That is what I hope is true. The solid linings are to create a bigger impedance mismatch between the top and the sides, reflecting vibrations back to the top and not draining energy away. I only did the top as the top gives the biggest bang for the effort also the back is profiled with a 10' radius. It would have been hard to get those linings to follow the top of the rims.
-
OnlineJohn Parchem
- Posts: 2746
- Joined: Fri Dec 23, 2011 8:33 pm
- Location: Seattle
- Contact:
Re: Falcate Braced Classical Guitar
While waiting for my sound hole patch glue up to cure I thought I would post how I make falcate braces. I have a bunch or pictures so I will post comments in line with the photos.
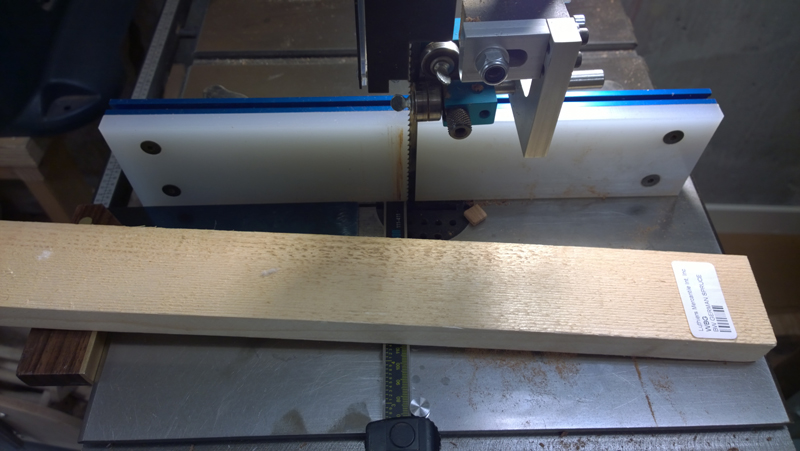
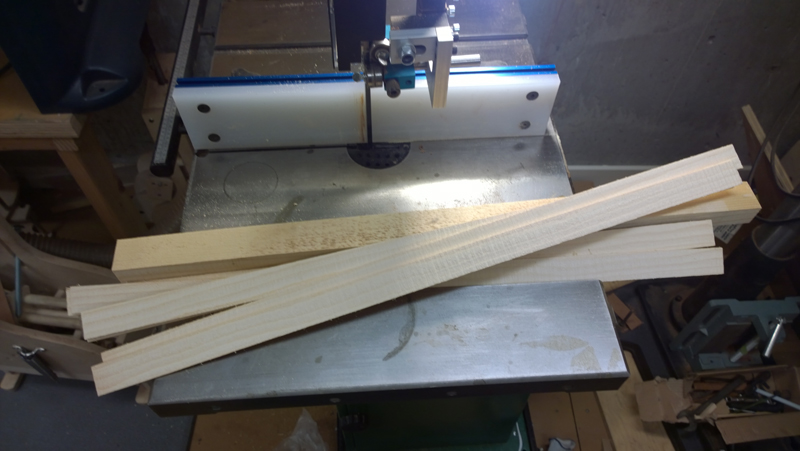
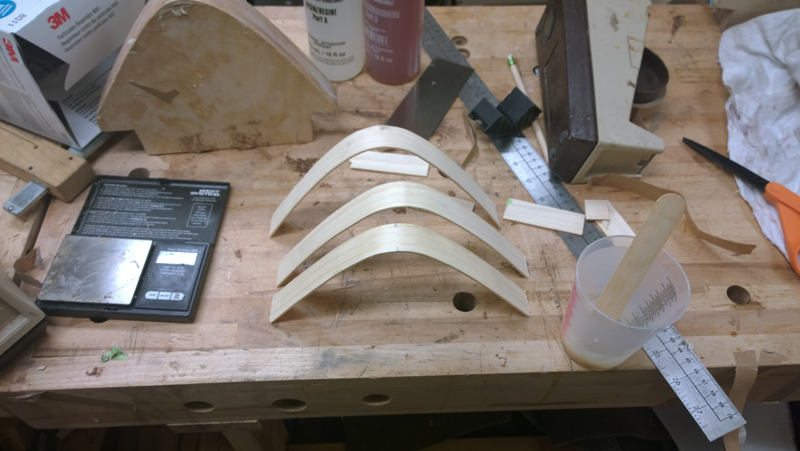
I had a plank of German spruce that was just a tad over the thickness I needed (22 mm) to make two braces each for the two pair of falcate braces on the board.
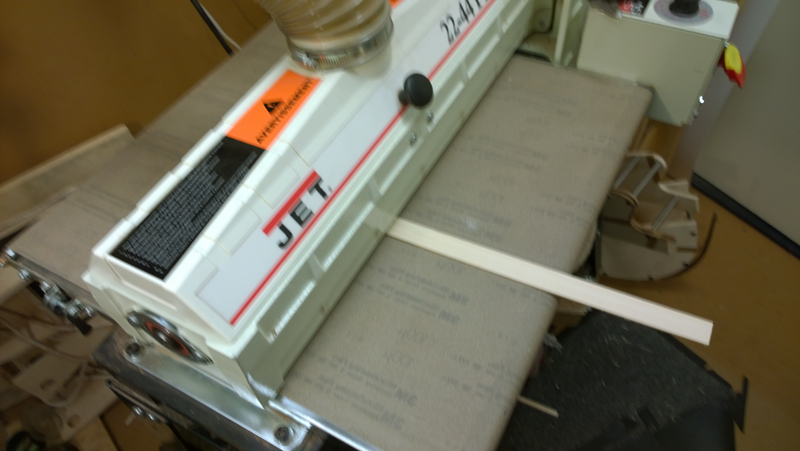
I ripped the brace stock to about 2.2 mm and used my thickness sander to take it to 1.7 mm. Three plys of the strips makes a falcate brace just over 5mm thick.
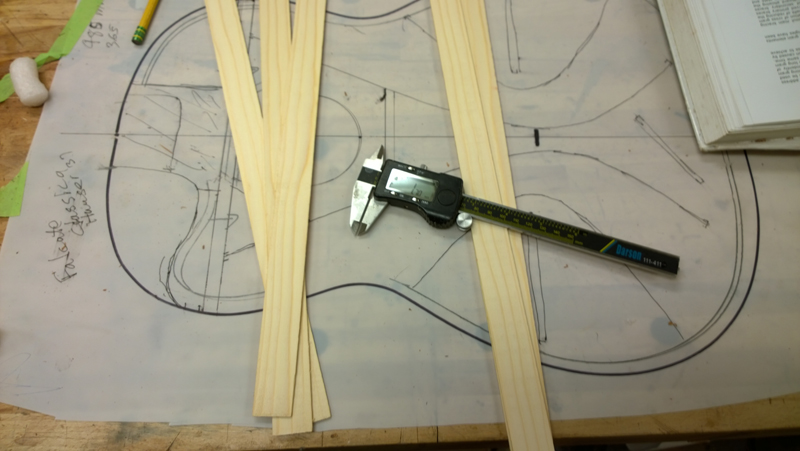
I used some tape on my molds to mark out the length of the brace and the center of the bend and transferred those measurements to the strips
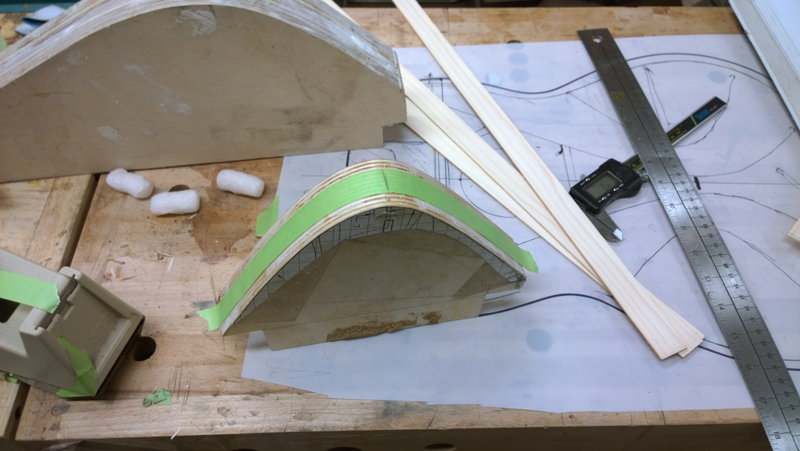
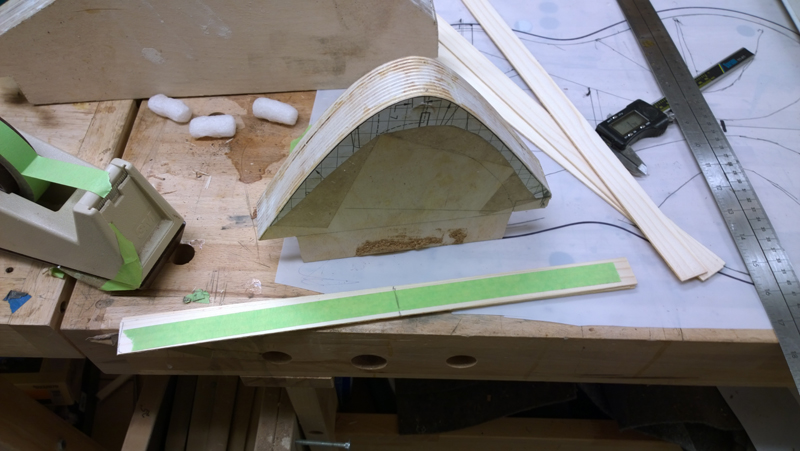
Not shown, I used my bending iron to shape all the braces very close to there final shape. Care must be taken as spruce is not the easiest wood to bend. I found it weird that even though all of the wood can from the same stock and they were all the same thickness, some bend easier than others
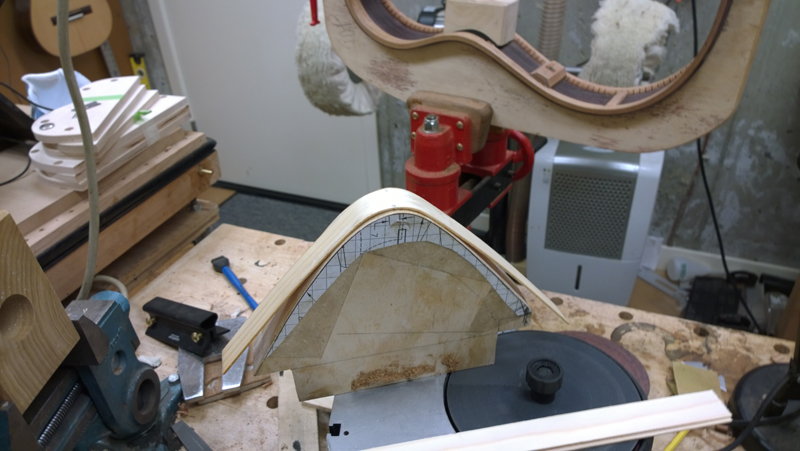
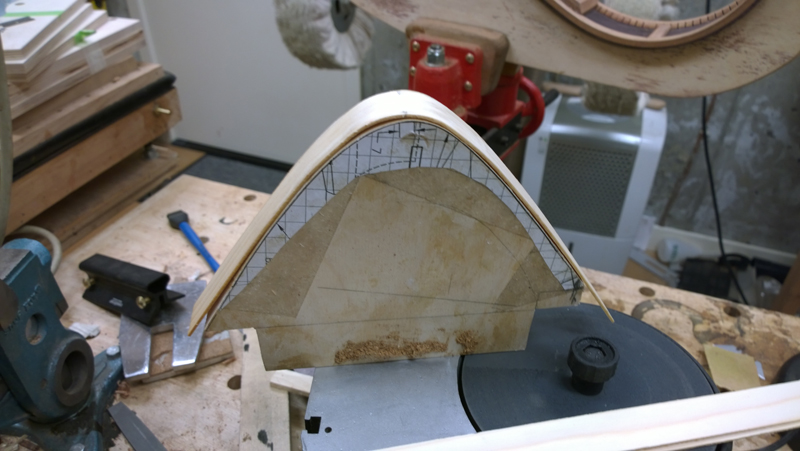
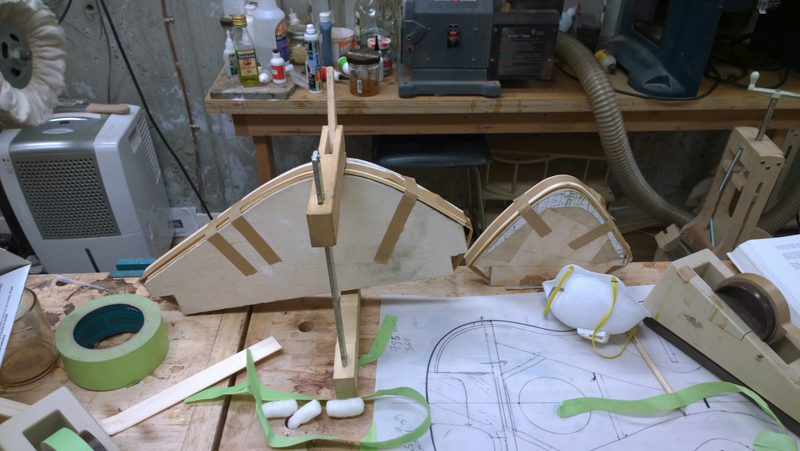
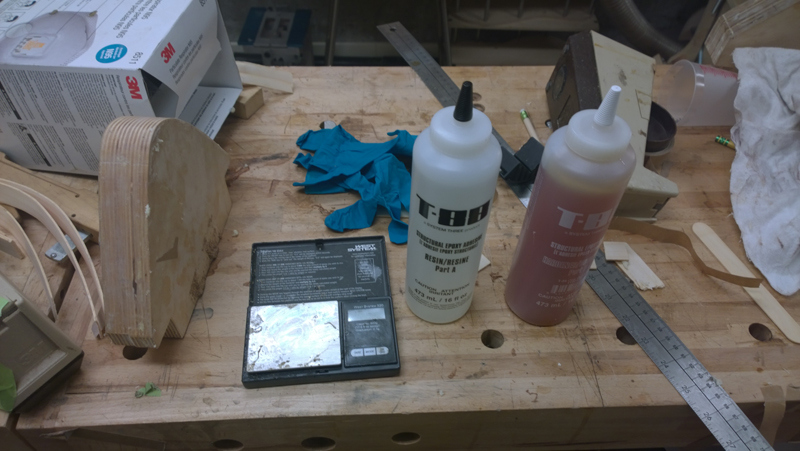
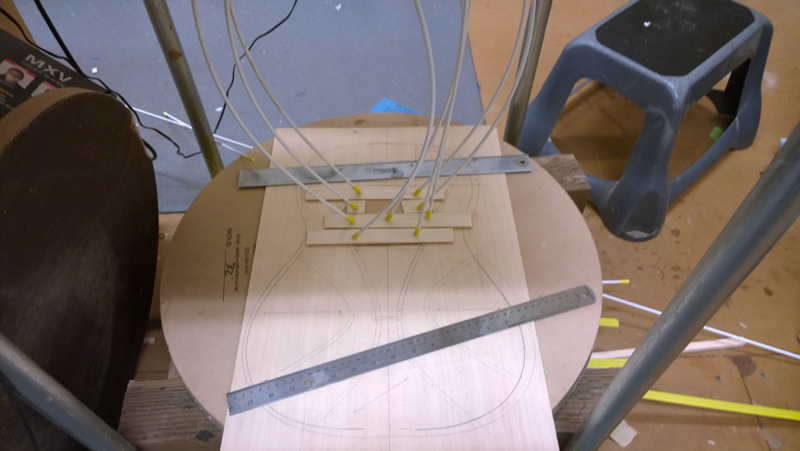
Too lay up the braces I used structural epoxy and strap clamps on my falcate brace molds. I coated the top of each of the braces with polishing wax so that the braces would release from the mold. In the past I also used wax paper, but found it was hard to avoid a big mess. I decided to trust the wax on the mold.
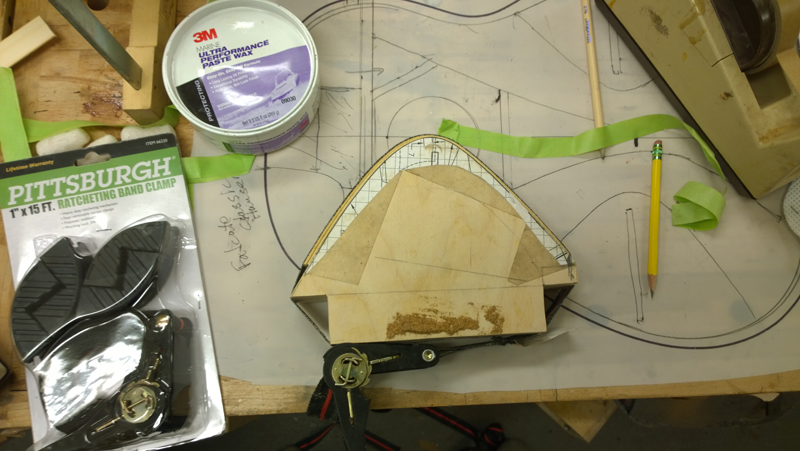
My shape must be a little off as I need the rubber band to pull the long side of the brace tight.
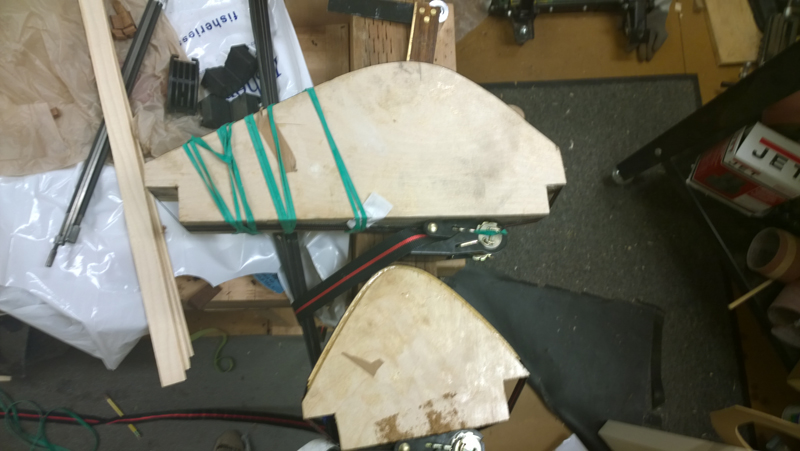
Luckily both braces released from the mold. Later I will split each brace to form the two pairs of falcate braces.
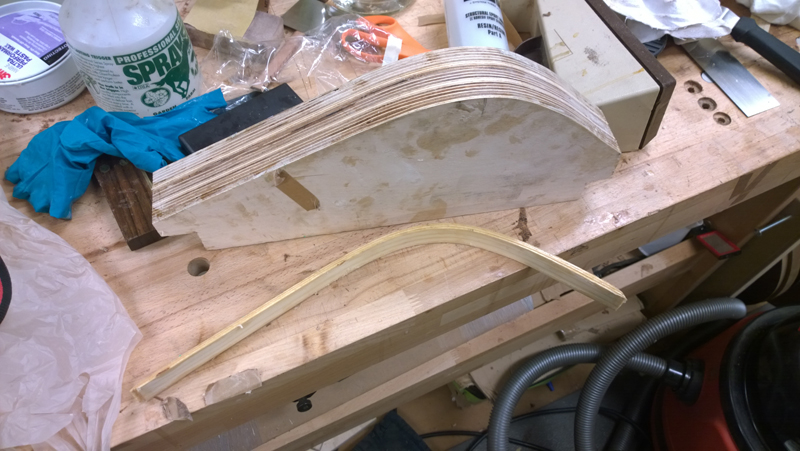
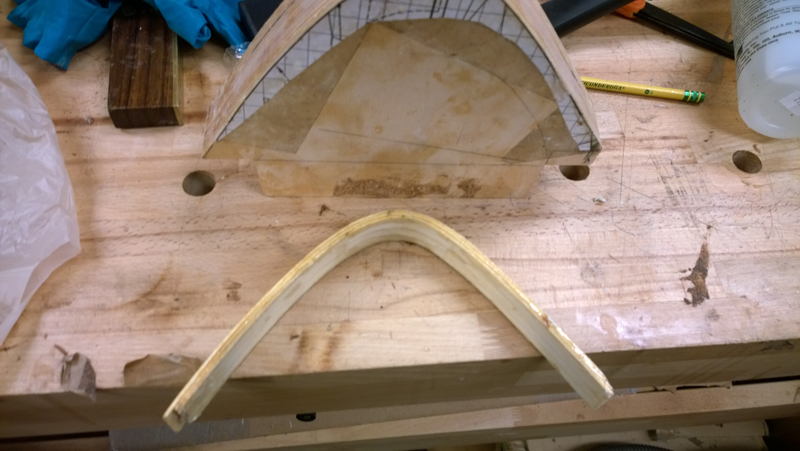
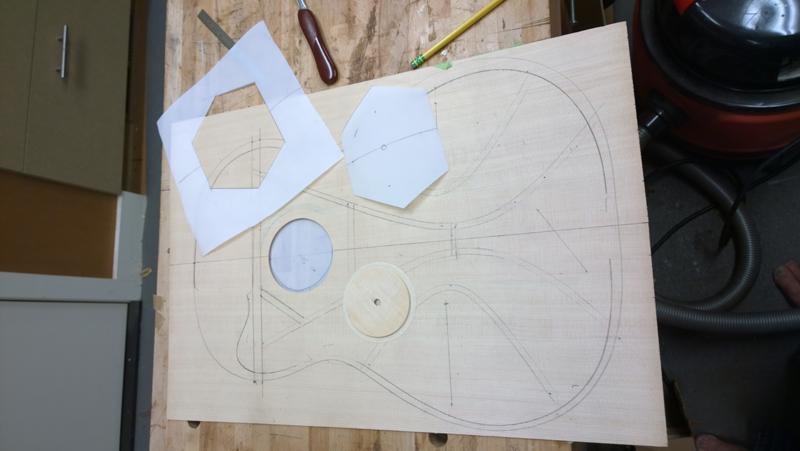
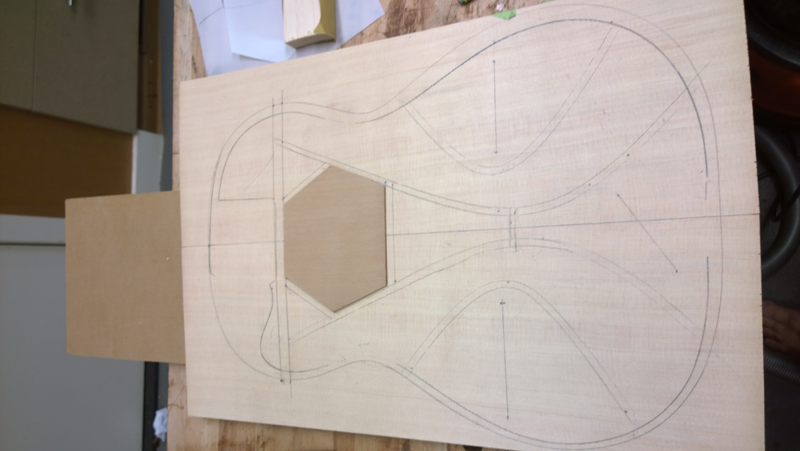
I started to prep the top, sanded it to thickness, transferred the brace pattern onto it and fabricated and glued on a sound hole reinforcement patch. I would have been happier if the sound hole cut off did not drop out while sanding the top, but I went a bit deep when I routed the hole from the top side. Not a real big deal, I just need to find the center of the sound hole against the patch so that I can route the patch.
I had a plank of German spruce that was just a tad over the thickness I needed (22 mm) to make two braces each for the two pair of falcate braces on the board.
I ripped the brace stock to about 2.2 mm and used my thickness sander to take it to 1.7 mm. Three plys of the strips makes a falcate brace just over 5mm thick.


I used some tape on my molds to mark out the length of the brace and the center of the bend and transferred those measurements to the strips


Not shown, I used my bending iron to shape all the braces very close to there final shape. Care must be taken as spruce is not the easiest wood to bend. I found it weird that even though all of the wood can from the same stock and they were all the same thickness, some bend easier than others


Too lay up the braces I used structural epoxy and strap clamps on my falcate brace molds. I coated the top of each of the braces with polishing wax so that the braces would release from the mold. In the past I also used wax paper, but found it was hard to avoid a big mess. I decided to trust the wax on the mold.


My shape must be a little off as I need the rubber band to pull the long side of the brace tight.

Luckily both braces released from the mold. Later I will split each brace to form the two pairs of falcate braces.


I started to prep the top, sanded it to thickness, transferred the brace pattern onto it and fabricated and glued on a sound hole reinforcement patch. I would have been happier if the sound hole cut off did not drop out while sanding the top, but I went a bit deep when I routed the hole from the top side. Not a real big deal, I just need to find the center of the sound hole against the patch so that I can route the patch.


-
OnlineJohn Parchem
- Posts: 2746
- Joined: Fri Dec 23, 2011 8:33 pm
- Location: Seattle
- Contact:
Re: Falcate Braced Classical Guitar
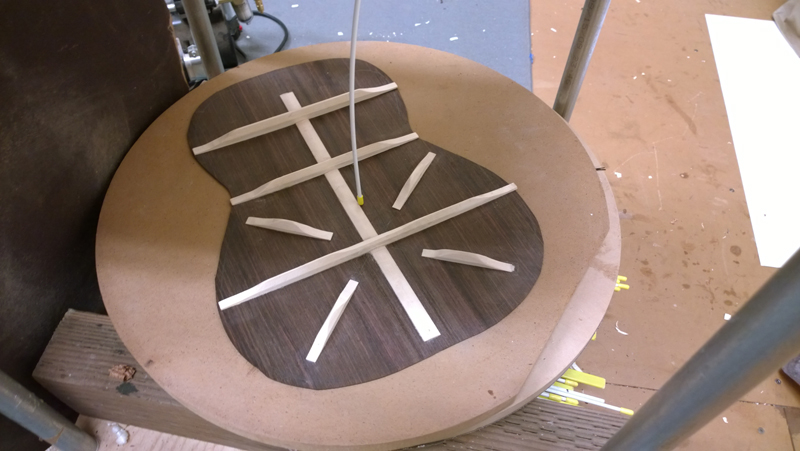
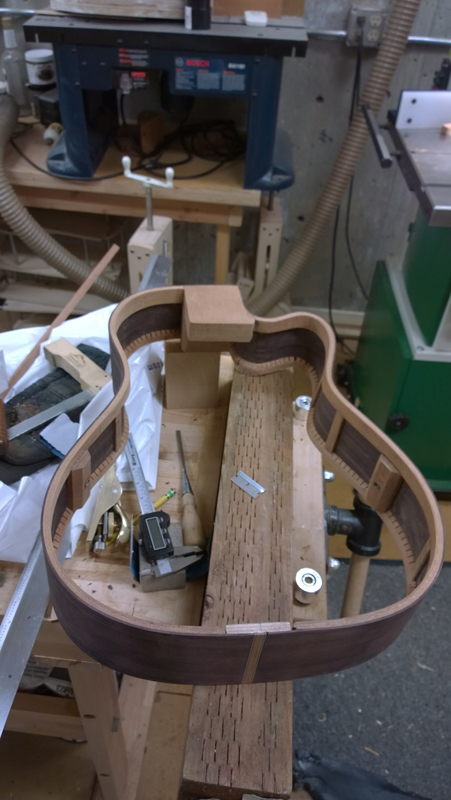
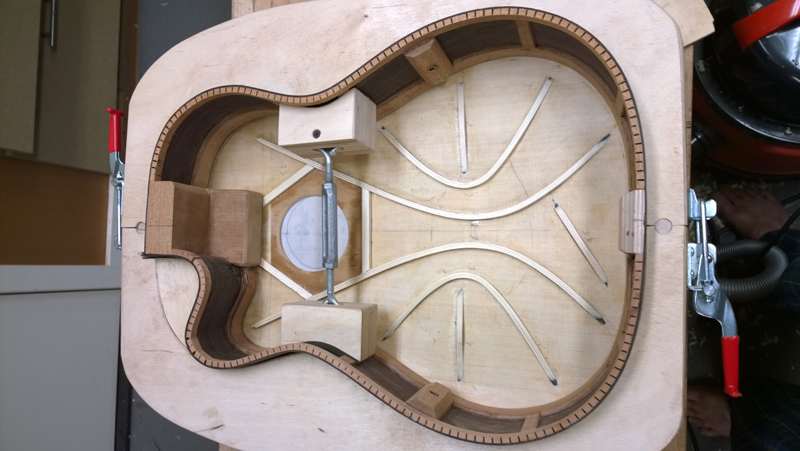
So now I am very close to finishing the top, back and rims for this guitar. My current plan is to press non radiused falcate braces in either a 8m or 10m dish, Glue the transverse brace down flat. Also the top rims are profiled dead flat. My past three classical guitars have been built Spanish style with a flat solera with a dished lower bout. So I have always profiled the top rims flat. I am going to have a bolt on bolt off neck and use a wedge under the fret board to set the angle. At this point I intend to leave the top rims without a radius, but I still am at a point where I can still profile them and am open to suggestions.
Here is what I have so far.
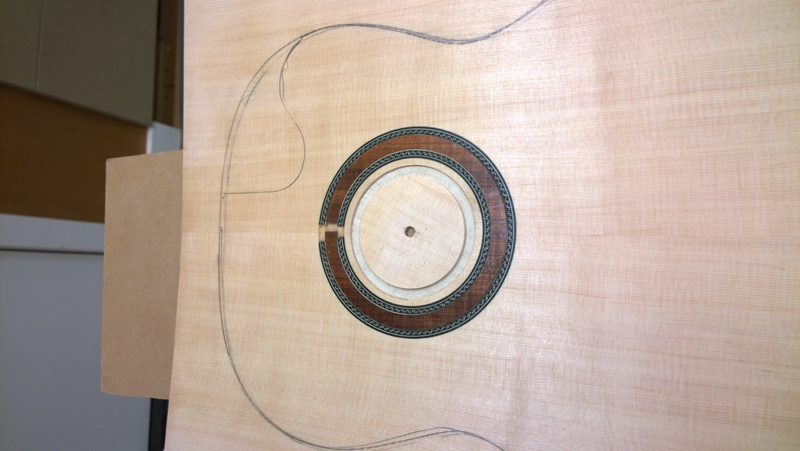
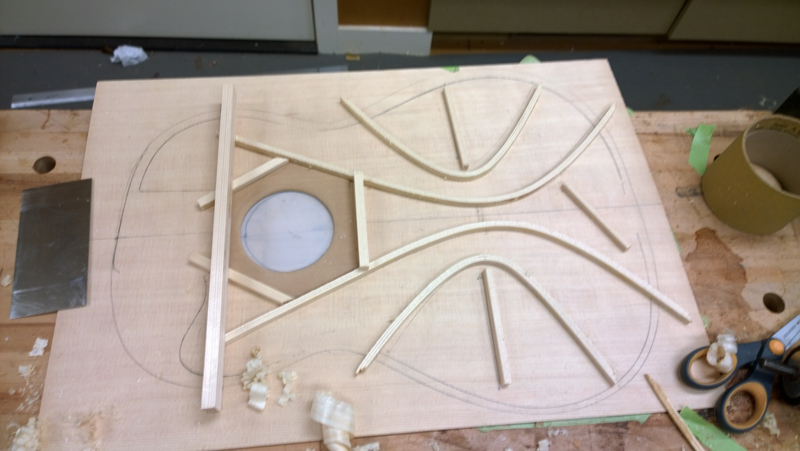
Here is what I have so far.


Re: Falcate Braced Classical Guitar
Regular clear plastic packaging tape is the best release material I have ever used -- nothing sticks to it, not even epoxy, Bondo or CA -- try it you'll like it.
ken cierp
http://www.kennethmichaelguitars.com/
Store Front
http://www.cncguitarproducts.com/
KMG Guitar Kit Information
http://www.kennethmichaelguitars.com/ki ... ckage.html
http://www.kennethmichaelguitars.com/
Store Front
http://www.cncguitarproducts.com/
KMG Guitar Kit Information
http://www.kennethmichaelguitars.com/ki ... ckage.html
-
OnlineJohn Parchem
- Posts: 2746
- Joined: Fri Dec 23, 2011 8:33 pm
- Location: Seattle
- Contact:
Re: Falcate Braced Classical Guitar
Well that is an easy answer to an issue i deal with all of the time. I actually used it today after reading this to hold a broken template while a glued it with CA. Worked like a charm!ken cierp wrote:Regular clear plastic packaging tape is the best release material I have ever used -- nothing sticks to it, not even epoxy, Bondo or CA -- try it you'll like it.
-
OnlineJohn Parchem
- Posts: 2746
- Joined: Fri Dec 23, 2011 8:33 pm
- Location: Seattle
- Contact:
Re: Falcate Braced Classical Guitar
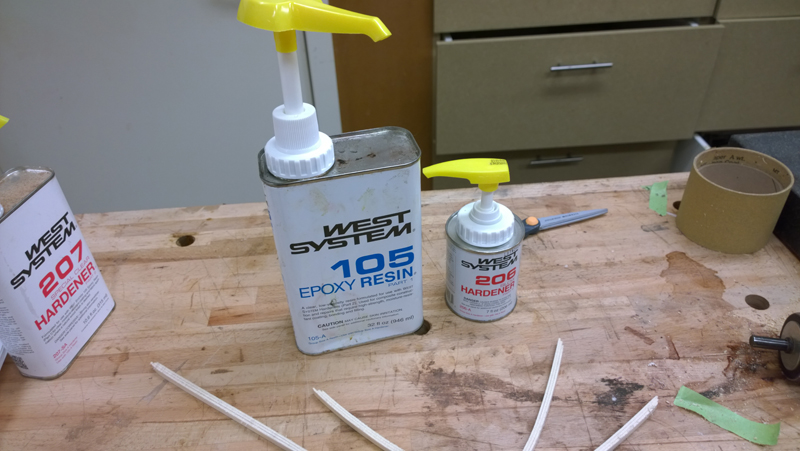
I had a couple of days of messy epoxy work gluing down the braces in a 32' radius dish. I am getting a little better handling both the epoxy and the carbon fiber. From my last build I took care to not have too much epoxy. In that case the CF would float out from under the braces when I clamped them. I also need to make sure I have enough though. I put a thin film on the top following the marked brace lines. I wet but also squeeze off the CF and I also put on a thin film of epoxy to the brace as well. Another big improvement to my process is I bought a set of metered pumps for the epoxy, eliminating the need to weigh the reason and hardener to assure the correct mix. In my case one pump of each is perfect. The set included a pump for the clean finishing hardener as well West System 207, so I my try to pore fill with it. From what I heard is less amber, more water clear than zpoxy. I do not have enough go bar rods to do all the braces at once so I did two separate sessions. Sorry I do not have pictures doing the glue up, My hands ually have too much epoxy on them to hold my phone.
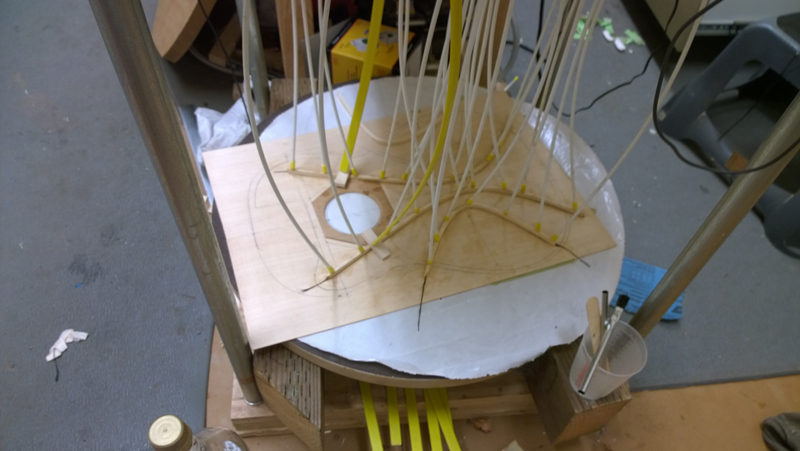
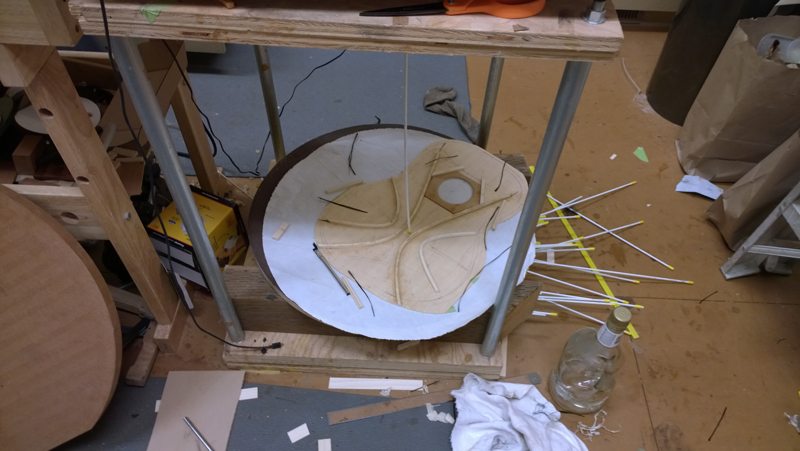
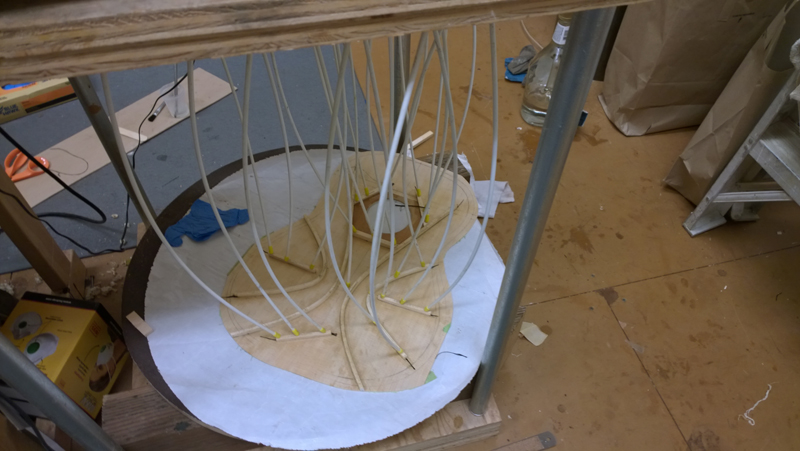
I carved and shaped all of the braces to their final heights. No tap tuning as there is no way to correlate what happens after the top CF is applied. So I just shape to the heights I came up with to get the desired stiffness. I am about one mm lower than the two falcate SS I did.
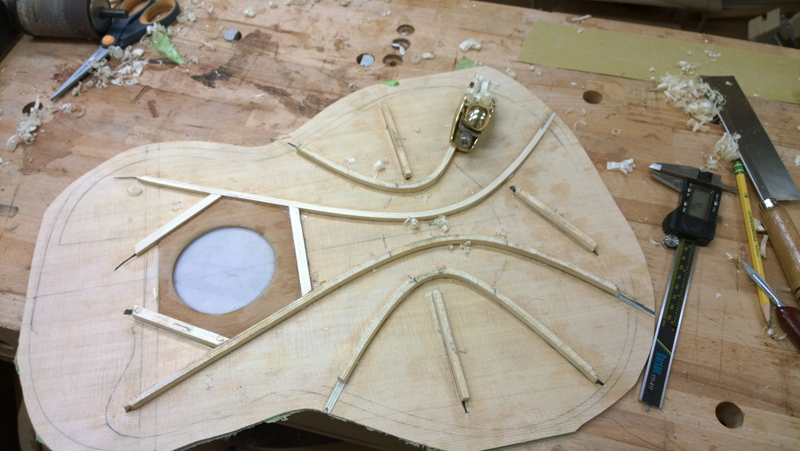
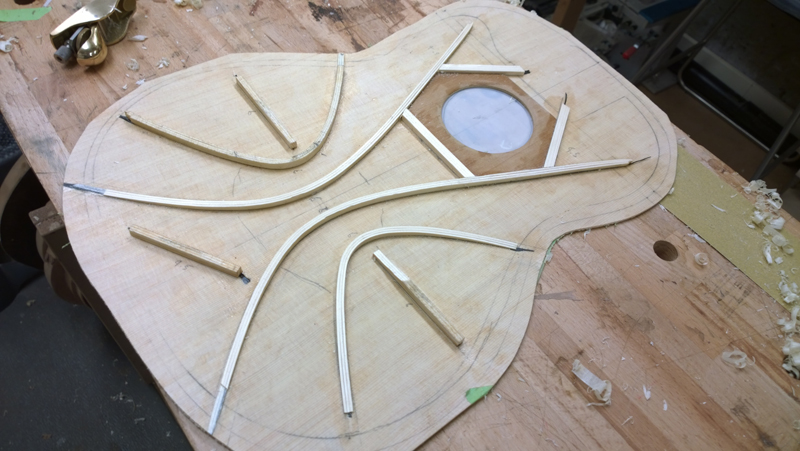
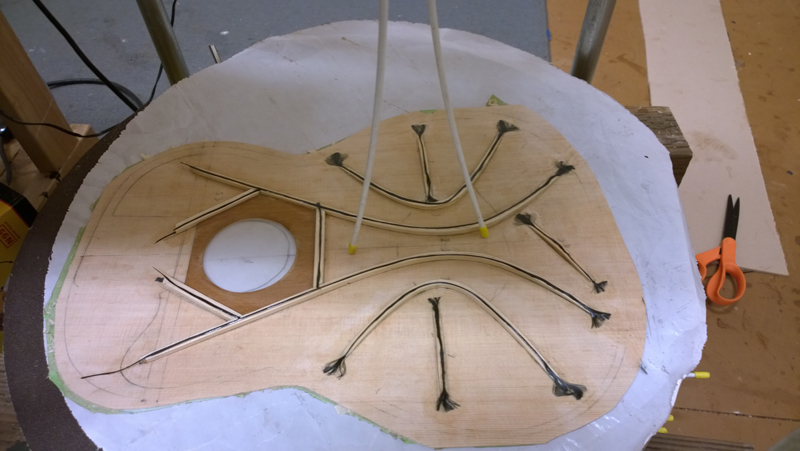
Just making sure the braces are terminating where I want them to as the next step is to top with CF, which finishes the brace.
With the CF epoxy to the top of all of the braces. The fan OF CF in a small pool of epoxy at the end on the braces is to hold down the CF to keep it from lifting off the top.
Once this layup cures I will epoxy the transfer brace down using a completely flat gluing caul (no radius)


I carved and shaped all of the braces to their final heights. No tap tuning as there is no way to correlate what happens after the top CF is applied. So I just shape to the heights I came up with to get the desired stiffness. I am about one mm lower than the two falcate SS I did.


Just making sure the braces are terminating where I want them to as the next step is to top with CF, which finishes the brace.

With the CF epoxy to the top of all of the braces. The fan OF CF in a small pool of epoxy at the end on the braces is to hold down the CF to keep it from lifting off the top.

Once this layup cures I will epoxy the transfer brace down using a completely flat gluing caul (no radius)
-
OnlineJohn Parchem
- Posts: 2746
- Joined: Fri Dec 23, 2011 8:33 pm
- Location: Seattle
- Contact:
Re: Falcate Braced Classical Guitar more neck work
I am just starting to work on the bolt on bolt off neck for a classical design. I am going to follow as closely as I can the method laid out in the Contemporary Acoustic Guitar Build book. At least after reading this section in the book three times, I find that this process is one of the more complex areas to understand the geometry. The complexity arise do to an inherent conflict in the design task: A bolt on, bolt off neck with bolts in the fret board extension area requires that the top and fret board board are co-planer (like a SS). The conflict is that the top of a classical guitar fret board should be pitched forward such that an imaginary straight edge on the plane of the neck should end up 2 mm under the top at the saddle location. That is the neck should be pitched forward, about as much as a neck is pitched back on a SS.
Classical guitar builders working on a solera in the Spanish style often deal with this in one of 2 ways: have no neck angle and make the fret board into a wedge thick on the nut side. If the FB is sloped such that it loses 1 mm by the 12 fret then the above described 2 mm would be achieved at the saddle location. I did this on my first classical and it would be a compatible solution to the bolt on bolt off neck. (The wedge shape of the FP is noticeable though) The second option is to pitch the neck forward such that the nut would be 2 mm above the plane of the top. In this case the neck and top are not co-planer so a reverse wedge needs to be sanded into fret board extension so that the FB will fit properly. This is how I built my second and third classical guitar. Not compatable with the bolt on bolt off neck.
Moving away from the solera or workboard to using a mold, alternatives like an elevated fret boards are often used. The design from the book is more along those lines. Simply put the top of the neck is made co-planer to the top and a suitable sized wedge glued between the neck and the fret board and is used to change the FB angle. If a the wood matches and there is a good glue line it should appear as part of the neck. The wedge would be 3-4 mm tall on the nut end sloping to zero at the bottom of the fret board.
While this sound simple, it creates a few complications that would need to be dealt with. The obvious one is that without modification the neck will feel 4 mm thicker than it should at the nut, so the neck taper will need to be modified thinner on the nut side. Removing 4 mm from the neck would put a truss rod closer to the back of the neck than desired. Also the nut slot would appear to be 9-10 mm deep (half of the neck width) which would appear weird. It is these complication that make this procedure tricky.
The nut depth is solved by extending the wedge past the nut end of the fret board and planing it to the slope of the head stock, In effect it becomes a part of the head stock and the neck and the head stock veneer is glued on to it. if you draw this out you will find that the fret board has to be placed a bit farther away from the original angle break where the head stock starts.
If one is using a truss rod, then with the wedge glued to the bottom of the fret board; the truss channel is routed with a slope in reverse of the wedge and a reverse matching channel needs to be routed in the wedge. So at the nut end part of the truss rod is in the neck part of it is in the wedge. Thus the truss rod will be at or close to the bottom of the fret board the whole length.
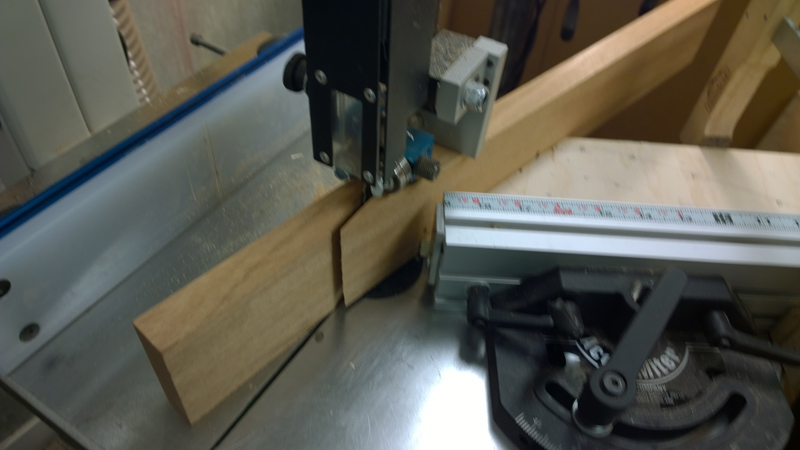
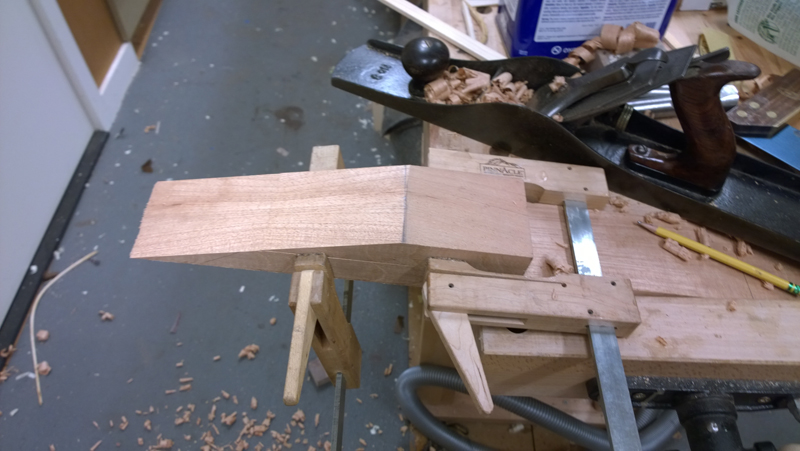
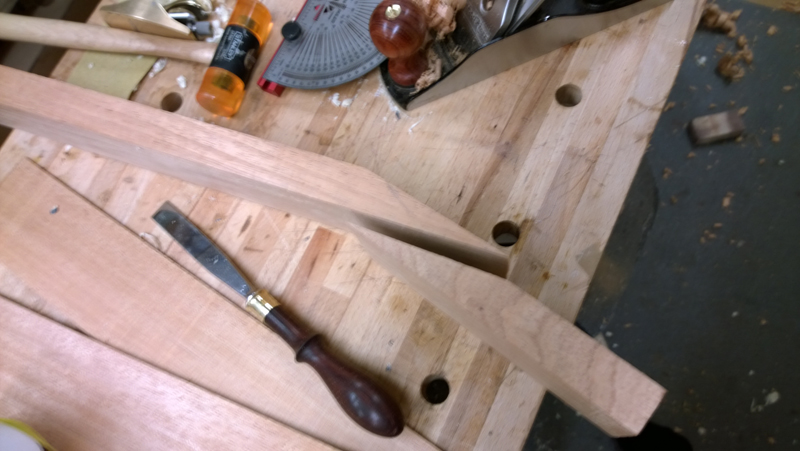
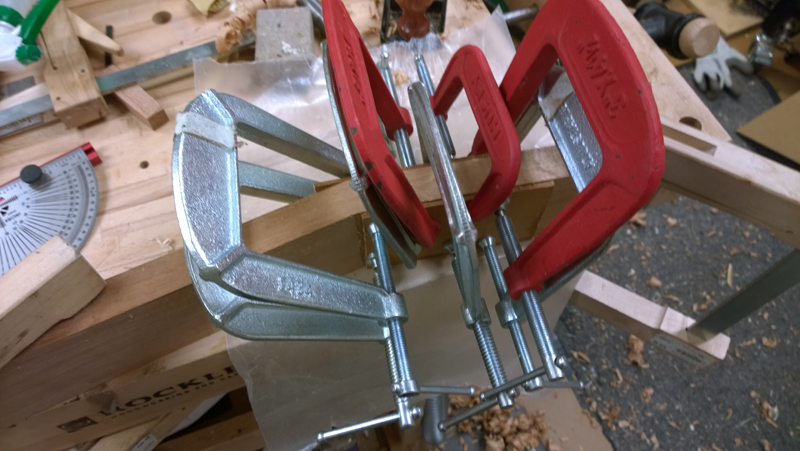
As I said I am just starting this work and if you follow the blog you will see the above work happen as the guitar progresses. At this point I have cut a glued the scarf joint to form the 15 degree angle I am using.


Last edited by John Parchem on Sun Feb 22, 2015 6:05 pm, edited 1 time in total.
