Falcate Braced Classical Guitar - Finished!

Show us how your current project is progressing
Post Reply
John Parchem
Posts: 2746
Joined: Fri Dec 23, 2011 8:33 pm
Location: Seattle
Contact:

Falcate Braced Classical Guitar - Finished!

Post by John Parchem » Tue Jan 27, 2015 2:01 am

I am just starting a project to build a Classical guitar with carbon fiber reinforced falcate bracing. The design of this guitar relies heavily on the guitar design concepts and the build procedures contained in the Gore\Gilet Contemporary Acoustic Design and Build books. This guitar is not being built for anyone so I do not have a time constraint nor fear of failure. I have always been a relatively lazy design engineer relying mostly on my understanding of relationships from a known point rather than starting with a clean sheet. Before starting I have read through posts on the Australian/New Zealand Luthiers Forum on the same topic http://www.anzlf.com/posting.php?mode=reply&f=33&t=3819 and a few other build threads and have reread chapter 4 in the design book. So here are my thoughts. I may be way off base but I thought I would share them. Sorry about references to specific topics in the books, but that is what this blog will be about.

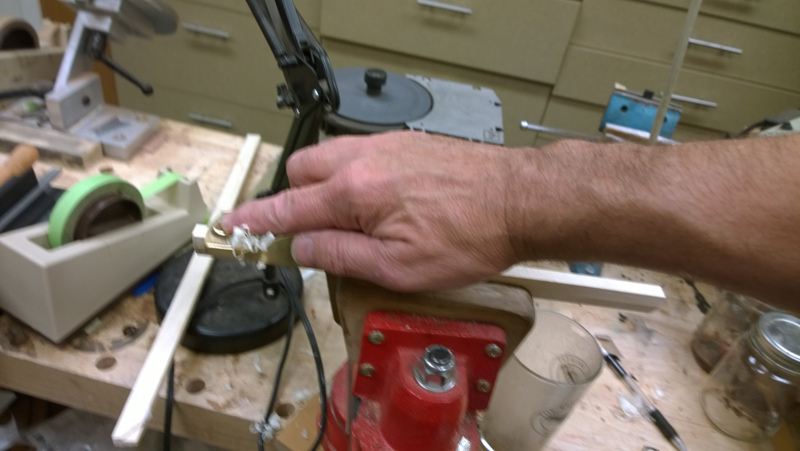
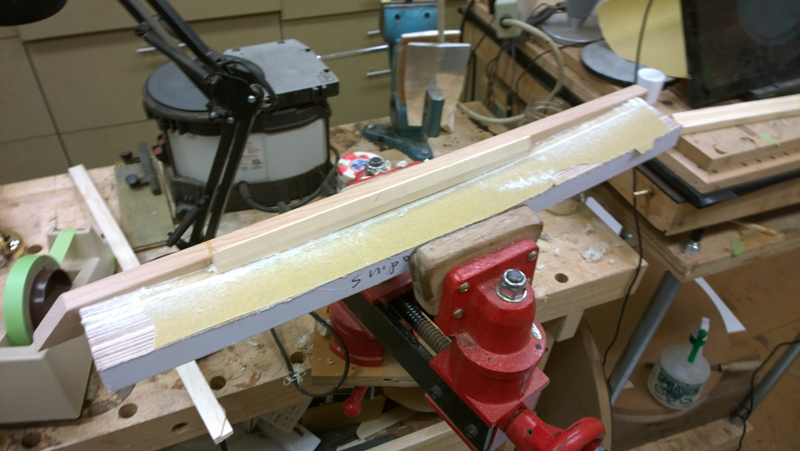
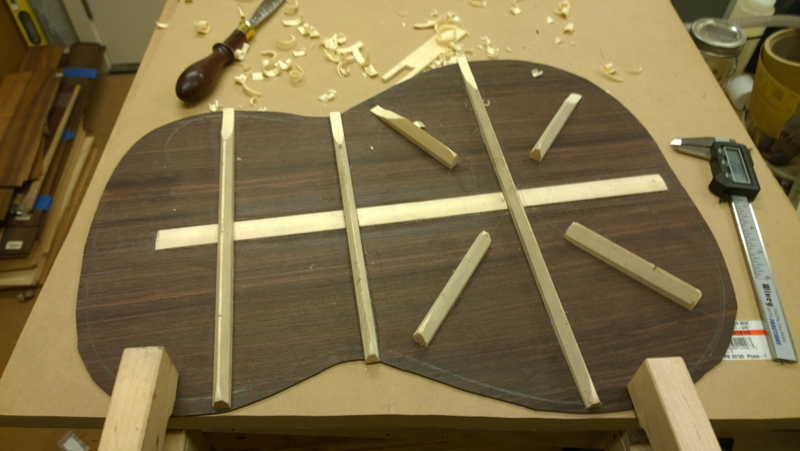
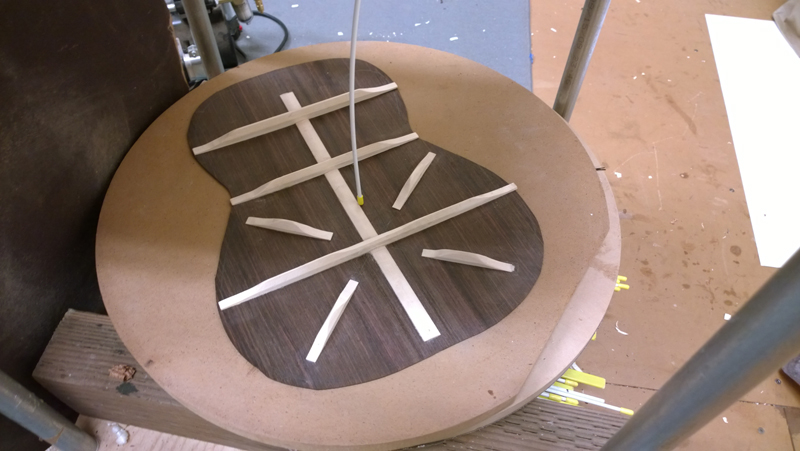
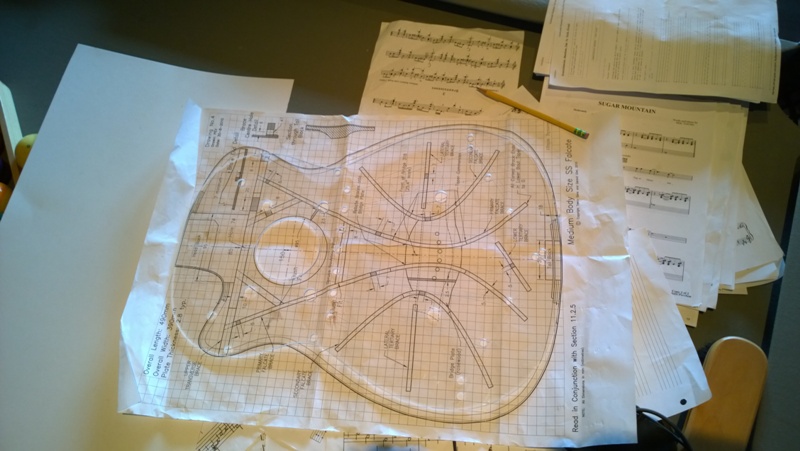
For a start I have built a Medium Sized Gore Falcate SS, its size especially the length of the body nearly matches a Hauser 37 mold and bending pattern I have. The Hauser has a narrower lower bout but still the SS falcate bracing pattern fits. Both are 12 fret to the body and the scale length are not that far off so the bridge placement is close as well. This helps as I took the time to build bending and layup molds for the braces.
Image

From the Design book I do have some information that I can use. Looking at a couple of graphs in section 4.4 The Flexural rigidity of the Gore falcate medium sized guitar looks to be about 40 Nm^2 and the Falcate Classical is about 20. This nicely matches the 50% difference in string load between a steel string and a classical guitar.

Another bit of information I happily accept for this project is using the vibrational stiffness value of 60 for a traditional classical guitar in equation 4.5-7 for plate thickness. This resulted in a 20% reduction in the top thickness when compared to a top I would build for a SS. I will use the target size from this calculation.
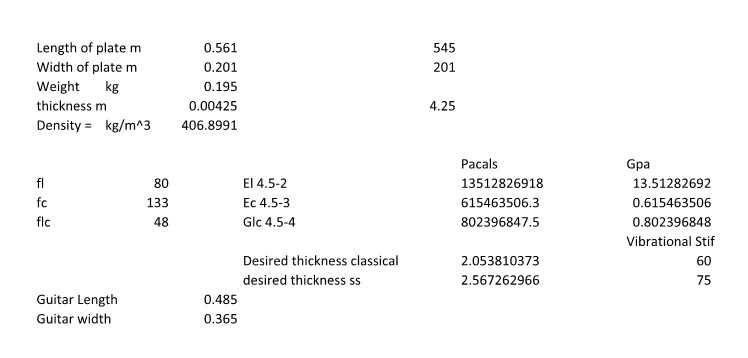
Image

Assuming (I read it somewhere in the book) that the top plate is around 70% of the mass but the bracing is about 80% so the stiffness I can start making a few estimates. The 20% reduction in plate thickness while a huge change in plate stiffness (50%) results in closer to a 10% loss of stiffness to a braced top. The carbon fiber complicates doing a real Flexural rigidity calculation but given that going from SS to Classical I would be removing a half mm from a 9.5mm stack of brace and top I could see the relative loss of stiffness moving toward 15% I still have a way to go to get the Flexural rigidity halved. Also while I achieved a 10-15% reduction in stiffness with the thinner top the relative loss of mass to the top mass is about 14% (20% *.7).

My target top frequency of 190 is a bit higher than the 180 target for the SS I made, but taking into account the difference in the effect of a steel string bridge vs a classical bridge I will for this exercise ignore this difference. Given mode frequency is proportional to SQRT(k/m) where k= stiffness and m = mass), it seems that I should try to keep the k/m ratio the same. Based on my above assumption and the fact that I will remove the bridge plate and the bridge will weigh a little less, I could make the top a bit less stiff to maintain the ratio, but really within the margin of error of my estimates I could be there with just the difference is the thinner plate vs the difference in the mass of the top. I am less trusting of this comparison as I feel that the different body size and volume plus the effect of the different string load could make the comparison between the SS and the Classical more apples to oranges, still each proportional to SQRT(k/m) but from a different base frequency.

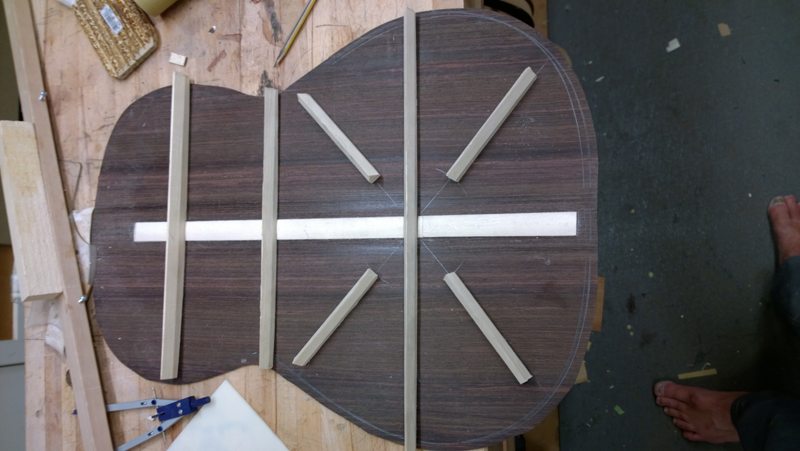
Looking at figures 4.4-9 and 4.4-12 showing the Flexural rigidity of the two guitars I am comparing , I really feel I need to lower the falcate brace heights relative to the SS a bit and just see where the top frequency ends up on this guitar. I think for a first try I will reduce the main falcate braces from 7 mm to 6 mm close to a 40% loss of stiffness in the braces. I think I may be still high (stiff) using my rough assumptions for relative flexural rigidity. But I will go with this size and see where I end up.
Last edited by John Parchem on Sun Mar 22, 2015 10:46 am, edited 3 times in total.

John Parchem
Posts: 2746
Joined: Fri Dec 23, 2011 8:33 pm
Location: Seattle
Contact:

Re: Falcate Braced Classical Guitar

Post by John Parchem » Tue Jan 27, 2015 2:03 am

I started this project a few weeks ago but I had a week out of the shop with a bad case of sciatica, scary I usually have no back pain. The pain is going away so I can stand and do a bit of work in the shop. Being back in the shop inspired me to post again.

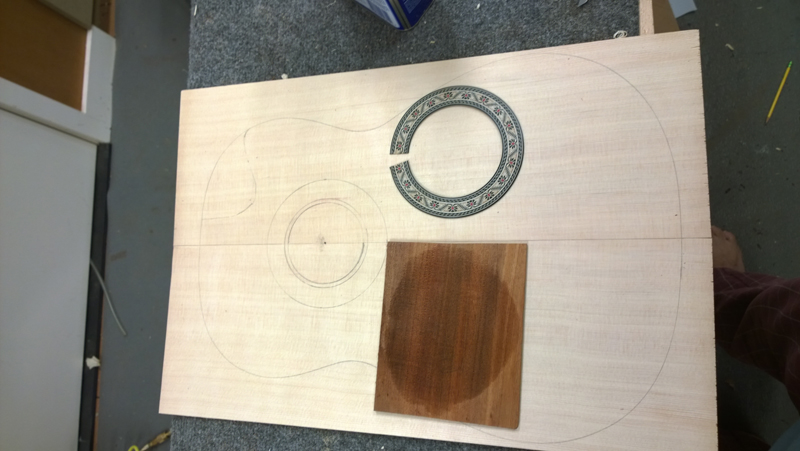
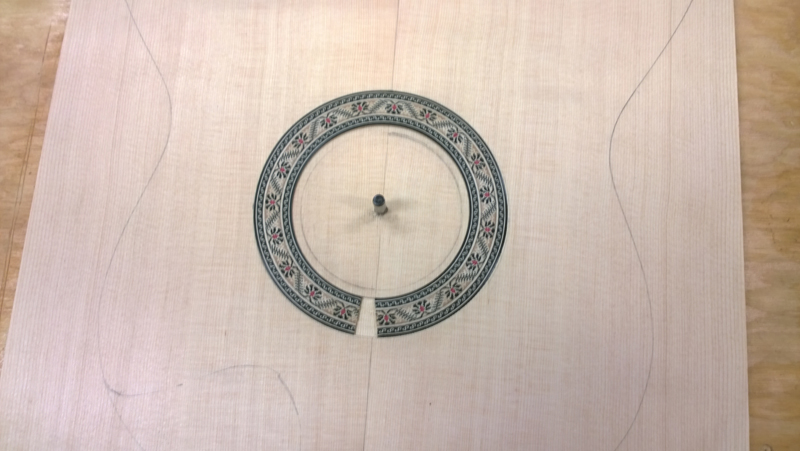
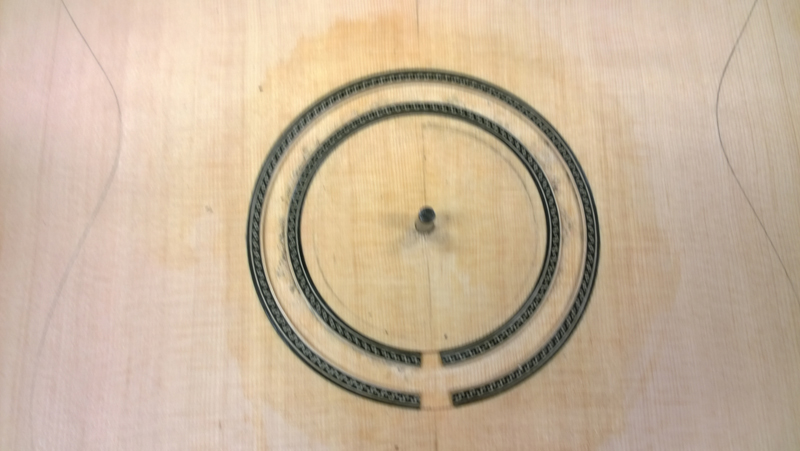
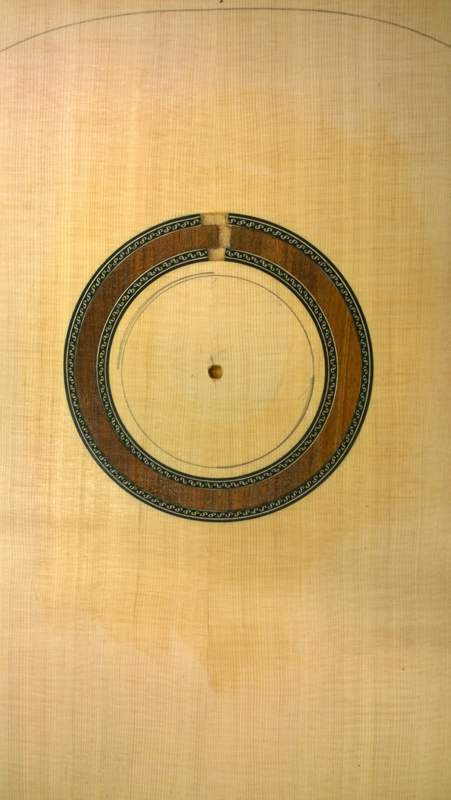
I usually use wood for my rosettes on all of steel string guitars. I have been buying pre made classical guitar rosettes. Although I plan to make a classical mosaic rosette at some point for this guitar I thought I would try a hybrid. I had a nicely made classical rosette that included a mosaic tiled purfling ring inside and out. I inlaid the rosette into my top and routed out the center for an Australian Blackwood ring. All and ll it came out OK.

Image

Image

Image

Image

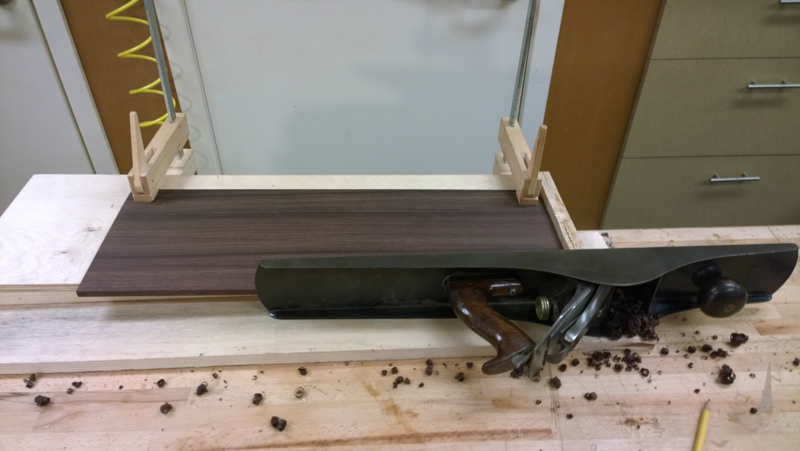
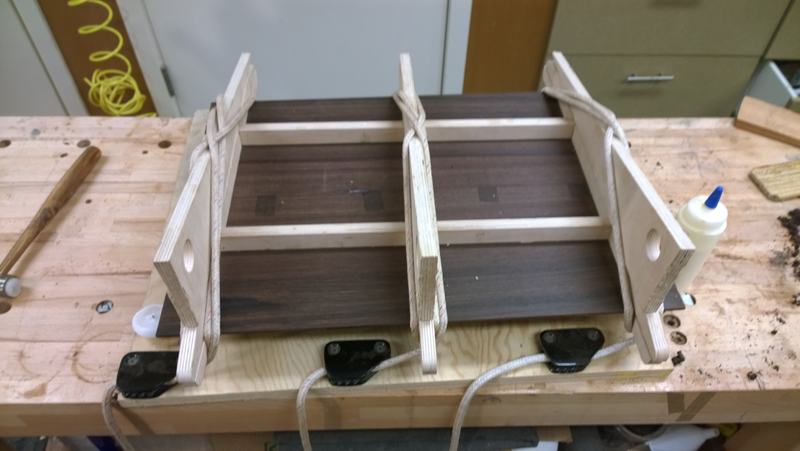
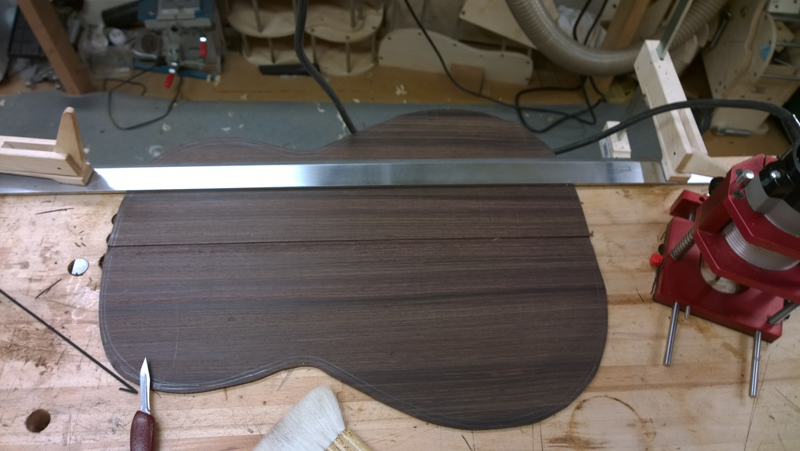
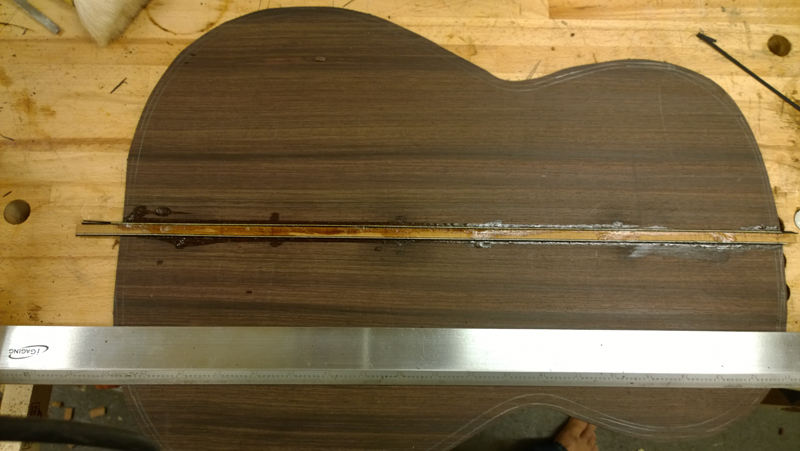
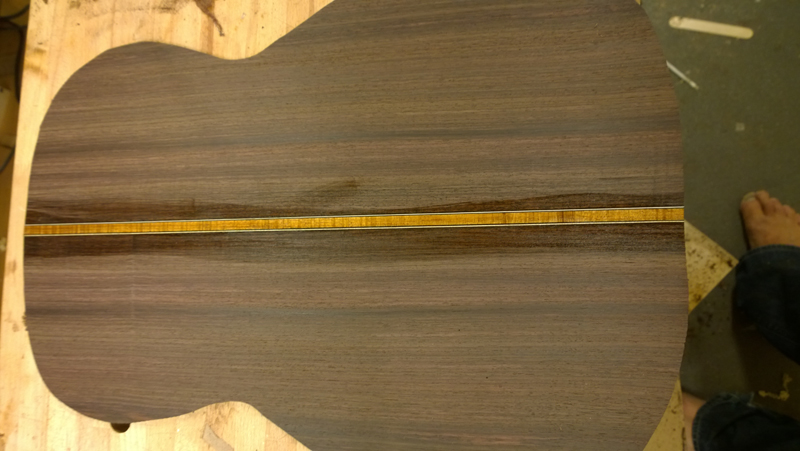
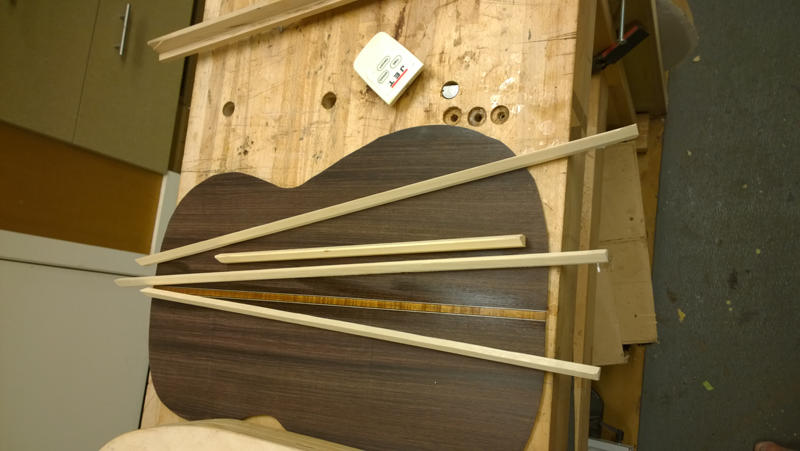
I decided to use some Austrialian Blackwood bindings as well with a BWB purfling. Keep with a classical style design I used the purfling for the back strip and will use it for the end strip. I will go for the mitered purfling look on the back and sides. Given that the binding strip was thinner than the back I glued up the back and inlaid the strip into the center of the back. I used a scalpel to first score the outside lines of the channel. I have in the past made my channels just a bit too wide in places. With the channels scored deep I routed to close to the line, but for the most part the thin strip left came out while I was routing. It was the cleanest channel I have made. I also got to try out my new old #8 when jointing the plates.


Image

Image

Image

Image

Image

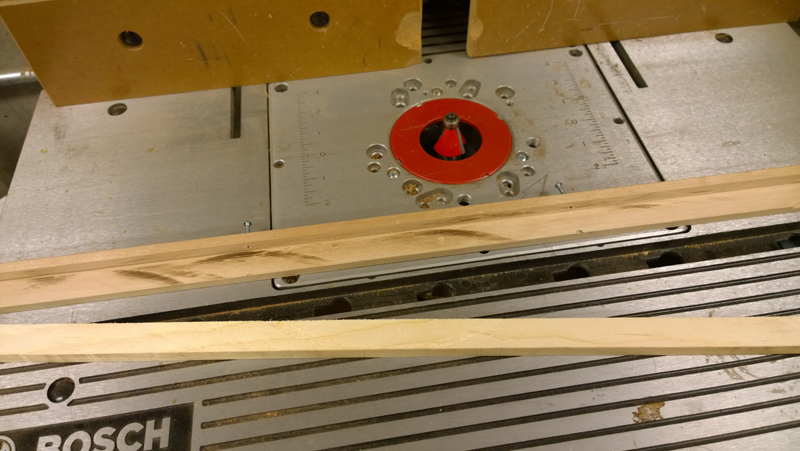
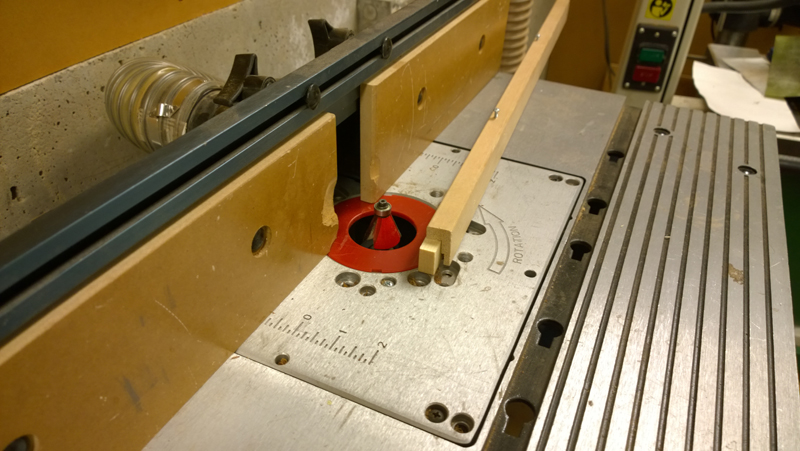
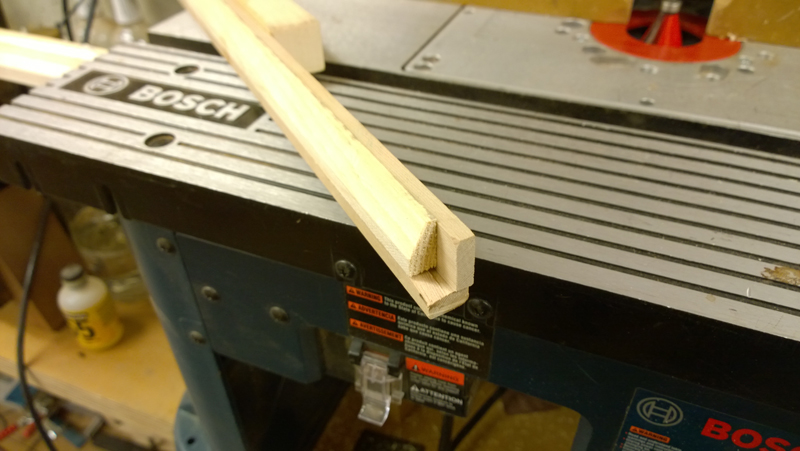
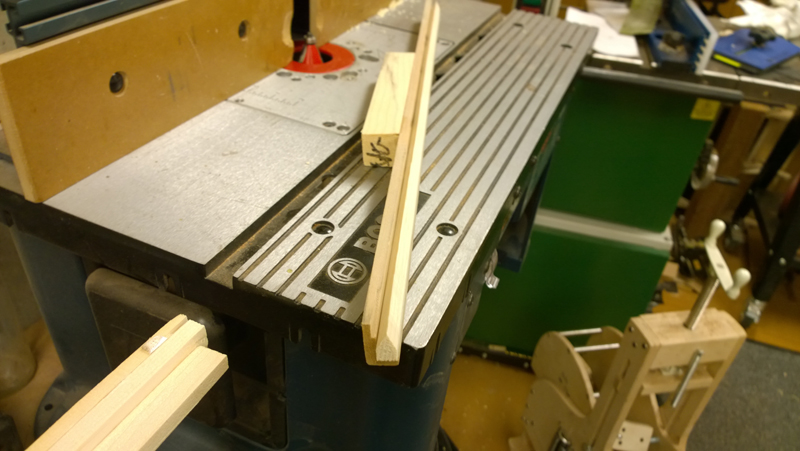
I used a technique from the Gore\Gilet build book to shape a bunch of back braces. I usually shy from big spinning router bits. I have to say using my table saw with a good blade to get a bunch of dimensioned braces, and then routing the shape on my router table sure when a lot quicker than hand shaping the braces.

I have a board with a rabbet the same size as the brace with two screws that I took care to place into the center of the rabbet. I screw the dimensioned brace stock in the jig route one side, unscrew the brace, flip it and screw it in using the same holes. I can then route the other side. In the pictures you can see that I add a block to my jig to make it easier to keep from tipping also my hand could stay away.


Image

Image

Image

Image

Image

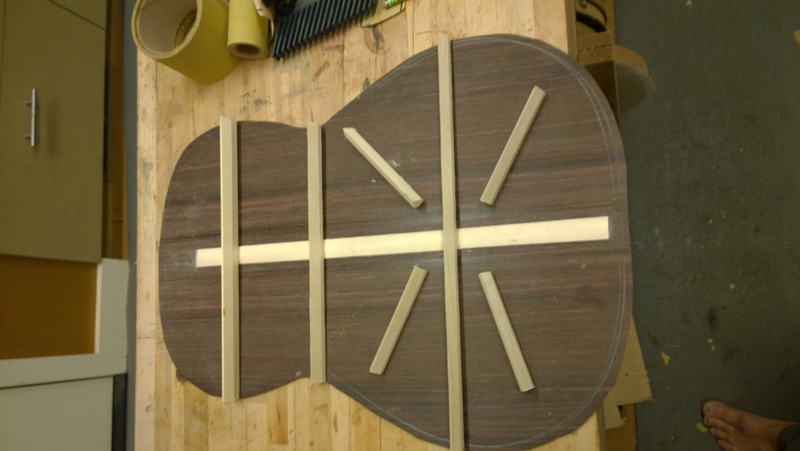
This guitar is planned to have an active back, so the back is thinner than I normally have it to reduce mass, to increase the stiffness the back has a 10' radius, more than the 15' seen on the Hauser plans and it will have the radial braced lower bout in the Gore Medium size guitar plans.

Image

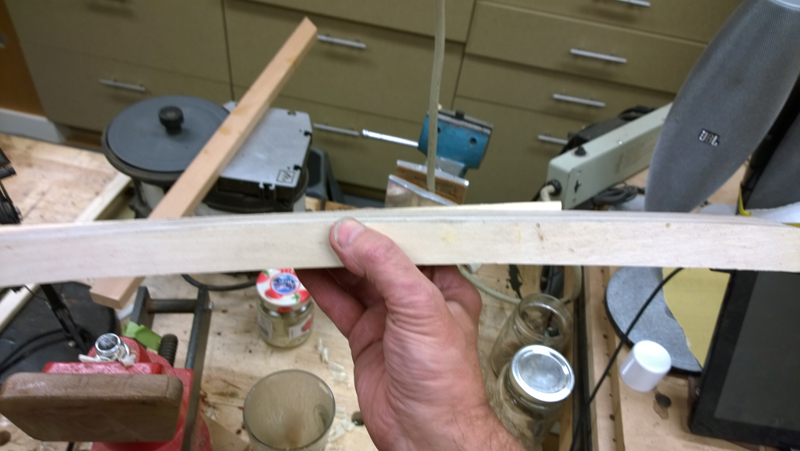
On this guitar I get to reuse a bunch of the jigs I made for my Gore steel string like this 1.5' 10' radius stick I made. It was great for putting the 10' radius on the bottom of the braces

Image

Image

Image

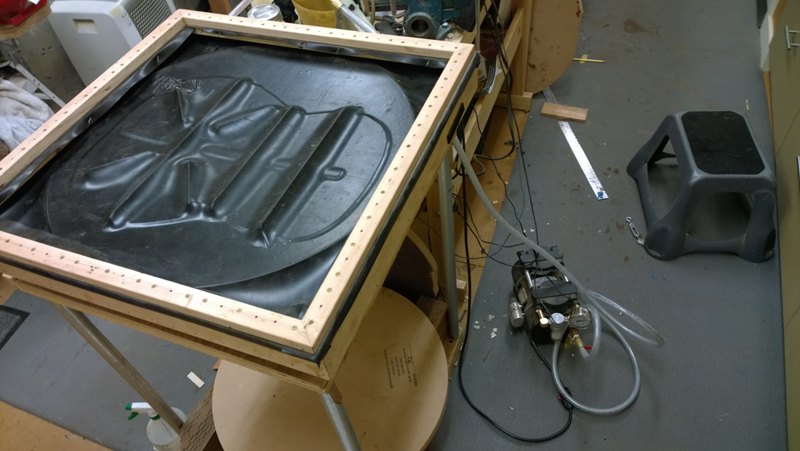
After laying out the braces on the back and fitting them into the back reinforcement strip I used my vacuum box to glue down the braces on a 10' radius board. I go back and forth between my vacuum box and the go bar deck. With the shaped braces it is a lot easier to use the vacuum box

Image

Image

With the pre-shaped braces I only needed to takes the ends down to 2mm and the radial braces tapered to nothing.

Image

Image

Next up will be to be to build the rim.

Kevin in California
Posts: 2799
Joined: Mon Dec 19, 2011 4:19 pm

Re: Falcate Braced Classical Guitar

Post by Kevin in California » Tue Jan 27, 2015 10:47 am

John coming along nicely. That is a very clever idea on the rosette. I like that a lot.
Fun to watch.
Oh and glad you are feeling better from that lower back trouble. I've had that a few times and know how bad it can be.

Kevin

Herman
Posts: 1674
Joined: Sun Dec 30, 2012 1:20 pm
Location: Arnhem area, the Netherlands
Contact:

Re: Falcate Braced Classical Guitar

Post by Herman » Tue Jan 27, 2015 2:20 pm

Dang John, you're so fast.
Interesting top idea. I'm curious if you will get away with that 2mm topthickness.
Herman

John Parchem
Posts: 2746
Joined: Fri Dec 23, 2011 8:33 pm
Location: Seattle
Contact:

Re: Falcate Braced Classical Guitar

Post by John Parchem » Wed Jan 28, 2015 1:02 am

Thanks Kevin and Herman I am not that fast,

Classical guitars often have top thicknesses 2-2.3 mm and below. I think the Hauser 37 is between 2.1 mm and 1.9 mm. The nylon string pull with half the force of steel strings. There is a group that build Torres\Hauser guitars with tops around 2.2 mm. There is also a school of thought that have the tops closer to SS thickness 2.8 or so.

Well I got a bit more work done, before my physical therapist suggested I cut down the time that I work in the shop for another week or so.

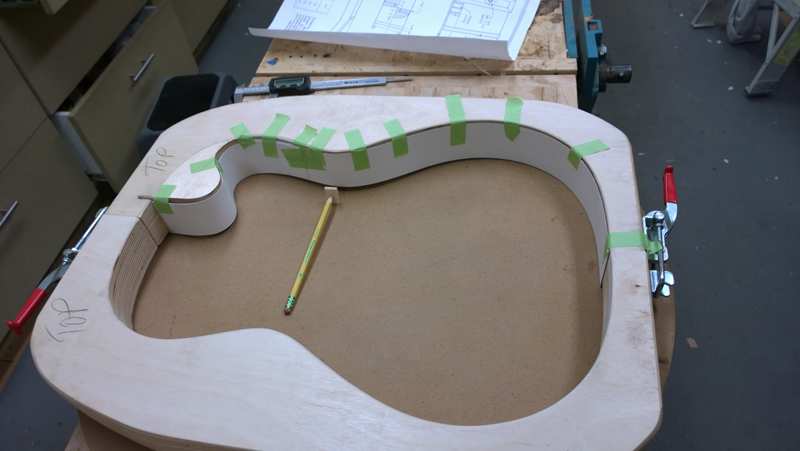
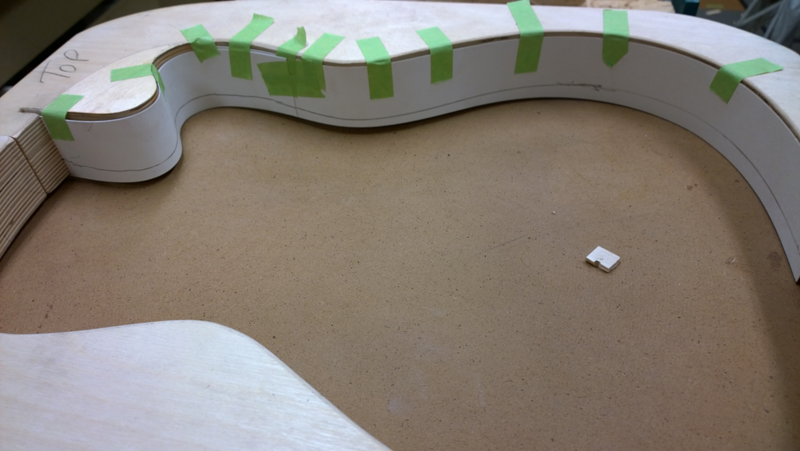
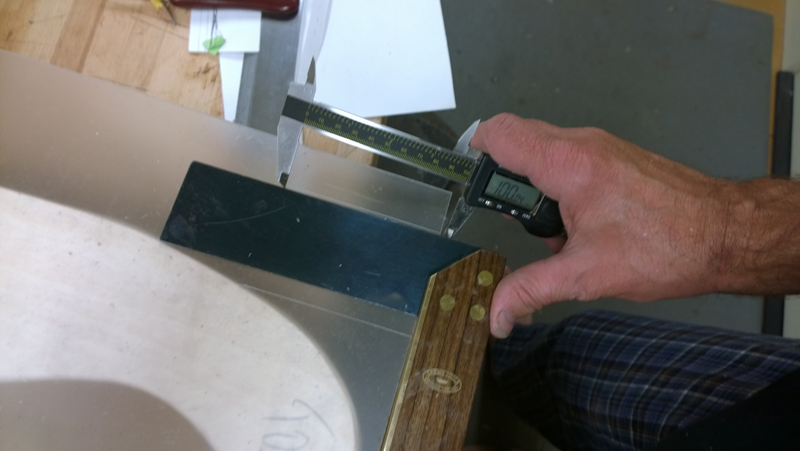
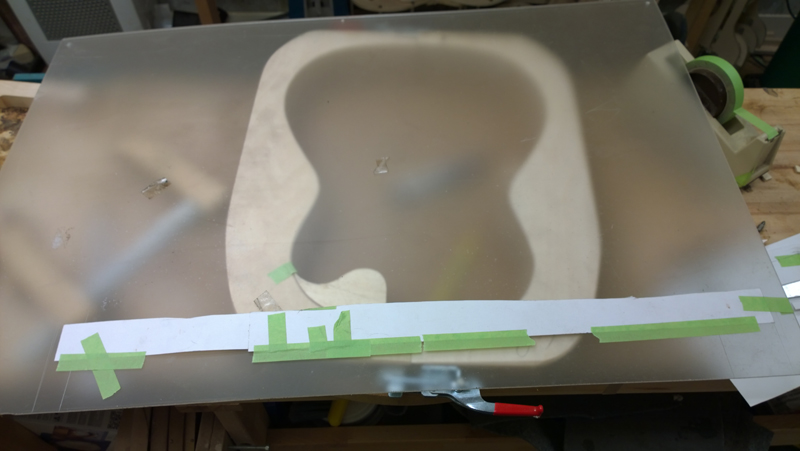
I have build a few guitars using the Hauser 37 shape. This is my first cutaway and the first classical with a 10' radius on the back. Before making the sides I needed to make two side templates.

To make the side profile I placed a strip of poster board in each of half of the mold. I placed the mold on the 10' radius dish and traced the radius on to the strip. I used a scalpel to cut on the radius line.

On a strip of Plexiglas I measured down from the top line the heel and the neck heights in their respected positions relative to the strip and taped down the strip such that the radius line when from the heel line to the neck line

Image

Image

Image

Image

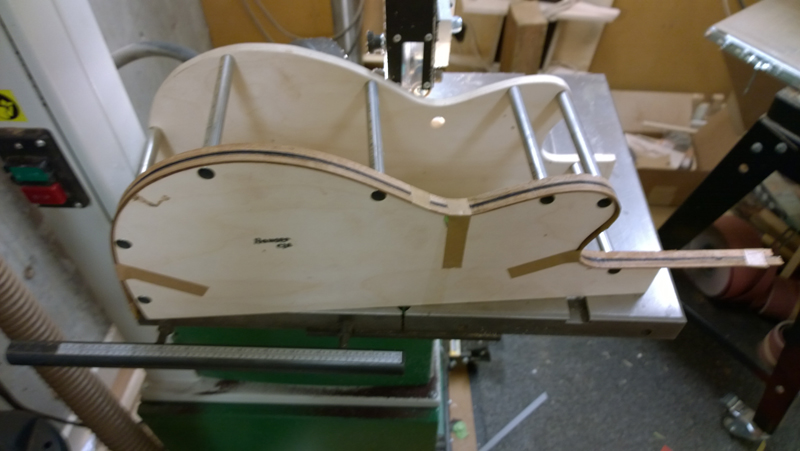
I did this for the none cutaway side and cut out both templates on the band saw and used the templates to profile the sides.

Image

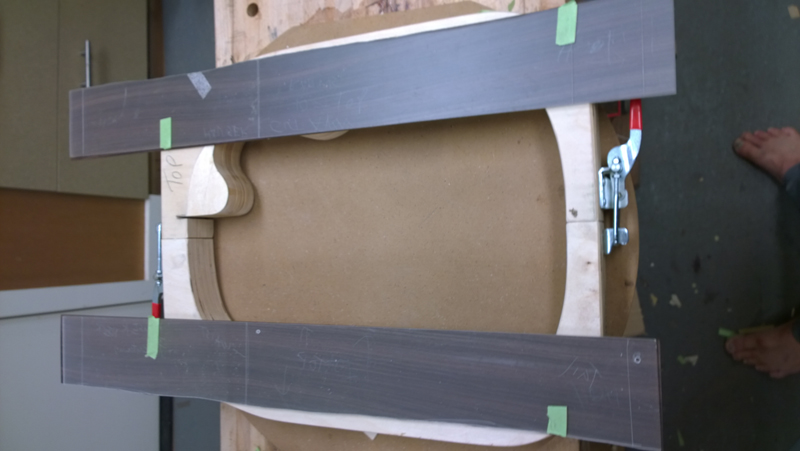
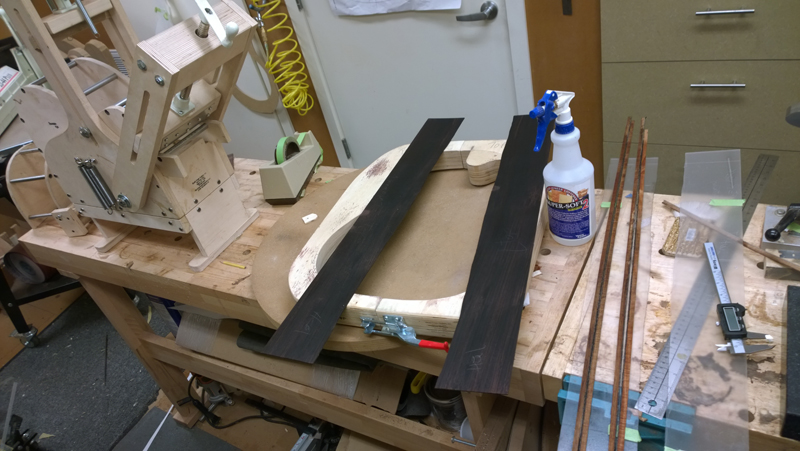
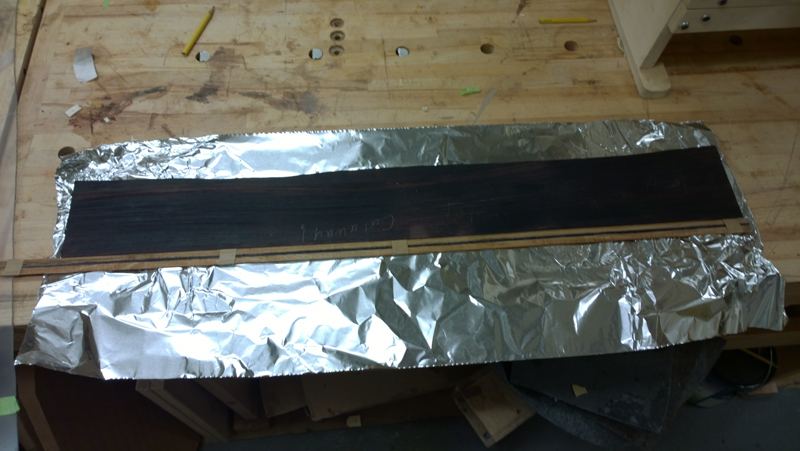
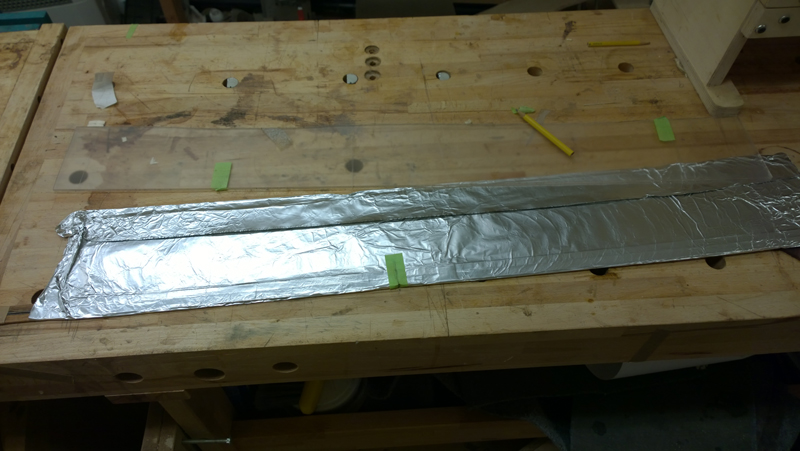
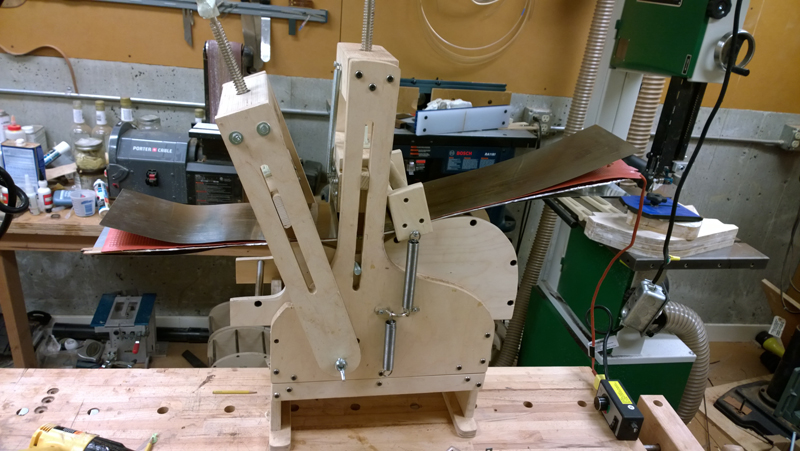
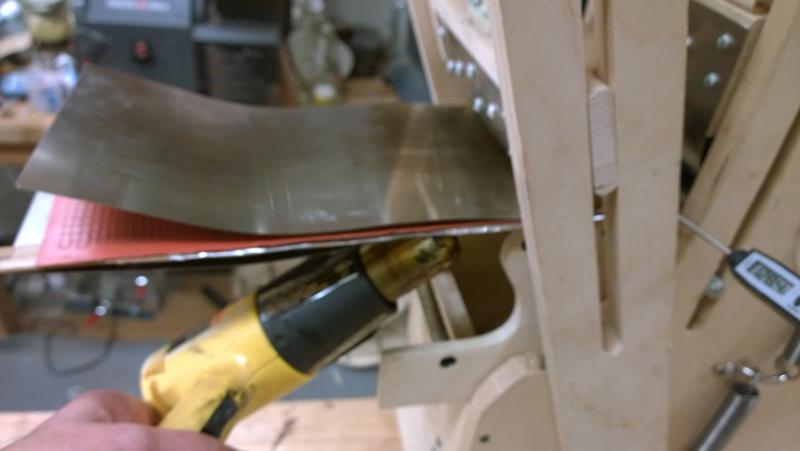
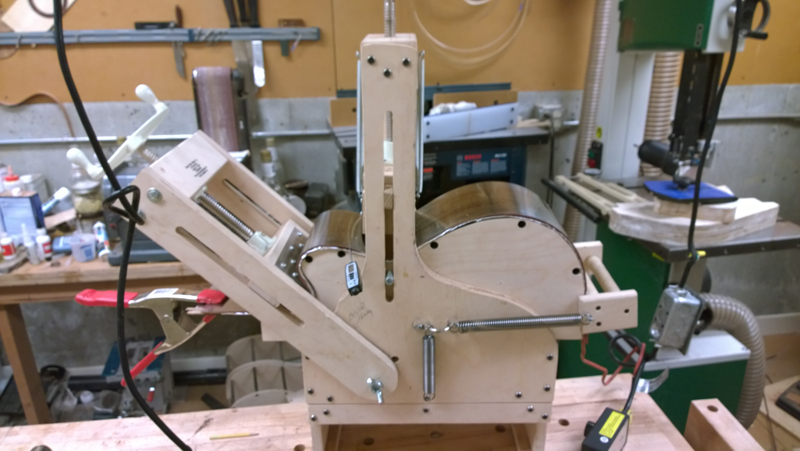
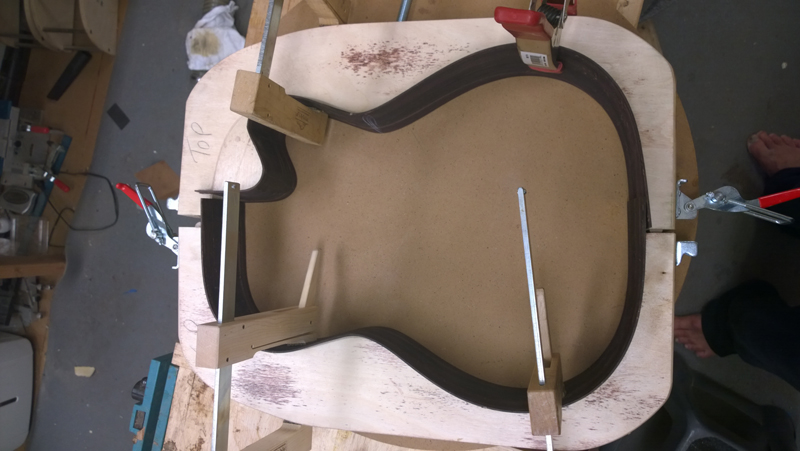
I used my drum sander to take the sides down to 2 mm .080" and then sprayed them with super soft II. I also taped up pairs of Australian Blackwood purfling to purfling and spray them with the super soft as well. I took forever, checking and rechecking, doubting myself and checking again to assure myself that I was bending the sides for a right handed guitar. Also checking to make sure that the heel was at the heel and neck side was at the top of the upper bout. After a few hours they felt dry. For the first time I wrapped each side with one pair of purfling in aluminum (I was going to say tin foil put that would date me) and bent them in my fine bending machine using a pair of bending molds, one cutaway one non cutaway.

Image

Image

Image

Image

Image

Image

Image

Image

Tomorrow I will sneak into the shop and fabricate the head block for a bolt on bolt off neck and start profiling the rims.

John Link
Posts: 800
Joined: Tue Nov 27, 2012 8:01 pm
Location: Kalamazoo, MI

Re: Falcate Braced Classical Guitar

Post by John Link » Wed Jan 28, 2015 1:19 pm

The whole project is very instructive John. I was especially inspired by your method for converting a standard looking rosette to something unique.
John

ken cierp
Posts: 3924
Joined: Tue Dec 13, 2011 11:23 pm

Re: Falcate Braced Classical Guitar

Post by ken cierp » Thu Jan 29, 2015 9:39 pm

Interesting idea heating the cutaway curve with a heat gun. Our cutaway bender has internal and external heating -- this is important, heat needs to be applied to the inside of the curves which is the "compression side." That is one thing I like about the LMII bender -- its employees a secondary heat blanket at least at the waist curve.

Post Reply