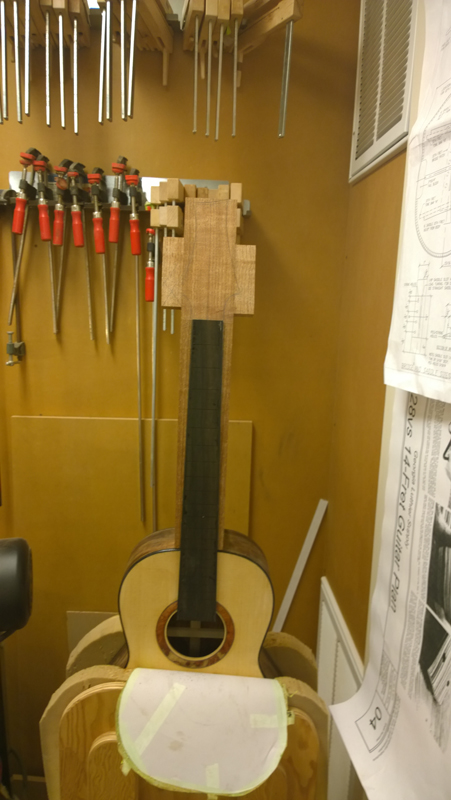
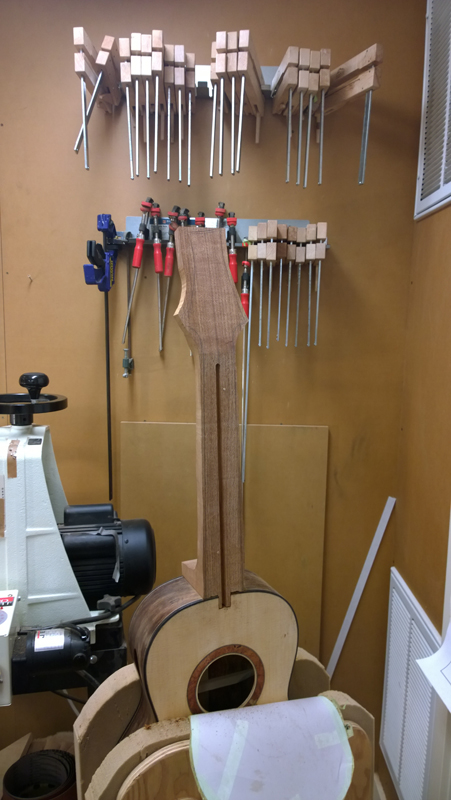
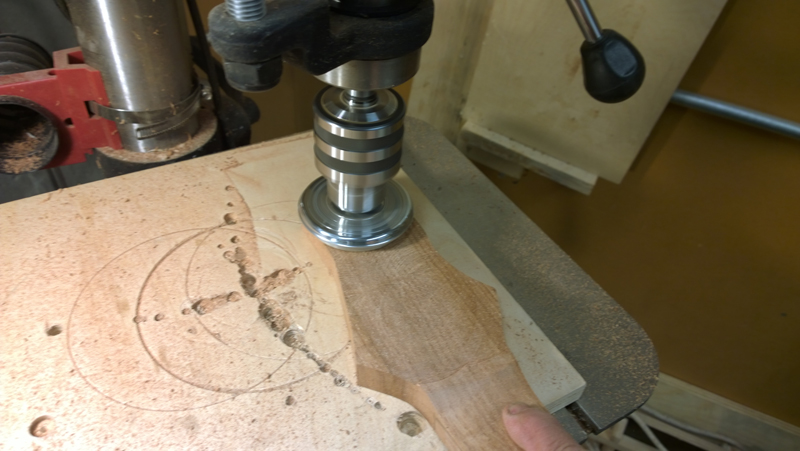
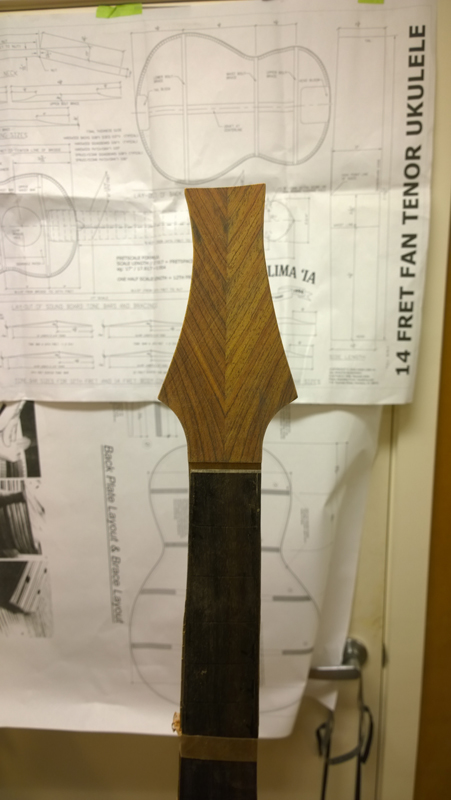
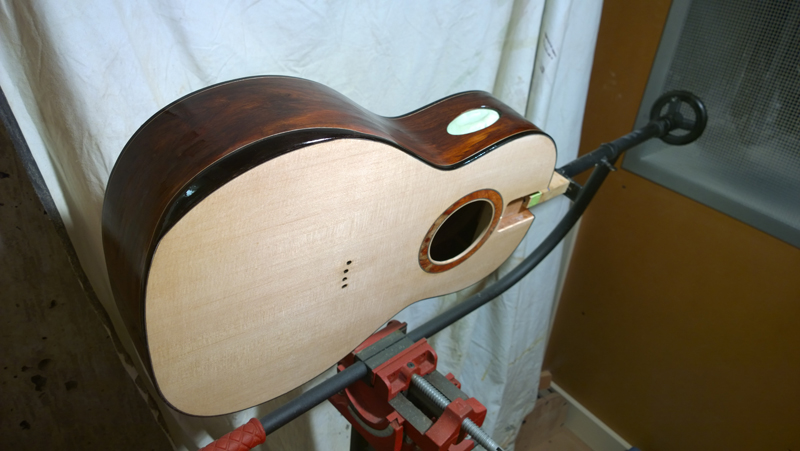
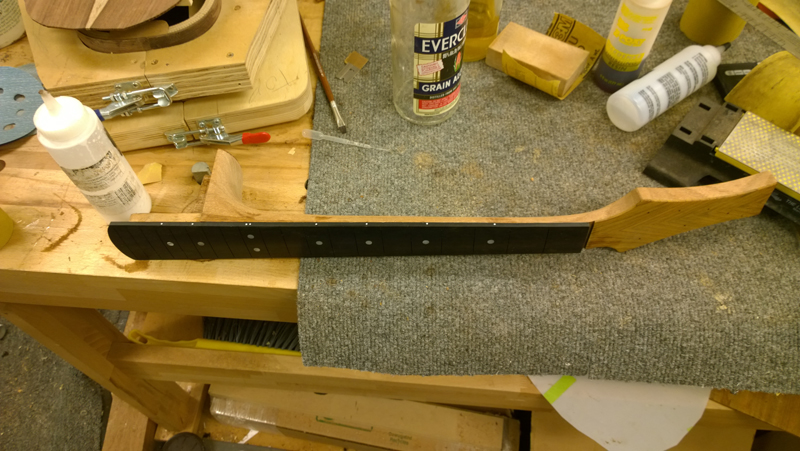
cont... 00-14, with strings

Show us how your current project is progressing
John Parchem
Posts: 2749
Joined: Fri Dec 23, 2011 8:33 pm
Location: Seattle
Contact:

Re: Starting to put together a 00-14 fret to the body guitar

Post by John Parchem » Fri Sep 12, 2014 9:06 pm

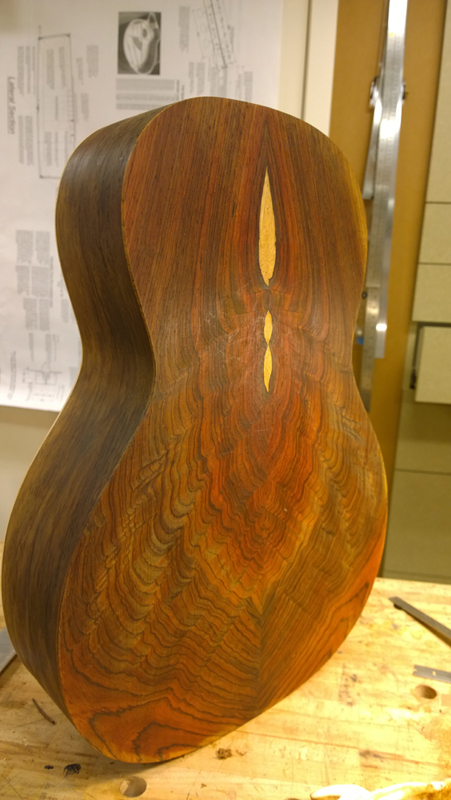
Kyle I agree with you with regards to using the burl, but customer decided on using the cutoff from the back, flipped so the lines point up and out.

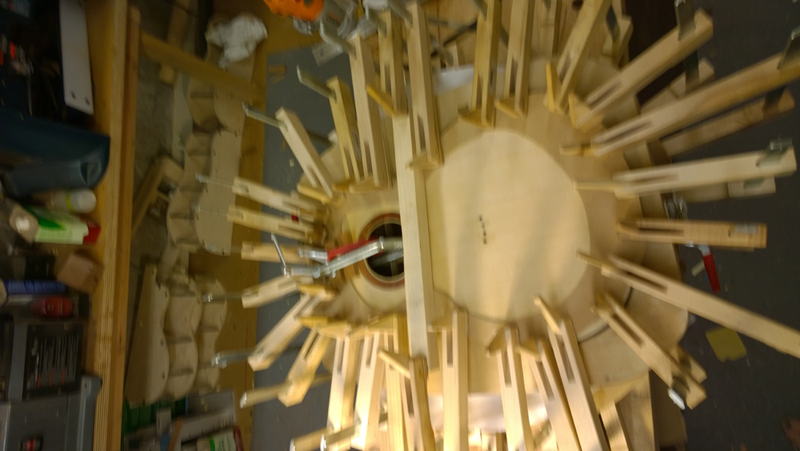
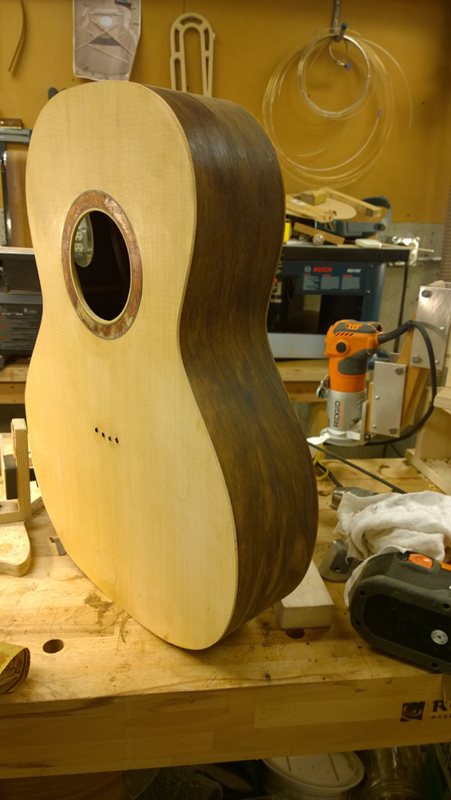
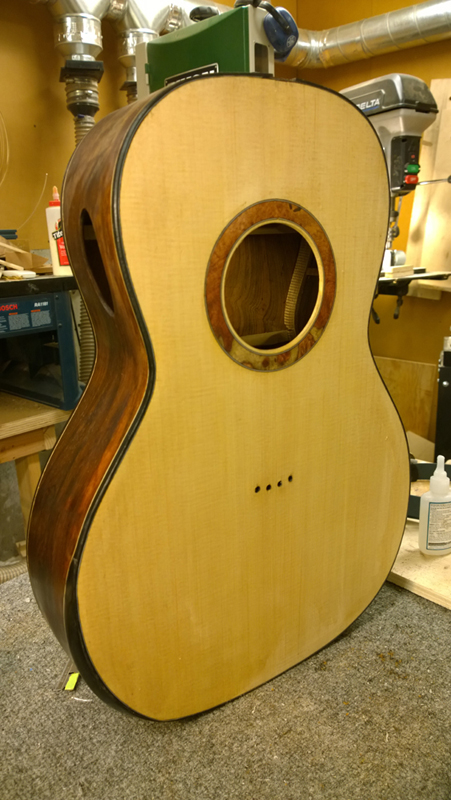
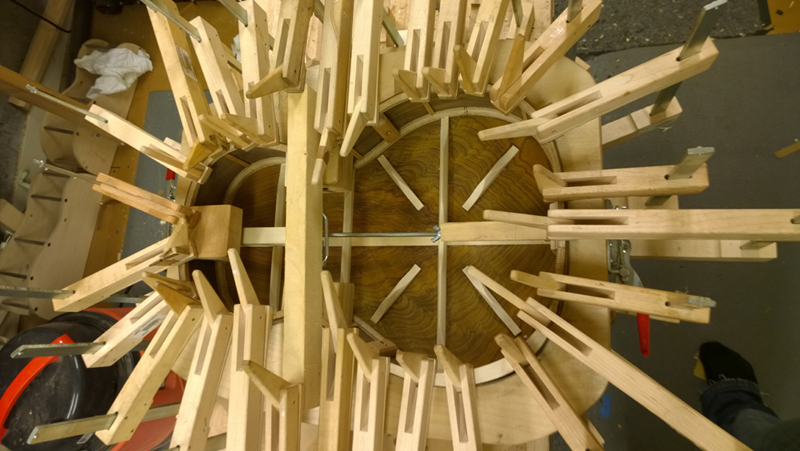
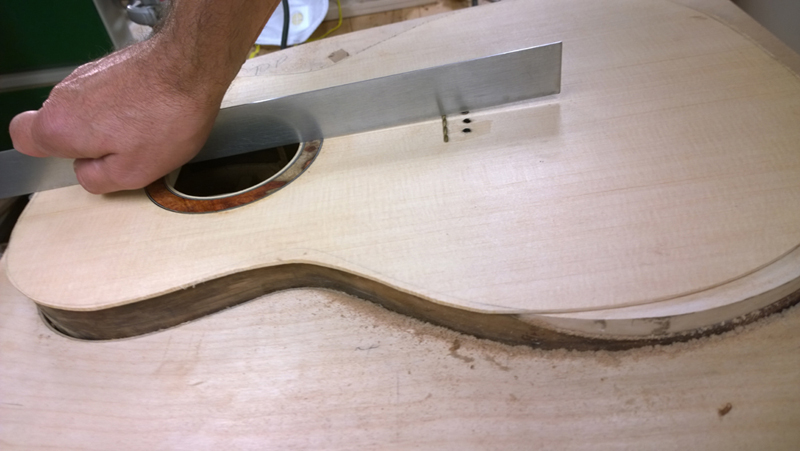
I got a bit more work done on this guitar. I glued on the top and back using CAM clamps. I glued on the back first and made sure that the insides were clean. Before gluing on the top I checked the angle of the upper bout to make sure I had a good angle that will match the desired neck angle. When I checked I found that I was a bit steeper than I wanted. I used a plane and a 40' radius dish to take a bit of the curve out of the top mainly lowing the waist a bit. Ultimately I was happy and glued the top down.
Image

Image

Image

Image

Image

I waited for a couple of weeks to get my self aligning binding cutting head from Luthier Tool. I really like this product as it mounted like a router template. So I was able to easily install it in my Fleishman binding machine. Now I can use a 1/4 down cut spiral bit in stead of use the router bit with bearings.
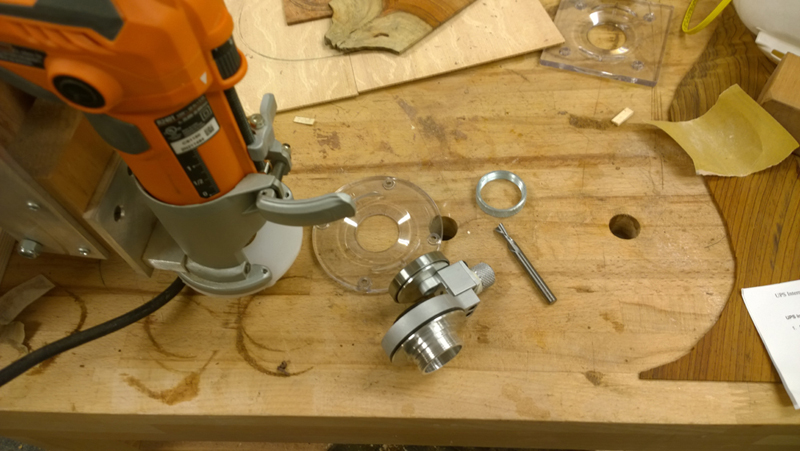
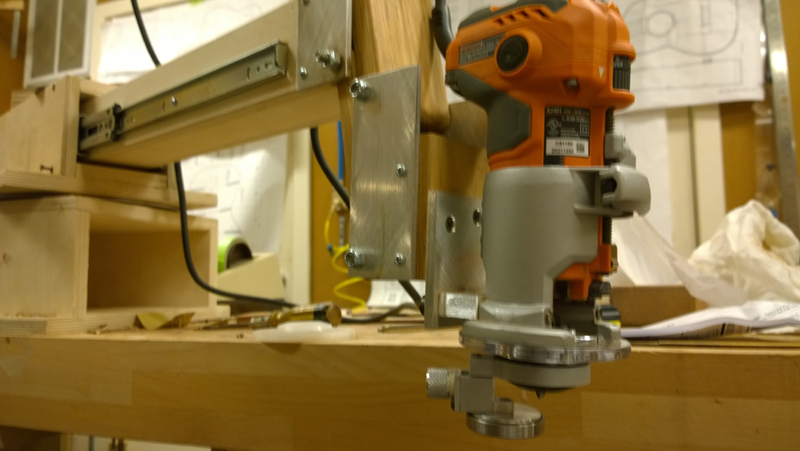
Image

Image

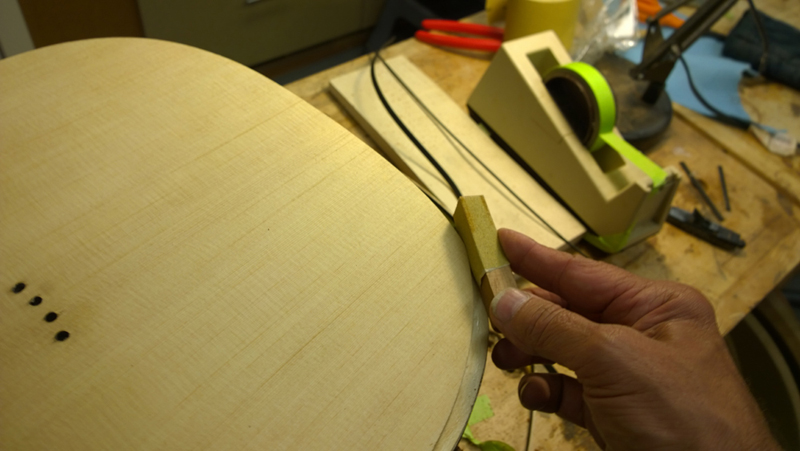
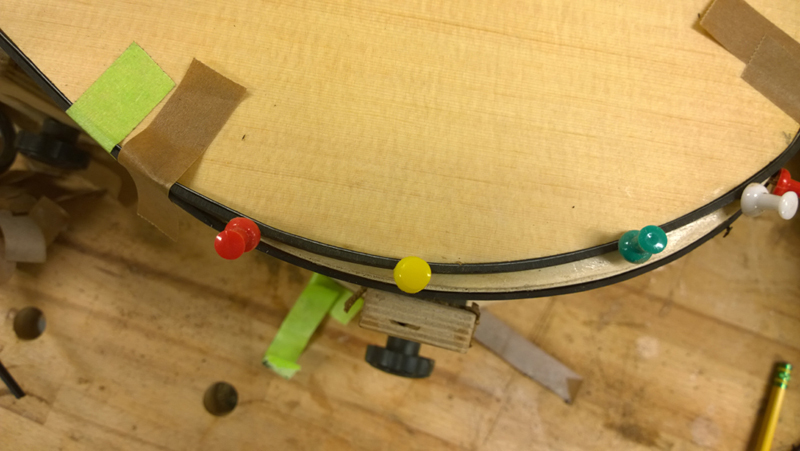
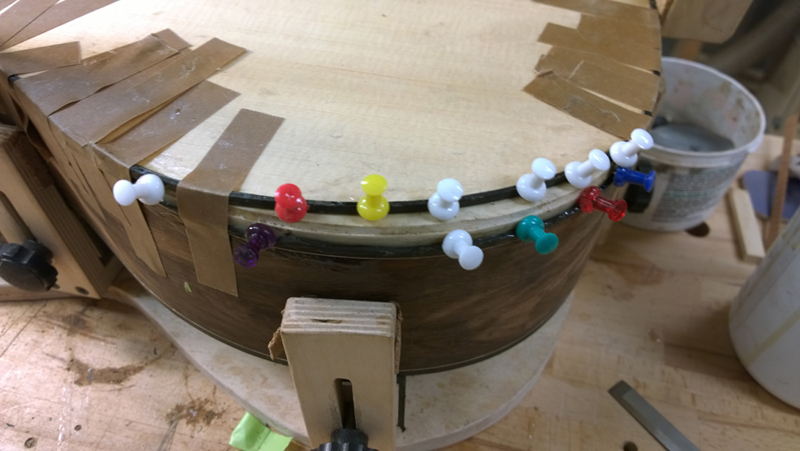
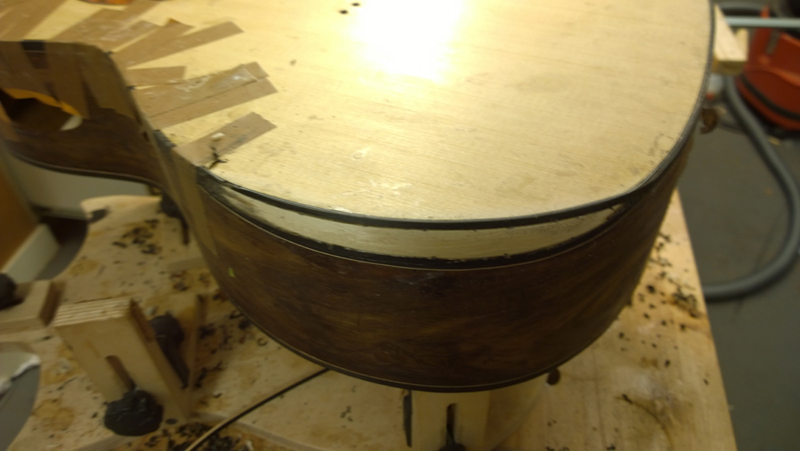
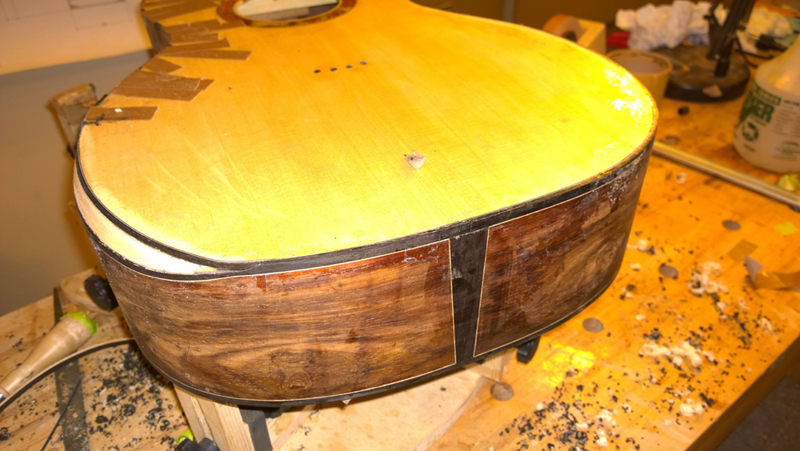
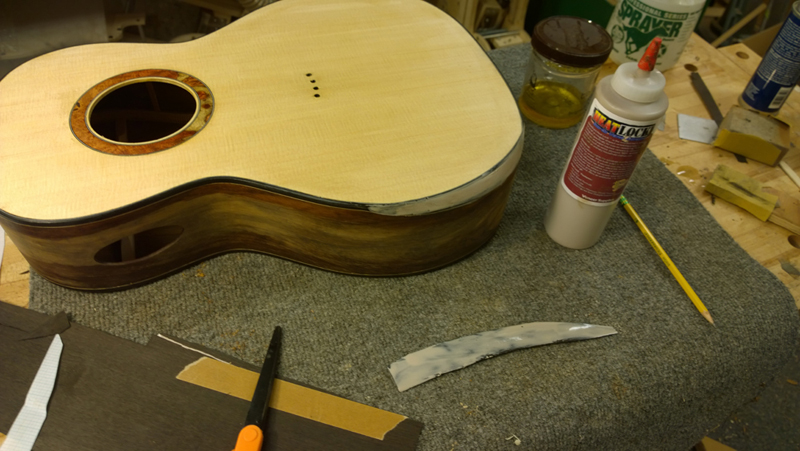
Routing the channels went well. I am installing BWB purfling on the top so I need a ledge for it. The bearing on the binding head was low enough so I was able to route right into the arm bevel area with out causing harm. This allow a clean transition between the the binding and purfling channels and the cut for the arm bevel. I did shooth out the transitions a bit with sand paper on a small block. I did tape a bit of purfling above the the end wedge on both the top and back to lift the router at that point. I went back with a chisel to cut cleanly to the end wedge purfling.
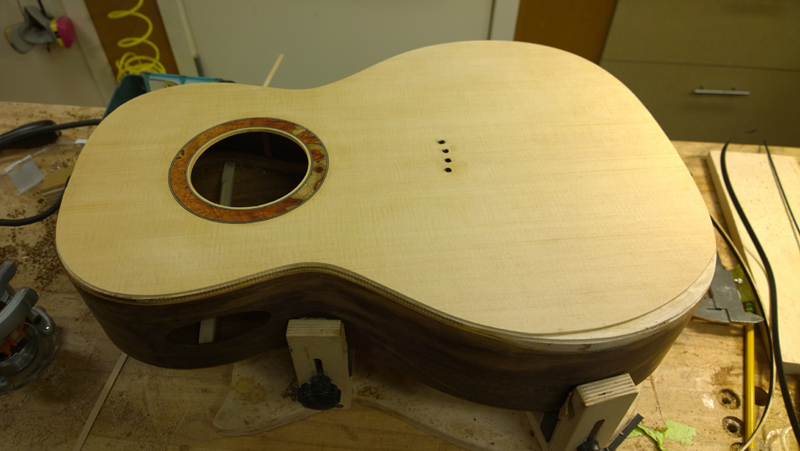
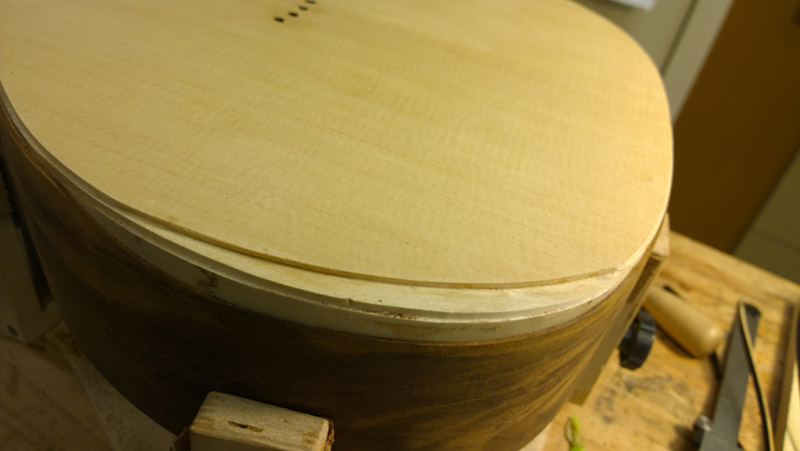
Image

Image

Image

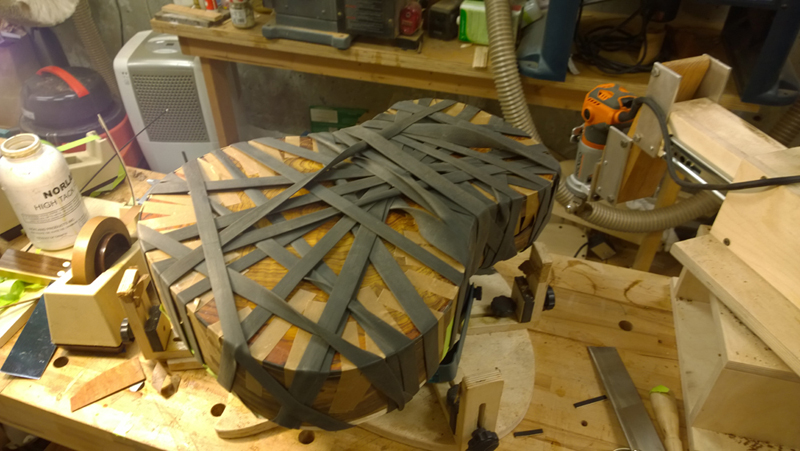
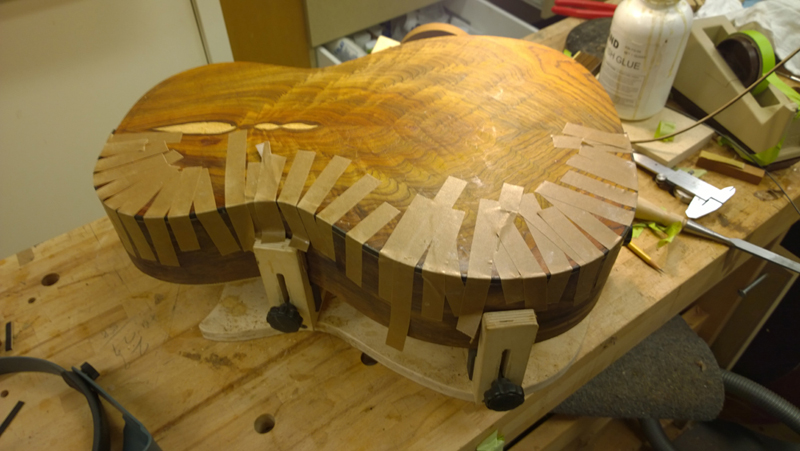
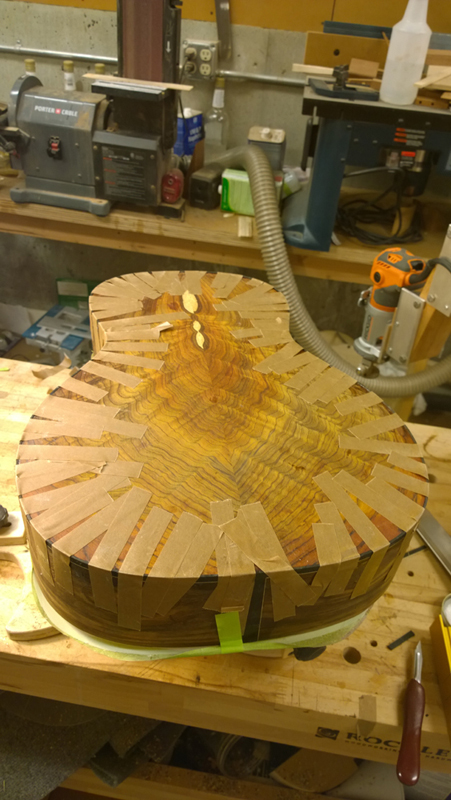
I used fish clue to glue on the back bindings. I took some time to get the bindings and purflings and the end wedge joints to look good. Fish glue as a long open time, so I taped both bindings in very tight and then wrapped with a rubber strap.
Image

Image

Image

Kevin in California
Posts: 2799
Joined: Mon Dec 19, 2011 4:19 pm

Re: Starting to put together a 00-14 fret to the body guitar

Post by Kevin in California » Mon Sep 15, 2014 4:53 pm

Coming together so nicely John. That coco is so awesome!

John Parchem
Posts: 2749
Joined: Fri Dec 23, 2011 8:33 pm
Location: Seattle
Contact:

Re: Starting to put together a 00-14 fret to the body guitar

Post by John Parchem » Sun Sep 21, 2014 12:25 pm

Thanks Kevin,

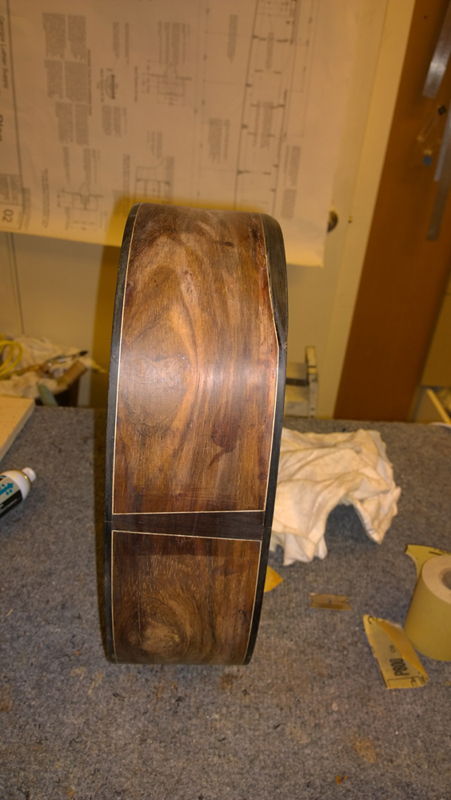
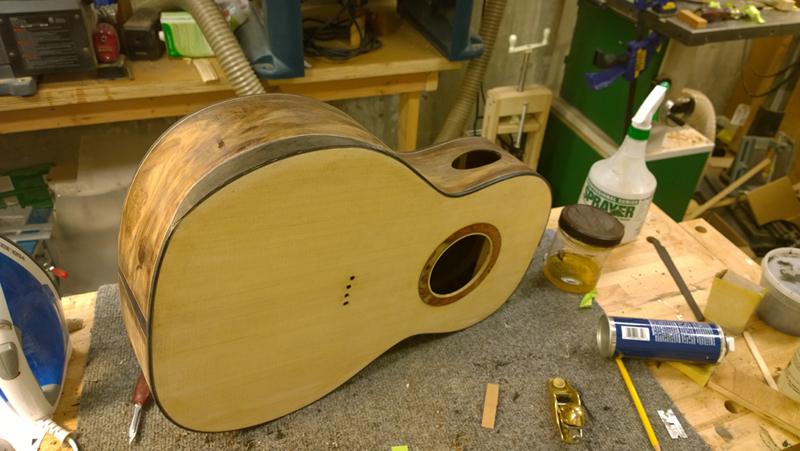
I finished the binding, purfling and glued on the arm bevel ebony veneer. Once finished sanded and cleaned up it should look pretty good.


Image

Image

Image

I posted the bevel stuff in a previous guitar but I have made some changes. My technique is based on what I learned in Kent Everett's Transitional Arm bevel DVD. This time instead of backing the purfling on the top bevel with a cutoff from the sound board I used a strip of ebony binding that bent to shape and tapered the edges so that it joined with the ebony binding and purfling line that followed the sides. Using the ebony gave me some wiggle room in getting a good top to bevel transition. I also used fish glue to allow me time to comfortably tape and pin down the bindings.

Image

Image

Once the glue cured I planed the strip of binding and purflings on the top and sides in the bevel area flush and used a combination of planes and cabinet scrapers to shape the bevel. In the picture you can see how once shaped the added binding material fills in the gaps left between the basswood substrate and and the top and the sides.

Image

Image

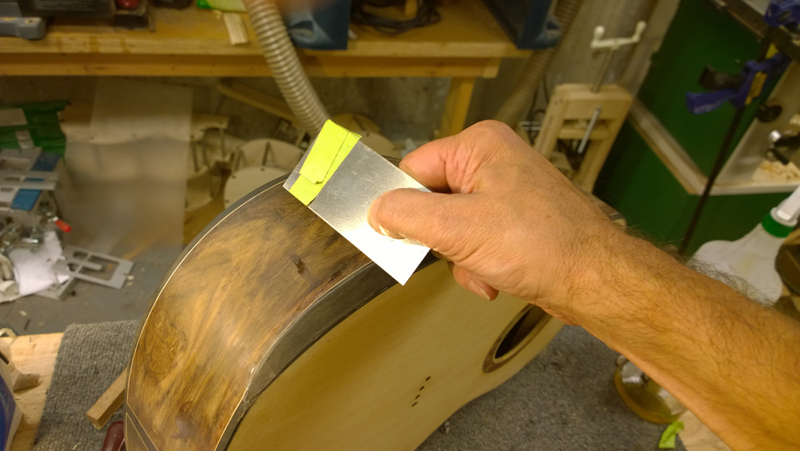
Once the bevel was shaped to my liking; it is important to have a good angle between the purflings and the bevel so that the veneer can be sharply cut flush. I put some heat tack veneer glue on both an over sized piece of ebony veneer and the bevel. After the glue dried to the touch, I ironed the veneer onto the bevel. After a few hours I flooded the seam of the veneer with thin CA and trimmed the veneer close with a razor blade and used a card scraper to cut the veneer flush.

Image

Image

Image

Kevin in California
Posts: 2799
Joined: Mon Dec 19, 2011 4:19 pm

Re: Starting to put together a 00-14 fret to the body guitar

Post by Kevin in California » Mon Sep 22, 2014 12:39 pm

The bevel is looking great John. I'm going to have to find a guitar with one and play it to see what it's like

John Parchem
Posts: 2749
Joined: Fri Dec 23, 2011 8:33 pm
Location: Seattle
Contact:

Re: Starting to put together a 00-14 fret to the body guitar

Post by John Parchem » Sat Sep 27, 2014 1:20 am

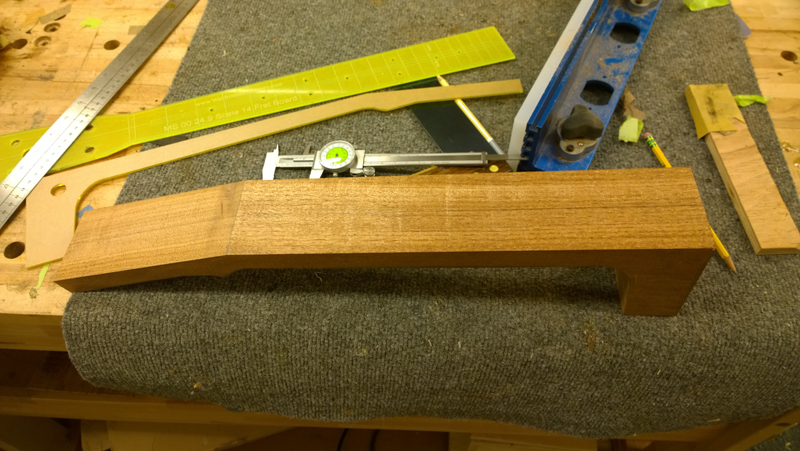
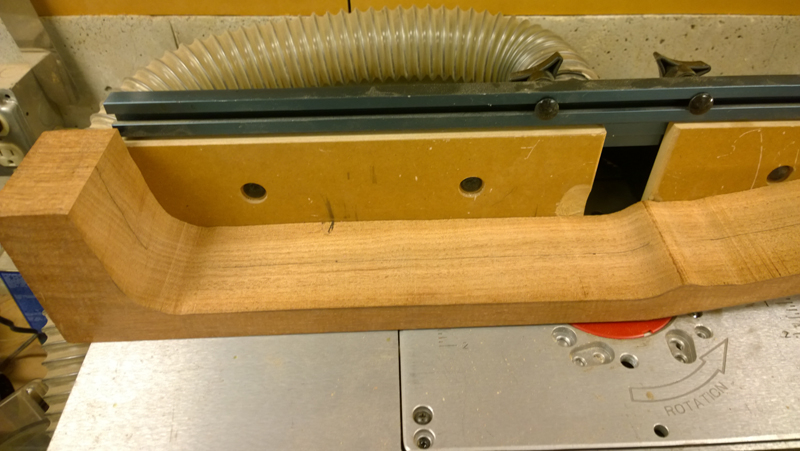
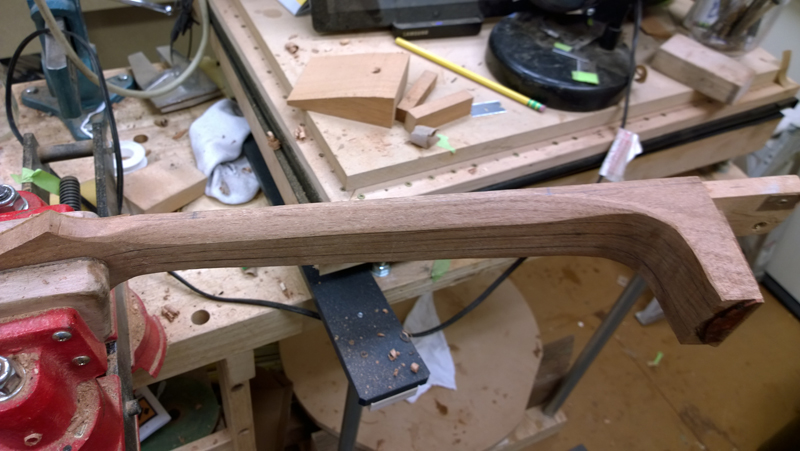
On to the neck. I will do a bit of a description in line with the pictures but I will mostly let the pictures talk. This neck is going to be a bolt on bolt off neck cut from a solid piece of mahogany. The head stock is going to be like my Gore guitar with the odd shape but the strings in line with the nut. I did modify the shape a touch to make sure that edge of the head stock was the same distance from all of the tuners.

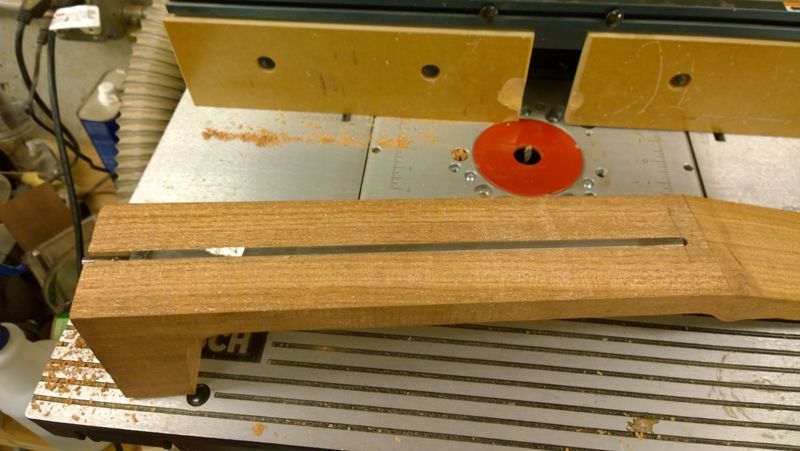
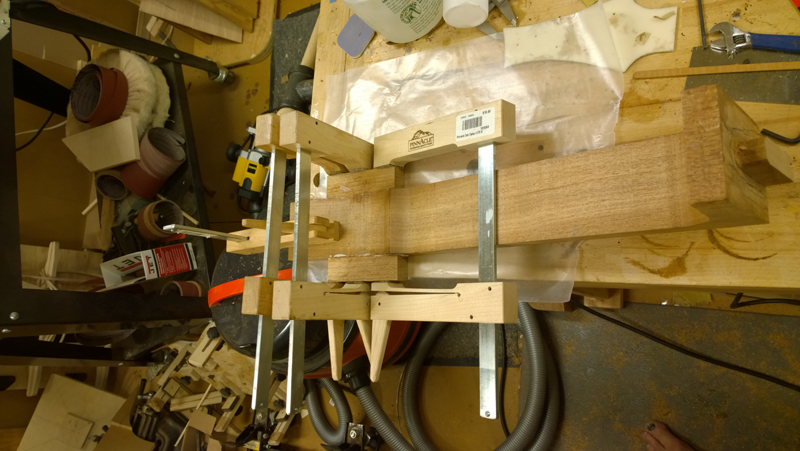
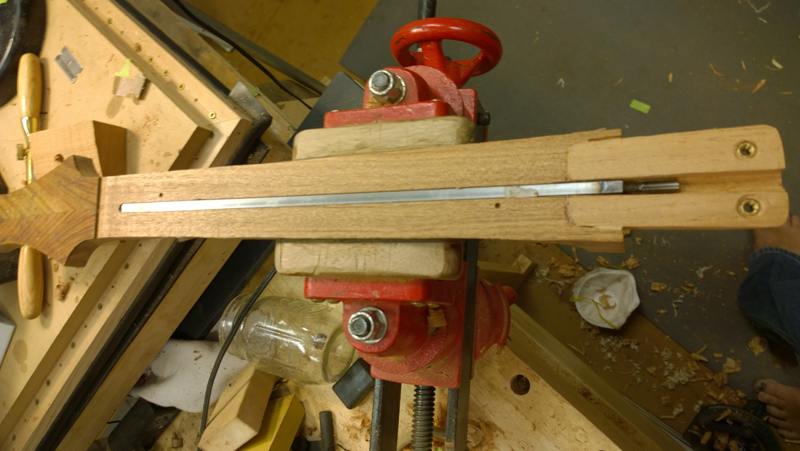
First off I rough cut a single piece neck blank out and cleaned up the faces, establishing the nut line. With the edge square to the fret board face a used my router to cut the truss rod slot. I also use some cut off from the mahogany to makes some wings as my head stock is just a touch wider then the neck blank I had.

Image

Image

Image

Image

Image

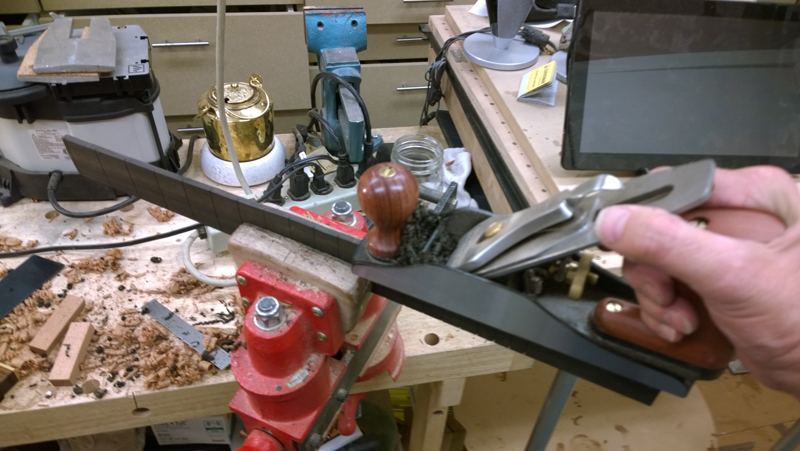
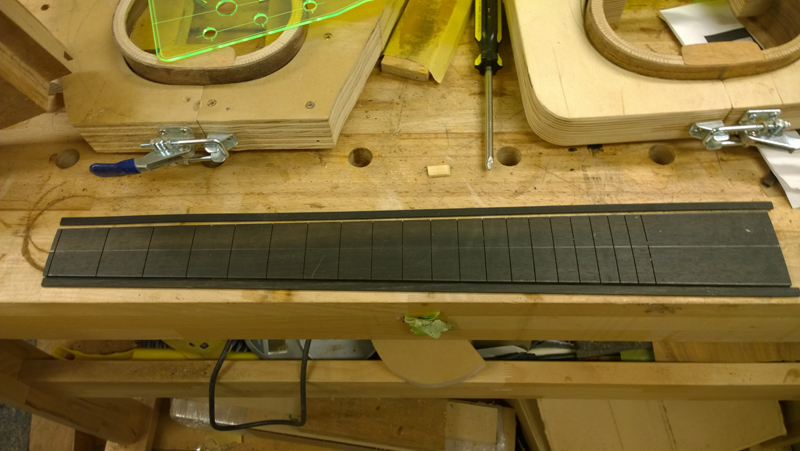
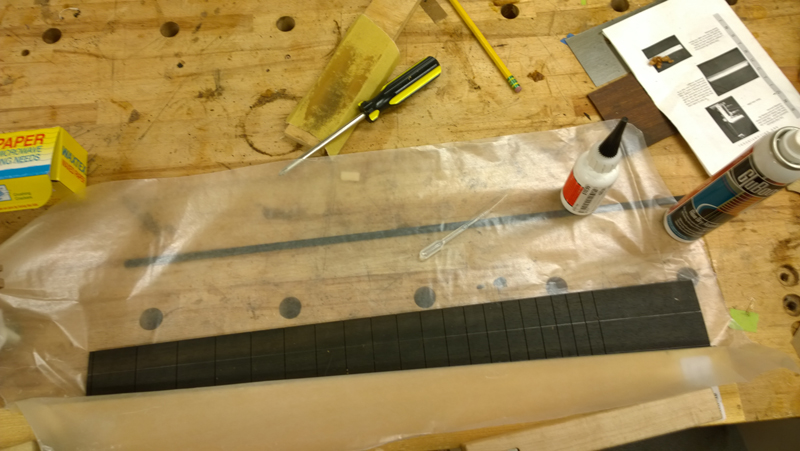
I had a slotted fret board so I rough profiled it the the size minus the thickness of some binding on a band saw. I use a plane to finish the profile to just the correct size. I tried to come up with a bunch of ways to clamp the bindings onto the fret board. But now I just clamp down a board. Hold the binding tight between the fret board and the clamped board and spot glue the binding while applying pressure. Once tacked in place I turn the fret board over and apply a line of glue the length of the binding.

Image

Image

Image

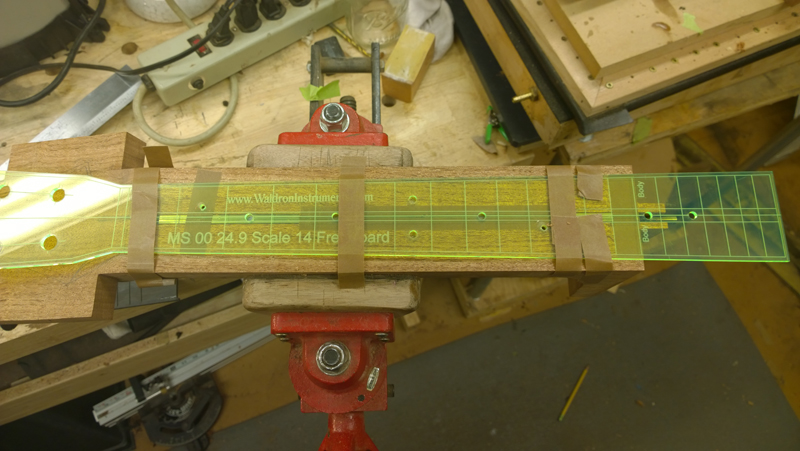
I use a template to drill matching holes for a small dowel using a template. These dowels allow me to maintain the fret board registration will working on the neck. While setting and even carving the neck I can take the fret board off and back on with the same registration. They also will help when I will glue down the fret board.

Image

Image

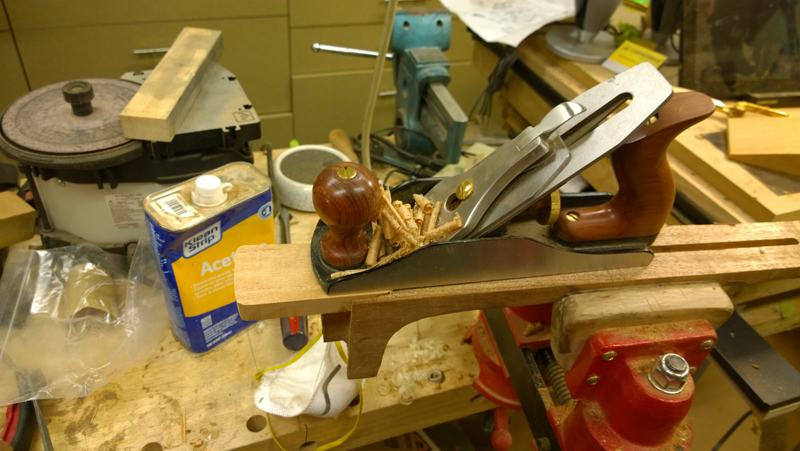
I rough cut the head stock shape, used a safe-t plane to thickness and glued on the head stock veneer. Once the head stock veneer was on I cut verry close to the profile on my band saw and used only a spoke shave and a cabinet scrapper to take it to the final shape. I finally learned how to consistently sharpen a cabinet scraper. Life is really good with a sharp scraper.

Image

Image

Image

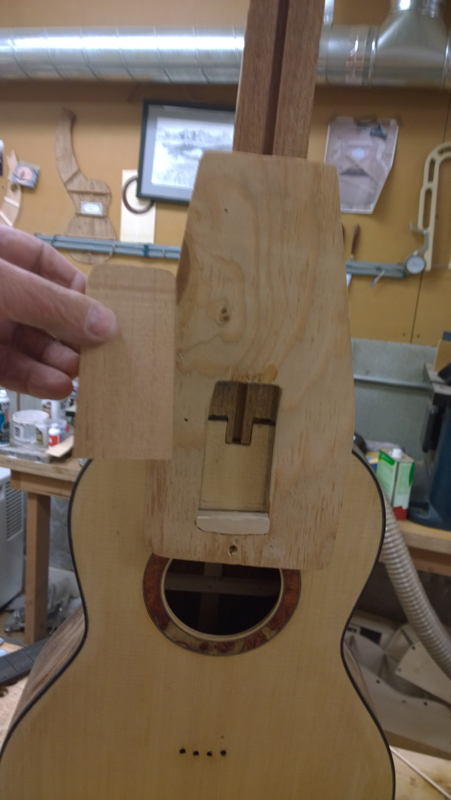
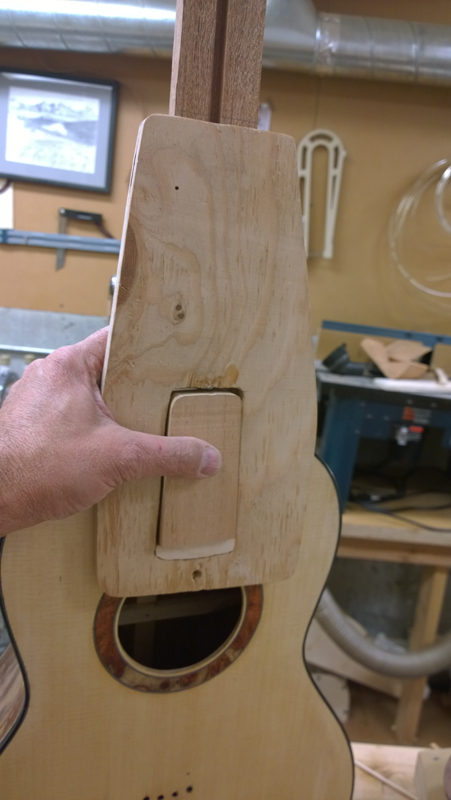
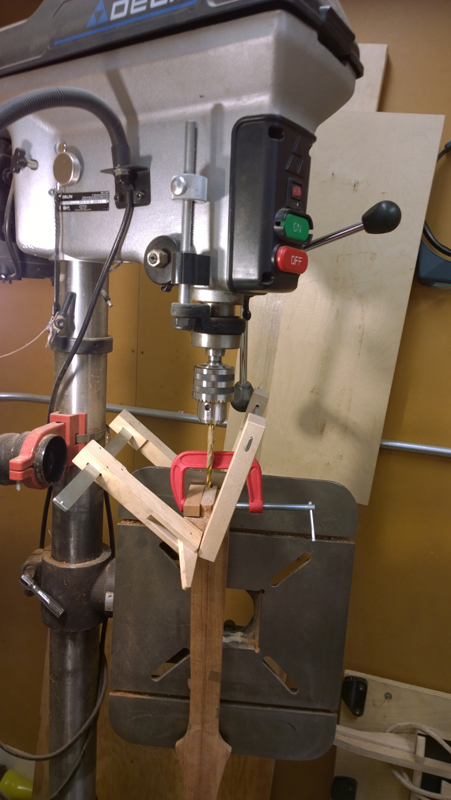
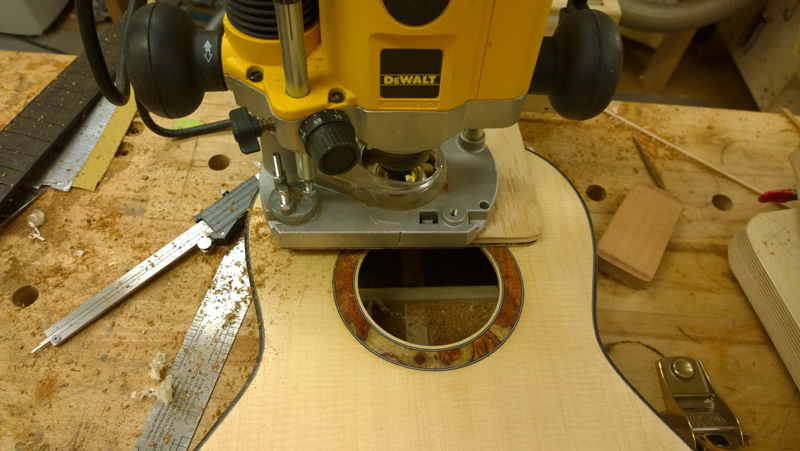
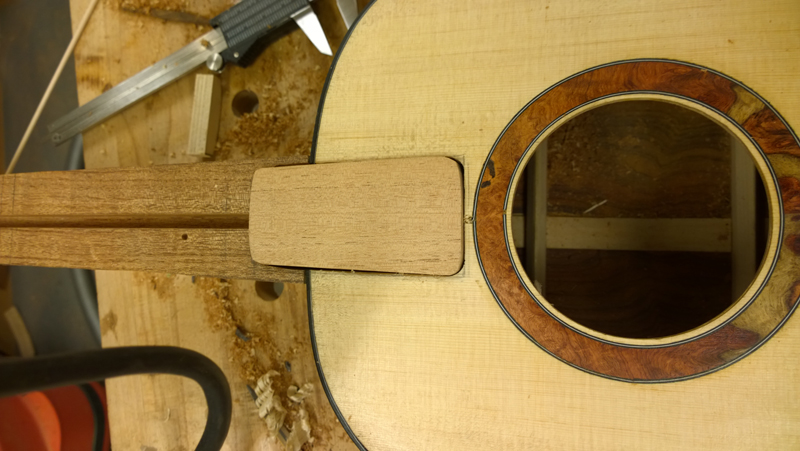
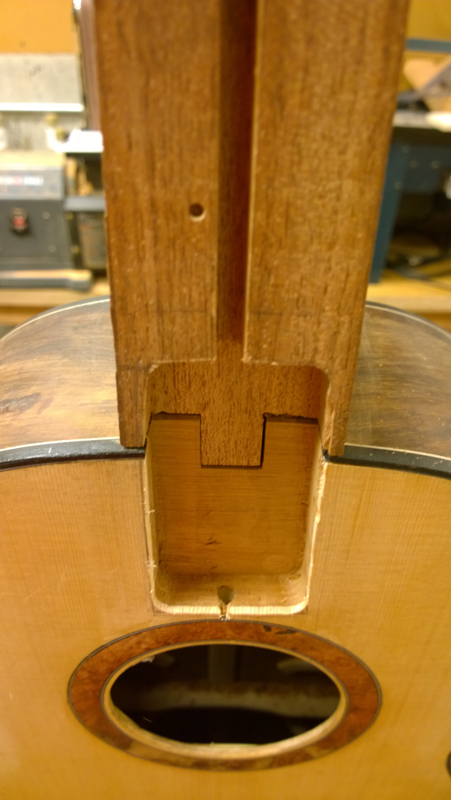
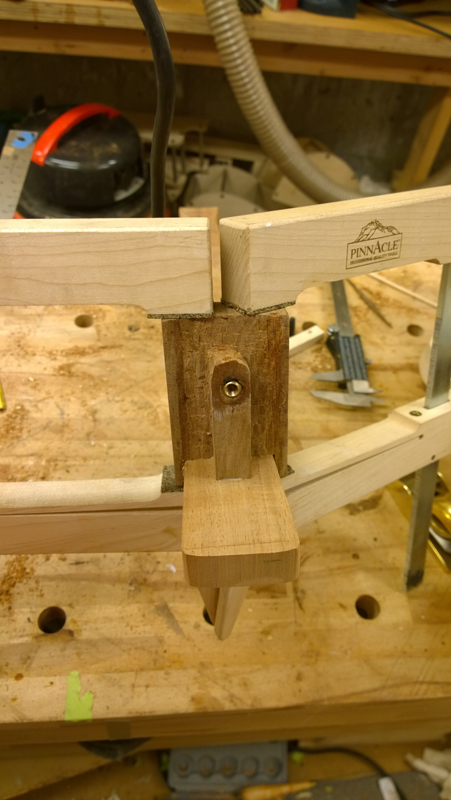
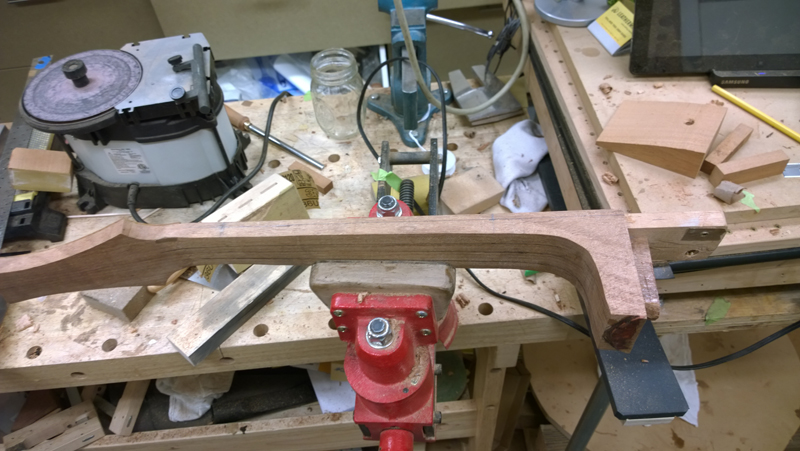
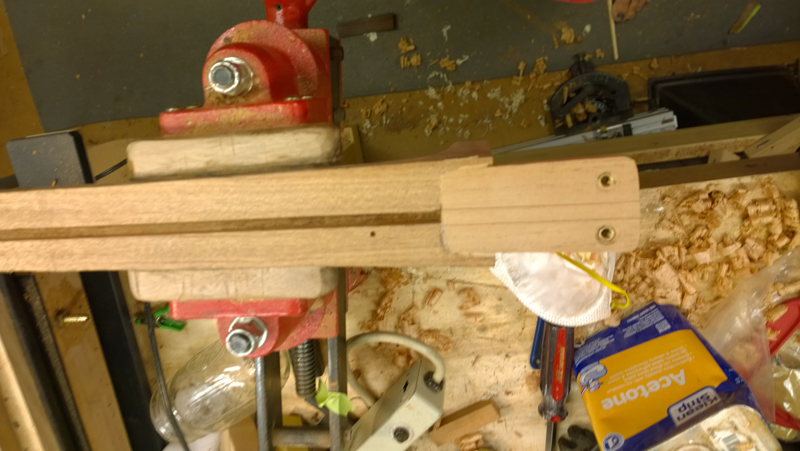
Now for the fun stuff. I reworked my neck extension routing template to work with the 14 fret neck by pressing in a small filler on the bottom and I made a matching extension. Before doing in routing a drilled the back tenon bolts of that I could have the neck bolted on while routing. By the way before routing I also made sure the neck angle was correct as that angle is getting routed into the neck extension pocket. I the past I always drilled sort of straight holes into the tenon. I finally figured out that I can drill the holes for the brass inserts with the drill press.

Image

Image

Image

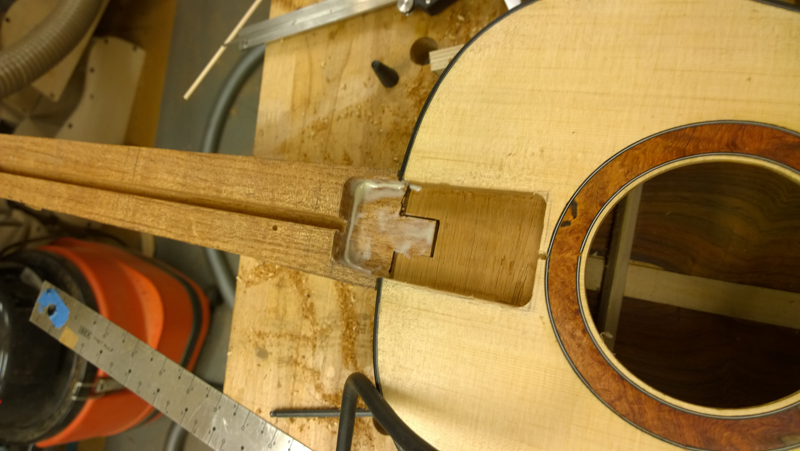
With the neck bolted on I used my truss rod slot indexed jig to cut out the pocket. I then final fit the neck extension into the pock and glued it only to the neck.

Image

Image

Image

Image

Image

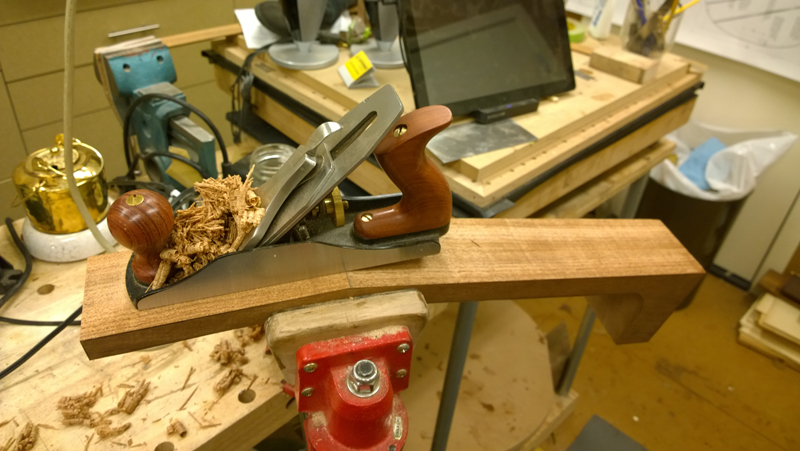
I used a bench plane to put the extension in plane with the neck. All that was left was to drill the bolt holes and the holes for the brass insert.

Image

Image

Image

Whoops I forgot to leave most of the neck square so that I could simply extend the truss rod slot on the router table. I thought of bolting down so straight guides and using a router, but ultimately I did it with a razor saw and a chisel.

Image

Image

Maybe I will have it carved by Sunday.

John Parchem
Posts: 2749
Joined: Fri Dec 23, 2011 8:33 pm
Location: Seattle
Contact:

Re: Starting to put together a 00-14 fret to the body guitar

Post by John Parchem » Sat Sep 27, 2014 3:40 pm

I was able to rough carve the neck this morning. I need to glue on the fret board before I can finish the neck but it is very close.

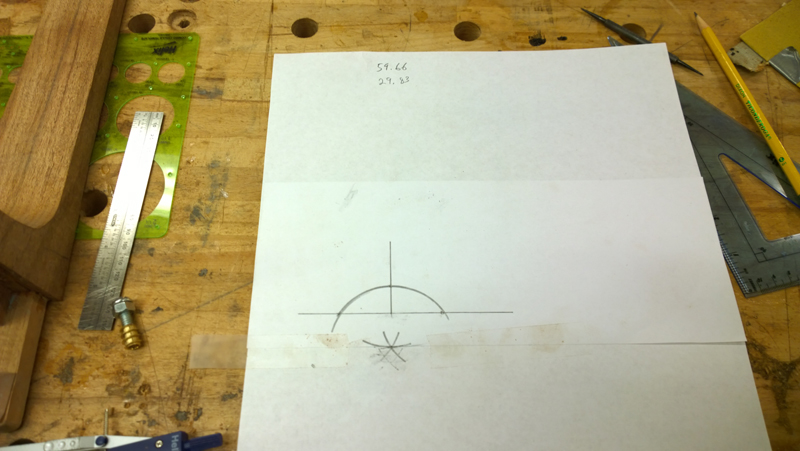
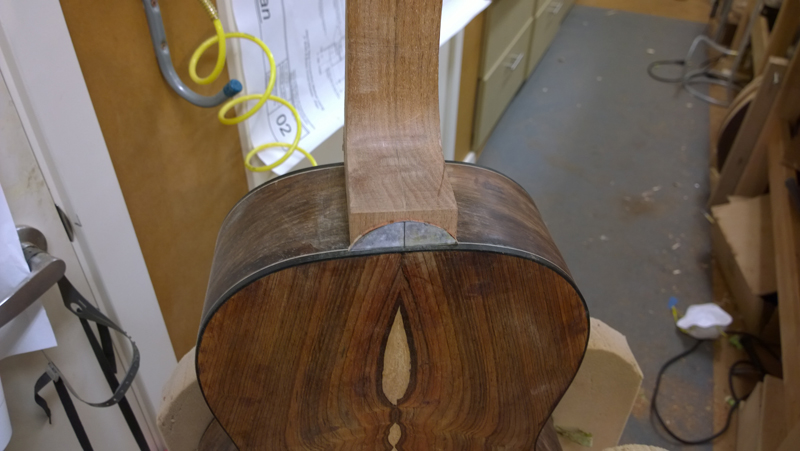
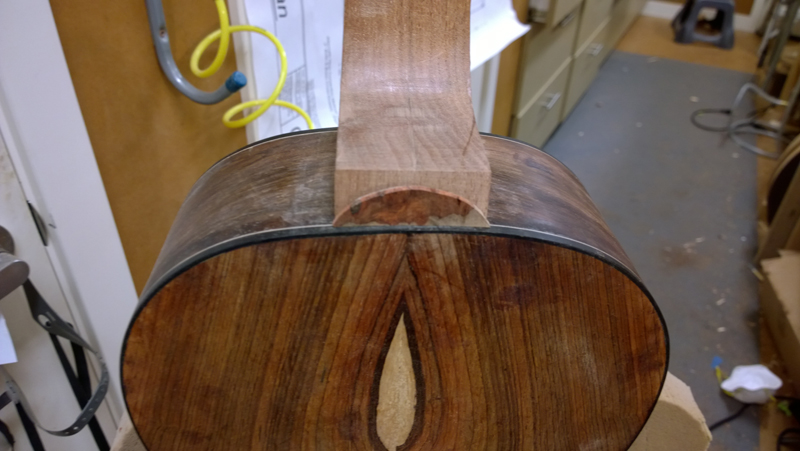
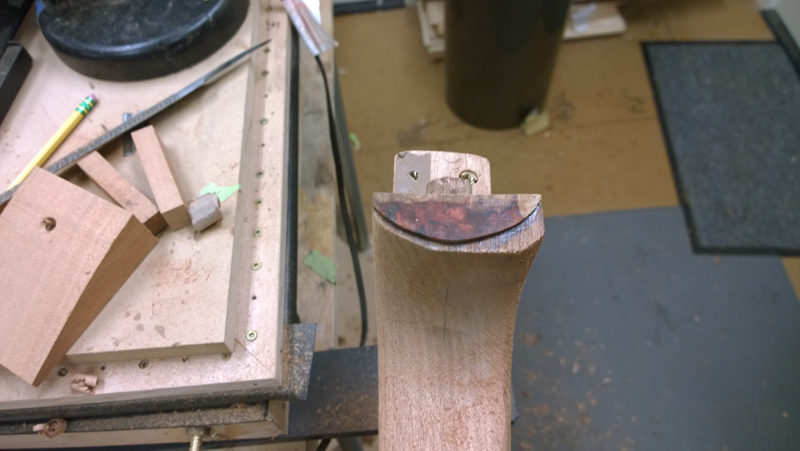
The first step to finish the neck from where I was at was to design a heel cap that would drive the shape of the heel. The heel itself is square to the face of the neck. as I am still playing around with that shape for a steel string. On my last guitar I thought the profile that I had looked a bit boxy (it basically was a rectangle with rounded corners on the top), so on this guitar I found a circle arc that gave me the three intersections I wanted.

Image

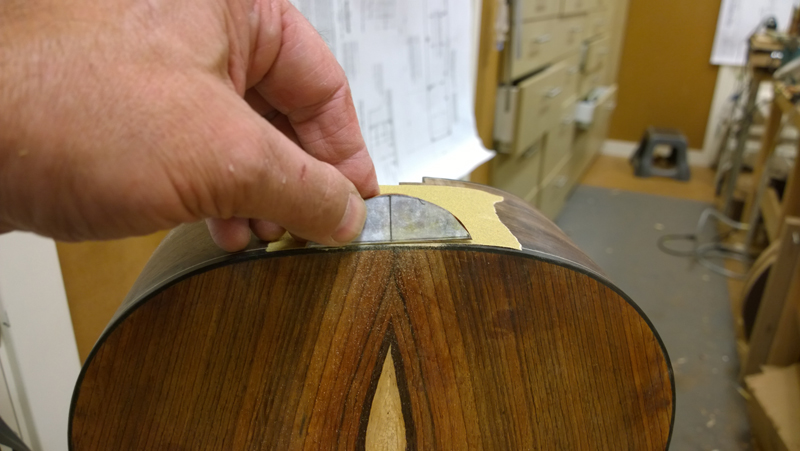
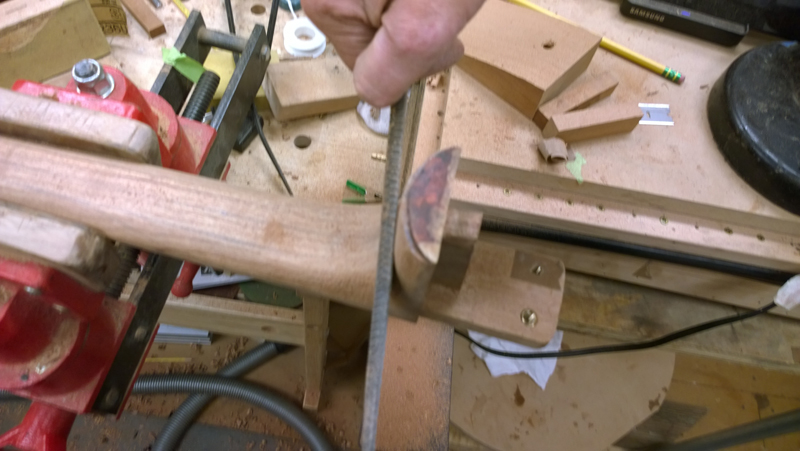
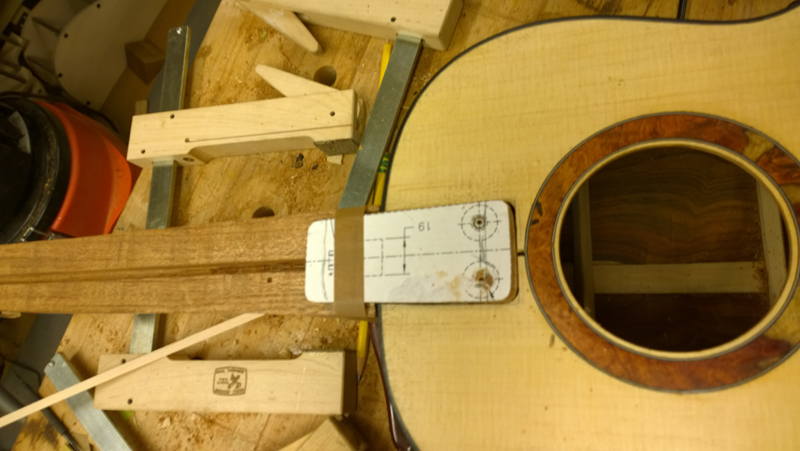
I transferred my shape to a bit of amboyna burl I had and gut and sanded it to shape. This was one of the first guitars that I maintained the curve on the top of the guitar body. In the past I glued the sides to a flat heel block. Maintaining the curve has interesting side effects. For example if I had used a classical heel shape, properly fitted heel cheeks would have had to follow that curve. (Part of the reason I have the squared off heel). In this step I had to put the curve into the bottom of the end cap before gluing it down. Not really shown but to assure that I had the proper fit when gluing on the end cap I glued it while the neck was bolted to the guitar body. I sprayed CA accelerator on to the bottom of the heel, clamped the heel cap in place and wicked in CA from the top of the heel cap. The accelerator made sure that the CA stopped before gluing the cap to the body.
Image

Image

Image

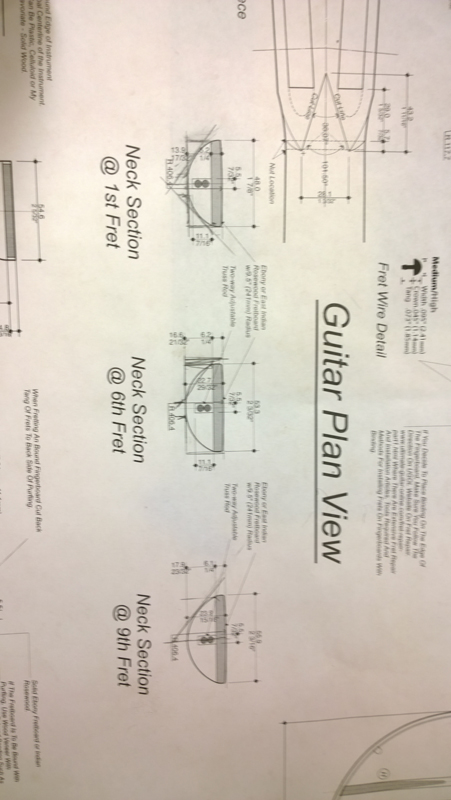
With the cap in place I could draw out my carving lines onto the neck. I already had the neck properly tapered. For the neck shape I decided to match what the plans that I had. They had a profile for the 1st and 9th fret so I boxed in the profile and drew in a tangent line using a fixed distance from the fret board line and the neck profile. I transferred the measurement from the center line to where my tangent line intersected the boxed in profile line. The pictures may be clear than my description.

Image

Image

Then I used my spoke shave and sharp cabinet scraper to carve the facets that I laid out on the plan. Some also lay out all the secondary facets, I find that once the large facet is carved the required secondary and tertiary facets are easy to see by eye.

Image

With the neck mostly carved I went to the heel and used a rasp to shape the heel to the end cap and to bend the heal into the rest of the neck.

Image

Image

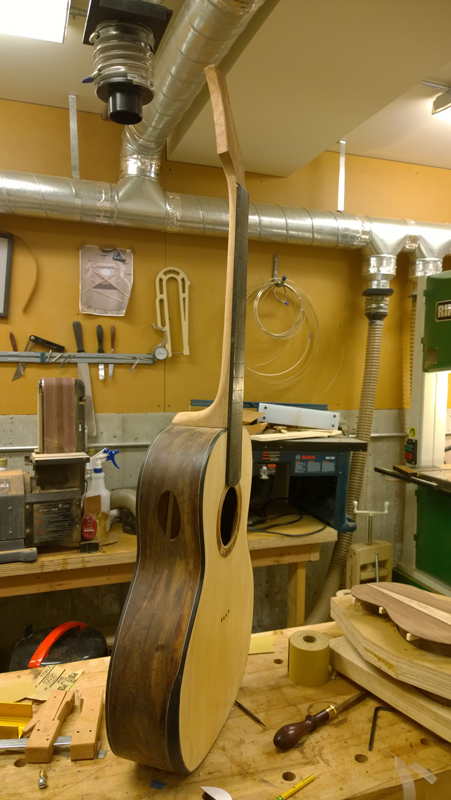
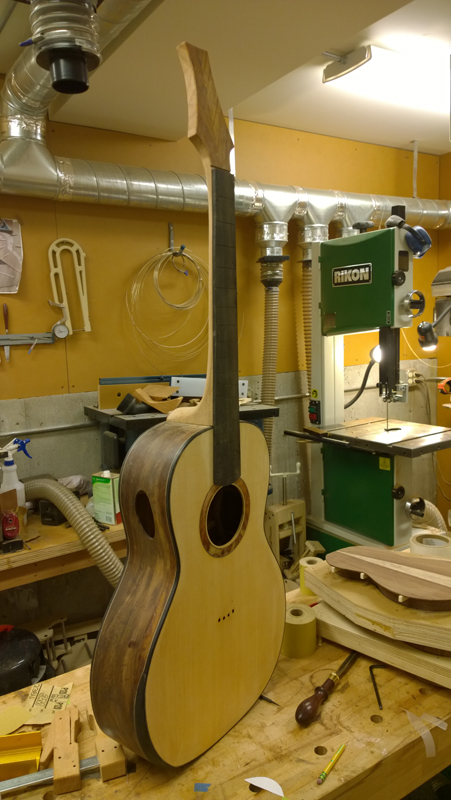
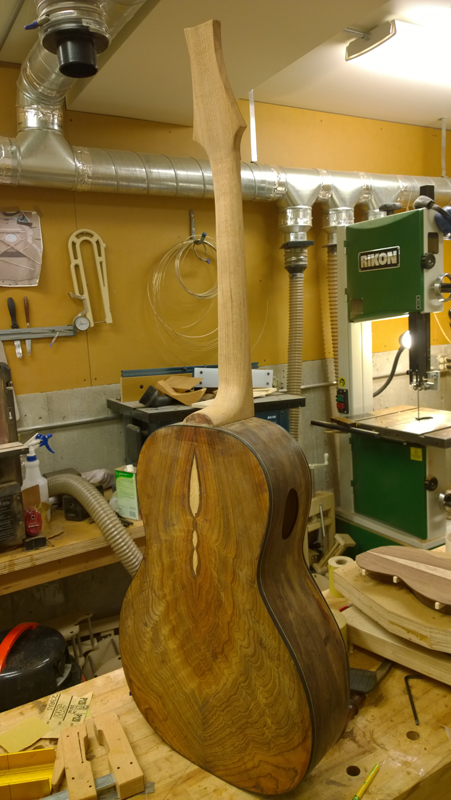
Now it is starting to look like a guitar

Image

Image

Image

John Parchem
Posts: 2749
Joined: Fri Dec 23, 2011 8:33 pm
Location: Seattle
Contact:

Re: Starting to put together a 00-14 fret to the body guitar

Post by John Parchem » Fri Oct 10, 2014 11:28 pm

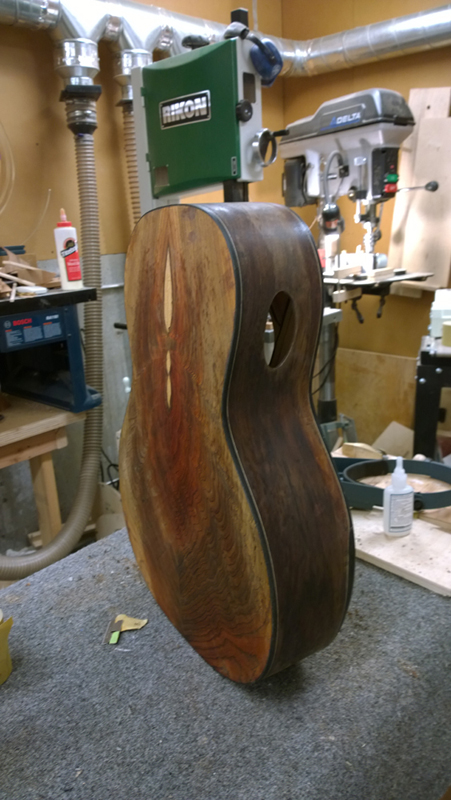
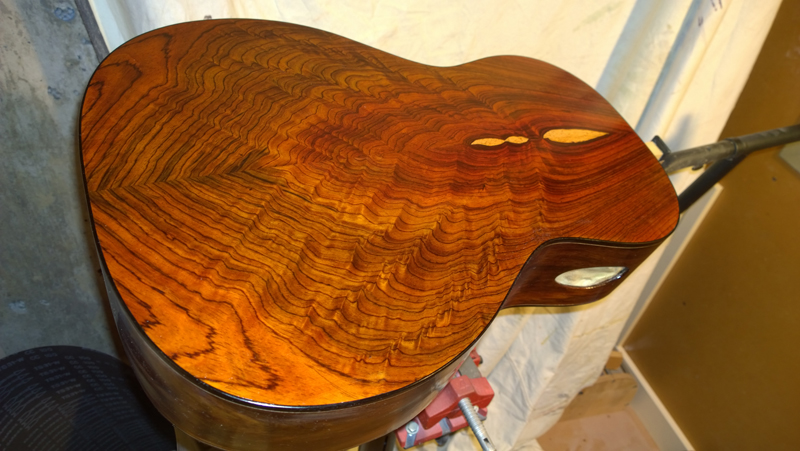
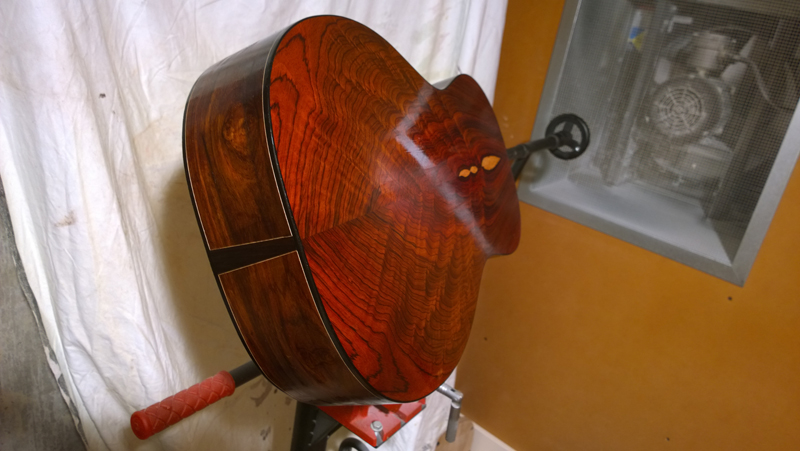
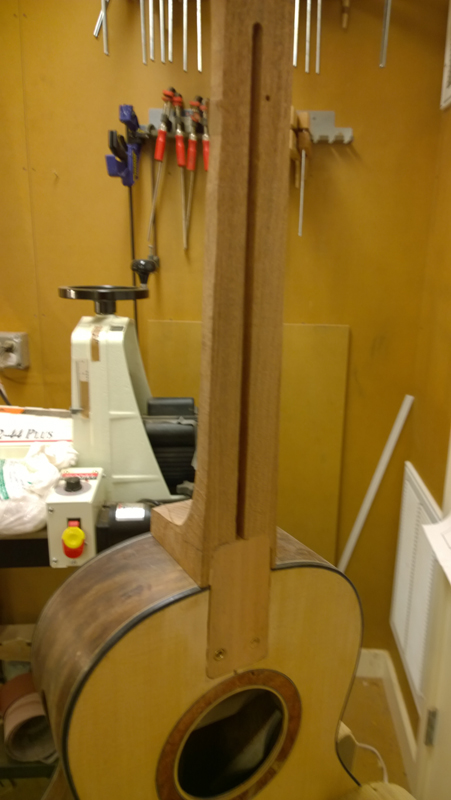
It is always fun when I put the zpoxy on to fill the pores. I get to see all of the color and grain pop. I still need to make and install a logo, but I will be spraying this weekend.
Image

Image

Image

Image

whoops there goes another bottle of Everclear.

Post Reply