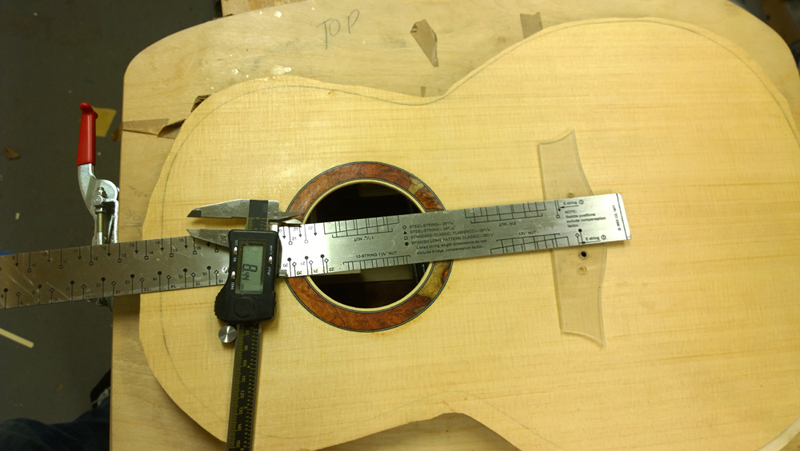
cont... 00-14, with strings

Show us how your current project is progressing
John Parchem
Posts: 2746
Joined: Fri Dec 23, 2011 8:33 pm
Location: Seattle
Contact:

Re: Starting to put together a 00-14 fret to the body guitar

Post by John Parchem » Mon Aug 18, 2014 9:50 am

Herman wrote:John, Drilling those bridgepinholes first and making the guitar around it. Isn't that scary? There is no room for corrections on the neckjoint and nutposition left.

The only way you can cheat a little is the size/form of the bridge and choosing the scalelength afterwards. Or do I overlook things?
Herman
Herman,

That is mostly true, I can fudge the 14th fret up or down a mm or so without it becoming an obvious mistake, and I have about a mm to play with on the bridge with regard to saddle position (.5mm up or down from the ideal). The positioning of the saddle would require that I move the the nut position up or down to correspond with my fudging. No big deal as I have not made the neck yet. Next, I need to be careful when I glue on the transverse brace as the transverse brace tucks right up to the neck block extension and will help set the correct position of the top.

John Parchem
Posts: 2746
Joined: Fri Dec 23, 2011 8:33 pm
Location: Seattle
Contact:

Re: Starting to put together a 00-14 fret to the body guitar

Post by John Parchem » Wed Aug 20, 2014 8:39 pm

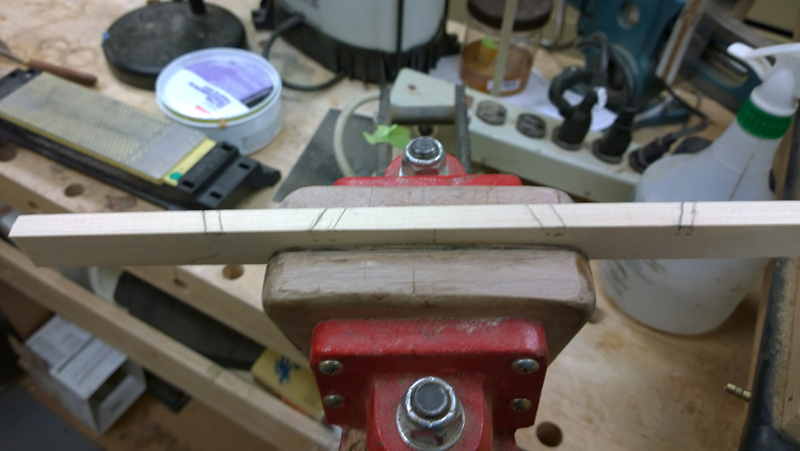
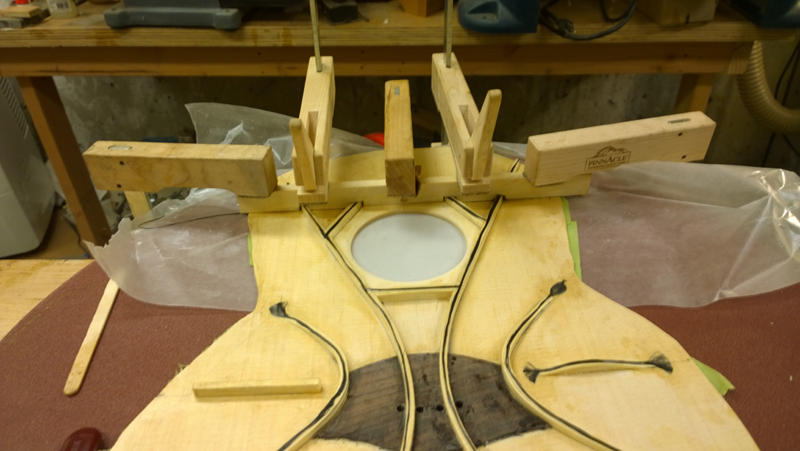
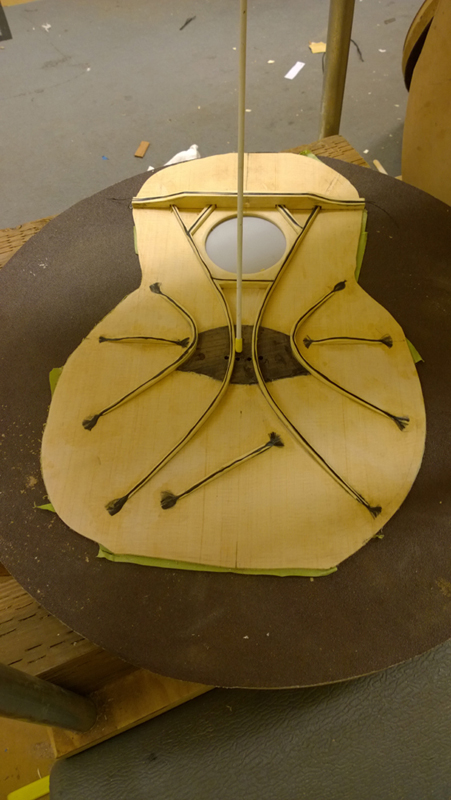
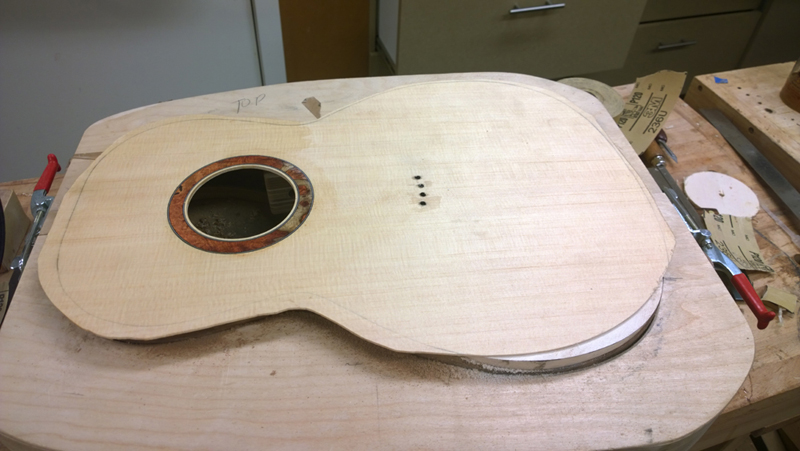
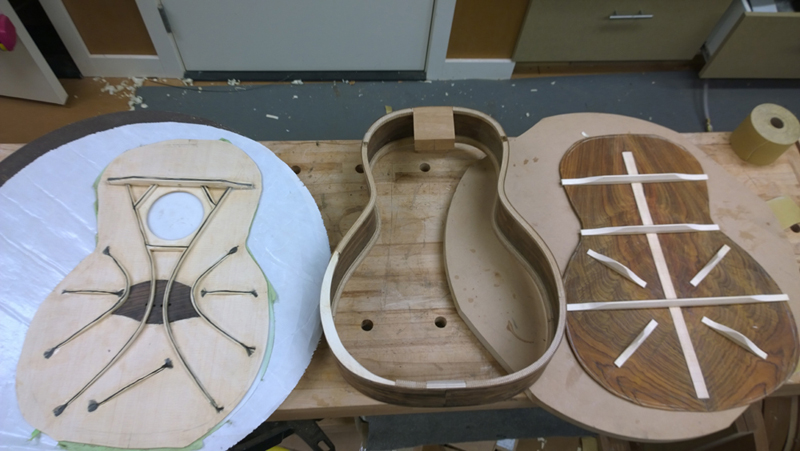
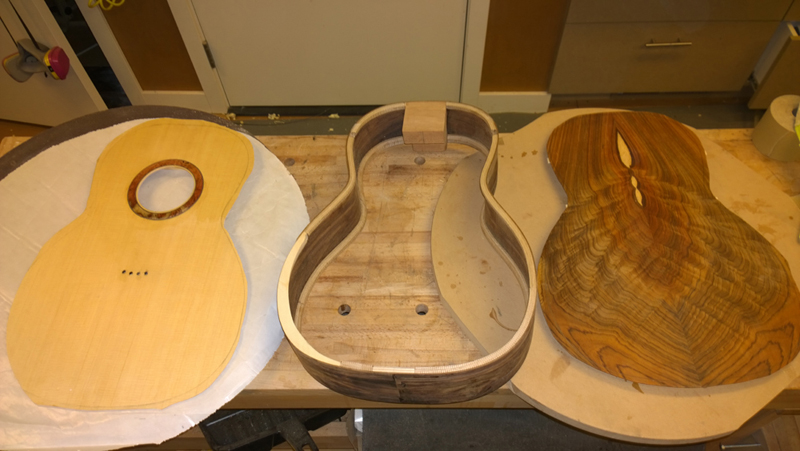
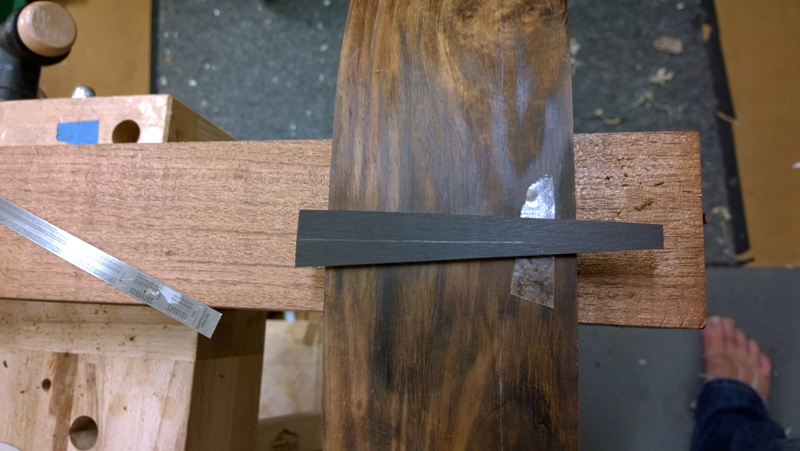
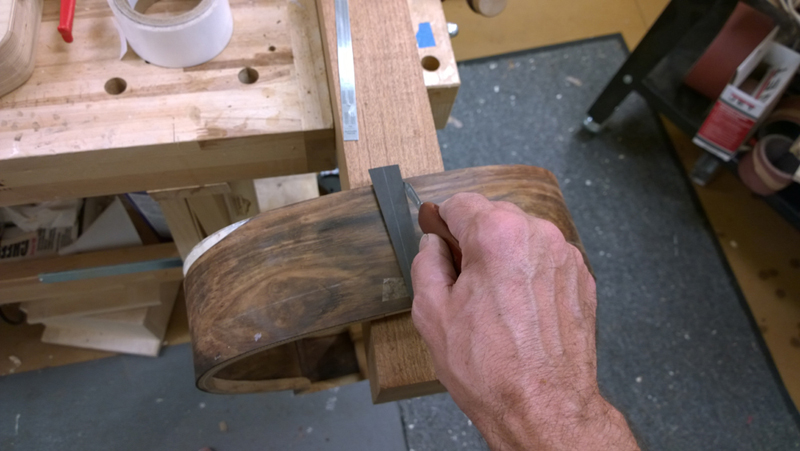
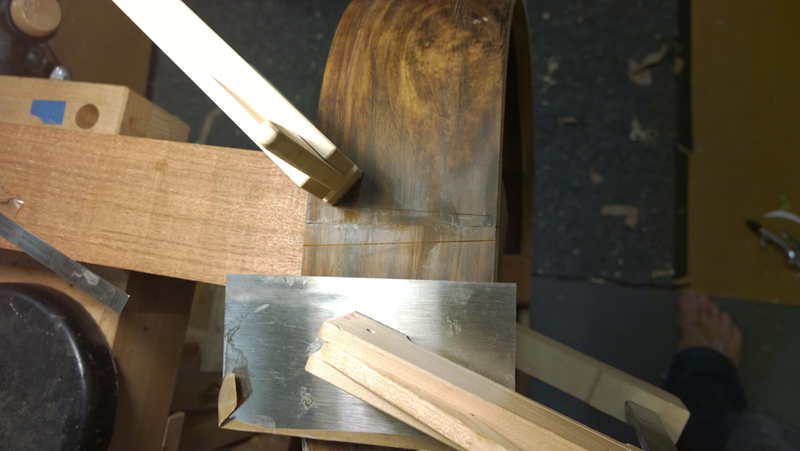
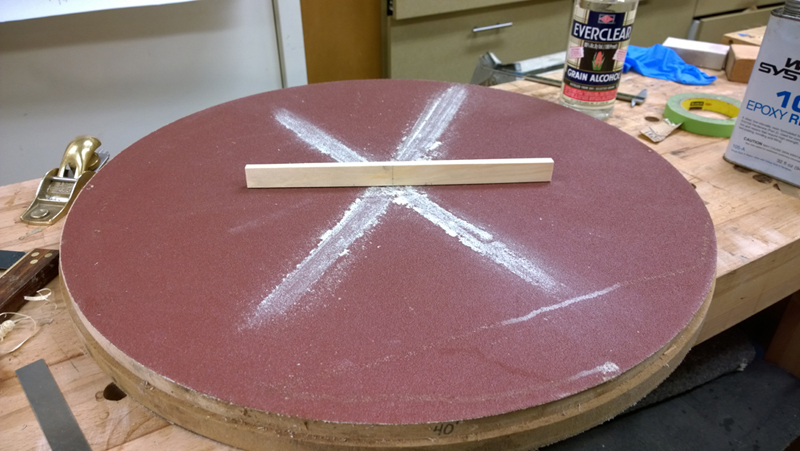
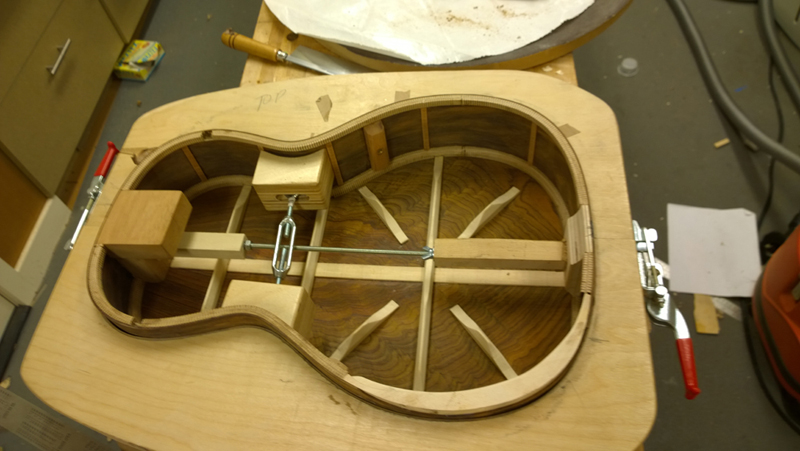
I made a bit of progress, making and epoxying the the transverse brace to the top. The top of the rims have been sanded to a 32 foot radius, I put a 40 foot radius on the transverse brace and used a plane to knock down the center of the brace flat for the fret board extension. This means I also have to flatten the neck block extension as well. I have found that the 32' radius gives me too much of an angle.
Image

Image

Image

Image

You can see the top on the rims and the arm bevel substrate.

Image

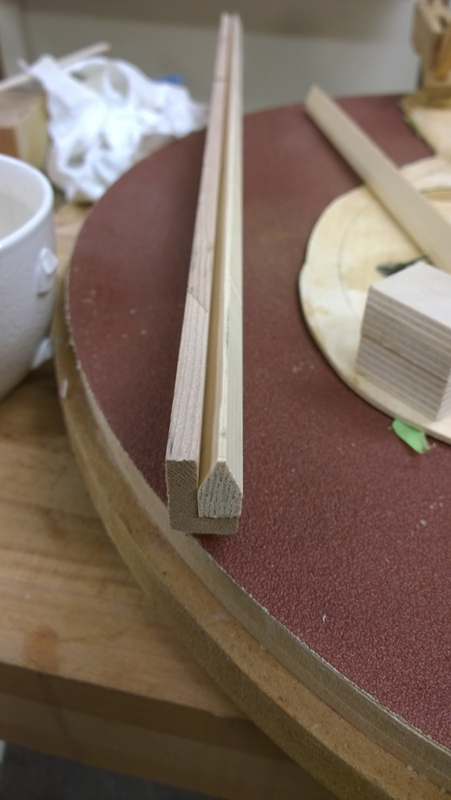
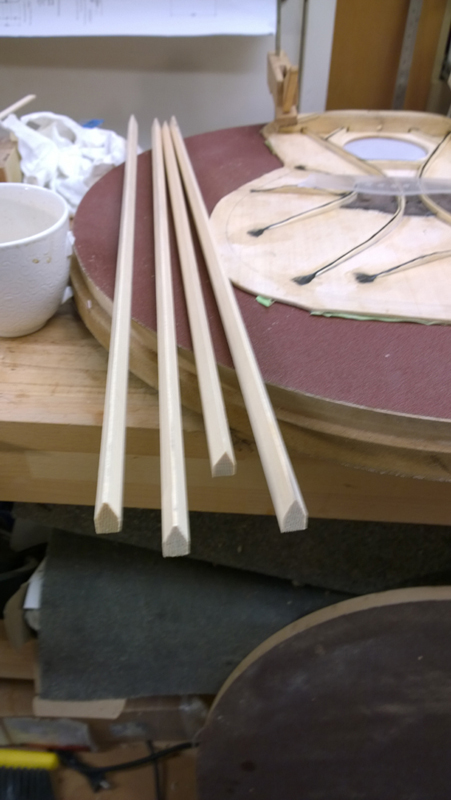
I also built and used a jig to prepare back braces with a pointed house like profile. I got this technique from the build volume of the Gore\Gilet Contemporary Acoustic Guitar Design and Build books.

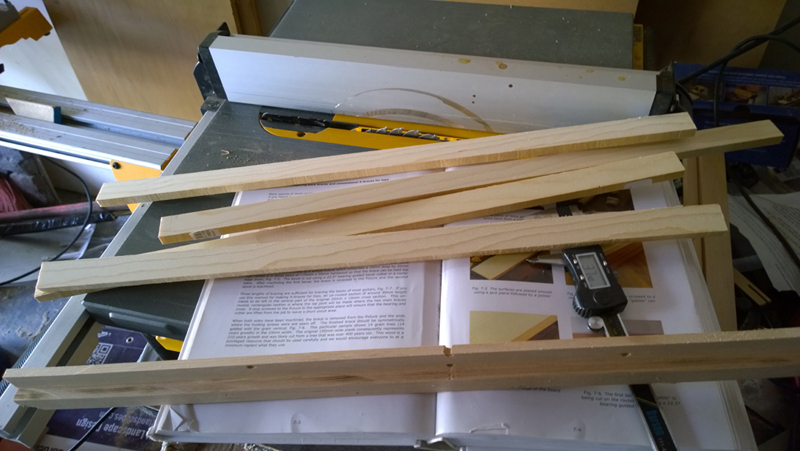
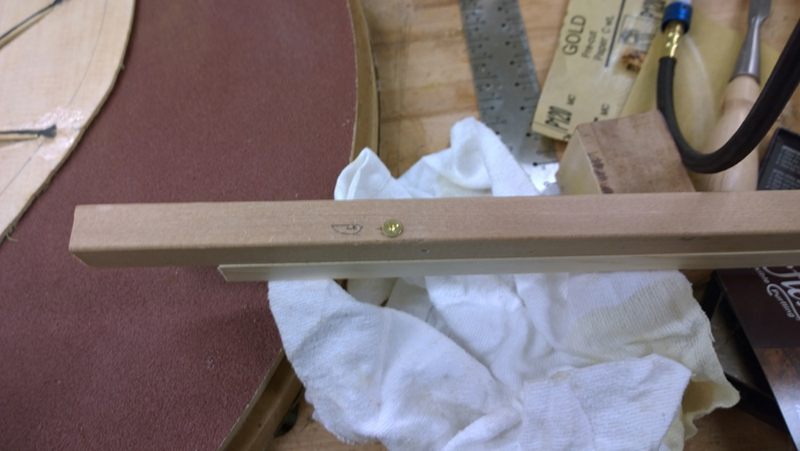
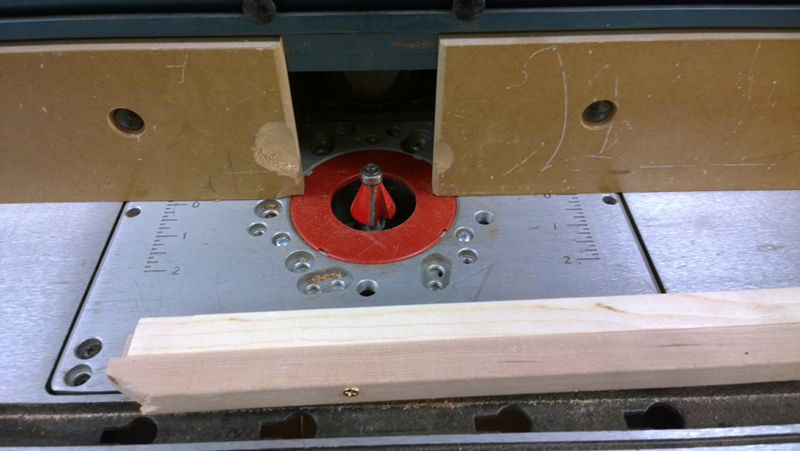
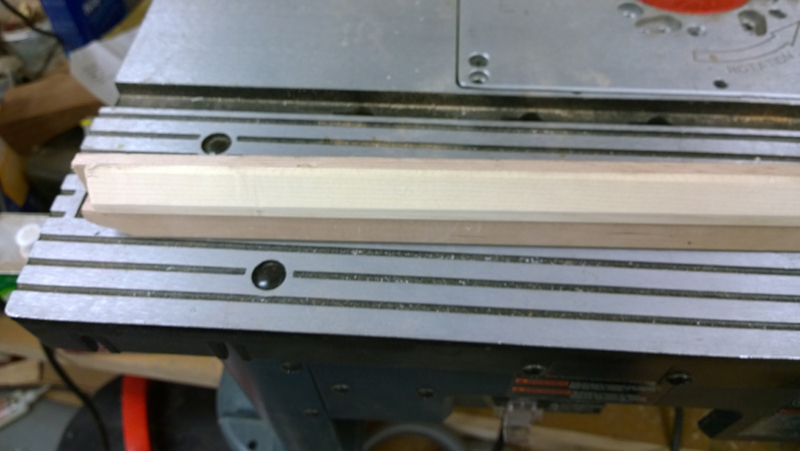
I cut the brace wood and made the jig on my table saw. The jig is just board with a 10 mm by 20 mm rebate cut in it. It is used to hold 10 mm wide by 20 mm tall brace stock so that it can be shaped with a 22.5 degree chamfer router bit. I screw the dimensioned brace stock in to the jig; route one side top of the brace down, flip the brace in the jig to the other side and route. I use this size for allmost all of my back braces and I have been hand planing each piece. So even with the initial cost to setup the task went faster. Now I can knock them out fast.

Easier to see in pictures:

Image

Image

Image

Image

Image

Image

John Parchem
Posts: 2746
Joined: Fri Dec 23, 2011 8:33 pm
Location: Seattle
Contact:

Re: Starting to put together a 00-14 fret to the body guitar

Post by John Parchem » Thu Aug 21, 2014 7:33 pm

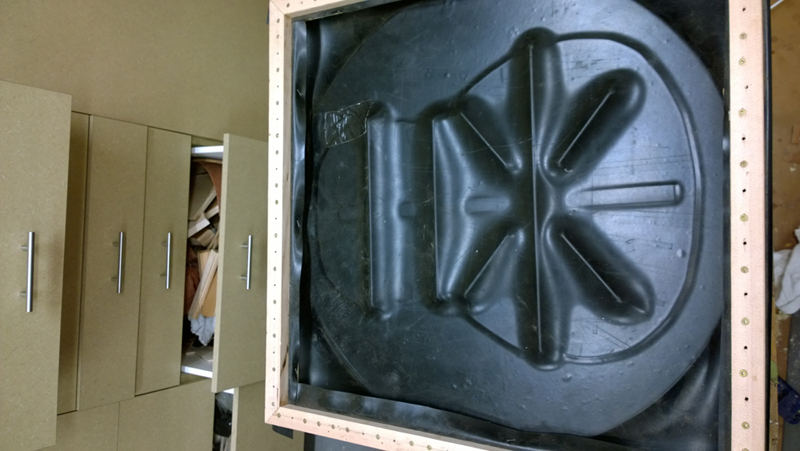
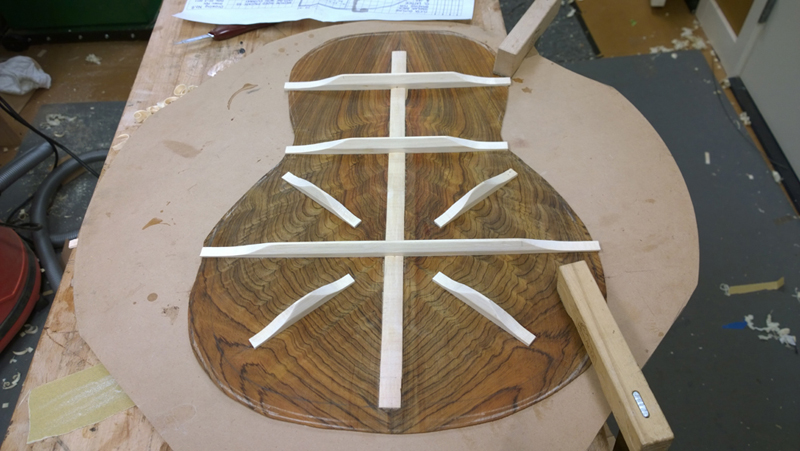
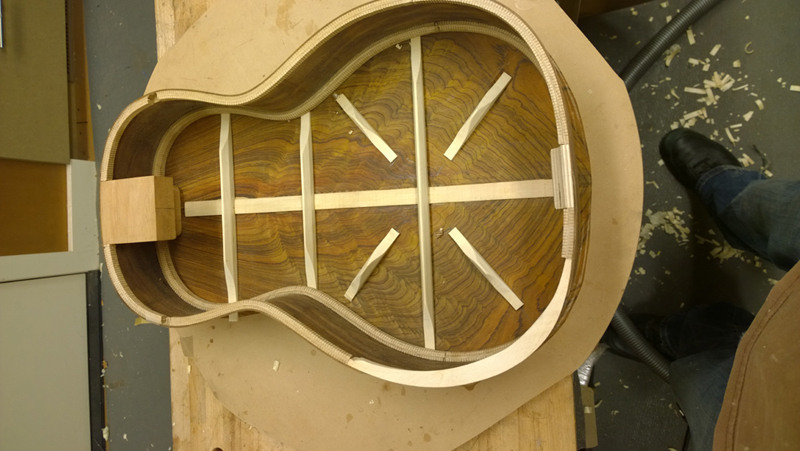
I cut the back braces to length, put a 15' radius on them, glue the mess up in my vacuum box, and tapered the ends. I just have a little bit of work to do on the rims and I can close this guitar.

Image

Image

Image


Image

Image

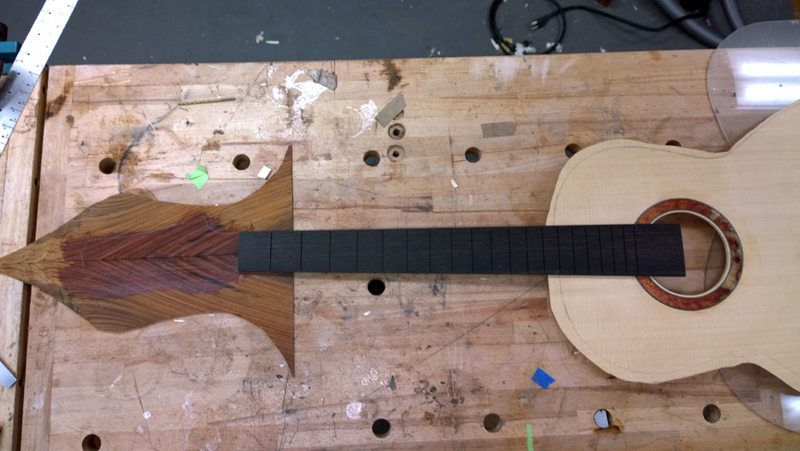
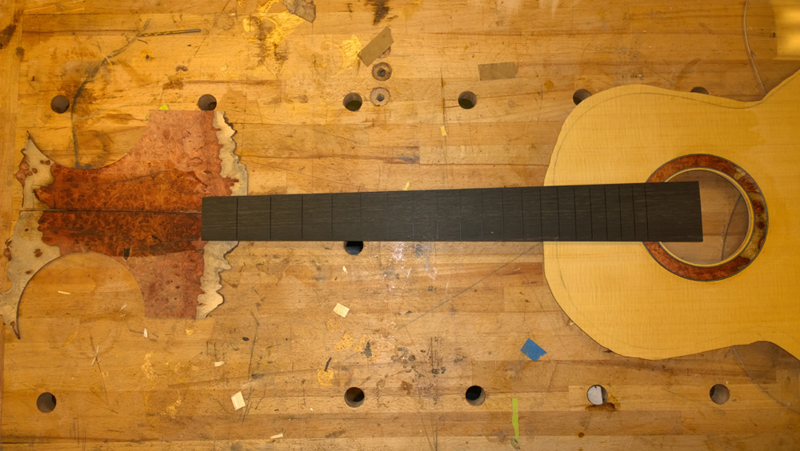
When I trimmed the back, I sort of liked the cut offs and am considering using it for the head stock veneer. A bit of blond shellac sort of pulls things together color wise. The bindings and the arm bevel are going to be ebony.

Image

My original thought was to use the cutoff from the rosette.

Image

I will give it some thought but I am open to input.

Kevin in California
Posts: 2799
Joined: Mon Dec 19, 2011 4:19 pm

Re: Starting to put together a 00-14 fret to the body guitar

Post by Kevin in California » Thu Aug 21, 2014 8:01 pm

Use the burl! Awesome!

John Parchem
Posts: 2746
Joined: Fri Dec 23, 2011 8:33 pm
Location: Seattle
Contact:

Re: Starting to put together a 00-14 fret to the body guitar

Post by John Parchem » Tue Aug 26, 2014 7:54 pm

I was leaning toward the burl as well but the guy I am building the guitar for really likes the cocobolo set I am using and wants to use the back cut off. I do plan to flip it so the V runs up and out. I think it will look good.

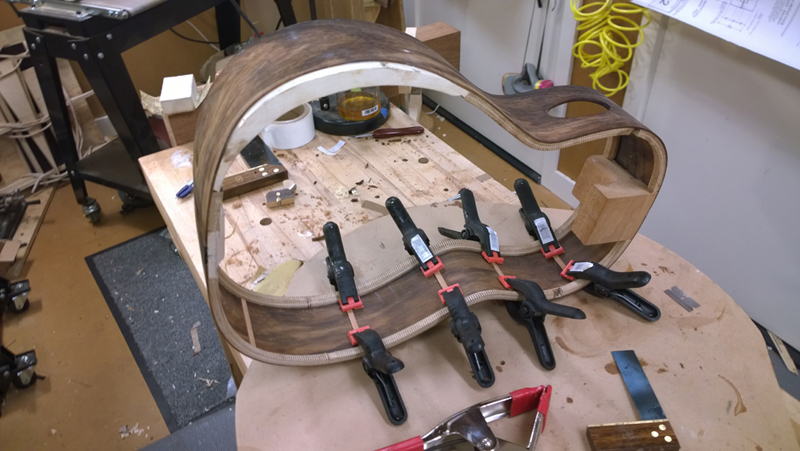
I finally have the guitar ready to close. Moving forward from the last post I needed to install the end wedge, side reinforcements, and two mounts that will allow me to add mass to the sides. If needed I can lower the top resonance with little change to the air and back resonance by adding side mass.

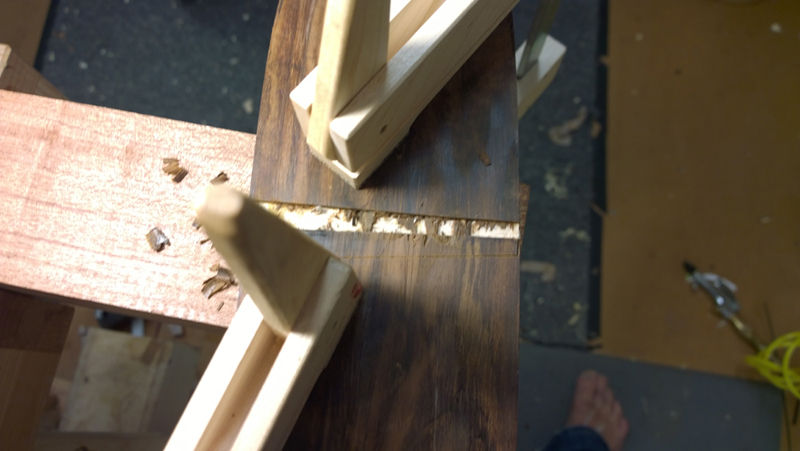
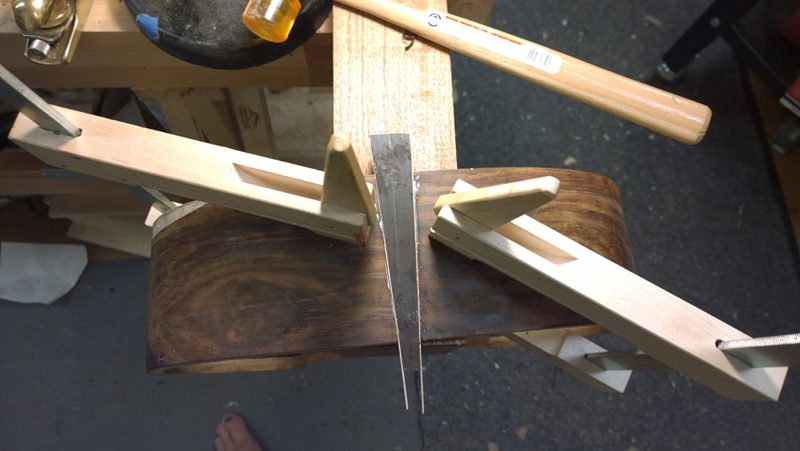
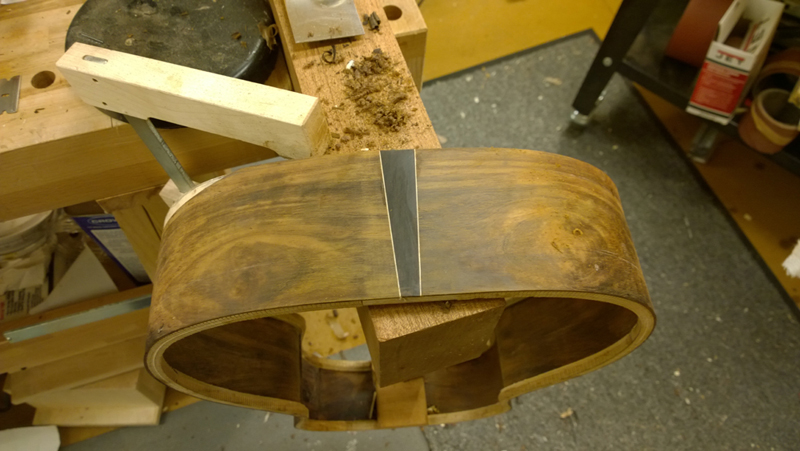
I went back to installing the end wedge before installing the back and top. I was convinced to wait until the box was closed for the last guitar, but I found it to scary to cut the wedge in to the top and back. Cut a little too deep and the cut is viable in the top and or back. To install I cut out the wedge and double stick tape it into position on the tail. I cut pretty deep with a scalpel and then while protecting the sides cut the rest of the way with a razor saw. I chisel all the way to the end block.

Image

Image

Image

Image

To set the wedge in I just tap into place with glue and the purfling. All and all I like the way the African Blackwood looks with the cocbolo and it will match nicely with the ebony bindings I am using.

Image

Image

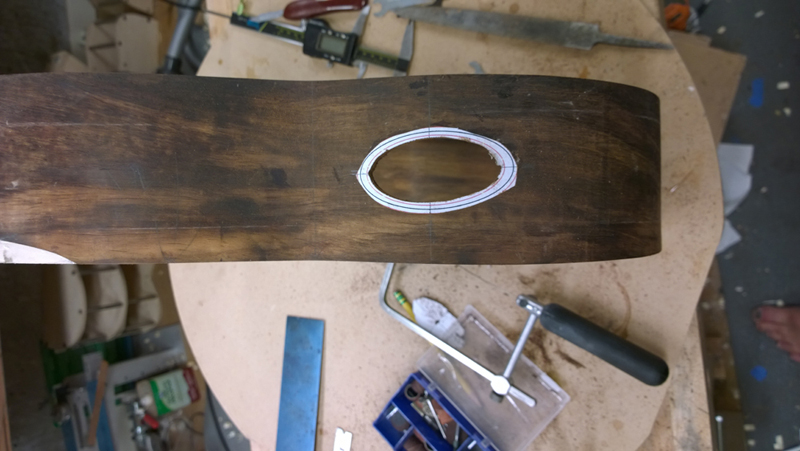
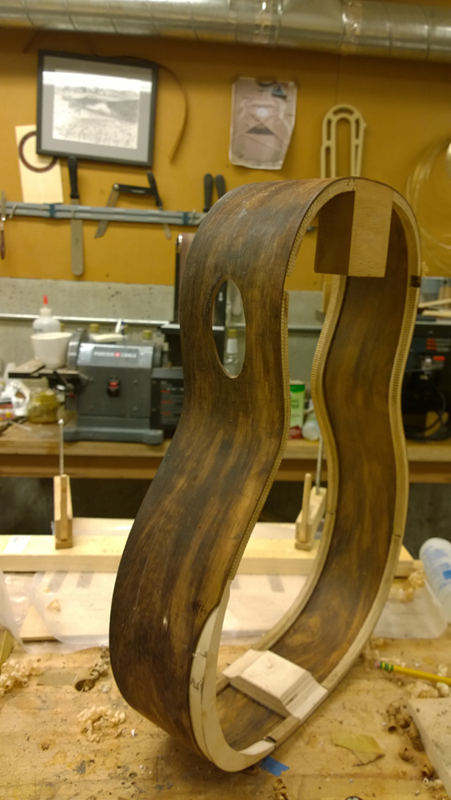
I reinforced the sides to install a side sound port with a piece of scrap East Indian Rosewood. While it will be hard to see, it will blend with the cocobolo and will let me get away without binding the sound port. I used LMI glue to glue a paper pattern of the sound port into position. I drilled a couple of holes and used a jig saw to cut close to the line I wanted to use in the pattern. I cleaned up the cut with a rasp and sand
paper, slowly working to the line.

Image

Image

Image

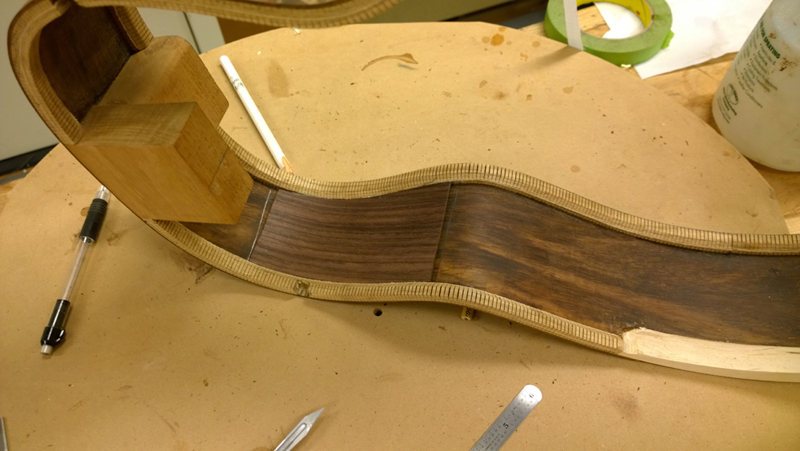
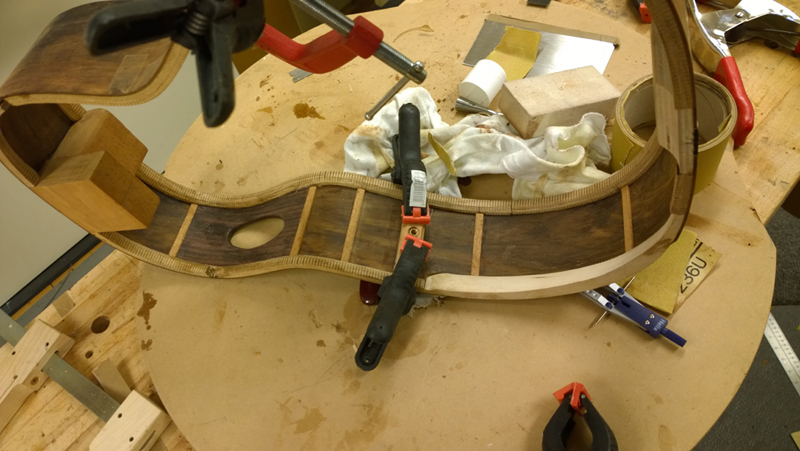
With the hard stuff out of the way I glued down some reinforcement strips and the weight mounts that I made and routed the rebates for the back braces. I cleaned up the inside of the rims to 320 grit sandpaper. The sound port makes it easy to look into the guitar so I thought I should clean it a little better than I usually do.

Image

Image

Image

I will sleep on it before I close the box, back first. I have rechecked the top geometry and made sure that the bridge is set for a short scale 14 fret guitar. So far everything looks good.


Image

Kevin in California
Posts: 2799
Joined: Mon Dec 19, 2011 4:19 pm

Re: Starting to put together a 00-14 fret to the body guitar

Post by Kevin in California » Thu Aug 28, 2014 1:28 pm

John so you've pre-drilled some pin holes in the top for bridge placement, so when you attach that top you have to be very precise so your bridge/saddle comes out exactly right. Sounds precarious to me. Why not wait and position it after the box is closed like you might on another guitar build? Did I miss something along the way on that?

Kyle Barbour
Posts: 230
Joined: Fri Dec 23, 2011 10:37 pm
Location: Glen Burnie Md

Re: Starting to put together a 00-14 fret to the body guitar

Post by Kyle Barbour » Thu Aug 28, 2014 2:54 pm

Wow, that's looking great! As far as the peg head, I think it would be cool to use the burl on the front to match the rosette burl and the cut offs on the back of the peg head.
Kyle

Post Reply