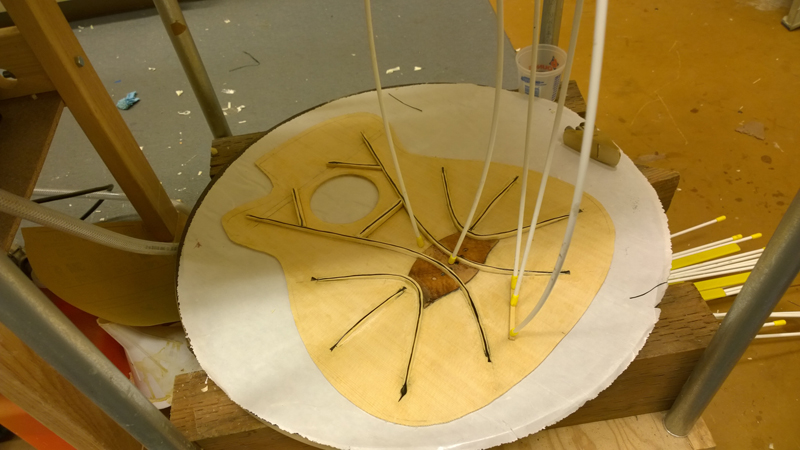
continuing build thread for Gore Medium body SS

Show us how your current project is progressing
John Parchem
Posts: 2754
Joined: Fri Dec 23, 2011 8:33 pm
Location: Seattle
Contact:

Re: Start of build thread for Gore Medium body SS

Post by John Parchem » Mon Mar 31, 2014 1:05 am

I have been working my way up toward the more interesting aspects of this guitar. Building jigs and forms is not my favorite thing and if there are templates, bending forms and molds available I will happy give the fine people who make them my business. Like the harp ukulele I made I am in the situation where I need to make the entire set of templates, molds and bending forms. Thank goodness for the copying shop, I made copies of the plans, cut them up, glued them to the plywood or Plexiglas and went to work with my band saw and sanders.

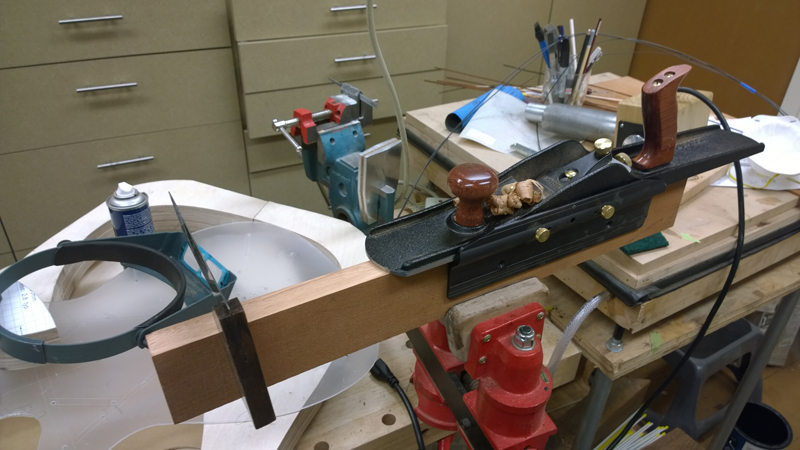
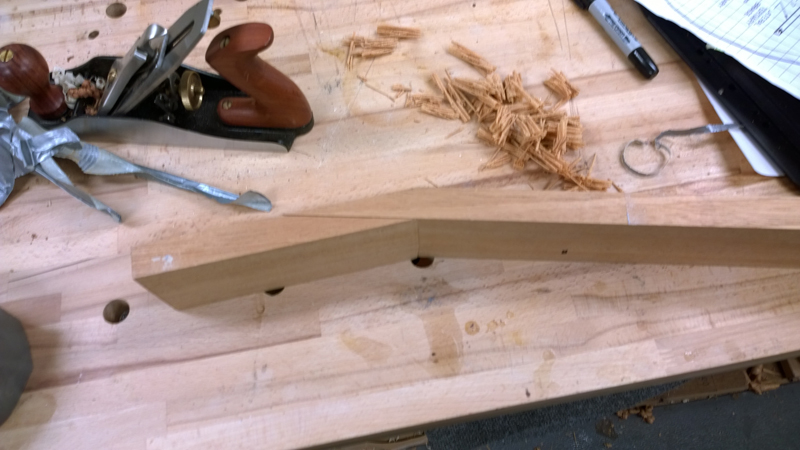
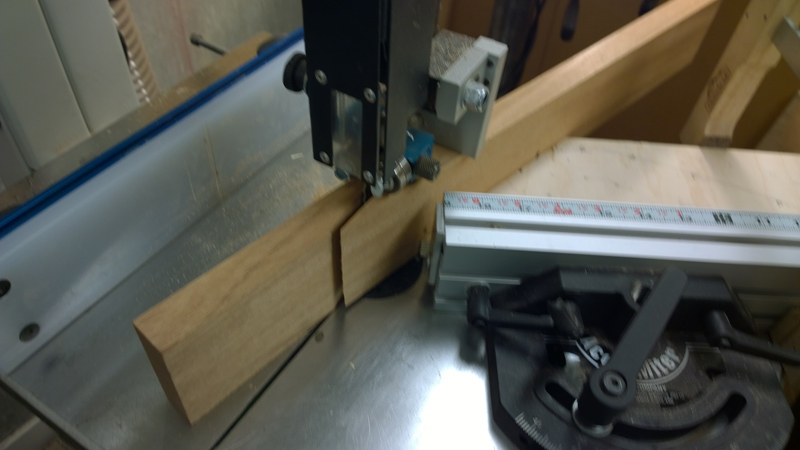
This last week I made my first scarf joint neck blank. I have been cutting necks out of single pieces of wood. I have sort of been scared of the joint as I can not cut a straight line on the band saw. Luckily my kids bought me a miter guide for my band saw. I could not cut a 15° with it but I cut some plywood at a 45 degree angle allowing to set and hold my scarf angle. It actually worked and I got a clean cut. Here are pictures of the process, including my bone headed screw up.

First I used my jointer plan to square the wood,
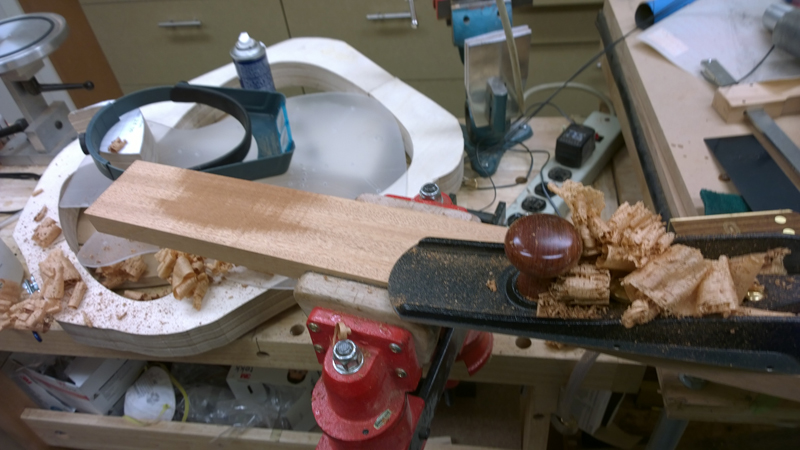
Image

Image

Then I cut a 45° angle to use as a guide for the miter. Just to be sure I made a test scarf cut on some scrap plywood
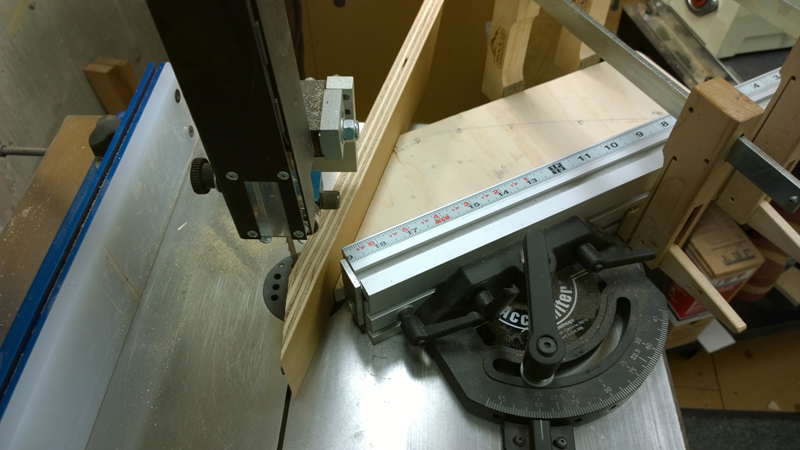
Image

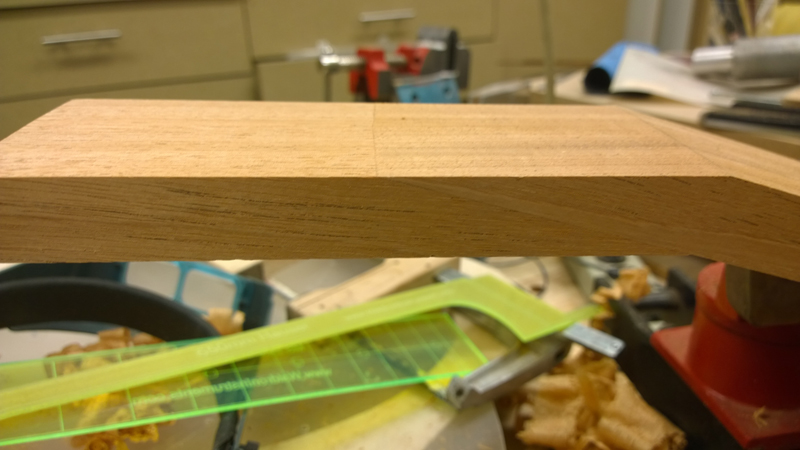
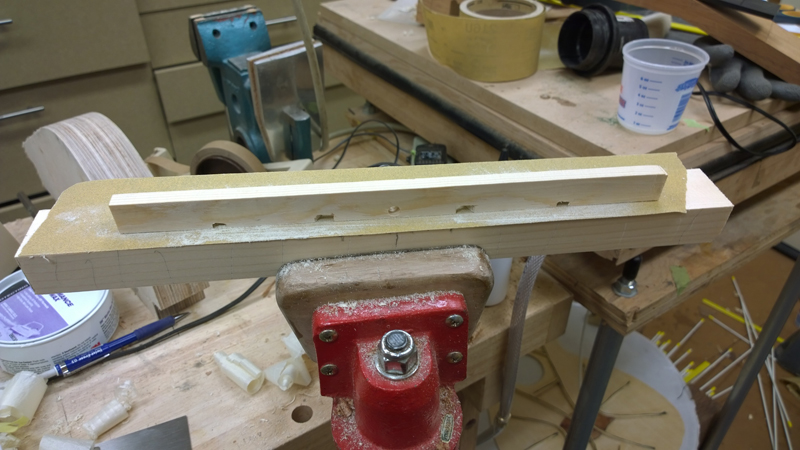
Not sure what I was afraid of the cut when as good as it could on the bandsaw and I just need ot to do a little clean up. I lined up the cut angled pieces and clamp them with a sacrificial piece of MDF, and planed the gluing surface of the joints clean and flat
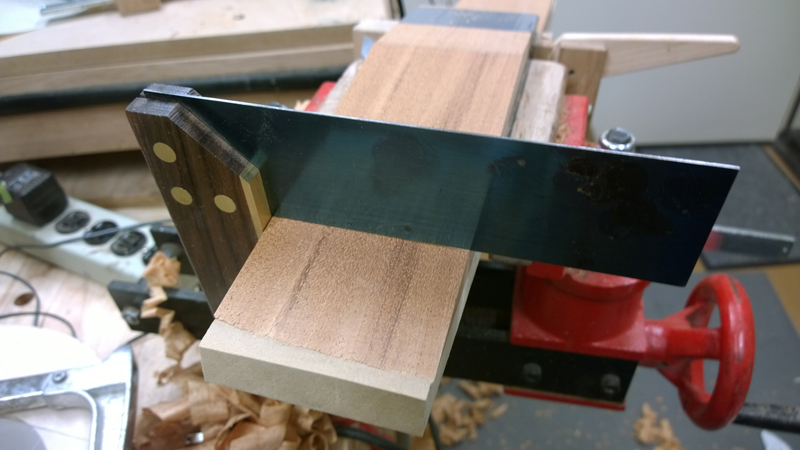
Image

Image

Image

I used my shooting board and some clamps to hold the joint in place and really glued it with some heavy duty clamps.
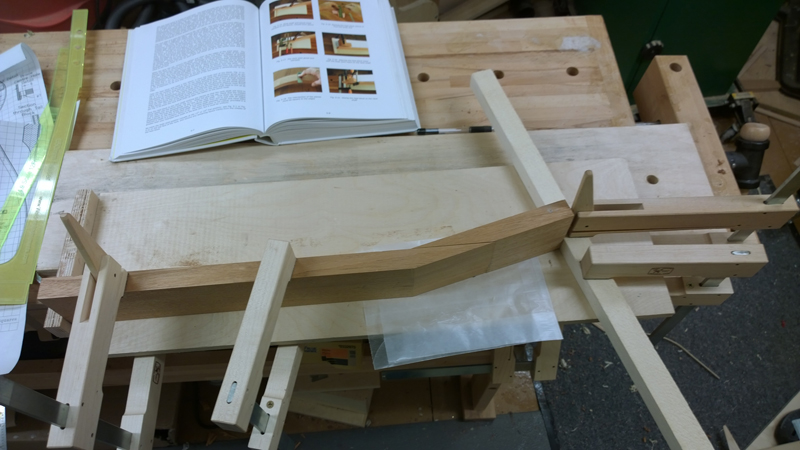
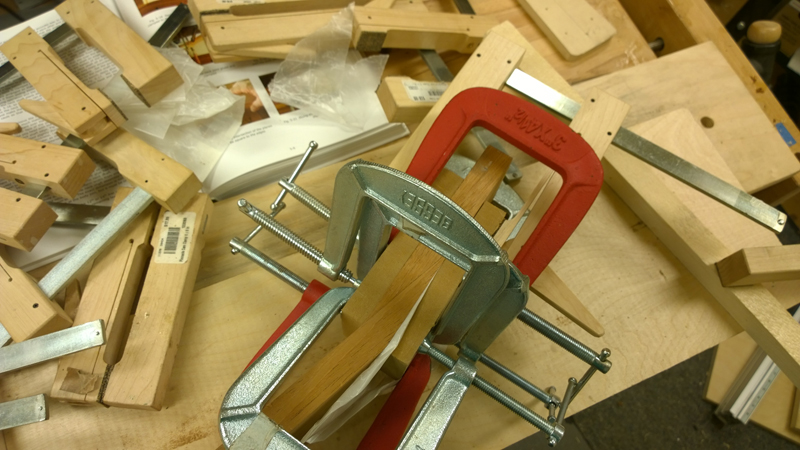
Image

Image

Image

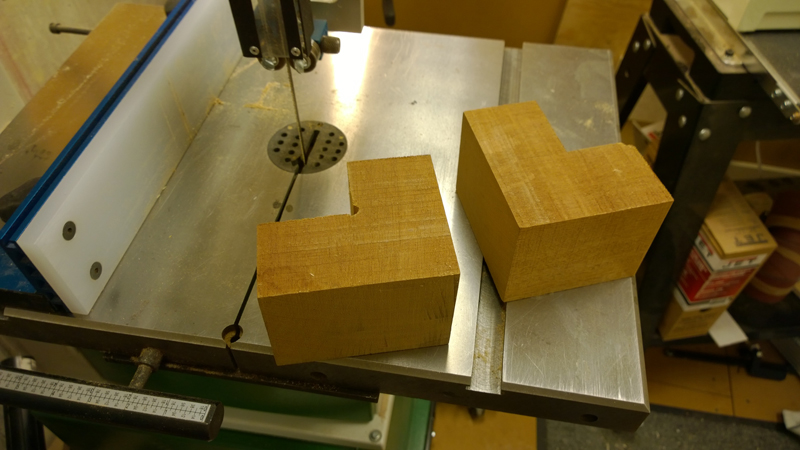
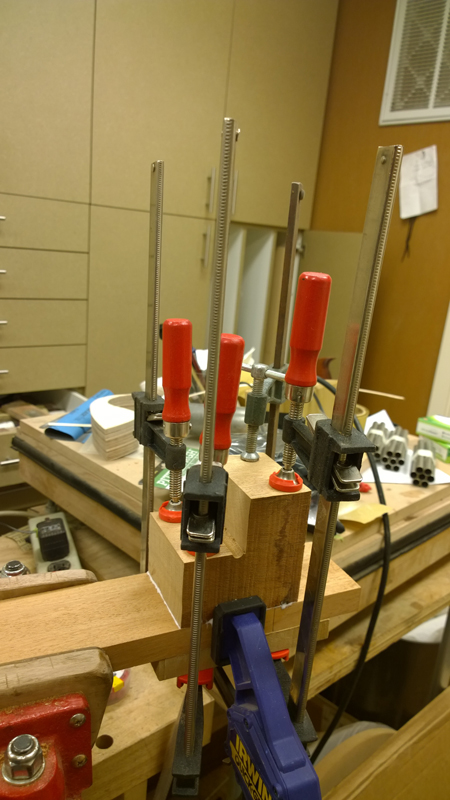
I had a big block for the heal so I cut it into two heel blanks. Here again I planed the surfaces flat and used some real clamps to glue the heel on the neck.
Image

Image

Image

Image

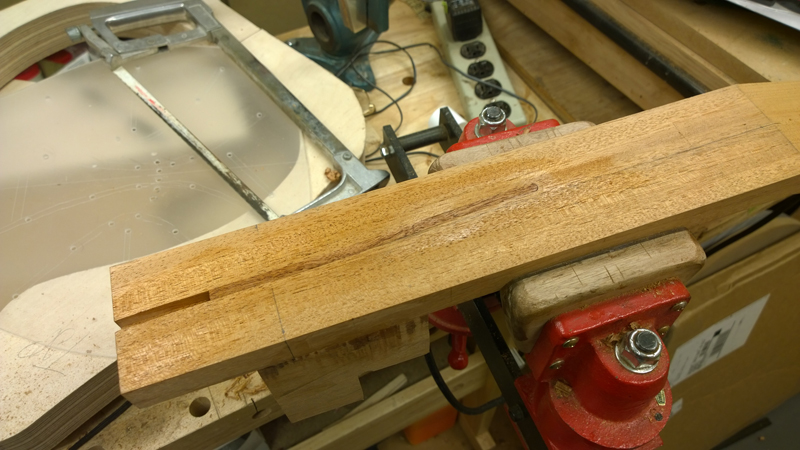
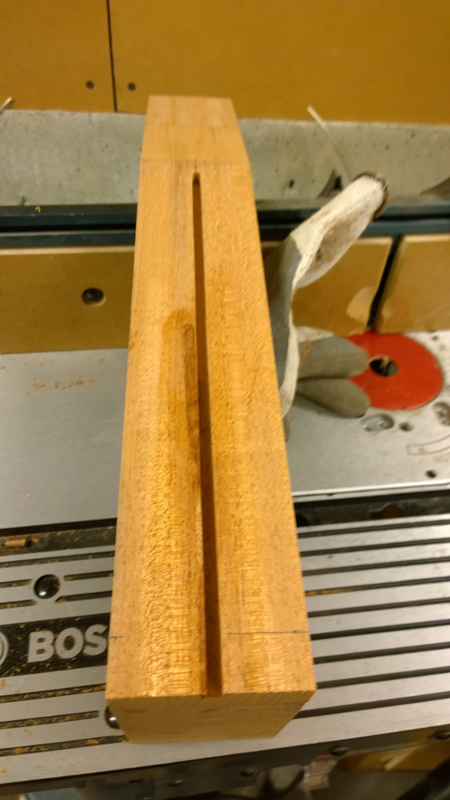
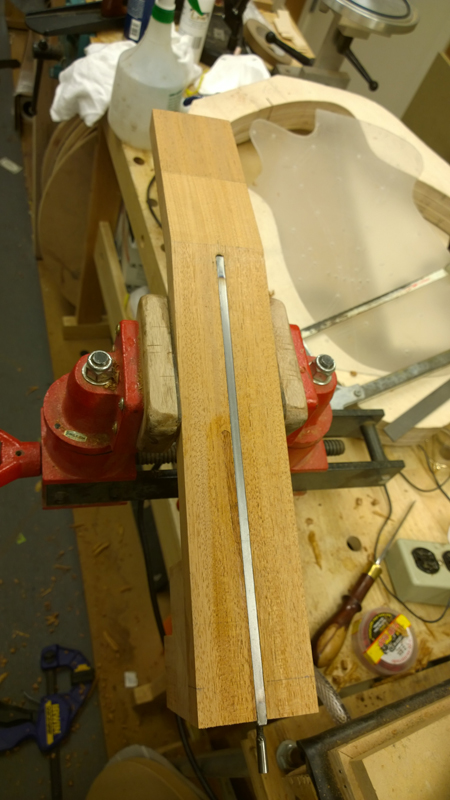
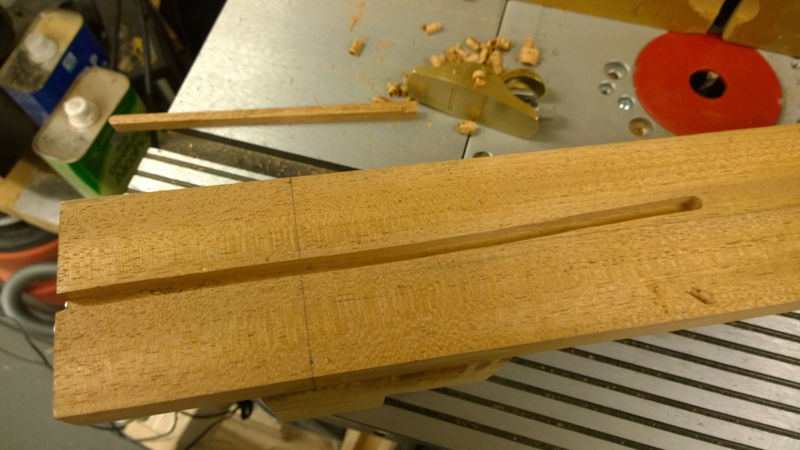
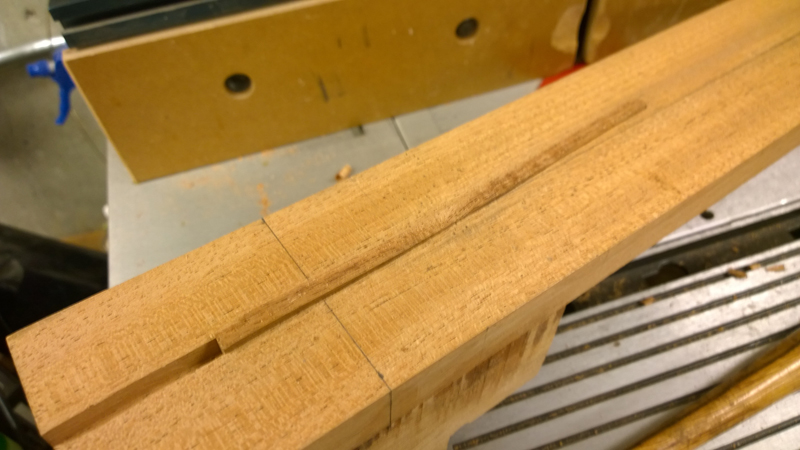
Here is where the bone head maneuver came in to play. I very carefully set up the router table for a truss rod slot right up the center of the neck blank. Then proceed to start the route before tightening the router table fence. Oh well. I cut a strip of mahogany planed it and shaped it to fit in the miss-cut slot. It fit in so nicely that I just wicked in some CA. I reset the table a made a proper slot. No one will see this fix, unless they are changing the fret board in the future for a repair.
Image

Image

Image

Image

Image.

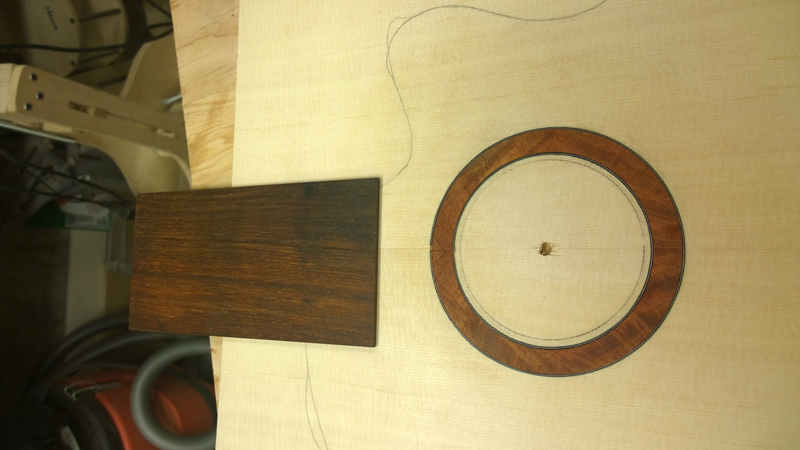
I also installed an extra amboyna rosette I made as an option for a previous guitar.

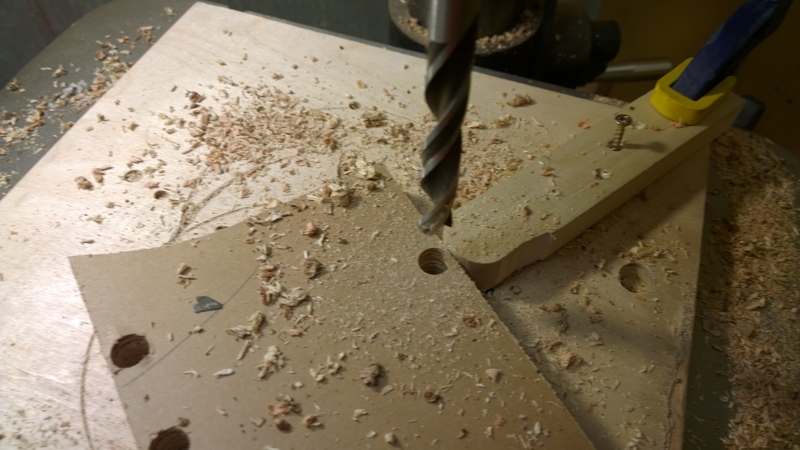
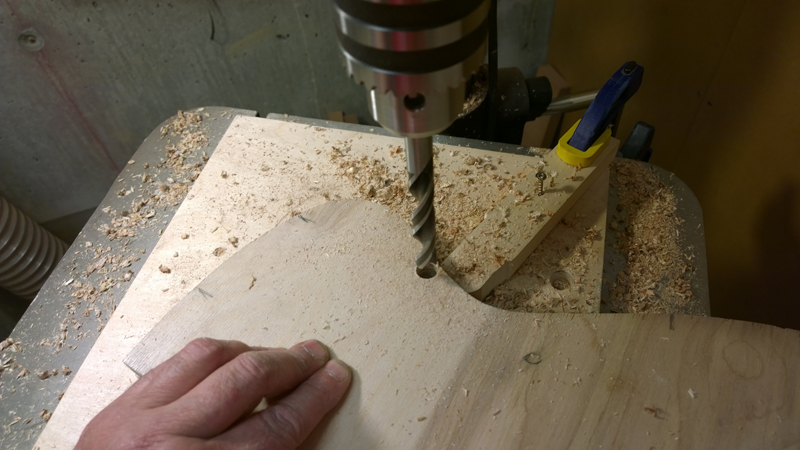
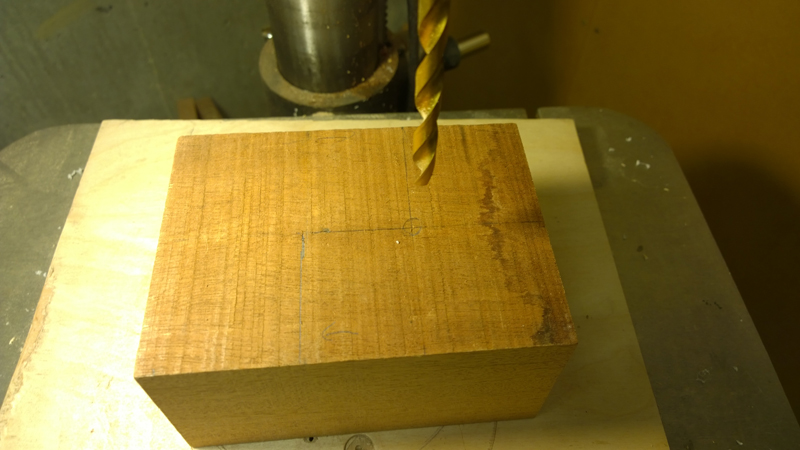
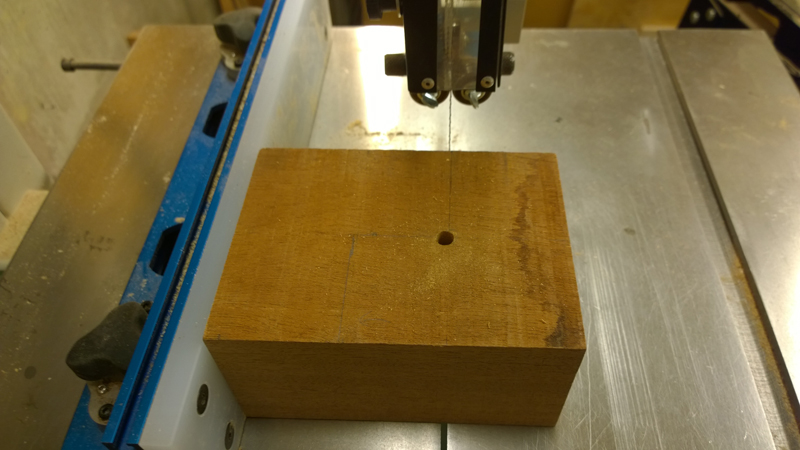
To insure proper bridge and sound hole alignment, and given that I need to drill the peg holes early in the bracing process. I used the template to drill some of the peg holes and the center of the rosette.
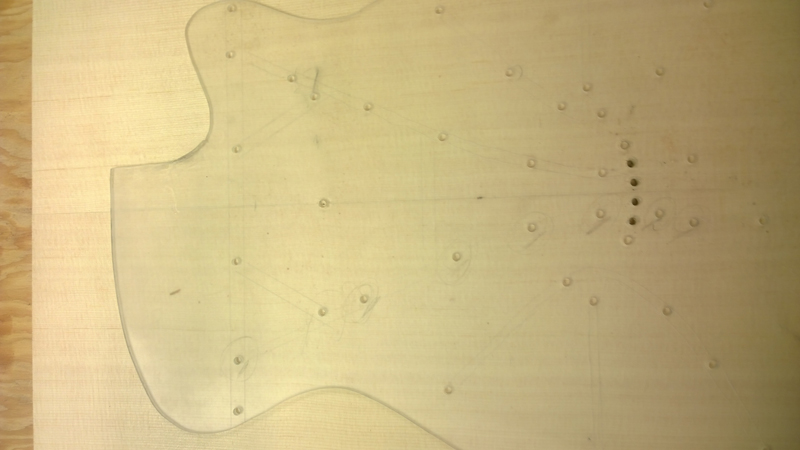
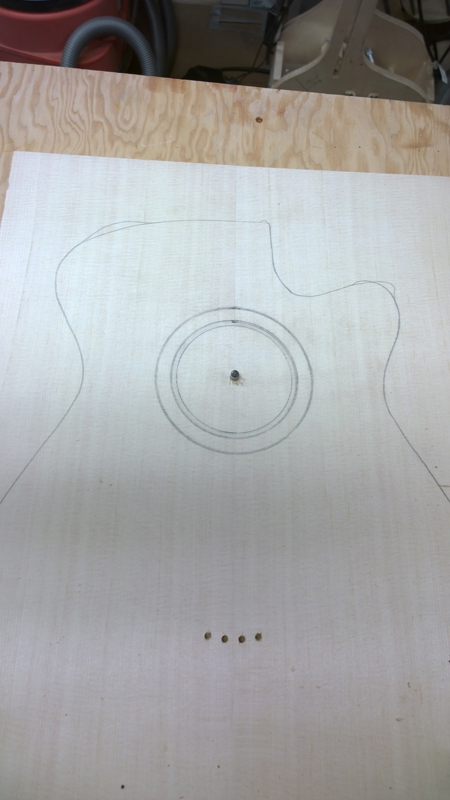
Image

Image

I did not do any fancy measurements I just used the router and it fine adjustment to sneak up of the slot I need for the rosette and a couple of thin bwb purflings.
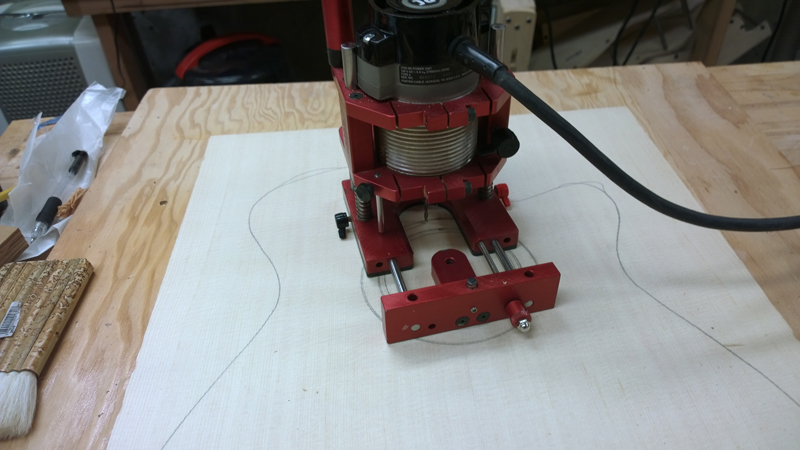
Image

All and all uneventful

Image

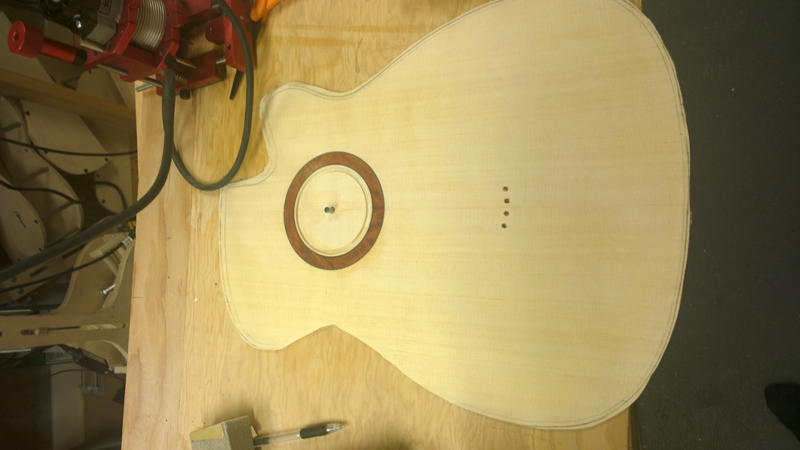
I routed the sound hole such that it should be close to dropping out when the top is the correct thickness.
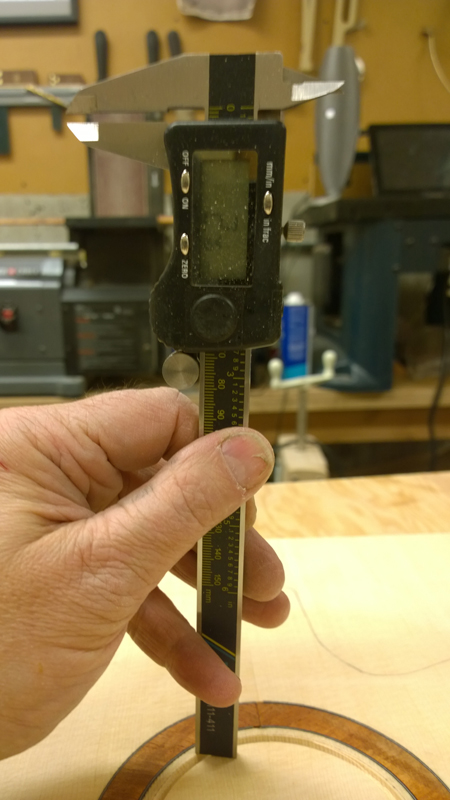
Image

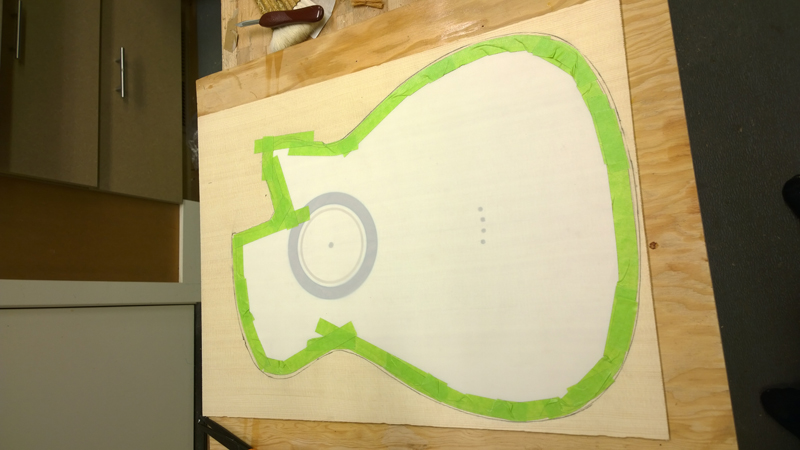
Once very close to the proper thickness I made a 3 mill mylar to cover for the top to protect it during bracing.
Image

Image

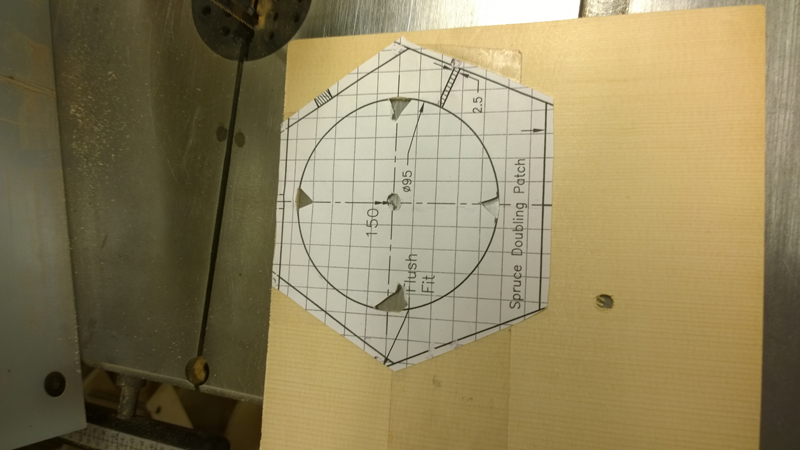
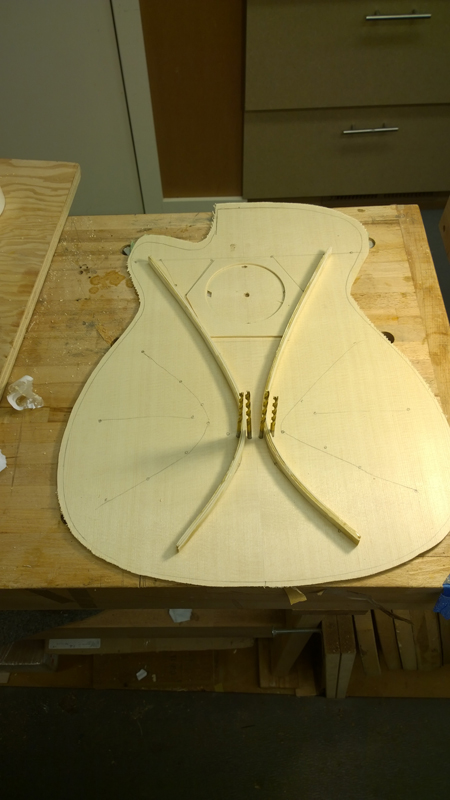
I spent the rest of the weekend preparing to do the top bracing. The last photo shows why I need to drill the peg holes so early; the main braces passes between two peg holes.
Image

Image

Image

Image

dave d
Posts: 451
Joined: Sun Jan 01, 2012 11:05 pm
Location: Toronto-ish

Re: continuing build thread for Gore Medium body SS

Post by dave d » Tue Apr 01, 2014 11:00 am

Thanks a ton for posting the photos and documenting the process along the way John. Nice save with the neck.
It's really great to watch your progress and learn about this type of construction and mathematics behind the acoustics at the same time.
Gorgeous blackwood too!

John Parchem
Posts: 2754
Joined: Fri Dec 23, 2011 8:33 pm
Location: Seattle
Contact:

Re: continuing build thread for Gore Medium body SS

Post by John Parchem » Wed Apr 02, 2014 7:33 pm

Thanks Dave.

I have a few updates, thanks from some help on the Australian/New Zealand Luthiers Forum I found I had a small error in my equation for plate thickness. My error basically took the diagonal stiffness measurement out of the equation give me a slightly thicker plate.

So now my top plate target is 2.7 mm and my back (I want an active back) number is 2.5 mm. It did not make much difference on the top but it did make nearly a 10% difference on the back.

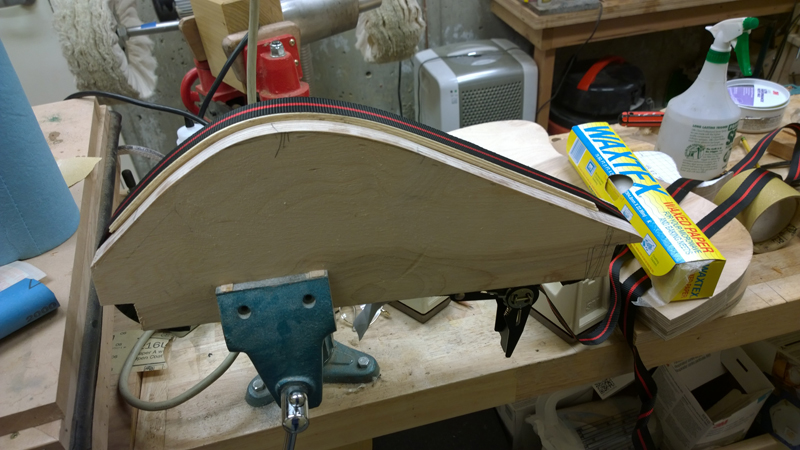
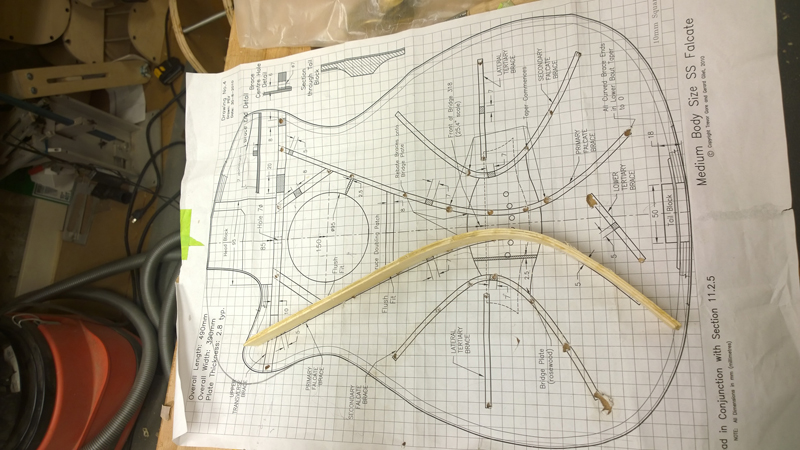
While preparing my primary braces for gluing I planed one lower then I the target height. I finished one brace, was starting on the other and got distracted and planed down the finished brace. Oh well. I got to try a new way to laminate these braces. I sliced and thickness three long 25mm by 1.7 mm german spruce strips. As before I bend them with my iron and a mist of water to close to the correct bend. This time though I used the inside cut out material from my mold to make a brace mold and used a strap clamp to pull the strips together. This technique was in the Gore\Gilet Build book.

Image

I waxed the mold and strap with paste wax but ultimately I also used wax paper when I laminated the strips with System 3 structural epoxy. The result was a perfectly shaped brace with no spring back.

Image

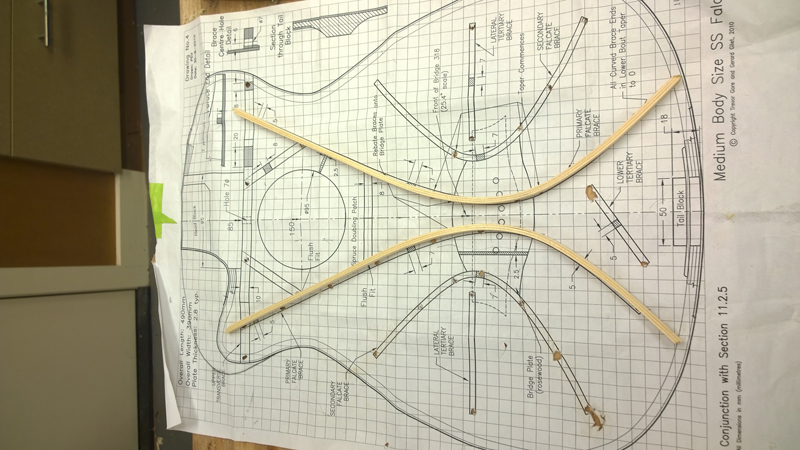
I cut the 25 mm braces into two braces and used a plane to take them down to just a bit more than 7mm. The 7 mm is my target height for the brace before I shape them.

Image

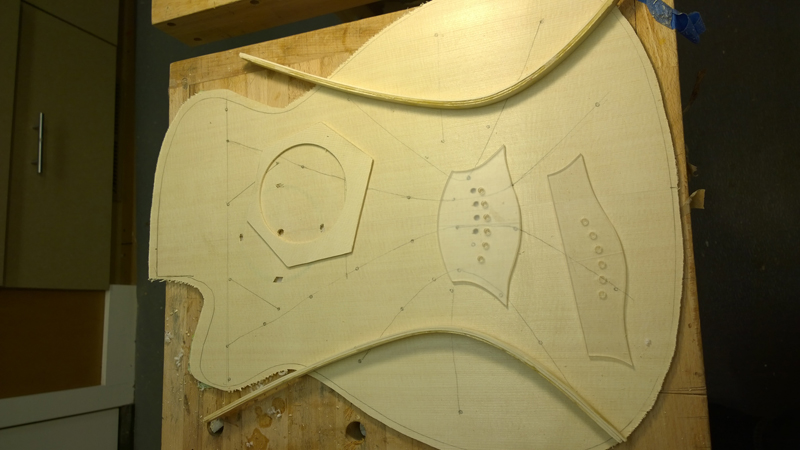
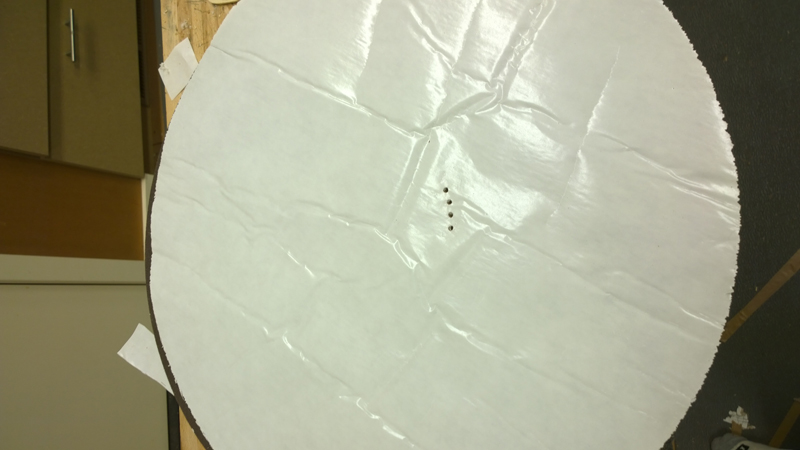
I laid out the braces and the bridge plate on the top in my modified 32' Radius dish I drilled four index holes in the dish so that I can use them to index the top, the bridge plate and the braces during glue up.

Image

With every thing in place I marked where I need rebates in the primary braces. Also I tested out using thinned Teflon strips to center the braces between the peg holes.
Image

Image

No excuses now I needed to take epoxy to my relatively clean top. I got every thing I was going to need close to my go bar deck. This included a piece of carbon fabric I cut for under the bridge plate and three (one extra) fibers or yarns from the weave of the carbon fiber for under the braces.

Image

I mixed up a cup of West System 105\106 epoxy for the glue up. I used a brush to wet the top along the brace path and the area marked for the bridge plate. I applied epoxy to the strips just enough to wet them and laid them down in the center of the brace locations.

Image

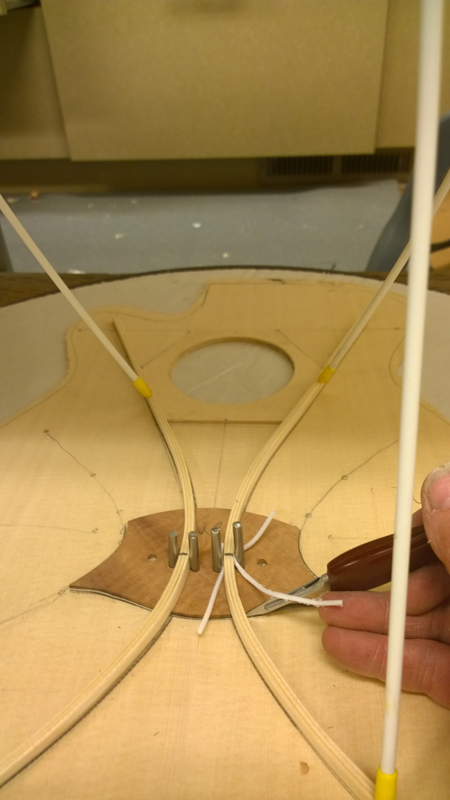
Sorry for the lack of pictures I has epoxy on my gloves. I also applied epoxy to the carbon fabric shaped for the bridge plate and put that down. I used a pointer to push open the fabric and inserted my 3/16 pins I am using for indexing. I pushed the bridge plate and followed with the two braces. Go-bars on every thing, my spacer strips between the braces and the index pins . So now I either have a complete mess or tomorrow I will have a top with epoxied primary braces.

Image

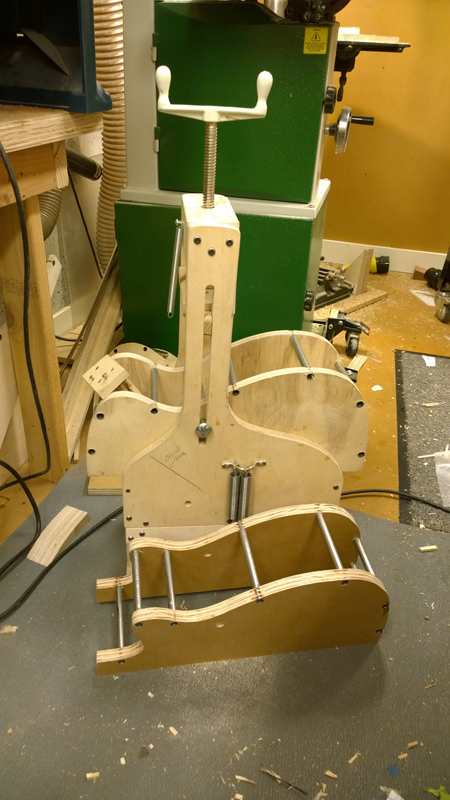
While waiting for the epoxy to cure. I finished my two side bending molds. I again used what is probably a common technique but one I got from the build book to drill the holes close to edge of my bending form.

Image

Image

Image

TonyinNYC
Posts: 1510
Joined: Sat Dec 17, 2011 9:00 pm

Re: continuing build thread for Gore Medium body SS

Post by TonyinNYC » Fri Apr 04, 2014 9:24 am

Awesome thread John. Very detailed and well explained. Great pics too!

John Parchem
Posts: 2754
Joined: Fri Dec 23, 2011 8:33 pm
Location: Seattle
Contact:

Re: continuing build thread for Gore Medium body SS

Post by John Parchem » Fri Apr 04, 2014 2:32 pm

Thanks Tony!

Moving on, I waited to the following morning and remove the go-bars. The brace seems to be epoxied on well and carbon stayed under brace. I can say that carbon fiber hardware with epoxy make wicked splinters. Luckily I have my magnifying glasses and some good tweezers.

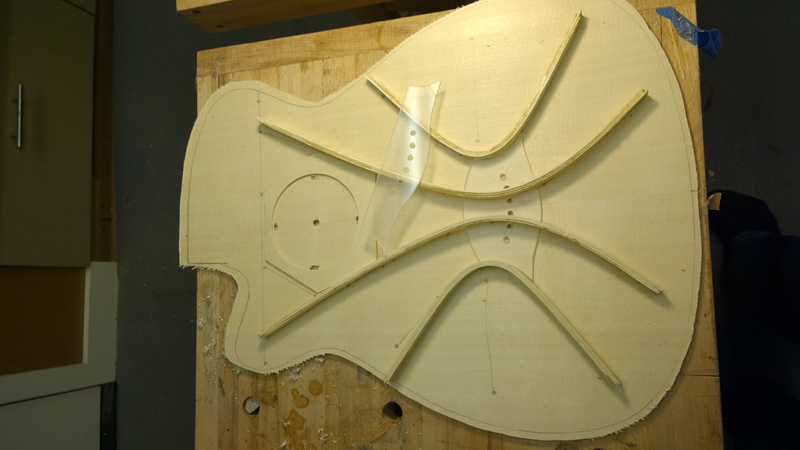
I cut the remaining braces and prepared for the next epoxy glue up. The primary falcate braces and the sound hole braces inlet into the upper transverse brace. While I will not glue the upper transverse until I have all of the other braces glued on. I still cut the rebates.

Image

Image

I traced all of the braces so I will know where to put the carbon fiber.

Image

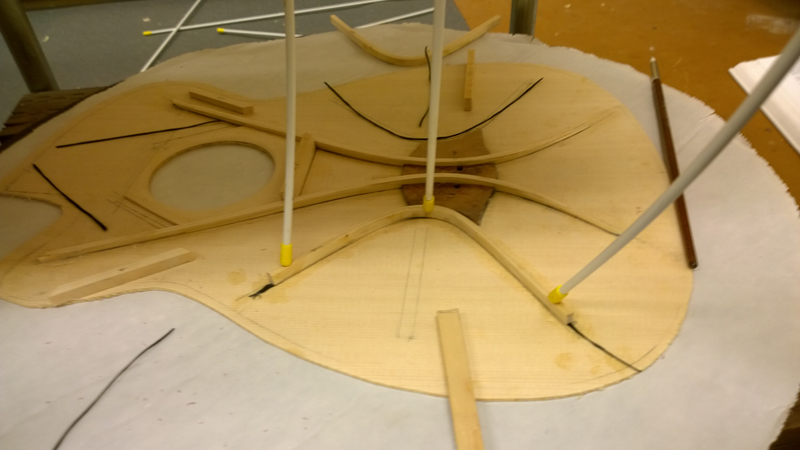
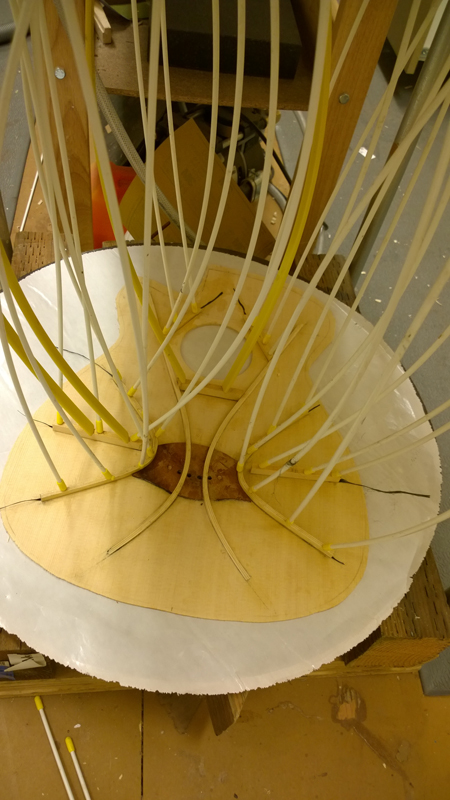
Then back to the go-bar deck. I have gotten pretty neat with with LMI glue but I am a mess with this epoxy. Maybe if I did not use my gloved fingers as squeegees for the fibers I would be a bit neater. While gluing down one of the falcate braces I did need to lift it, remove excess epoxy and relay it as a bit of the carbon squirted out. The was no problem gluing all the braces seen in the working time of the epoxy.

Image

Image

Image

Image

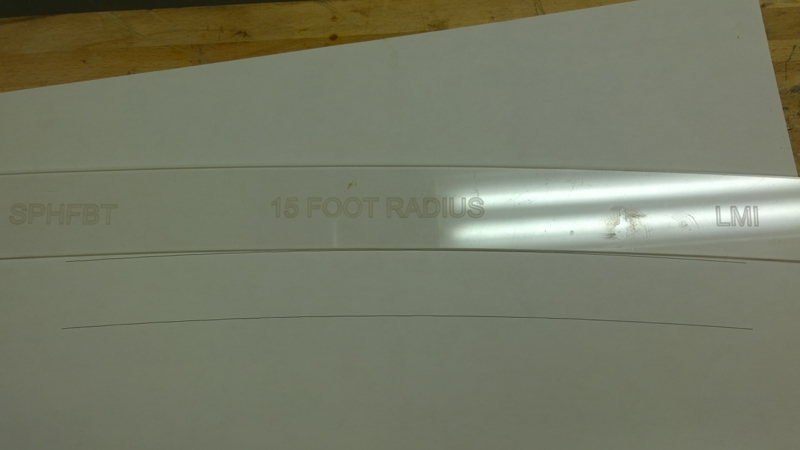
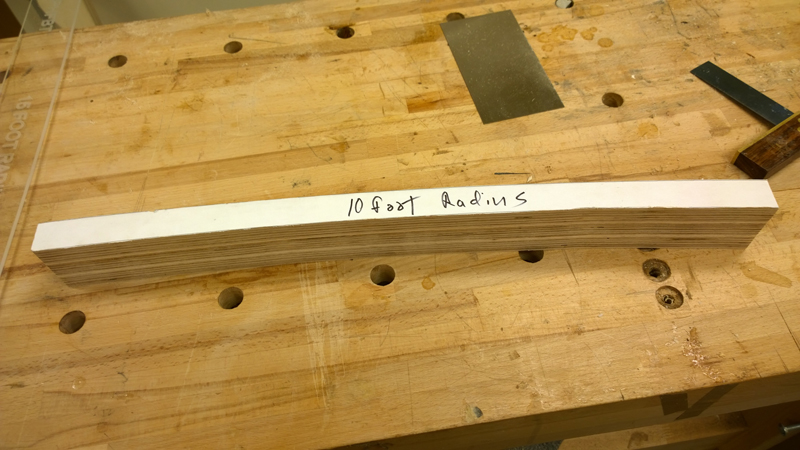
Having to wait for the epoxy I started to think about the back and thought it would help to have a 10 foot radius stick. No need for a shipwright compass as my wife is a designer with a large format printer at home. I made two arcs and used more scrap from my body mold to make the radius block. In one of the pictures you can see the difference between a 15' and a 10' radius. The plans actually calls out a 3 meter radius dish but the 10' is close; 118" vs 120" My dish is schedule to arrive Wednesday. I want to use the dish to make an accurate side profile before bending the sides.

Image

Image

John Parchem
Posts: 2754
Joined: Fri Dec 23, 2011 8:33 pm
Location: Seattle
Contact:

Re: continuing build thread for Gore Medium body SS

Post by John Parchem » Sat Apr 05, 2014 8:55 pm

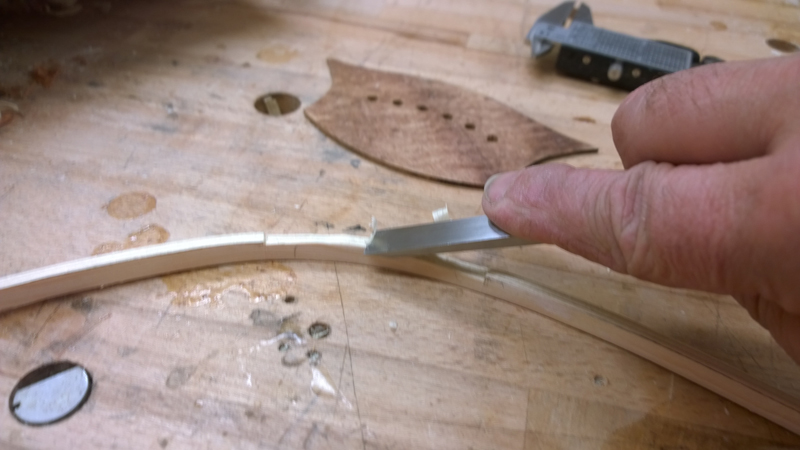
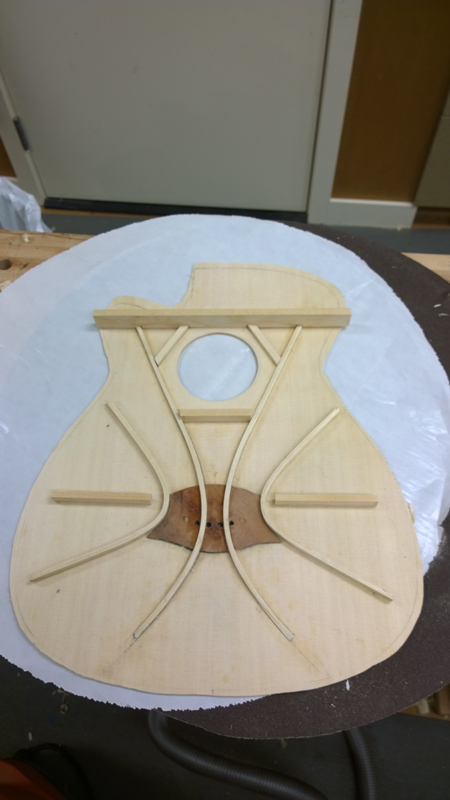
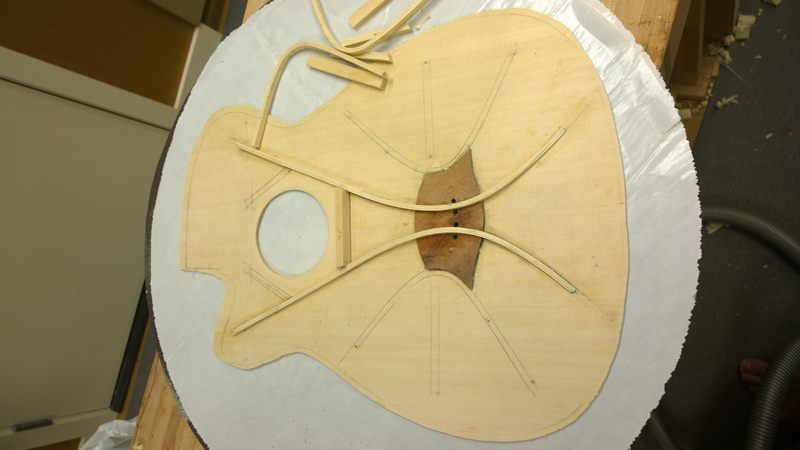
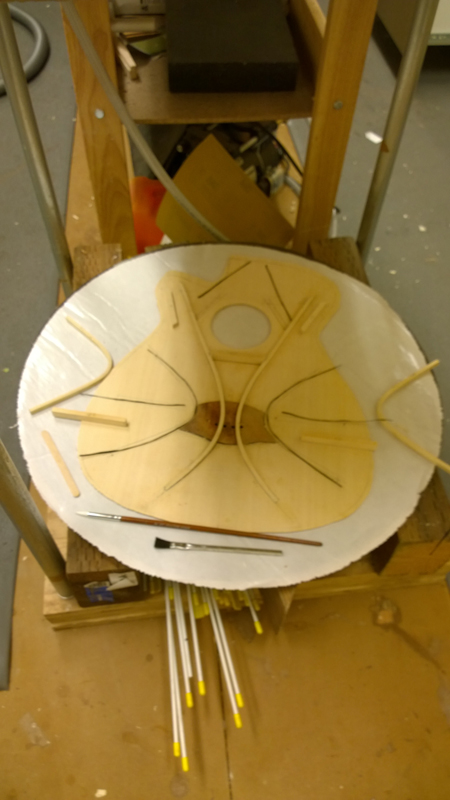
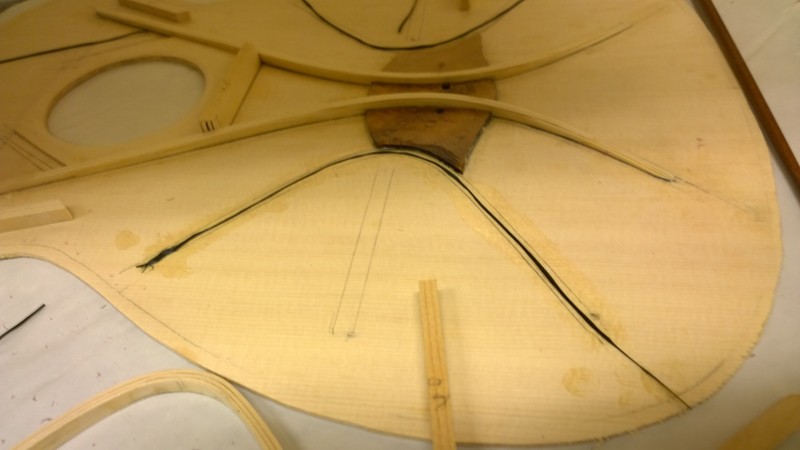
I carved down all the braces I have epoxied down. The falcate braces are about 7 mm around the bridge and simply taper to about 5 mm near the upper transverse brace. On the tail end of the guitar the braces taper down to zero. I was looking at my two side braces and they really looked clunky. Whoops they were 7 mm wide instead of 5 mm. A sharp chisel took care of that error no problem. I also noticed I forgot the lower tertiary brace. no problem as I still have three epoxy sessions. One to put carbon fiber on all of the finished braces. One to glue down the upper transverse brace and lastly to top the upper transverse brace with carbon fiber.

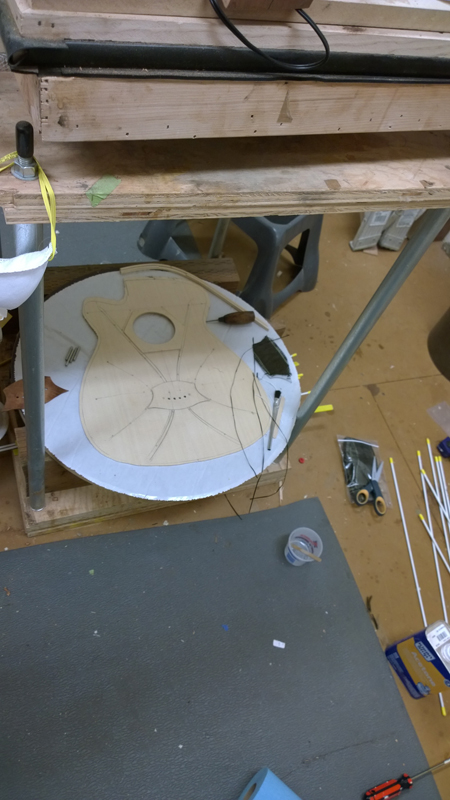
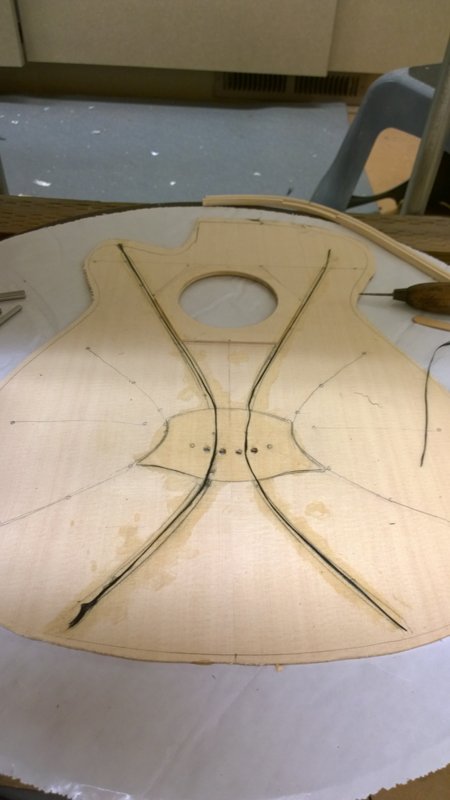
Here is my top with the carbon fiber on the finished braces and gluing down the forgotten brace. I go back and look at the pictures in the book and Trevor's epoxy work with the carbon sure looks cleaner than mine.

Image

Next I need to build a gluing caul for the UTB. This design knocks a bit of curve to make the neck angle work out. The book list out a procedure to make it. I think I will draw it in my cad program and print it out.

John Parchem
Posts: 2754
Joined: Fri Dec 23, 2011 8:33 pm
Location: Seattle
Contact:

Re: continuing build thread for Gore Medium body SS

Post by John Parchem » Sun Apr 06, 2014 11:16 am

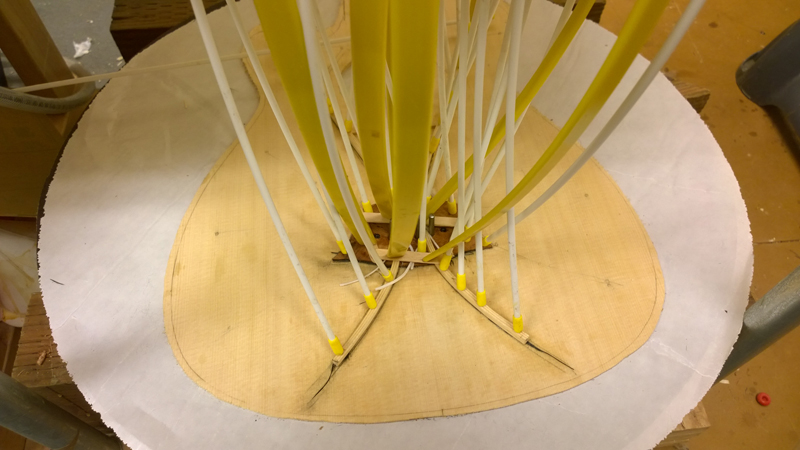
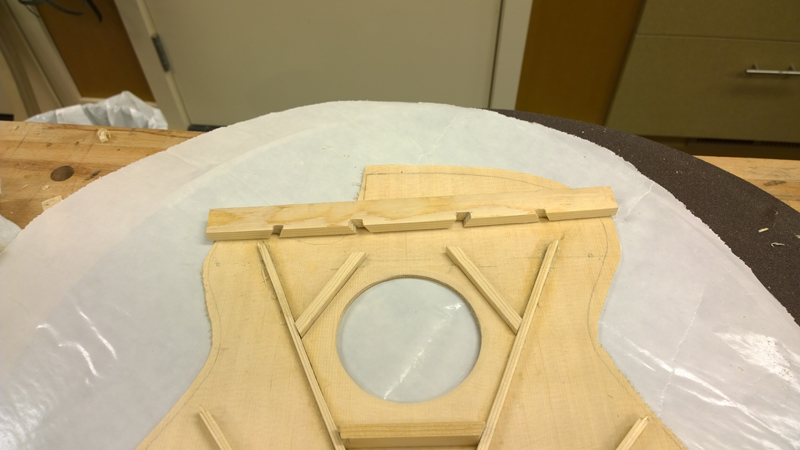
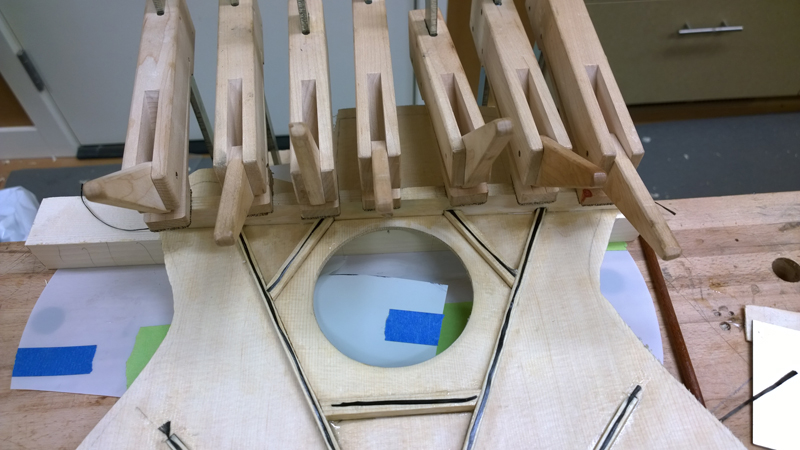
I carved out a caul for the upper transverse brace with a cabinet scraper. The caul was 400mm long and was dished to about 1.4 mm flattened in the fret board extension area. It seemed like around 40' radius with the fret board area flattened. I planed in the profile to the brace and touched it up on the caul. Also I laid down some carbon fiber before epoxying the brace to the top.


Image

Image

Post Reply