Martin 00 cutaway with arm bevel #12 so close

Show us how your current project is progressing
Post Reply
John Parchem
Posts: 2712
Joined: Fri Dec 23, 2011 8:33 pm
Location: Seattle
Contact:

Martin 00 cutaway with arm bevel #12 so close

Post by John Parchem » Sun Sep 08, 2013 11:17 pm

I am starting a Western Red Cedar and Koa Martin sized 00. This guitar is for me so there is no stress and the option to take risks. Fort this project I will do my first cutaway and install an arm bevel using Kent Everett's method of building it in from the start. The guitar will also have a sound hole. The other thing I will be doing through this build is to measure and document the characteristics of the tone wood and using the techniques in the Trevor Gore with Gerard Gilet Contemporary Acoustic Guitar Design and Build books.

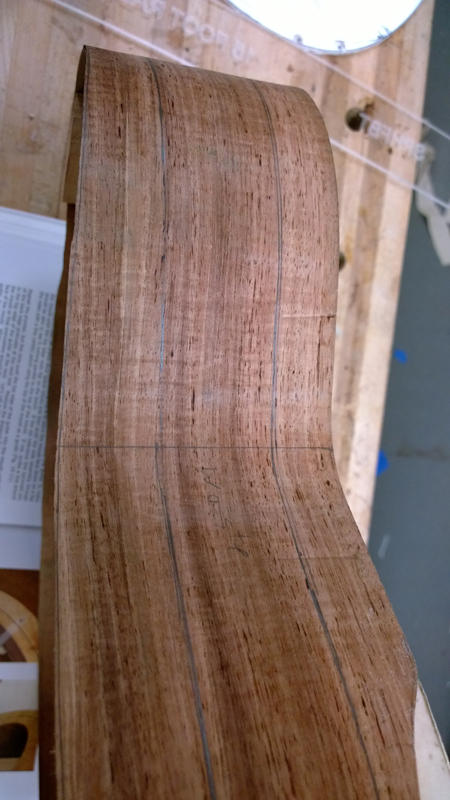
This Koa is pretty figured. The back and sides should be wild.

Image

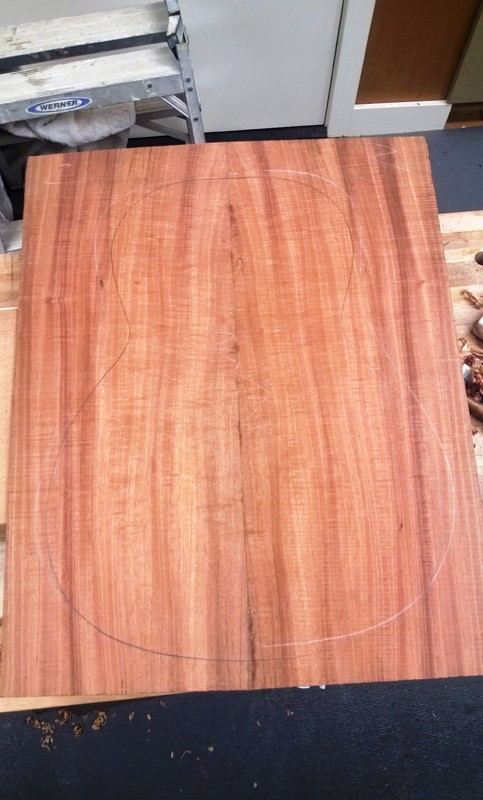
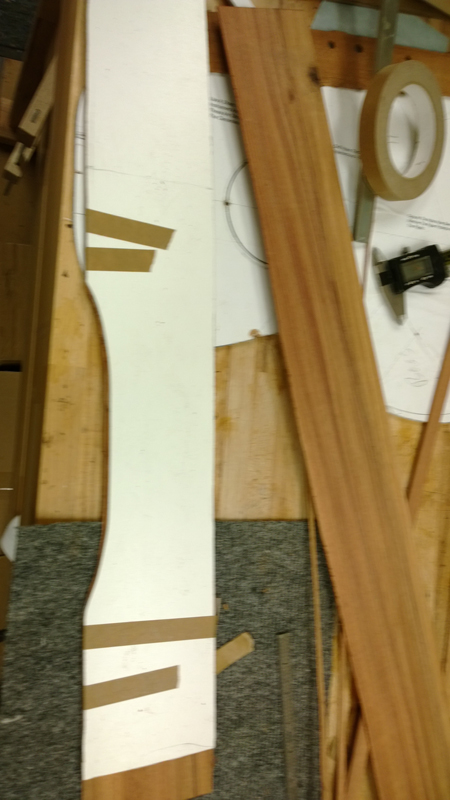
I found a couple of scrap of some sort of wood at the wood working store to use for the head stock and the rosette and other area.

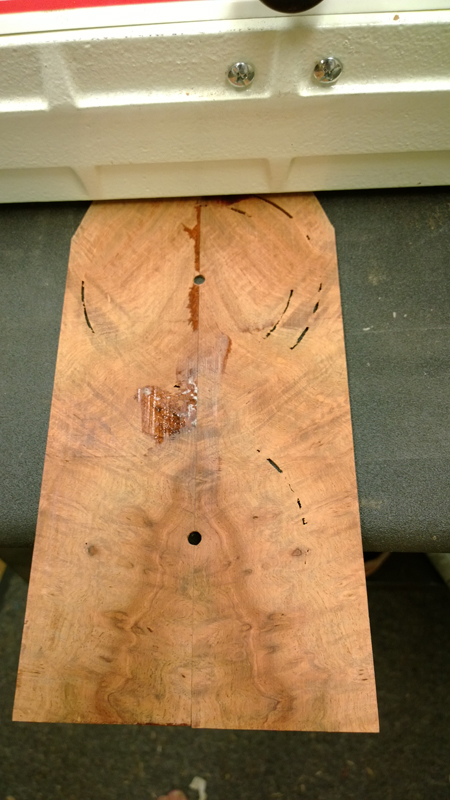
I think the small plank that I resawed was amboyna burl. These faces do not look like it but the side figure did. The color looks right.

Image

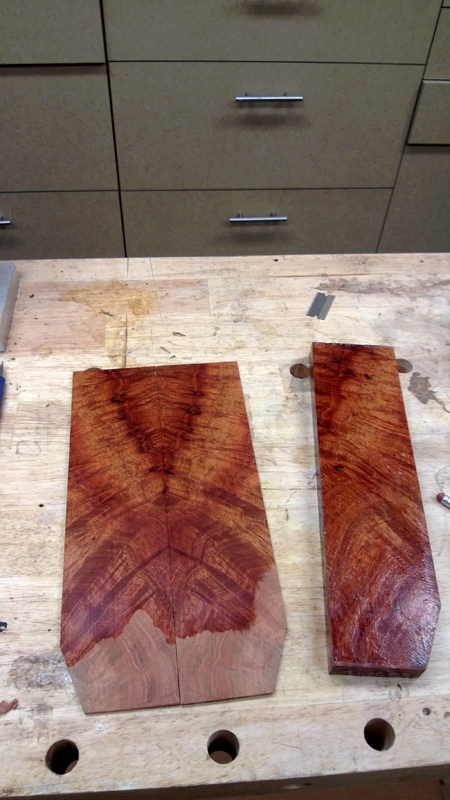
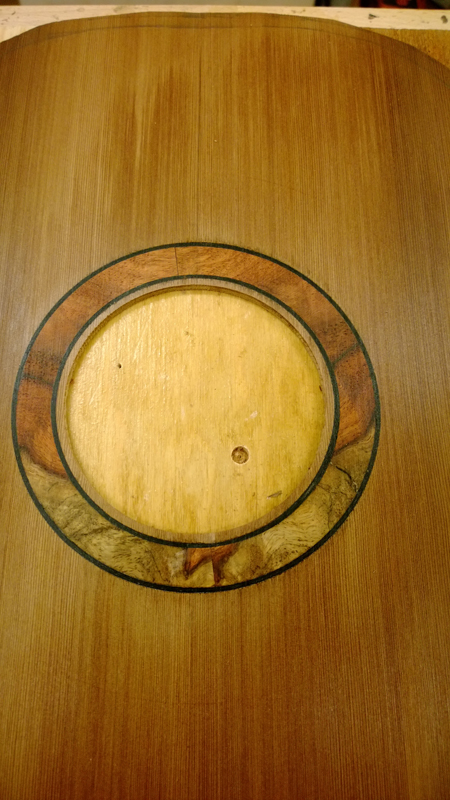
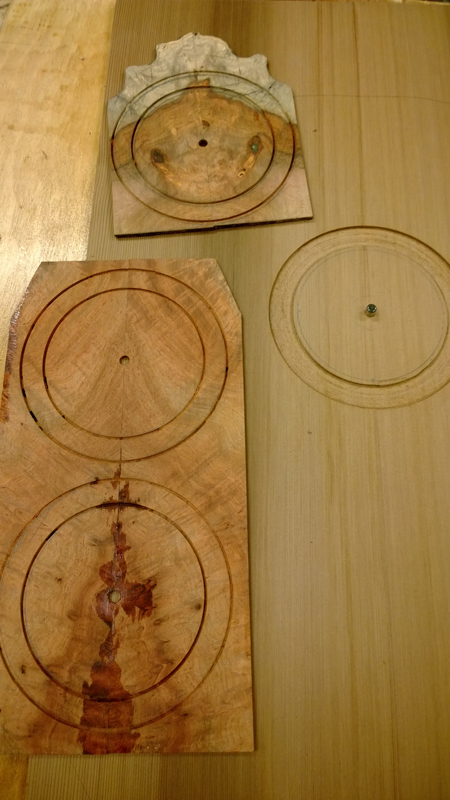
I had another small piece of burl with sap wood that I also resawed and joined for a rosette. I had three choices for rosettes, so I cut them all out the same

Image

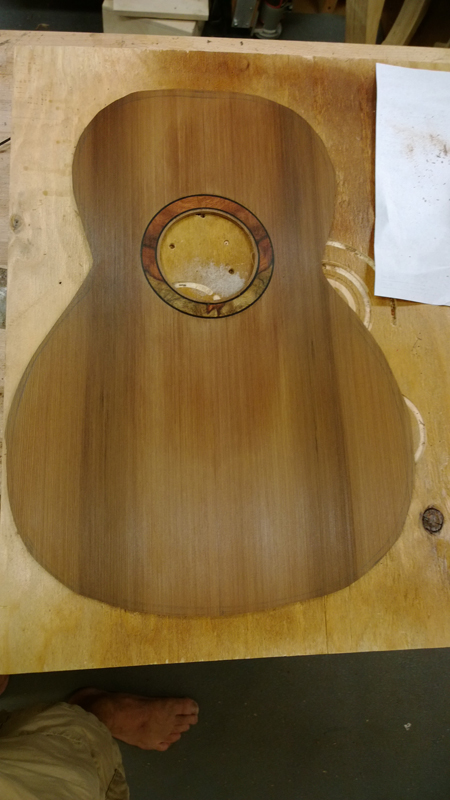
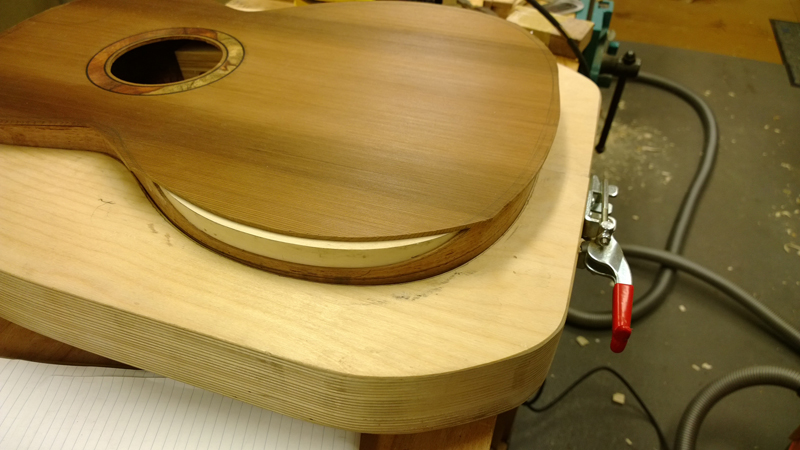
I plan for this rosette to have either bwb or all b bbb purfling inside and out.

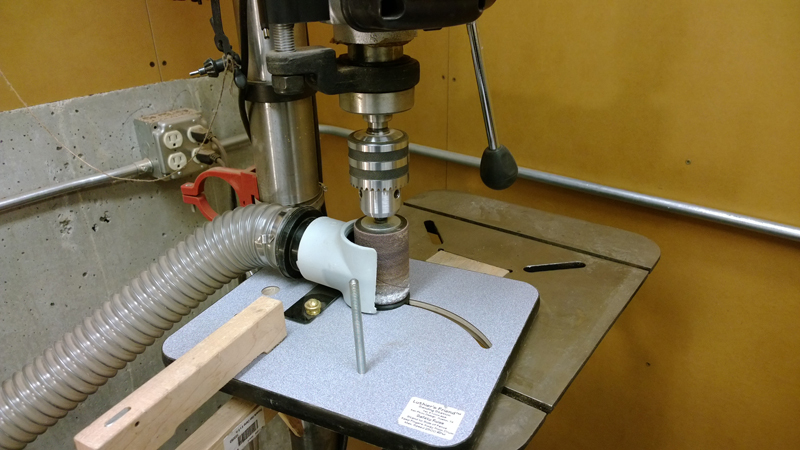
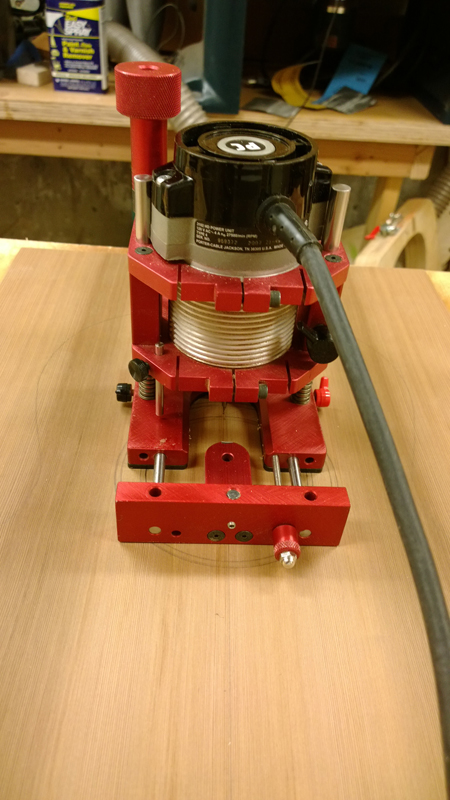
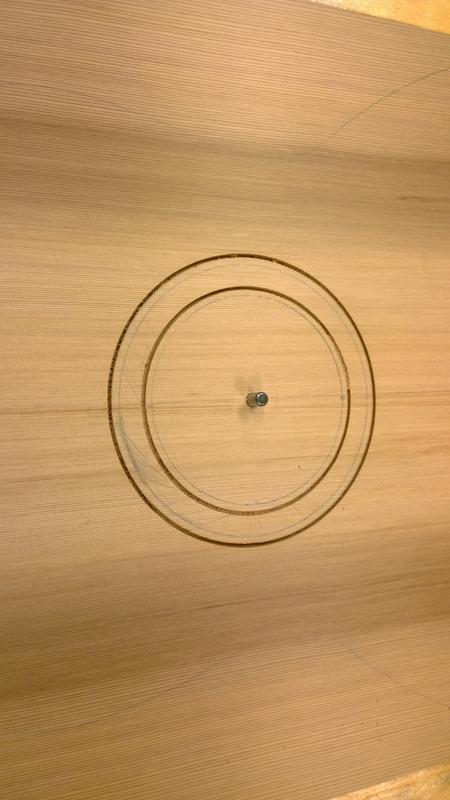
When cutting out the rosette I learned the technique, maybe from Kevin of using a router bit the right diameter for the purfling I want to use. The result is a matching rosette and channel cut in the guitar the correct size for the rosette and the purfling.
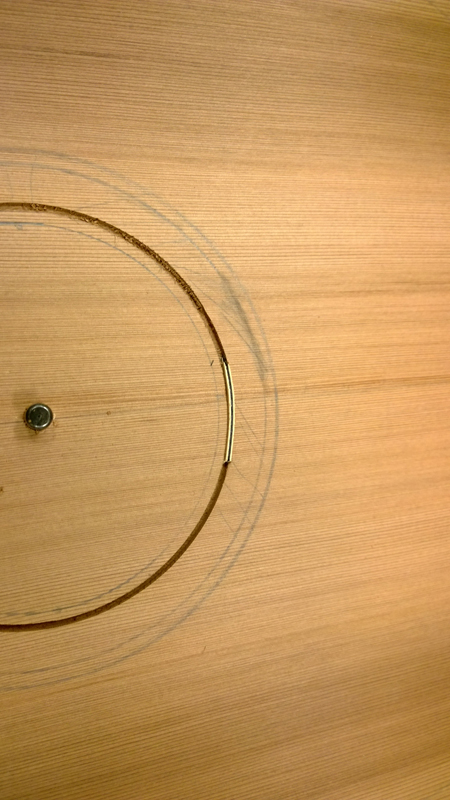
First cut a channel where you want the inside or outside purfling on the guitar, leave the router set up exactly and cut the same channel on the rosette stock. I do not cut through the rosette rather I make the rosette the same thickness as the channel is deep. I then cut a channel on the other side on the guitar and again leave the router set up to make the same cut on the rosette stock.

I changed bits on the router and hogged out the center of the channel. I then run the rosettes through the thickness sander back side being sanded till the rosettes drop out (learned this from Rick Davis).

Image

Image

Image

Image

Image

Image


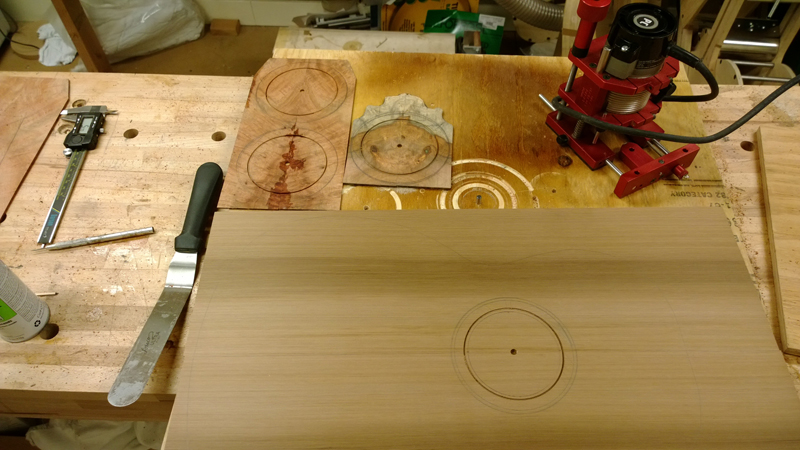
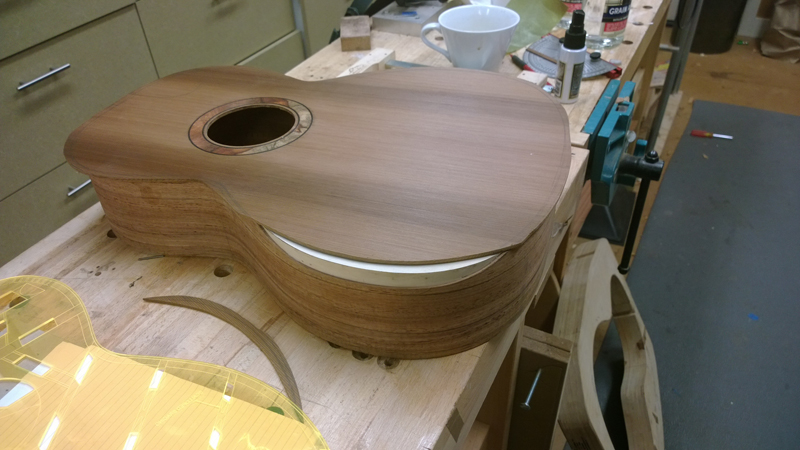
I went with the all black purfling.

Image

Image
Last edited by John Parchem on Tue Dec 17, 2013 9:32 pm, edited 1 time in total.

Tim Benware
Posts: 1489
Joined: Thu Dec 22, 2011 1:22 pm
Location: Asheboro, NC

Re: Martin 00 12 Fret - cutaway with arm bevel #12

Post by Tim Benware » Sun Sep 08, 2013 11:47 pm

Yeah and you picked the rosette i would have too. That is one (if not THE) best looking rosettes I've seen.
I've "Ben-Had" again!
Tim Benware
Creedmoor, NC

Dave Bagwill
Posts: 5950
Joined: Tue Dec 13, 2011 7:44 pm

Re: Martin 00 12 Fret - cutaway with arm bevel #12

Post by Dave Bagwill » Mon Sep 09, 2013 12:01 am

A great warm and woody look to that rosette!
-Under permanent construction

TonyinNYC
Posts: 1510
Joined: Sat Dec 17, 2011 9:00 pm

Re: Martin 00 12 Fret - cutaway with arm bevel #12

Post by TonyinNYC » Mon Sep 09, 2013 12:35 pm

I love that rosette. It is perfect. Give it to me.

Kevin in California
Posts: 2748
Joined: Mon Dec 19, 2011 4:19 pm

Re: Martin 00 12 Fret - cutaway with arm bevel #12

Post by Kevin in California » Mon Sep 09, 2013 1:53 pm

John, looks like a fun project. I'm anxious to see how you do the cutaway.
The rosette looks GREAT! I love burl woods. I'll take a smidgeon of credit there... :>)

Kevin

John Parchem
Posts: 2712
Joined: Fri Dec 23, 2011 8:33 pm
Location: Seattle
Contact:

Re: Martin 00 12 Fret - cutaway with arm bevel #12

Post by John Parchem » Fri Oct 04, 2013 12:31 am

Thanks for the positive comments.

Sorry it has been a bit since I updated this blog. I have slowly been making progress on the rims of the guitar. It being my first cutaway and my first guitar with a bevel I have been slower than normal. Also I announced my retirement after 25 years at Microsoft and have been dealing with the fall out both on my side and my employer’s side. I have been planning it for awhile but once I finally went ahead I have had to deal with my own feeling and anxieties more than I thought I would.

But on to the guitar …
I watched a Kent Everett video The Transitional Arm Bevel “How To” Method, and he showed a method of building in a bevel while you build the guitar. The main difference in his method is to profile the rims and the top for the bevel before any assembly. His reasoning is that it is easy to get a smooth curve for the purflings while the pieces are free. The method he showed was to bend the base side and sand the bevel into it before gluing the rims to the blocks. He suggested in the video that it would be possible to profile the side before it was bent. That is the route I took. Also I watched him free sand the bevel profile on a belt sander. Not for me, I added the bevel profile to my side template and used the template to help me get a clean bevel using my Luthiers Friend.

Image

Image

Image

Image

Image


Bending the tight curves for the cutaway was scary. I thin to 2.2 mm (.86”), but I probably will take the cutaway section on my next guitar down to 1.8 mm (.7”) . On the inside bend I had some fibers pull loose. They were easy to glue back, and actually nearly sanded away. Not very deep. But this is a no pressure guitar that I am using to learn these thinks so all is good. I get to keep moving forward. First lesson learned.
Also with the cut away I really needed to lock in the width of the neck at the 12th fret and make the heel block the correct size such that I can have a smooth line from the neck into the cutaway. I leaving out my normal pictures of gluing on the blocks as this post is going to be loaded with photos.

Image


I am going to use some basswood to support the bevel. I used a half pencil to get the gluing surface marked and just roughed out the inside. I kept the inside edge square to make it easy to clamp to the rims. I glued it before profiling the rims as it needs to be radiused.
Image


Image


Image


From the Gore\Gilet books, before finalizing the profiles for the top and back draw two reference lines indexed from the flat top. I set the mold from the top 25mm all around the guitar and use the top of the mode as a guide to draw my first reference line. I set the mold from the top 15mm but draw a line from the back side of the mold to make my second reference line. This allows me to always have a square reference even after I have radiused the top and the back. While profiling the rims I use the reference lines to make sure I am not making a side to side wedge while sanding.

Image

I use a 28’ radius to profile my tops. I use my guide lines to make sure I take the rims down evenly. As the side without the bevel sands a lot faster than with I used my 28’ foot Kenneth Michael radius block to work the bevel down. Although not shown in the picture I put down protection on the treble side of the rim to keep from over sanding while working the bevel. Although I use a radius dish to profile the top and set the angle for the neck, I also make the neck to fit the body. I would suggest Ken's method for setting the body to match the neck angle.

Image


Image

I used my 15’ block to take the back heel and tail blocks down to the correct height and the 15’ foot radius dish to quickly finish the rims.

Image

Image

I glue the kerfed linings on just proud of the rims, and profile them using the two radius dishes.

Image

Back to the bevel. I used an 0 sized guitar template as a guide to mark the top bevel profile and a bandsaw to cut it out. Note the small cutoff on the left side. I will save that cut off to use later in the process when I am gluing on the top purfling.
I marked the profile on my bevel support and then drew a second line about ¼ inch out that will be the support for the top.

Image

Image

By hook or by crook I sawed, chiseled and sanded the inside of the bevel support to reduce its weight and bulk.

Image


Image


Image


Image


Image

I have a little more to finish the rims but then on to the top and the back.

Tim Benware
Posts: 1489
Joined: Thu Dec 22, 2011 1:22 pm
Location: Asheboro, NC

Re: Martin 00 12 Fret - cutaway with arm bevel #12

Post by Tim Benware » Fri Oct 04, 2013 9:22 am

I think I know the answer to this question but wouldn't it have been easier to cut it down before gluing it in or were you unsure of how big it needed to be seeing that it was your first one?
I've "Ben-Had" again!
Tim Benware
Creedmoor, NC

Post Reply