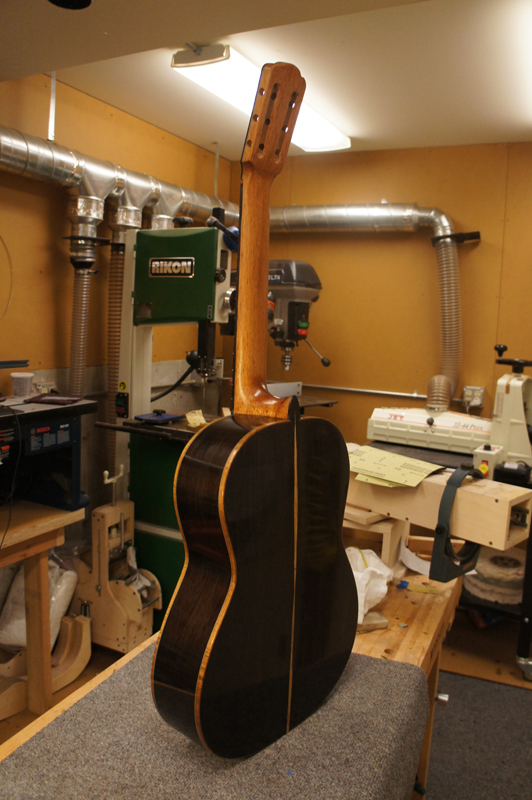
Classical guitar Finished FP on body.
-
Kyle Barbour
- Posts: 230
- Joined: Fri Dec 23, 2011 10:37 pm
- Location: Glen Burnie Md
Re: Classical guitar 11 ready for French polish
"His video course is an in depth course not a demonstration of technique". Exactly John.
Kyle
Re: Classical guitar 11 ready for French polish
So could you guys share some of the secrets, tidbits gleaned from the course, that make/made a difference with the members who may not be able to afford the $40 -$50, this is kind of the spirit and essence of our forum.
ken cierp
http://www.kennethmichaelguitars.com/
Store Front
http://www.cncguitarproducts.com/
KMG Guitar Kit Information
http://www.kennethmichaelguitars.com/ki ... ckage.html
http://www.kennethmichaelguitars.com/
Store Front
http://www.cncguitarproducts.com/
KMG Guitar Kit Information
http://www.kennethmichaelguitars.com/ki ... ckage.html
Re: Classical guitar 11 ready for French polish
One thing I learned about French Polish is that spraying lacquer from rattle cans is easier.
John, this guitar looks amazing and you are doing a helluva job on the FP. It is a gem all around.
John, this guitar looks amazing and you are doing a helluva job on the FP. It is a gem all around.
-
John Parchem
- Posts: 2746
- Joined: Fri Dec 23, 2011 8:33 pm
- Location: Seattle
- Contact:
Re: Classical guitar 11 ready for French polish
Guys thanks for the positive comments and encouragement. I am holding up on pictures but I have many more session of FP and the guitar looks better and better.
I reread it today and it still follows what I am doing.
Sure! The post I made in the shellac finishing section from a previous instrument came from what I learned in the course. viewtopic.php?f=27&t=828kencierp wrote:So could you guys share some of the secrets, tidbits gleaned from the course, that make/made a difference with the members who may not be able to afford the $40 -$50, this is kind of the spirit and essence of our forum.
I reread it today and it still follows what I am doing.
-
John Parchem
- Posts: 2746
- Joined: Fri Dec 23, 2011 8:33 pm
- Location: Seattle
- Contact:
Re: Classical guitar 11 ready for French polish
Before moving on to finishing the top I decided to varve a bridge out of a nice BRW blank. As it tool 23 pictures to show the process I posted it in the bridge section: viewtopic.php?f=20&t=1287
Here is the carved bridge.
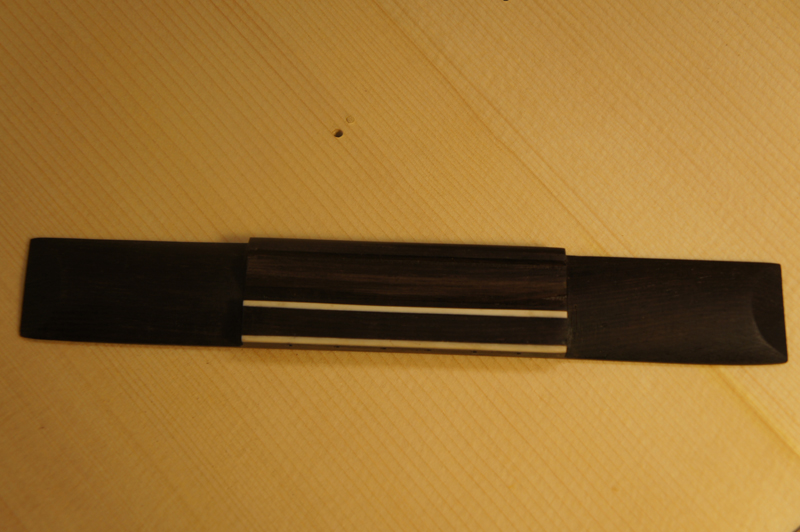
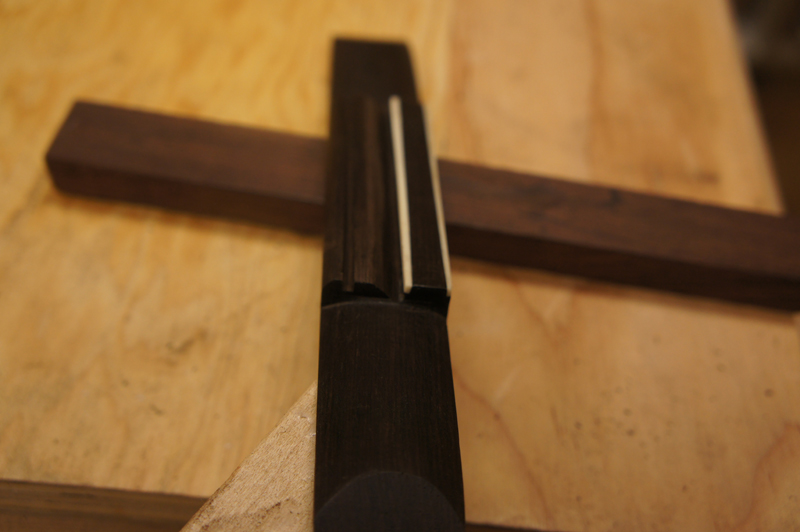
Here is the carved bridge.


-
Dave Bagwill
- Posts: 5951
- Joined: Tue Dec 13, 2011 7:44 pm
-
John Parchem
- Posts: 2746
- Joined: Fri Dec 23, 2011 8:33 pm
- Location: Seattle
- Contact:
Re: Classical guitar - fretted, bridge placed; on to FP of
I still have a bit of FP to do on the back and sides but I thought I would place the bridge, fret the guitar and prep the top for FP before I went back to finishing.
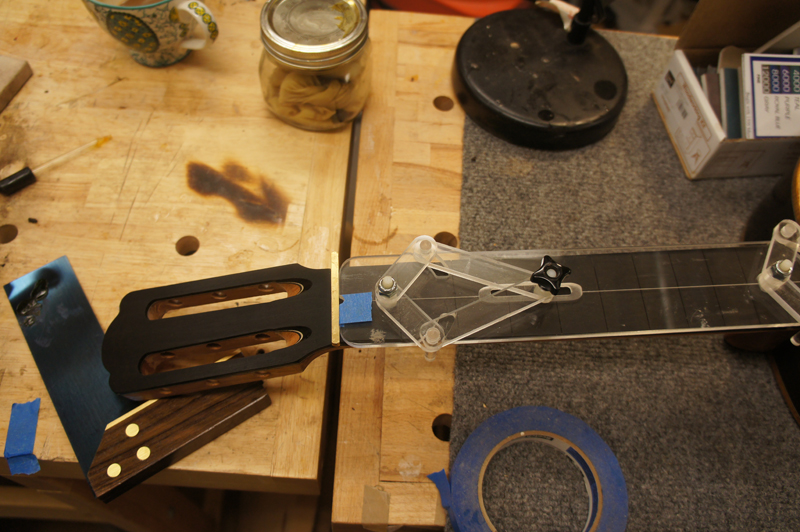
I used my luthier suppliers center line tool to place and square the bridge to the neck. I use a 1/4 brass bar to set my nut spacing, in this case I can use it to assure the tool is at the nut position. I have marks for the different sized fret boards I use. A note of caution to those who read this, double check fret measuring tool. I have an ibex fret ruler and its standard classical scale is not any standard I know. It would have placed the bridge about 4 mm long. (that is more than the 652 I was looking for.)
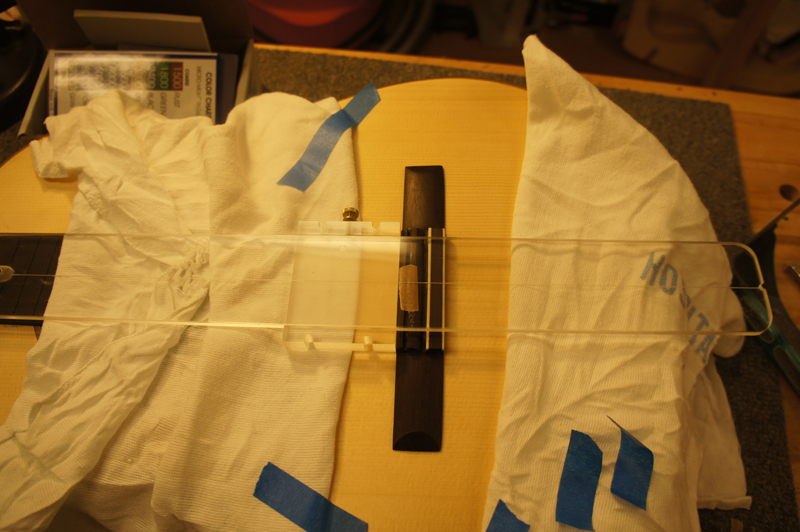
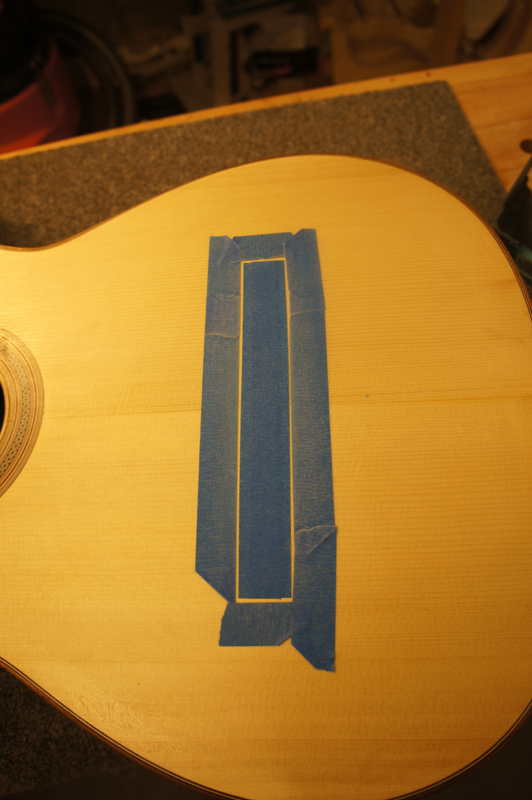
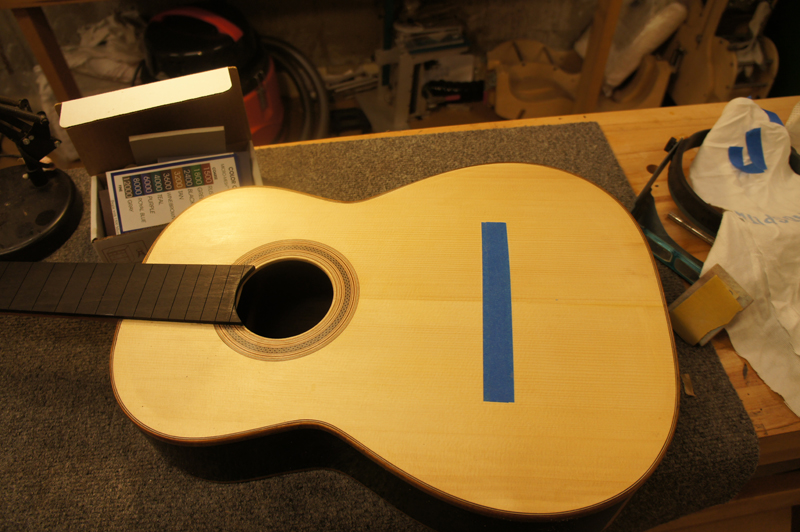
Once the bridge is placed I tape around it then use that tape to place a strip I will keep clean during the FP.
A TIP: Dog ear the tape to make it easy to get an end to peal off. I am trying to have a nail mark free top this time.
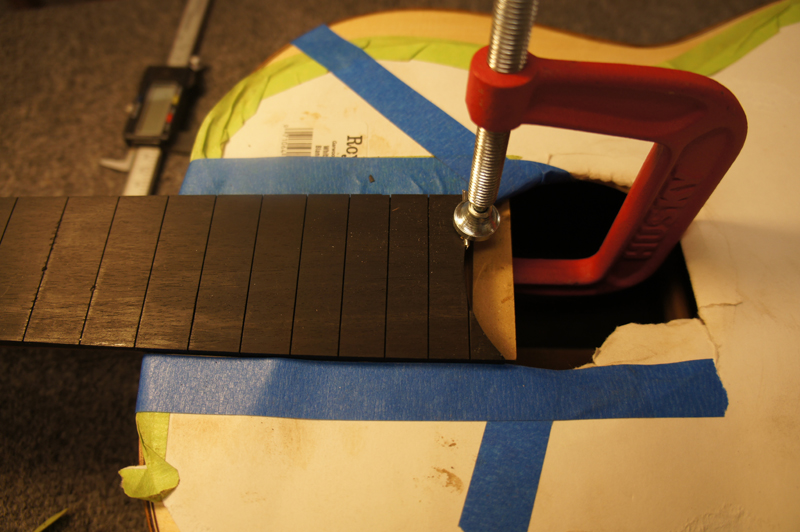
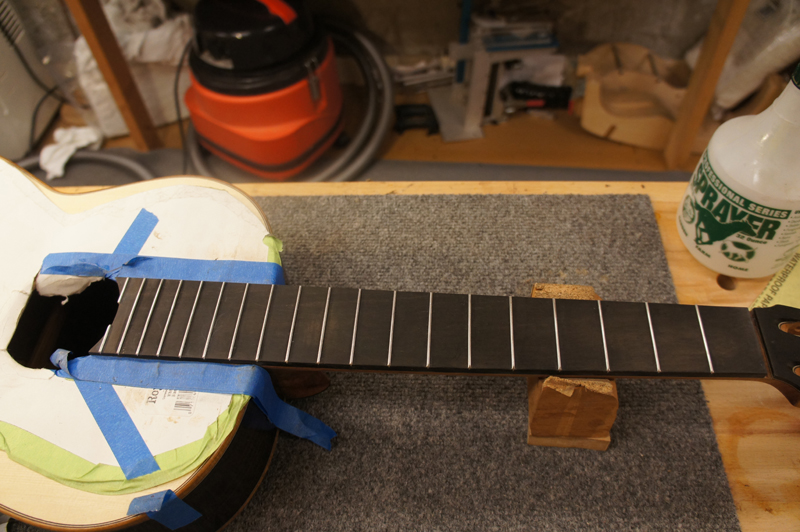
I was afraid I would chip off the point if I hammered in the two partial frets. I filed off the barbs, pressed them in and super glued them in.
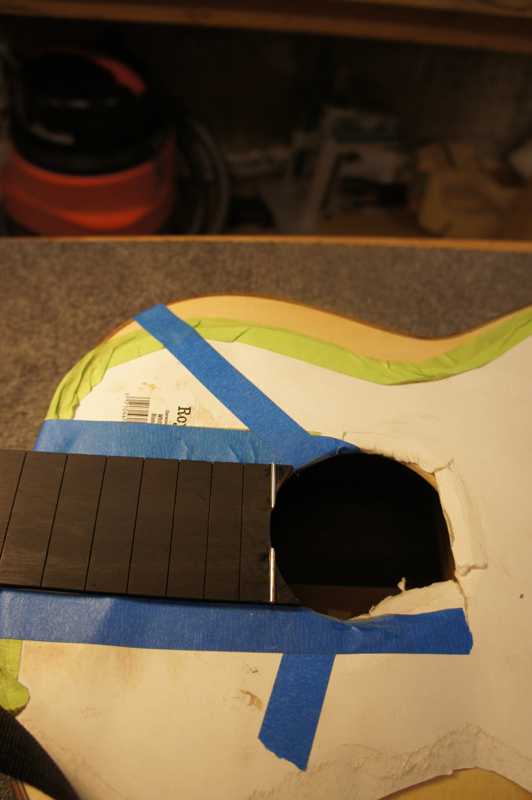
I use a spray bottle and a bit of glue before I pound in the frets. I also use a triangle file to bevel the edges.
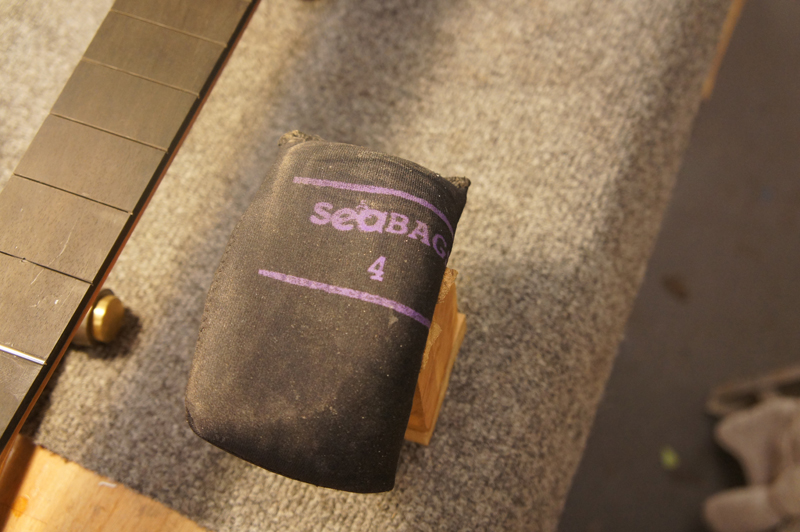
Tool Tip The seabag is a soft diving weight filled with 4 pounds of lead shot.
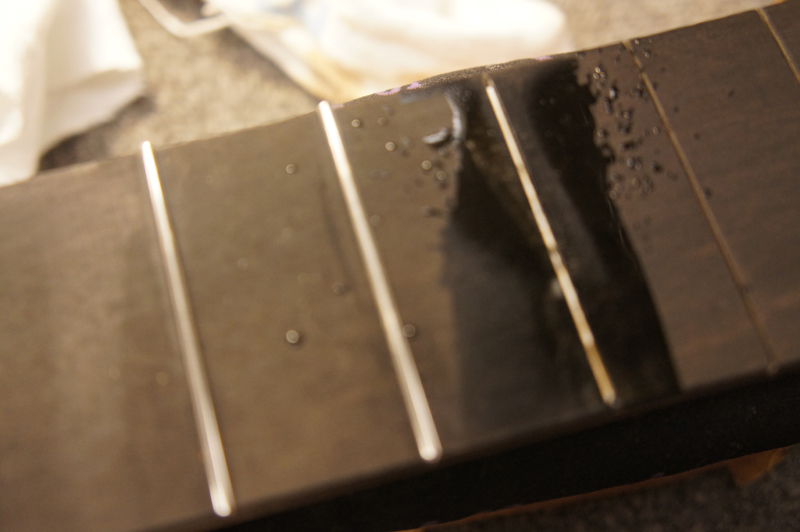
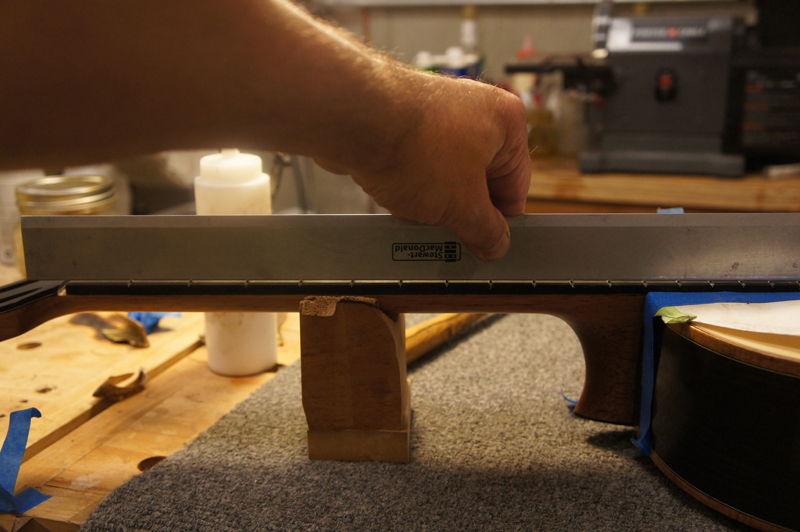
Part of the advantage of putting the frets on after gluing the fret board to the neck. I was able to level sand the fret board in location. Each and every fret is touching the straight edge. There was no need to level and redress the frets.
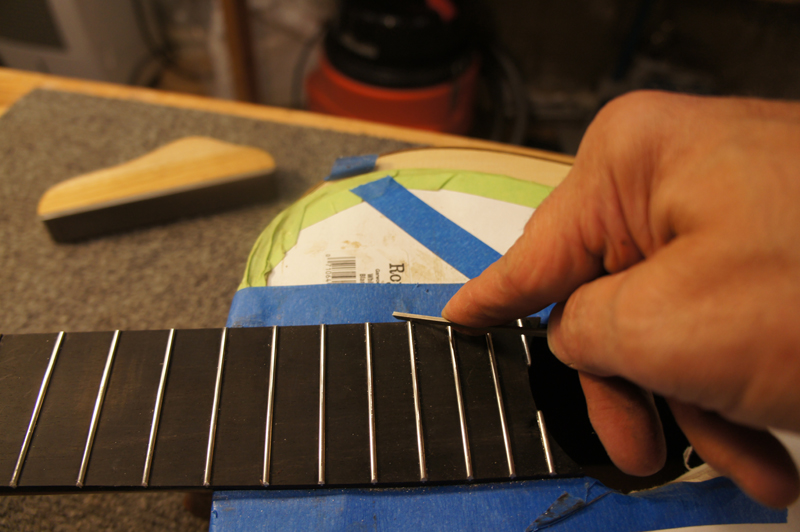
I use a stewmac fret file (seen in the back ground) To clean the fret to the edge of the fret board and then put a slight bevel on the frets. I use the pictured fret file to round the edges. I like this file as it has a rounded save edge (totally safe on the wood) and a flat safe edge. Need to be carefull with the edge.
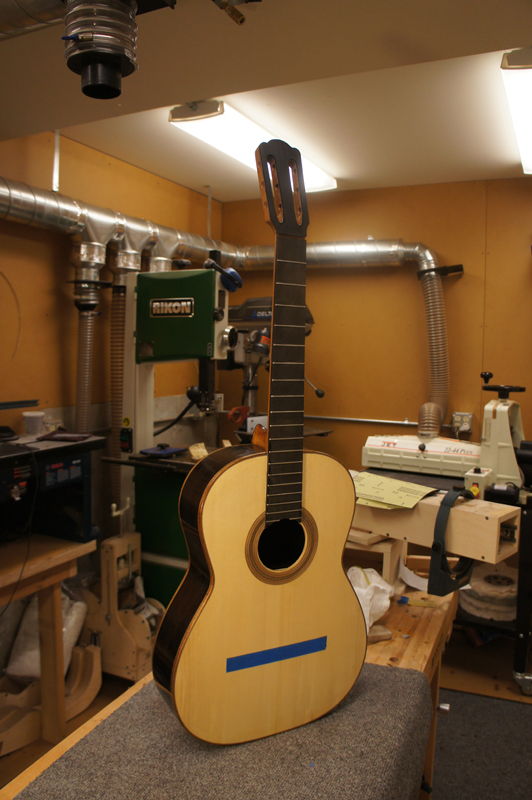
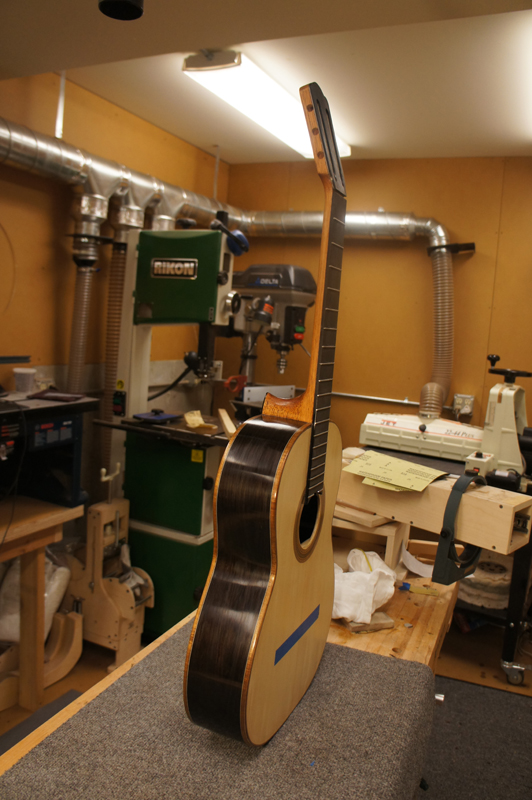
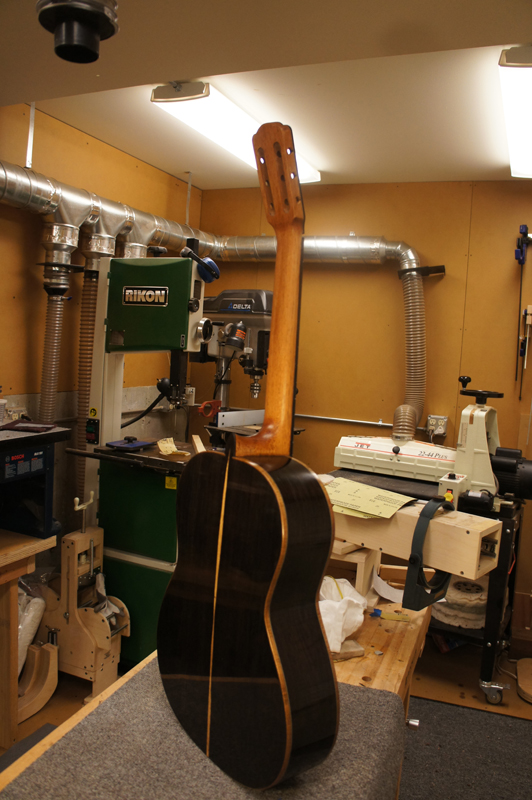
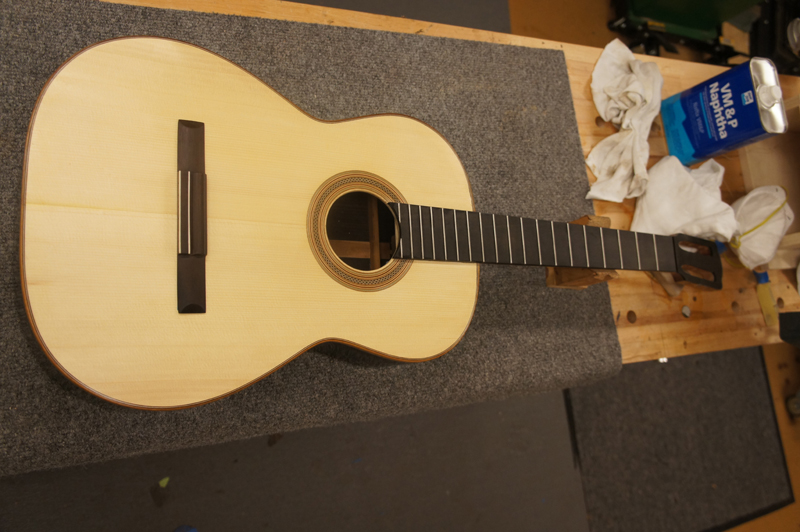
So now the top is prepped with anew was coat of shellac. Here is where I am.
I used my luthier suppliers center line tool to place and square the bridge to the neck. I use a 1/4 brass bar to set my nut spacing, in this case I can use it to assure the tool is at the nut position. I have marks for the different sized fret boards I use. A note of caution to those who read this, double check fret measuring tool. I have an ibex fret ruler and its standard classical scale is not any standard I know. It would have placed the bridge about 4 mm long. (that is more than the 652 I was looking for.)


Once the bridge is placed I tape around it then use that tape to place a strip I will keep clean during the FP.
A TIP: Dog ear the tape to make it easy to get an end to peal off. I am trying to have a nail mark free top this time.


I was afraid I would chip off the point if I hammered in the two partial frets. I filed off the barbs, pressed them in and super glued them in.


I use a spray bottle and a bit of glue before I pound in the frets. I also use a triangle file to bevel the edges.
Tool Tip The seabag is a soft diving weight filled with 4 pounds of lead shot.


Part of the advantage of putting the frets on after gluing the fret board to the neck. I was able to level sand the fret board in location. Each and every fret is touching the straight edge. There was no need to level and redress the frets.

I use a stewmac fret file (seen in the back ground) To clean the fret to the edge of the fret board and then put a slight bevel on the frets. I use the pictured fret file to round the edges. I like this file as it has a rounded save edge (totally safe on the wood) and a flat safe edge. Need to be carefull with the edge.


So now the top is prepped with anew was coat of shellac. Here is where I am.


