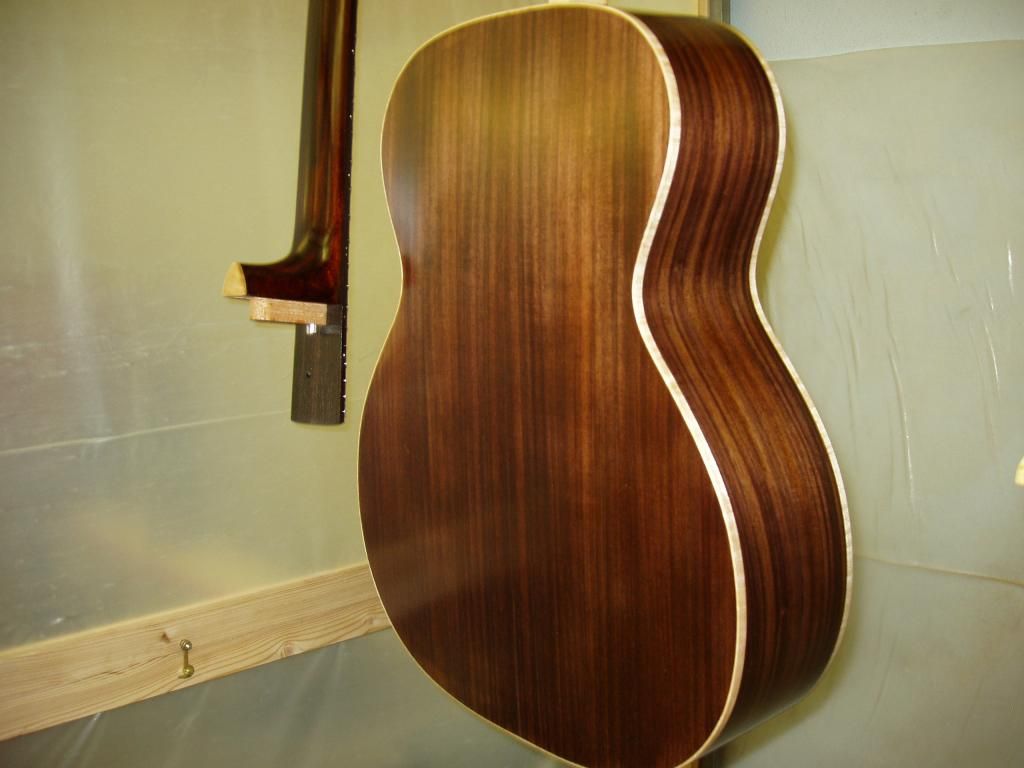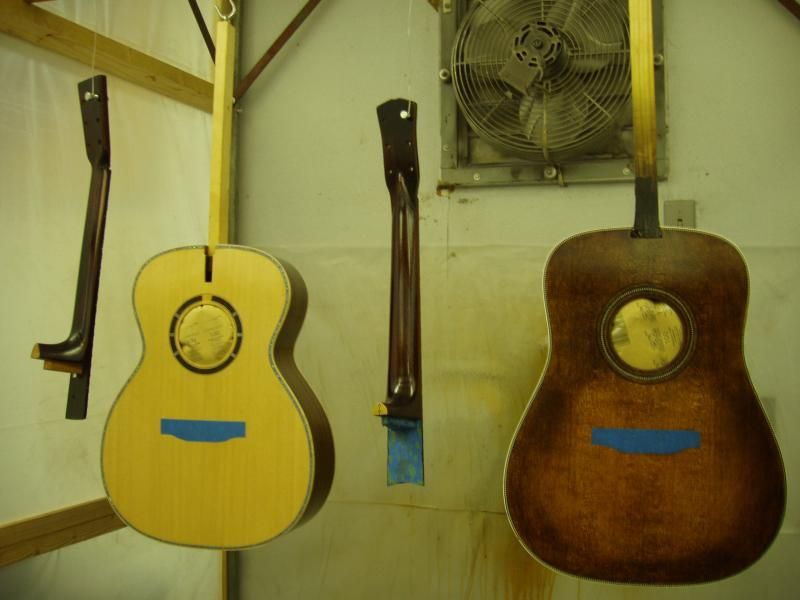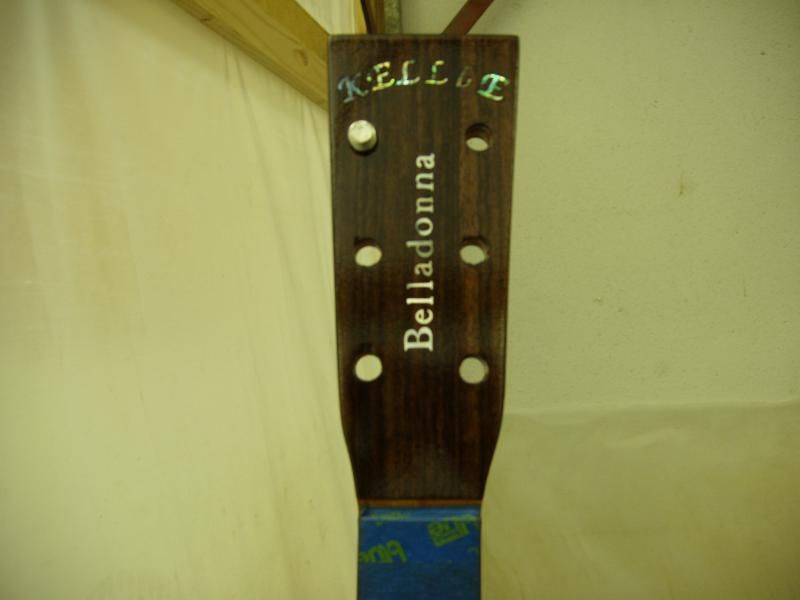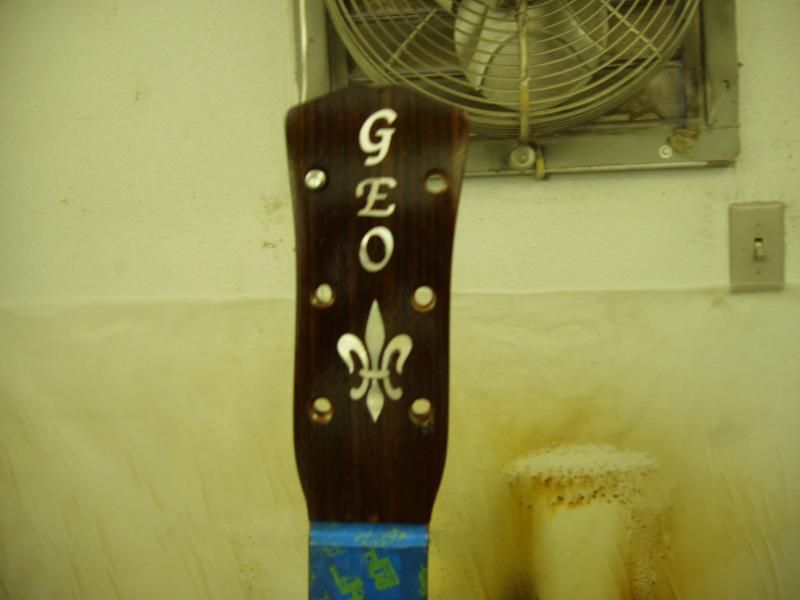
Since I’m learning as I go, I try to figure out the easiest way to the results I’m after. First let me say again how glad I am that I purchased the KMG “Guitar Binding Channel Routing System”!!!!!!!!!!!!! It is so nice to not be the least bit worried about getting the channels right on the money. Not to mention how quick and easy it is to use. So Simple!! I don’t know how Ken thinks these things up but I’m sure glad he does. I know that most members already know this but for any guest who is getting started with Kit Building, buy the damn thing. Worth every penny!!
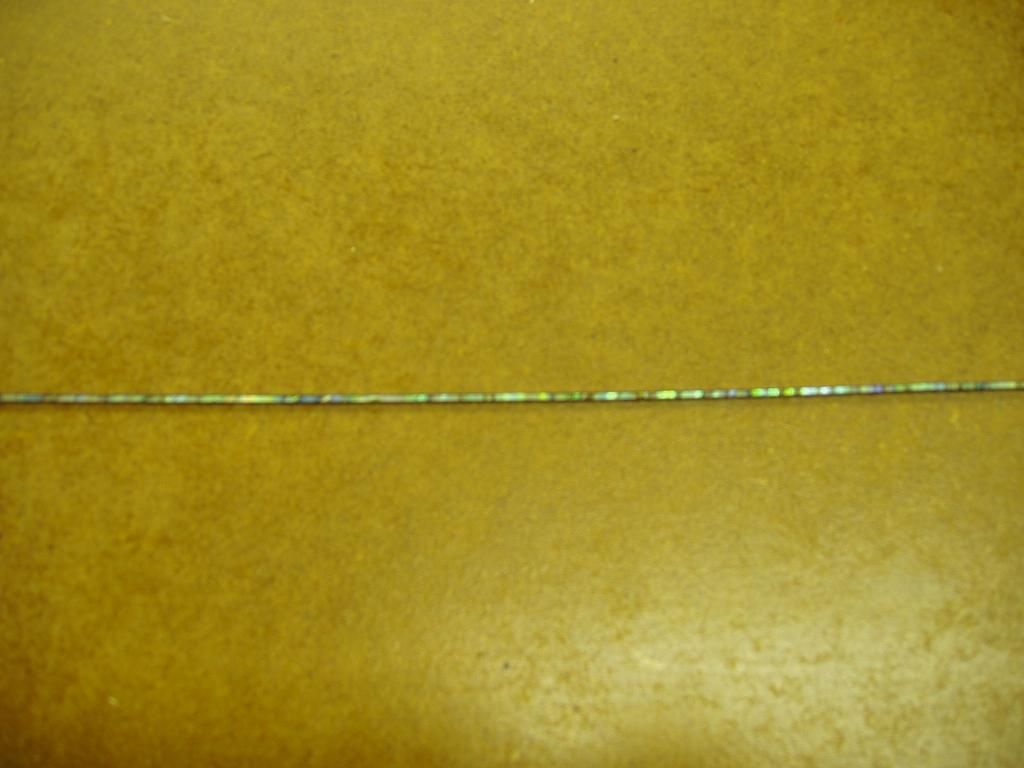
Ken was kind enough to add an extra B-W-B-W-B purfling strip when I told him I wanted to sandwich the ZipFlex. I started out by taping the three strips together.
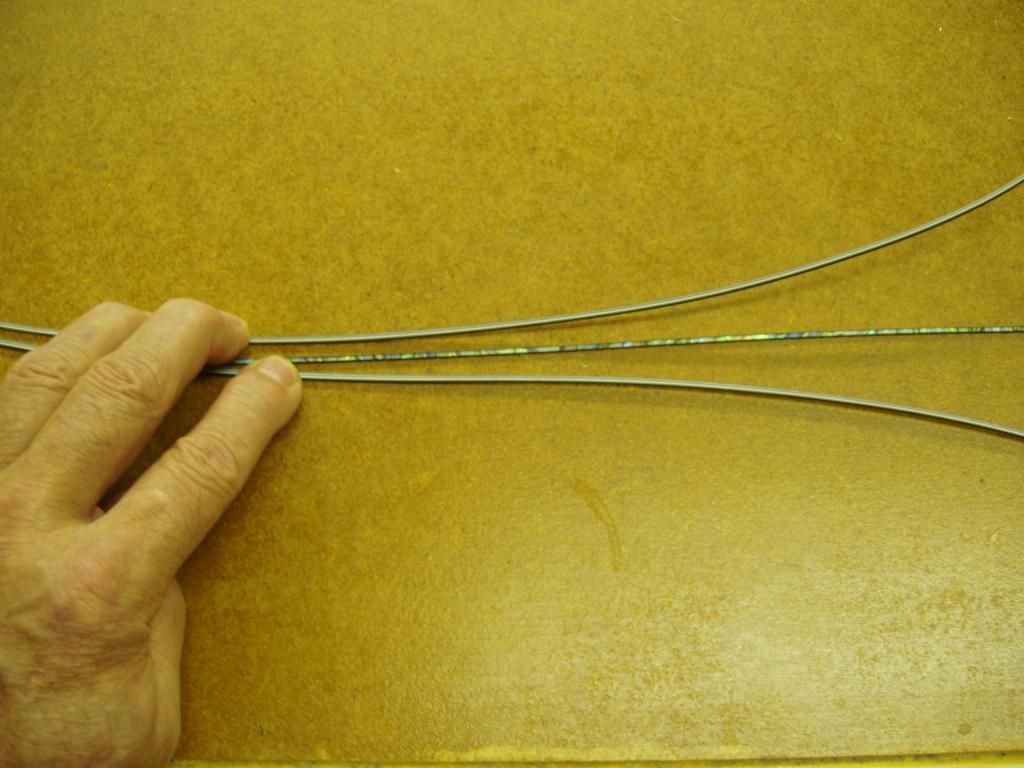
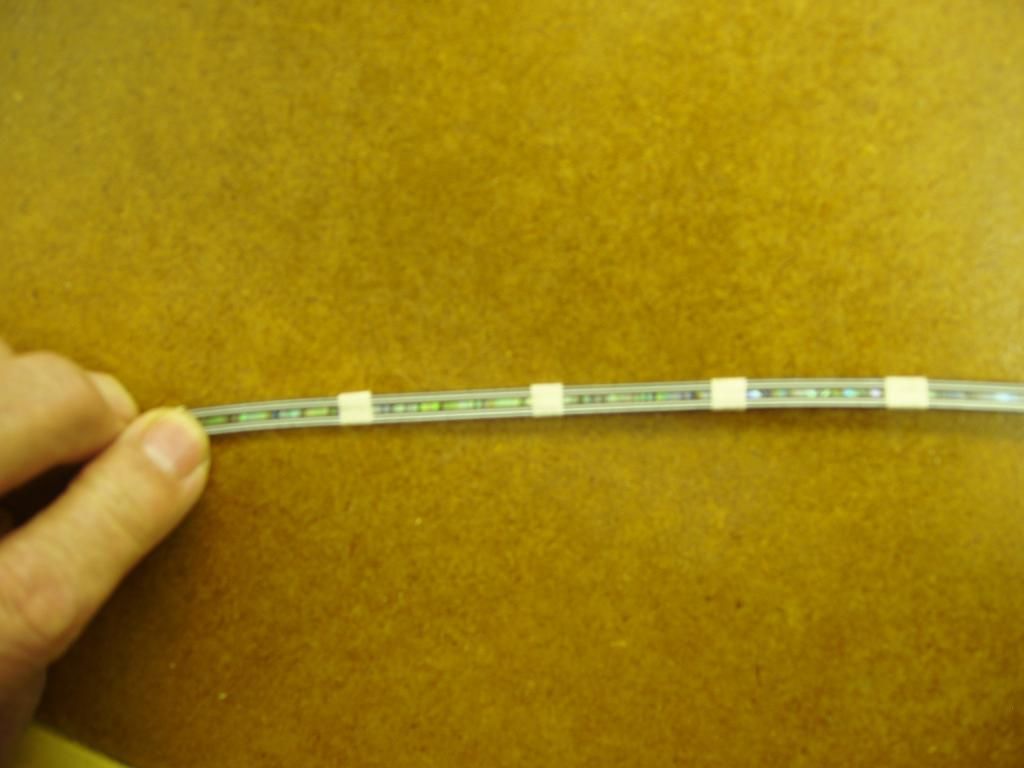
Look at these channels. I feel like a real pro. Only took a couple of minutes with the KMG routing system.
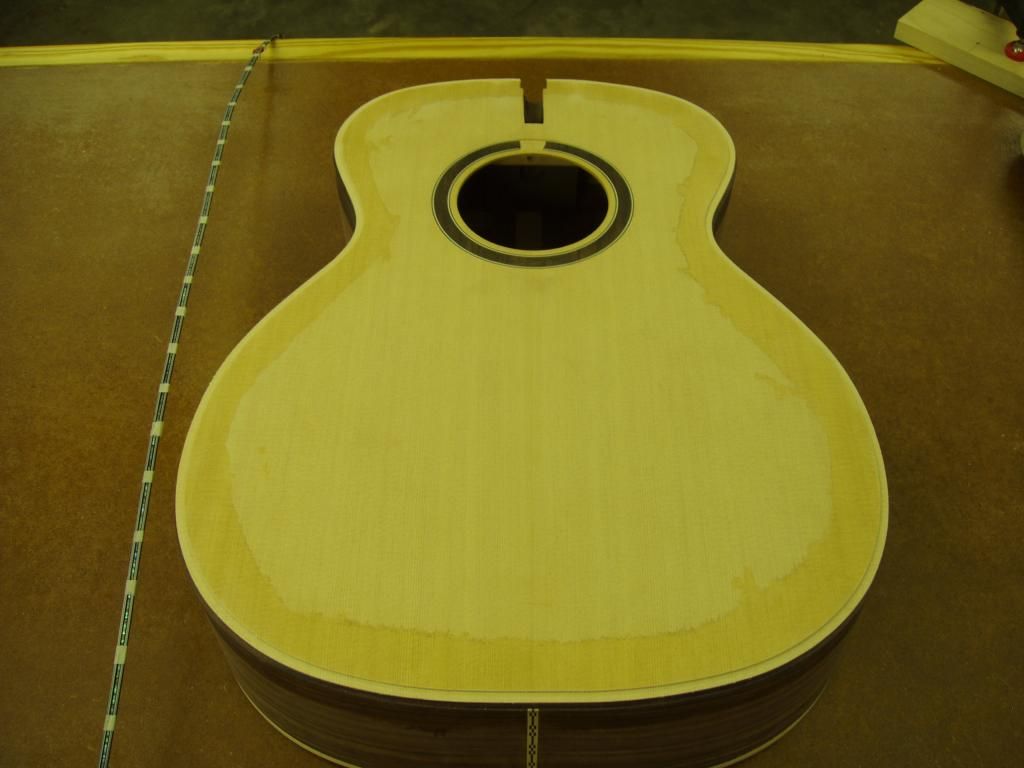
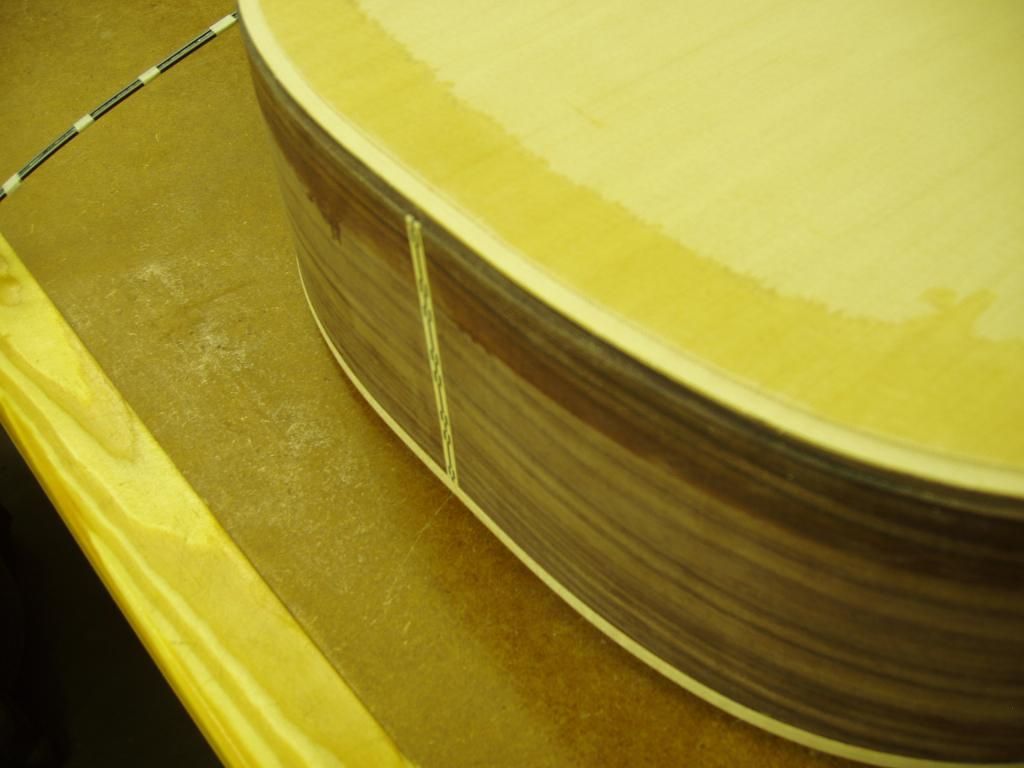
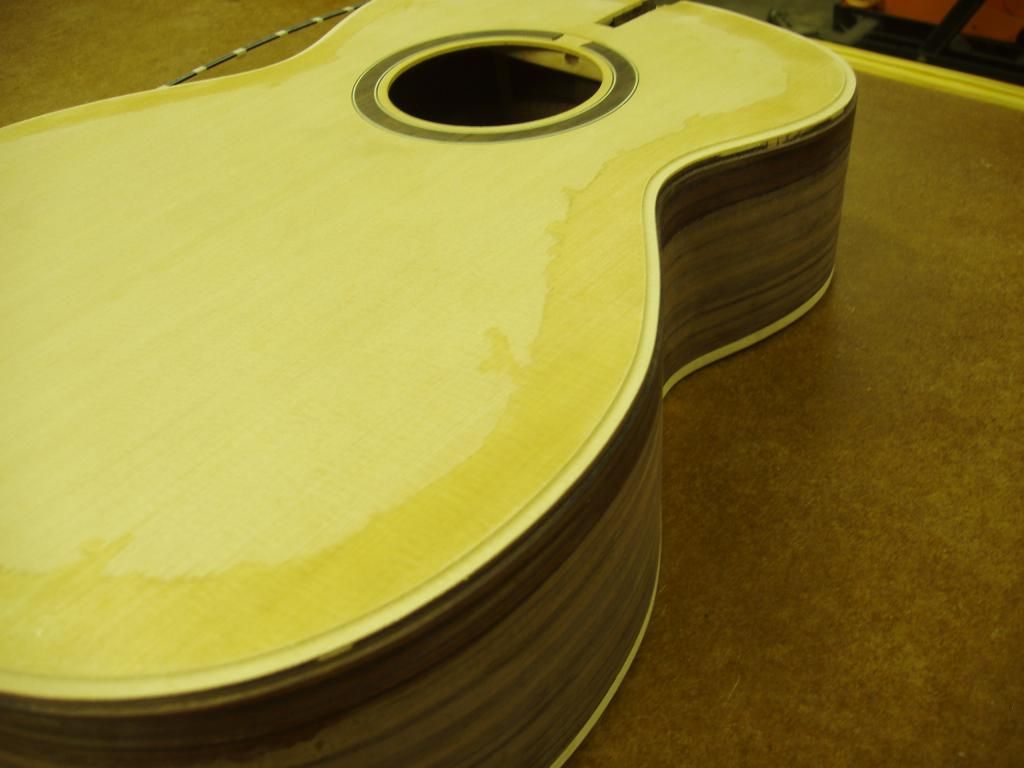
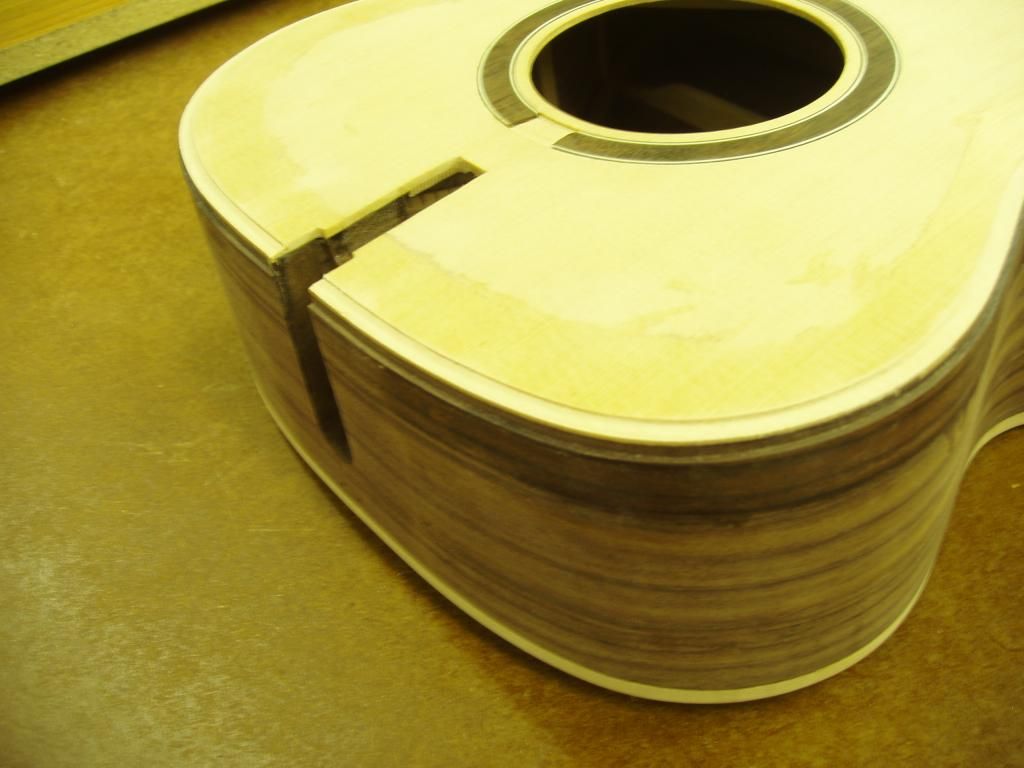
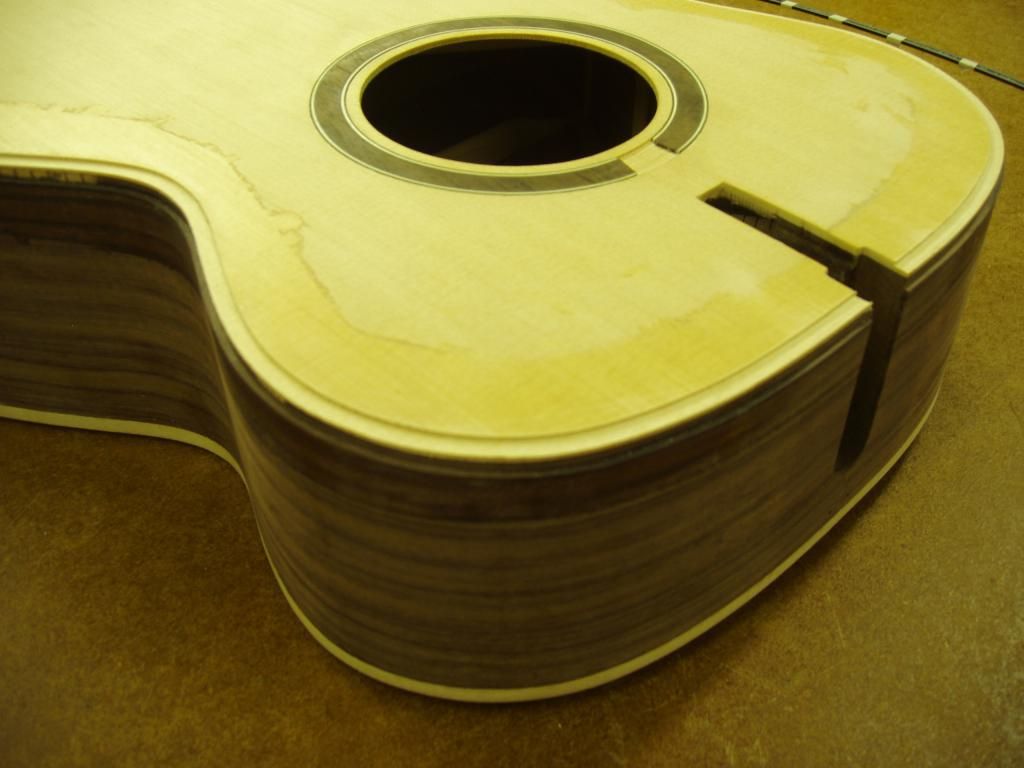
Here’s the dry run.
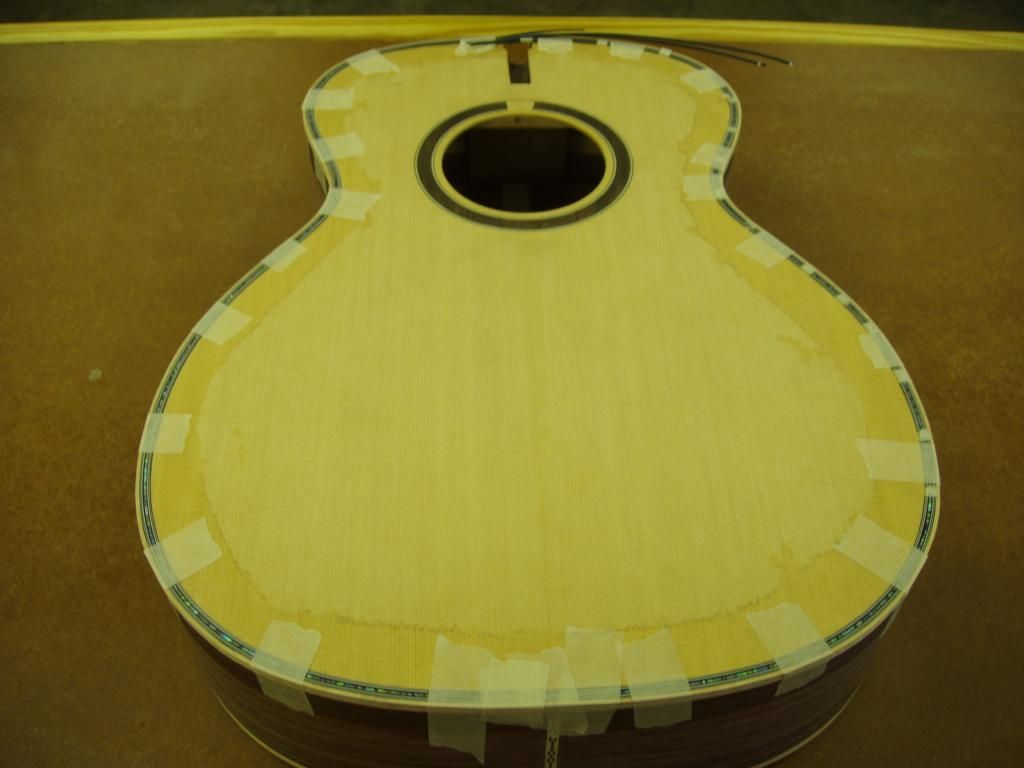
Glue with binding tape.
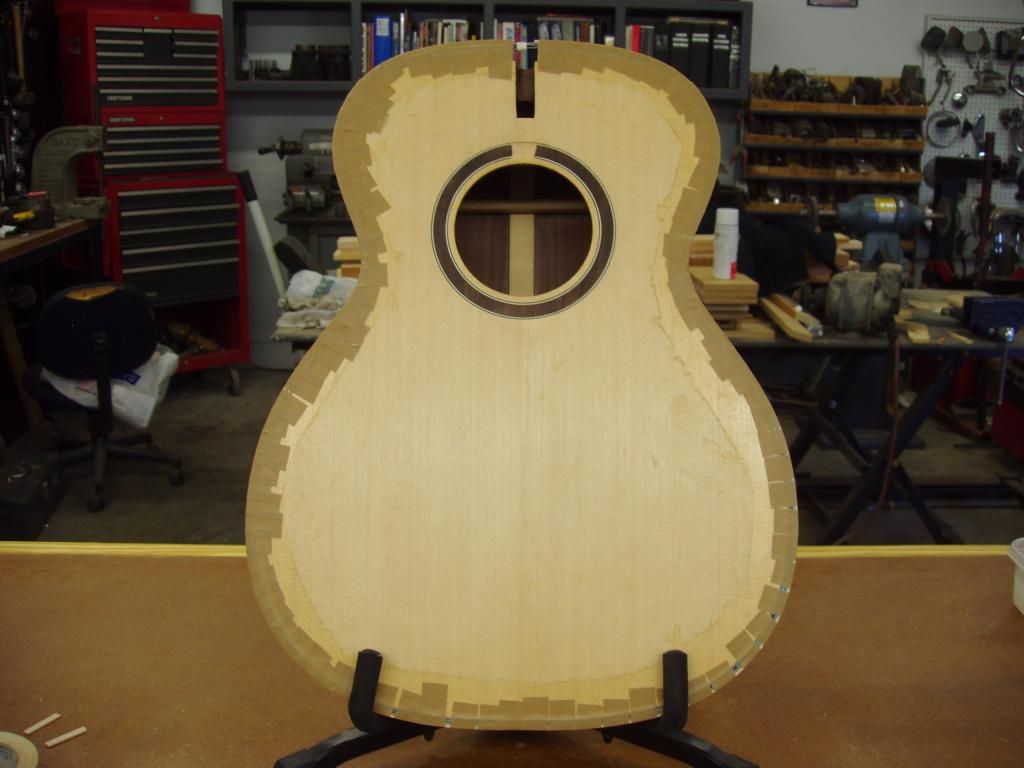
Here are the remnants of ZipFlex. They send just enough to do the guitar. I hate them.
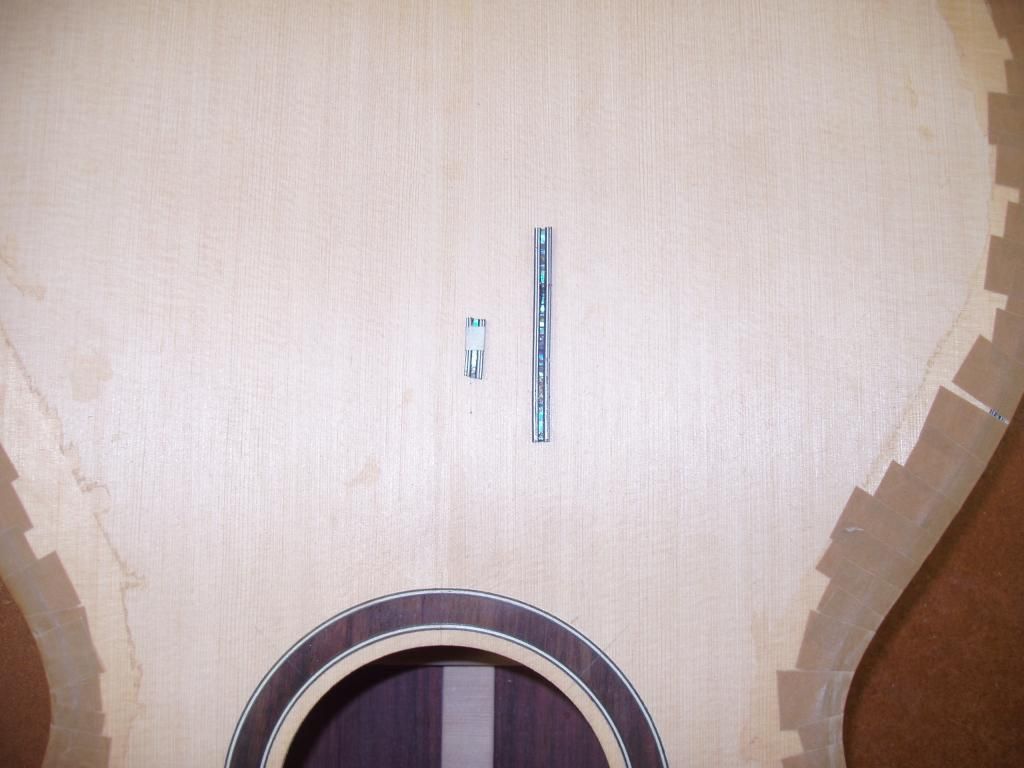
I made a makeshift press to hold the three purfing remnants together and attached them with CA glue. I was able to cut 6 short pieces for the rosette. I wanted to make the rosette match the purfling. When I laid out patterns the two I liked best were what you see in the picture & I also liked having these two with the other four pieces in the 2,, 4,, 8,, & 10 position. Didn’t really like having them evenly spaced like spokes. Still trying to decide if I shoud add the other four or leave it like it is. Ken stated in a post recently that sometime less is better and I’m thinking that might be the case here.
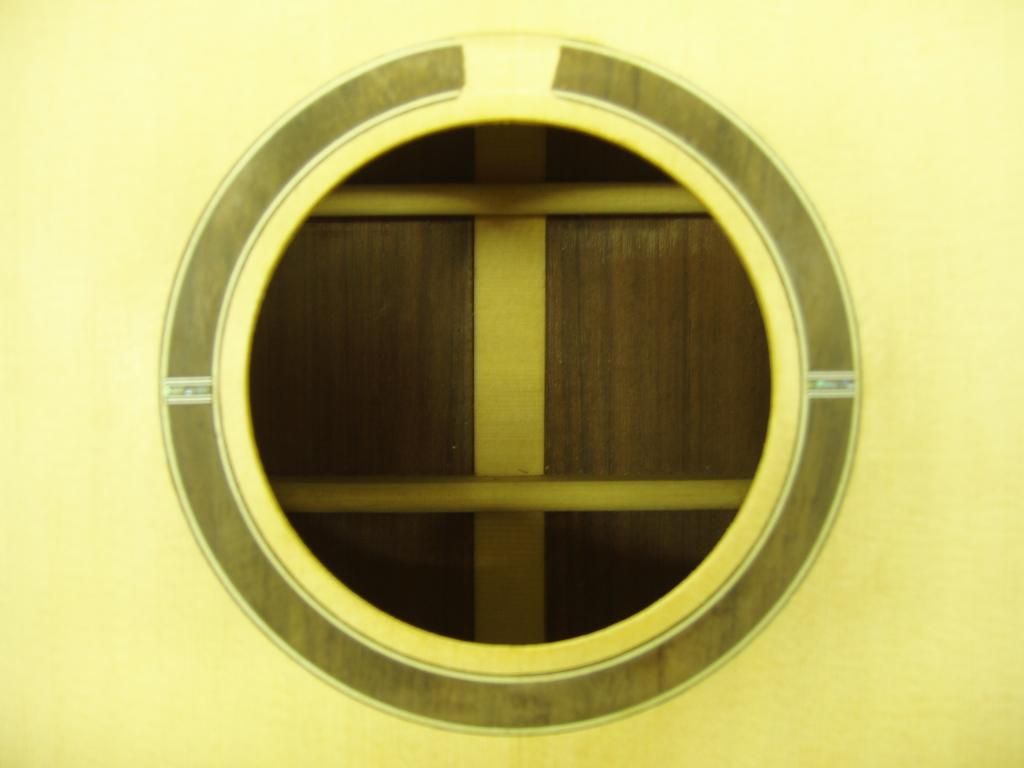
The fit was very good so didn’t need much sanding to clean it up. Still a little sanding to do before its ready for finish.
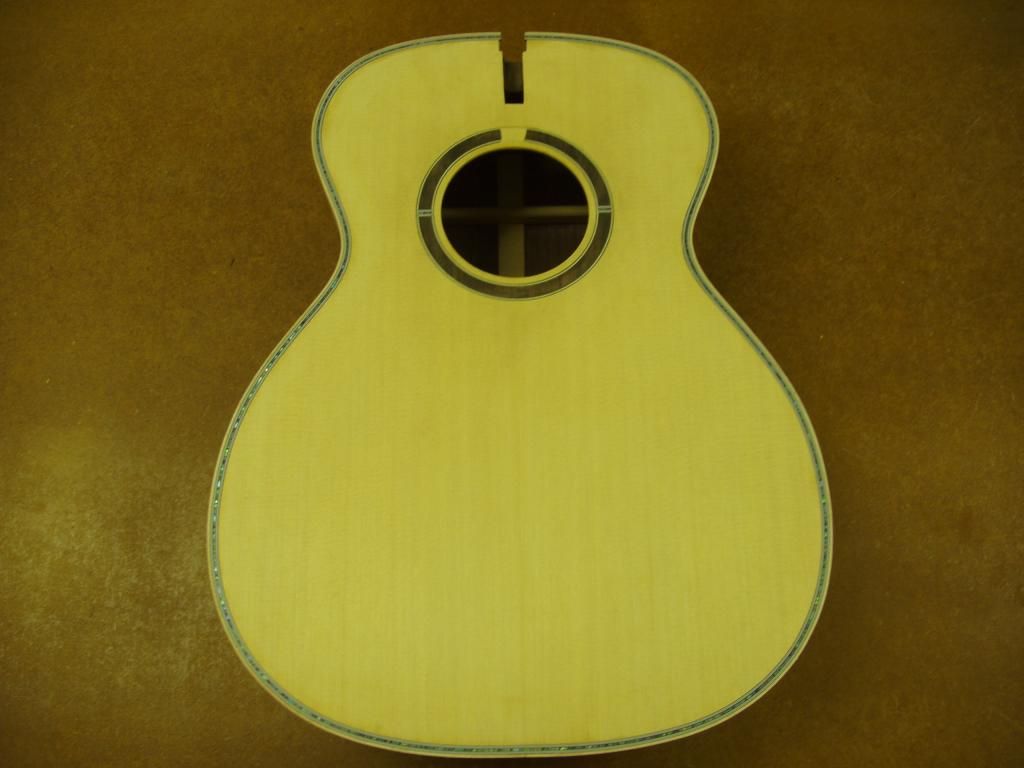
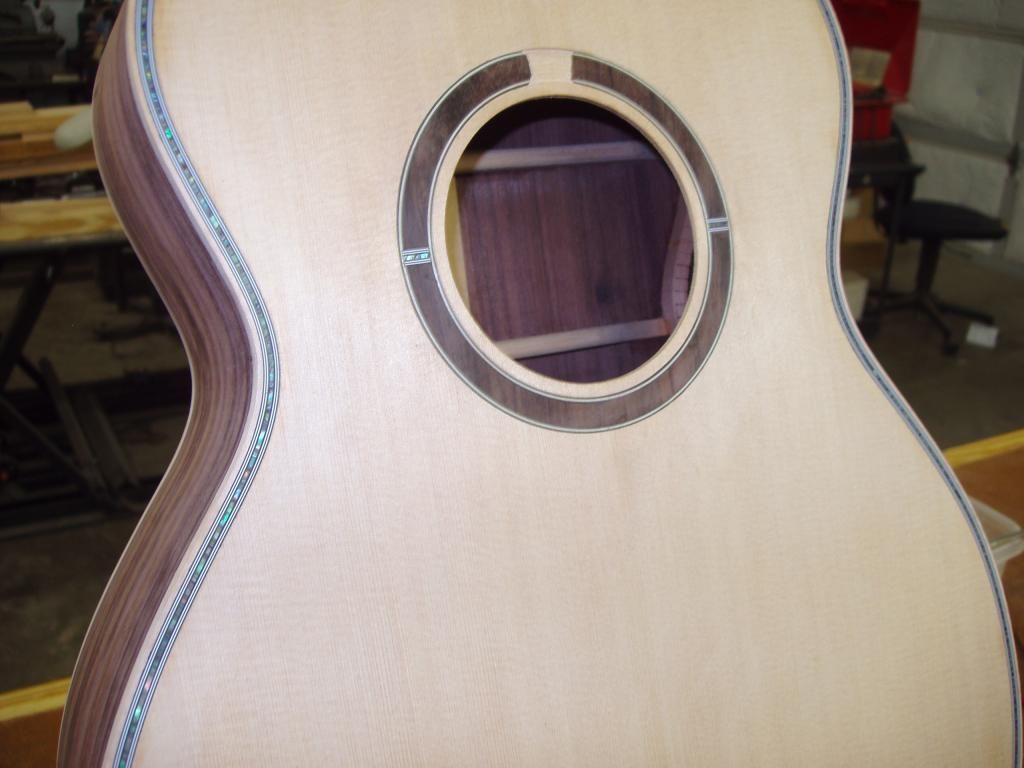
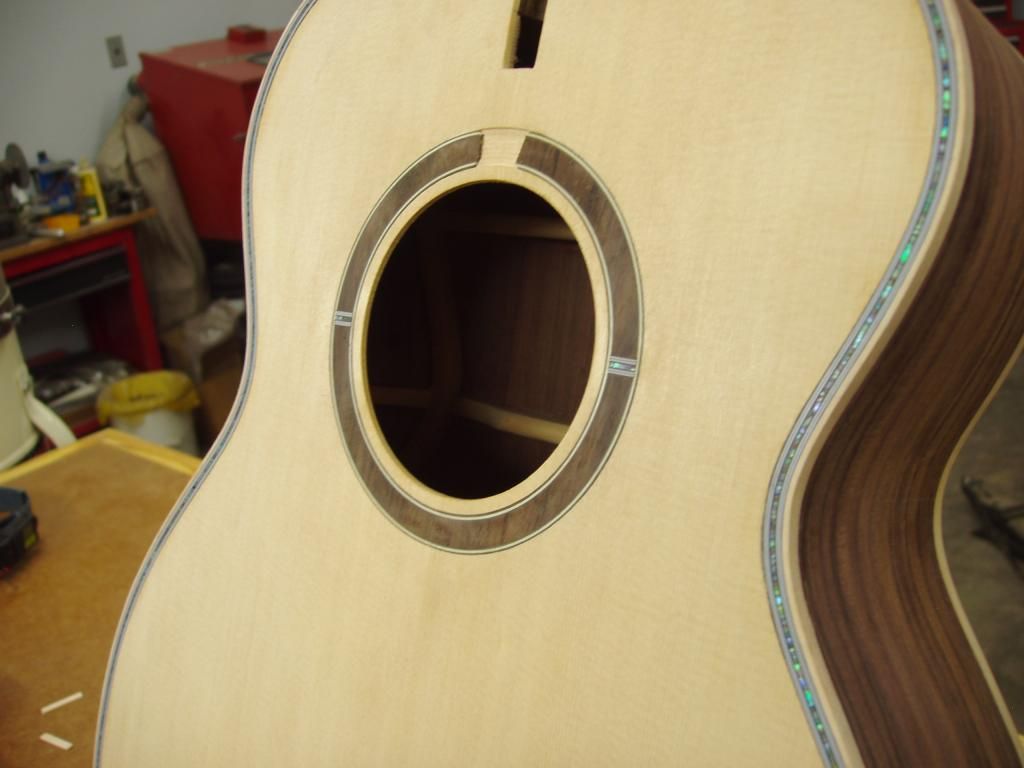
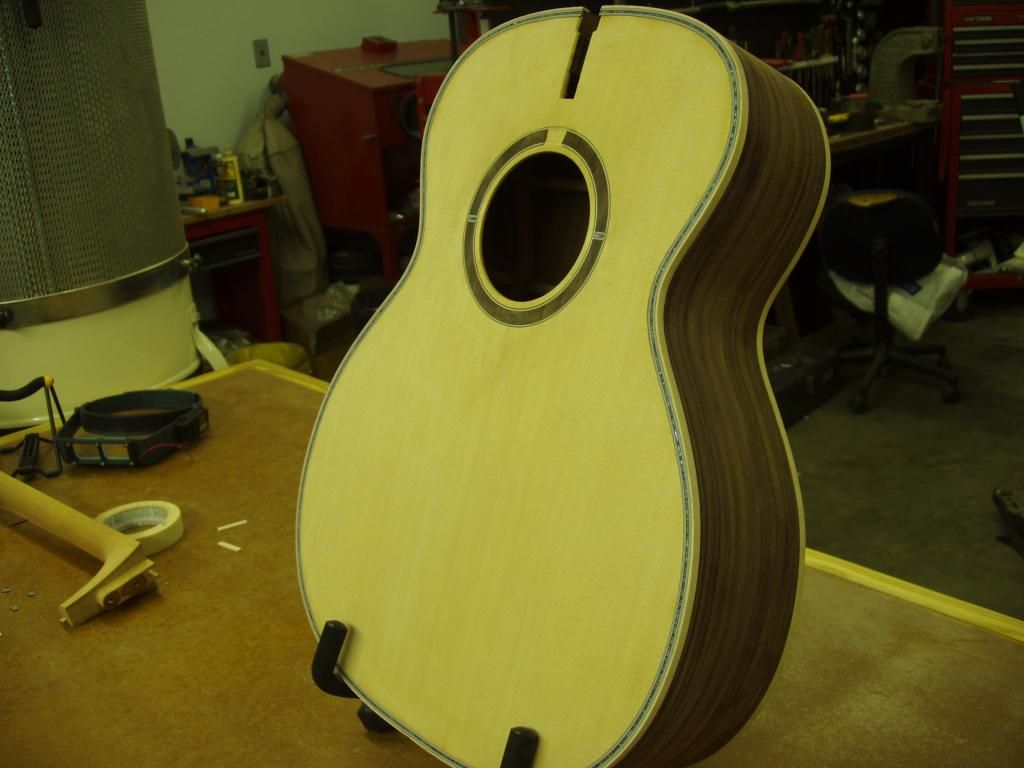
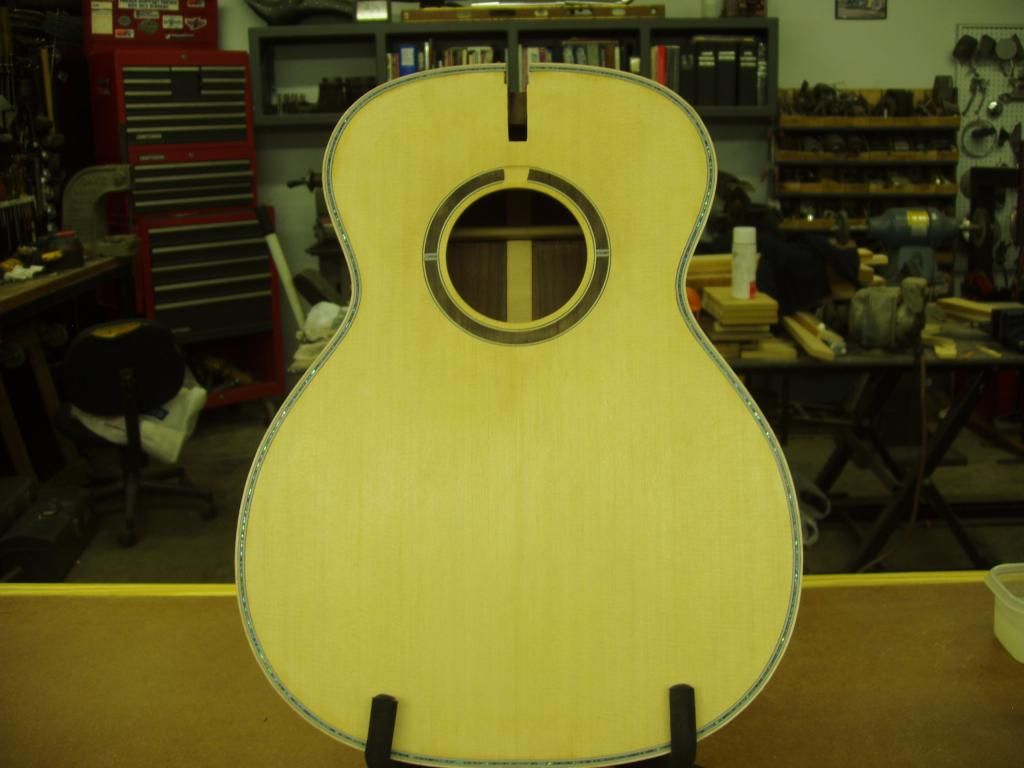
Anyway, the body is just about done. The neck fit is good so I should have a guitar before too long.
George


