+1Kevininca wrote:That looks so sweet with the sapwood center...I love it.
Kevin
Classical guitar Finished FP on body.
-
Tim Benware
- Posts: 1489
- Joined: Thu Dec 22, 2011 1:22 pm
- Location: Asheboro, NC
Re: Closed the box on my Guitar guitar today.
I've "Ben-Had" again!
Tim Benware
Creedmoor, NC
Tim Benware
Creedmoor, NC
-
John Parchem
- Posts: 2746
- Joined: Fri Dec 23, 2011 8:33 pm
- Location: Seattle
- Contact:
Re: Closed the box on my Guitar guitar today.
Thanks for the positive comments!
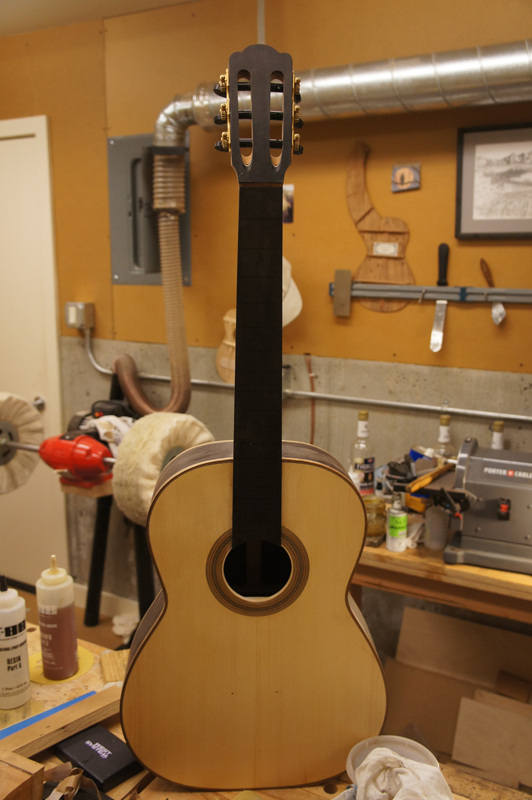
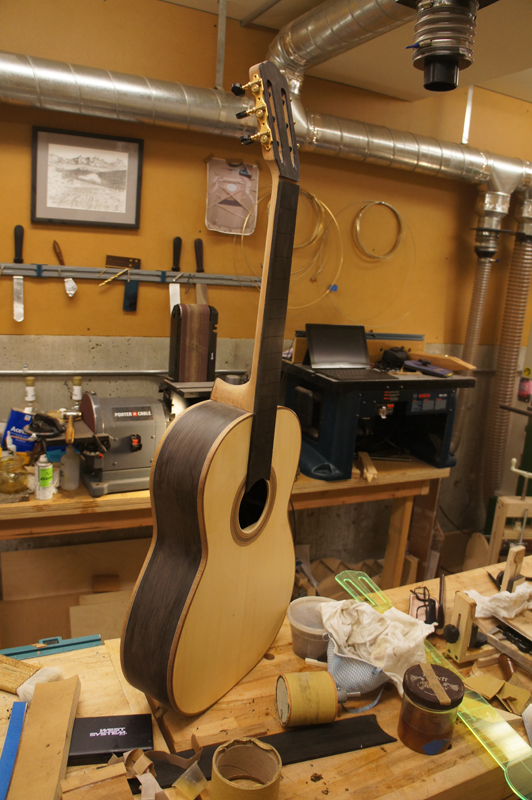
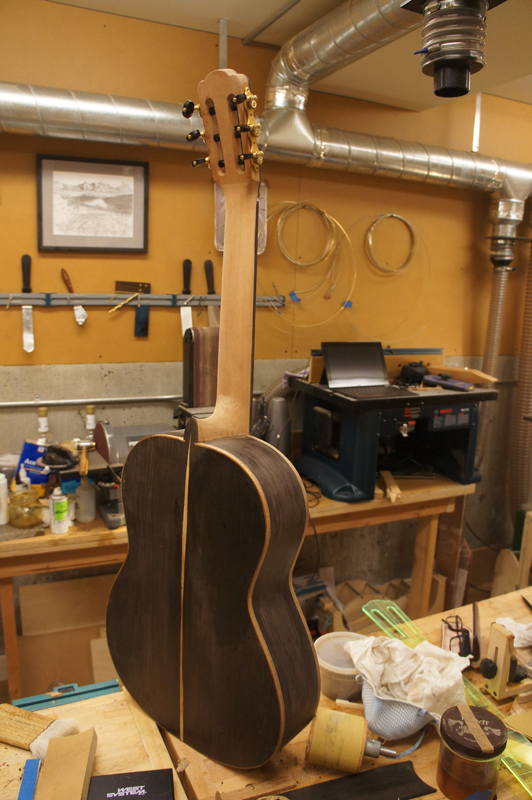
I am finally in final prep sanding of this classical guitar. This is my 11th instrument; you would think I could glue on a fret board. Yikes! I prepared the fret board for gluing planning it to the correct thickness . This meant planeing my 8mm board to between 6 and 5 mm. I made a caul out of 3/4 plywood and test clamped the fret board all looked great. I put a thin layer of LMI instrument glue and clamped the fret board with a whole lot of cam clamps against a full size caul. I came back 15 minutes later to do clean up and found that the fret board had wrapped so much that the edges were actually lifted a touch against the caul and the clamps. Yikes.
I used a repair heat blanket I have to remove the fret boards. It was very warped. I used the same blanket and caul and clamps to heat and flatten the fret board. I cycled the heat about three times over a couple of days and ended up with a flat fret board again. To avoid warping it again I used structural epoxy to glue on the fret board.
So today I started clean up work. I am crossing my fingers still waiting for the first dent or scratch in the top. I am about at the point where I can cover the top through the zpoxy pore fill.


Last edited by John Parchem on Thu Jul 04, 2013 5:51 pm, edited 1 time in total.
-
Dave Bagwill
- Posts: 5951
- Joined: Tue Dec 13, 2011 7:44 pm
Re: Completed construction of my classical guitar in final p
You just keep getting better, John! Very nice.
-Under permanent construction
-
John Parchem
- Posts: 2746
- Joined: Fri Dec 23, 2011 8:33 pm
- Location: Seattle
- Contact:
Re: Completed construction of my classical guitar in final p
Thanks Dave, I am finding the more I do the more I need to learn. I am getting better fixing thins. I get lots of practice.
Here is the first coat of z-poxy. I tried something different this time. Before doing the back and sides I ran a clean line of z-poxy on all of the light would and the side purflings. The rosewood gives off a lot of color.
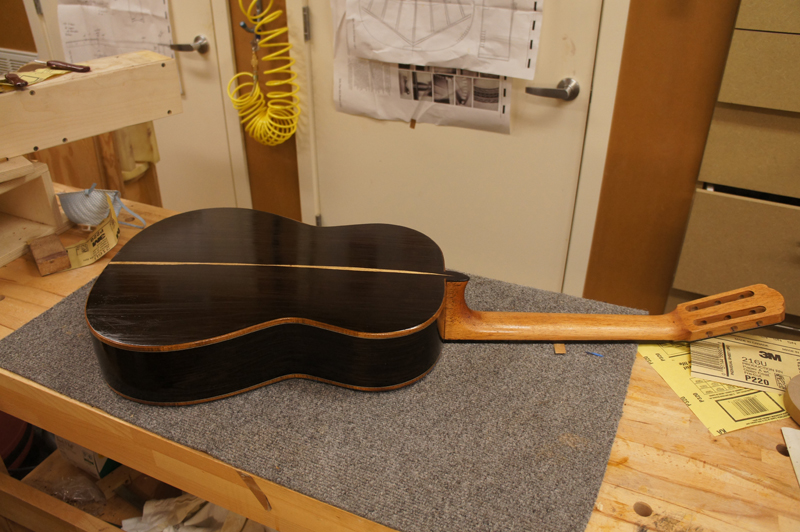
Here is the first coat of z-poxy. I tried something different this time. Before doing the back and sides I ran a clean line of z-poxy on all of the light would and the side purflings. The rosewood gives off a lot of color.

Re: Completed construction of my classical guitar in final p
It's looking so nice, John. That touch about using the zpoxy first on the light shaded wood is something we all need to stick in our minds when we get to that part. Something so simple that can get lost so quickly.
Excellent work and excellent repair on that fretboard.
Bob
Excellent work and excellent repair on that fretboard.
Bob
-
John Parchem
- Posts: 2746
- Joined: Fri Dec 23, 2011 8:33 pm
- Location: Seattle
- Contact:
Re: Classical guitar 11 ready for French polish
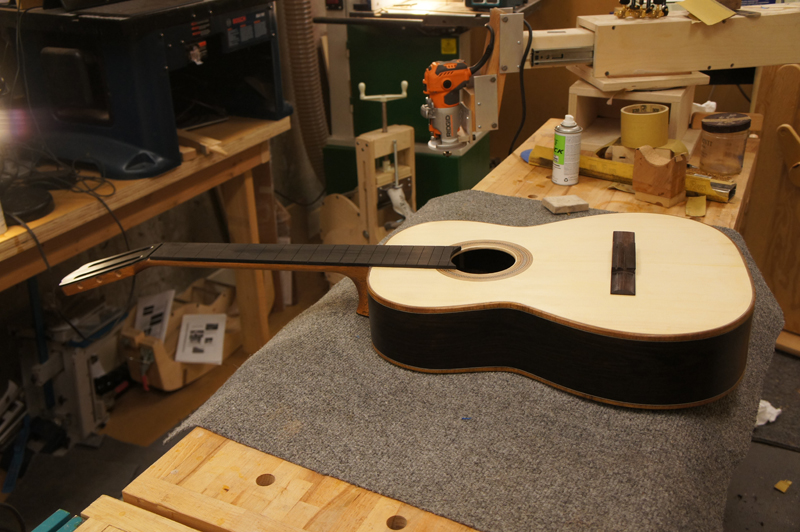
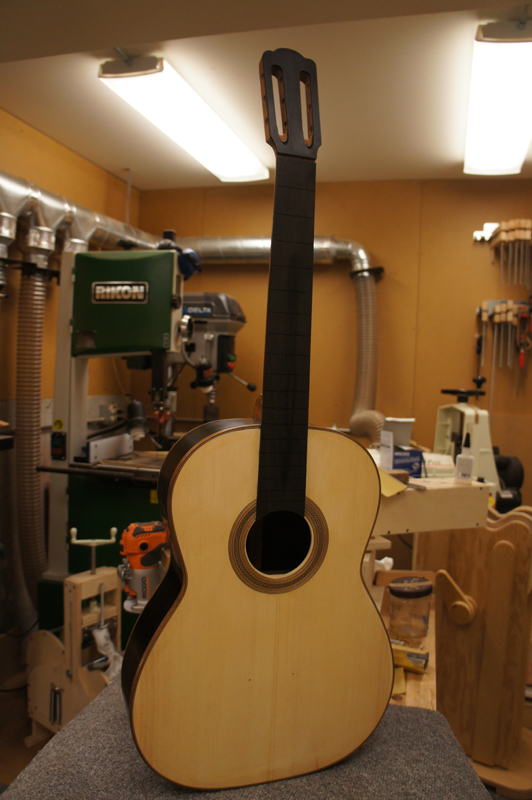
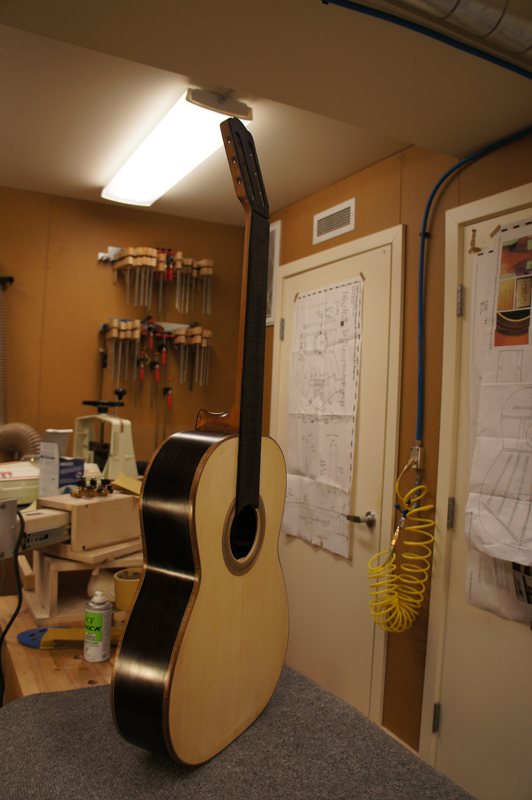
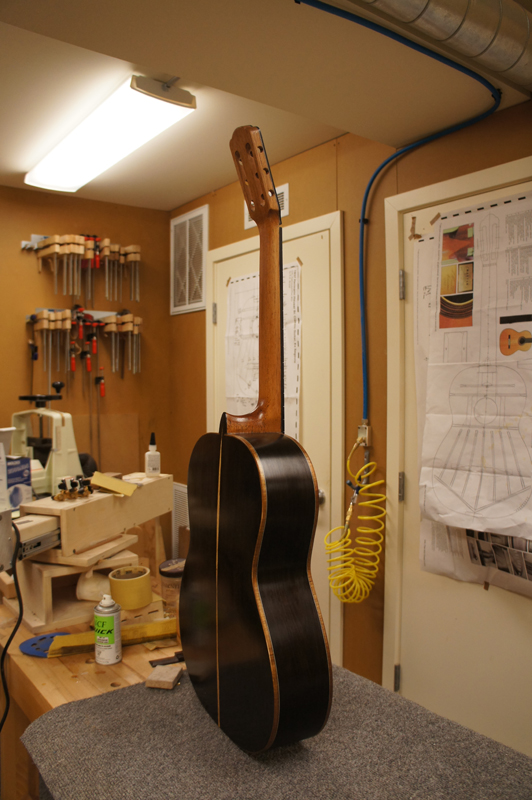
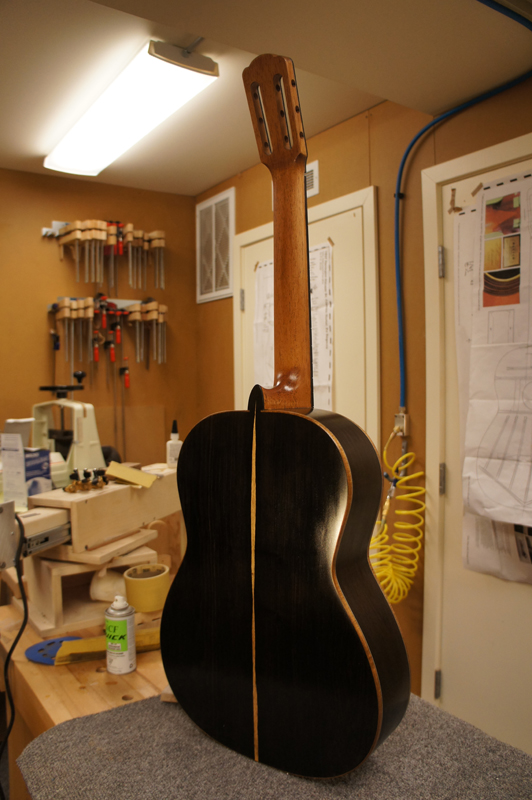
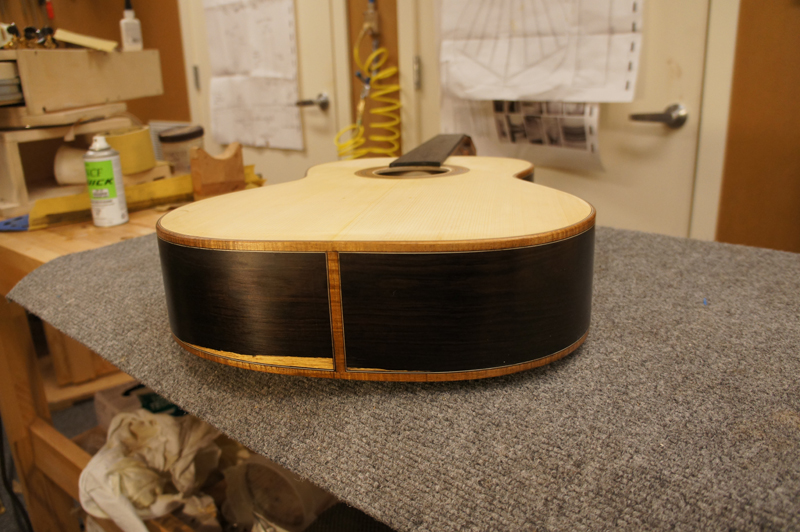
I think I have this guitar ready for French polishing. I have completed my pore fill, found any gaps and spot filled with CA and finally sprayed on a couple of thin coat of blond shellac to act as a sealer. I sprayed the sealer as I sanded the Z-poxy pore fill back to wood and the African blackwood really releases a lot of color. Also since the last post I planed and sanded the fret board both to level and to assure the correct string height at the bridge. I was pretty close from my prep work before I glued on the fret board.
The other interesting note is that I cut the fret slots using an LMI template. The nut was cut as if it was a zero slot, and then cut through. Looking at an LMI serviced fret board, I noticed they had a note that said nut slot compensated for kerf width. Measuring I found that there nut position was .4 mm longer than mine. I had some black veneer that was .5 mm so I glued it to the end of the fret board with CA and lightly sanded it smooth. Now I can not measure a difference between my fret board and LMIs serviced fret board.
Here are some pictures.


-
Kevin in California
- Posts: 2799
- Joined: Mon Dec 19, 2011 4:19 pm
Re: Classical guitar 11 ready for French polish
That is just plain YUMMY John. What a beautiful guitar.
By the way, mess your shop up more...it doesn't look like you really built that, not enough mess.
Kevin
By the way, mess your shop up more...it doesn't look like you really built that, not enough mess.
Kevin
