
Up until now when I installed an end graft it happened after I have carefully glued the sides to the end block. Sometimes struggling with keeping the two sides and the block straight, and perpendicular. To keep everything lined up I work in the mold and work to clamp around the mold. Then after making what is usually a tight joint I attack the sides with razor saw and clear with the chisel a channel for the end graft. I do OK but I hate it. I have also used a clamp and template to route the channel. Both are a pain.
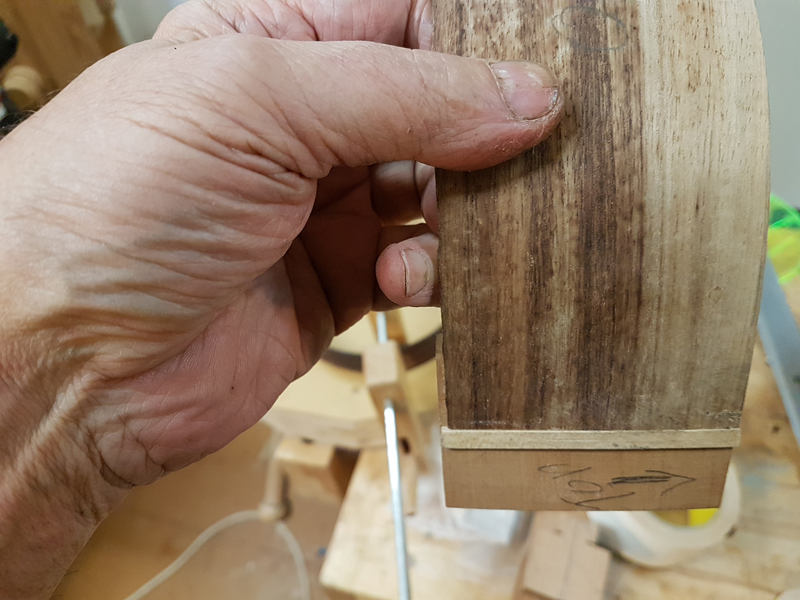
While thinking through the process of making a spanish heel ukulele for the five day class I am doing, I thought about how much of the relationship of the sides are built into the spanish heel, when it occurred to me... Use a machinist square and glue on the end graft to the block before assembly. Easy to center perfectly square; piece of cake. Using CA it takes 2 minutes. There is no extra time squaring up the sides as that has always been part of my process. I mark where to cut draw a line with a machinist square and use the table on my belt sander to trim to size. This is the same process, I just make the sides a a bit shorter. I glue up the sides one at a time to allow me to carefully fit the second side. WIth the graft in place I am working with a preinstalled square guide so I can glue in the sides out of the mold. The results are cleaner.
Using an angle gauge instead of a machinist square wedges would work the same.
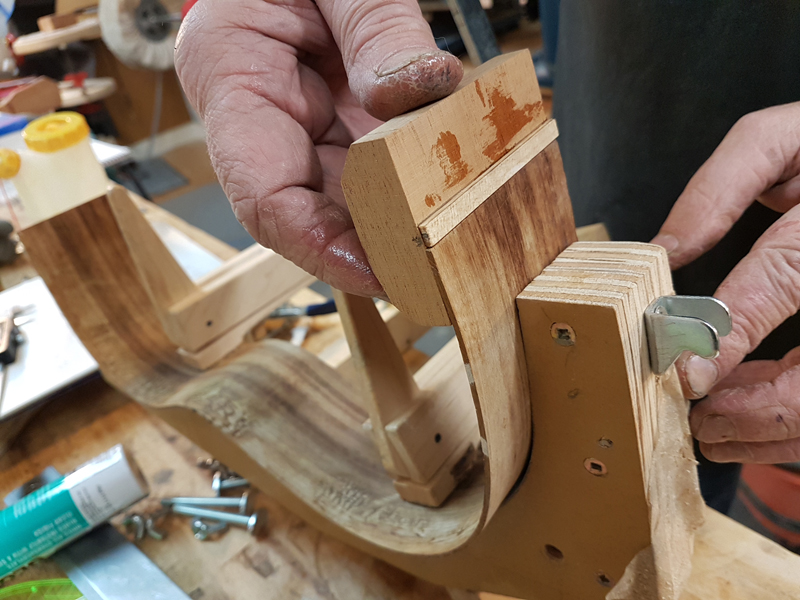
Here is the picture it made the whole process very easy.
I held the graft in place centered against a machinist square and added a touch of CA.

I fitted one side and then the other using the mold to make sure the sides were marked at the correct length.
With one side fitted I placed the sides back in the mold and marked where to cut the second side.

I glued and clamped the sides outside of the mold as the graft and the bottom of the block allow me to easily square the sides to the block and get a good joint.
