Classical guitar builders working on a solera in the Spanish style often deal with this in one of 2 ways: have no neck angle and make the fret board into a wedge thick on the nut side. If the FB is sloped such that it loses 1 mm by the 12 fret then the above described 2 mm would be achieved at the saddle location. I did this on my first classical and it would be a compatible solution to the bolt on bolt off neck. (The wedge shape of the FP is noticeable though) The second option is to pitch the neck forward such that the nut would be 2 mm above the plane of the top. In this case the neck and top are not co-planer so a reverse wedge needs to be sanded into fret board extension so that the FB will fit properly. This is how I built my second and third classical guitar. Not compatable with the bolt on bolt off neck.
Moving away from the solera or workboard to using a mold, alternatives like an elevated fret boards are often used. The design from the book is more along those lines. Simply put the top of the neck is made co-planer to the top and a suitable sized wedge glued between the neck and the fret board and is used to change the FB angle. If a the wood matches and there is a good glue line it should appear as part of the neck. The wedge would be 3-4 mm tall on the nut end sloping to zero at the bottom of the fret board.
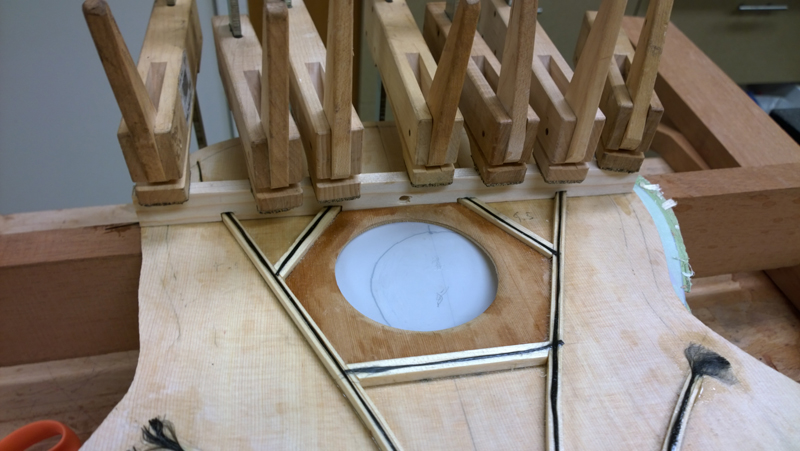
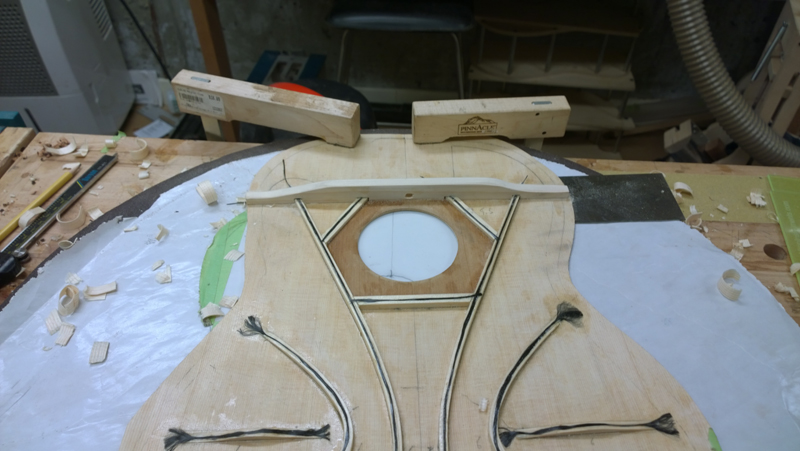
While this sound simple, it creates a few complications that would need to be dealt with. The obvious one is that without modification the neck will feel 4 mm thicker than it should at the nut, so the neck taper will need to be modified thinner on the nut side. Removing 4 mm from the neck would put a truss rod closer to the back of the neck than desired. Also the nut slot would appear to be 9-10 mm deep (half of the neck width) which would appear weird. It is these complication that make this procedure tricky.
The nut depth is solved by extending the wedge past the nut end of the fret board and planing it to the slope of the head stock, In effect it becomes a part of the head stock and the neck and the head stock veneer is glued on to it. if you draw this out you will find that the fret board has to be placed a bit farther away from the original angle break where the head stock starts.
If one is using a truss rod, then with the wedge glued to the bottom of the fret board; the truss channel is routed with a slope in reverse of the wedge and a reverse matching channel needs to be routed in the wedge. So at the nut end part of the truss rod is in the neck part of it is in the wedge. Thus the truss rod will be at or close to the bottom of the fret board the whole length.
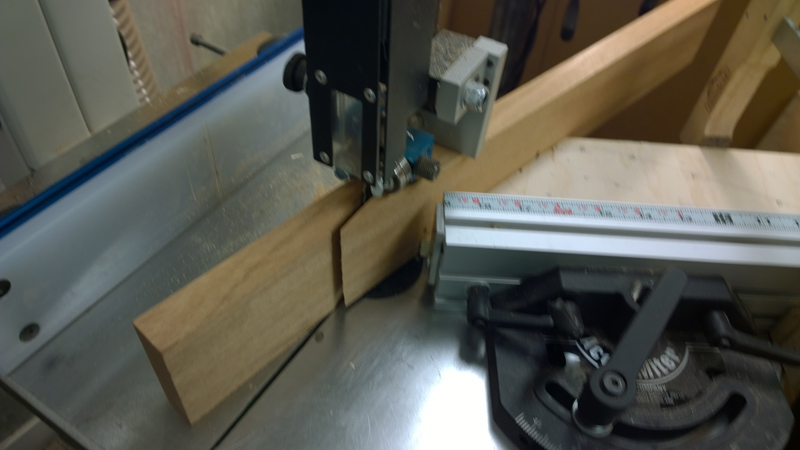
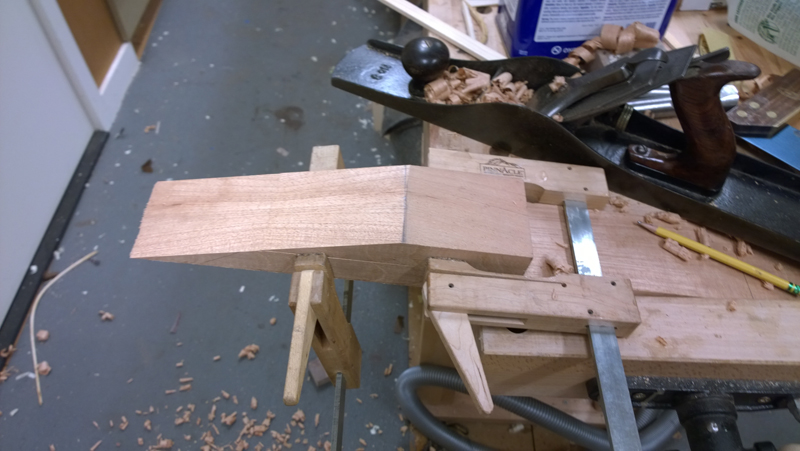
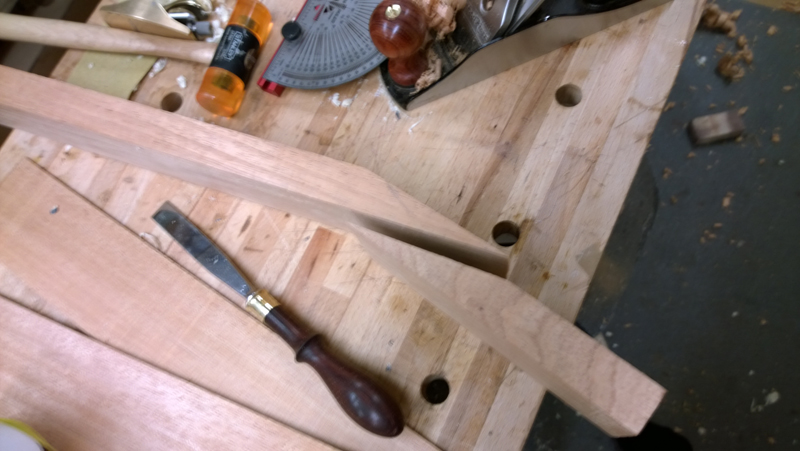
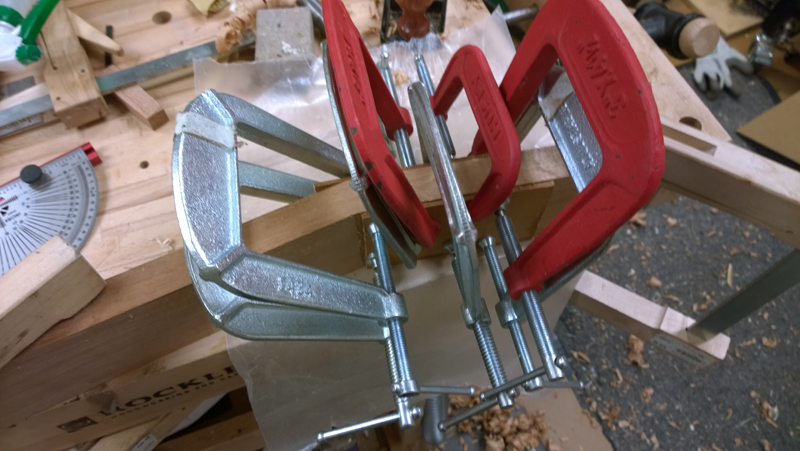
As I said I am just starting this work and if you follow the blog you will see the above work happen as the guitar progresses. At this point I have cut a glued the scarf joint to form the 15 degree angle I am using.